Yes, I know, barely credible isn’t it that there could be a variation to this time-honoured classic bit of maintenance. Well, normally I rebuild front axles on a Saturday, but this week I did it on a Sunday. I figured that was a pretty significant difference and here’s the results.
Well it made YOU look.
For those of you tackling this for the first time, I really would suggest that you do it on a Saturday. A Sunday build is pretty advanced really it’s pushing the boundaries of 80 series maintenance.
Part I
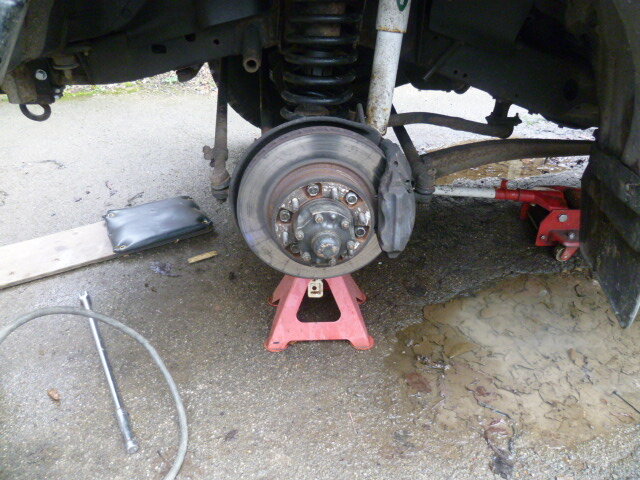
First thing was to get the wheels off whilst the oil drained. Looked OK ish I suppose but pretty dirty. Nothing really on the drain plug.
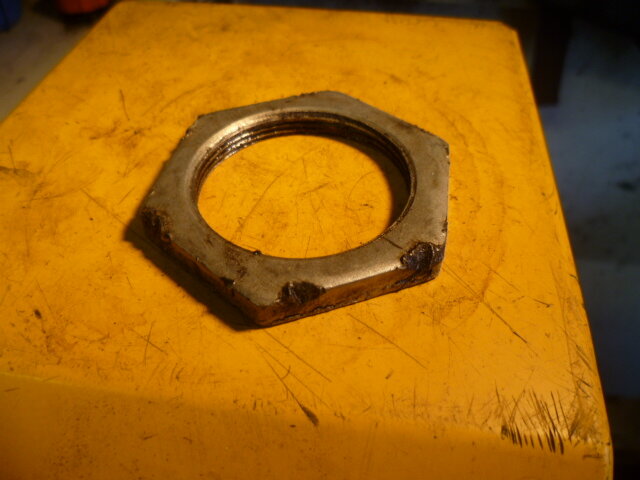
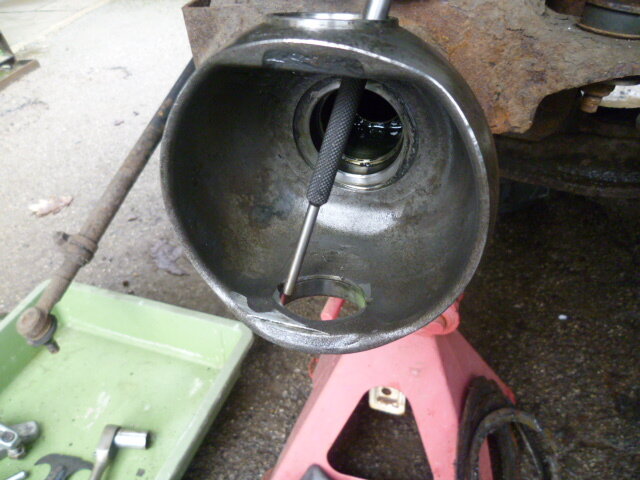
All of OK far. But hang on what’s this? Looks like Mr Chisel has been to visit at some point in the past. Bloody bodgers. Don’t know what I am going to find now. Feel like Indiana Jones and the garage of doom.
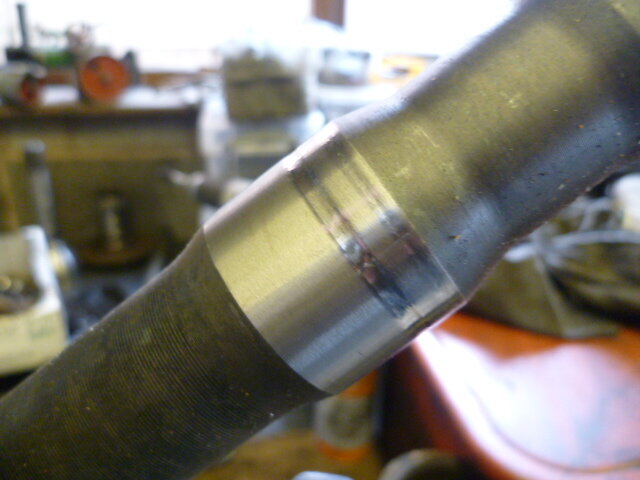
Stub axle looks fine, no scoring on there at all.
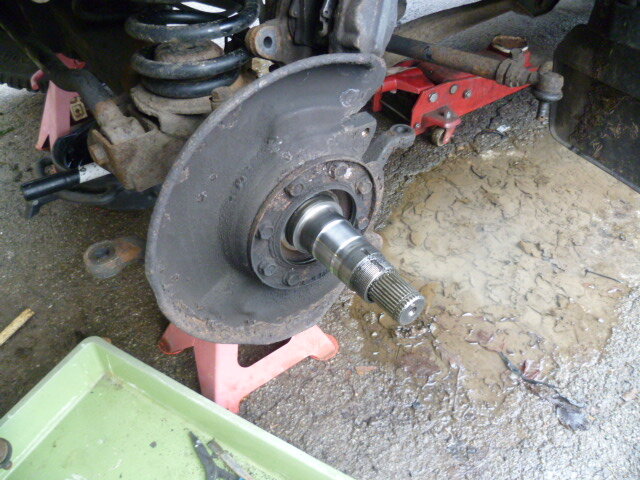
On with removing the stub axle only to find that the grease fairies have been and stolen all the grease that’s supposed to be in there. To be fair this stuff does migrate very slowly over time so it’s hardly surprising. No sign of oil in there which means that the oil seals have held up.
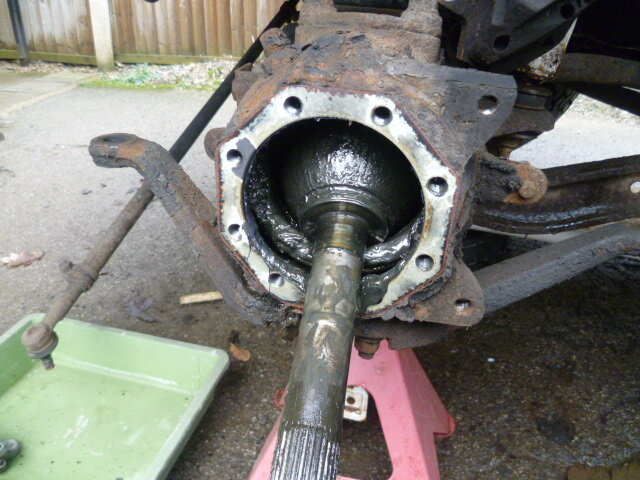
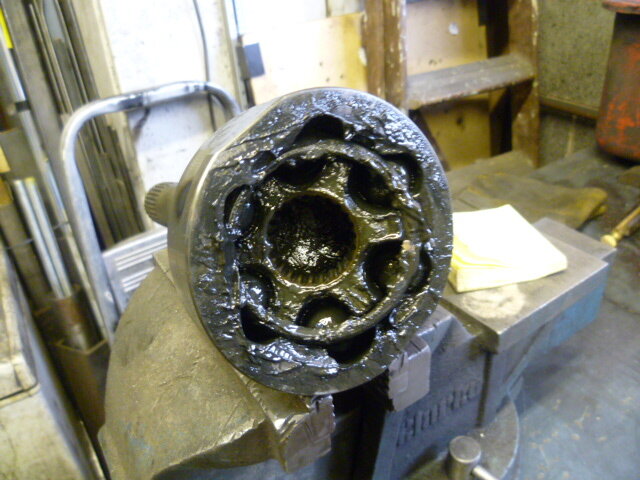
Here’s some of the grease in the Birfield. Not much but there is some. Now these CVs have not been clicking at all or anything untoward.
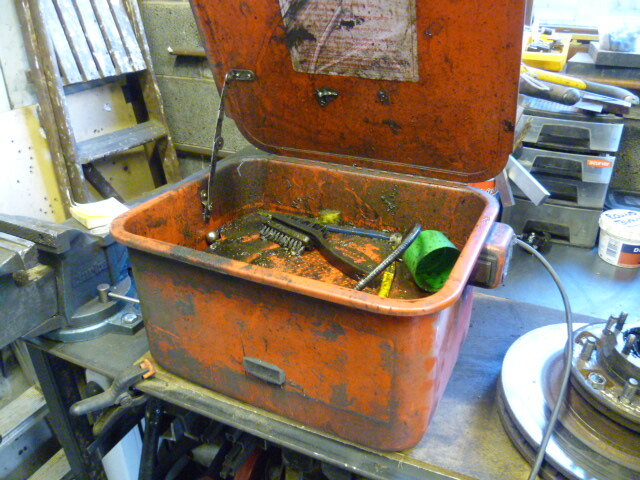
Now if you fix cars and you don’t have one of these in your garage get down to Machine Mart on a VAT free day and buy one. They’re about £40 and worth every penny.
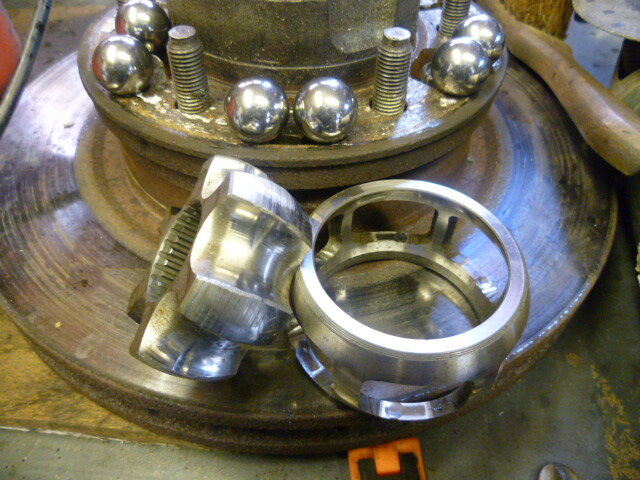
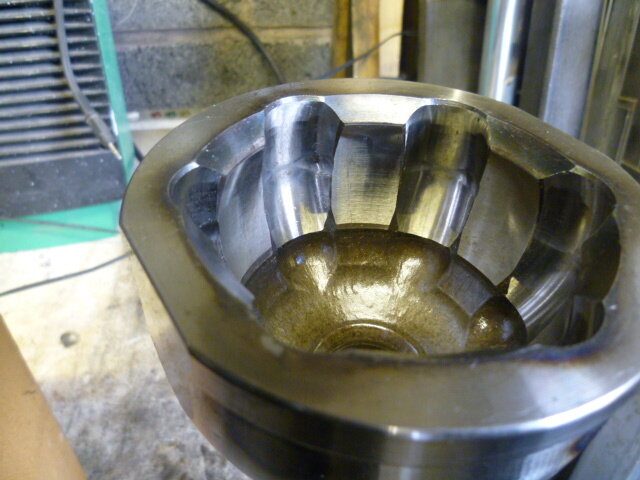
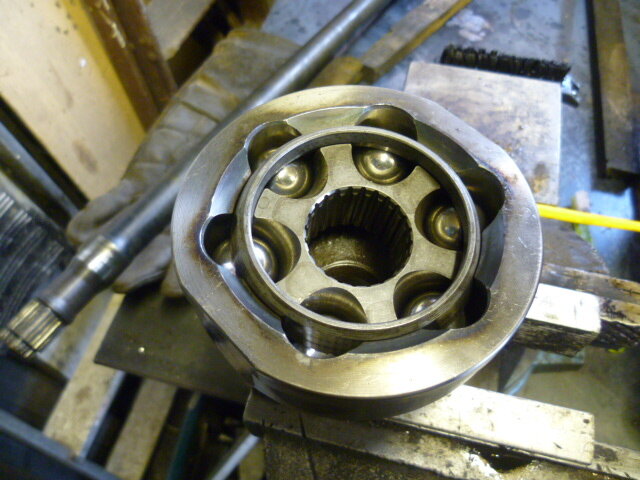
CV washed out and dismembered. Some wear marks on the cage and some actually inside the cup. These are totally unbranded CVs. There isn’t a single identifying mark on them at all. So even cheaper than a Milner one! Oh well, better put it back together. Might need those.
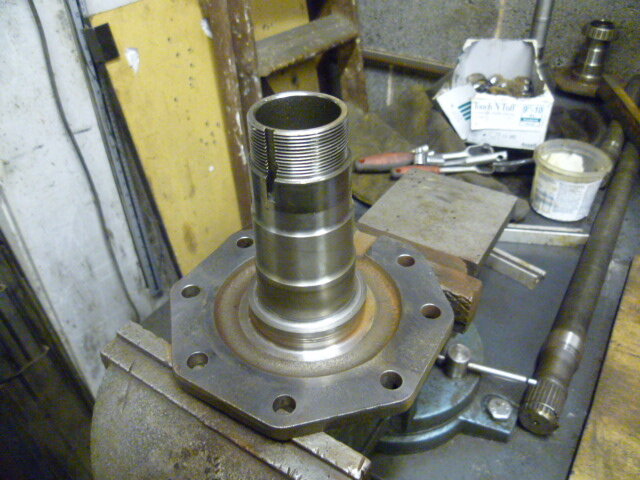
Back to the axle end. Oil seal pulled and cannon ball cleaned up nice and spotless.
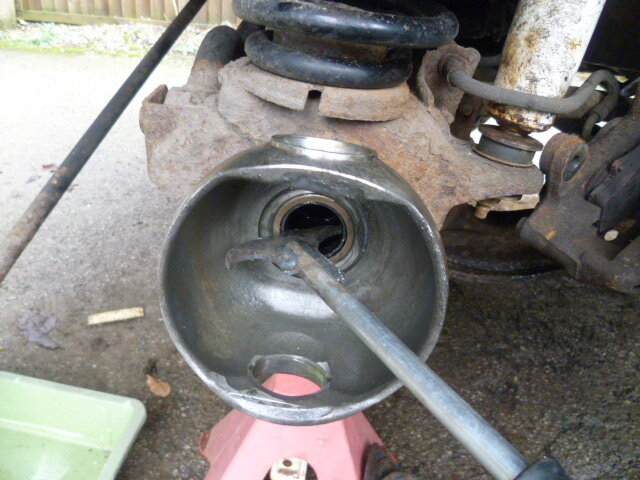
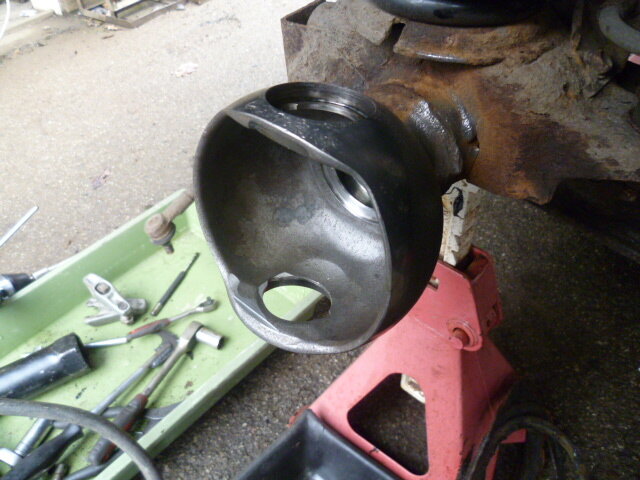
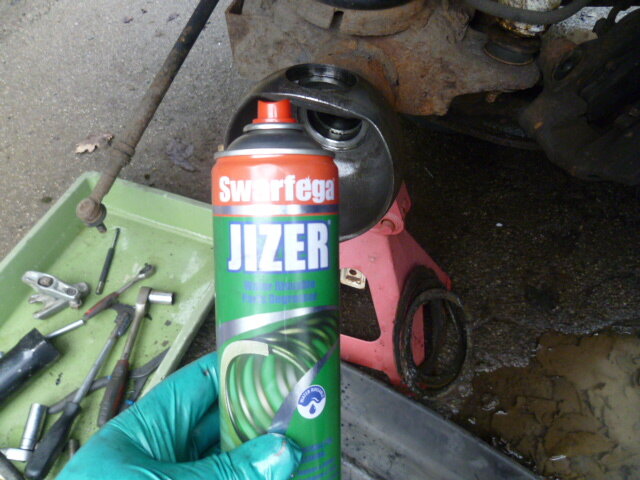
For portable cleaner, Jizer is your friend.
Races for the swivel bearings were knocked out. Now to be fair, they weren’t too bad. The top ones were alright but the bottom ones had some Brinelling and were mostly stuck in the straight ahead position as usual. But this is a full strip down, so into the bin with them.
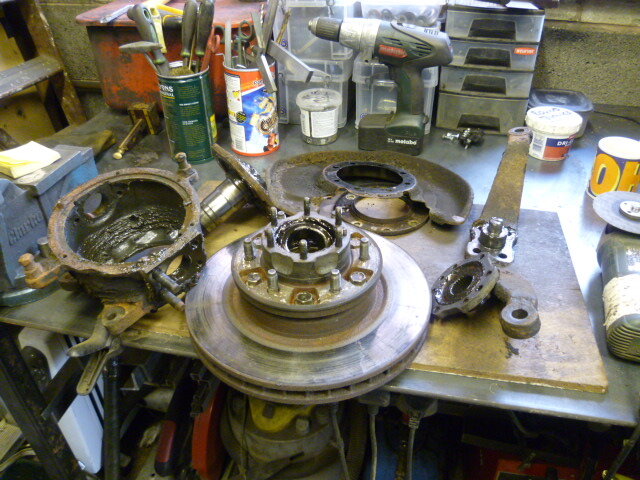
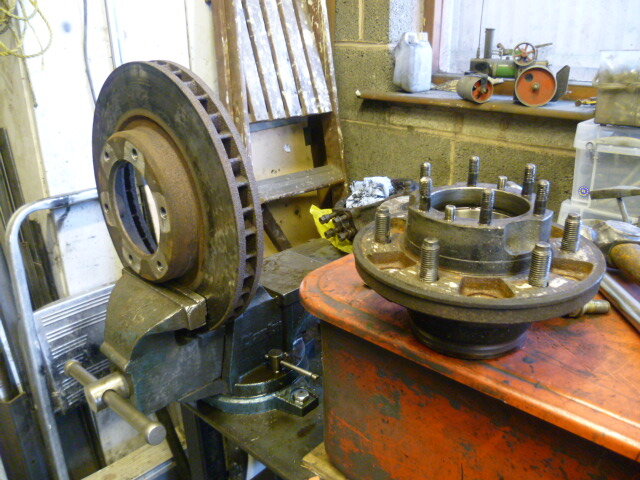
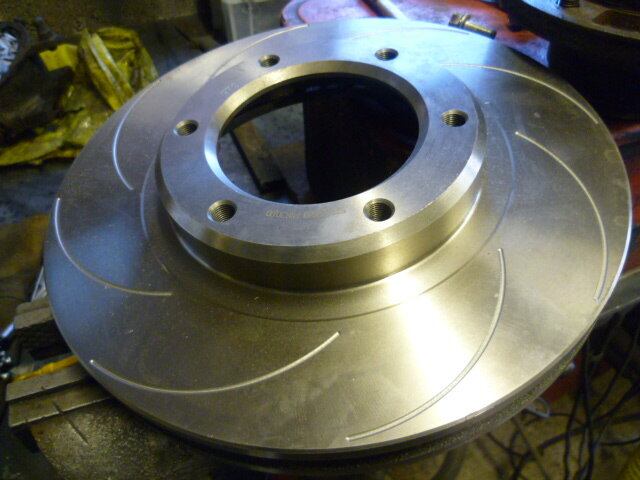
Here’s the hub on the bench ready for a clean and inspect, but before that, it’s time to get the discs off and get these bad boys on. Nitrac grooved specimens.
Part II
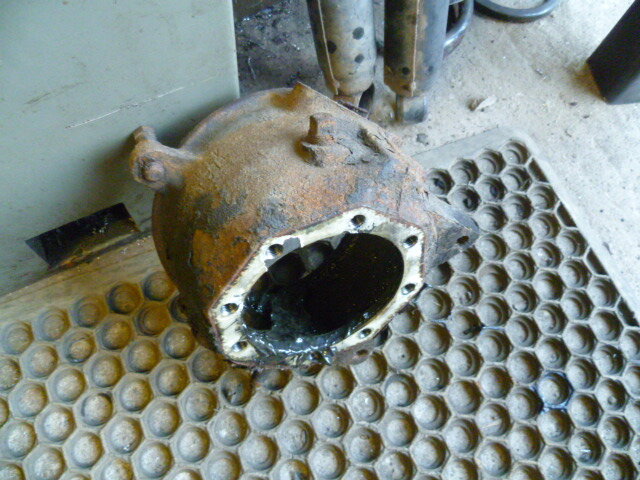
This section covers the swivel hub casting preparation. Now, the original casting really were pretty grotty and having spare castings on the shelf I reckoned I’d take a short cut at this point. This didn’t turn out quite as I planned.
Original casting yuk.
Spares marginally better.
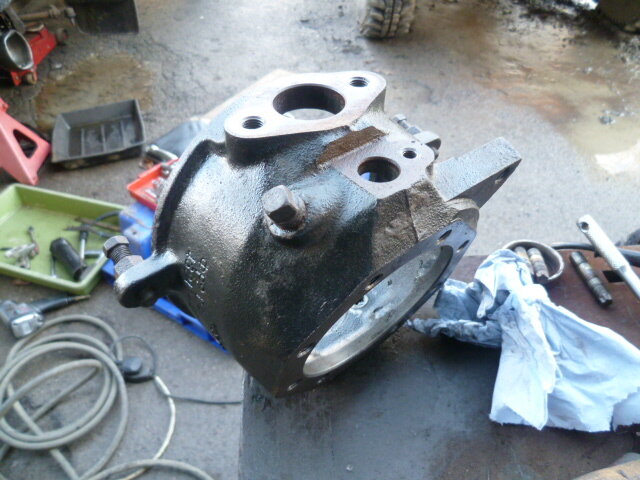
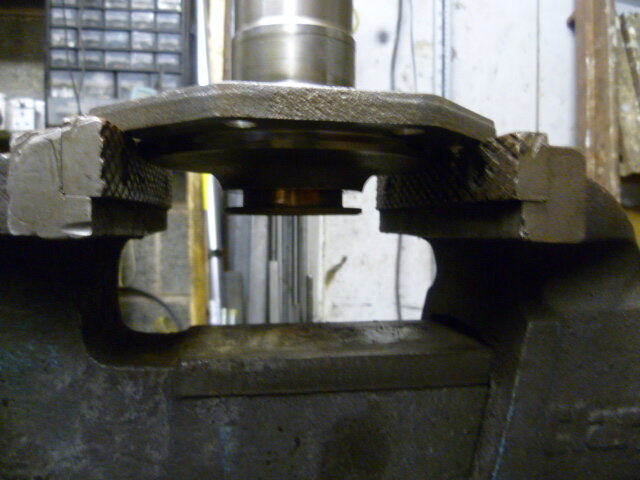
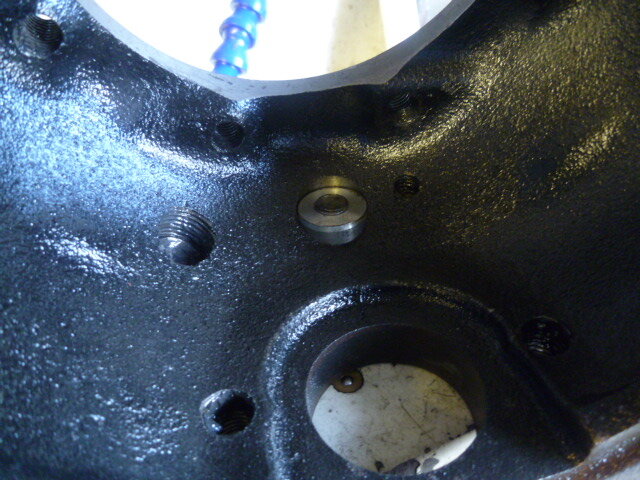
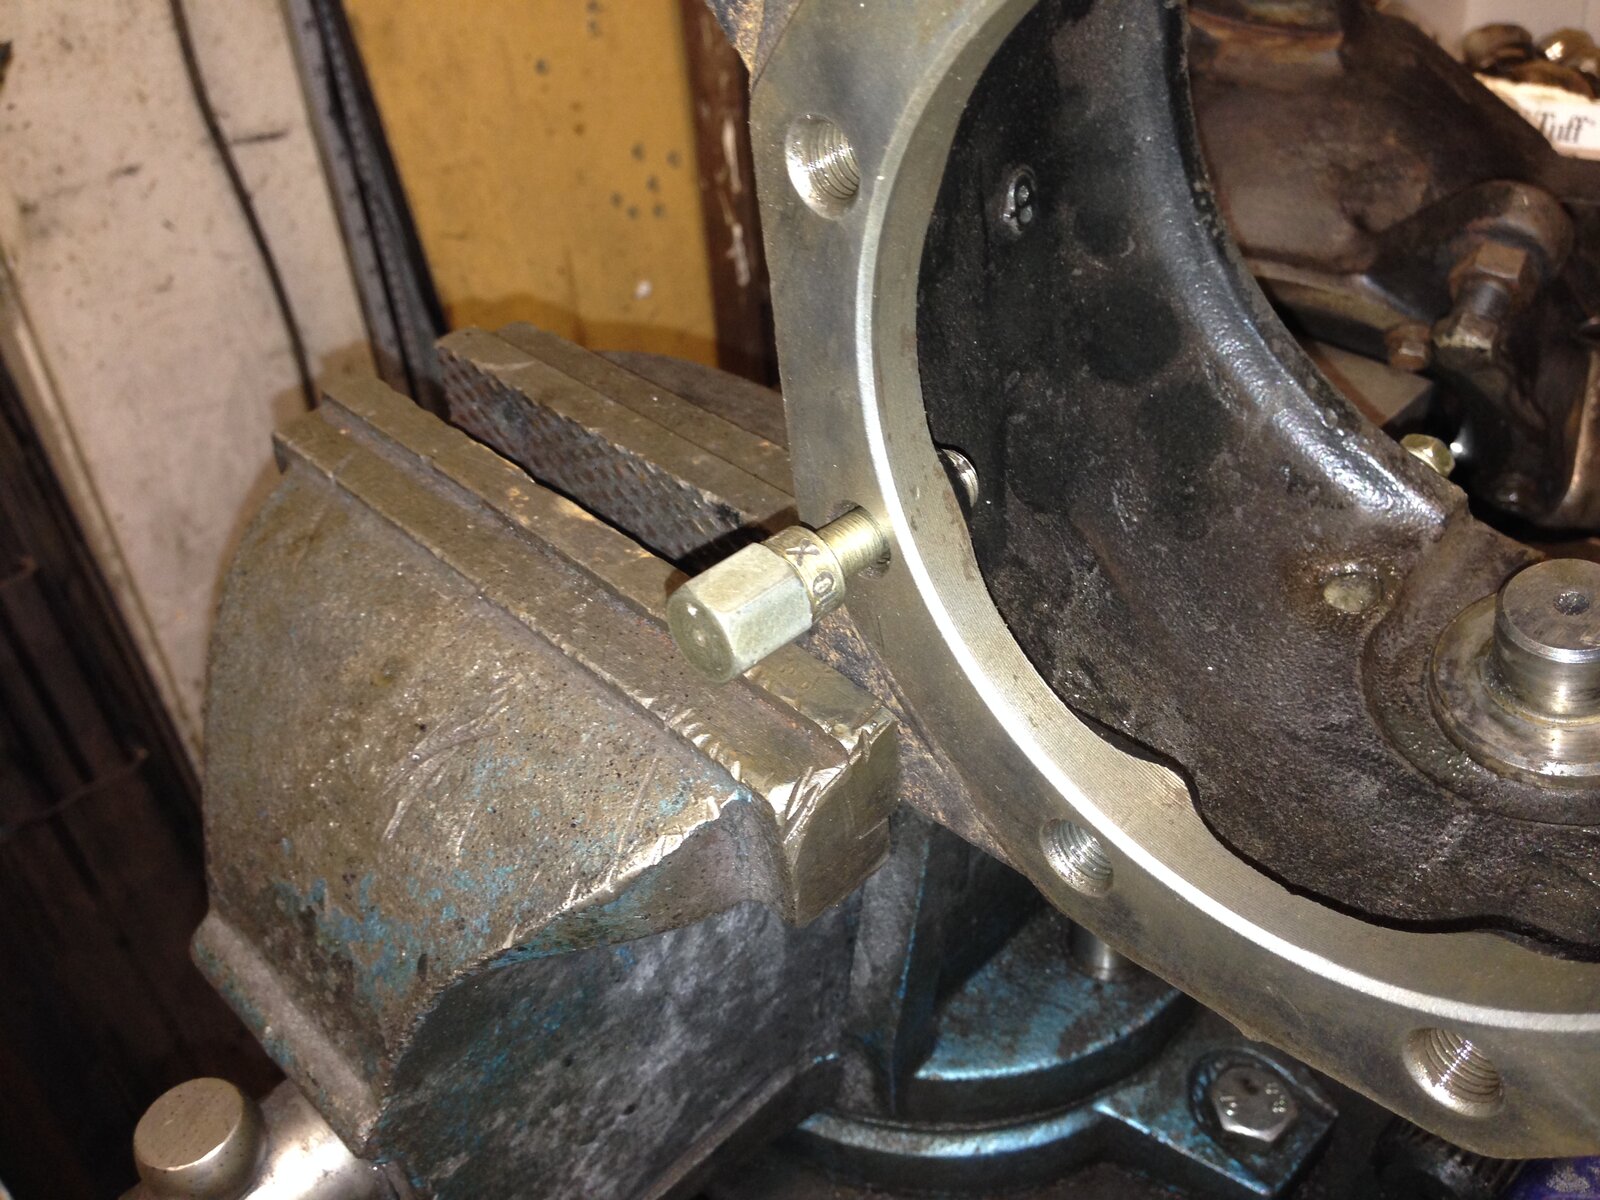
These were ABS castings so I needed to machine up some plugs to blank off the holes.
So with the castings cleaned up I put in some new studs. As these are so critical, I bought new ones and glued them in with stud lock. I had the casting heating all day in front of a fan heater so that the reaction would be complete. Went in fine all looking good. Then it all went pear shaped. One side was perfect. But the other ...
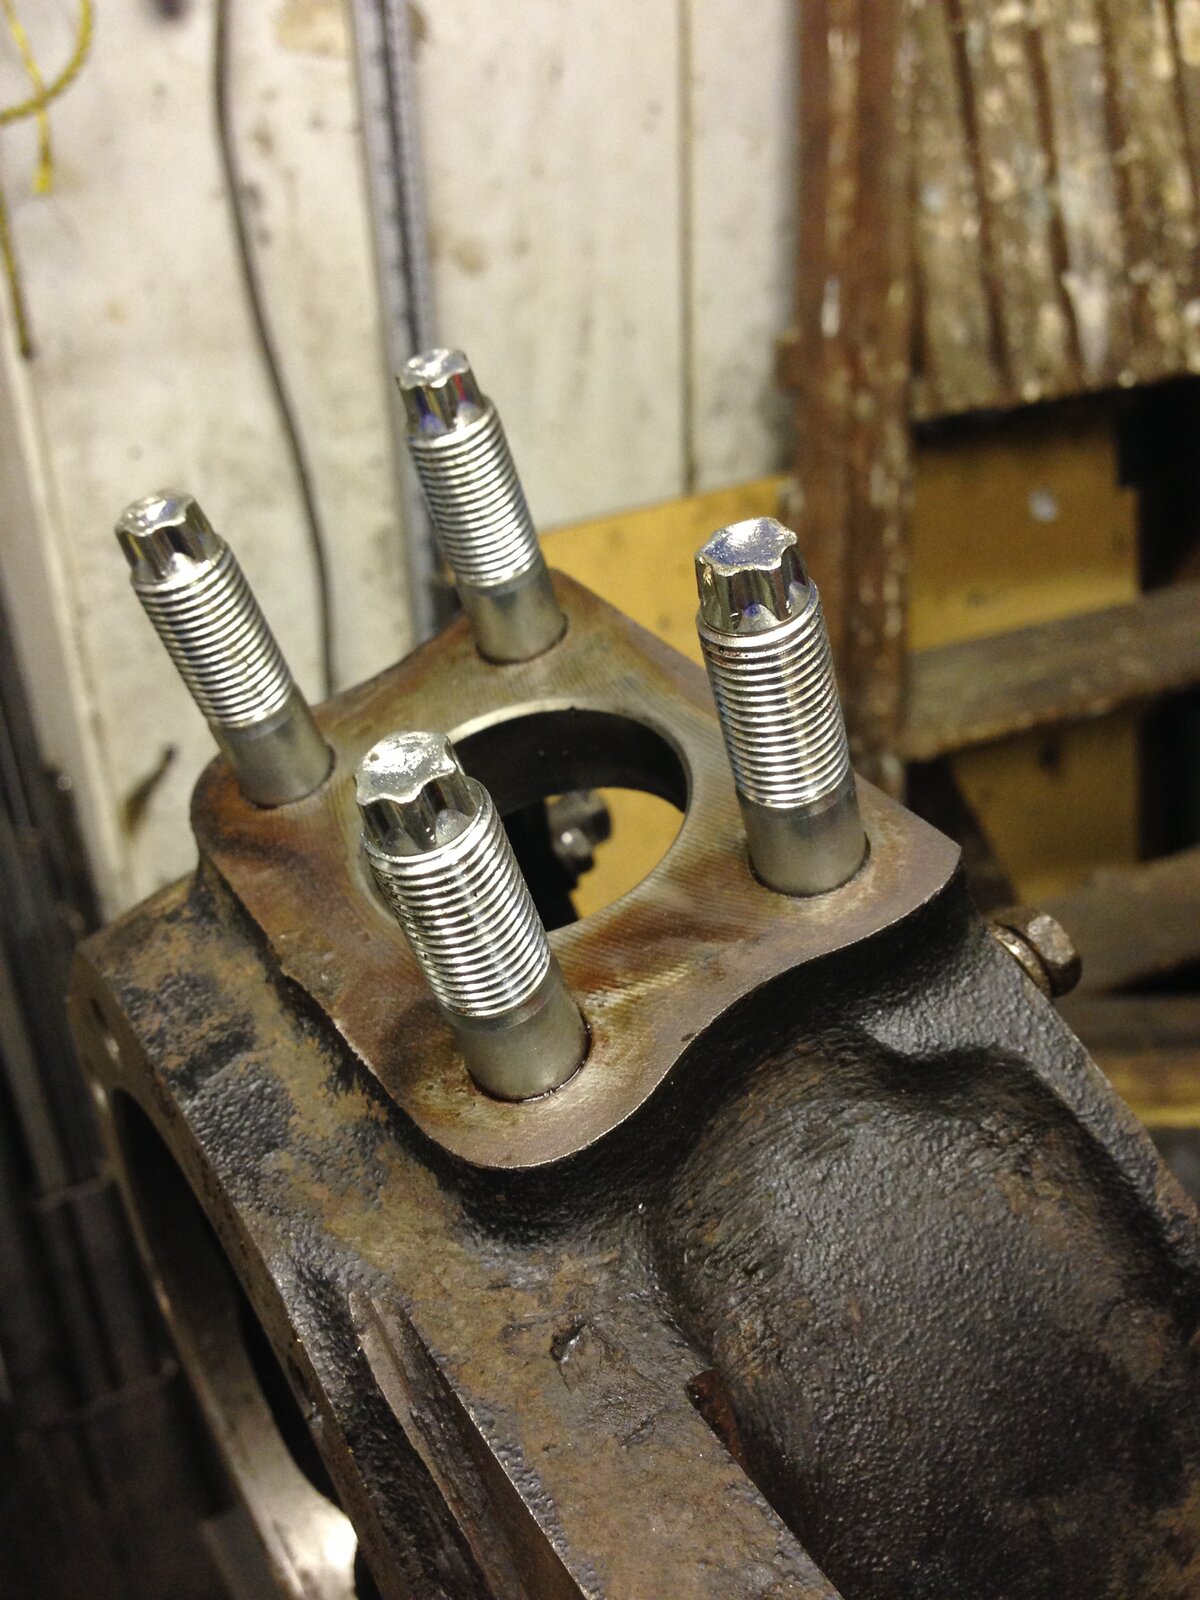
When I came to put the control arm back on the bottom of the swivel, the tops of the studs were miles out. I mean miles out. I removed the worst stud and it still wouldn’t go on. Then the next. Nope then the third stud and still no joy. After some measuring and messing around I found the holes were not in the right places. When I pulled the old studs out there were bent. I thought they had been the victims of some clumsy twat dropping the housing. No, they had been hammered to that position to get the arm on. Looking in side after a rigorous clean up, I could see damage in there and what I took to be cross threaded new tapping. I figure that in a previous life someone had these fall out as we know they can and fixed it with whatever they had to hand. This is why I have always advocated thread chasers and NOT taps for repairing threads. Get it cross threaded and you make yourself a new path. This casting is pretty much scrap. After all the time I put into it. No shortcuts with this – these studs could cost you your life.
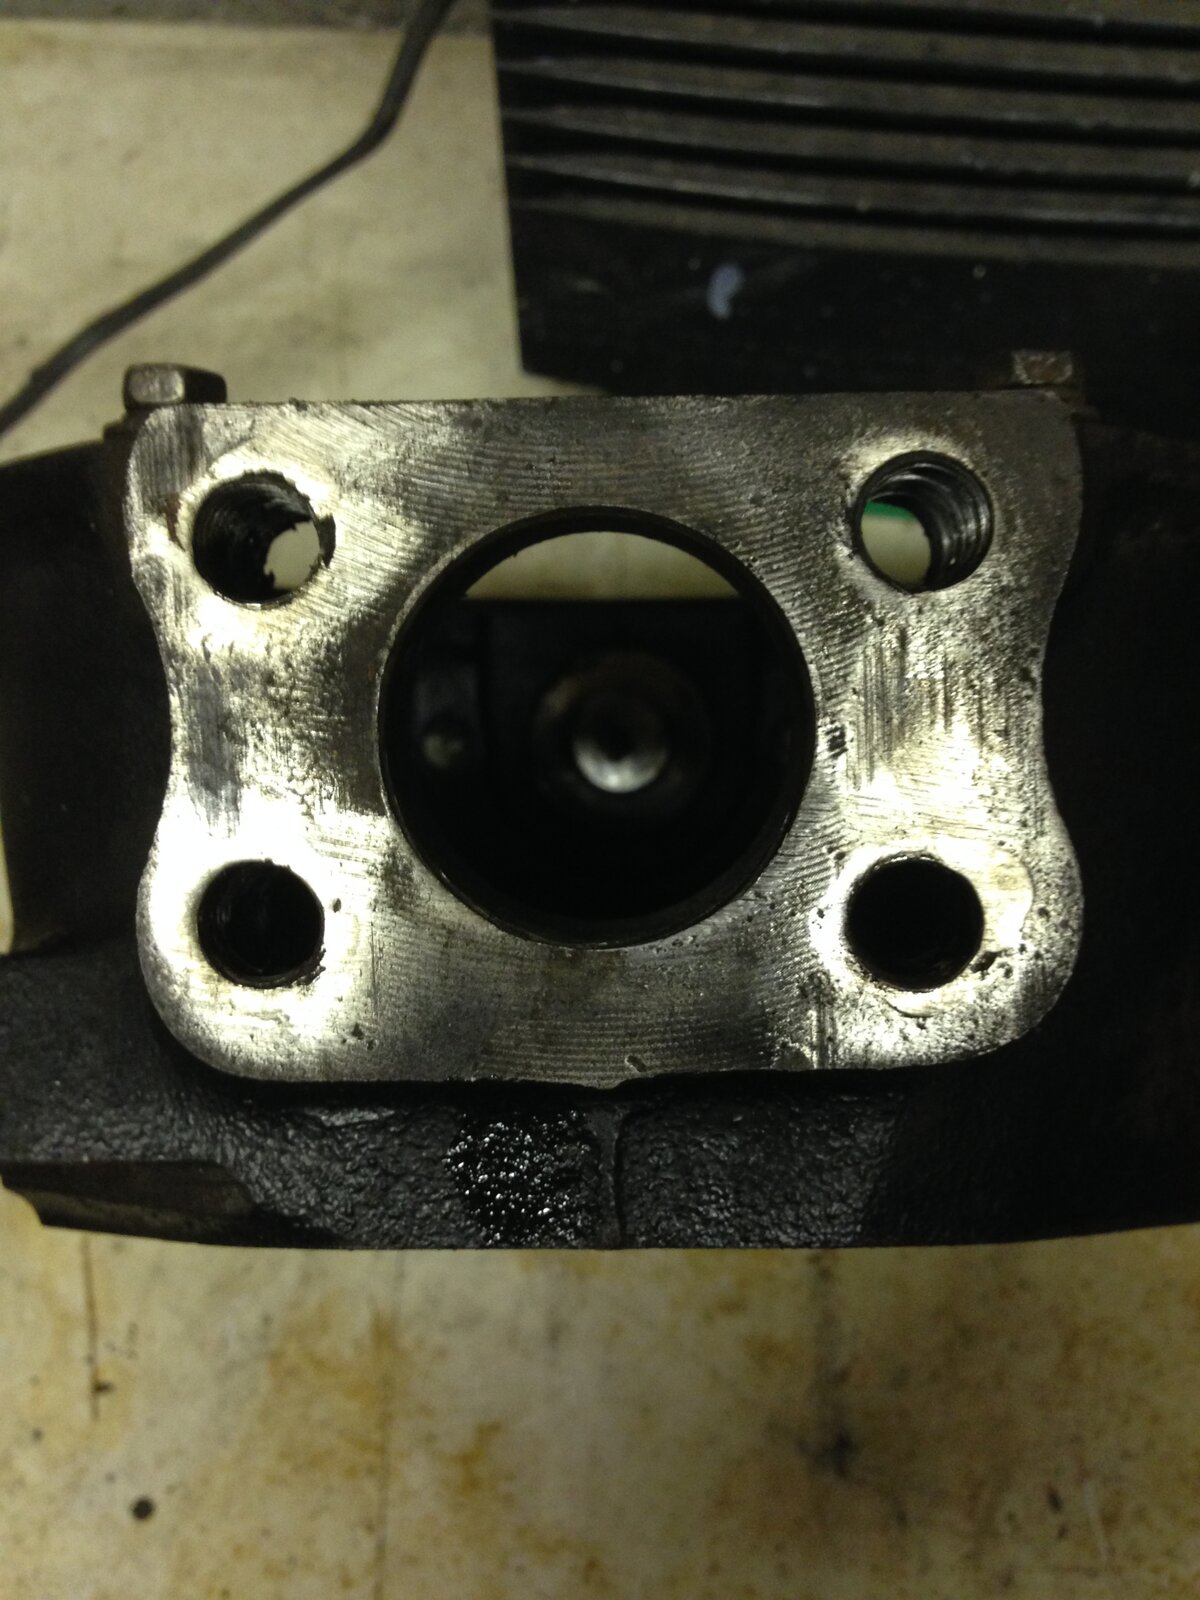
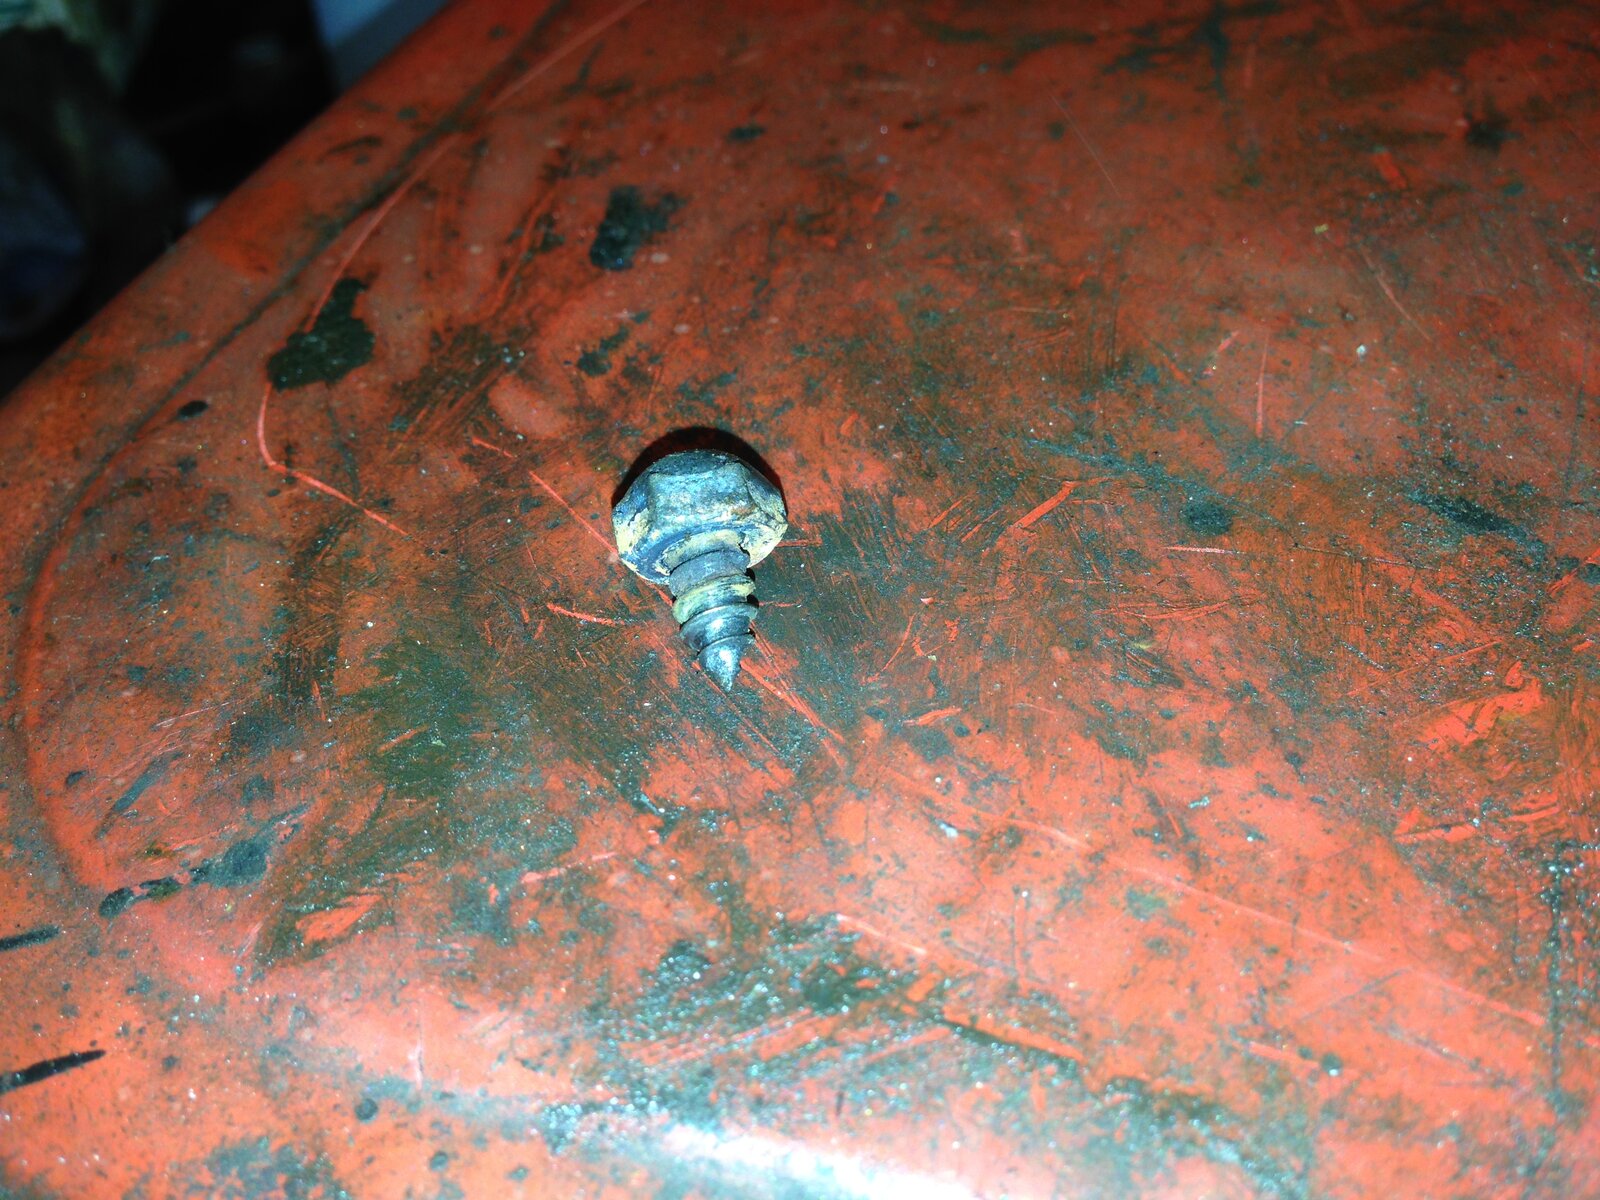
So back to the grotty original. One of the reasons I wanted to avoid this one was there was a problem with one of the 6 x 6mm tappings in the back face where the wiper seals bolt on. Someone had used a self tapper in the hole but not before they had clearly tried to drill out a broken stud first. The drill had skidded off and gone sideways into the casting.
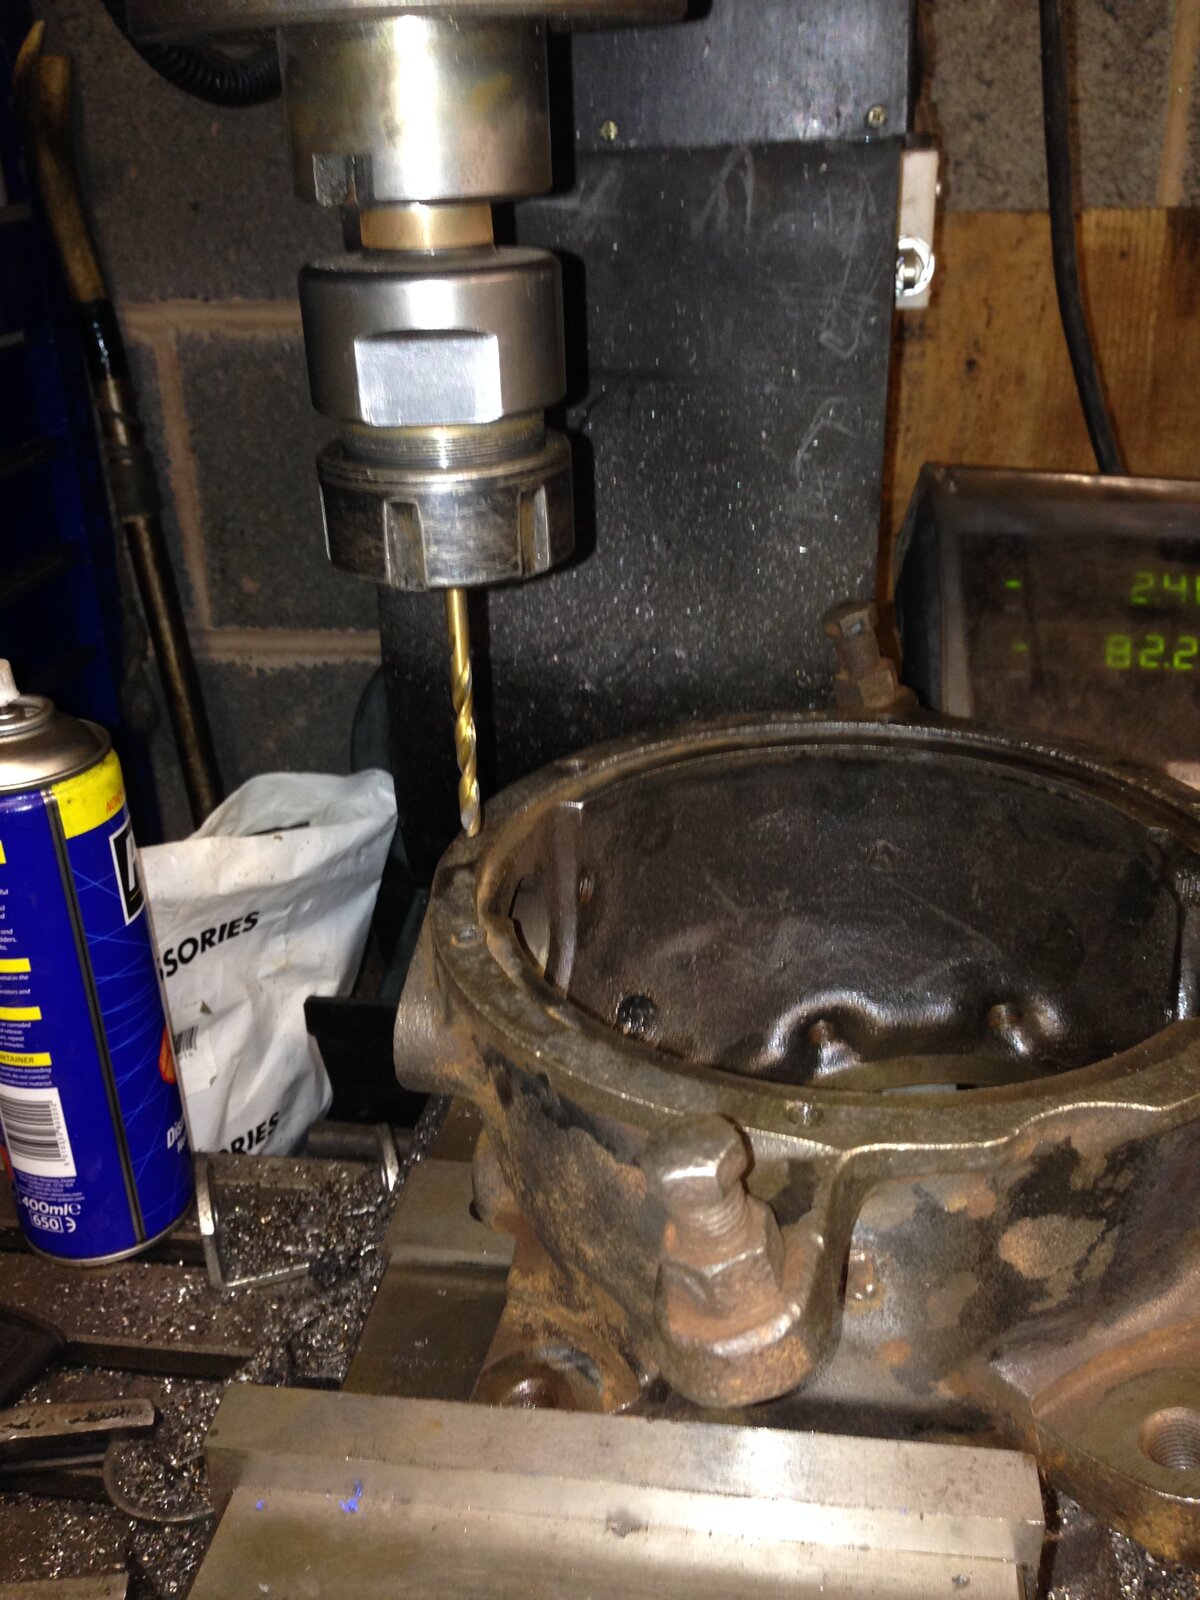
A visit to Mr Miller sorted this. I was going to drill it, until I realised what was in there. I used a flat milling bit to cut down vertically through the damage and remnants of the bolt. The nice thing with the miller set up is that you can drill then set up a tap in exactly the same place and get a perfectly vertical entry. Ooer. Apologies to Tom Daly.
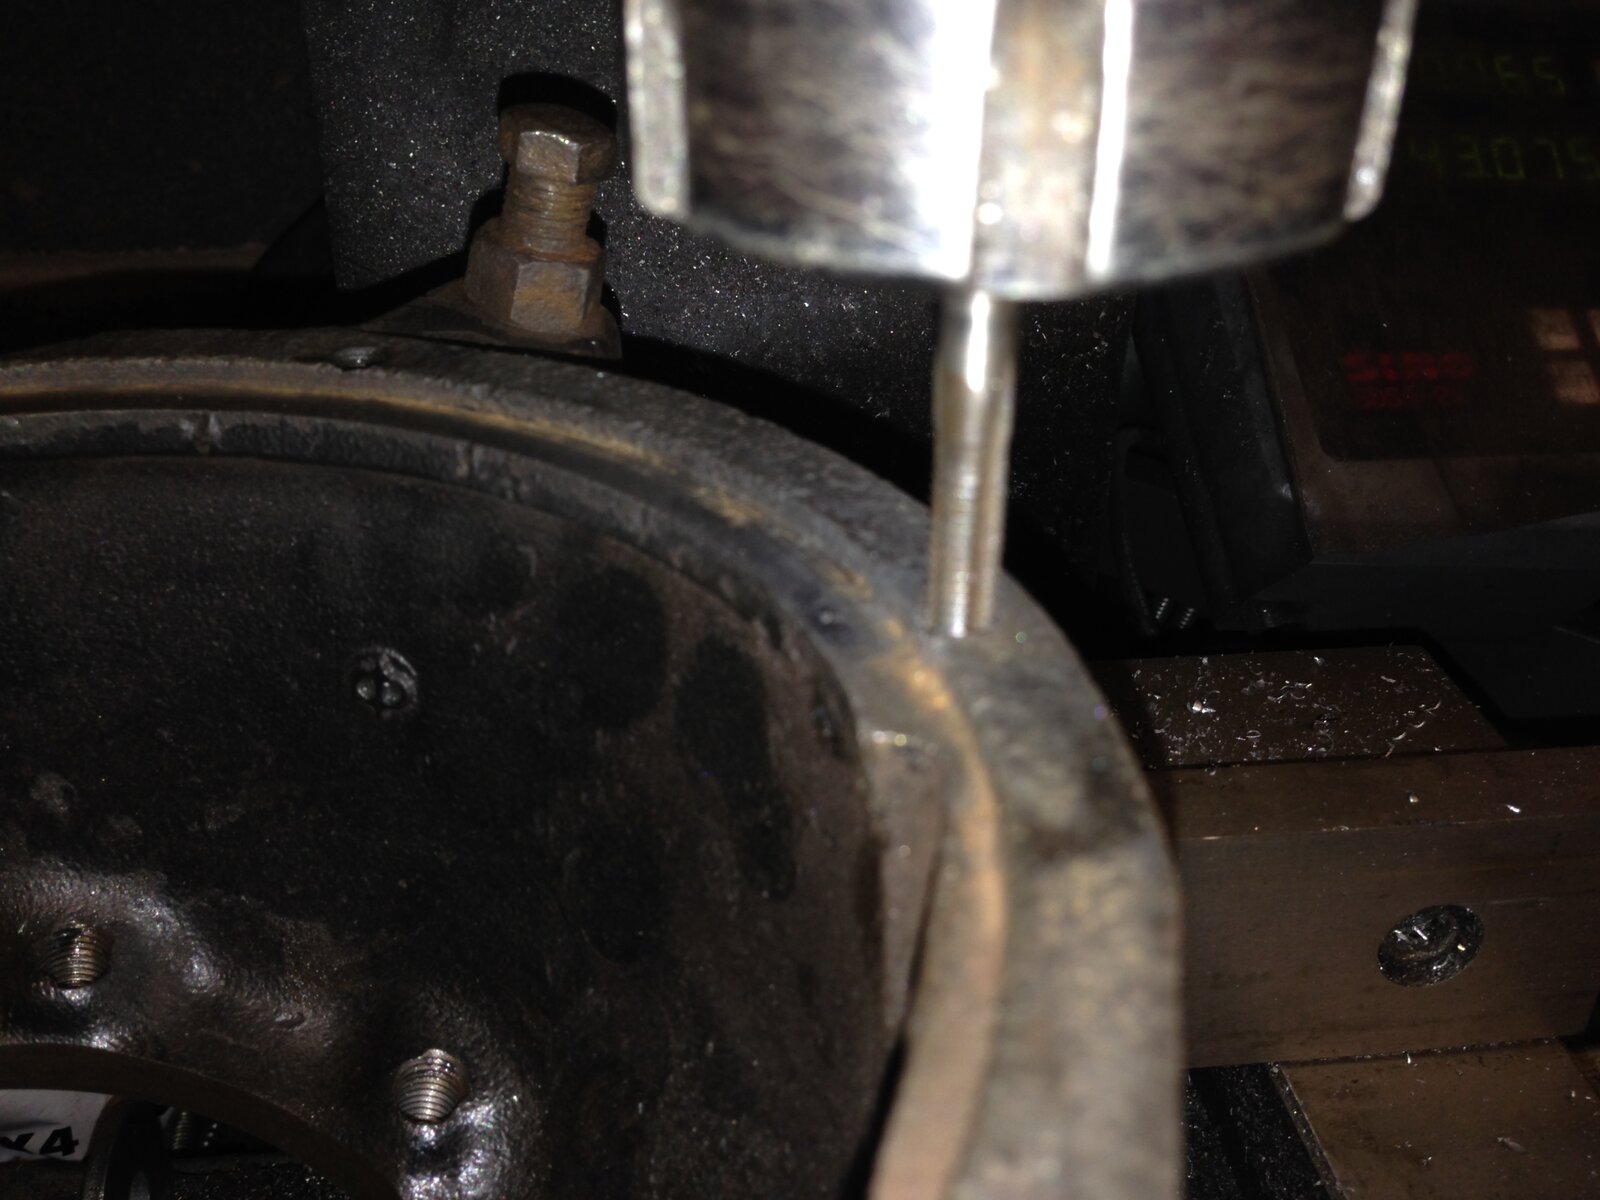
All sorted and a new bolt in place with plenty of thread depth.
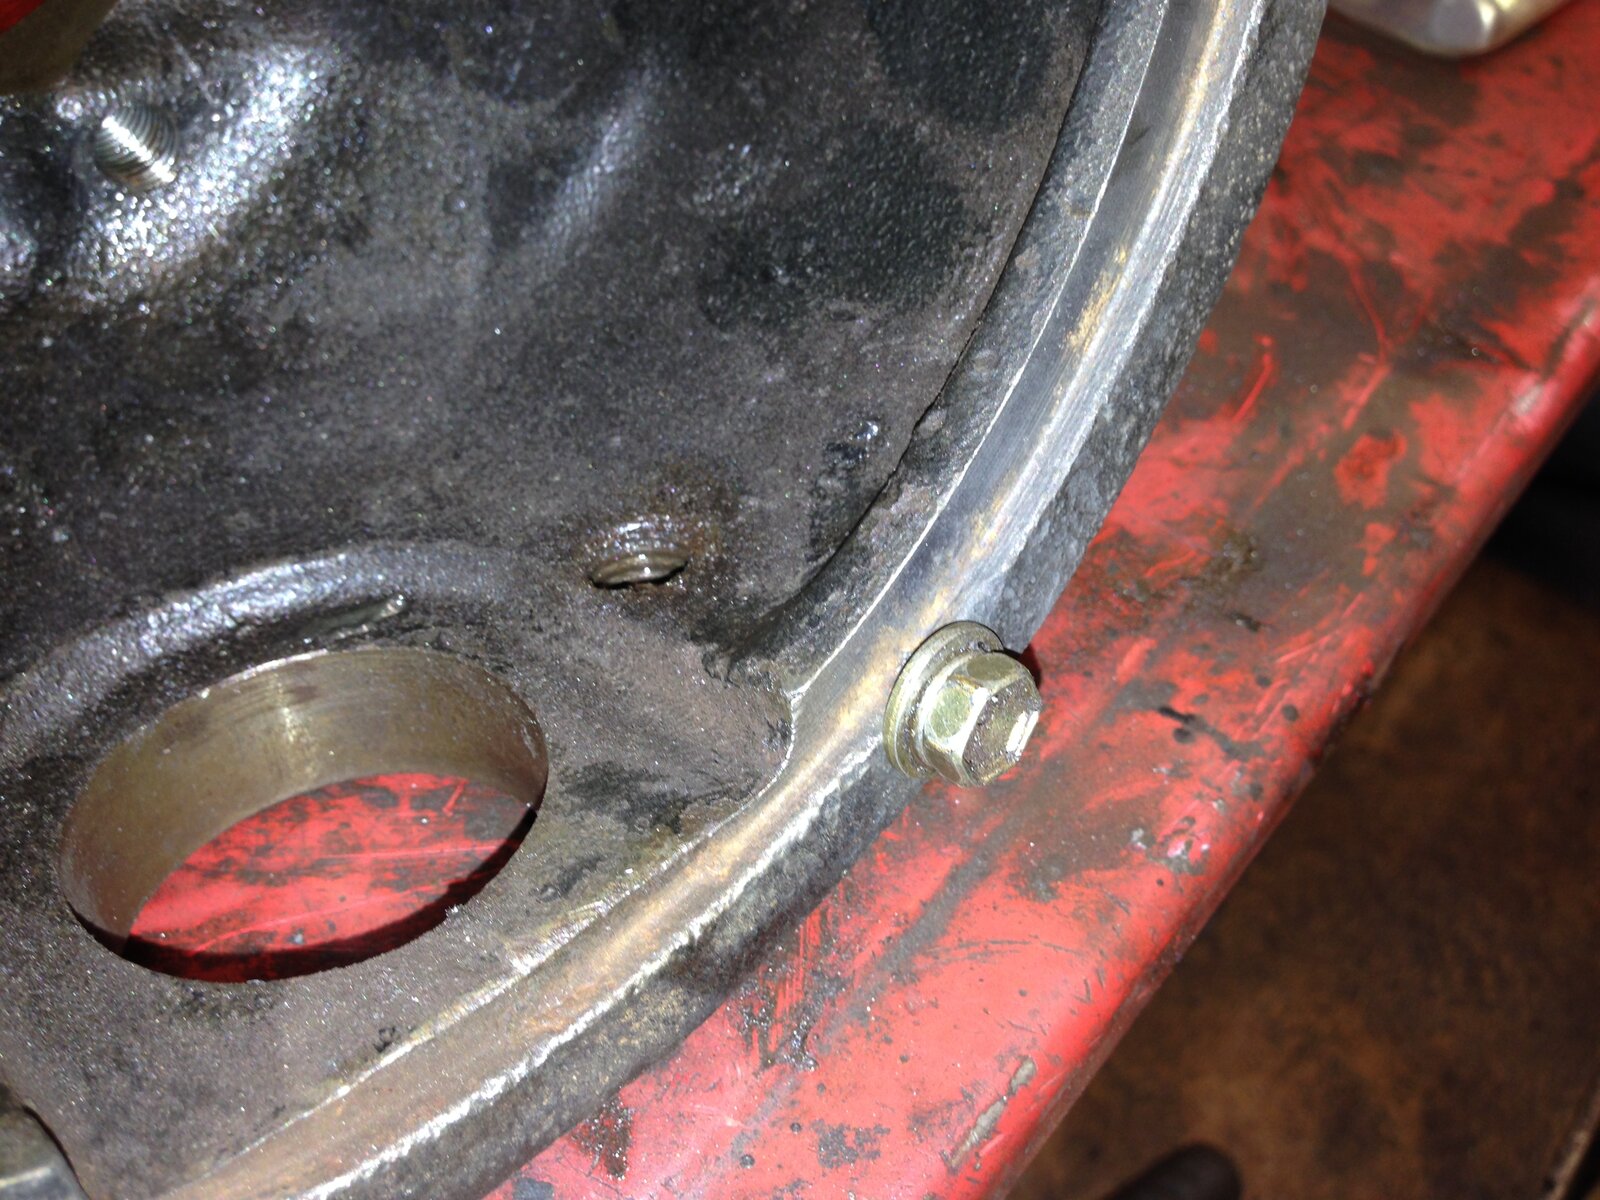
All the threaded holes have been cleaned out, washed with brake cleaner and blasted with air. Putting this lot back together is going to be sheer joy.
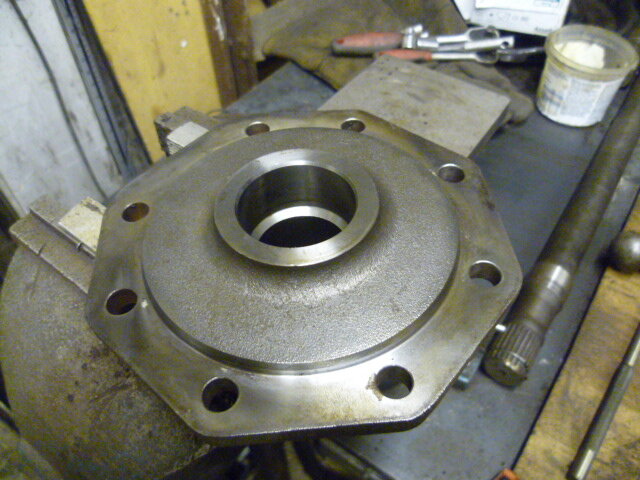
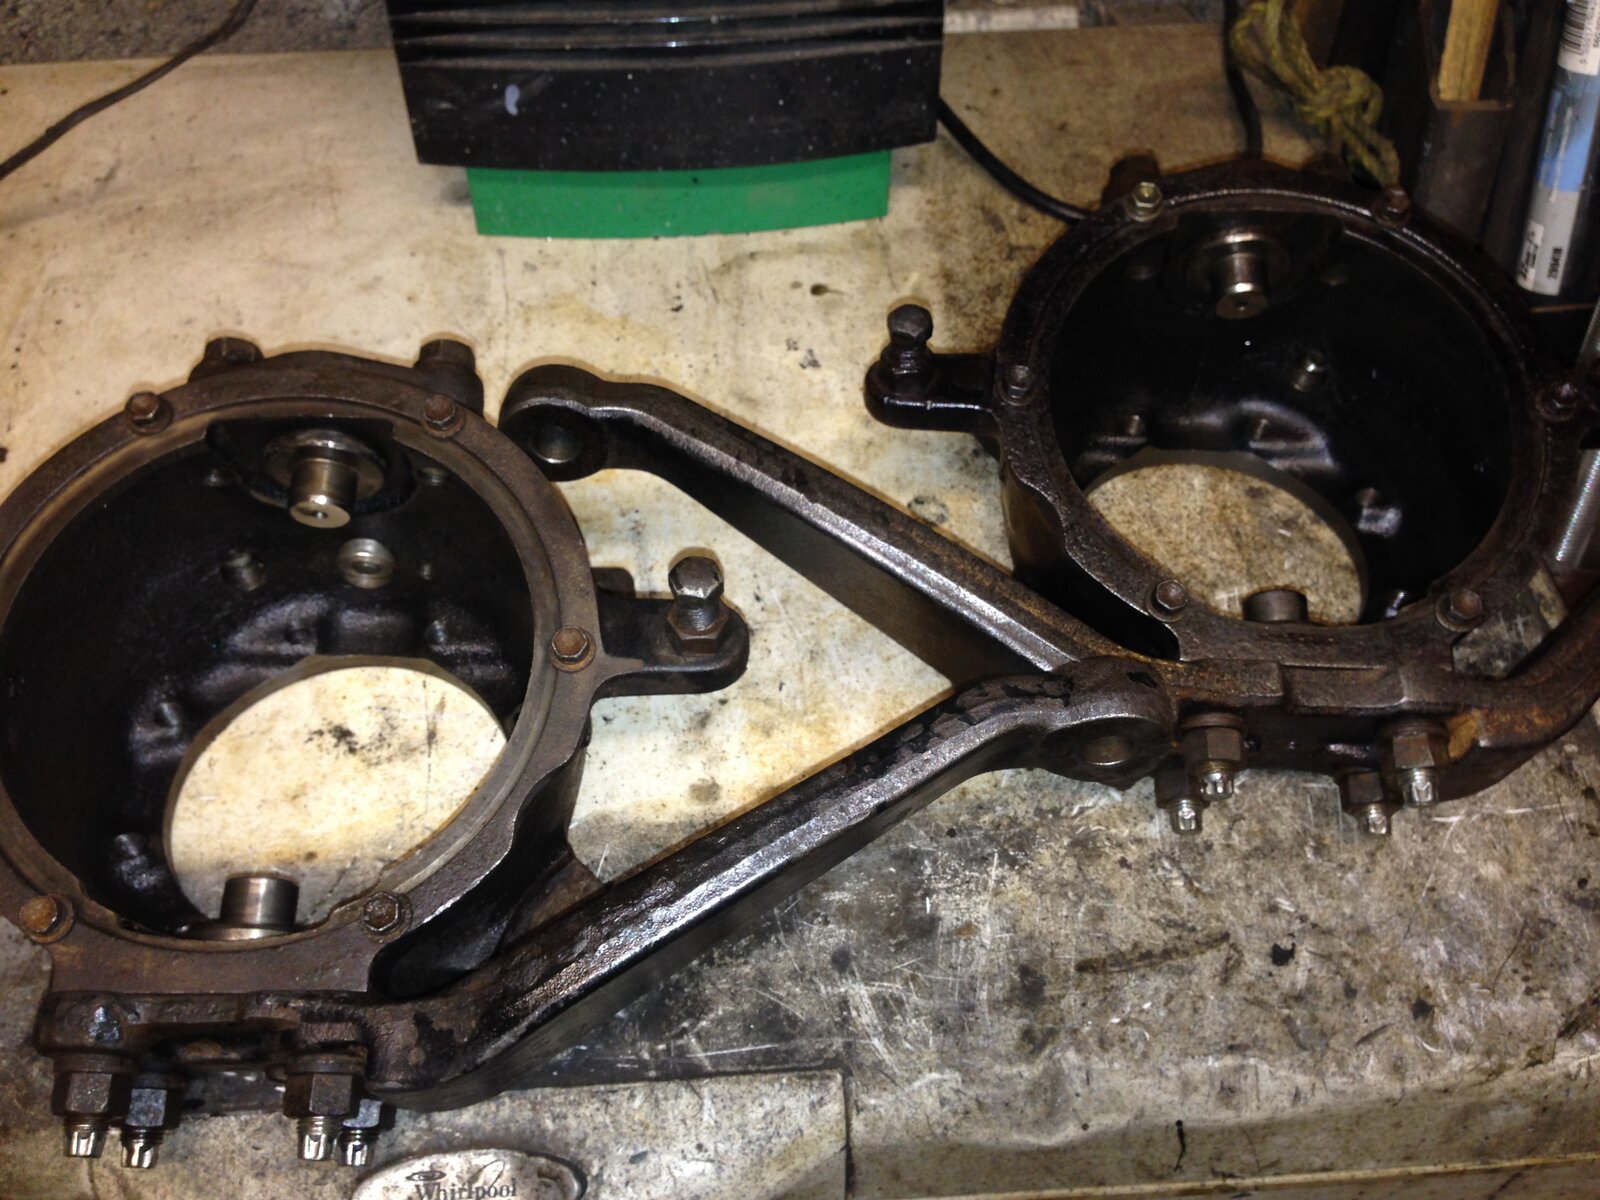
Cones, washers and nuts all cleaned and checked. Arms back on finger tight for now. And here’s the housings ready to be re fitted.
The problem with these big old beasts is that as they get older proper paid for maintenance just makes less and less economic sense to many owners. They reach a point where main agent work is a distant dream. This is where people then start to care less and will use self tappers in a hub or chisels to tightnen nuts. And there are worse examples that that, we all know. There is a sense of pride in doing this work properly and carfully. Each time I do one, I feel as though I have saved it from the hands of more bodging. 80s rock and are of course the greatest Landcruiser ever made. Even in that gold colour.
Part III coming soon. Like at the weekend when I pull the front diff
Well it made YOU look.

For those of you tackling this for the first time, I really would suggest that you do it on a Saturday. A Sunday build is pretty advanced really it’s pushing the boundaries of 80 series maintenance.
Part I
First thing was to get the wheels off whilst the oil drained. Looked OK ish I suppose but pretty dirty. Nothing really on the drain plug.

All of OK far. But hang on what’s this? Looks like Mr Chisel has been to visit at some point in the past. Bloody bodgers. Don’t know what I am going to find now. Feel like Indiana Jones and the garage of doom.

Stub axle looks fine, no scoring on there at all.

On with removing the stub axle only to find that the grease fairies have been and stolen all the grease that’s supposed to be in there. To be fair this stuff does migrate very slowly over time so it’s hardly surprising. No sign of oil in there which means that the oil seals have held up.

Here’s some of the grease in the Birfield. Not much but there is some. Now these CVs have not been clicking at all or anything untoward.

Now if you fix cars and you don’t have one of these in your garage get down to Machine Mart on a VAT free day and buy one. They’re about £40 and worth every penny.

CV washed out and dismembered. Some wear marks on the cage and some actually inside the cup. These are totally unbranded CVs. There isn’t a single identifying mark on them at all. So even cheaper than a Milner one! Oh well, better put it back together. Might need those.


Back to the axle end. Oil seal pulled and cannon ball cleaned up nice and spotless.


For portable cleaner, Jizer is your friend.

Races for the swivel bearings were knocked out. Now to be fair, they weren’t too bad. The top ones were alright but the bottom ones had some Brinelling and were mostly stuck in the straight ahead position as usual. But this is a full strip down, so into the bin with them.

Here’s the hub on the bench ready for a clean and inspect, but before that, it’s time to get the discs off and get these bad boys on. Nitrac grooved specimens.


Part II
This section covers the swivel hub casting preparation. Now, the original casting really were pretty grotty and having spare castings on the shelf I reckoned I’d take a short cut at this point. This didn’t turn out quite as I planned.
Original casting yuk.

Spares marginally better.

These were ABS castings so I needed to machine up some plugs to blank off the holes.

So with the castings cleaned up I put in some new studs. As these are so critical, I bought new ones and glued them in with stud lock. I had the casting heating all day in front of a fan heater so that the reaction would be complete. Went in fine all looking good. Then it all went pear shaped. One side was perfect. But the other ...

When I came to put the control arm back on the bottom of the swivel, the tops of the studs were miles out. I mean miles out. I removed the worst stud and it still wouldn’t go on. Then the next. Nope then the third stud and still no joy. After some measuring and messing around I found the holes were not in the right places. When I pulled the old studs out there were bent. I thought they had been the victims of some clumsy twat dropping the housing. No, they had been hammered to that position to get the arm on. Looking in side after a rigorous clean up, I could see damage in there and what I took to be cross threaded new tapping. I figure that in a previous life someone had these fall out as we know they can and fixed it with whatever they had to hand. This is why I have always advocated thread chasers and NOT taps for repairing threads. Get it cross threaded and you make yourself a new path. This casting is pretty much scrap. After all the time I put into it. No shortcuts with this – these studs could cost you your life.

So back to the grotty original. One of the reasons I wanted to avoid this one was there was a problem with one of the 6 x 6mm tappings in the back face where the wiper seals bolt on. Someone had used a self tapper in the hole but not before they had clearly tried to drill out a broken stud first. The drill had skidded off and gone sideways into the casting.

A visit to Mr Miller sorted this. I was going to drill it, until I realised what was in there. I used a flat milling bit to cut down vertically through the damage and remnants of the bolt. The nice thing with the miller set up is that you can drill then set up a tap in exactly the same place and get a perfectly vertical entry. Ooer. Apologies to Tom Daly.


All sorted and a new bolt in place with plenty of thread depth.

All the threaded holes have been cleaned out, washed with brake cleaner and blasted with air. Putting this lot back together is going to be sheer joy.

Cones, washers and nuts all cleaned and checked. Arms back on finger tight for now. And here’s the housings ready to be re fitted.

The problem with these big old beasts is that as they get older proper paid for maintenance just makes less and less economic sense to many owners. They reach a point where main agent work is a distant dream. This is where people then start to care less and will use self tappers in a hub or chisels to tightnen nuts. And there are worse examples that that, we all know. There is a sense of pride in doing this work properly and carfully. Each time I do one, I feel as though I have saved it from the hands of more bodging. 80s rock and are of course the greatest Landcruiser ever made. Even in that gold colour.
Part III coming soon. Like at the weekend when I pull the front diff
Last edited:


