Don't like the adverts?  Click here to remove them

60 series build

All good stuff Moggy, you should be as proud as punch with that truck :thumbup:

I'm no safety freak, but when my daughter is with me offroad, I'm always concerned. She's bumped her head a few times on the side windows in the back, little 'uns just aren't accommodated very well in cars generally, despite efforts with booster seats and the like.

Those 3 point harnesses are just great, I remember ours from the old 12-car rally days. Might consider an install myself.
 
Hi Andy, it looks great, a real top job:icon-biggrin:. Just a couple of Q's, whats the ride like on the new suspension and does it feel any different on the 4.1:1 diffs, ie do they compensate for the bigger tyres and extra weight?

Andy
 
Hi Andy, the ride is suprisingly good, even with no load in, better than the Milner standard rated springs it had on before.

The diffs are bang on. The speedo reads spot on suggesting the ratios are exactly right, good advice!!:thumbup:
 
That is simply one of the best 60's I have seen, and in the best colour for an overland build. Liking the other touches, like black bonnet, etc

AWESOME!!!
 
Good progress, I seem to have missed this build report
Nice to see a 60 In such good condition


Sent from my iPhone using Tapatalk
 
Don't like the adverts?  Click here to remove them
Wow, nice presentation and very well done. Thanks for sharing.
 
That's a beautiful machine Moggy, and well done on the resto. An excellent piece of work.
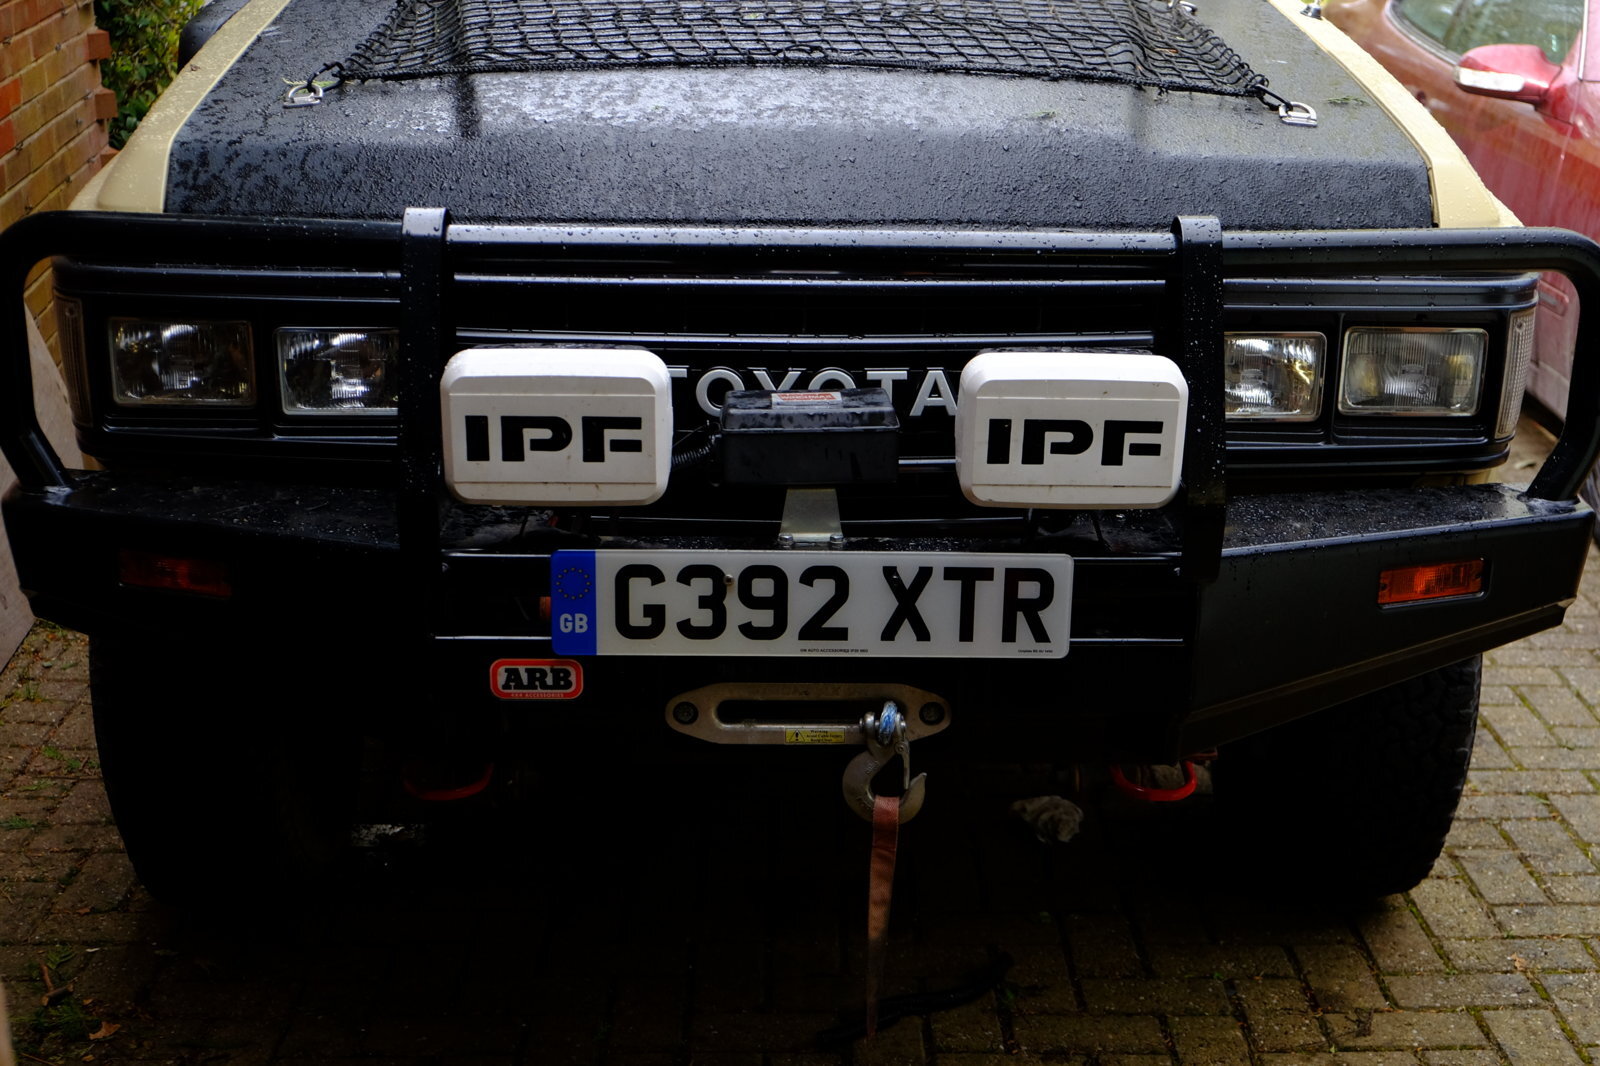
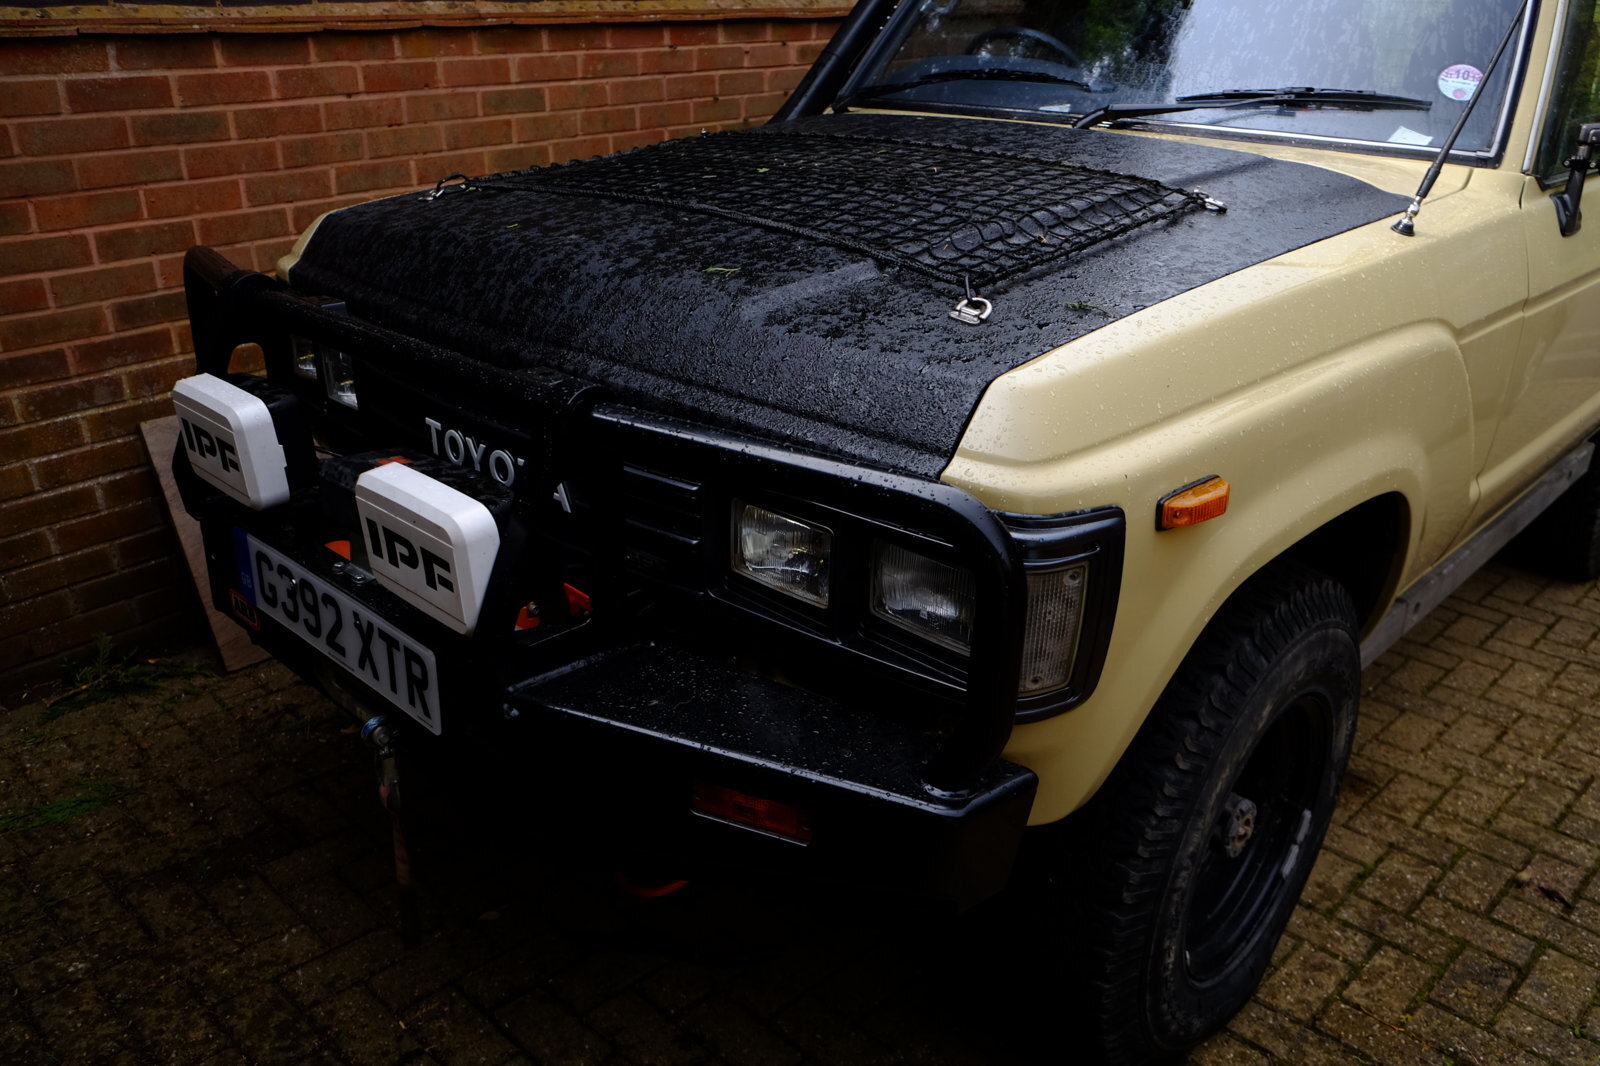
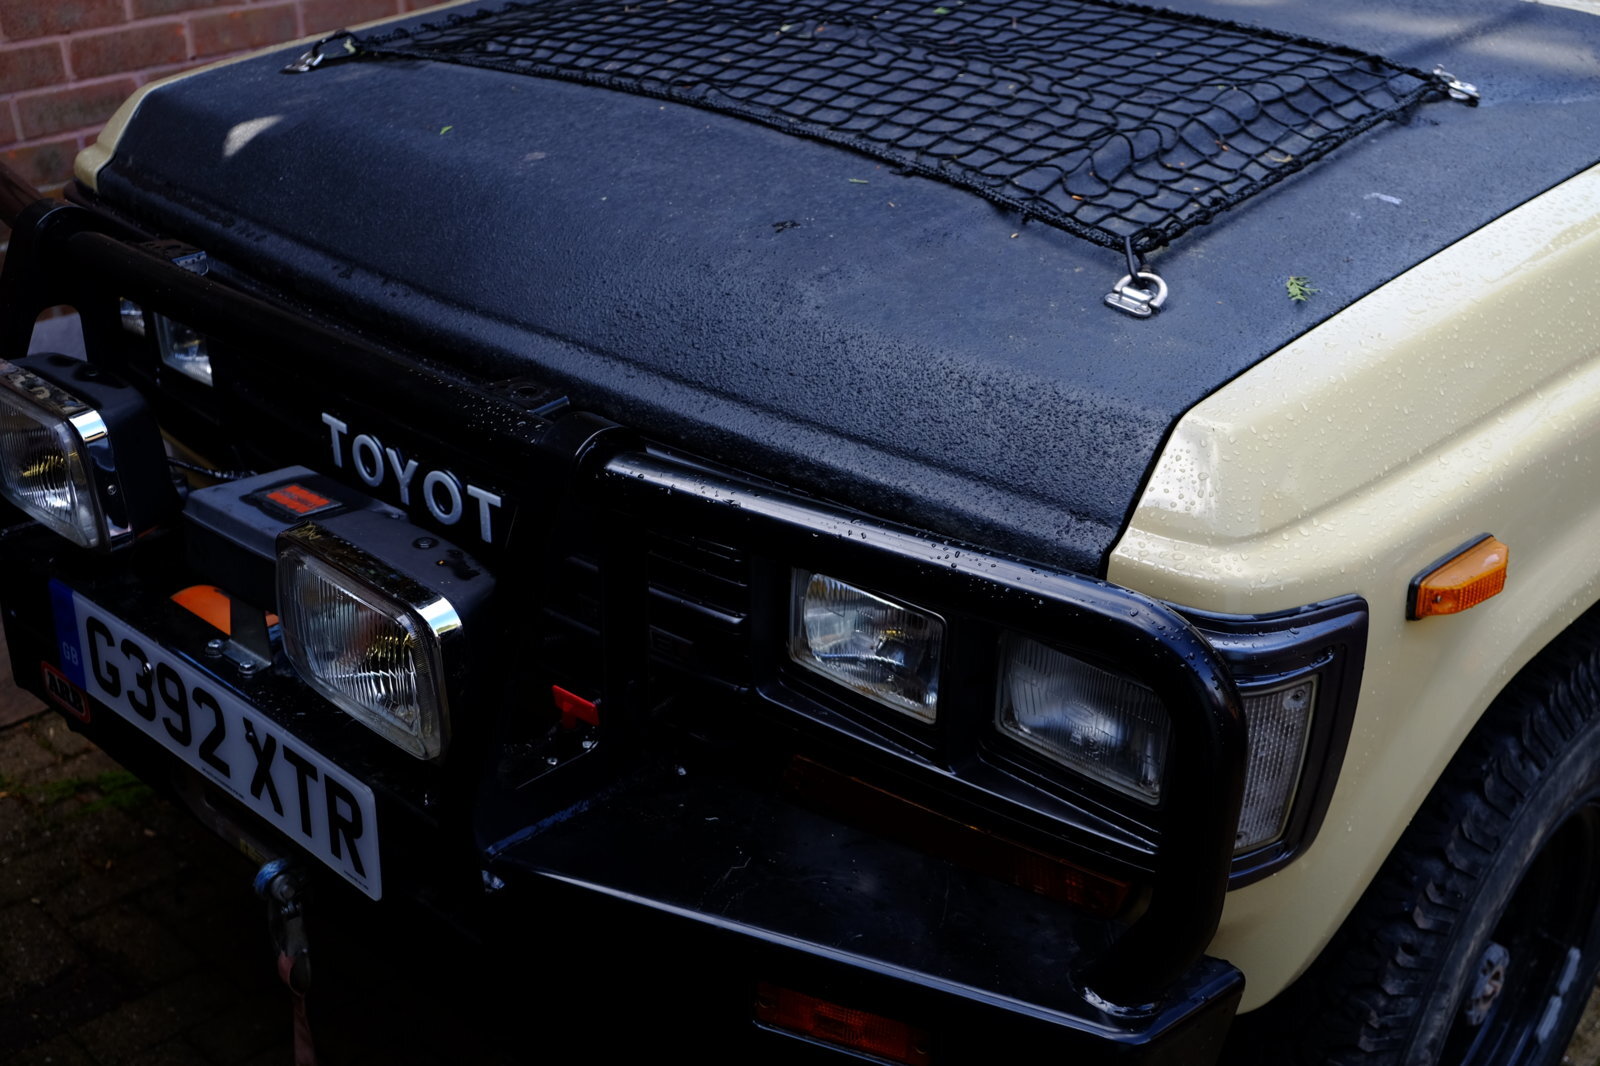
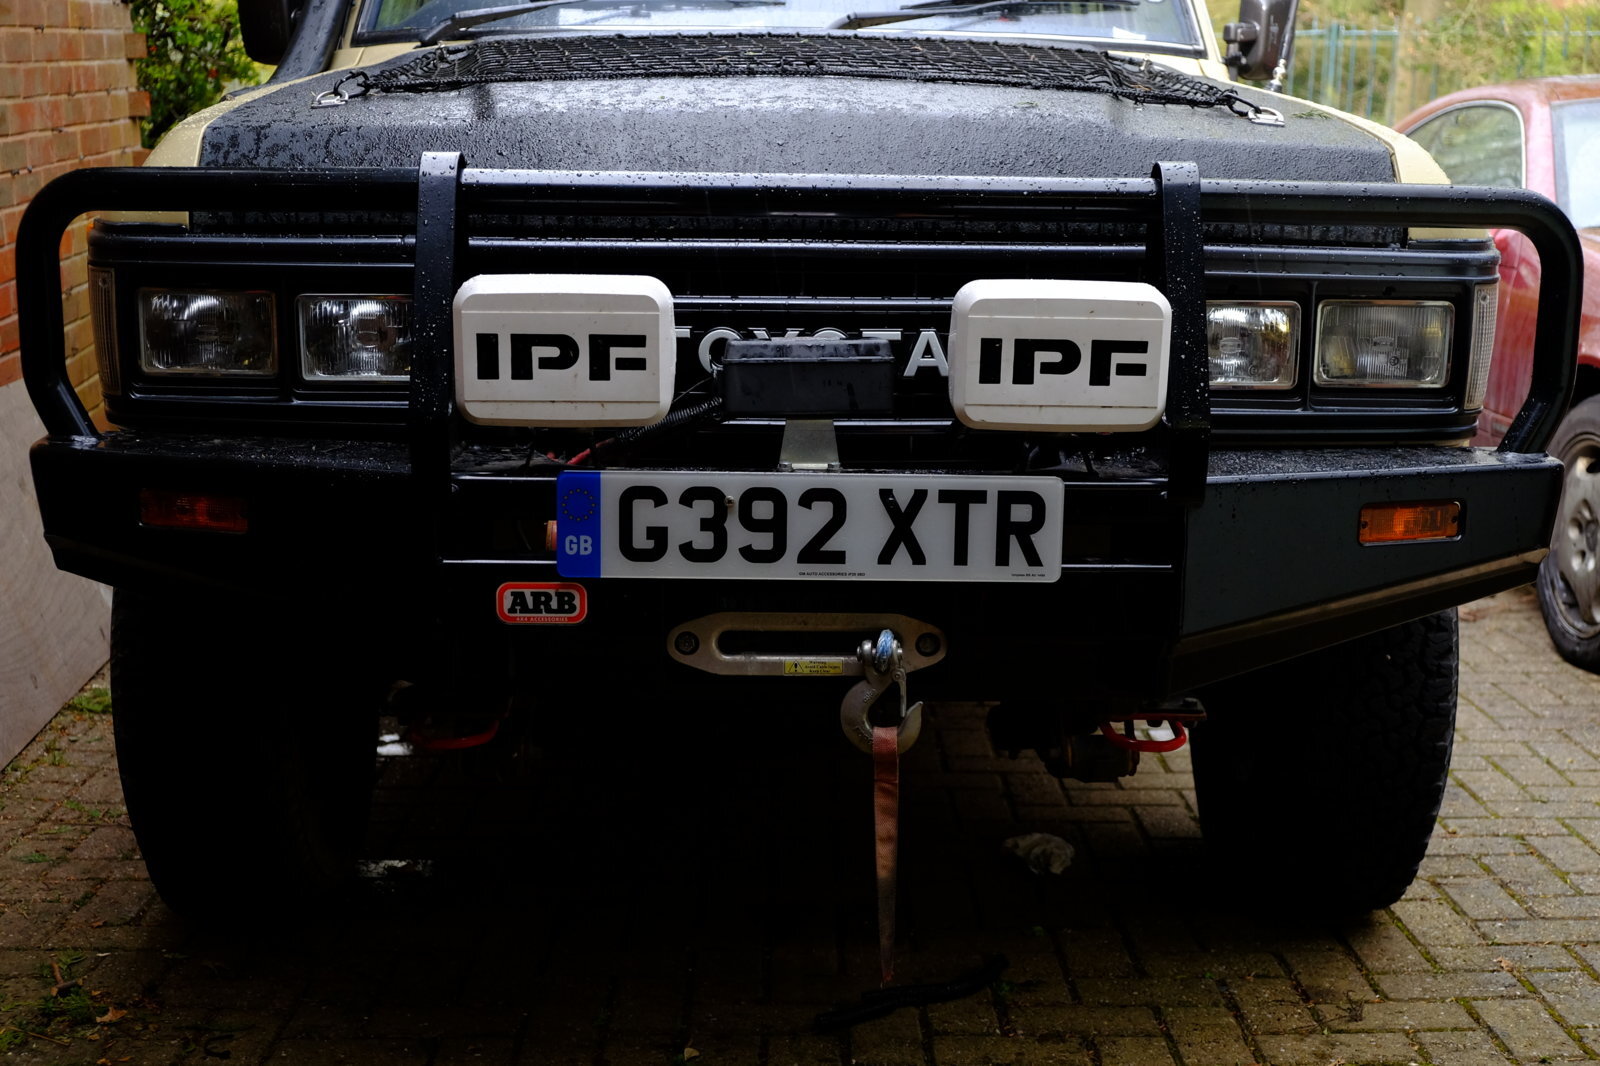
2 Qs: - what is the function of the netting on the bonnet?; and why that colour choice for the bonnet?
 
That's a beautiful machine Moggy, and well done on the resto. An excellent piece of work.
2 Qs: - what is the function of the netting on the bonnet?; and why that colour choice for the bonnet?


when we drove to the Gambia we were ridiculously overloaded with school books for a charity. running in soft sand we were constantly having to tow each other out and it was a real pain constantly attaching and detaching the ropes so the idea of the netting is you can leave the rope connected and just stash it under the net, saves putting shitty ropes back in the vehicle as well:thumbup:

I then painted the bonnet in black stonechip, partly for protection from shackles etc and partly to stop reflection in strong sun. during the resto though the guys found this paint, which is used to paint the walkways of oilrigs and trawlers!! it's got shredded tyre rubber in it. It's not the most cosmetic solution, but is very practical, and the truck is supposed to be designed as a practical expedition vehicle.
 
So, truck is in having some underbody protection fitted. While it was there, they thought they would test the flex

flex%20max%202_zpsoe3awoxn.jpg


flex%20max_zpspiohoyms.jpg


Not bad for a leafer!!
 
If you have a look in 4x4 magazine this month you'll find this wholesome beauty on the pages in between

001_zps7f6edlgf.jpg


002_zpslsdle3ch.jpg
 
Holy thread resurrection batman!!
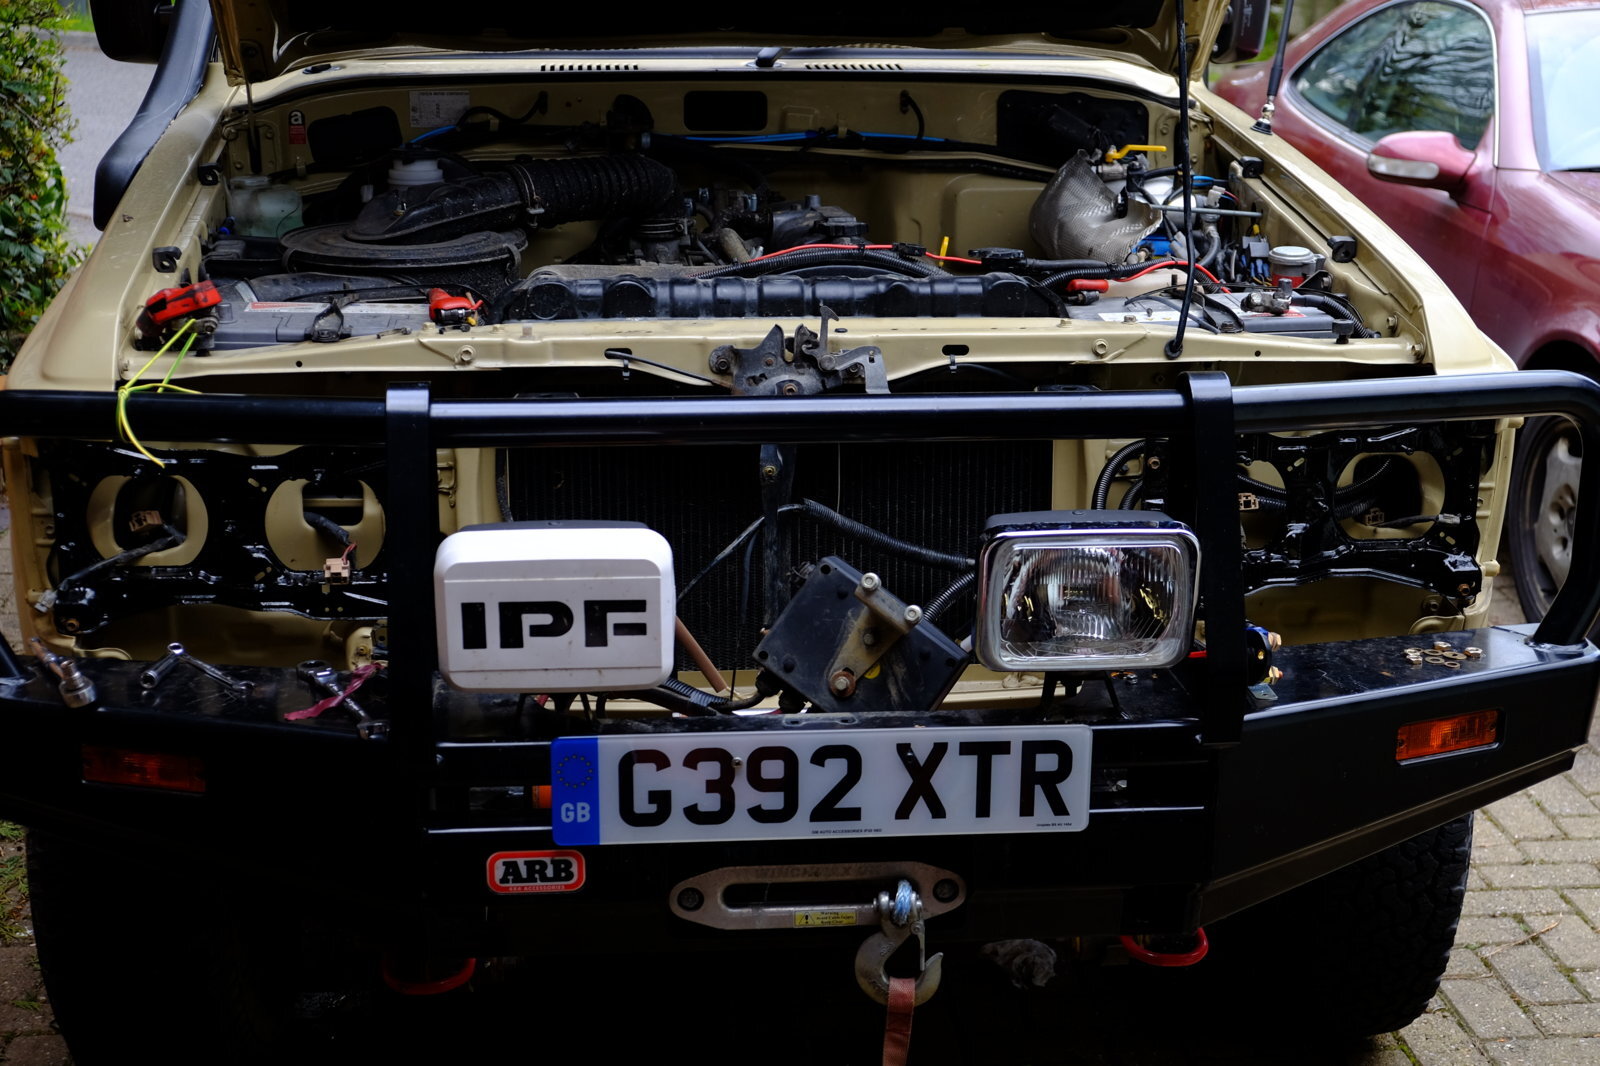
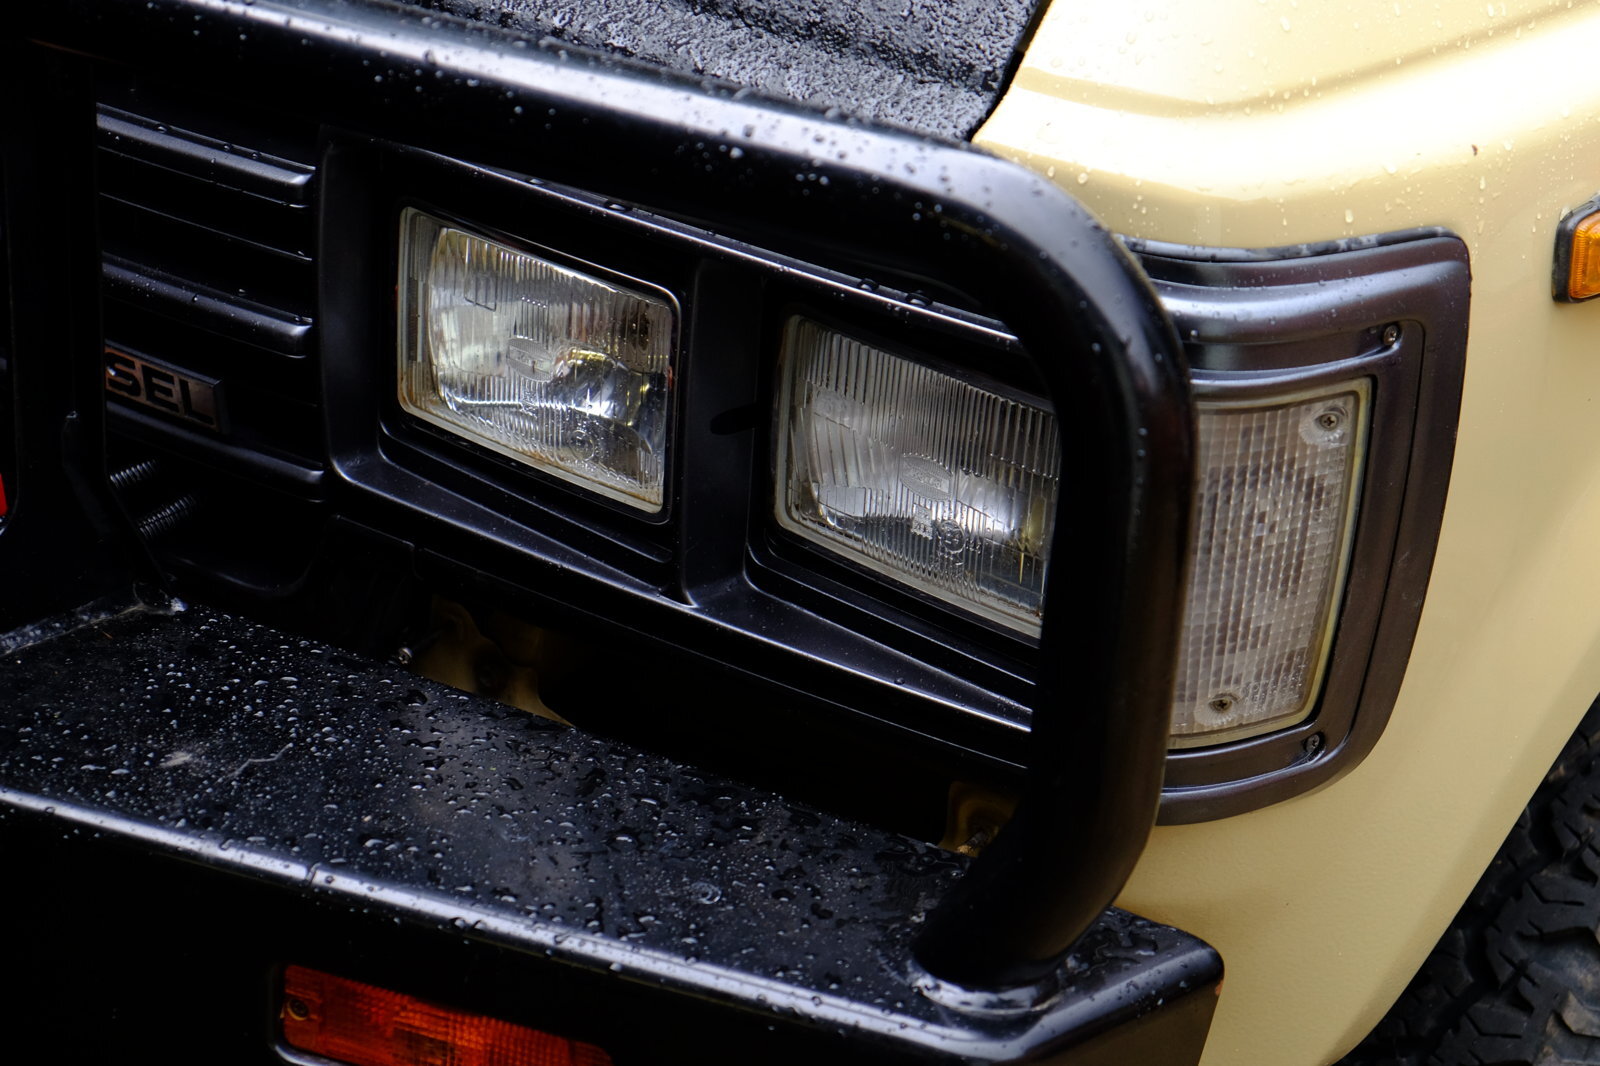
Well, since the rebuild the state of the front end has been bugging me, let the car down a bit. For some reason (probably 'cos they forgot!) the plates the lights mount to weren't painted. They were covered in rust and although you don't see them usually, it was bugging the shite out of me and you know what rust is like, it spreads. Also the chrome (well, coated plastic) light doors were looking really shabby with all the chrome peeling off. At 360euros, yes, three fucking hundred and sixty euros!!!! for a pair of genuine Toyota replacements, I figured I might as well try and make the ones I've got decent. Along with that of course, the grill needs doing as well.
FullSizeRender (94).jpg


FullSizeRender (95).jpg


This is all a bit of a bigger job than it might appear as the electrics for the spots, winch and ignition isolator all go through the grill so the first job was to dismantle all that shit!!, then you find other things like there is a small earth wire goes through the grill to the winch control box and is bolted through the casing to the inside, so that also had to be dismantled, which you can only do by removing it from the winchbar. I also wasted lots of time trying, unsuccessfully to get the locking pins out of the nuts for the spots. In the end I decided to just cut the cable and then bullet connect it back together. When I pulled the trunking back to get access, I found they were already connected with bullet connectors. I was pissed off and relived in equal measure!!

FullSizeRender 101.jpg
 
So, once all the electrics were stripped out, which took a while I could start the dismantling.
Light doors first. Typically, nothing is ever simple. I removed three screws on each light door but it was obvious something was still holding them in somewhere. Of course, the manual was no fucking use on that but eventually I worked out there must be one behind the now redundant indicator lenses, so they had to come off, which was a bitch because the winch bar is in the way, and one of the screw heads was mullered, but once they were removed I found the last screw and managed to remove them

FullSizeRender (92).jpg
FullSizeRender (93).jpg

Here's the backing plates after the light doors have been removed. The blob of paint is so I know how far I have to screw in the adjuster screws so I don't (hopefully) need to get the lights realigned
FullSizeRender (89).jpg


FullSizeRender (97).jpg
 
After some rigorous work with the right hand, and a bit of sanding, it was time for the painting to commence.

FullSizeRender (90).jpg


I had some isopon rust eating primer handy, so although these are plastic, I used that, which may not have been a good idea as it might have attacked the plastic! Anyway, I got away with it but it has the consistency of water which made it a bitch to spray. In retrospect I would have used a filler primer which probably would have also given a better finished effect, but heyho. The colour I chose is a genuine Toyota colour. Can't remember the name of it but it's a dark gunmetal grey. For the backing plates I wasn't so bothered about a nice finish so I used a tin of Hammerite smooth I already had and some rust eating primer.
After several days of painting (and three rattle cans of top coat!!), here's everything ready for refitting. While I've got the front end in bits, I figured I might as well replace the pathetic horns, so I've got a couple of 24v truck ones which should scare the bejesus out of anyone who gets in my way!!

DSCF3009.JPG


The new colour closely matches the original colour of the grill surround, but not perfectly and the grill was looking a little scabby anyways so that also got repainted and the lettering redone

FullSizeRender (99).jpg


Then, it's reassembly time!!
DSCF3018.JPG


DSCF3021.JPG


The green stickers, in case your wandering, are labels for the lights so I put them back in the right place!!
Then the radiator grill and light doors, then remove the light doors again after realising that you have to screw the sidelights in from the rear!!
Then feed all the electrics through the grill, connect it all up and voila!!! View attachment 87937 DSCF3012.JPG DSCF3027.JPG DSCF3030.JPG DSCF3033.JPG DSCF3048.JPG DSCF3045.JPG
 
Last edited:
Great job Moggy! Over the years the front grill etc does age. Good to see the 60 again! :hearteyecat::hearteyecat::thumbup::thumbup:
 
Still catching up with this thread. Very cool indeed.
 
Good to resurrect this thread, Moggy, and a great job done on the lights and grille. It looks better in gunmetal / black than chrome, makes the (almost) unique 4 lamp config more noticeable.

Like it :thumbup:
 
A lovely job there Moggy. I am new on here and the areas of interest are uncannily like mine !!
Similarly the front bumper is also on my shopping list but it will have to wait.

Are you considering an aftermarket turbo addition if you cant get a 12HT?
 
A lovely job there Moggy. I am new on here and the areas of interest are uncannily like mine !!
Similarly the front bumper is also on my shopping list but it will have to wait.

Are you considering an aftermarket turbo addition if you cant get a 12HT?
Young Mr Lomas on here has been trying to persuade me on that (he has a turbo kit available) but I feel for my useage (remote expeditions) stock is generally better. The 12HT underwent a lot of revisions before Toyota saw fit to turbo it. There must have been a reason for that.

I think for the UK and Europe it would be fine, but not for the kind of thing I have in mind.
 
Back
Top