Don't like the adverts?  Click here to remove them

Annoying Vibration at 1500 RPM

It would be nice to find out. like your noise its only when in gear and under load bang on 1500 revs. its similar to the noise i had in the landcruiser colorado which is the spring stretch mod that something to do with the fuel return (if im remebering right) so im wondering if its possible something similar to this.
 
Ok LC PPL, here is the answer you have all been waiting for. Firstly I took LC to Mansfield 4x4 and they did some test drives with sound monitors and located a loose front exhaust heat shield. They revomed it as the mounting points were corroded but when I took the car I still had the vibros. However because the noise is so hard to located while moving I found a way to create it while stationary.

Engage drive, keep handbrake on and press brake pedal hard with left foot and then bring engine revs to 1500, thats the vibration sound we all hate. So with the Mansfield 4x4 man in the engine bay, I created the sound while he touched things and as soon as he touched the air filter box it stopped.

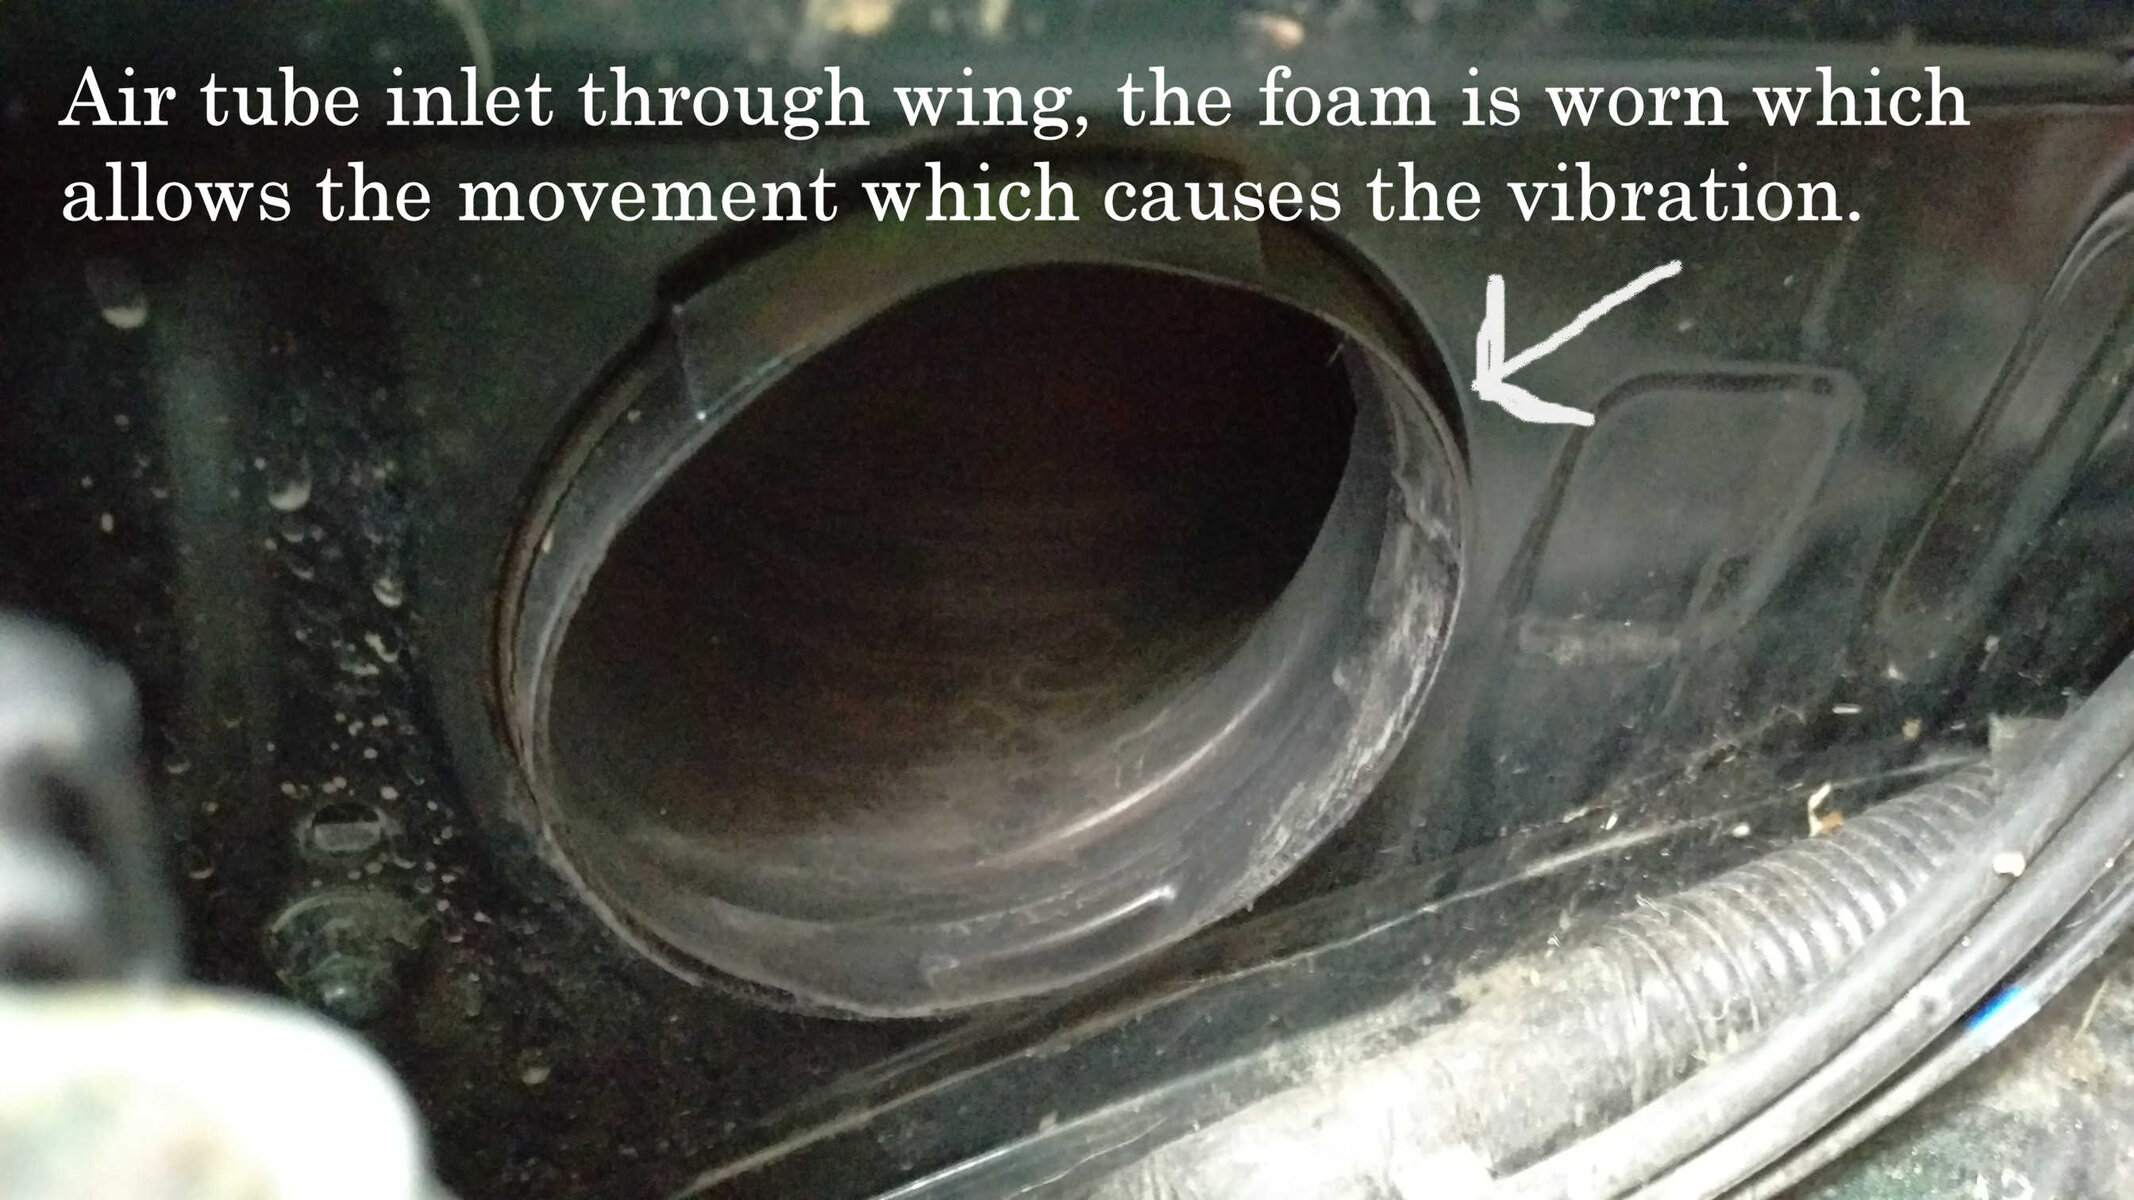
However, its not the box itself, it is where the air intake goes through the right inner wing which is why the noise is so amplified by the hollow space. Having confirmed the source of the noise, I will work on a fix and report back, in the mean time another internet search found these threads, which means it is a very common problem.

http://www.tlocuk.co.uk/forums/viewtopic.php?t=9702&sid=1b04de0976db08a9a078ba009decb2cf

http://www.pradopoint.com/archive/index.php/t-16917.html?

http://www.pradopoint.com/archive/index.php/t-22876.html?

I have an idea how to resolve this problem and will try tomoz if it stays dry, will take pictures and post, but just knowing what it is and that it is a common issue is already helping to calm my disapointment about it.
 
Ok, here it is, the final solution to that annoying vibration which is going to affect your Land Cruiser as some point and drive you nuts as well as embarrass you if you are trying to impress your passenger with how much better than a range rover your LC is.
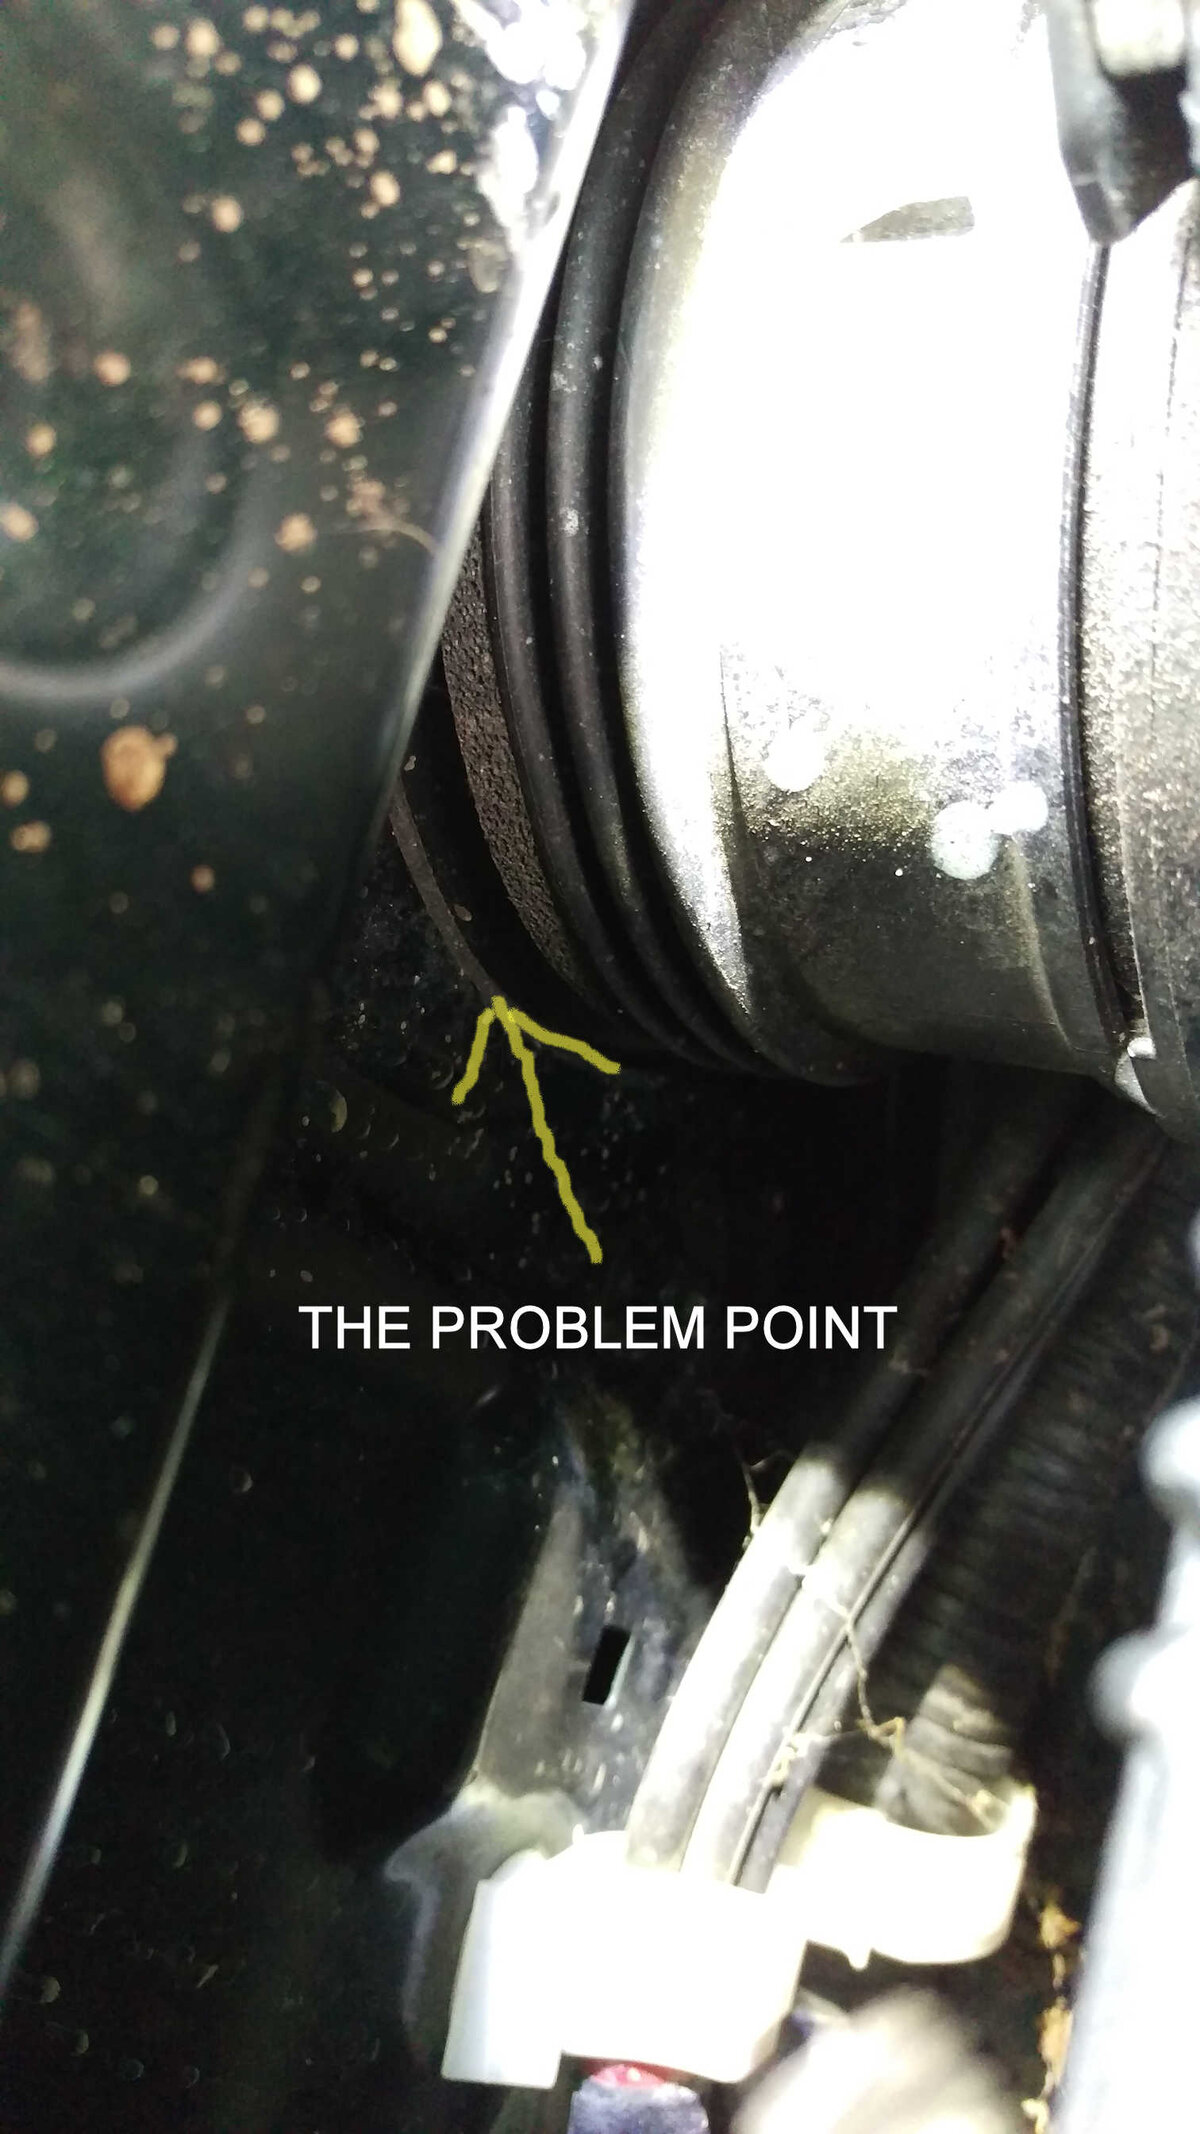
Vibro Point.jpg

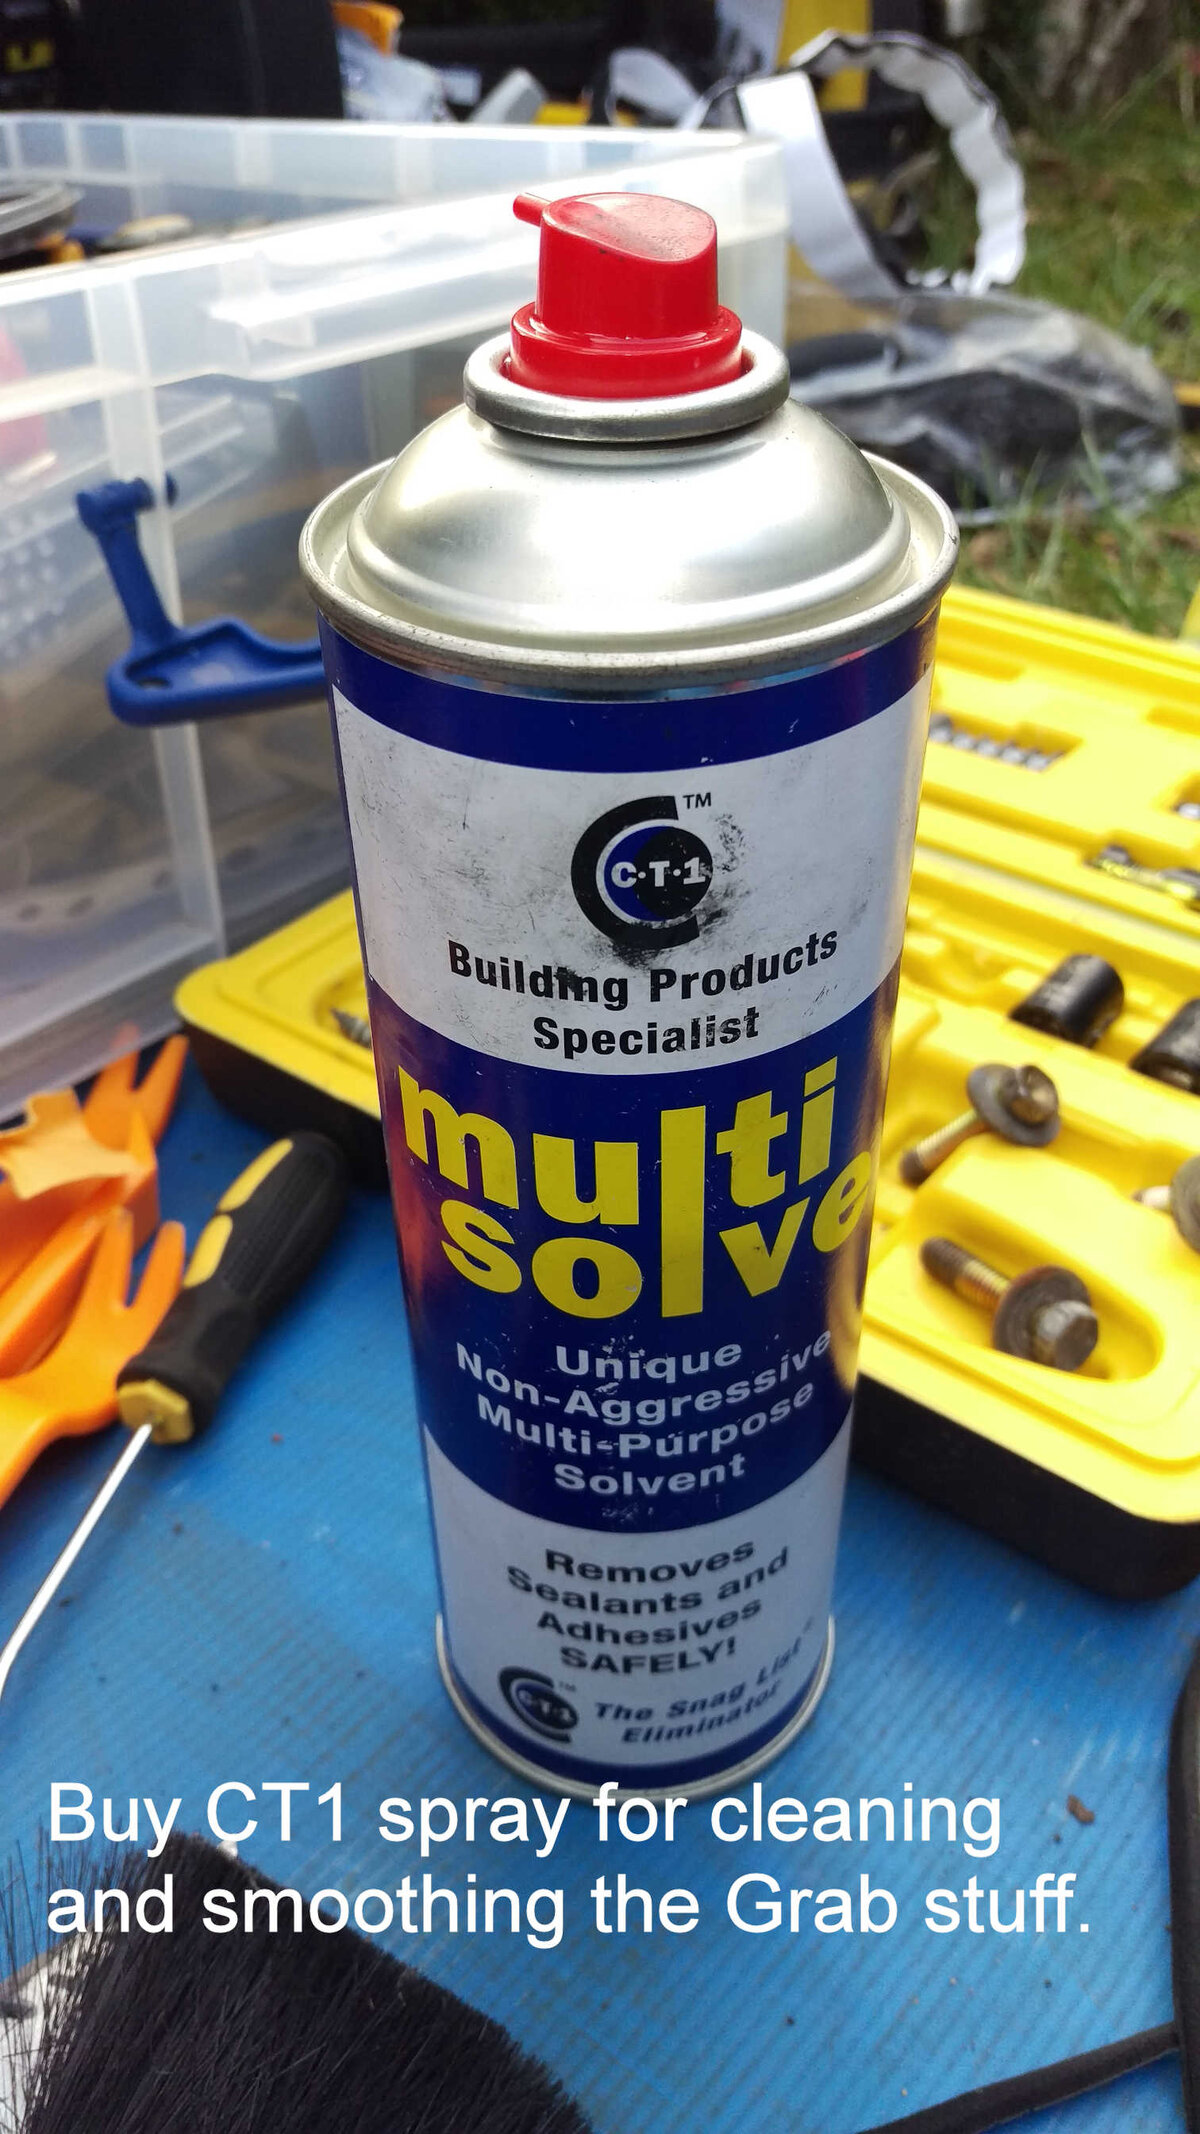
However before you begin this job, you need to buy some CT1 grab and bond and multi solve spray from somewhere like Rigeons builders merchants. You will also need some velcro (12") and some cable ties. It took me about three hours to complete this job because I had to discover how it all came apart as I went, however this guide should help you to save some time. You will need to be sure it is not likely to rain though unless you are lucky enough to have a large garage.
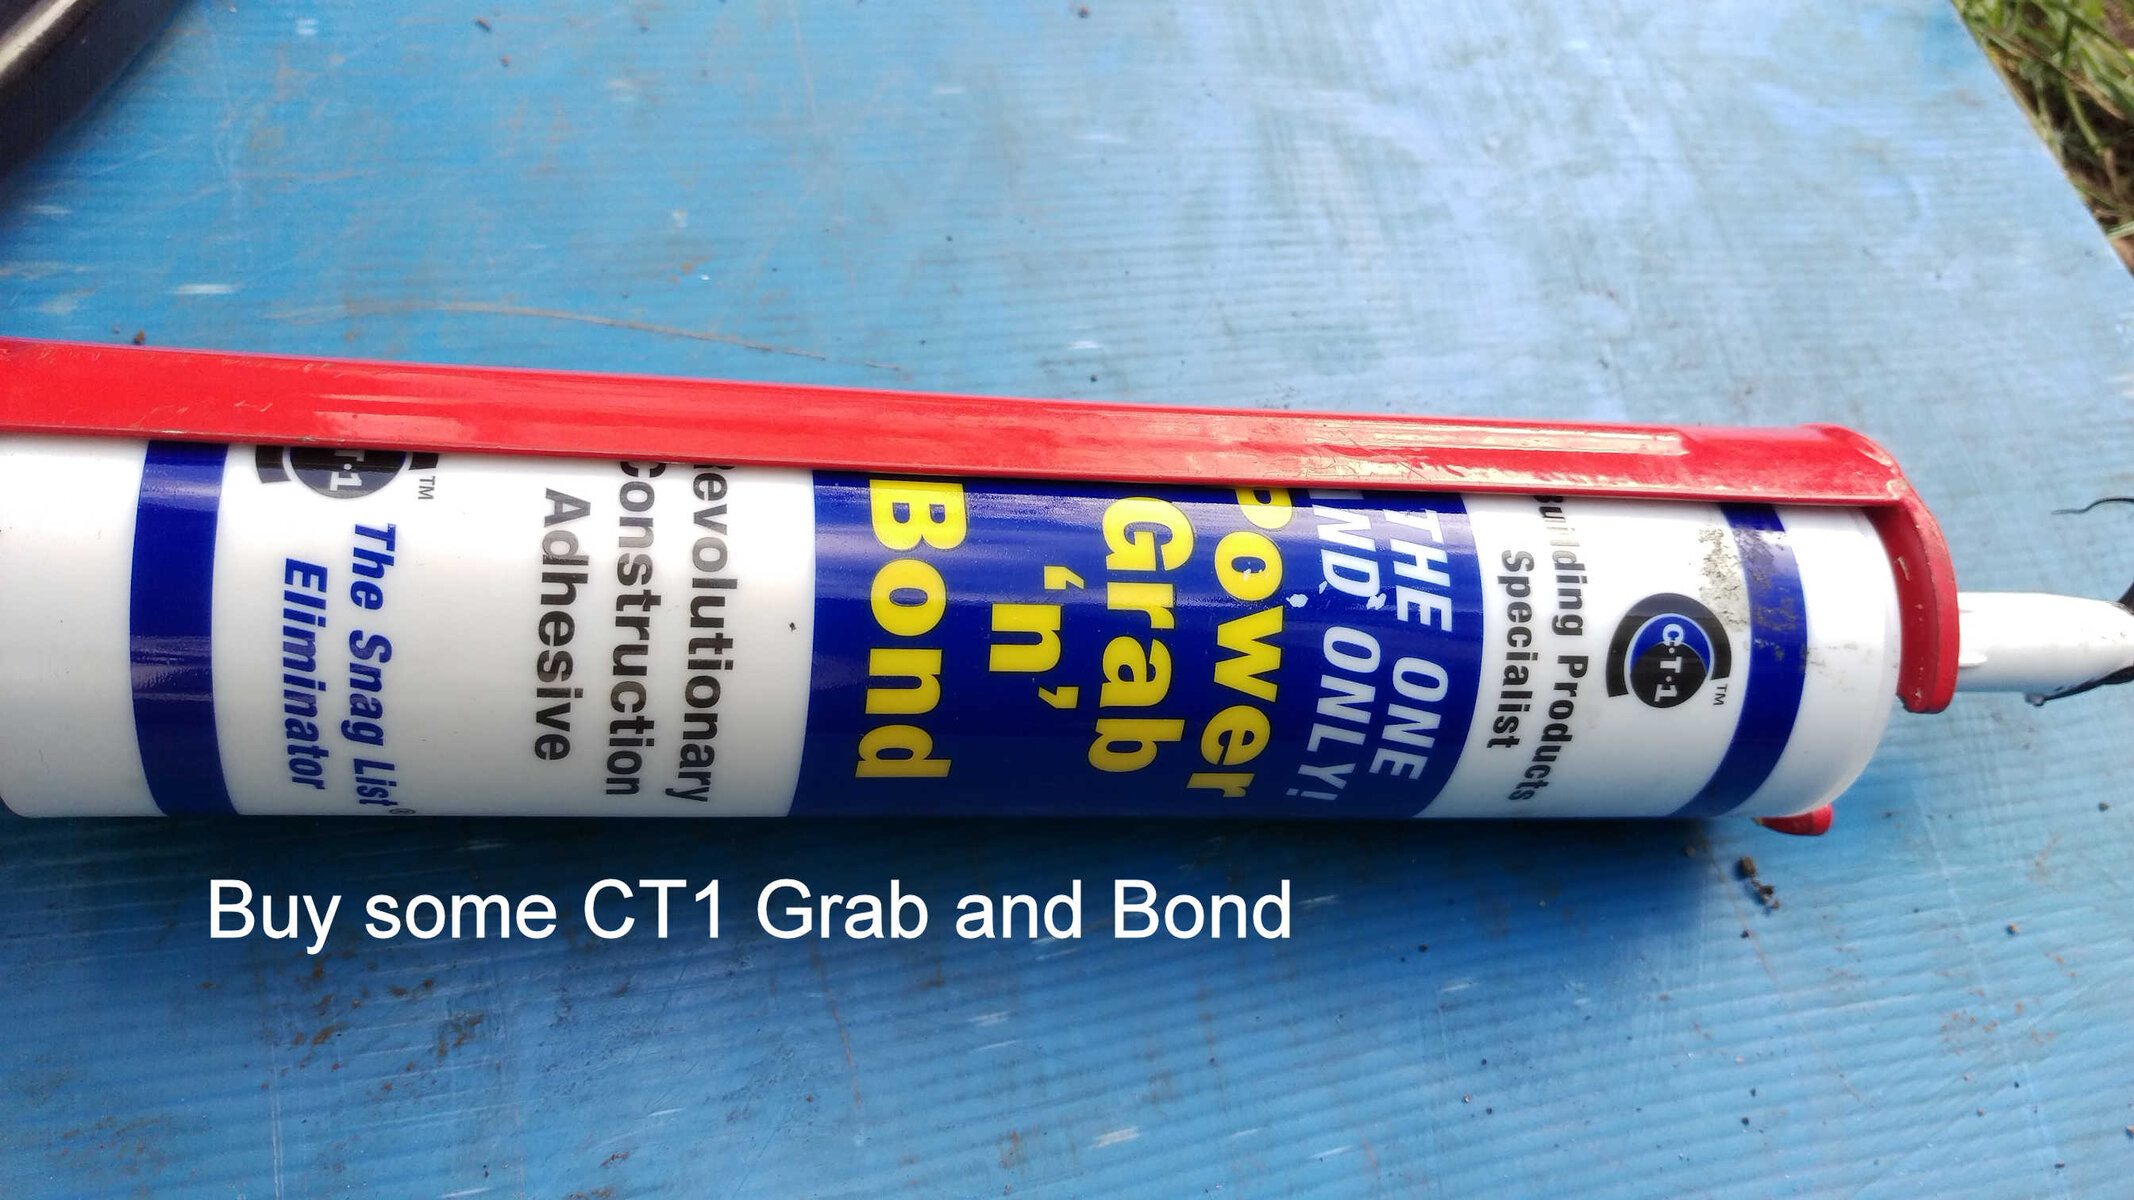
CT1 Grab.jpg CT1 Spray.jpg You will only use a bit for this job but it is so useful, that it is worth buying.


First unclip the top of the air filter box and remove the air filter. Then undo the three bolts which hold the air filter box in place.
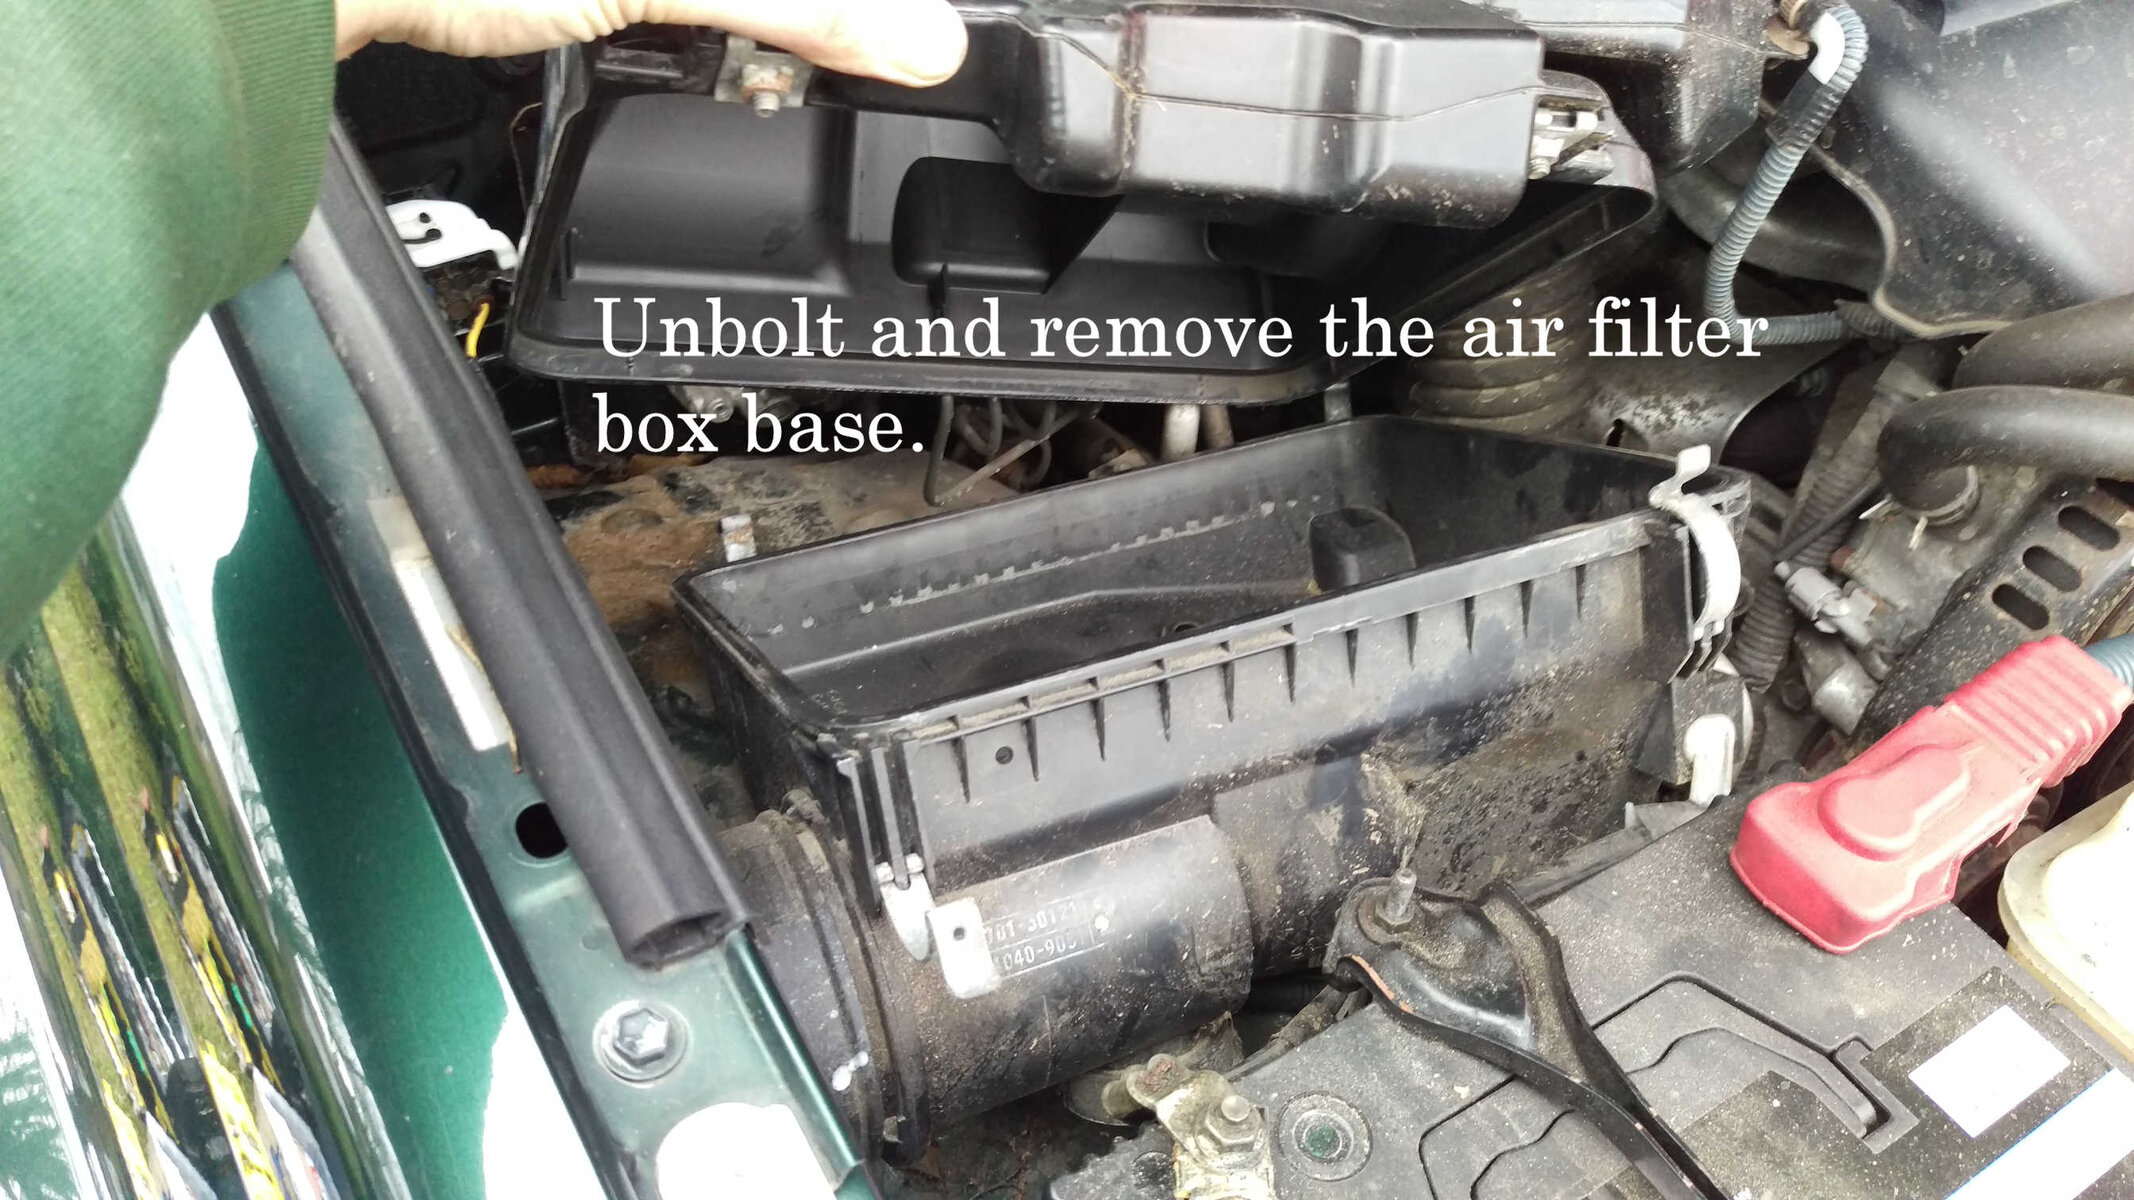
Air box unbolted.jpg

There is a cable running between the air box base and the battery which is attached to a bracket, you will need to release this cable from the bracket before you can then remove the air box base. Once you have removed the base you will have enough space to work in the engine bay.
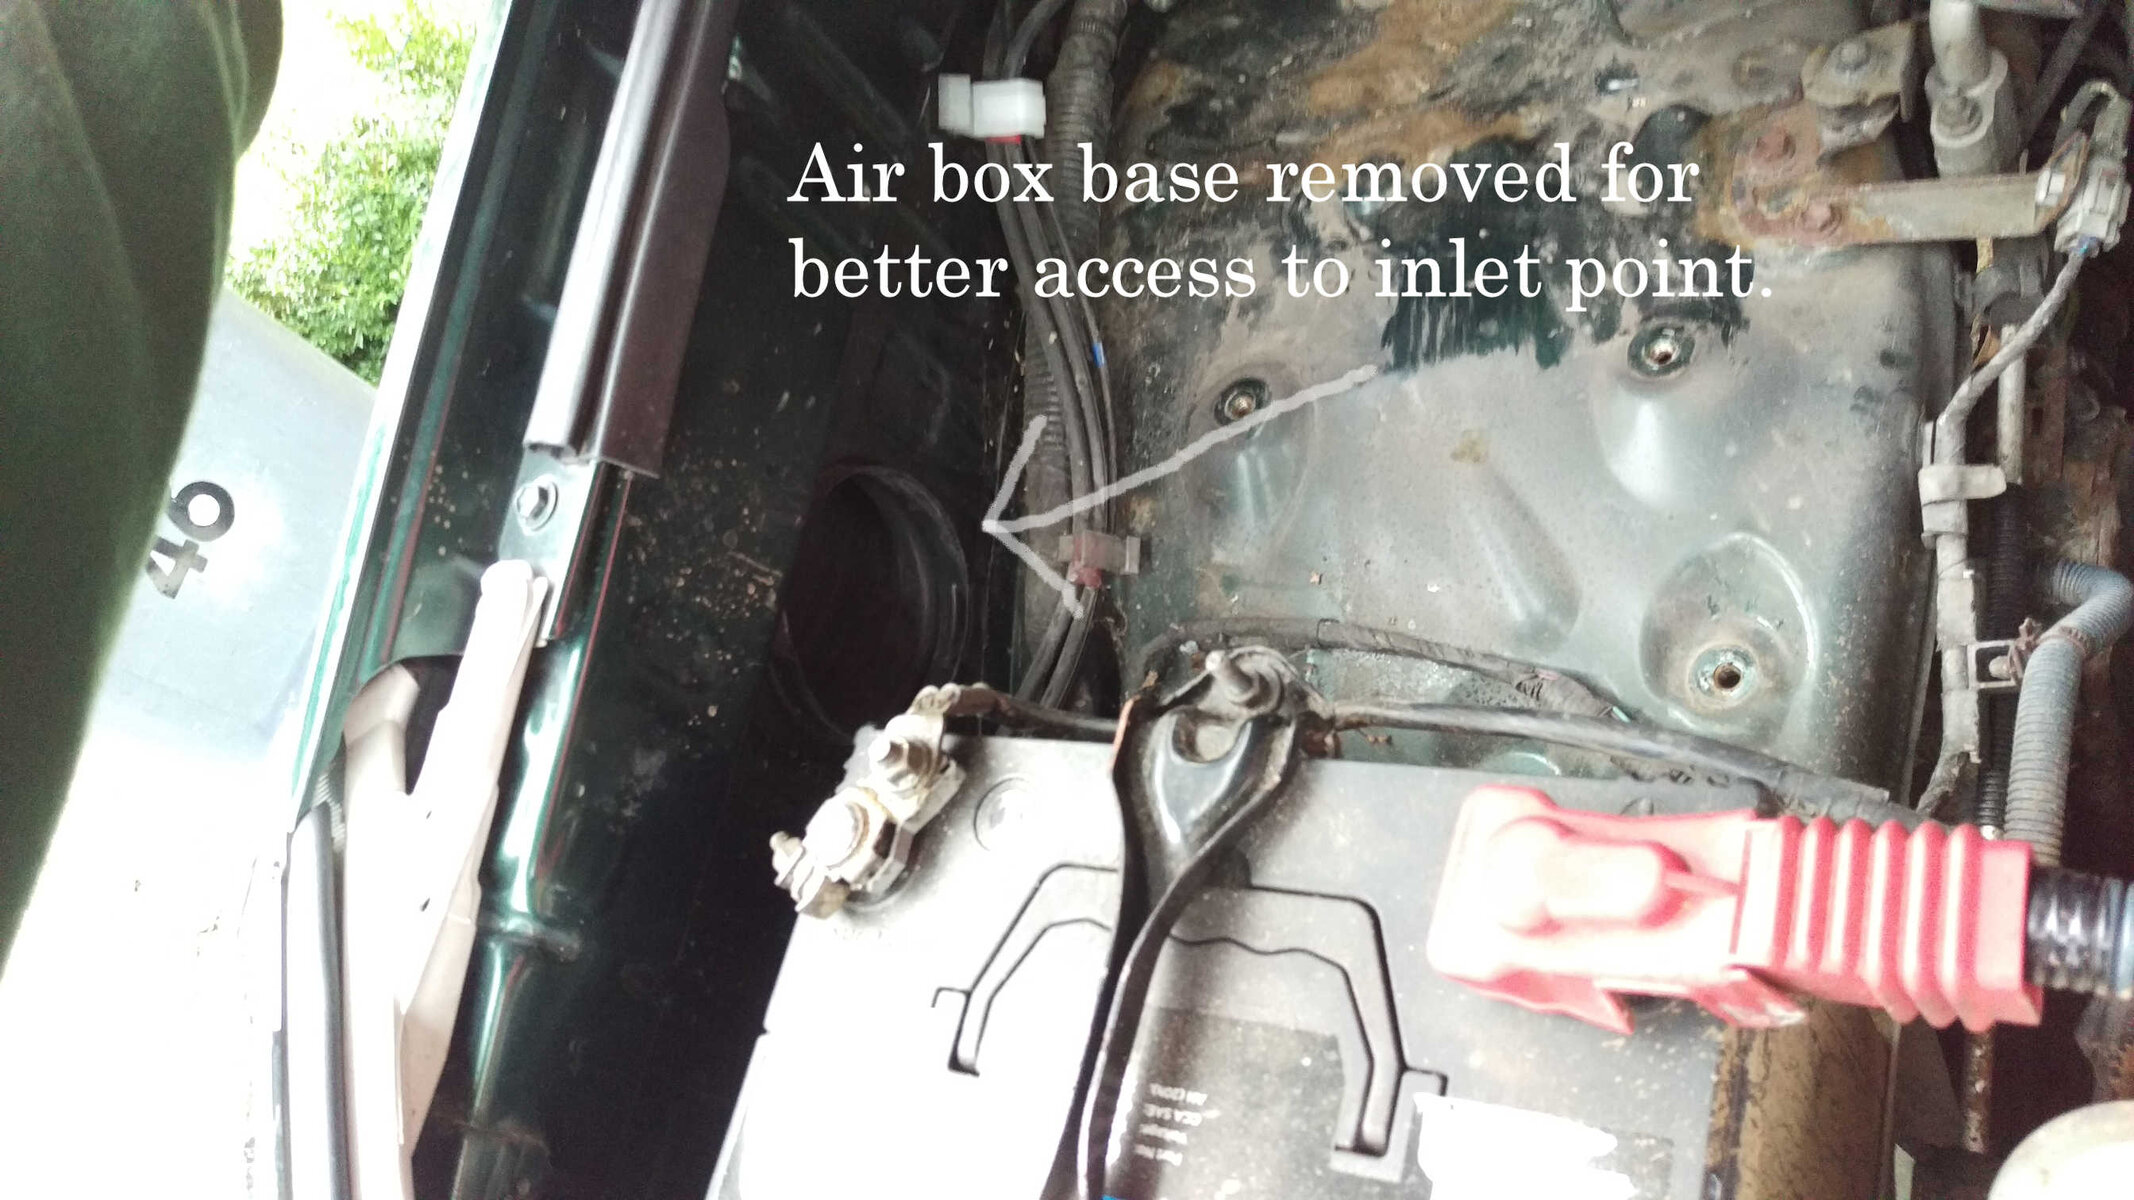
Air base out.jpg Air inlet gap.jpg

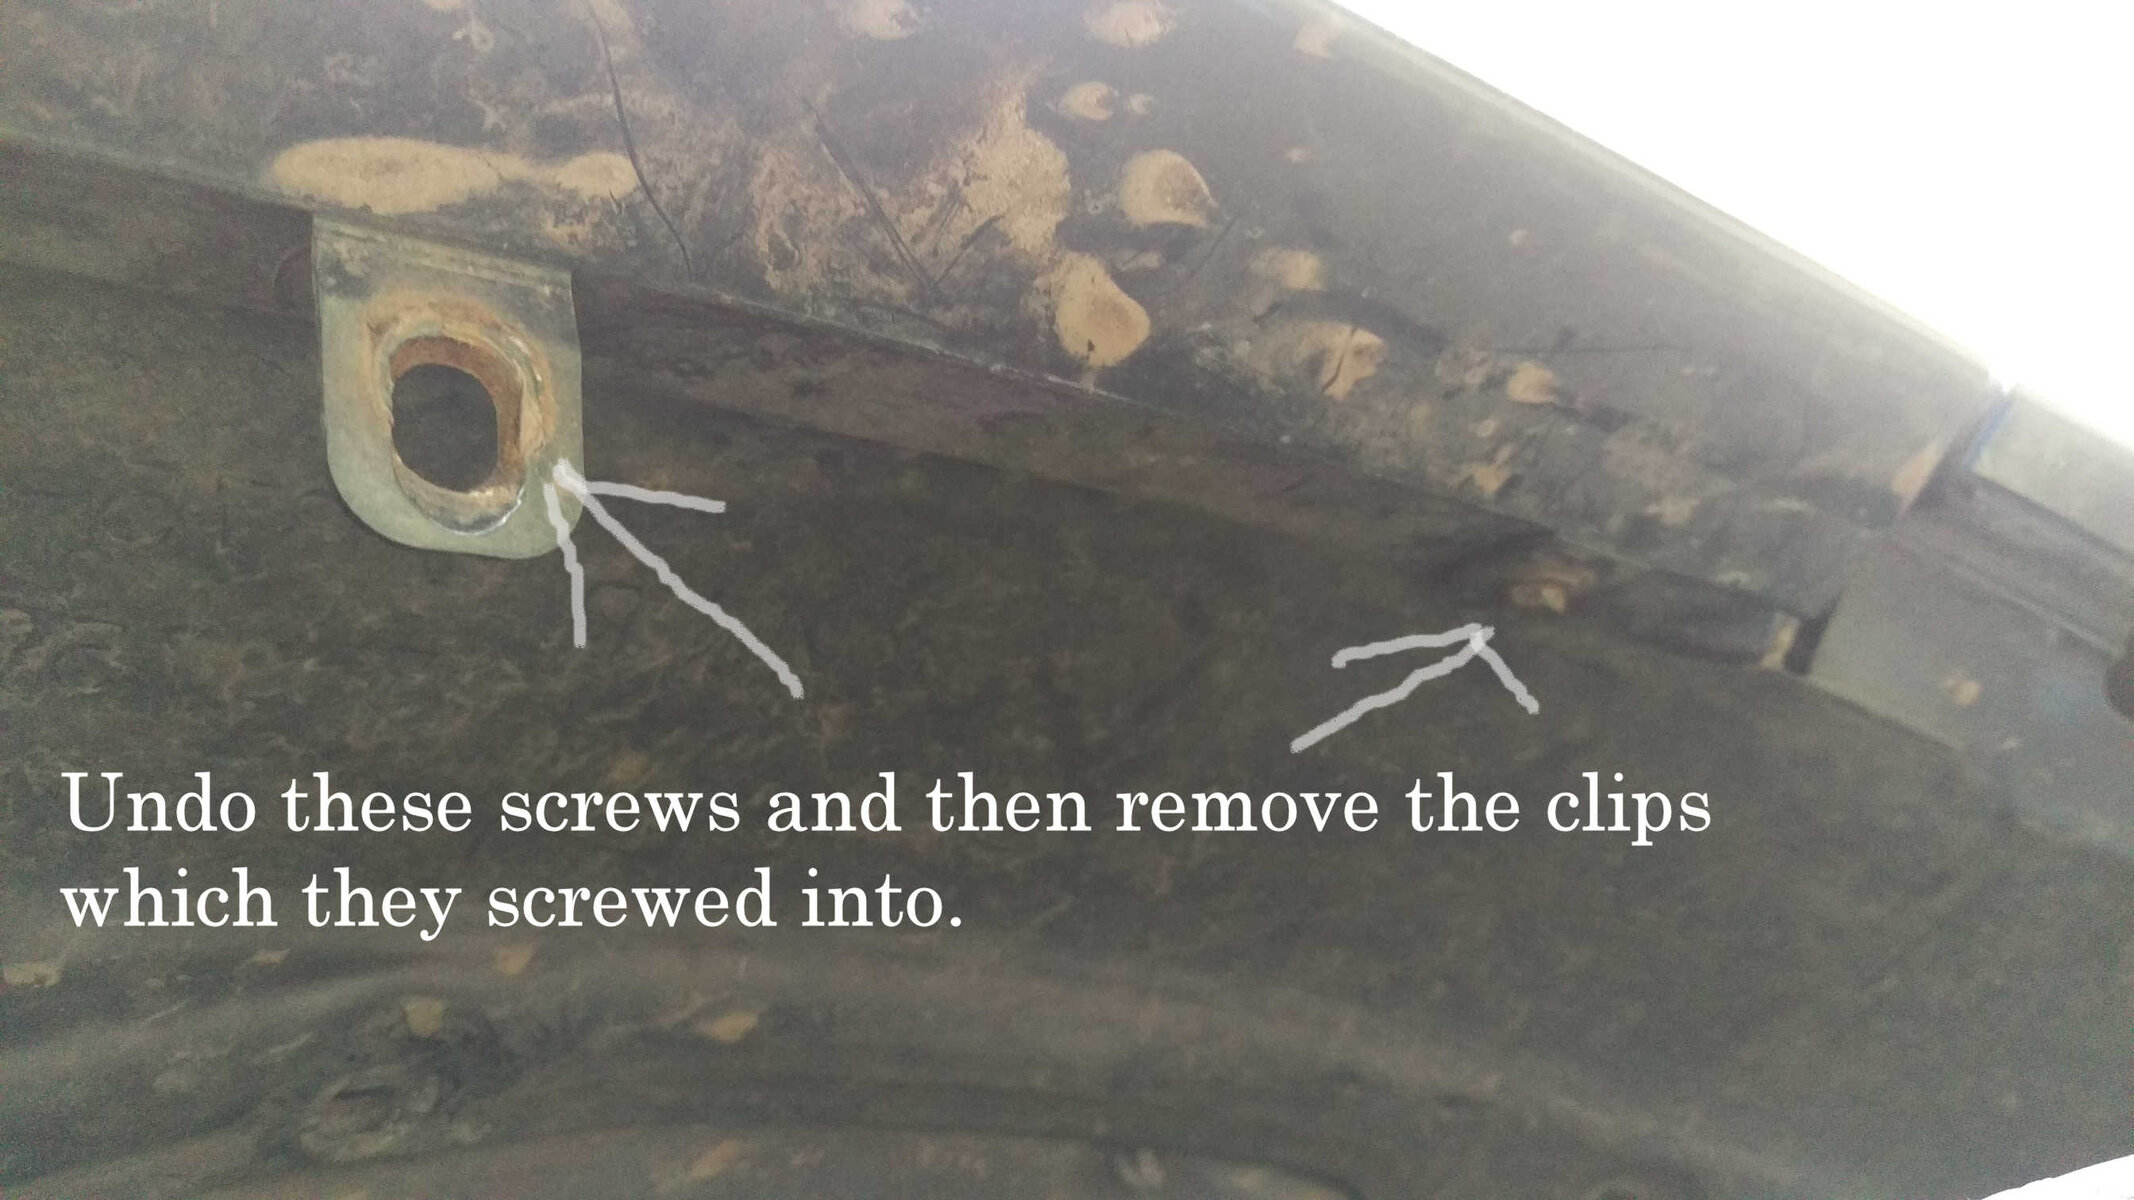
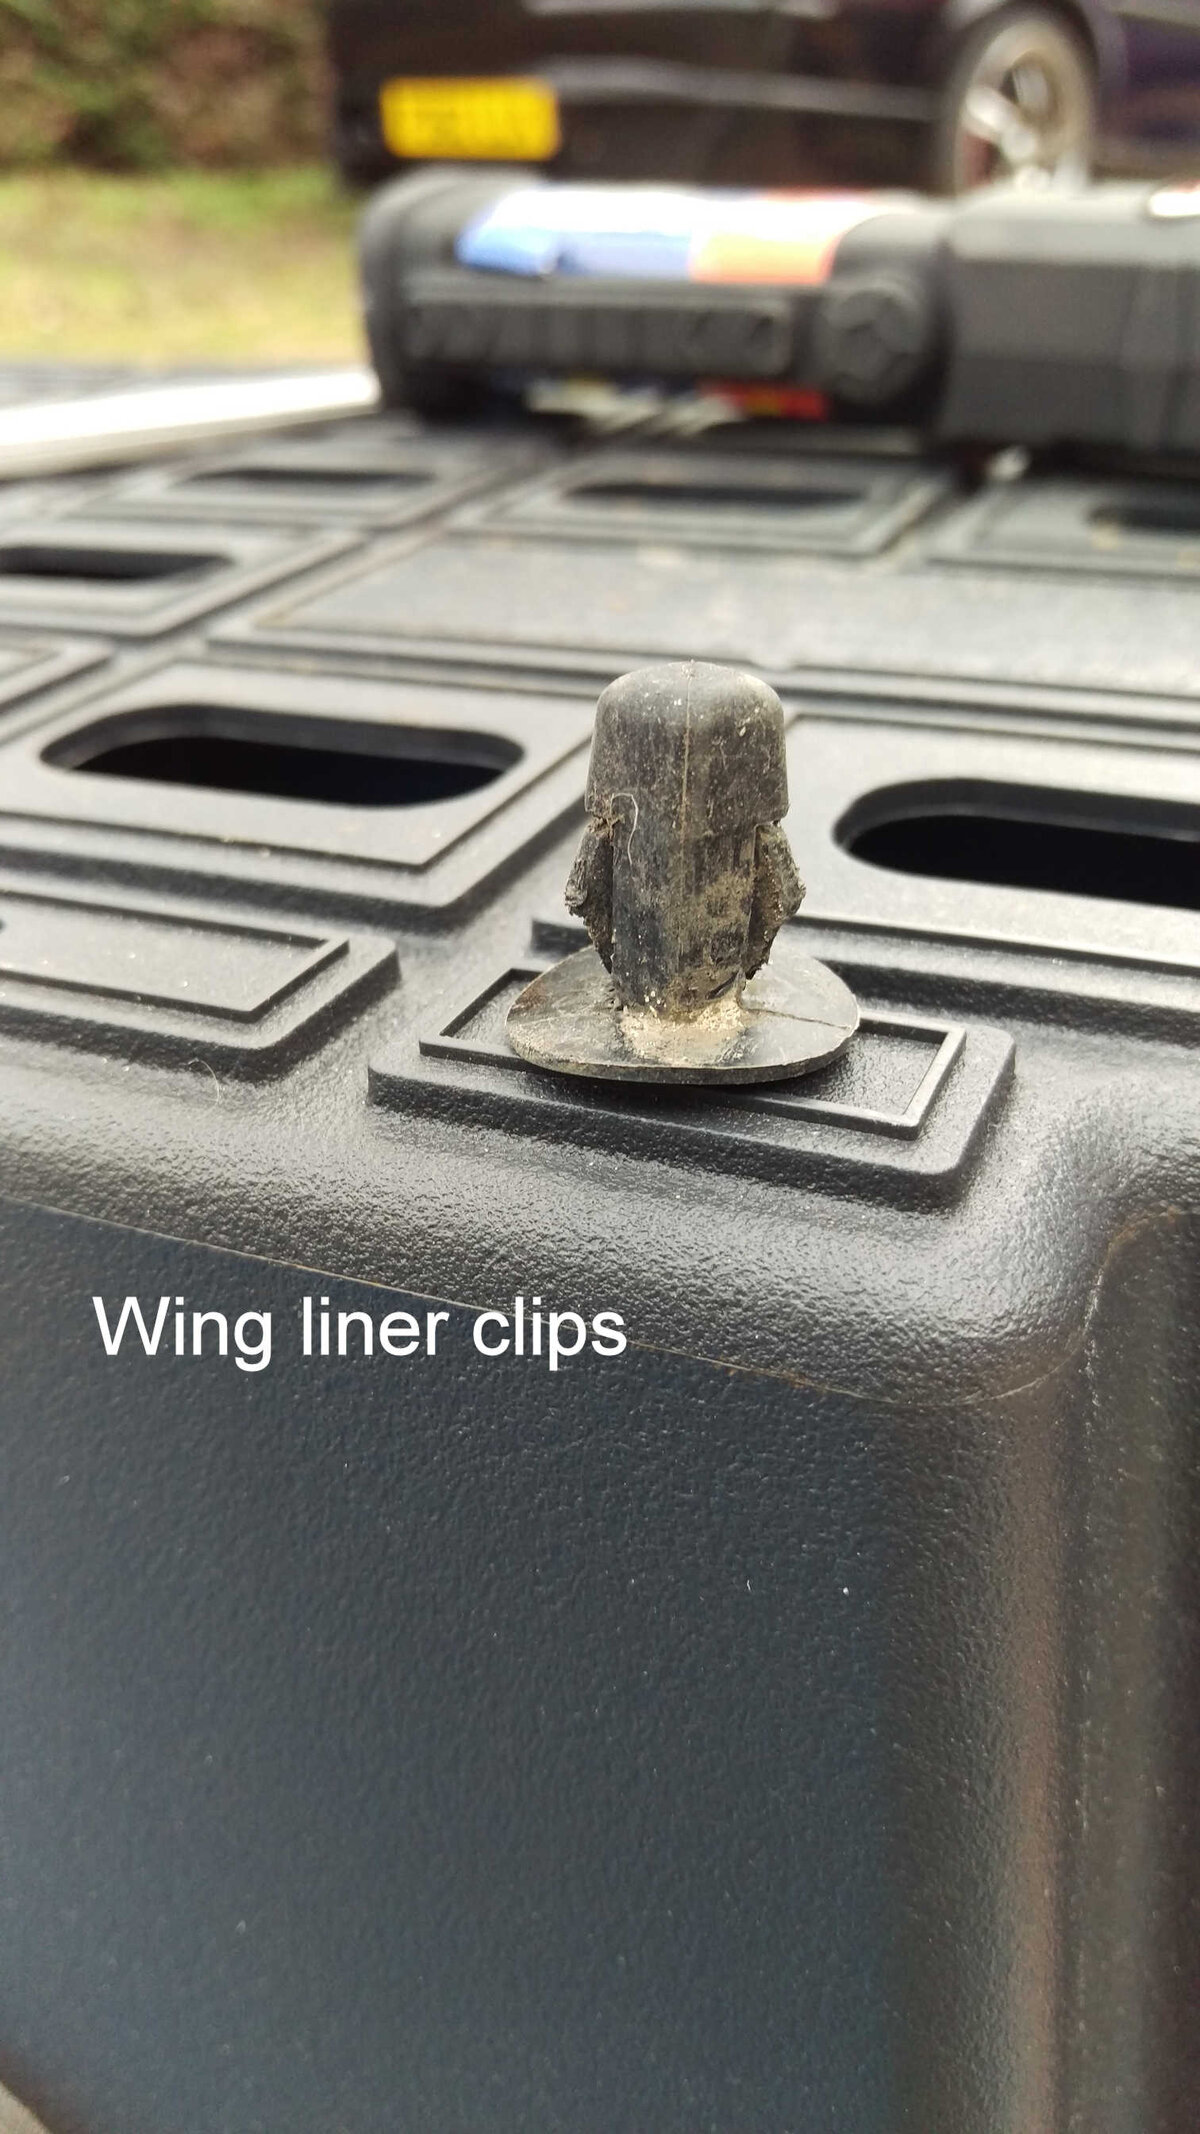
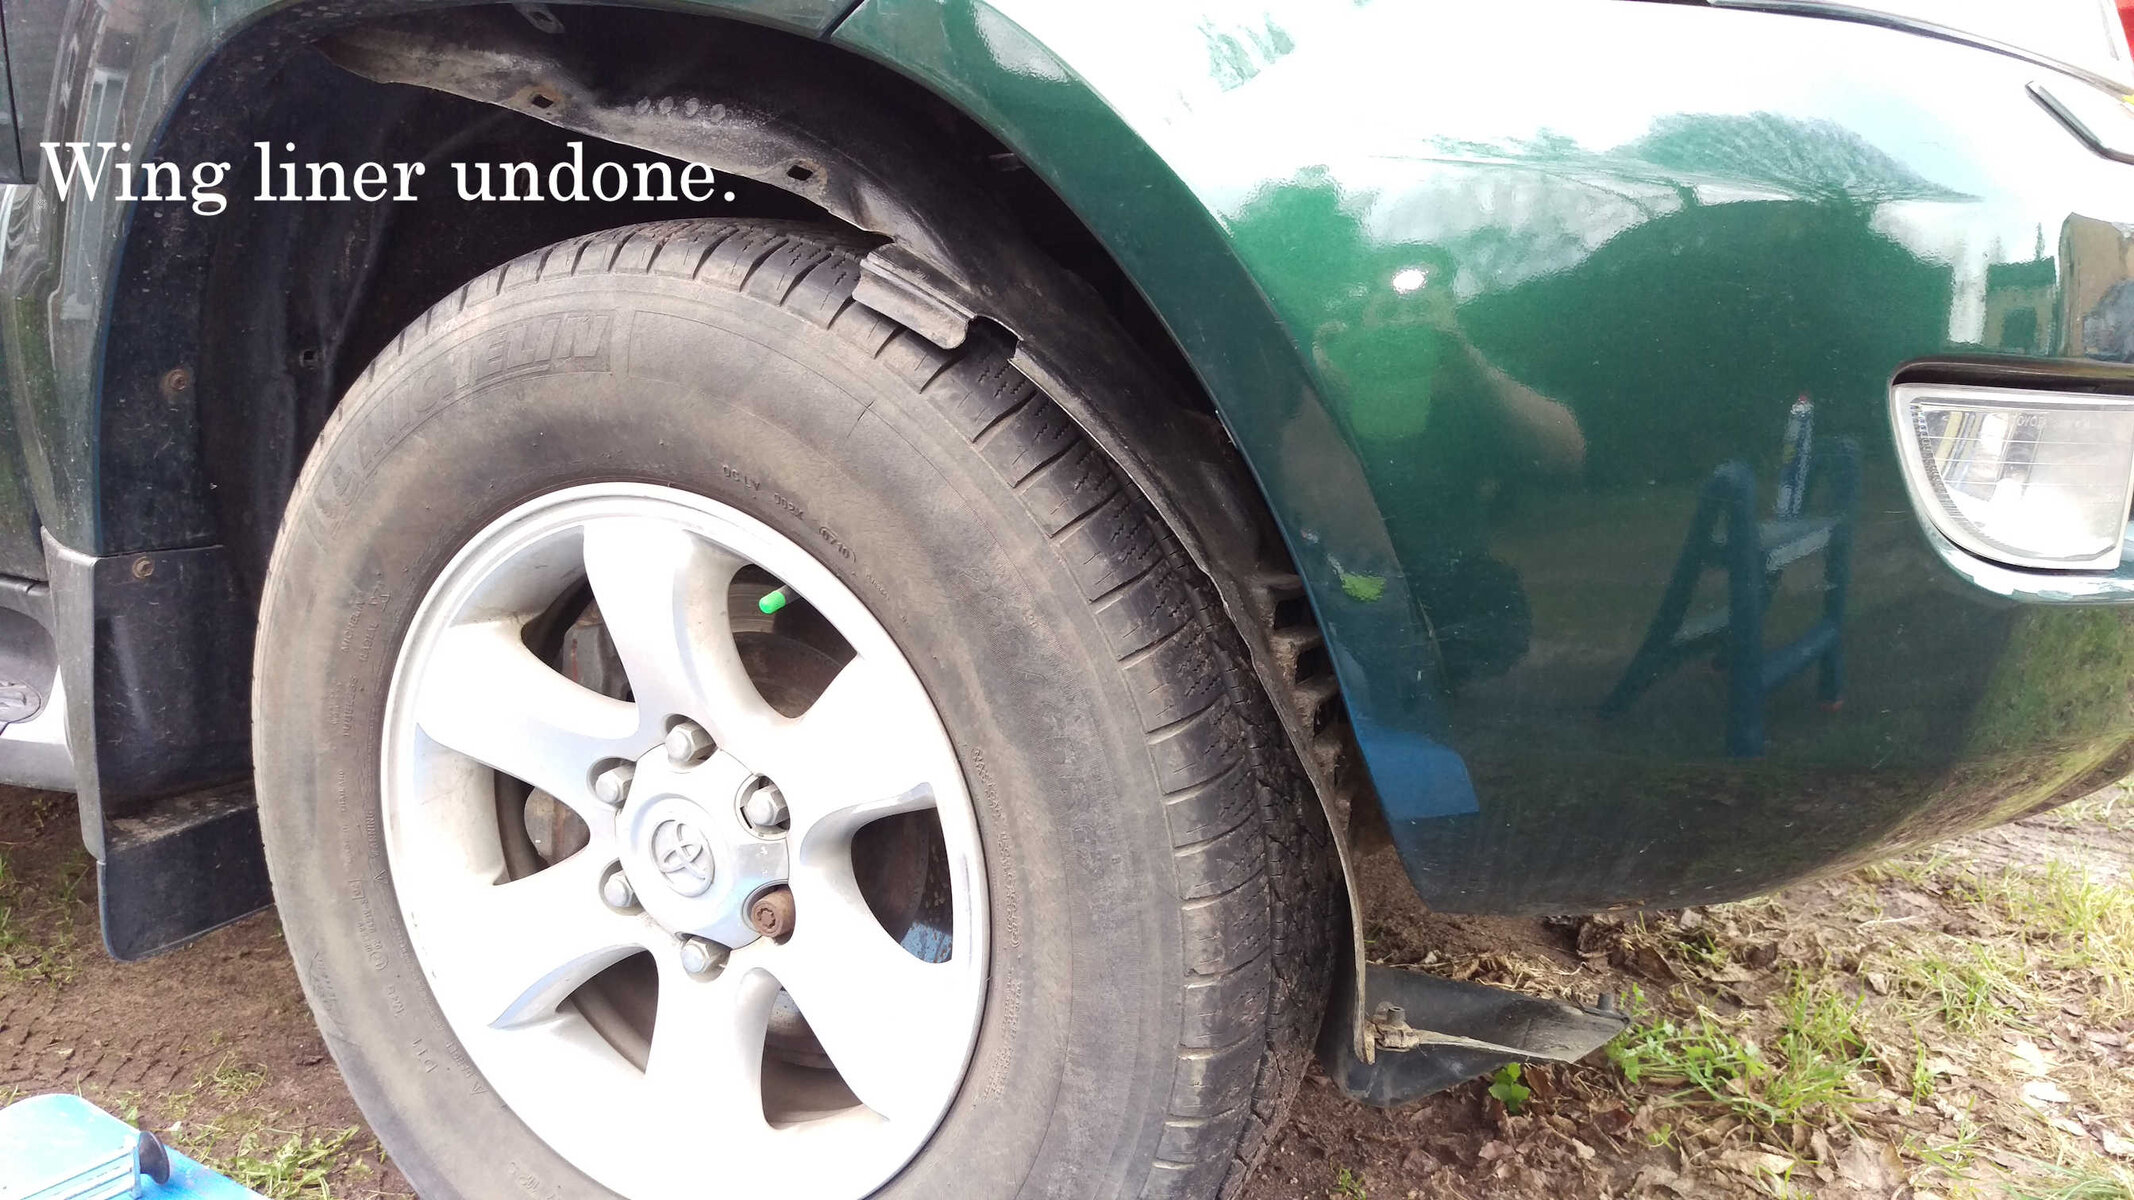
Now you have to remove the wing liner which involves removing several push clips and five screws. Two screws are found at the front of the liner and three are round the edge of the wheel arch.
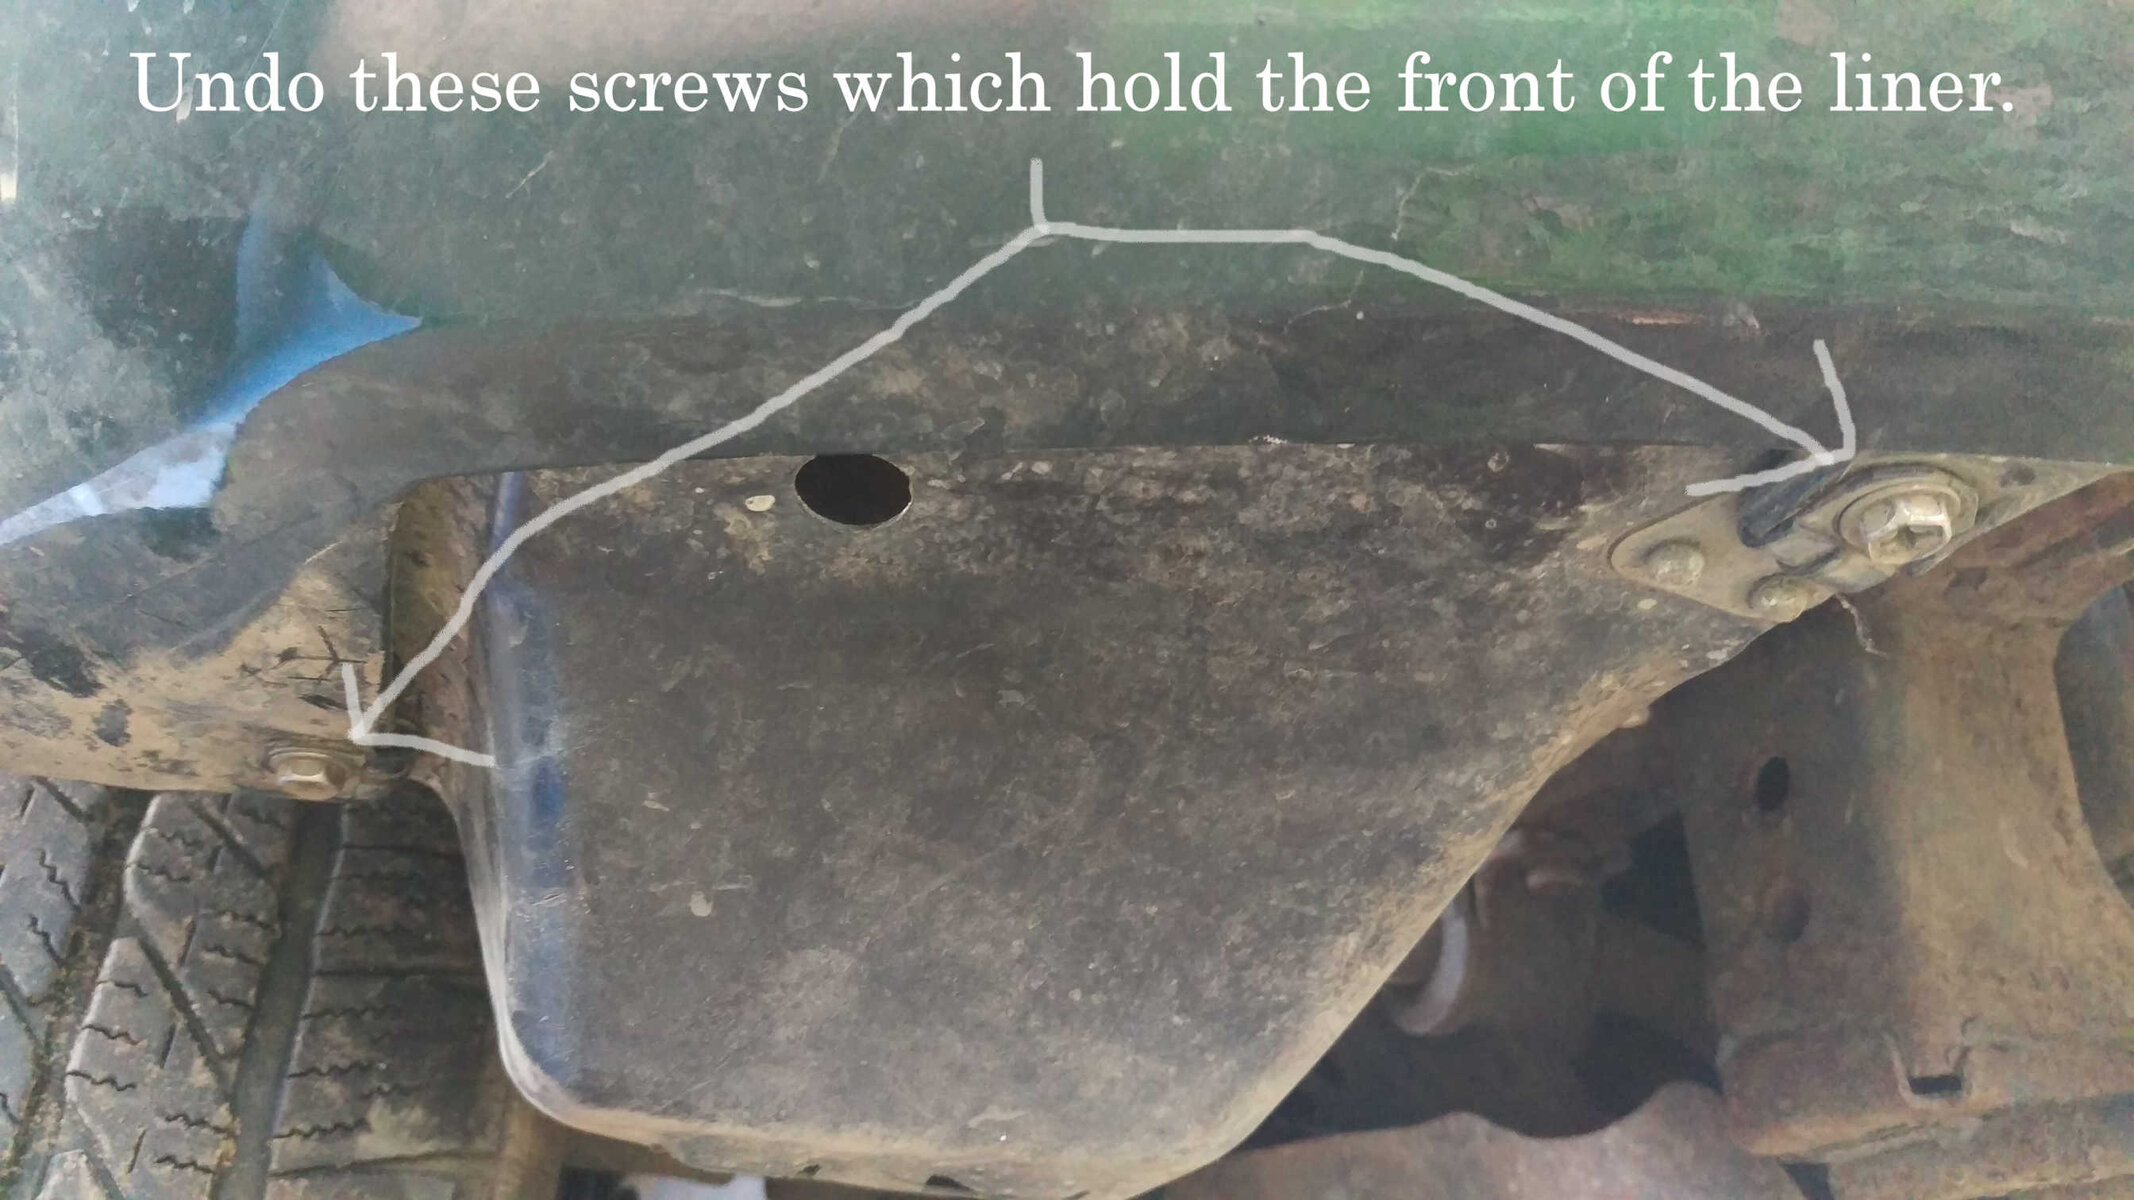
Front liner screws.jpg Side liner screws.jpg Wing Clip.jpg

Once you have removed the screws and the clips you can pull the liner down to gain access to the inner wing.
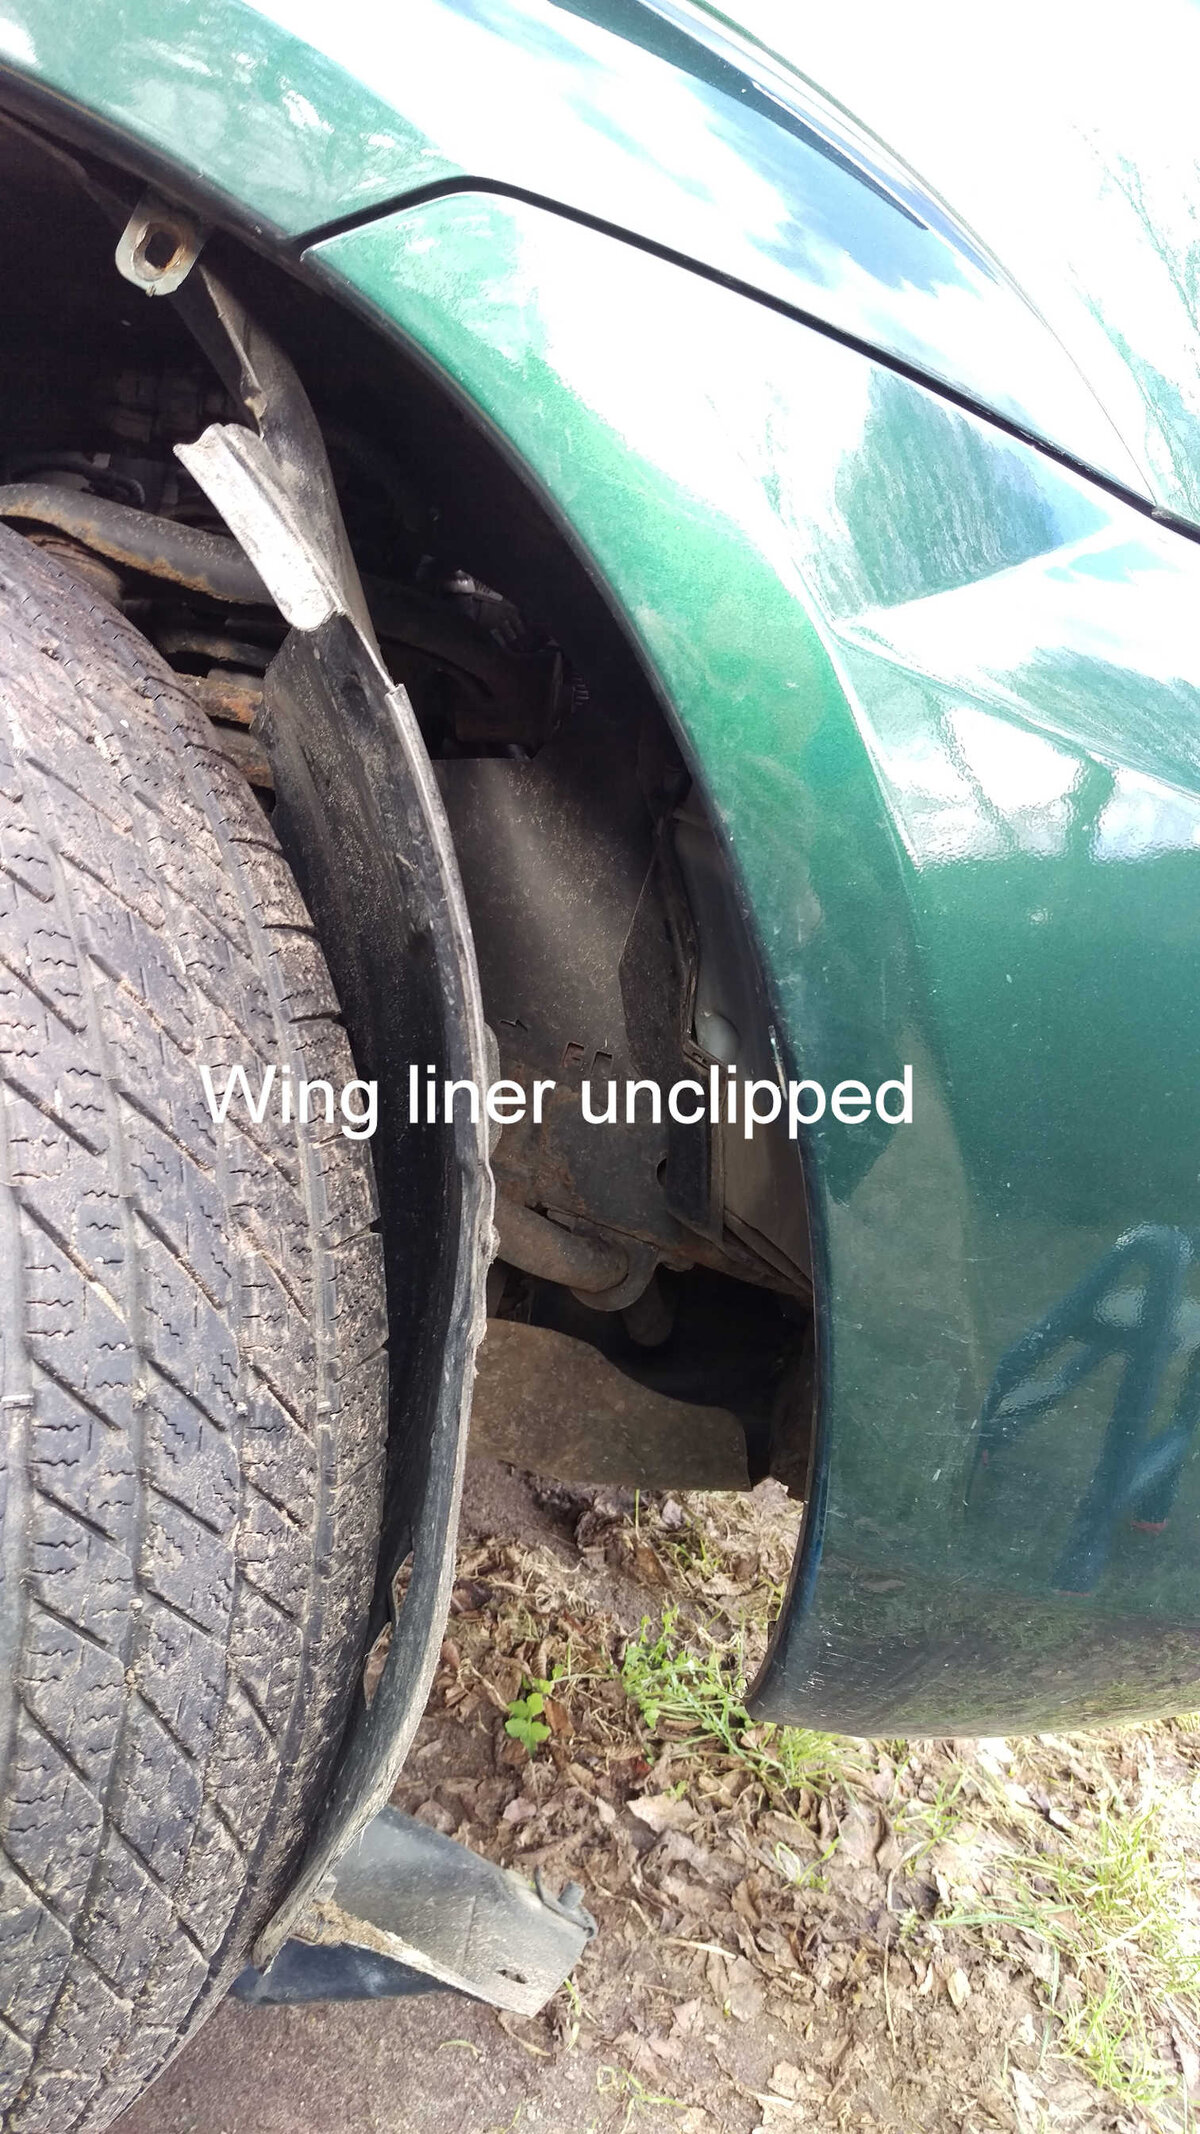
Liner unclipped.jpg Liner undone .jpg

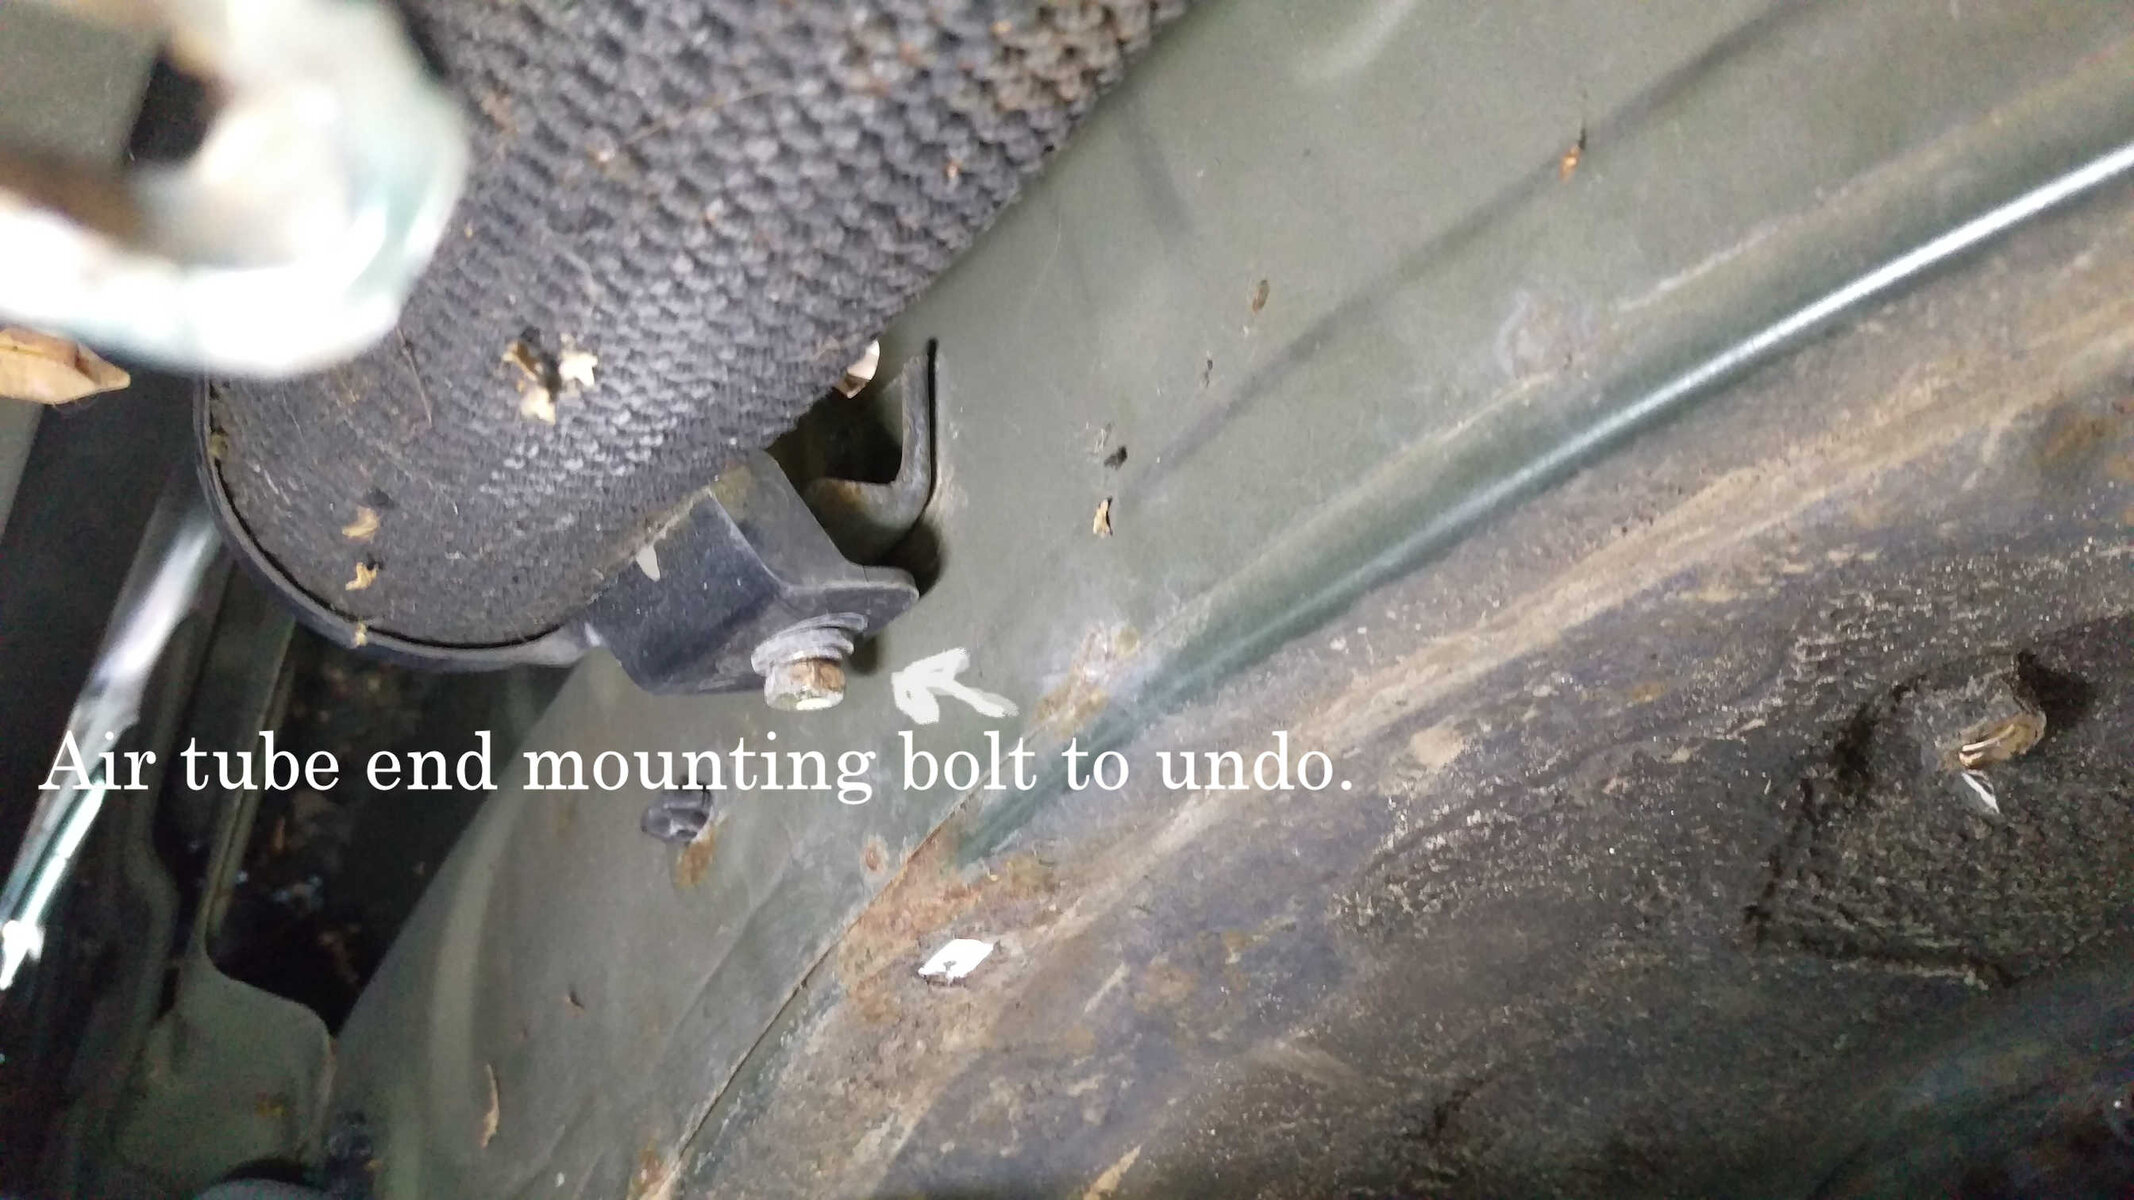
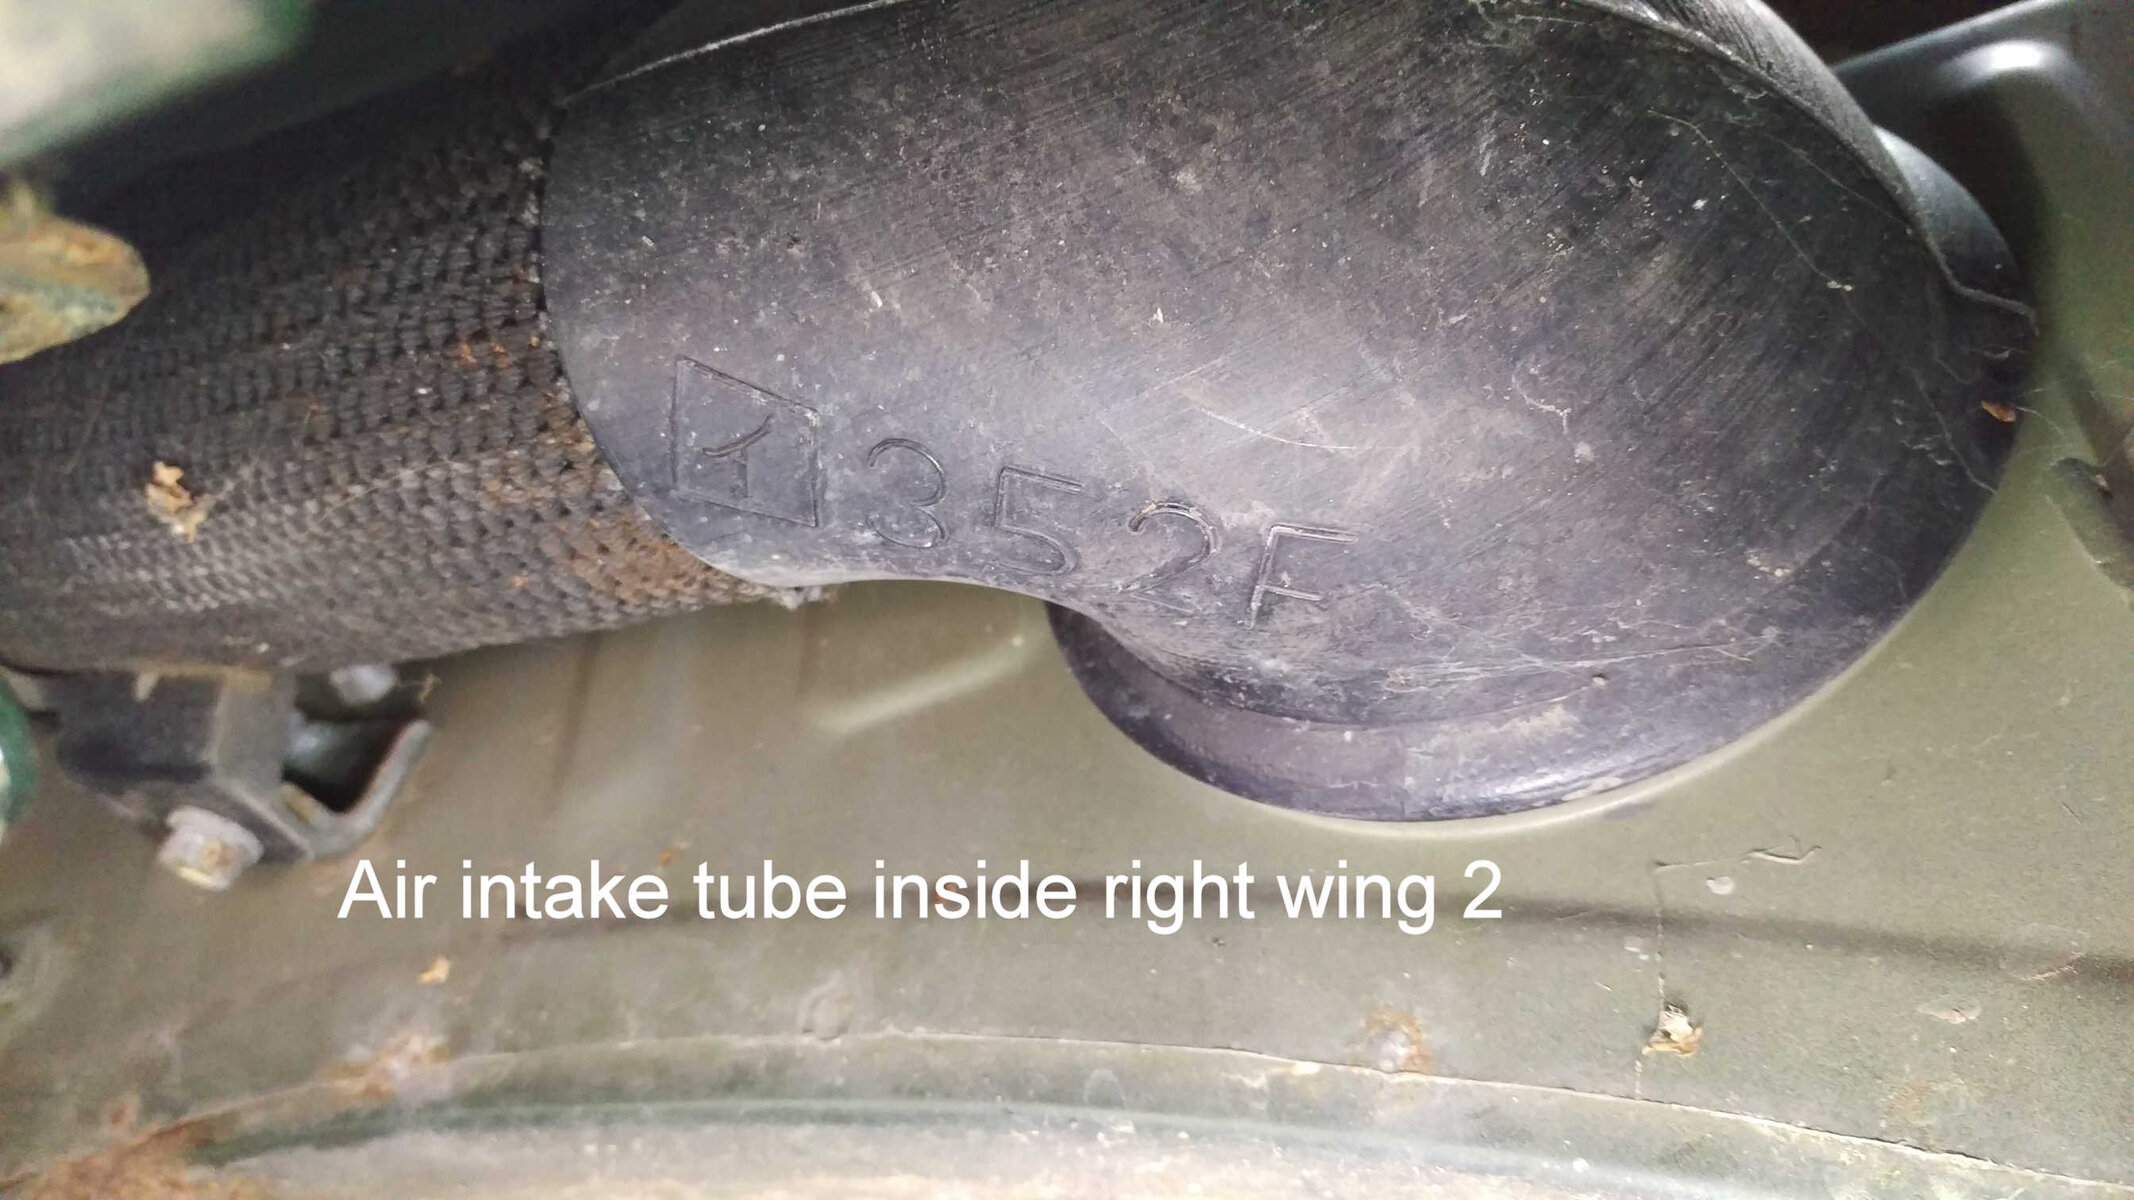
With the liner undone you can unscrew the air intake tube from inside the wing.
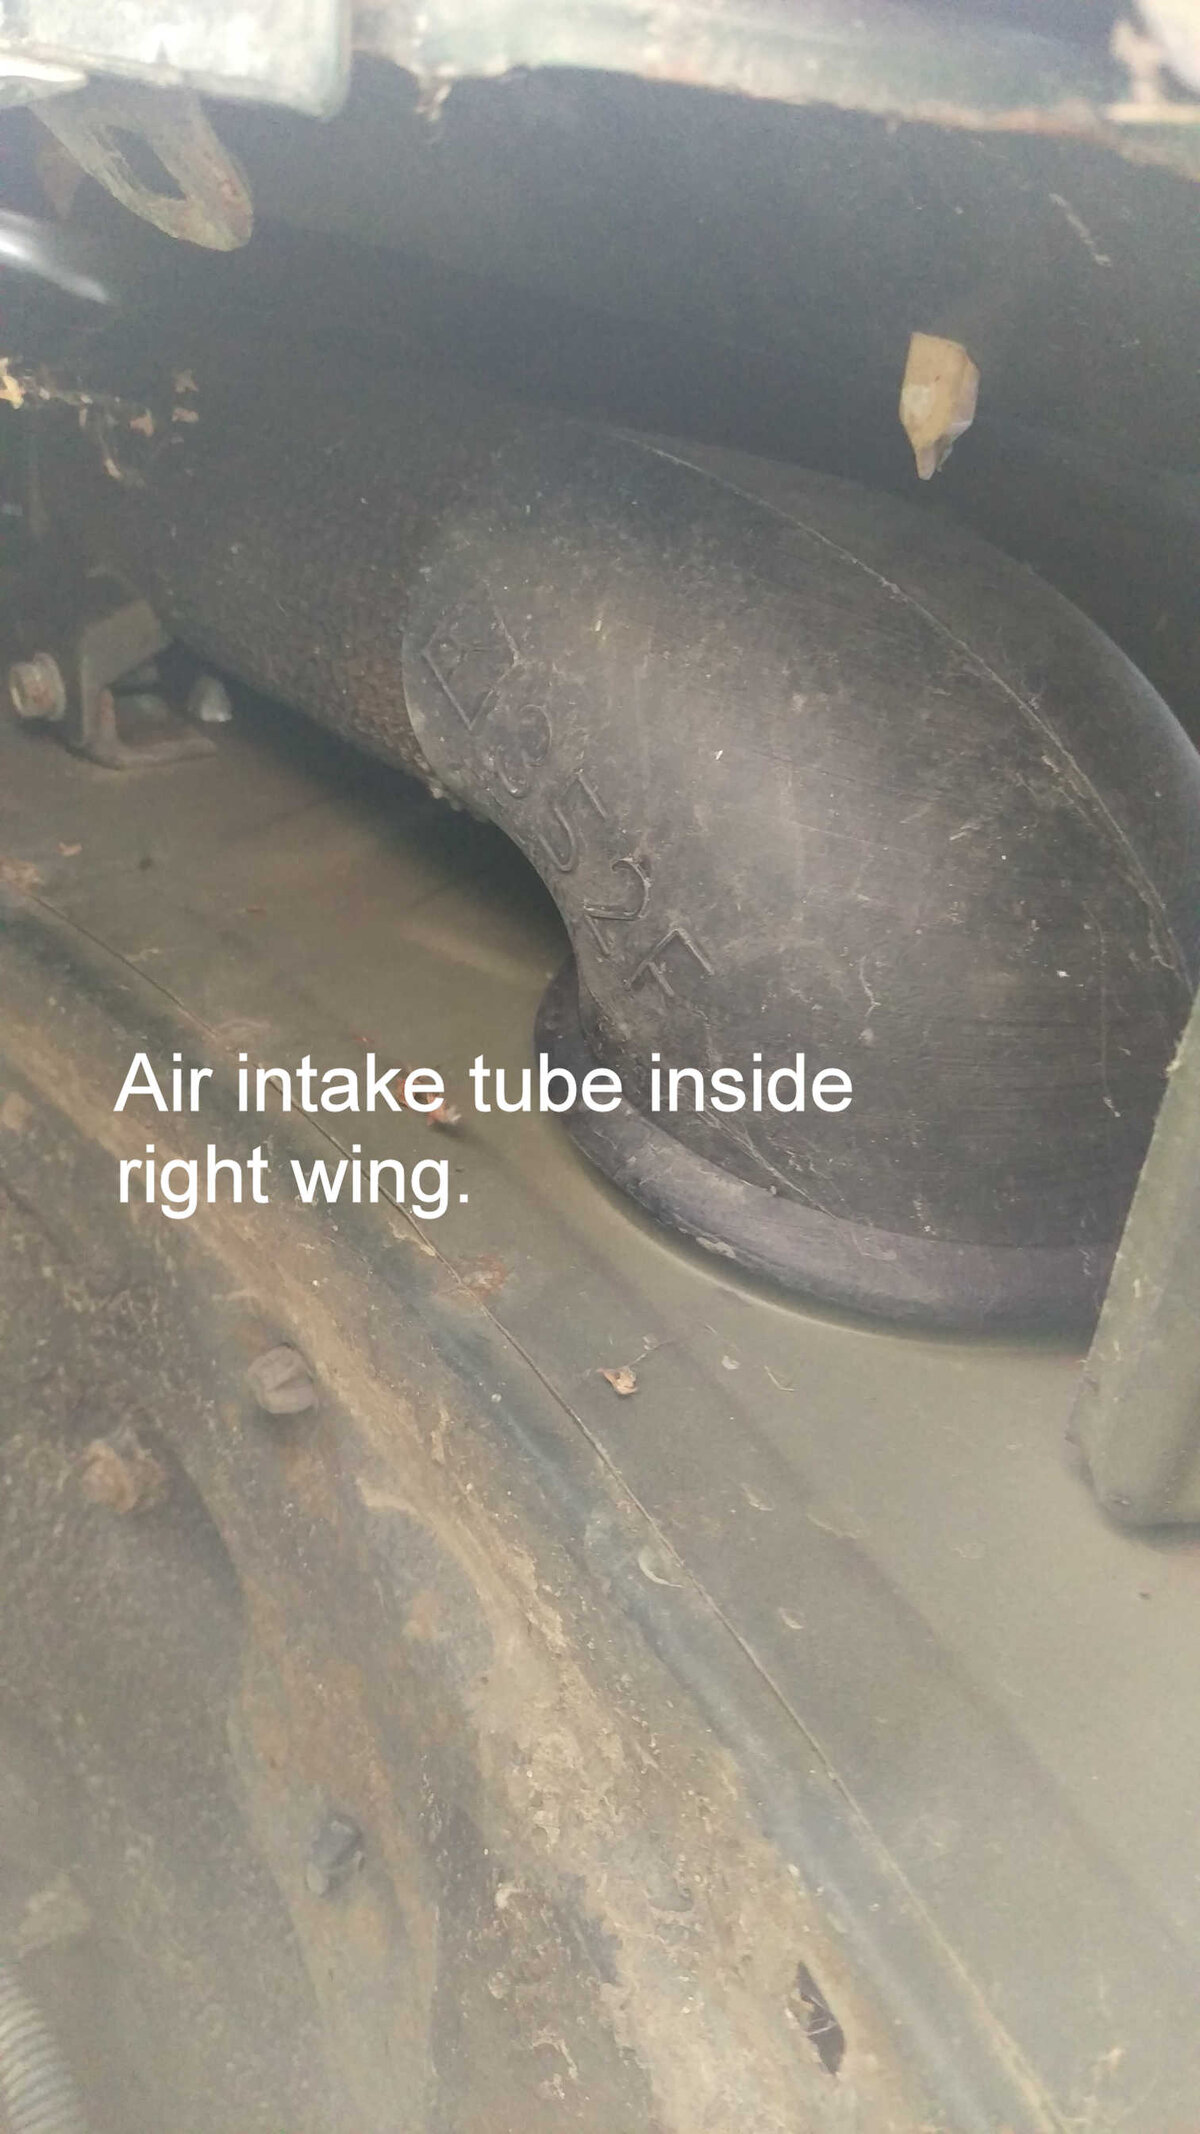
Wing Air Tube 1.jpgAir tube bolt.jpg Wing Air Tube 2.jpg

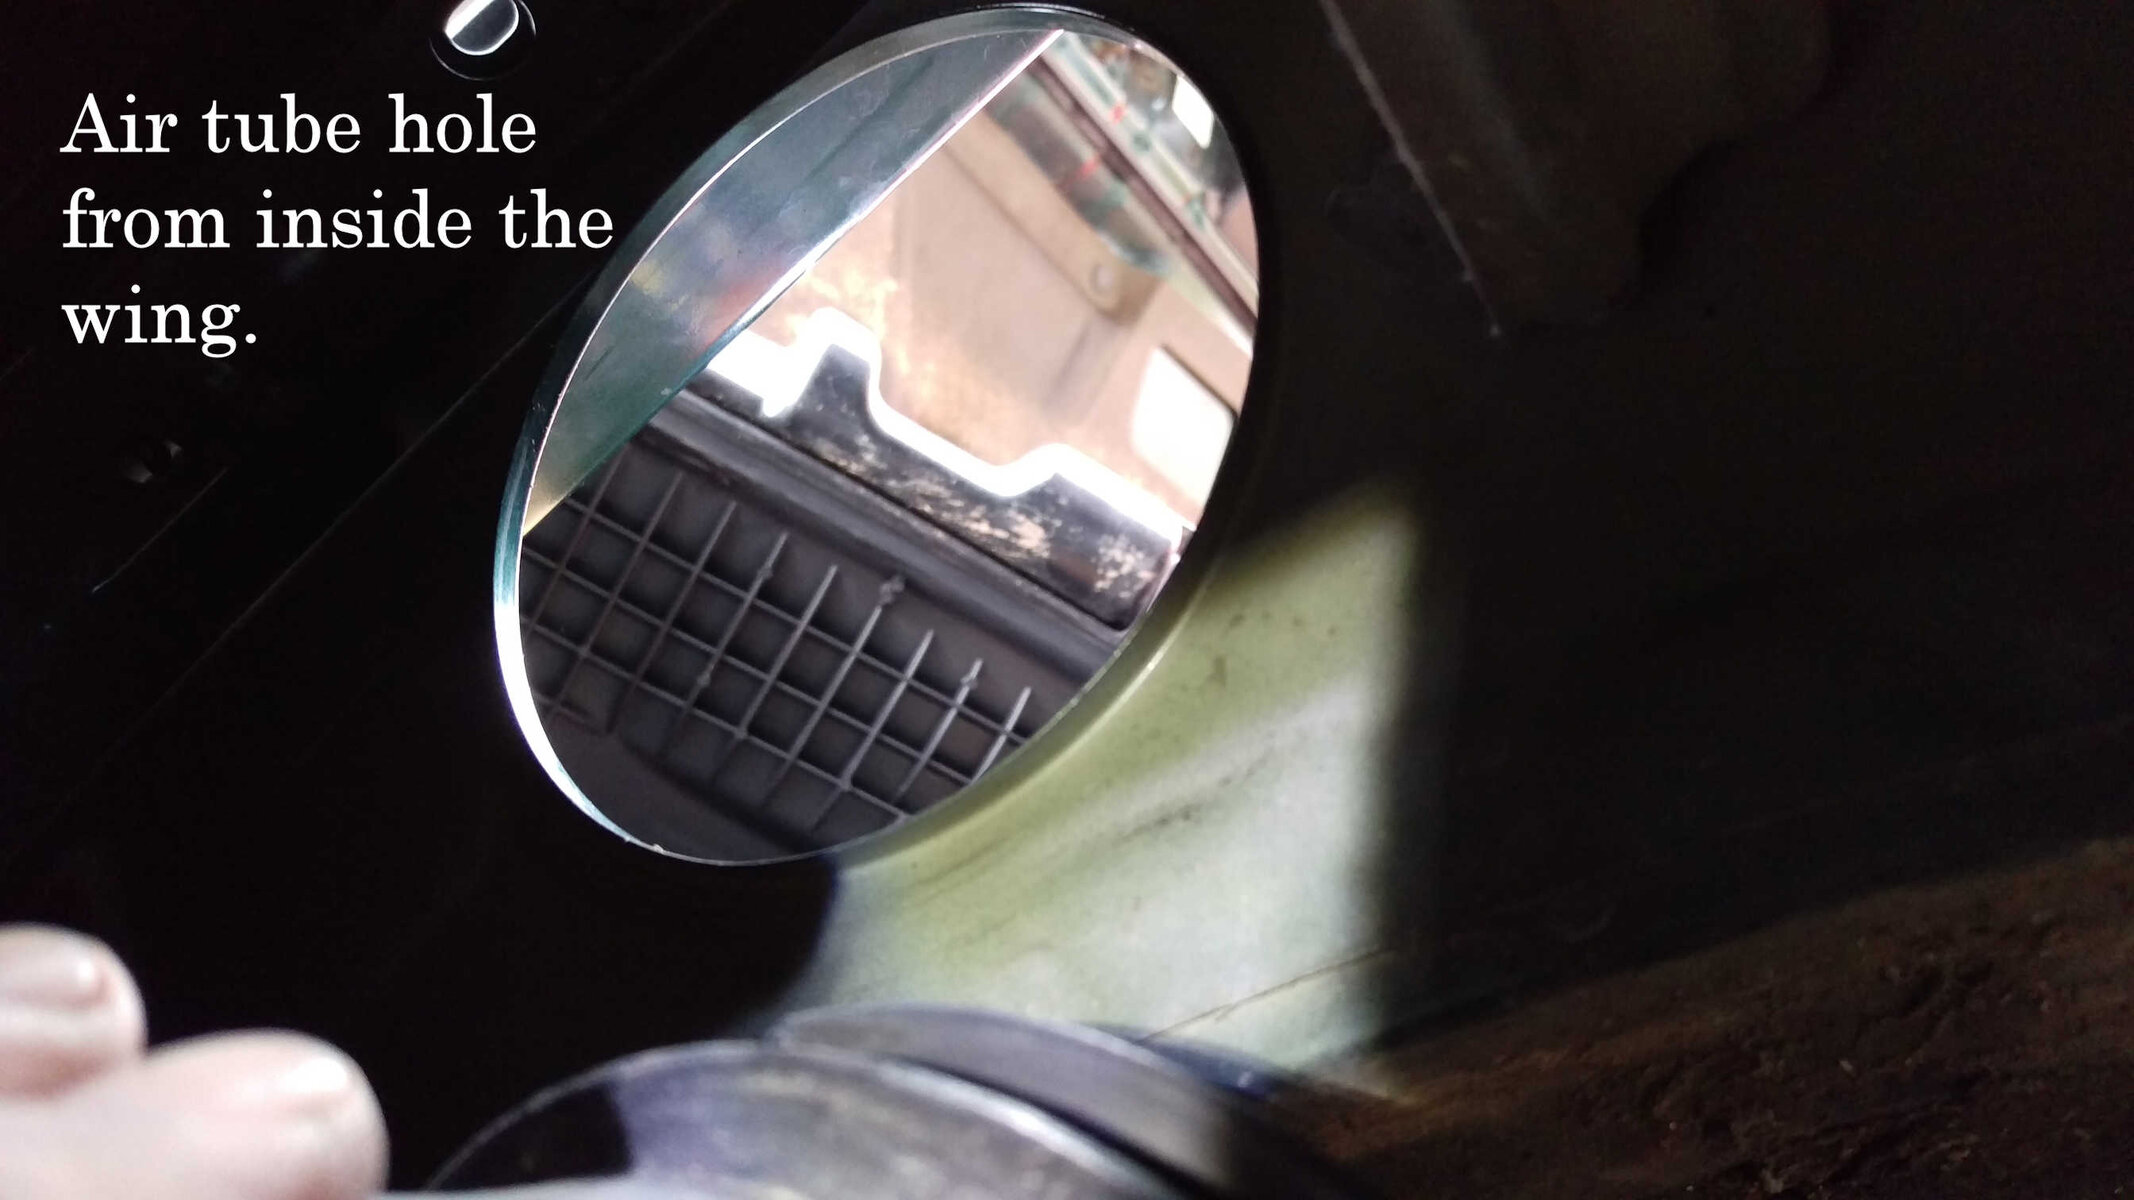
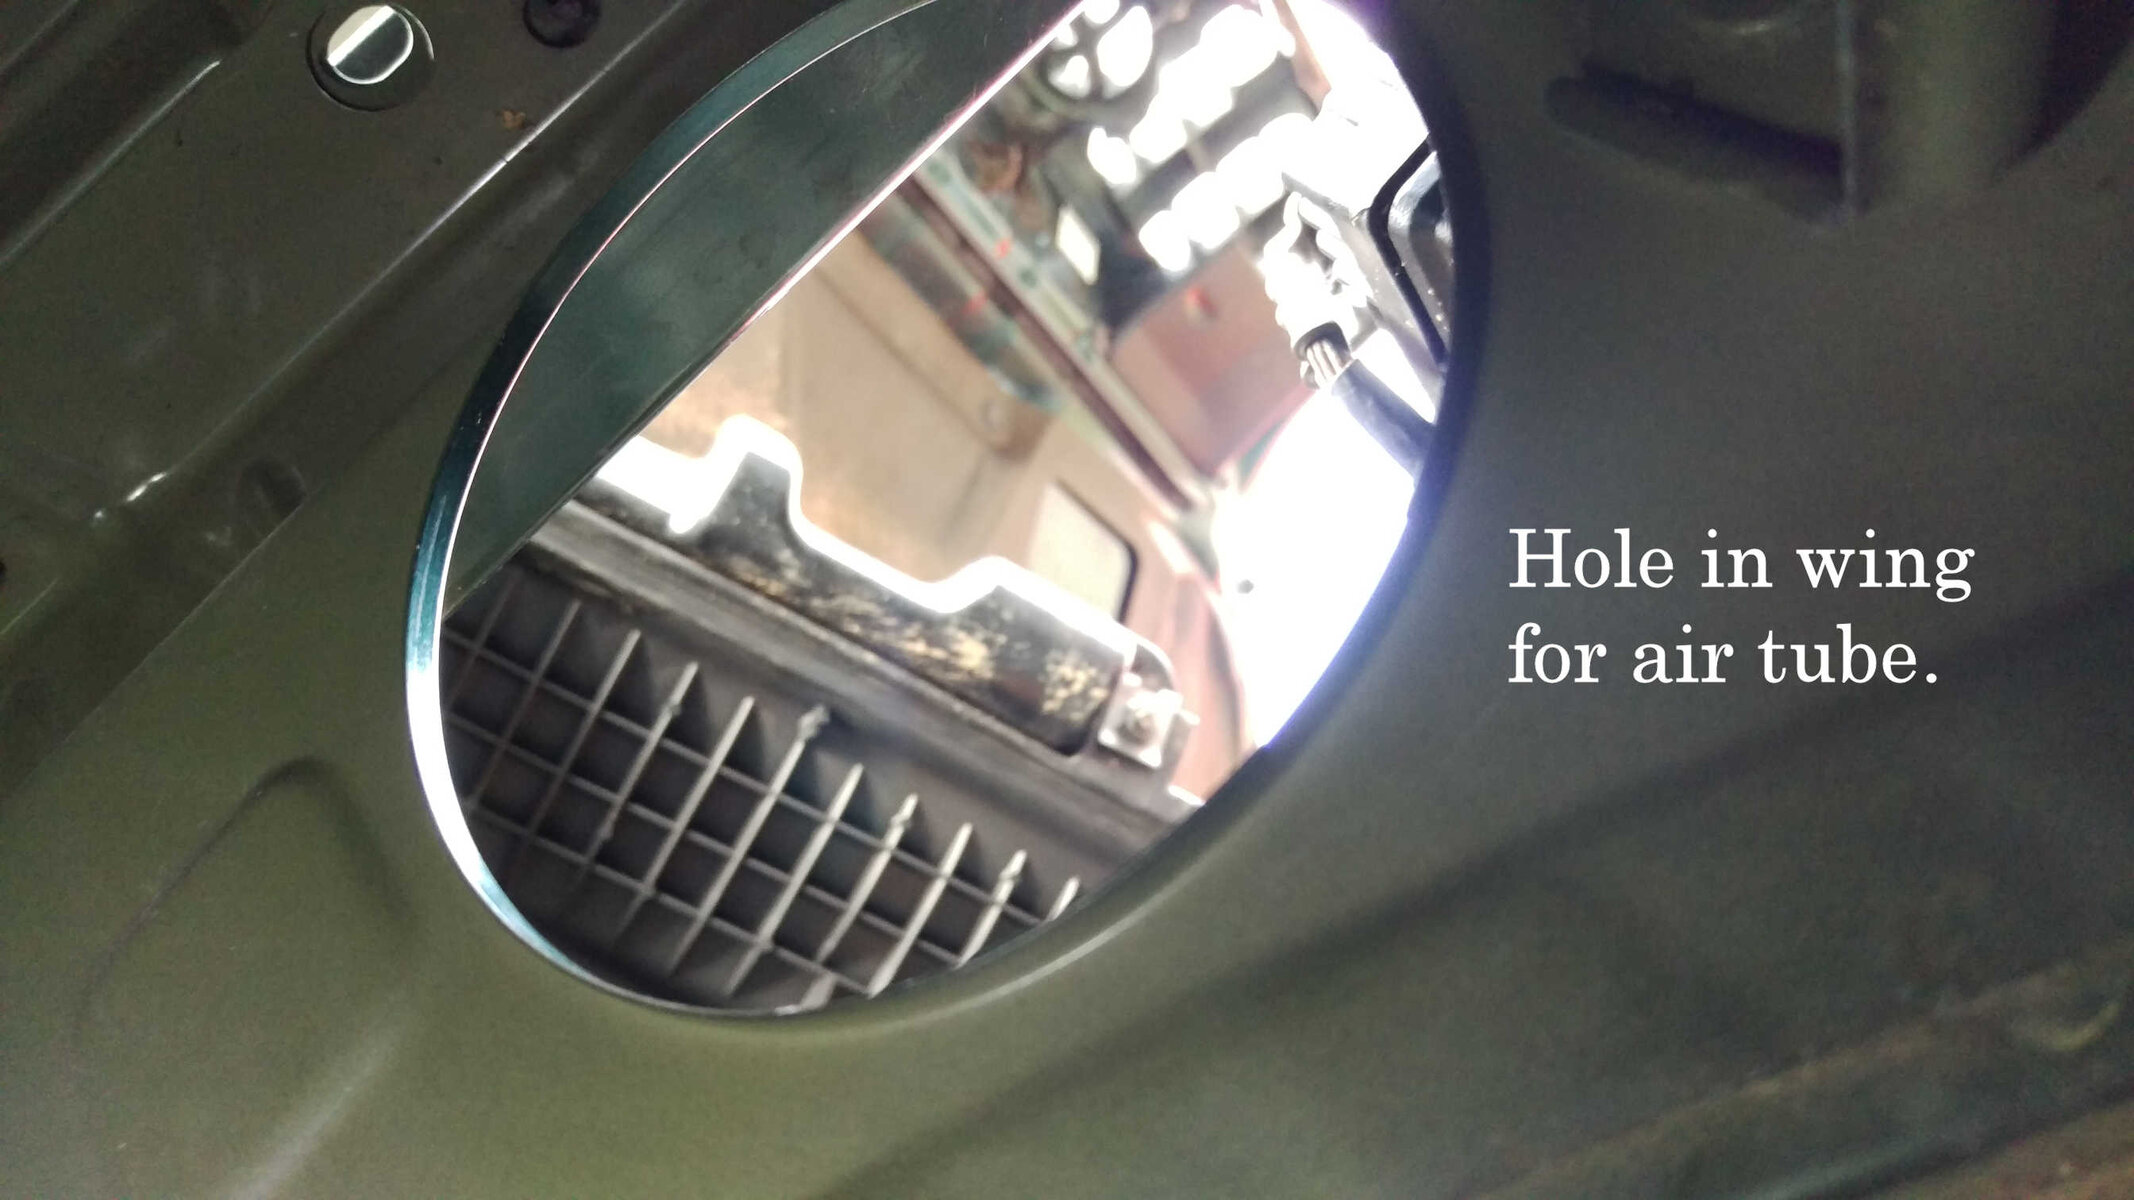
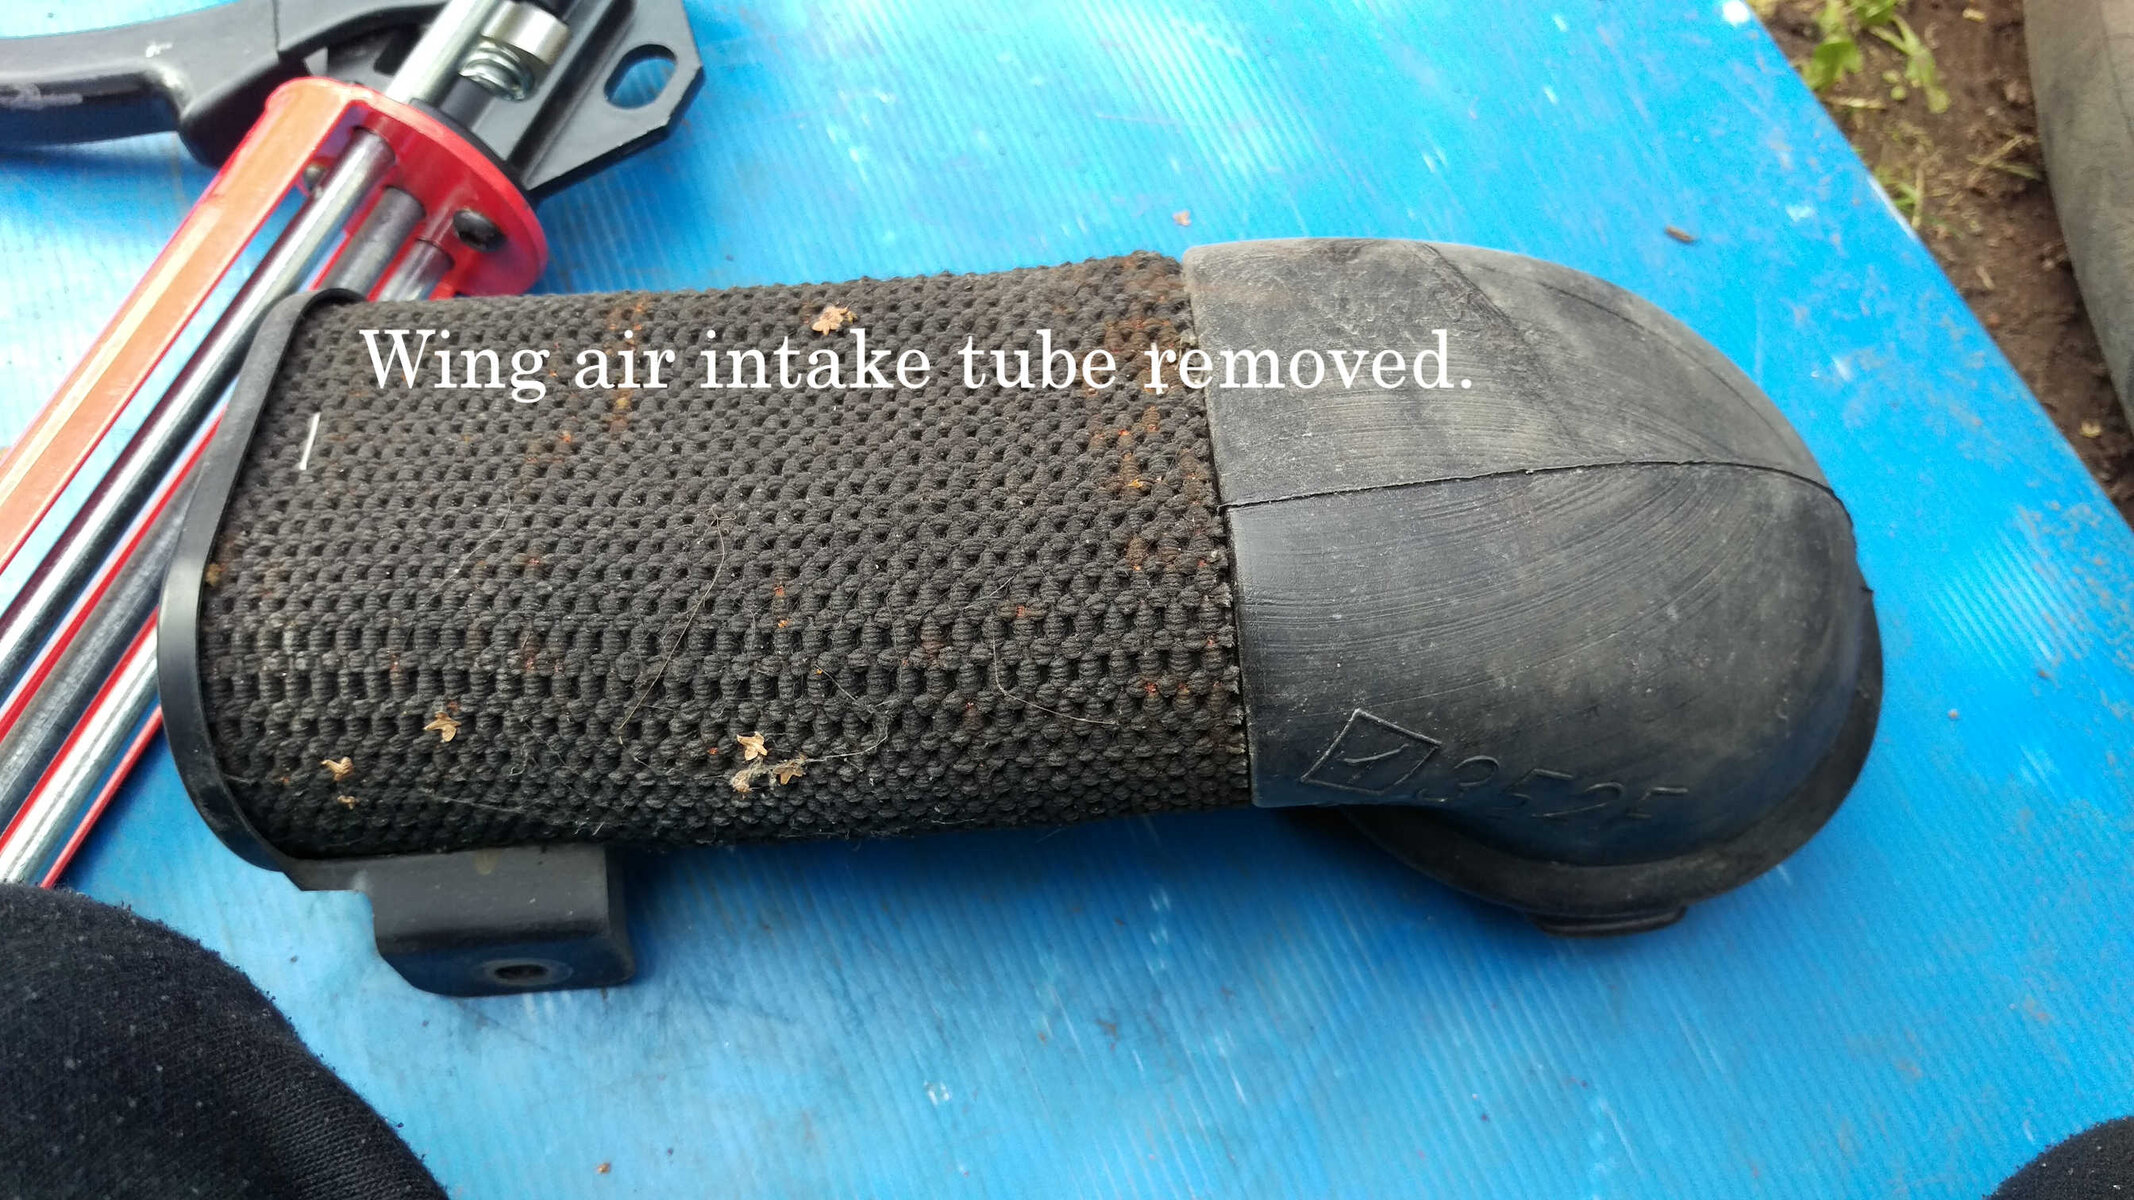
With the bolt removed you can push the end out of the hole in the wing and then remove the air tube completely.
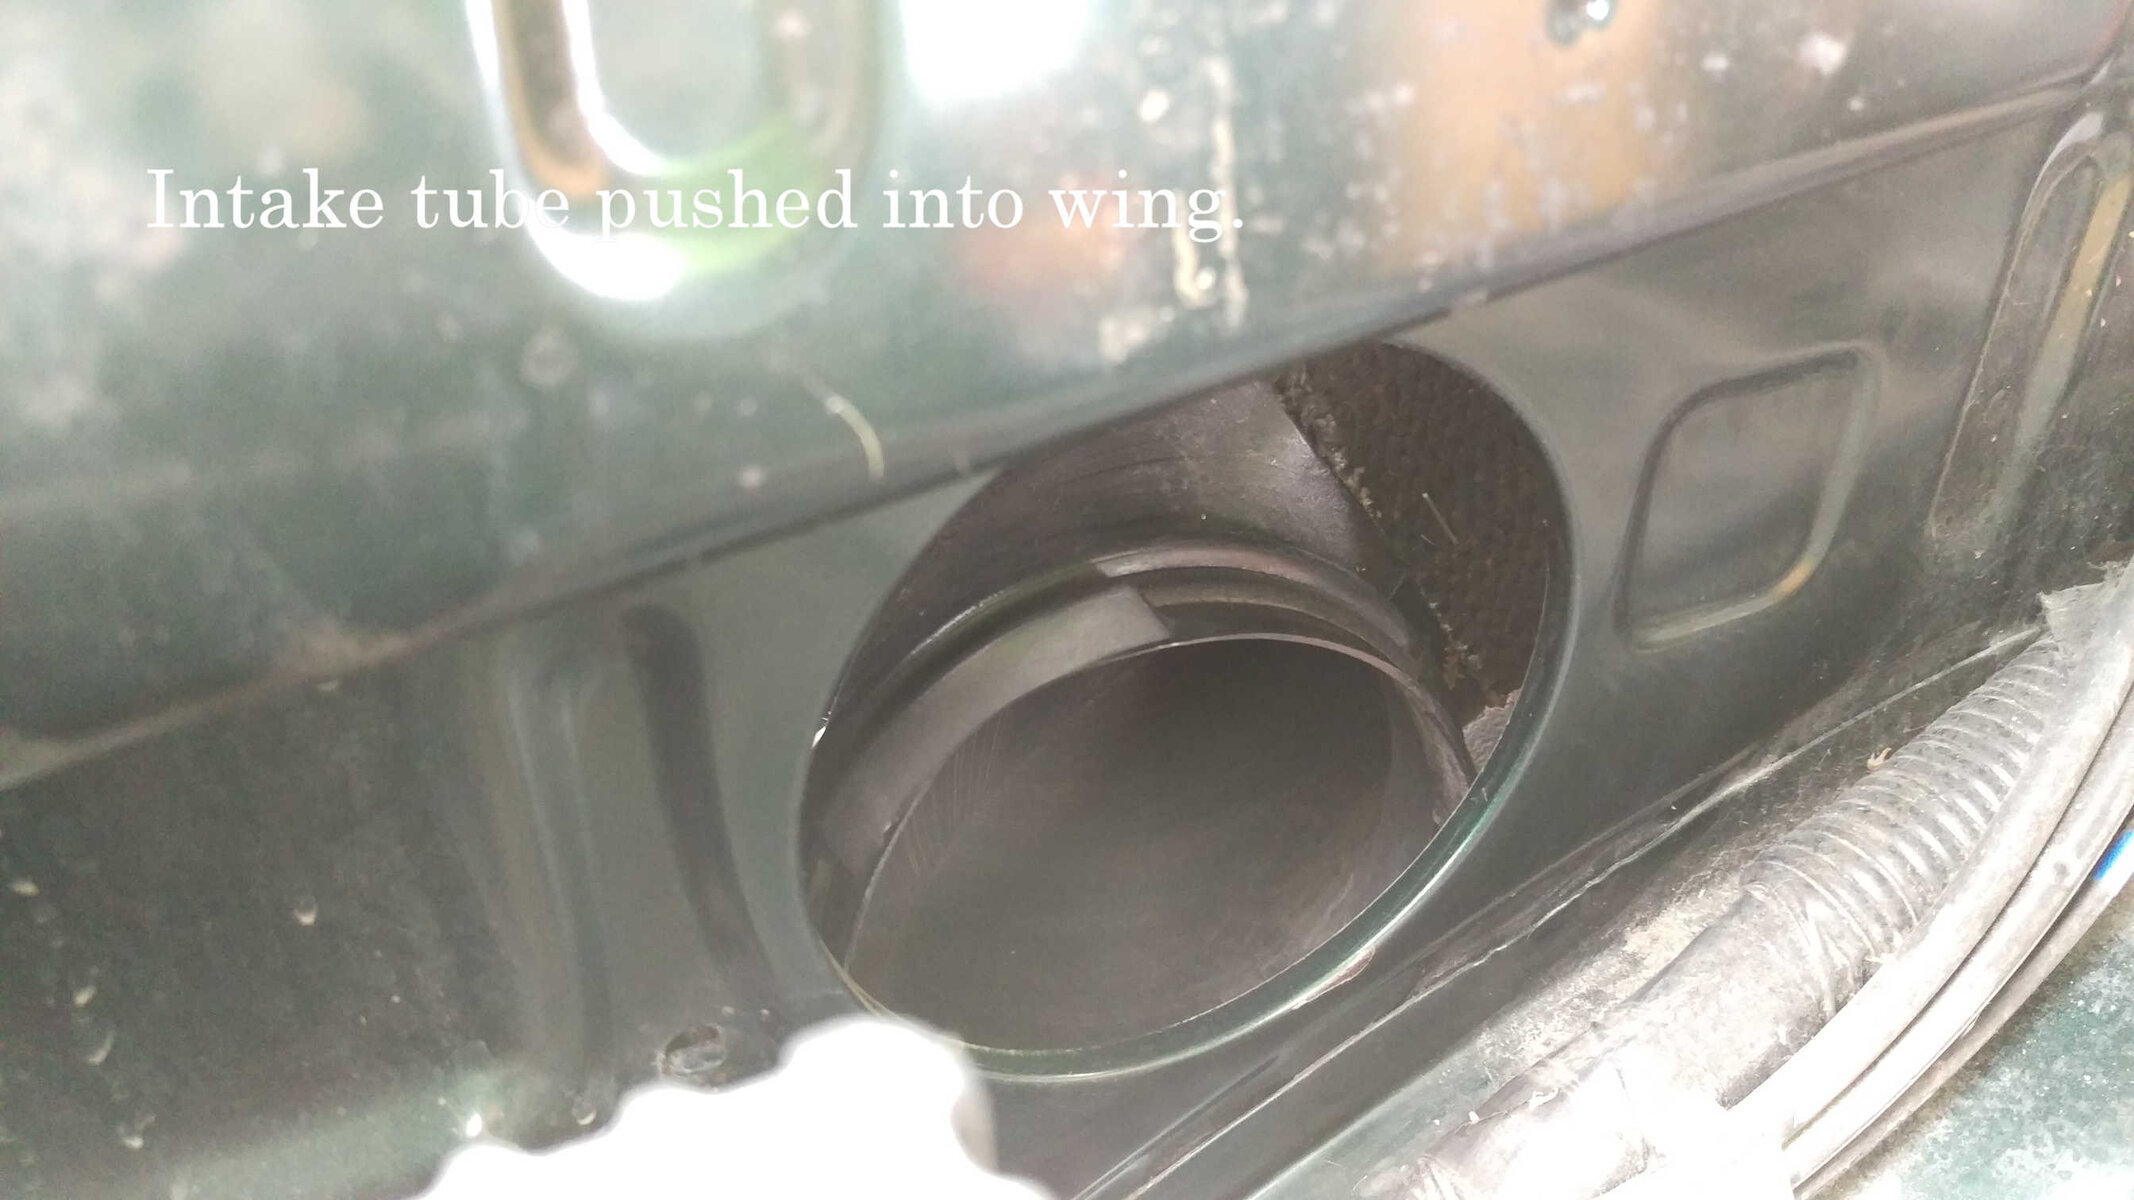
Air tube pushed out.jpg Air tube hole.jpg Air tube wing hole.jpg Air tube removed.jpg

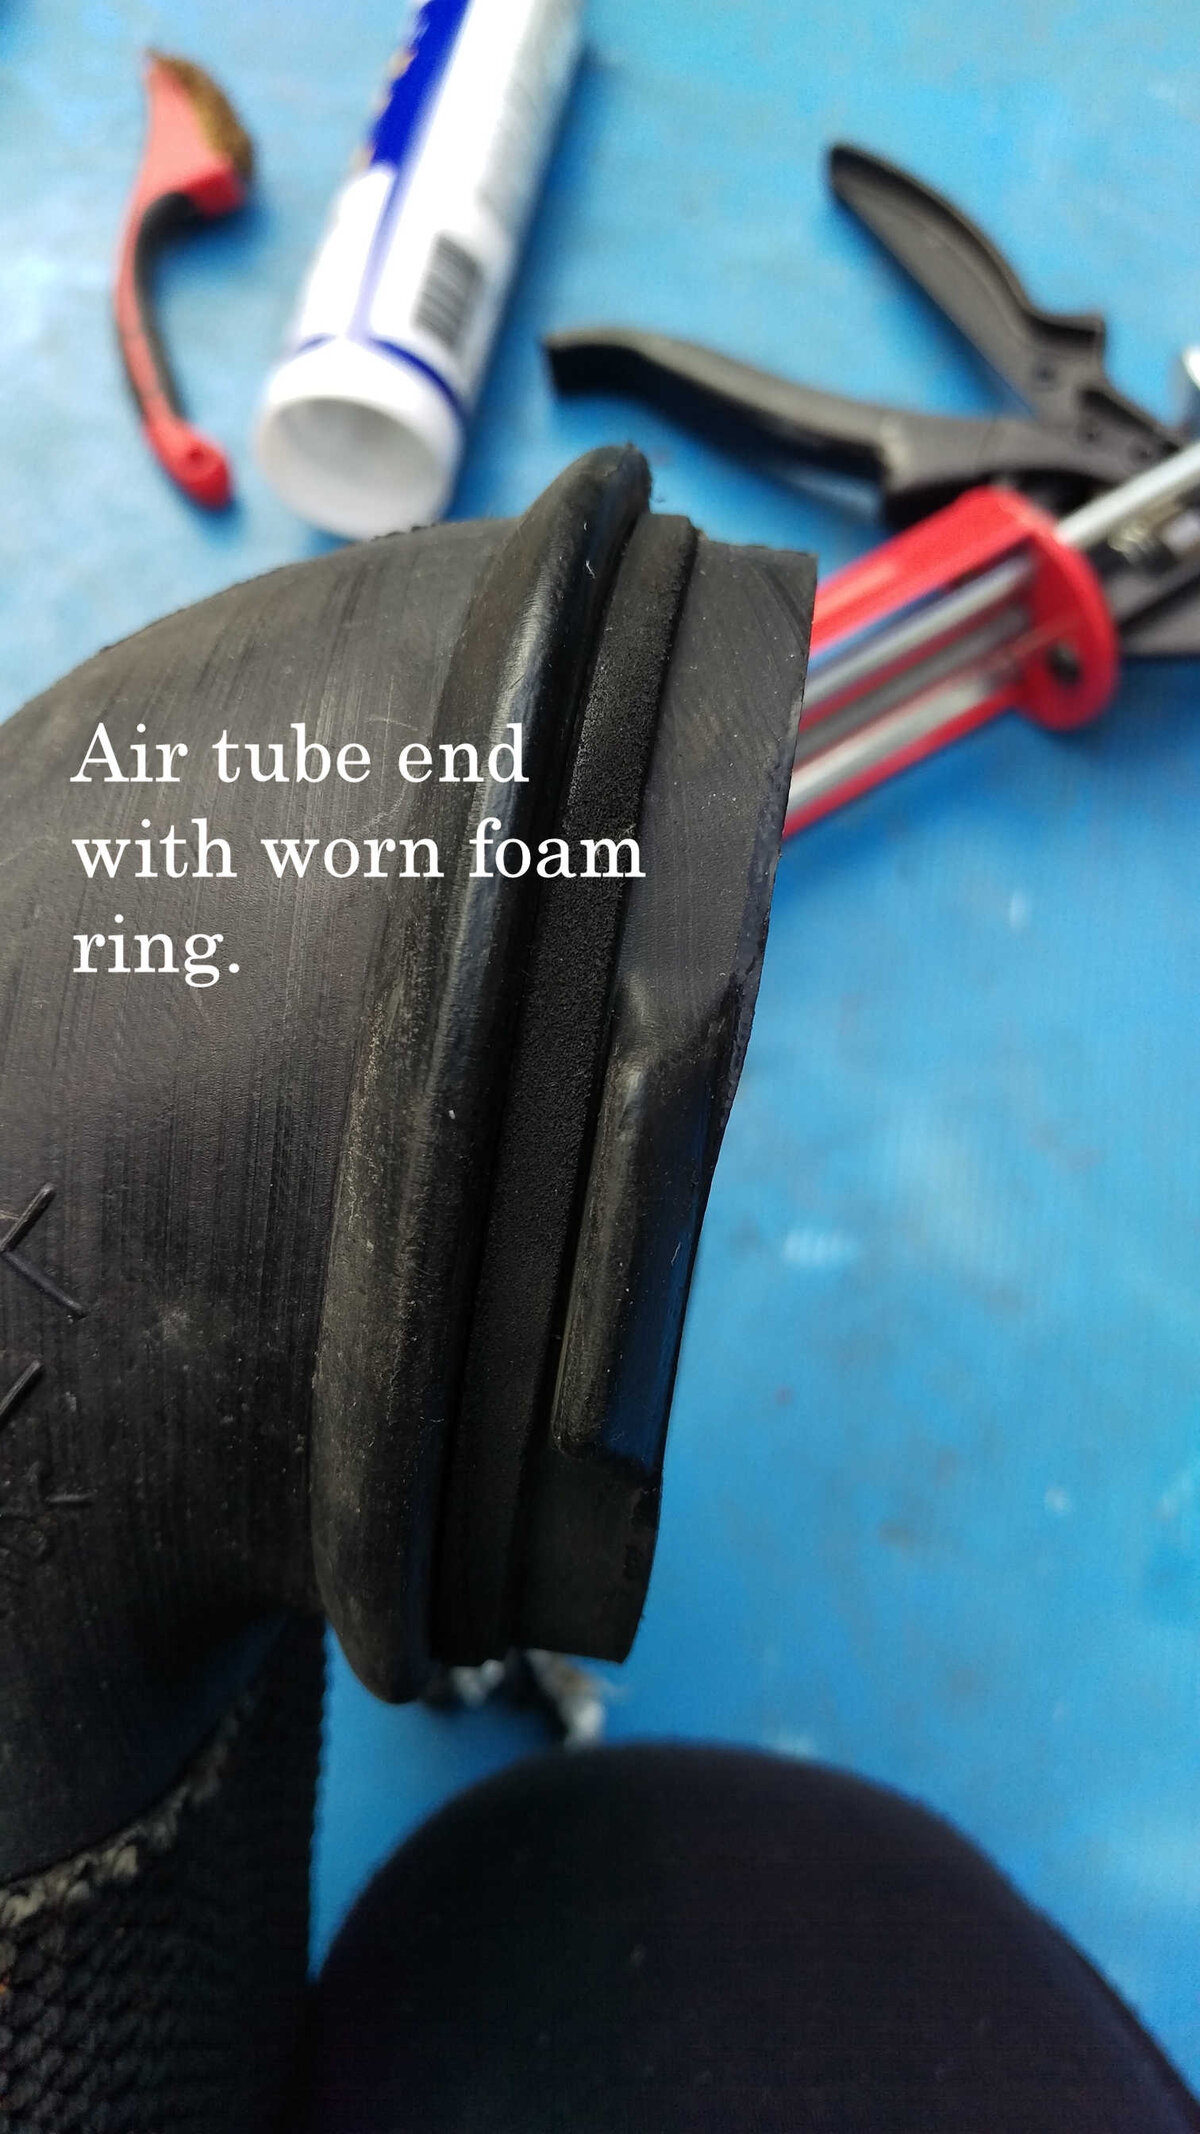
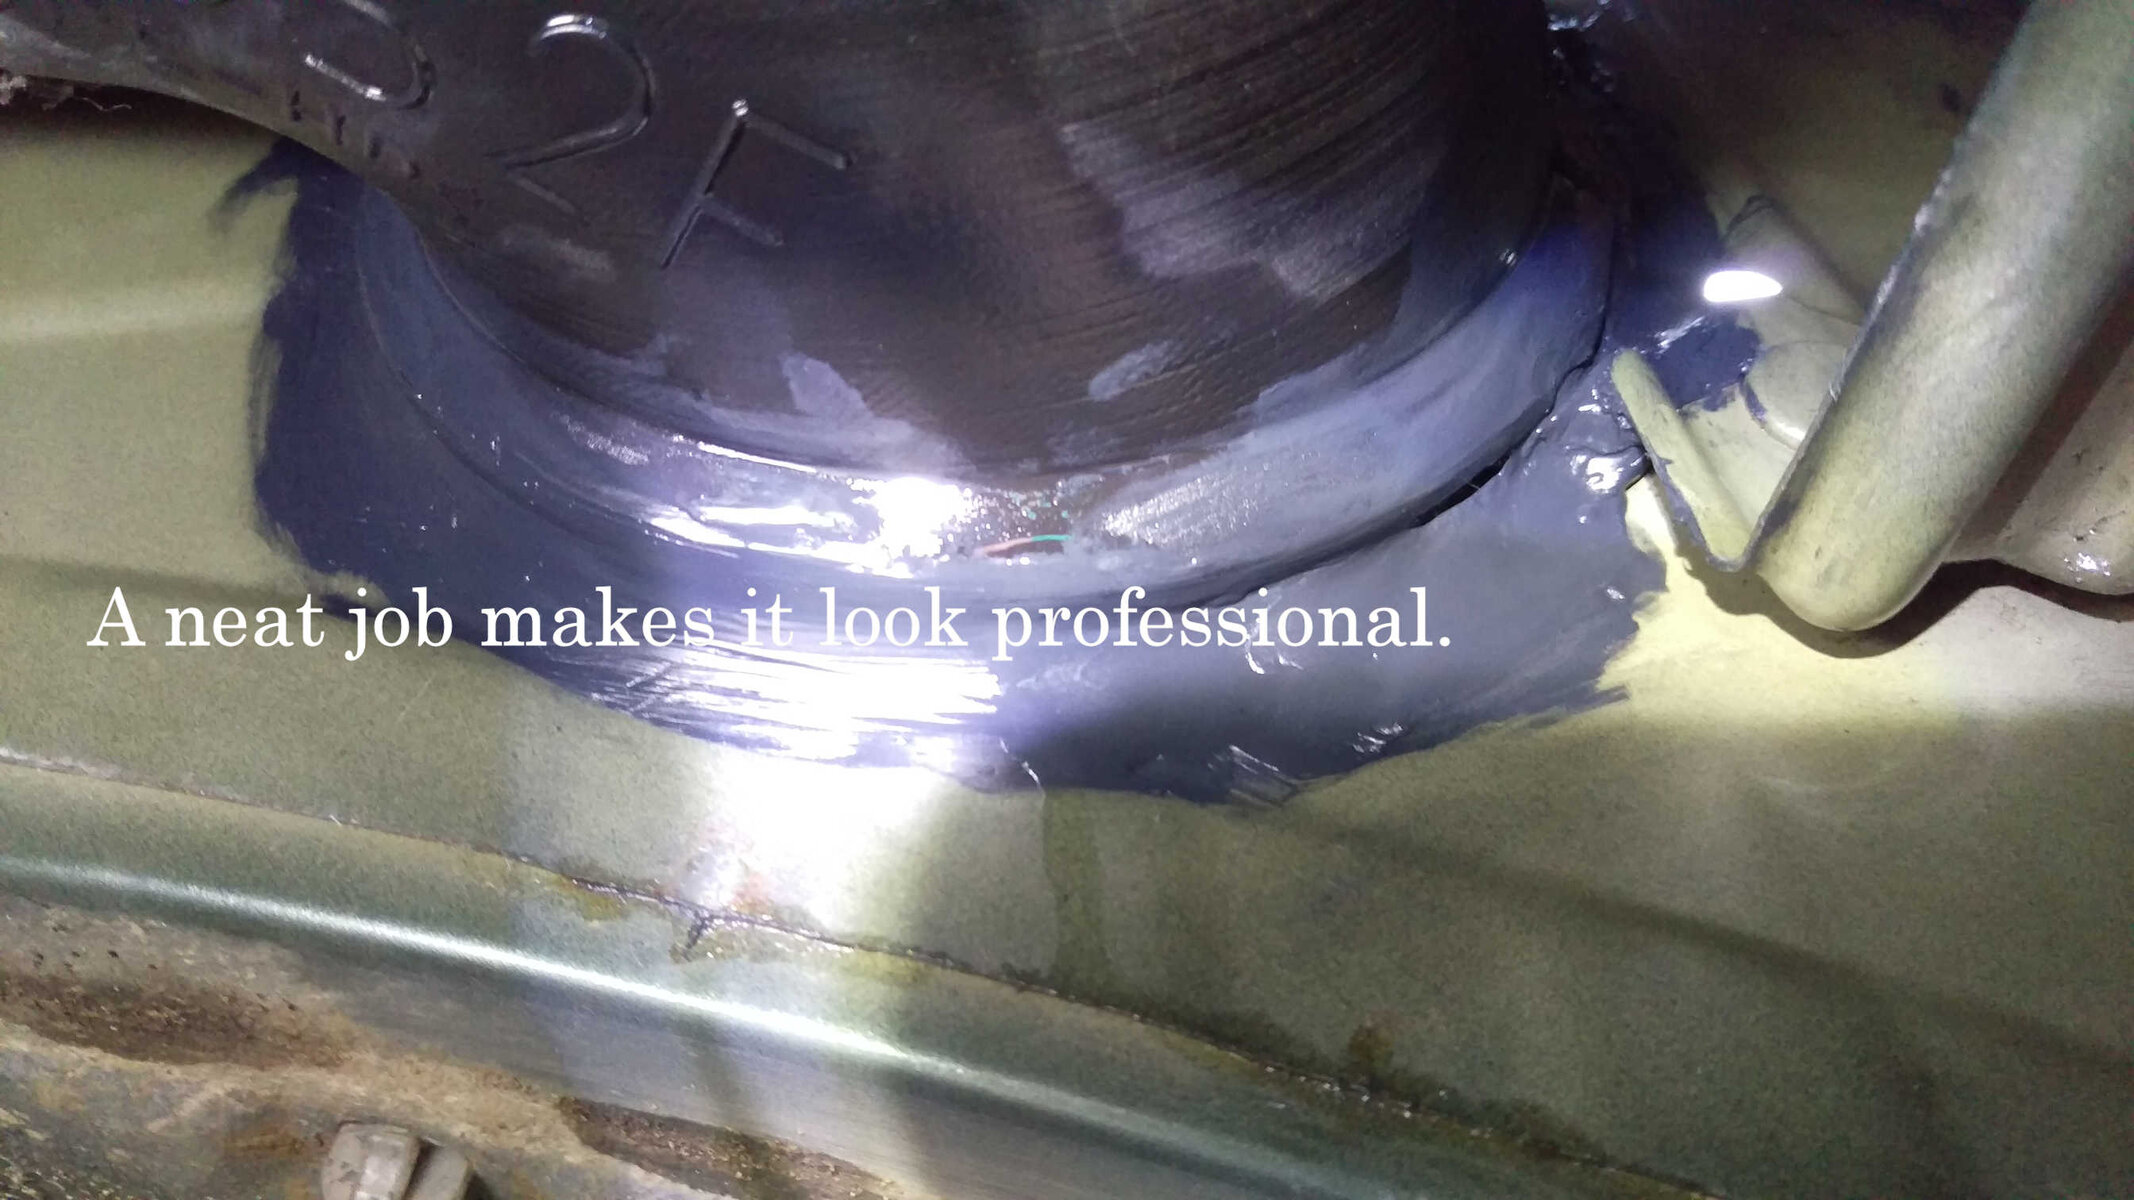
When you examine the end of the tube that went through the wing you will see some foam tape which is probably all squashed or perished. You need to remove this and use the spray to clean the plastic. Then clean round the hole in the wing.
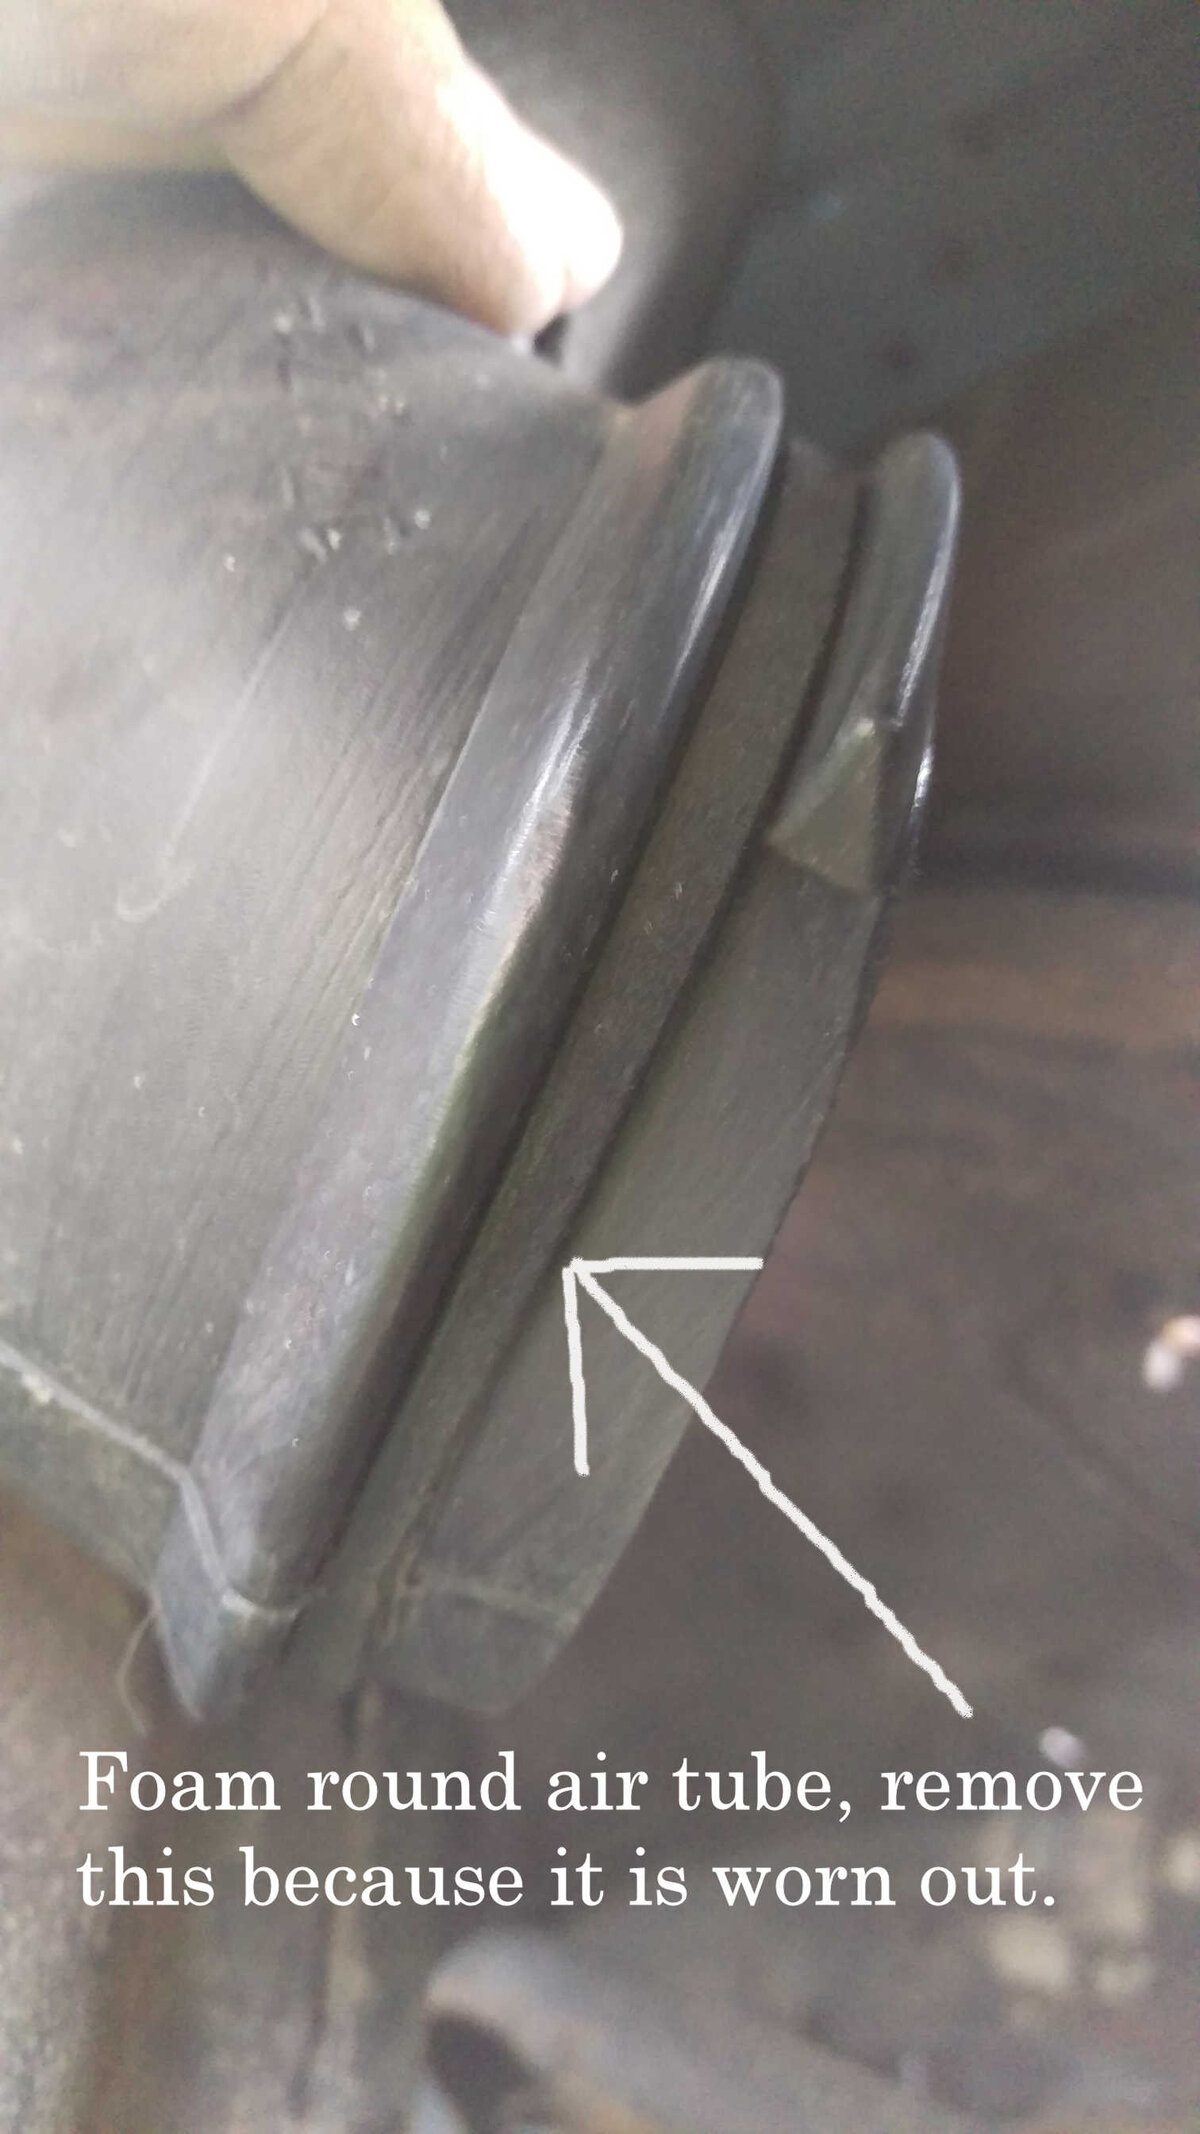
Air tube foam.jpg Worn foam ring.jpg

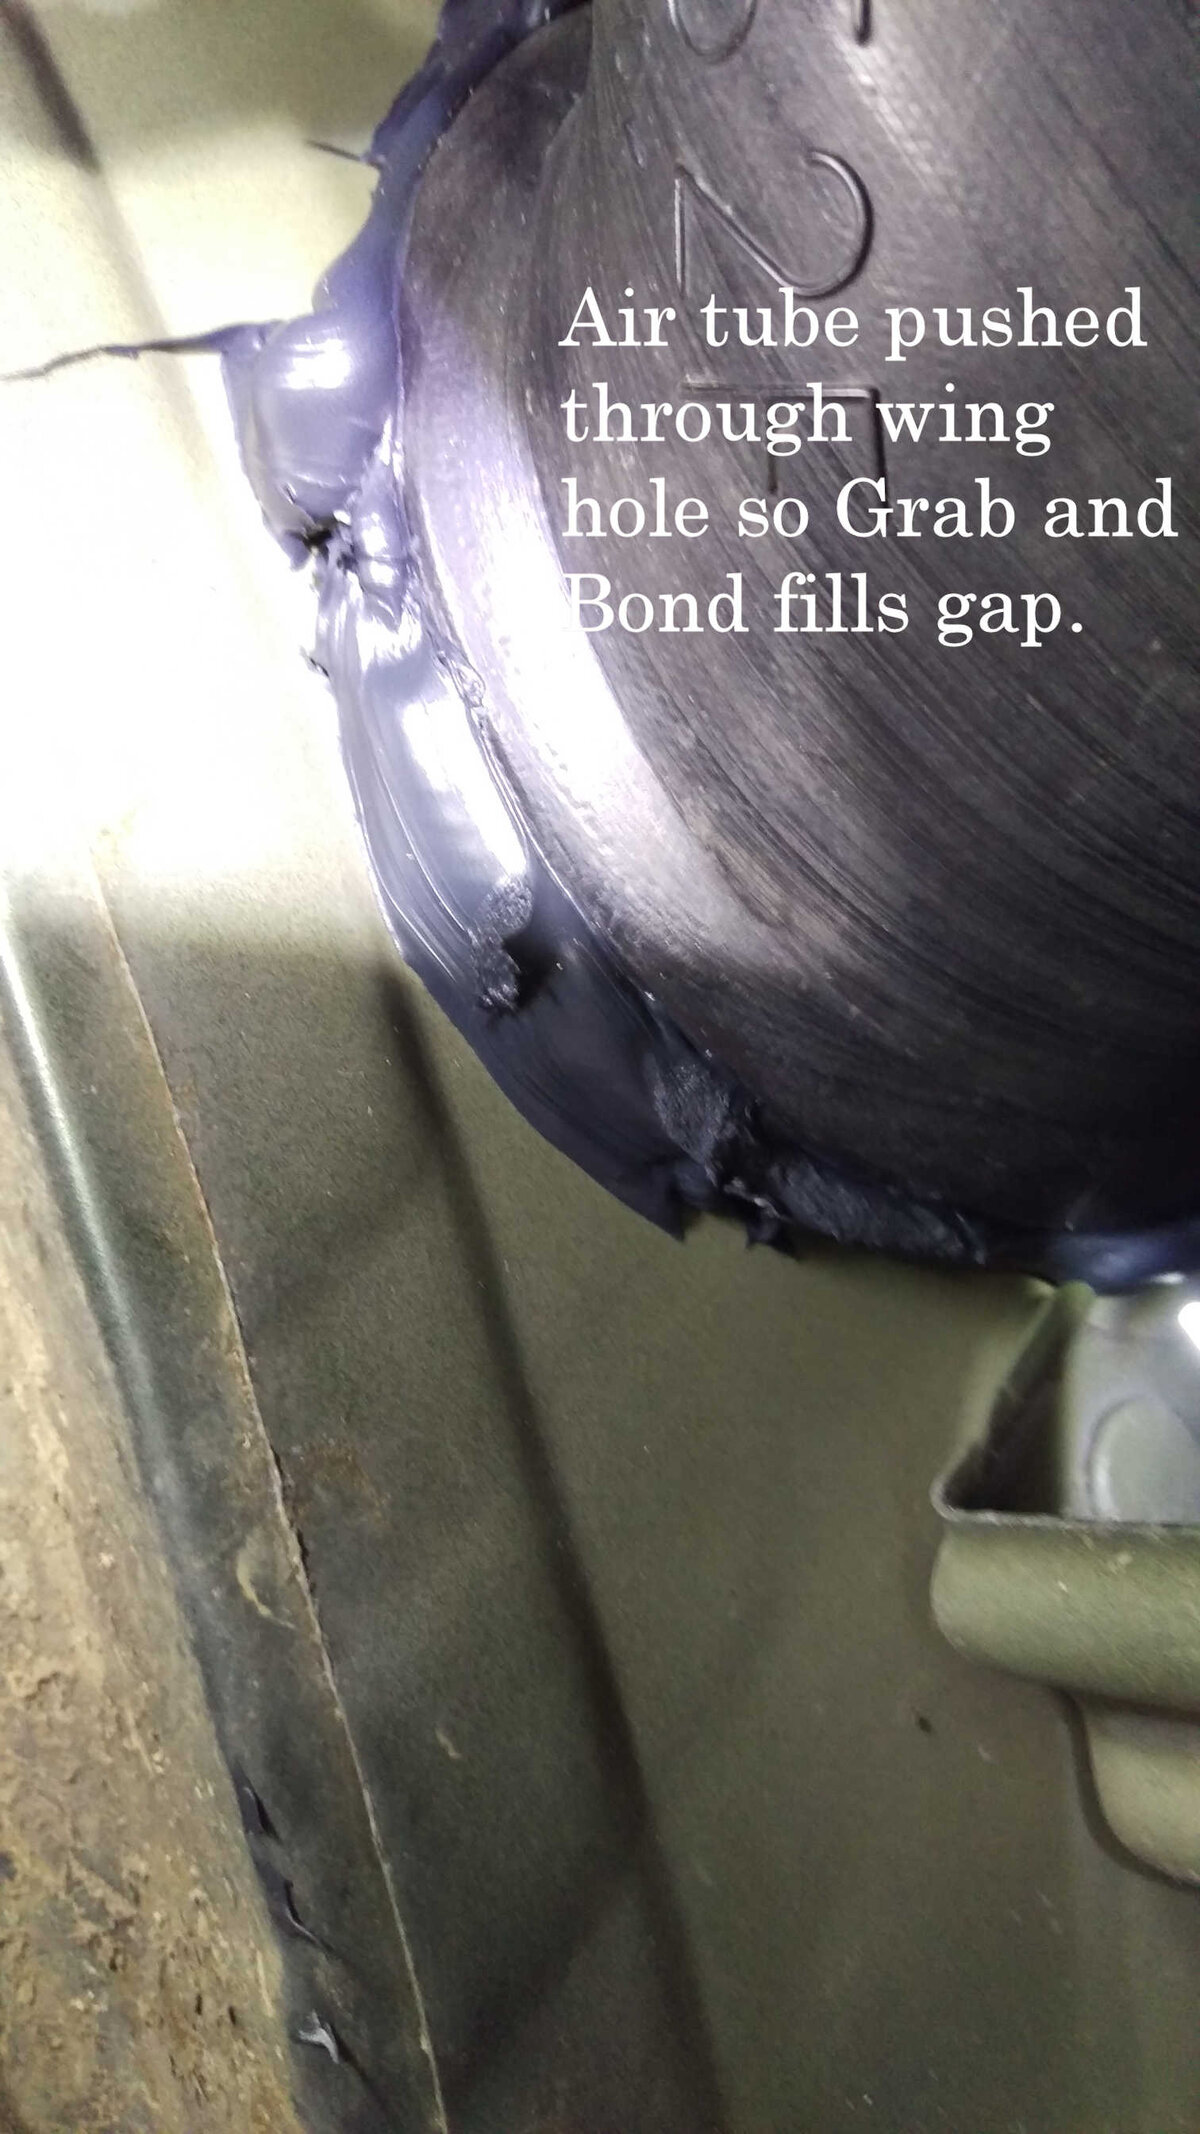
Now squeeze the Grab and Bond out around the end of the air intake tube. Then push the end back through the hole in the wing.
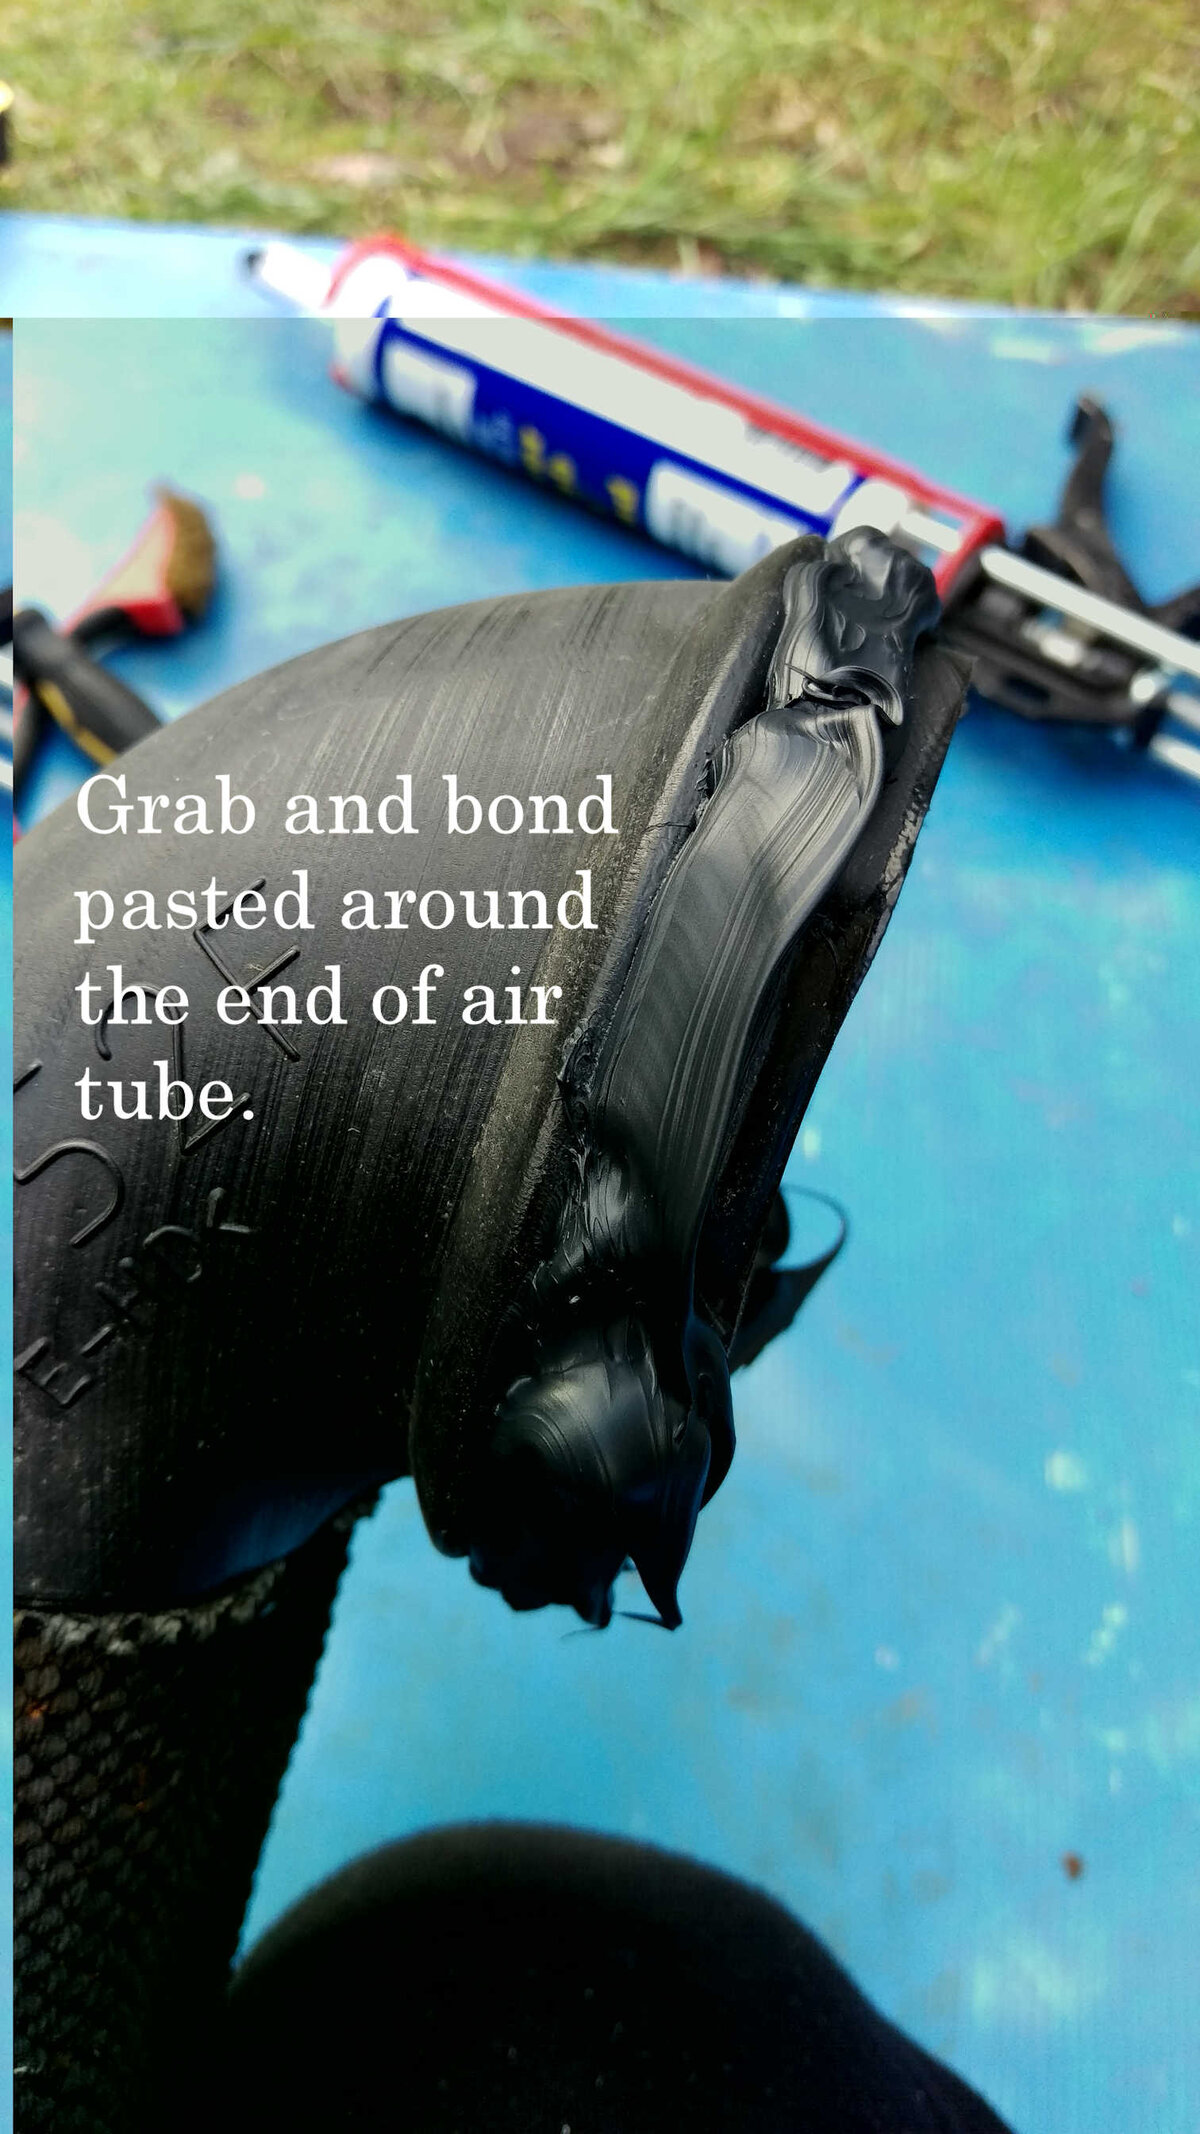
Grab pasted.jpg Tube pushed in.jpg

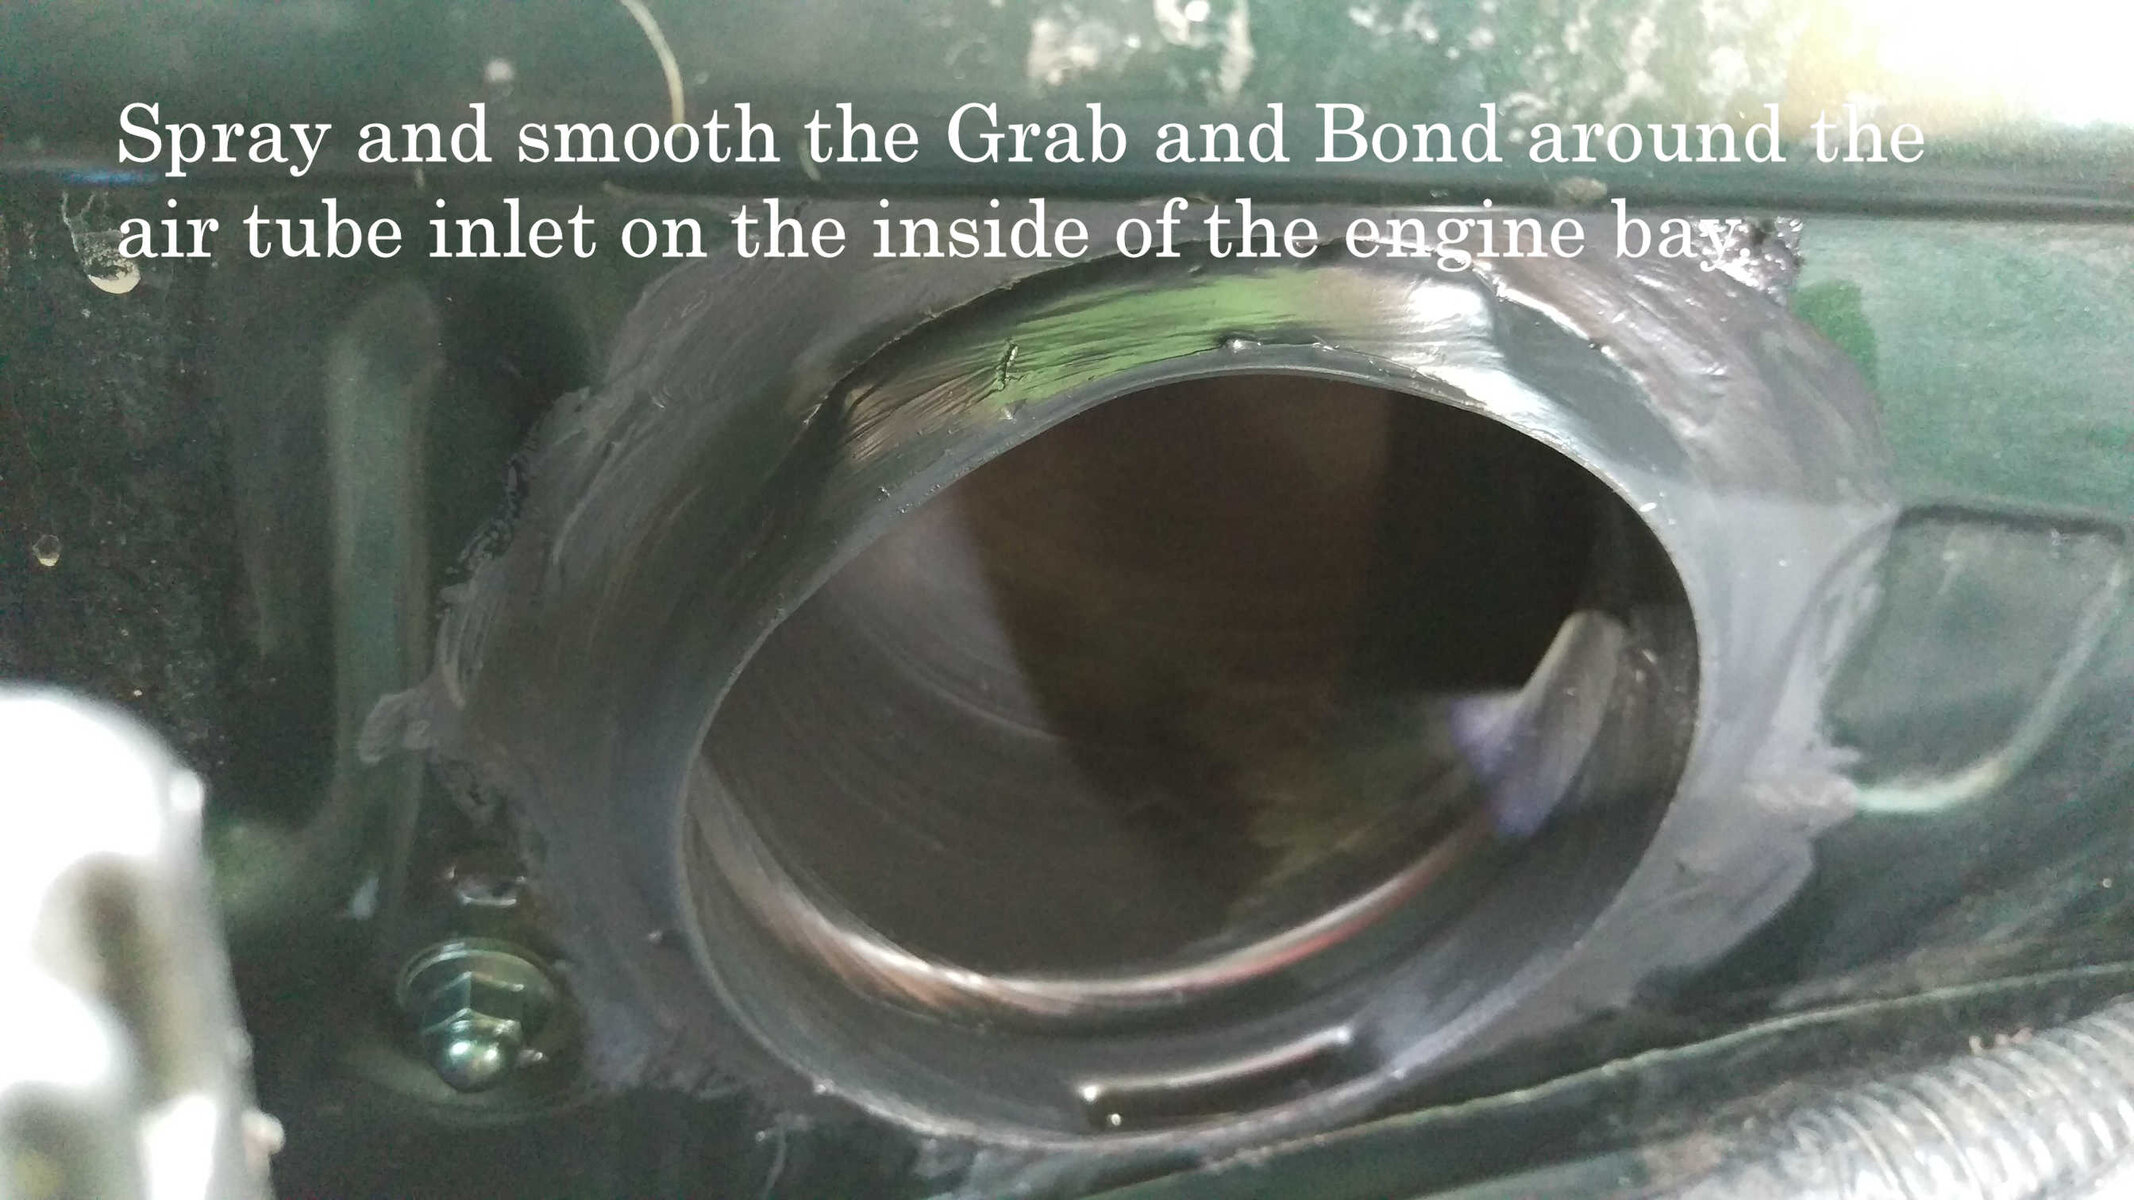
Make sure the Grab and Bond has squeezed through into the engine bay side of the wing so that the gap is filled. Then twist the tube back to its normal position and refit the screw.
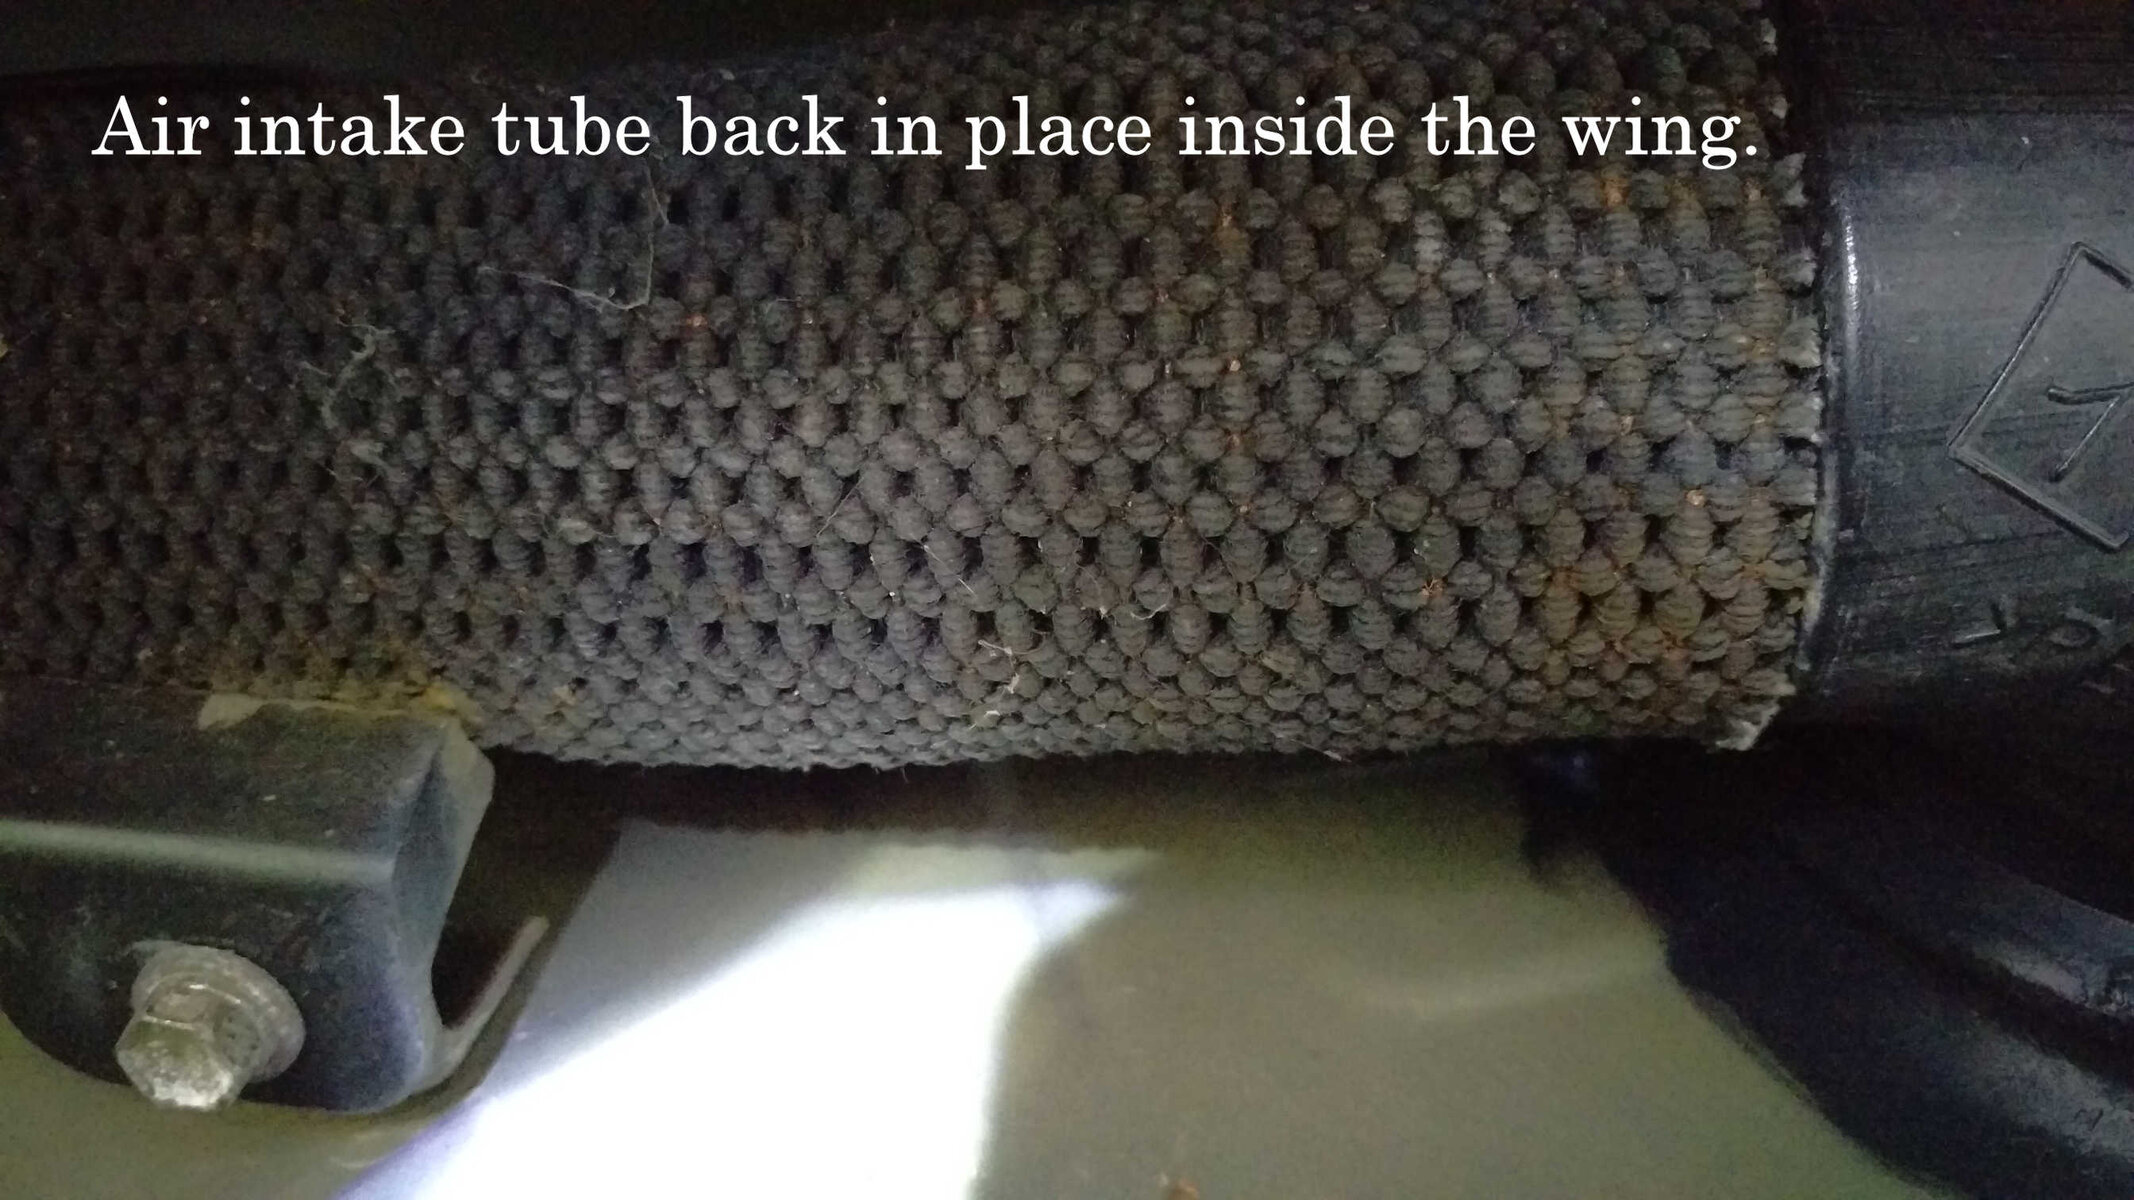
Air tube refitted.jpg

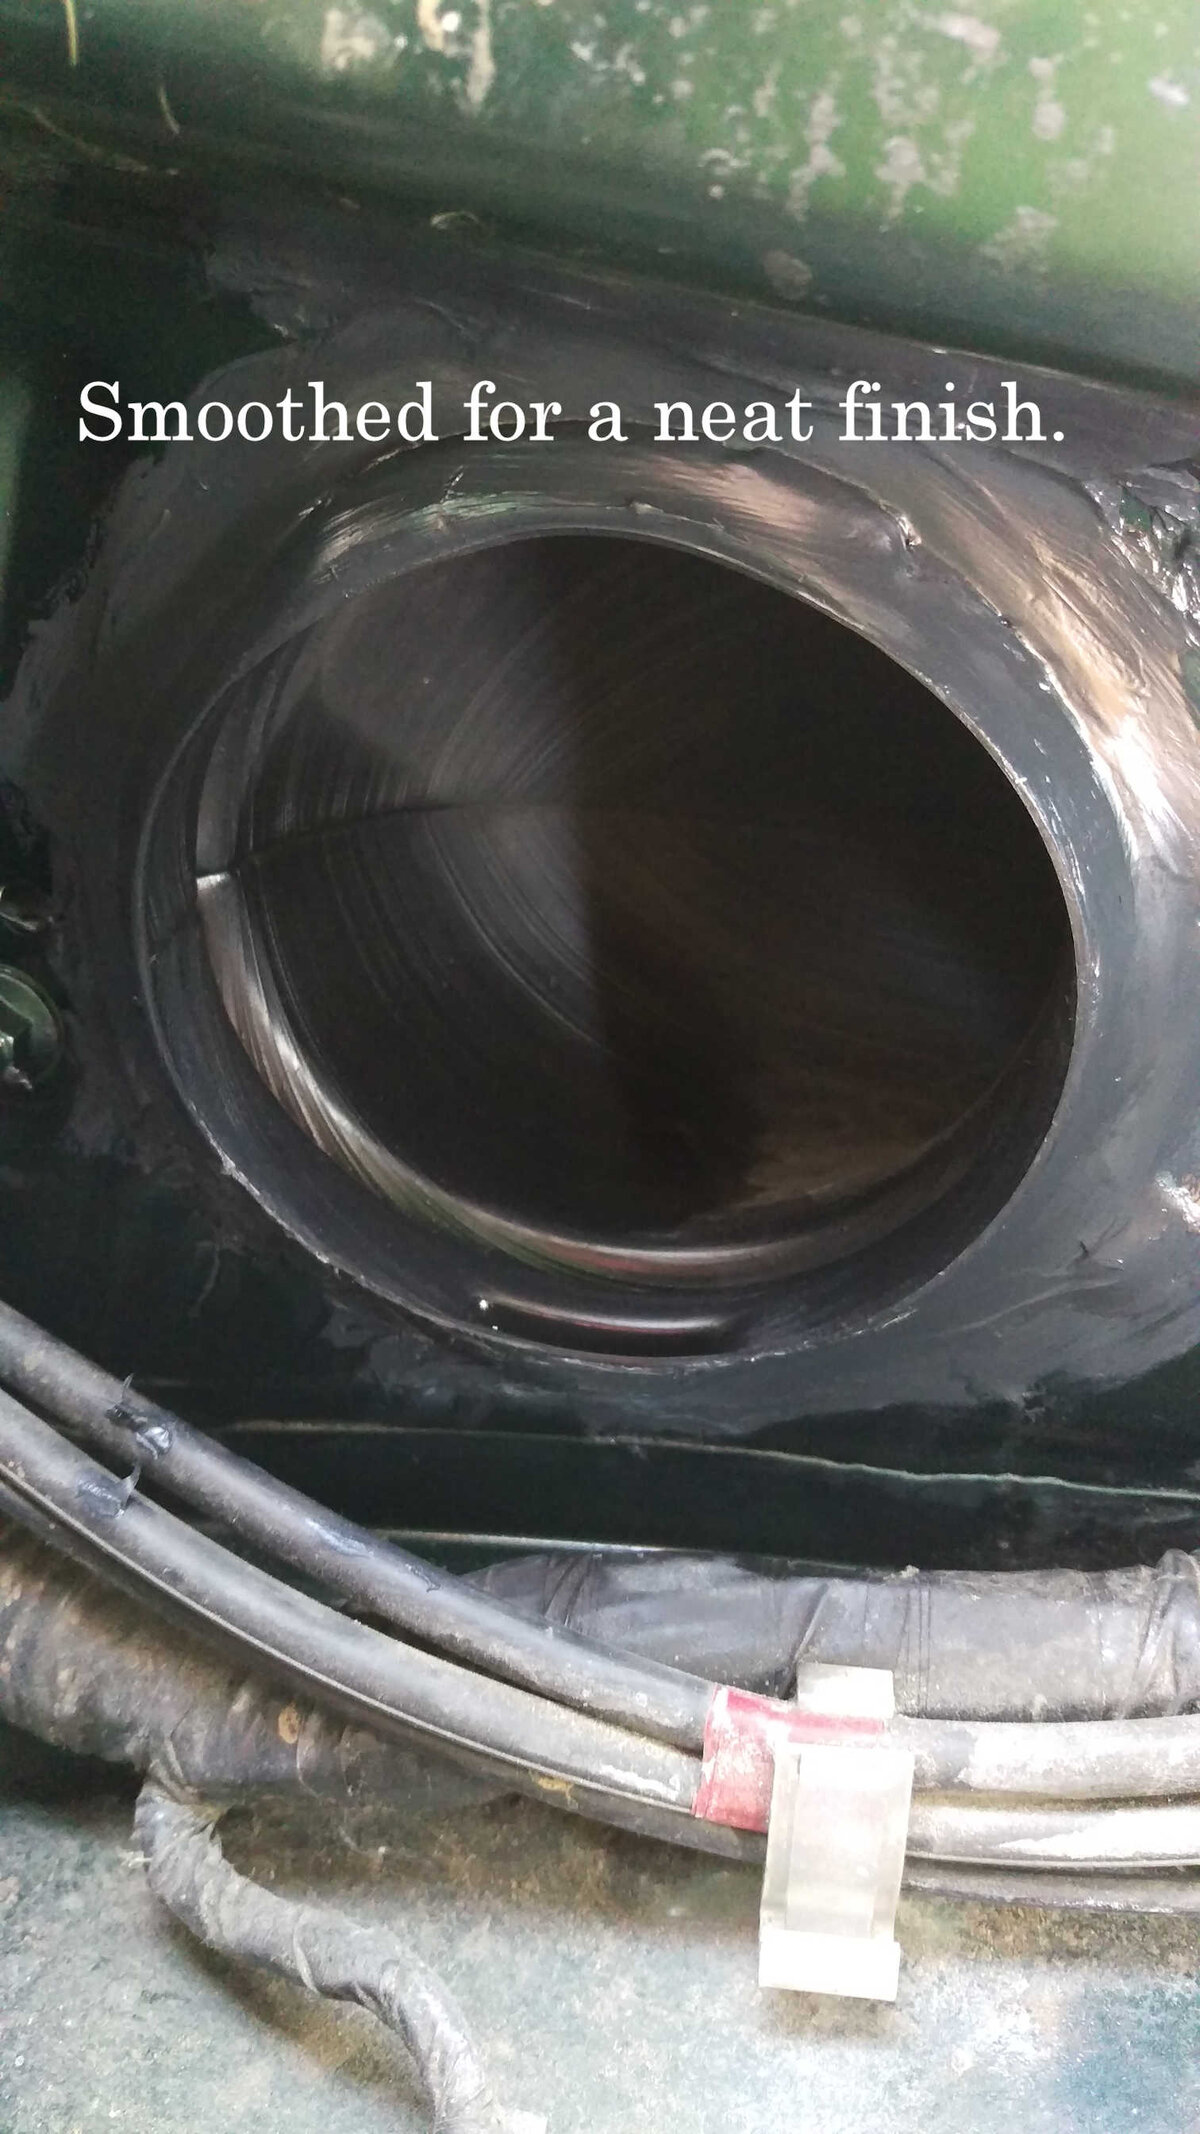
Now spray the Grab and Bond and use your finger to smooth it around the join to give a neat finish.
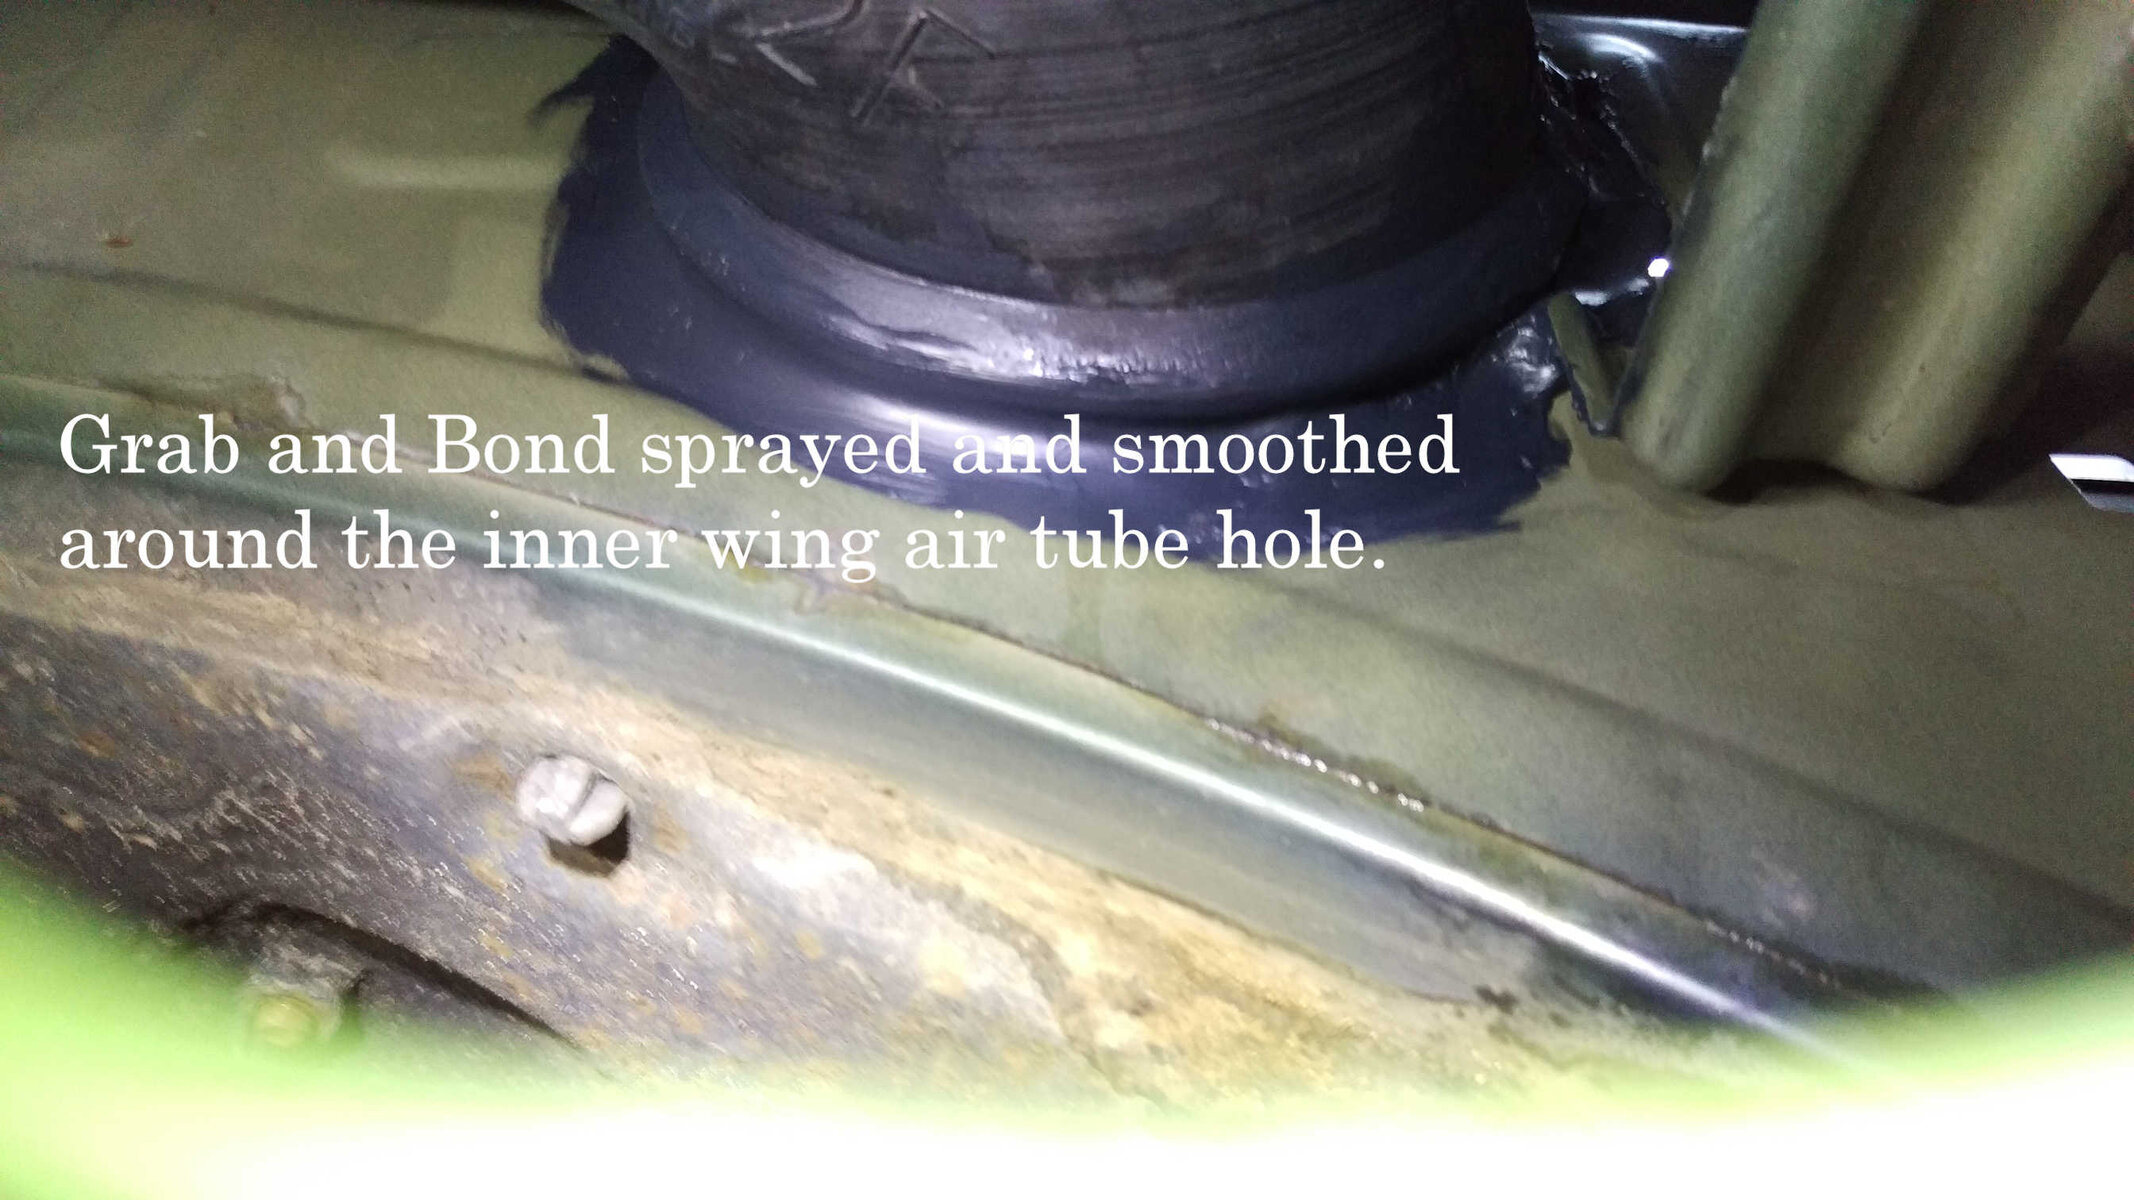
Inner tube grab smooth.jpg Nice and neat inside.jpg Smooth in bay.jpg Smoothed neatly.jpg

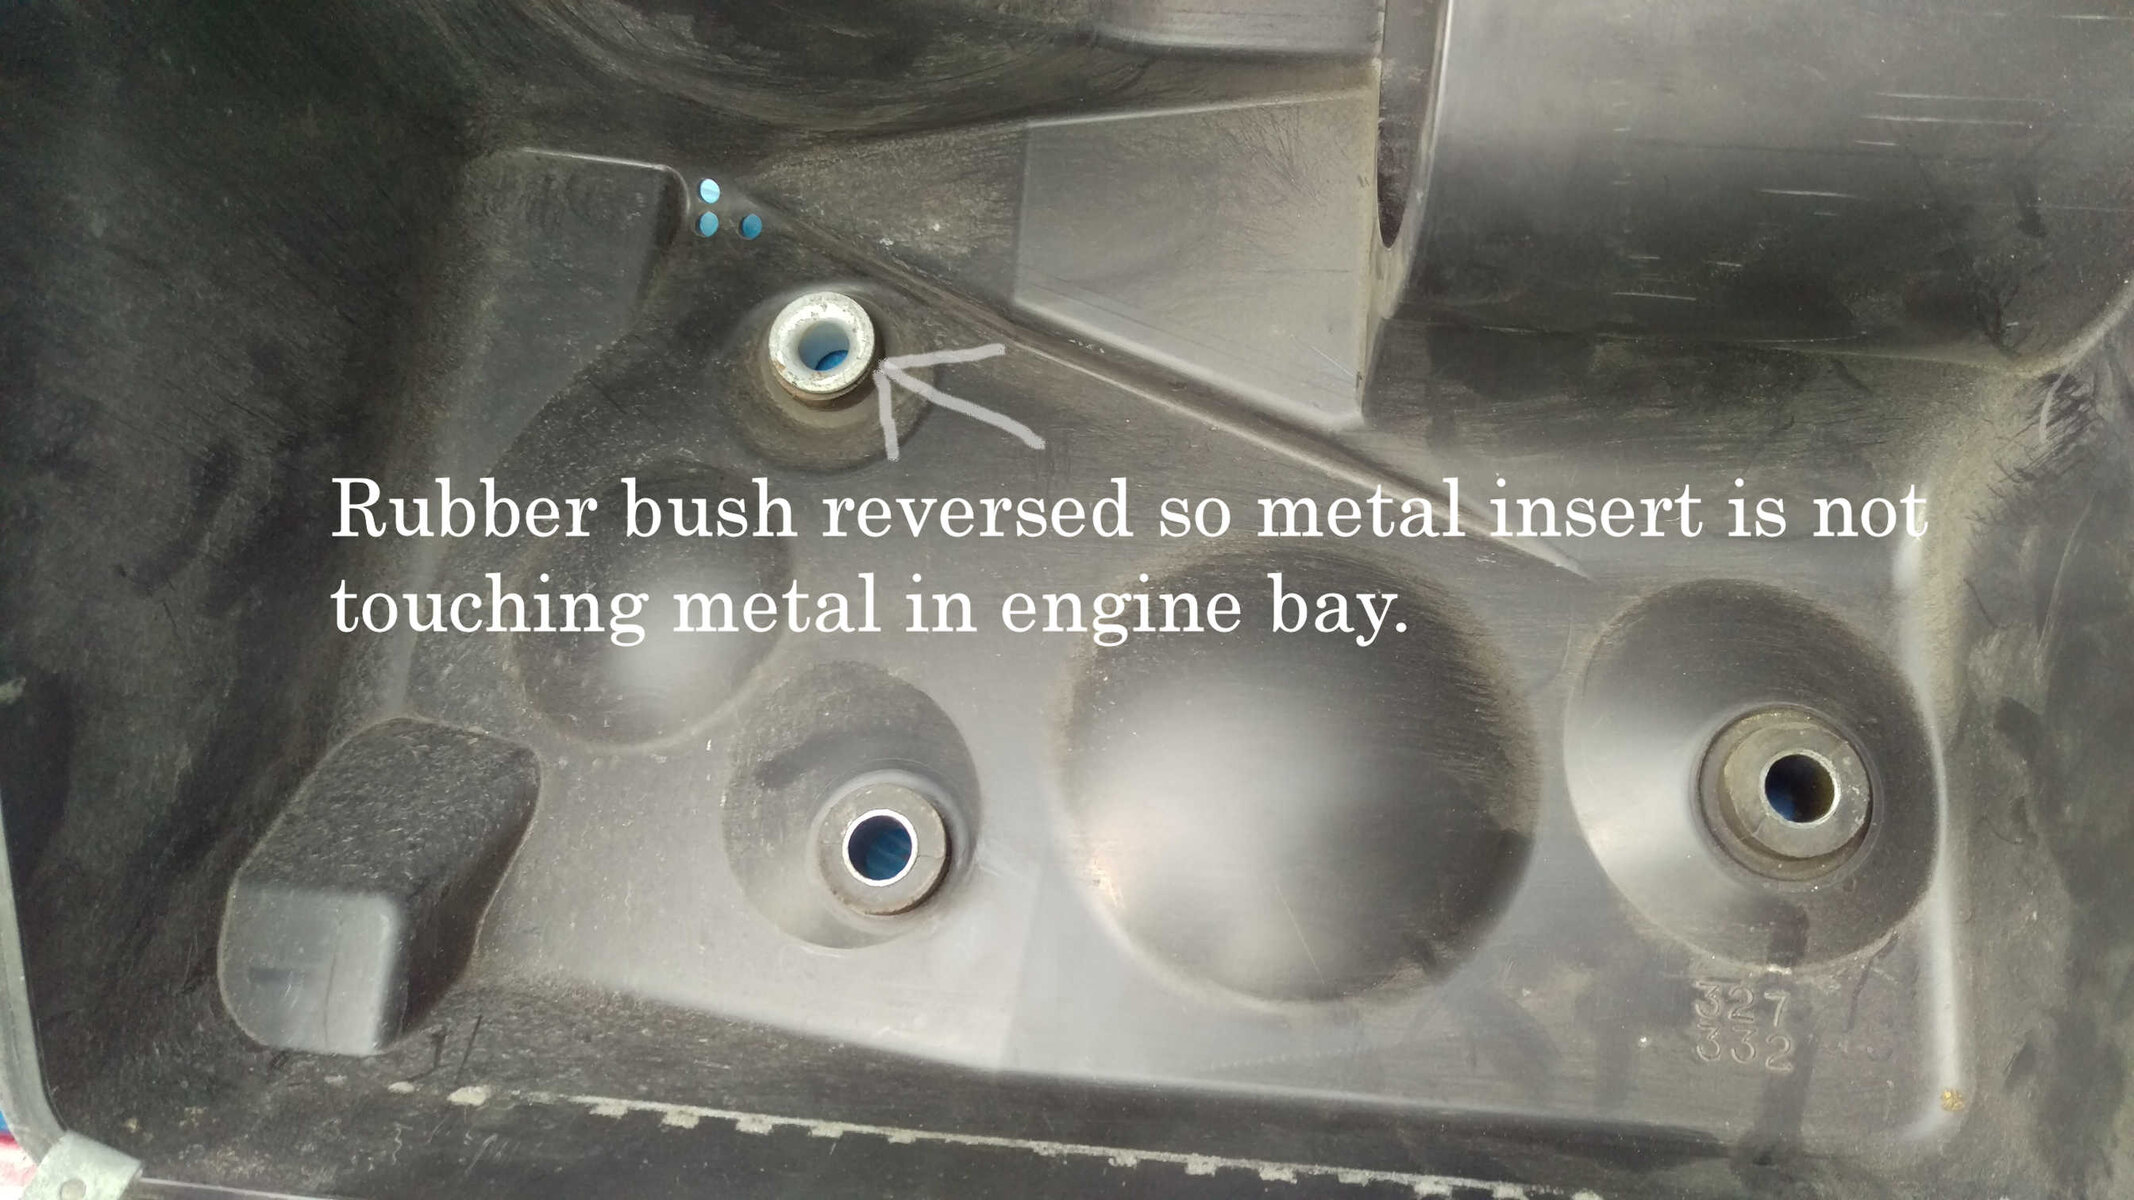
Now it is time to refit the air box base, however I noticed something which you may want to do to be sure that there are no other causes of rattles. Look at the underside of the air box base and you will see a metal cap insert going through the rubber mounting bushes. This metal cap will be in contact with the metal of the engine bay and might be a cause of a rattle if the bolt becomes lose. However you can push it out and back through the mounting bush so this cap is on the inside of the box.
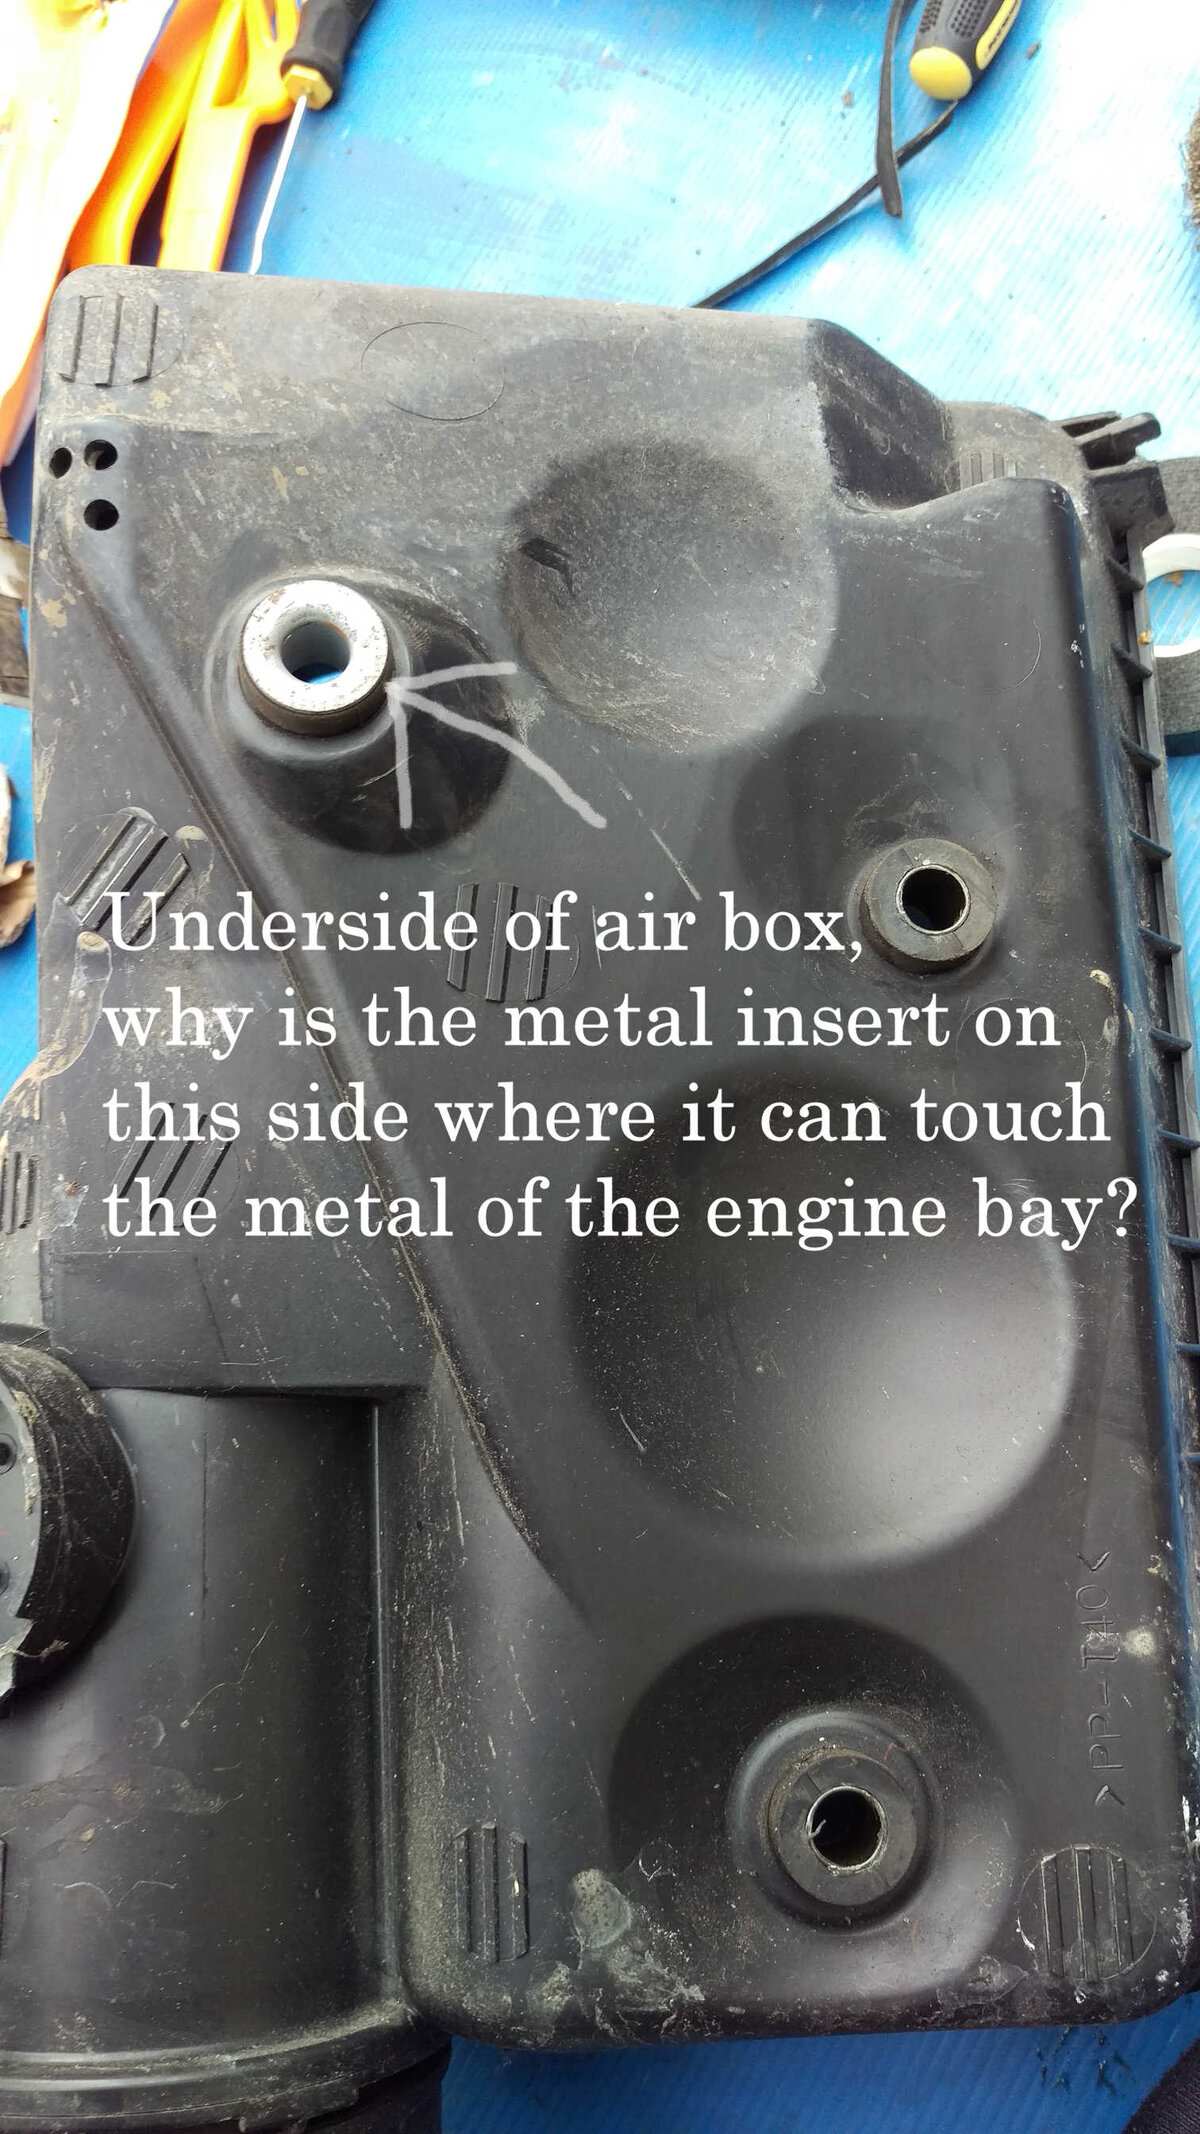
Metal insert as was.jpg Metal insert reversed.jpg

Now have a look at the rubber connecting pipe which goes inside the air intake tube. It is quite a lose fit and although it is made of rubber, it could still create a noise as it viabrates. So to prevent this possiblity, cut some velcro and use the furry half to wrap around the outside of this rubber connecting pipe. This will make the fit inside the air intake tube better but also create a softer surface which will prevent any noise.
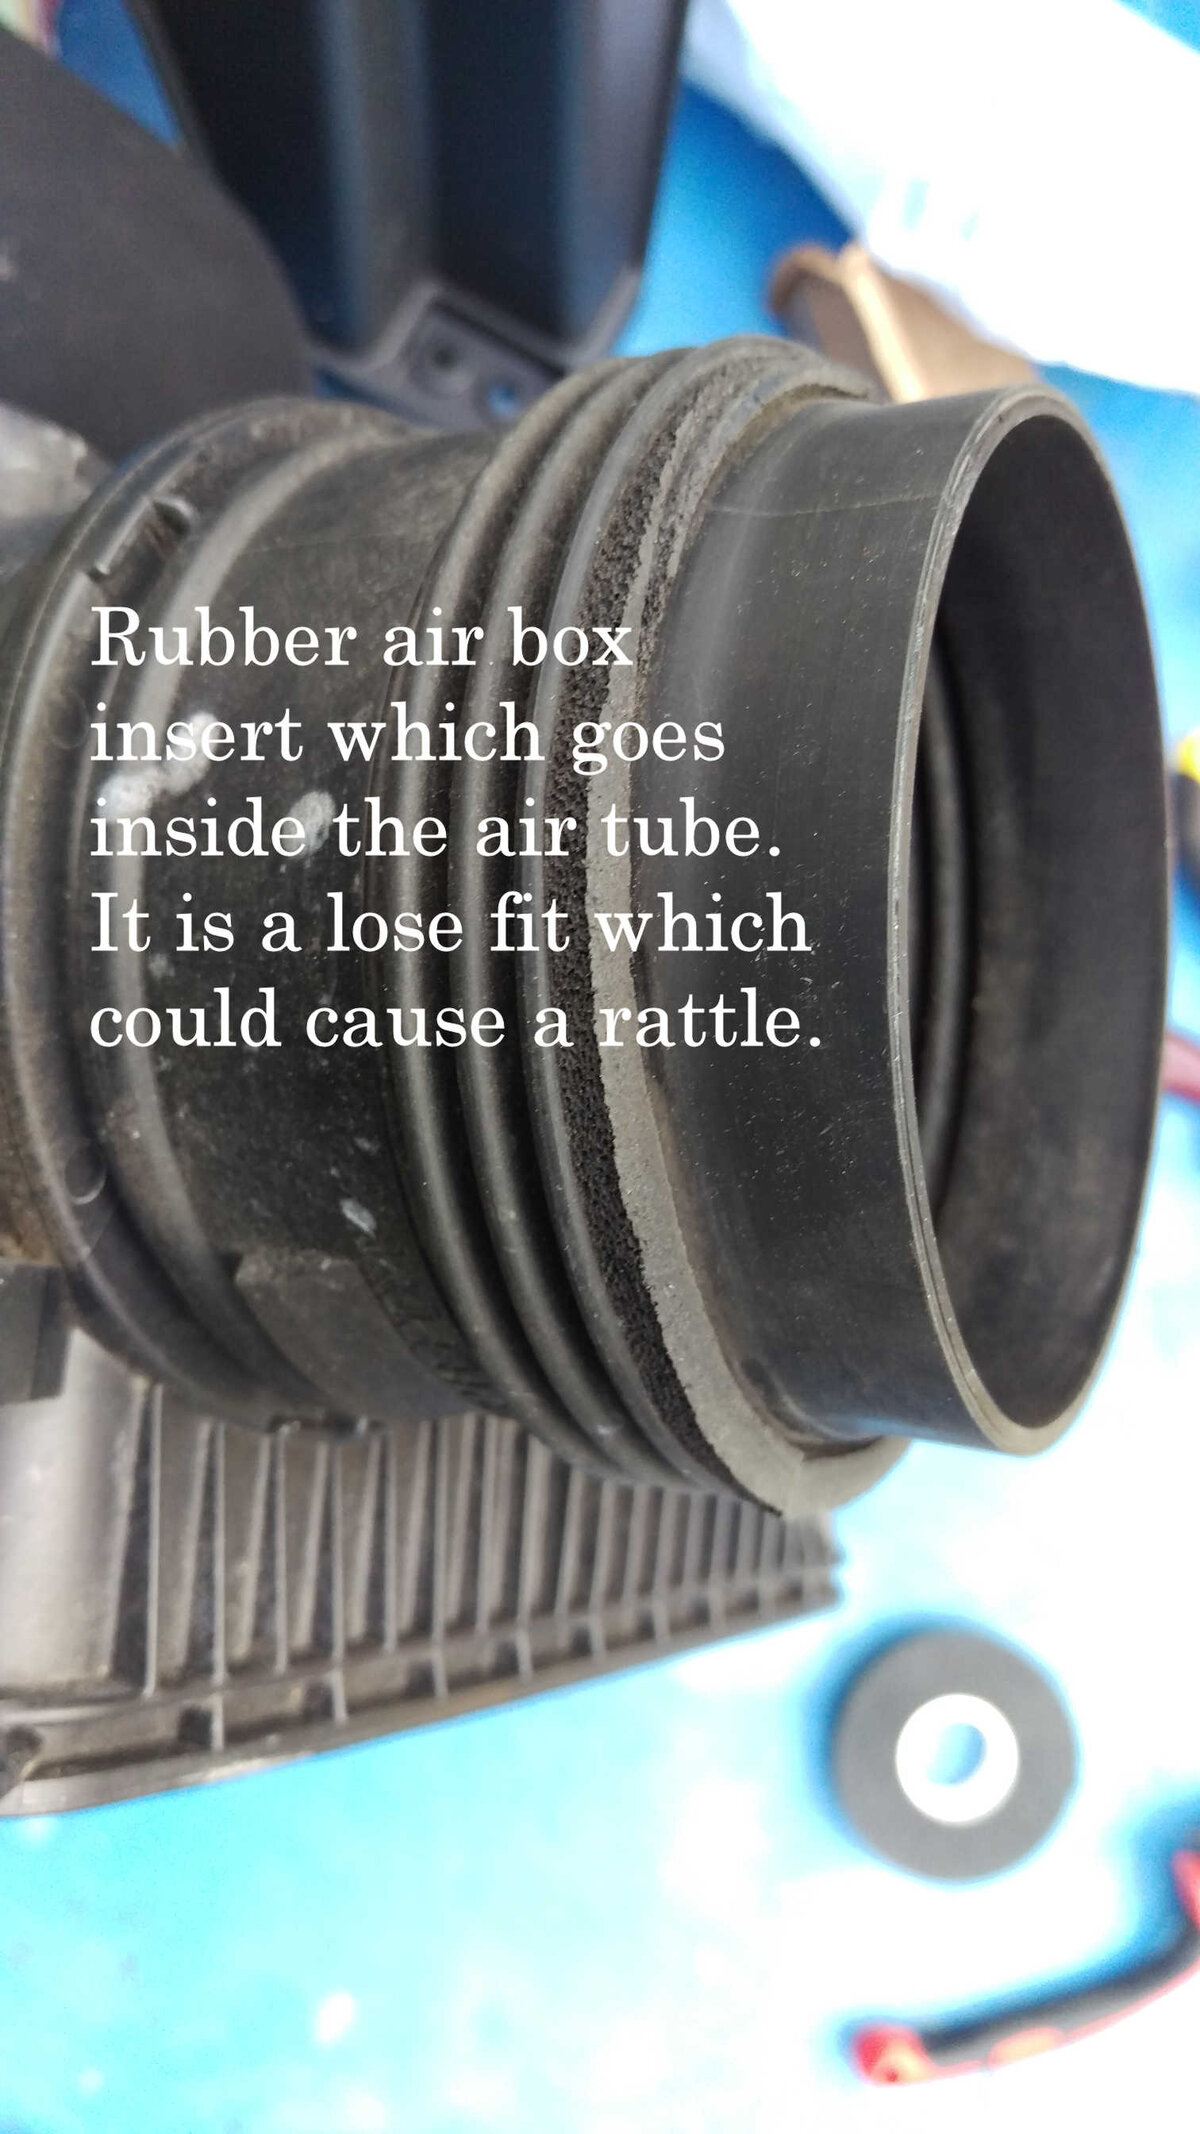
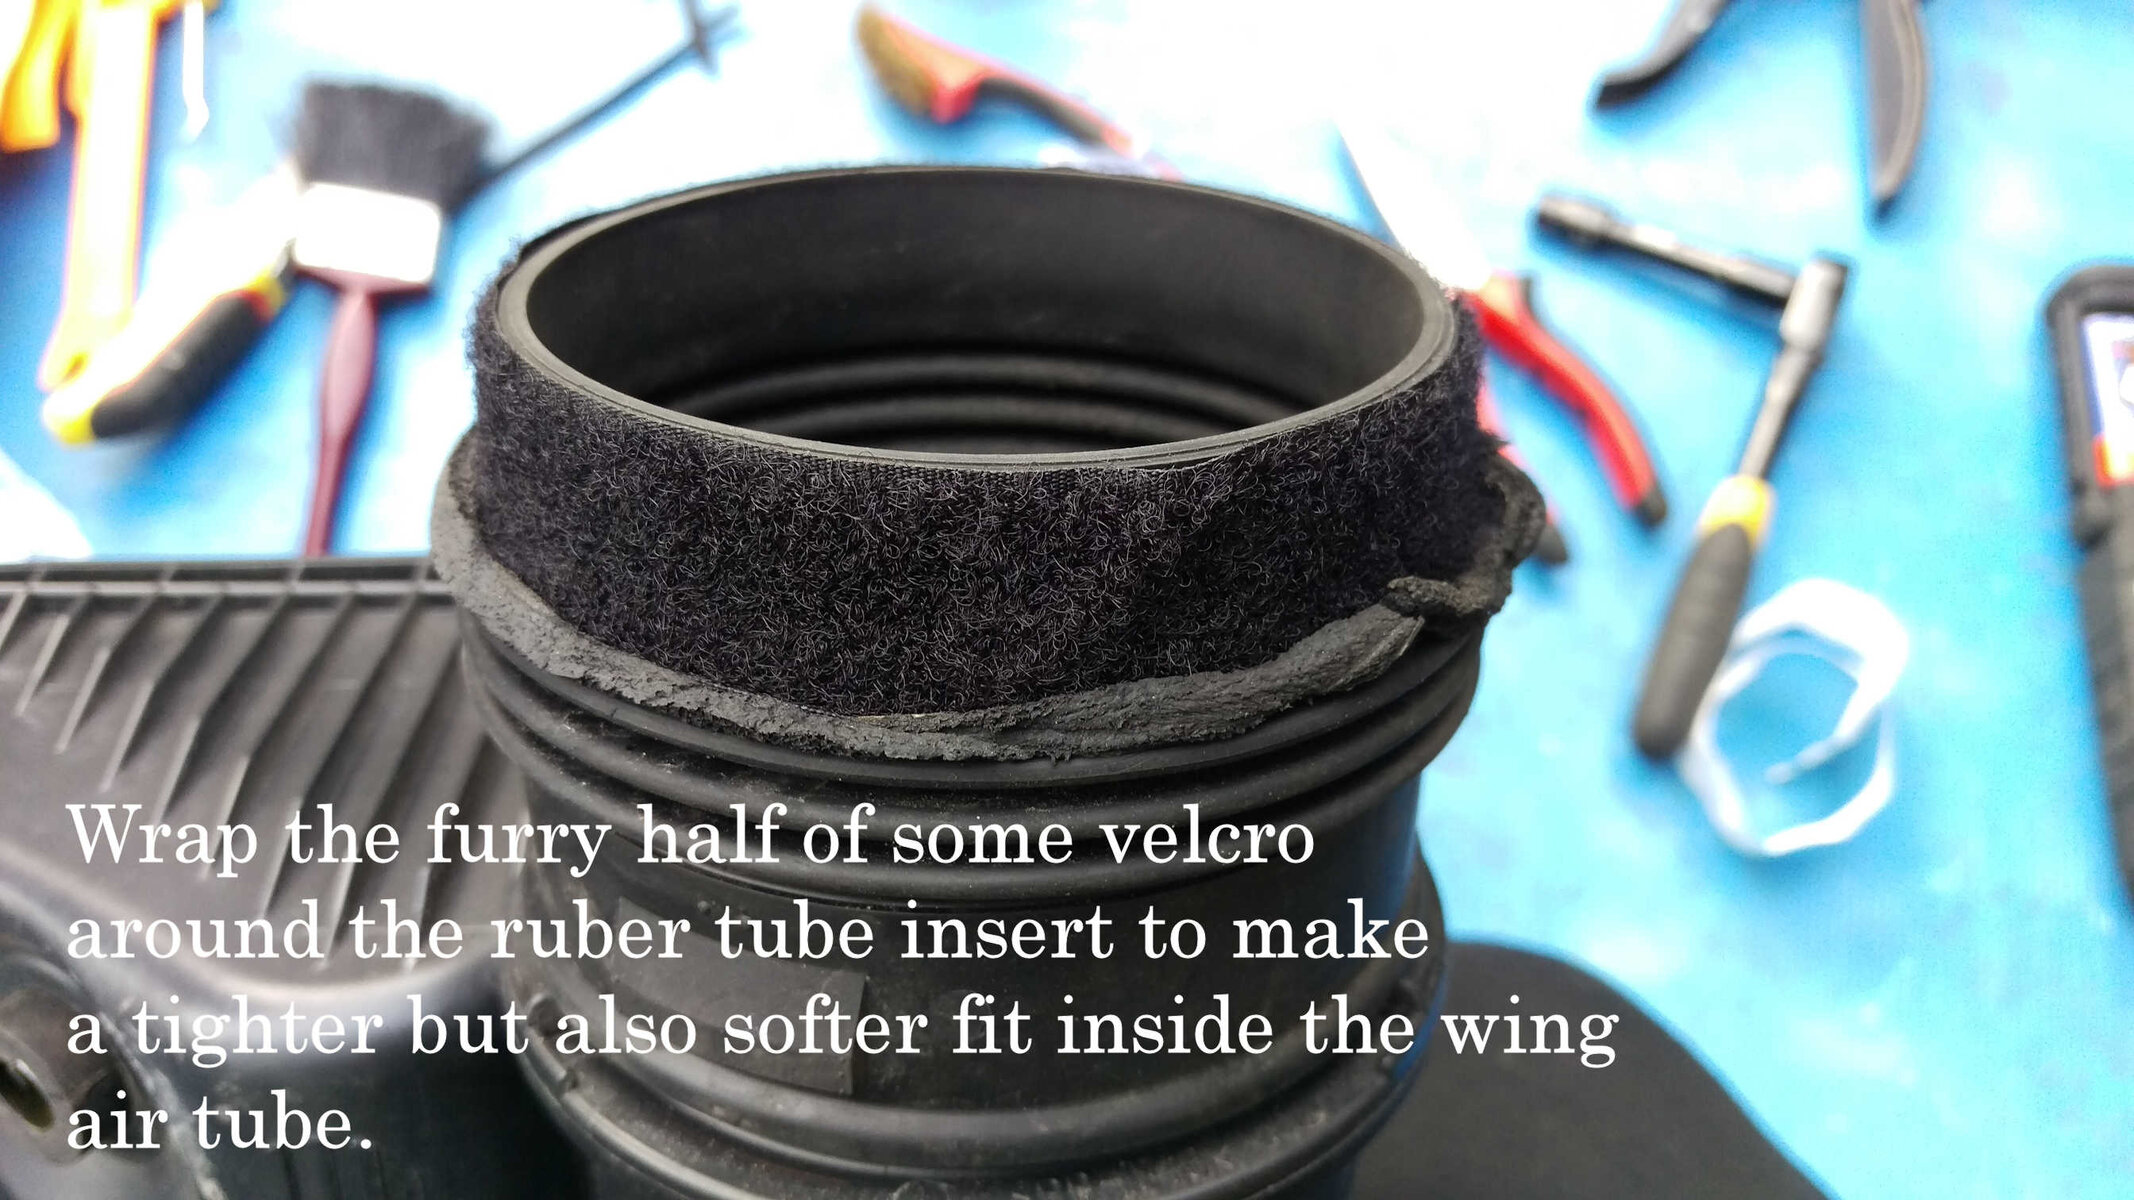
Air box rubber tube.jpg Velcro wrap.jpg

Now carefully refit the air box base into the engine bay but for one final preventative idea, use some rubber washers under the heads of the three bolts that hold it in place. Put the air filter back in and clip the air box top back on. Remember to tie that cable to the bracket so it does not flop about.
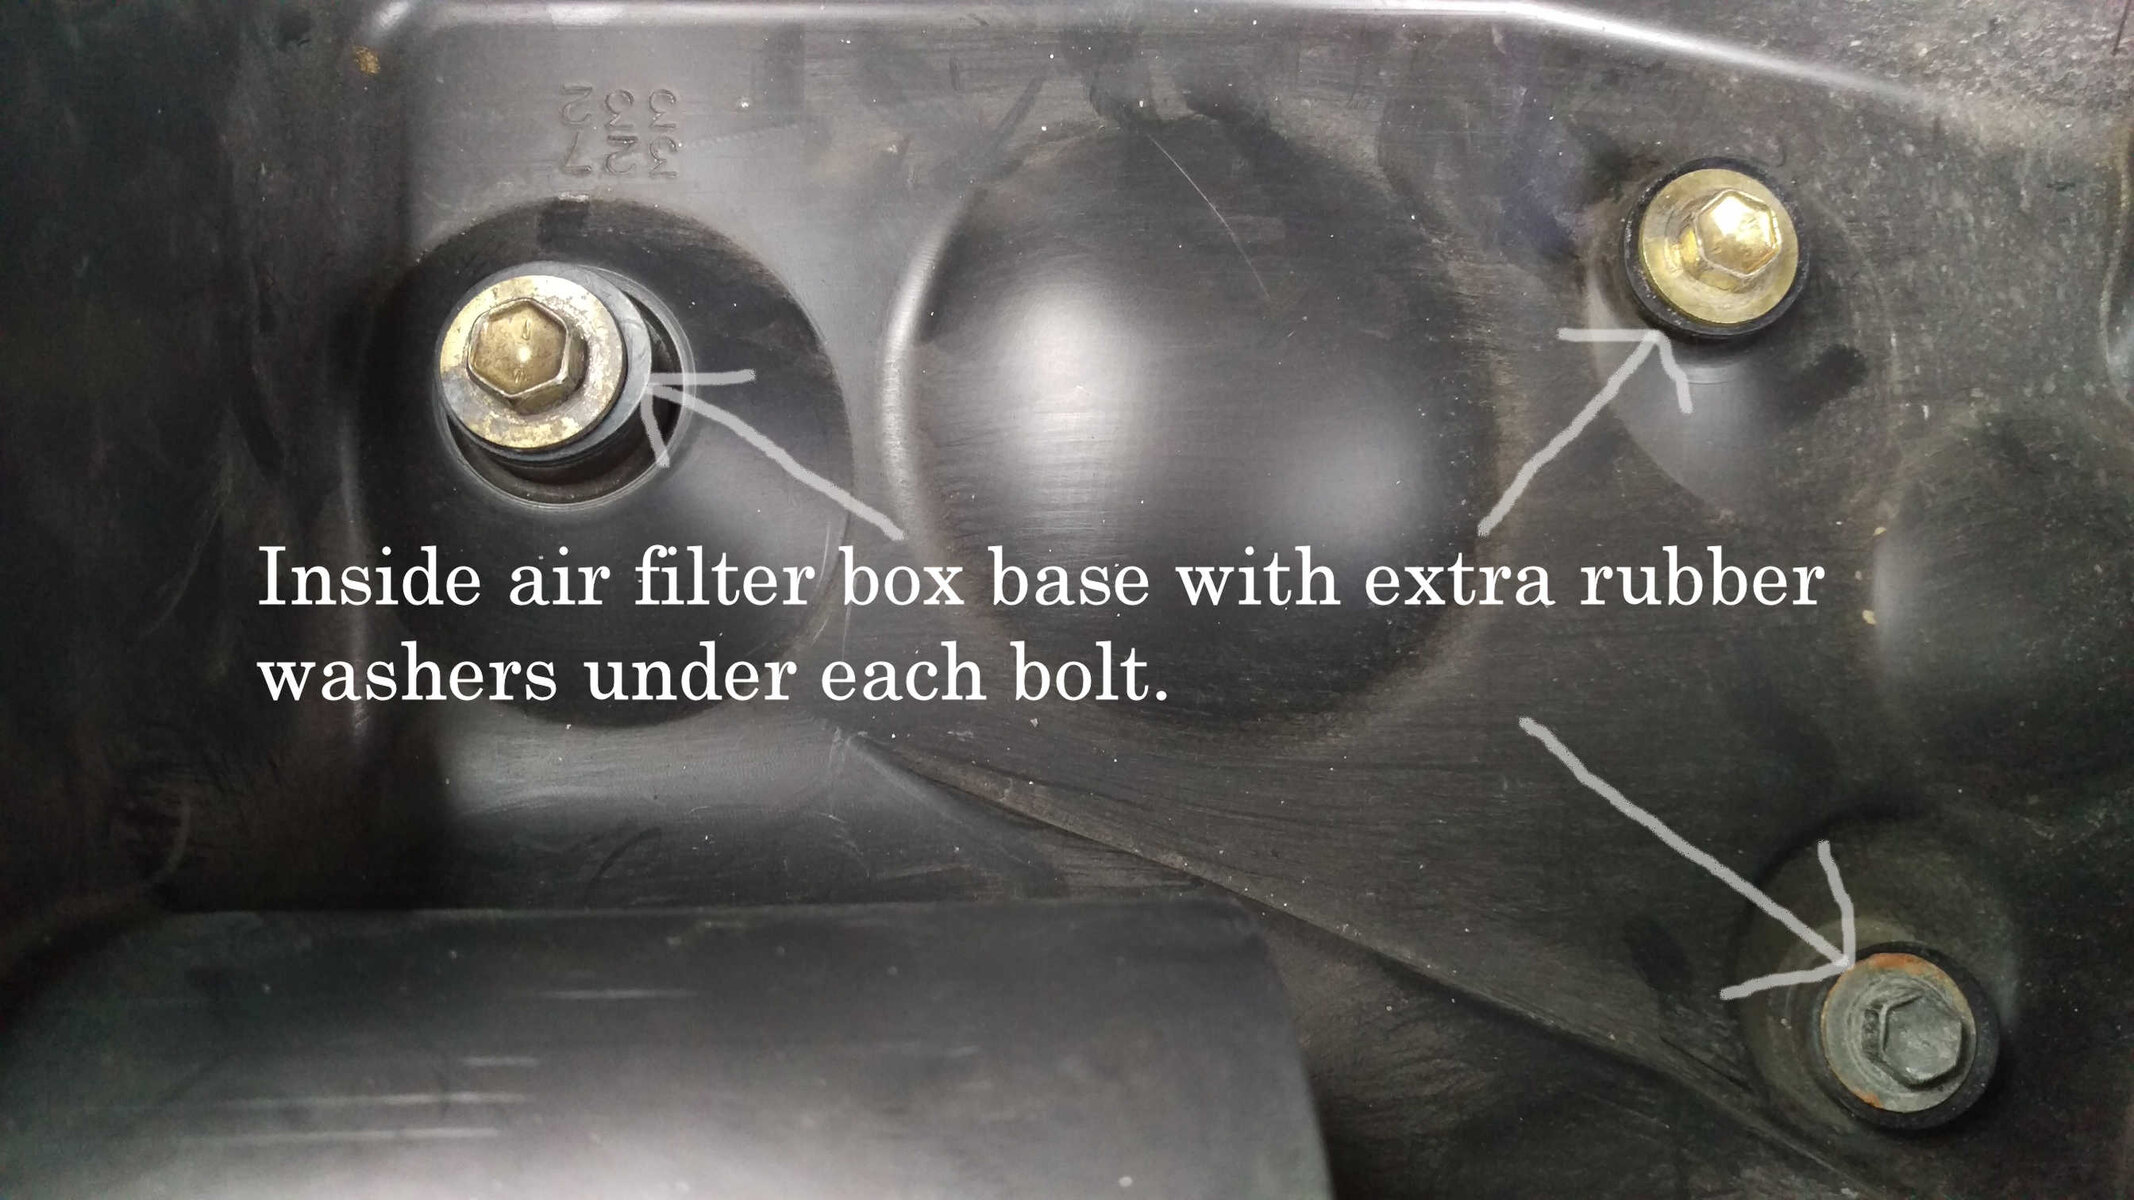
Rubber washers.jpg

Finally refit the wing liner and push the clips back in and do the the screws up and you are done. Now go for a nice peaceful drive which will be free from that vibration noise and make it more of a pleasure.

Hope this will help others cure this problem but if you feel it is too complex to tackle, I could be persuaded to do the job for you if you don't live too far from Bury St Edmunds in Suffolk.

Air box unbolted.jpg Vibro Point.jpg Air base out.jpg Front liner screws.jpg Side liner screws.jpg Wing Clip.jpg Liner unclipped.jpg Liner undone .jpg Air inlet gap.jpg Air tube bolt.jpg Wing Air Tube 2.jpg Wing Air Tube 1.jpg Air tube pushed out.jpg Air tube hole.jpg Air tube wing hole.jpg CT1 Grab.jpg CT1 Spray.jpg Air tube removed.jpg Air tube foam.jpg Worn foam ring.jpg Tube pushed in.jpg Grab pasted.jpg Air tube refitted.jpg Inner tube grab smooth.jpg Nice and neat inside.jpg Smooth in bay.jpg Smoothed neatly.jpg Metal insert as was.jpg Metal insert reversed.jpg Air box rubber tube.jpg Velcro wrap.jpg Rubber washers.jpg
 
Don't like the adverts?  Click here to remove them
Great job[emoji106] . Super write up and pics. I'll be giving this a go at some point.
 
I had a few spare hours today. so stripped it all out as per photos above. I also had the same with the rubber mounting/ metal on one of the airbox mounts, i added a few rubber washers underneath the airbox and tightened down on them. the jobs worth doing. it was a nice sunny afternoon and i cruised along the seafront at 1500 revs not a rattle:dance:
 
So glad you managed to fix the noise too, it's amazing how much more pleasurable it is to drive without that vibration going on.
 
How come you didn't just replace the worn foam gaskets with new ones instead of mastic?
 
Last edited:
For me its what i had in the van. and at least its a permanent job. who knows how long the rattle will stay away with the foam gasket. Also there's no need for the inner wing airtube to come out. so cant see a problem with it being stuck in.
 
Because the foam idea has proved itself to be flawed, therefore a more perminant fix was sort not only to resolve the issue but also to ensure that it never returns.
 
Hi new to the forum only had my current car about a month an the rattle has been driving me mental! Thought it was the exhaust heat shield which was loose but after replacing the washer the dreaded rattle was still there just done this mod this afternoon and rattle is no more so big thanks Mad Mif in my book your a legend!!! Only thing I would add to your excellent write up was the plastic clips are a right pain to get out without demolishing them so I went to Toyota and purchased some new clips before I started apart from that Happy Days!
 
A successful end to an annoying problem, and such a good write up!

I'm thinking some credit to Shayne too, at least post #5 was close, and I think might have sent you in the right direction in the end :clap:
 
Cheers mate i can't take no credit for a wild guess but getting it right occasionally does support my view that education and experience can sometimes blind us .
 
Cheers mate i can't take no credit for a wild guess but getting it right occasionally does support my view that education and experience can sometimes blind us .

It's what the forum is all about IMO Shayne. If you get four wild guesses and one is right, then only three wild guesses may have missed it completely.

So many on here have had similar problems, and in this case, maybe ten members and no end of visitors to the site have been helped, one by finding the cause, and two from Mad Miff's detailed repair job.

Certainly a credit to the forum, all-in :thumbup:
 
Hi new to the forum only had my current car about a month an the rattle has been driving me mental! Thought it was the exhaust heat shield which was loose but after replacing the washer the dreaded rattle was still there just done this mod this afternoon and rattle is no more so big thanks Mad Mif in my book your a legend!!! Only thing I would add to your excellent write up was the plastic clips are a right pain to get out without demolishing them so I went to Toyota and purchased some new clips before I started apart from that Happy Days!
Good idea of yours to get some spare plastic clips, won't have to worry about breaking them then.

Do you have a product code for them?
 
Good idea of yours to get some spare plastic clips, won't have to worry about breaking them then.

Do you have a product code for them?

In the description part of the invoice I have P y90189-06013 04b07b grommet hope this helps:wtf: oh and they are £1.14 each think I used 6
 
Back
Top