Don't like the adverts?  Click here to remove them

Back end taking shape

Josh Tagg

Well-Known Member
Joined
Apr 21, 2017
Messages
489
Country Flag
uk
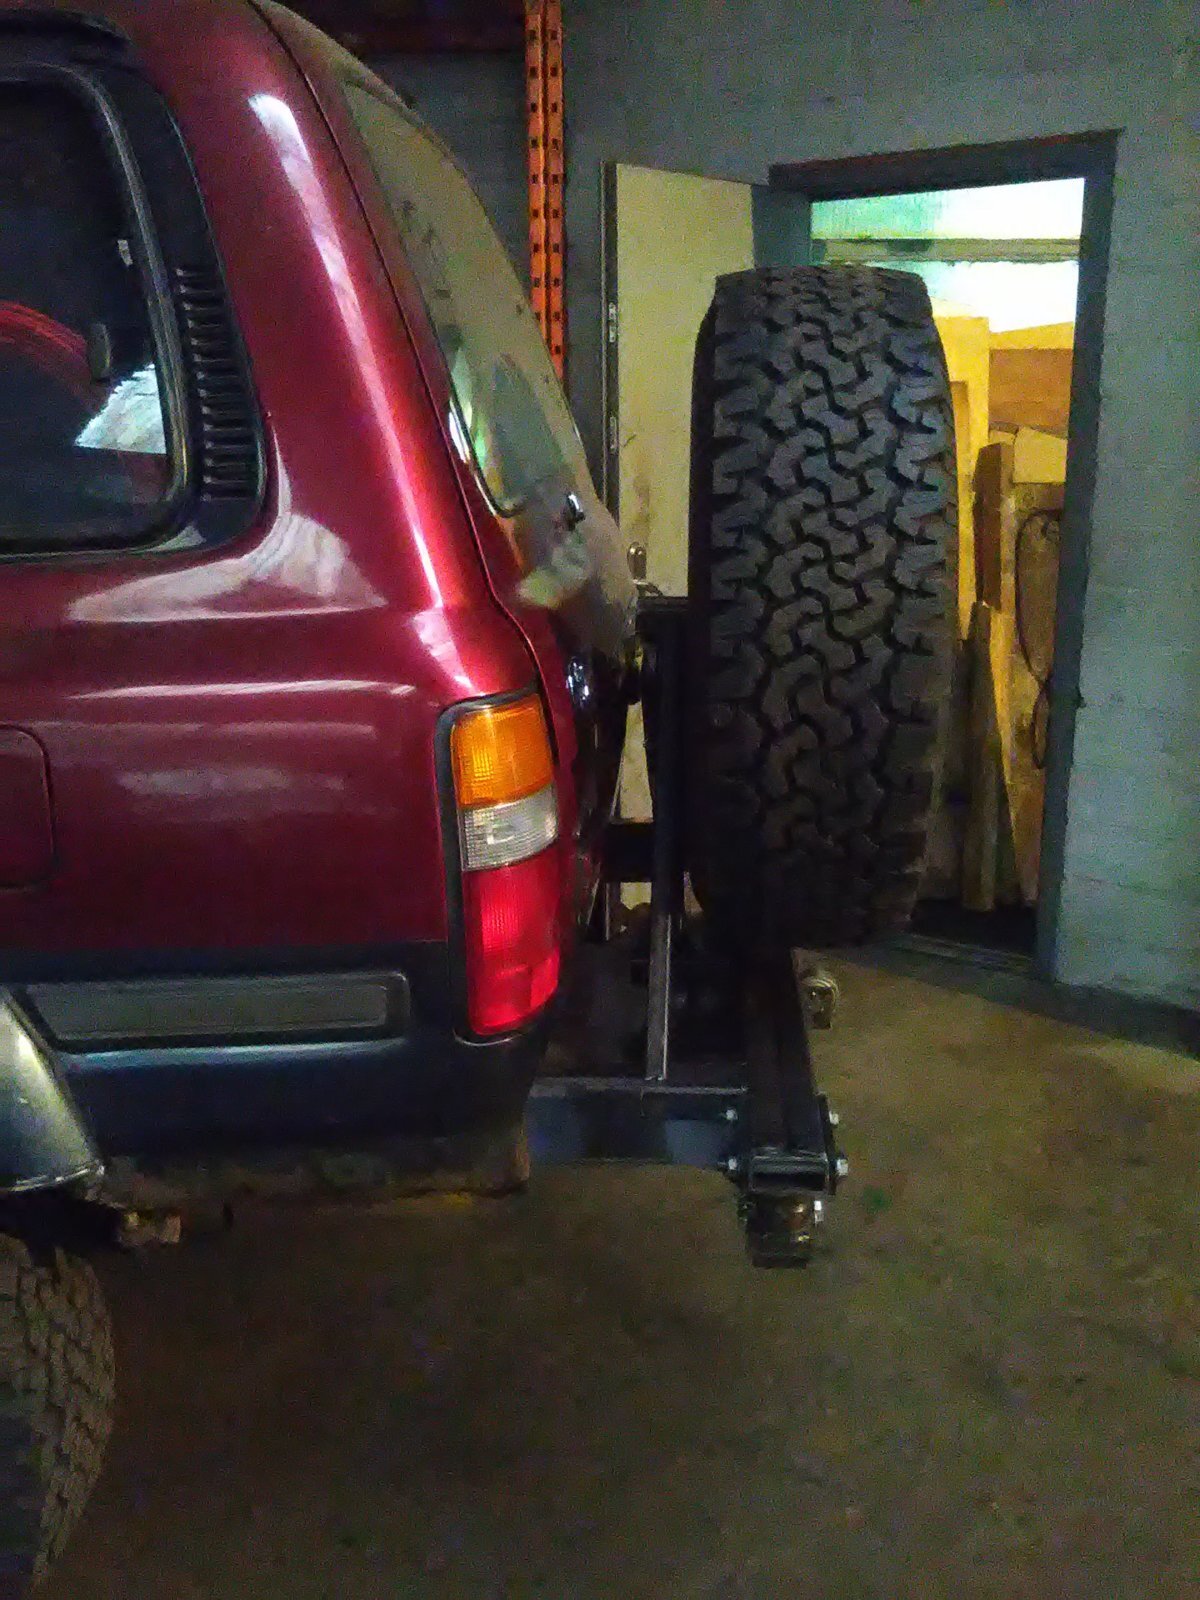
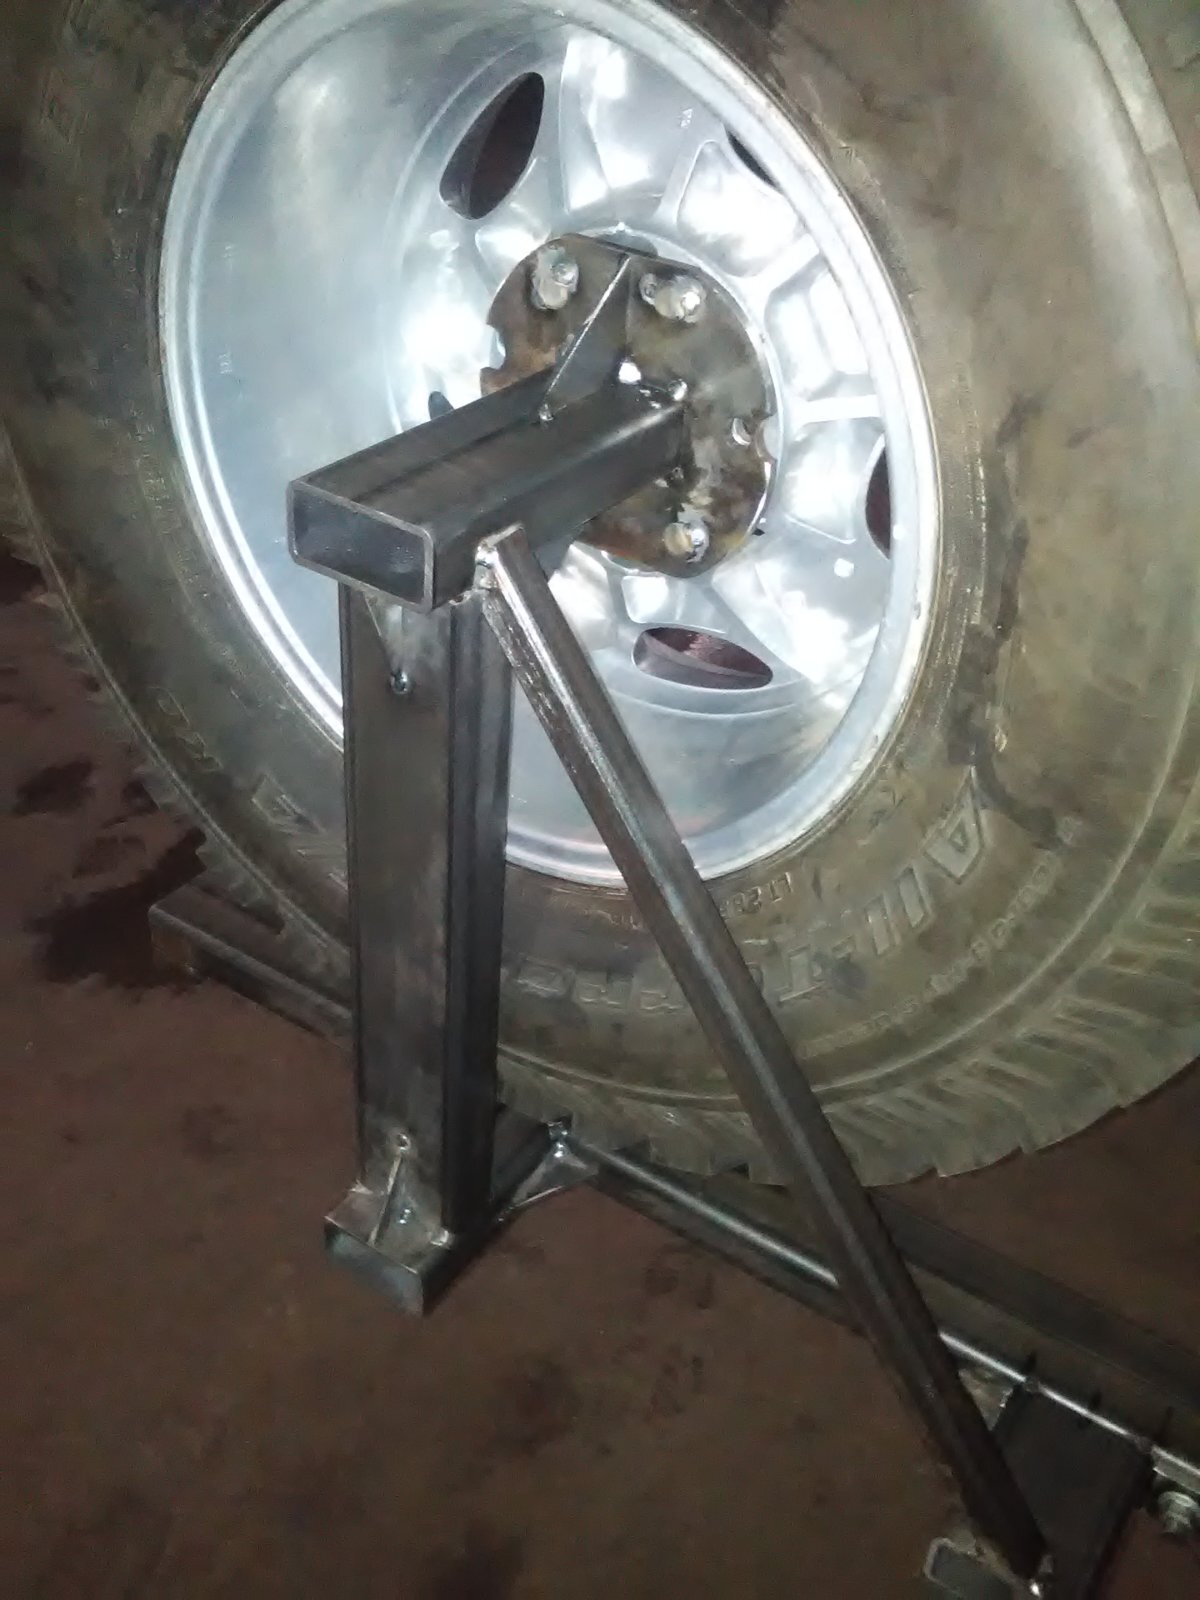
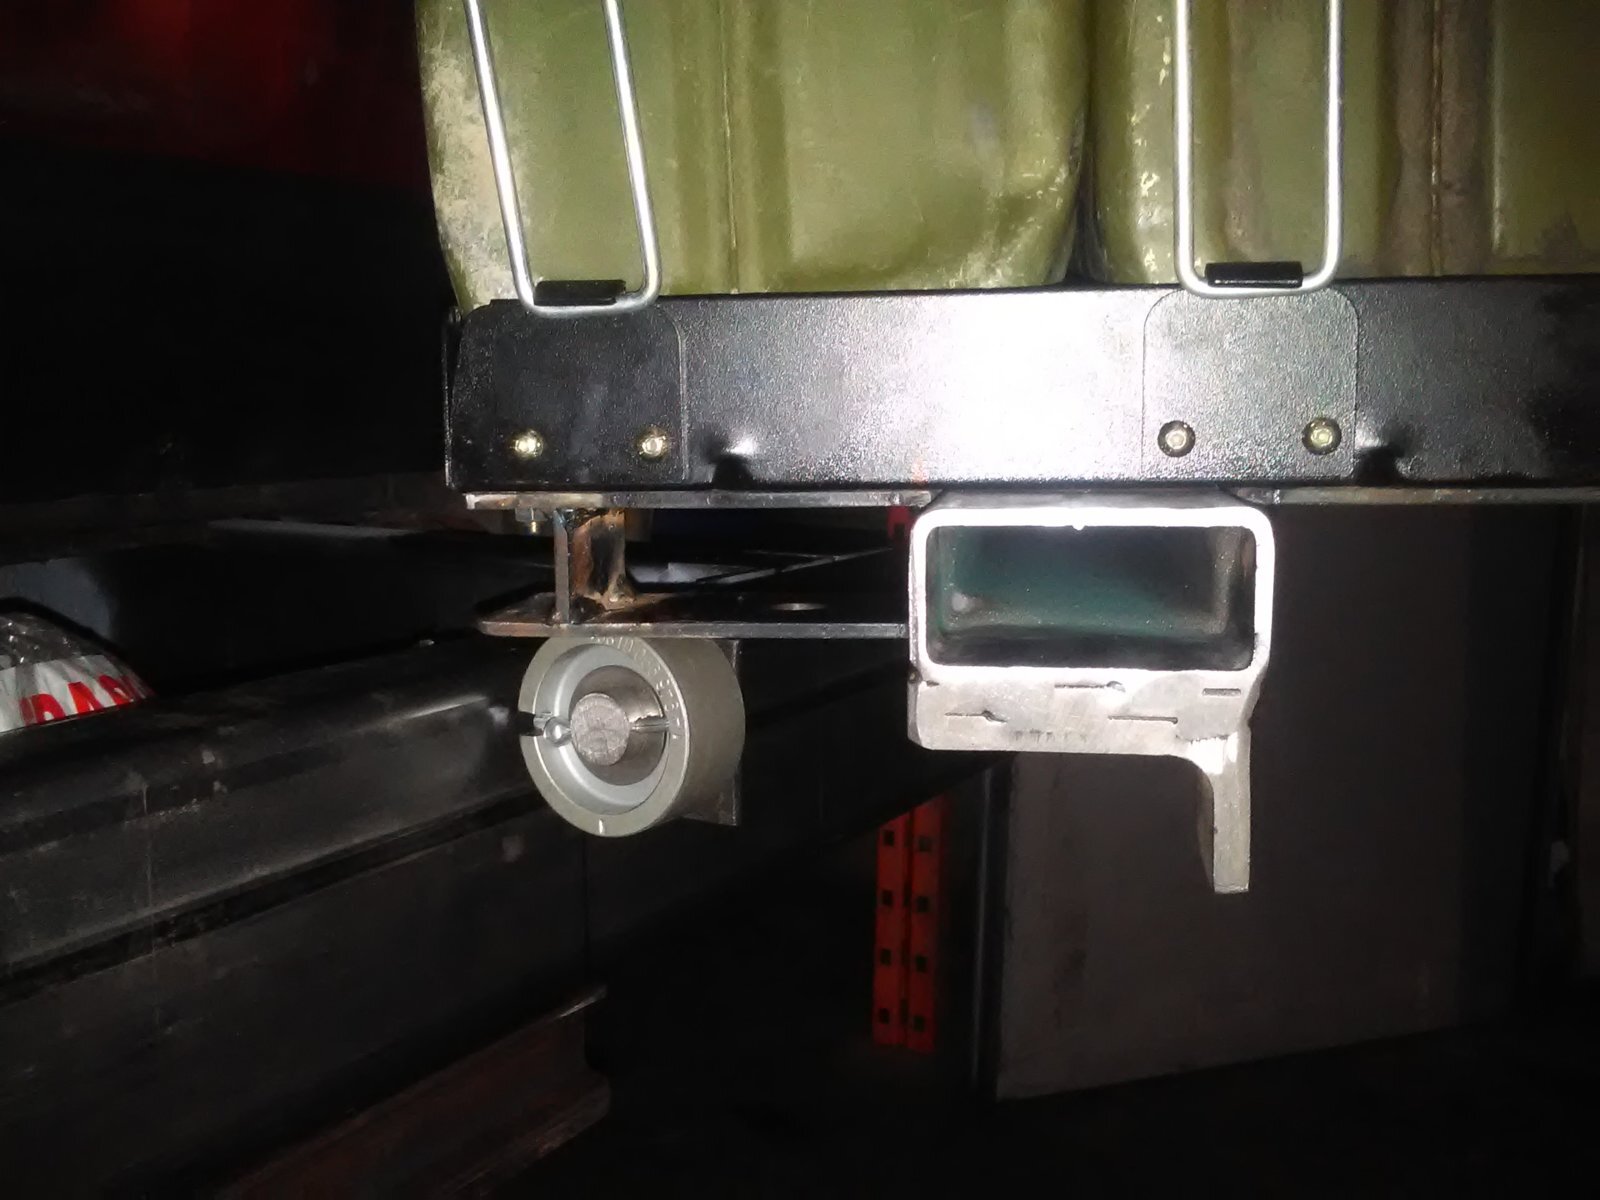
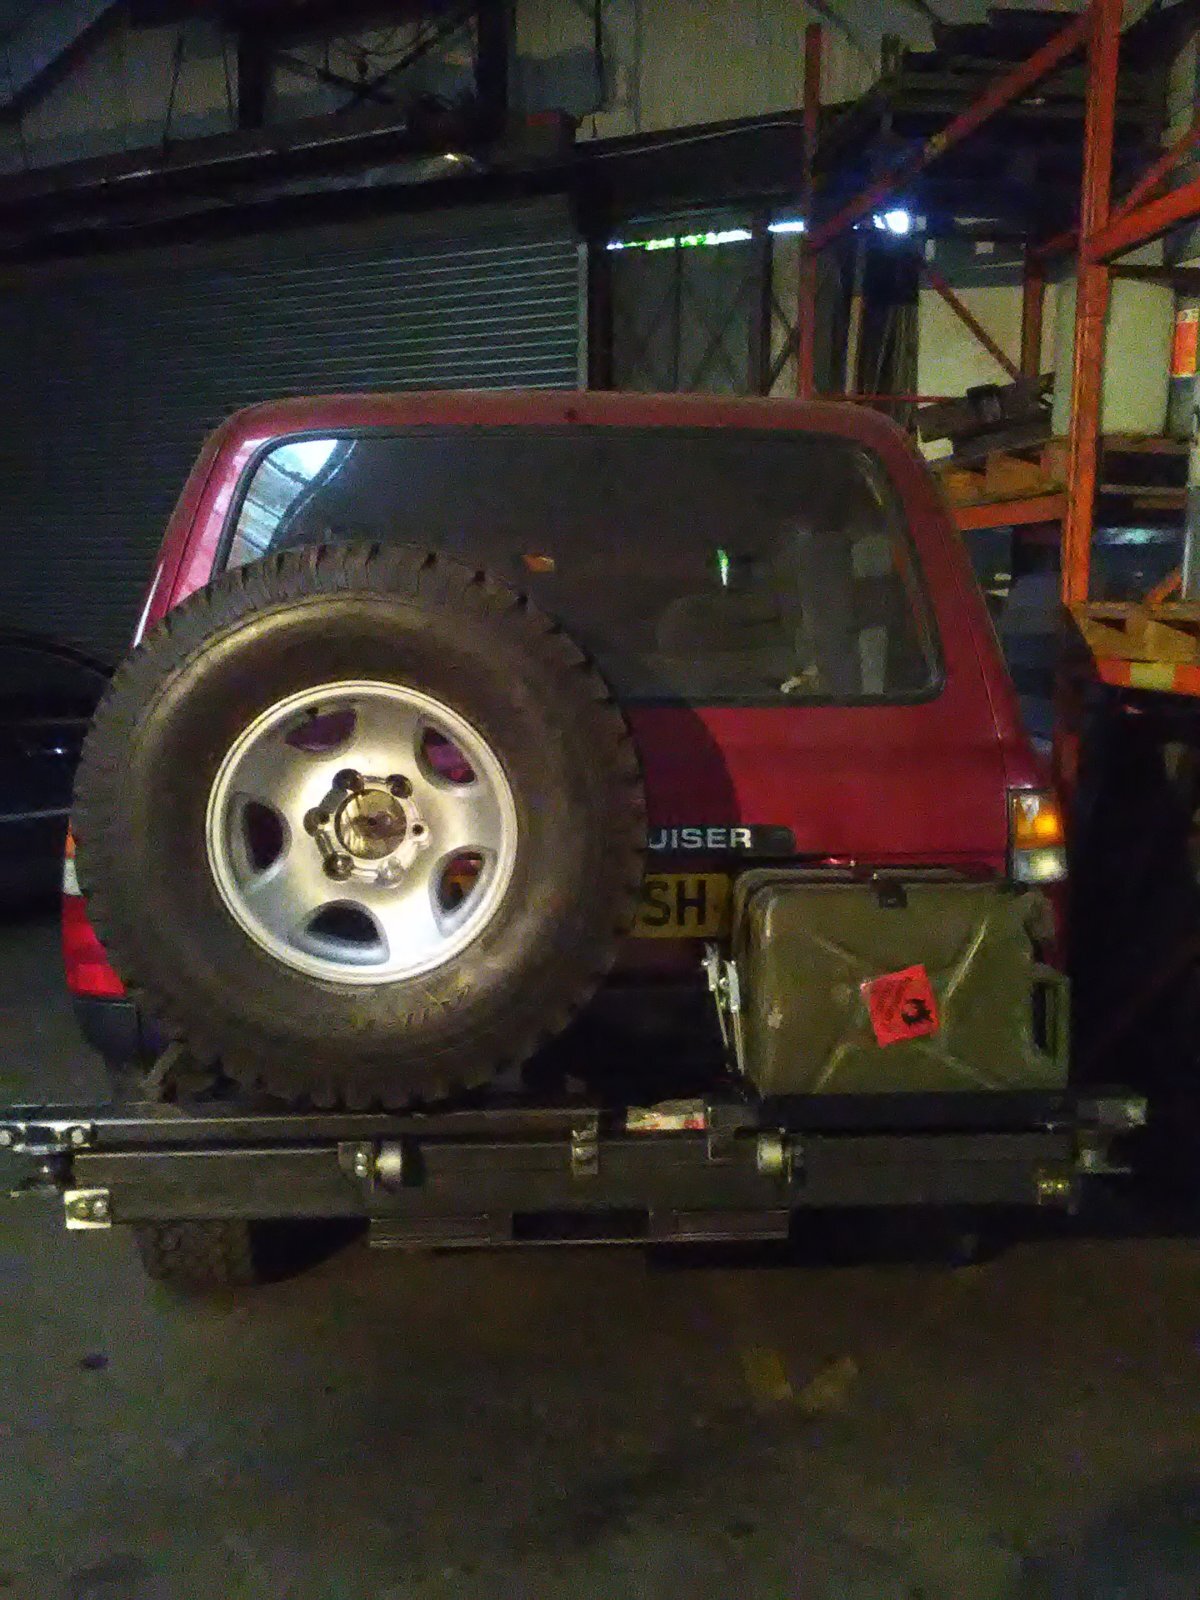
So after yet many more hundreds of hours the swing out wheel and Jerry can holders are getting somewhere. Still got to fabricate a locking pin for the open and closed positions. Also making some corner sections to finish it off. All tac welded at this point and once happy everything will be seemed. Has anyone else had trouble with the swing out dropping as opened? Opted for some rollers to assist it back up. Simple and effective
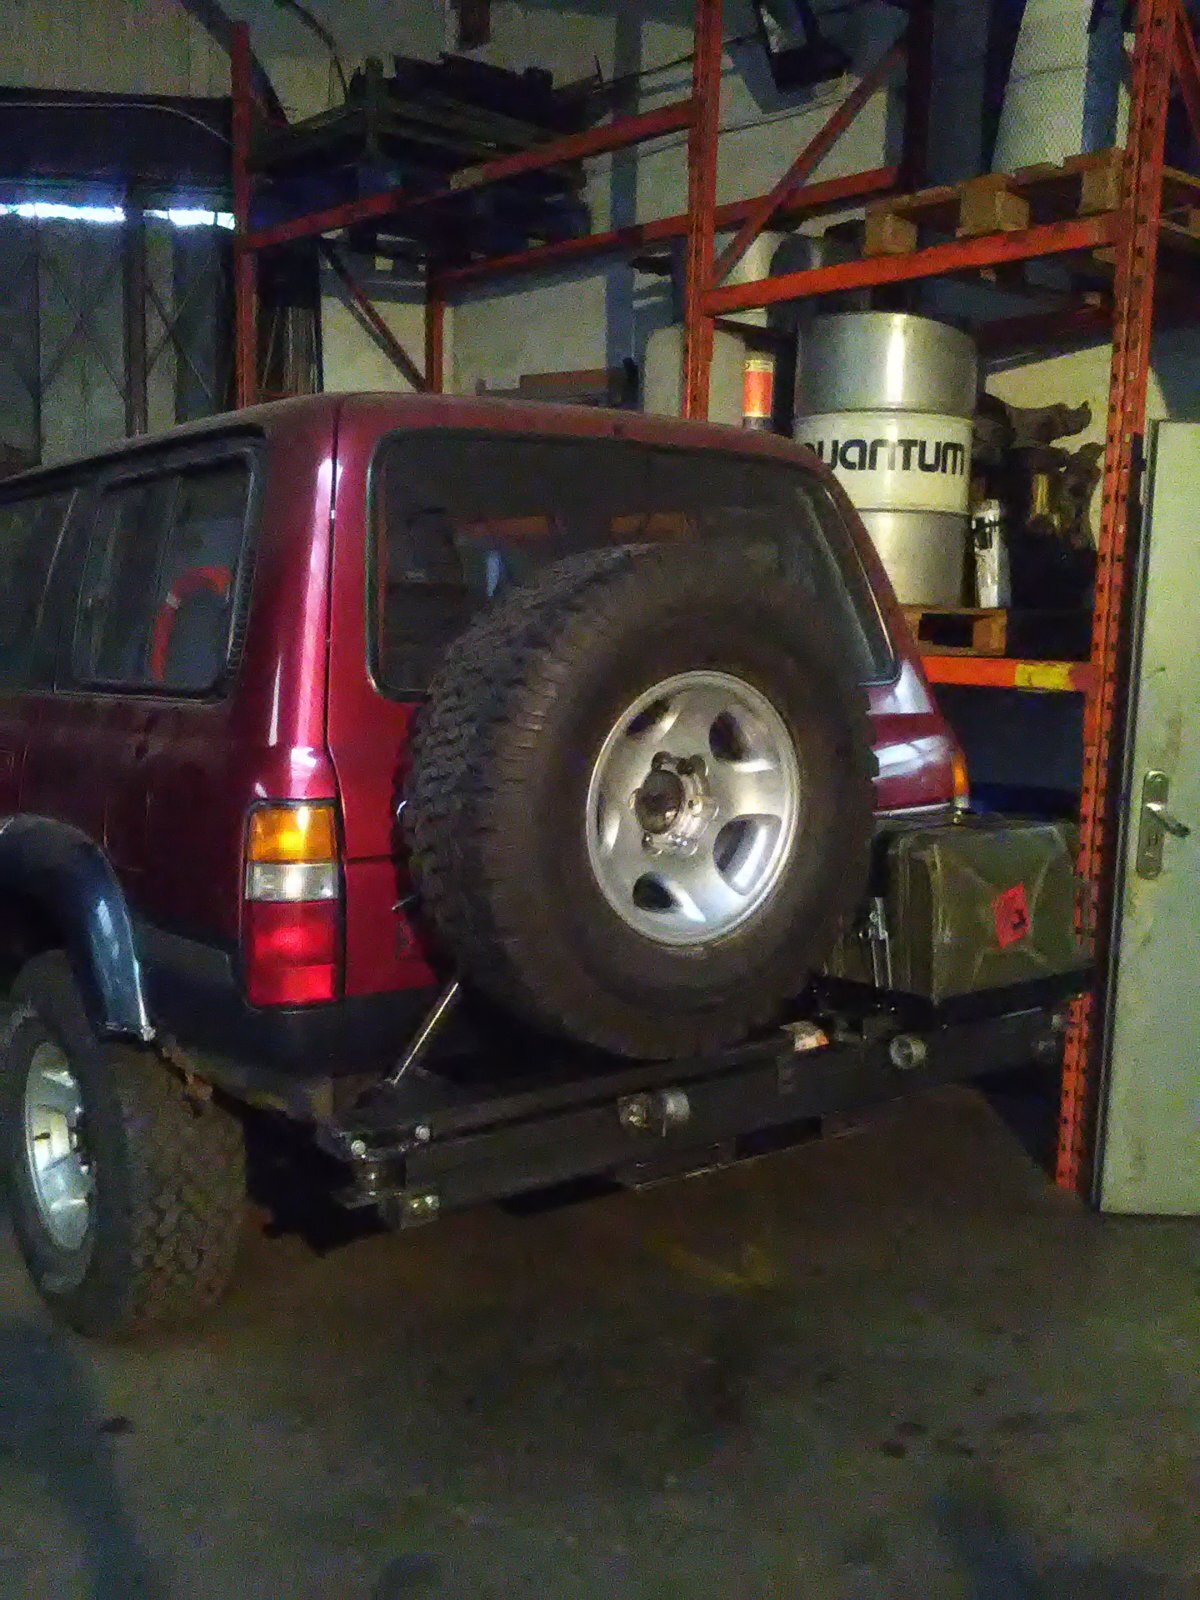
IMG_20170517_195840.jpg IMG_20170517_195849.jpg IMG_20170517_195908.jpg IMG_20170517_195944.jpg IMG_20170517_200238.jpg
 
What are you using for a pivot ?

Is it man enough if it drops.
 
looking good mate, well done. your pretty handy with that welder..
I'd love to say it's all mine but my uncle has done most of this welding-he works shifts so gets the time! Can't wait to get it finished now it's still has to get on a ferry later this year... Cheers
 
I'd love to say it's all mine but my uncle has done most of this welding-he works shifts so gets the time! Can't wait to get it finished now it's still has to get on a ferry later this year... Cheers
pah! and I thought youd done it all yourself blindfolded with one hand tied behind your back!
 
What are you using for a pivot ?

Is it man enough if it drops.
A car hub with custom made stub axle. The problem is half a mm of play at that end transfered across the frame becomes about 4! I think it's strong enough. A 285 75 16 is sat on when it's open and you can put added weight on still. Like everything else it's being made up as we go along!
 
Don't like the adverts?  Click here to remove them
pah! and I thought youd done it all yourself blindfolded with one hand tied behind your back!
I'd have to quit work and have this as a full time job to get it done in the next century! (Don't say it I know I should have bought a cleaner one to begin with...)
 
lol, I'm only joking, its a credit to you and for having the balls to get amongst it and sort it out.
 
Aha cheers. It's all worth it keeping a proper truck on the road instead of the plastic tat nowadays!
 
Looking good mate.

I don't have any drop in my swing out, that's with a 35" spare and a table now fitted.
 
Just a thought while your doing all this chassis work and before you get onto the rust prevention. You may as well weld the four captive nuts into the sub frame for the oem sub tank. You might never fit one, but for the sake of four nuts they will always be there. The enlightened ones who have fitted the tank, myself included, have used rivnuts, whilst they have worked i wouldnt call them ideal...
 
I built mine to take a 37" and there's no drop at all. The pin was 54mm with taper rollers top and bottom. It' staggering how much steel box section can flex as well as the bumper too. I made mine pretty beefy.

P1010300.JPG
P1010306.JPG
P1010311.JPG
Screen Shot 2013-12-31 at 17.52.07.jpg
 
Just a thought while your doing all this chassis work and before you get onto the rust prevention. You may as well weld the four captive nuts into the sub frame for the oem sub tank. You might never fit one, but for the sake of four nuts they will always be there. The enlightened ones who have fitted the tank, myself included, have used rivnuts, whilst they have worked i wouldnt call them ideal...

I am thinking of doing that at some point, probably next year once ive used it a bit and know what I need. In regards to securing a tank the chassis at the rear is now 6mm think and will take drilling and threading (that's how we secured the body mounts). What capacity are the tanks?
 
I built mine to take a 37" and there's no drop at all. The pin was 54mm with taper rollers top and bottom. It' staggering how much steel box section can flex as well as the bumper too. I made mine pretty beefy.

View attachment 126651 View attachment 126652 View attachment 126653 View attachment 126654
If we'd have known we'd have opted for the top and bottom roller bearing design. May be saving them pictures if I come to change it...... Really like that hilift mount too! Does it stick above the car though?
 
No. It doesn't. It's angled to just hit the roof line. But when I put the Foxwing out and want the side panels on, I have to take it off. But, it's one big thumbwheel thing with a clamp so it's easy. When the carrier is shut, you can't get to it and there is a hasp and staple affair for a padlock.

Inside the hub bit, there is a reversible post, this is for changing tyres. The post allows you to use the tyre levers against it. The top section also slides in and out to accommodate different widths of tyre so that they rest against the frame and don't wobble about.

P1010523.JPG
P1010524.JPG
 
No. It doesn't. It's angled to just hit the roof line. But when I put the Foxwing out and want the side panels on, I have to take it off. But, it's one big thumbwheel thing with a clamp so it's easy. When the carrier is shut, you can't get to it and there is a hasp and staple affair for a padlock.

Inside the hub bit, there is a reversible post, this is for changing tyres. The post allows you to use the tyre levers against it. The top section also slides in and out to accommodate different widths of tyre so that they rest against the frame and don't wobble about.

View attachment 126660 View attachment 126661

Hmmm I do like that.... I was thinking of mounting a table of the back of one of my box sections but that may now end up on the back of the Jerry can mounts. Thanks for all these ideas-you're all making a lot more work here haha
 
Josh that's a common problem. There simply isn't one way to do these things. If we all had Landies, we'd just buy the bits off the shelf and all look the same. Because we make these things up, we're all different. I've made three rear 80 bumpers at least. All utterly different.

One thing I learned is that you either need to make the carrier strong though either being very clever (like pressing thin plate to make it light and strong) or make it from pieces cut from the Bismark. You can see which way I went. I actually had a carrier spindle break.

Fortunately I was off road. But with a 37" wheel and tyre on, a trailer hub which I'd used as a spindle just sheared off. Imagine 60kgs+ breaking free on the motorway. Getting rid of any 'nodding dog, movement is important to prevent things from cracking and breaking.

I like the roller idea but you do need to make sure that once closed, it's locked up tight so it doesn't wobble about. I saw a neat carrier on the Game of Thrones Iceland 80 that leant inwards. Good to get the C.O.G in as close as possible and it stops the weight of the wheel trying to fall off backwards if you get me. If your tyre is sitting on the arm then that should really take out a lot of that 'bounce' potential at the hub. If not, I'd think about making it do that.

I can't see the spindle set up clearly, but do be sure it's man-enough to take the load.

Beats paying for a bought one though doesn't it. Keep it coming.
 
I am thinkif therd iiiiiiing of doing that at some point, probably next year once ive used it a bit and know what I need. In regards to securing a tank the chassis at the rear is now 6mm think and will take drilling and threading (that's how we secured the body mounts). What capacity are the tanks?
50 litres. Ill take some pics of location over the weekend If its of any use.
 
Last edited:
Christ I definitely wouldn't want the Tyre flying off. To lock it in the closed position I was thinking an m12 bolt with a t handle on to thread in to the bumper. Then it's actually pulling it tight not allowing any twist or movement. Yes leaning the Tyre would improve things, mines only a 285 75 sat on the back and it looks bloody massive!
 
Back
Top