Don't like the adverts?  Click here to remove them

Baselining My 80 / Overland Build

Well, I presented the old girl for her her first Control Technique here in France (i.e MOT) and she passed with flying colours despite the Portugese incident which is still on going, though looking fruitful. Must say its a nice feeling having repaired all the bad work done by the 'gesers :dance:. I still have to go to Toyota France next week again to get the wheels studs reviewed as while they hold the wheels on, they are of different lengths.

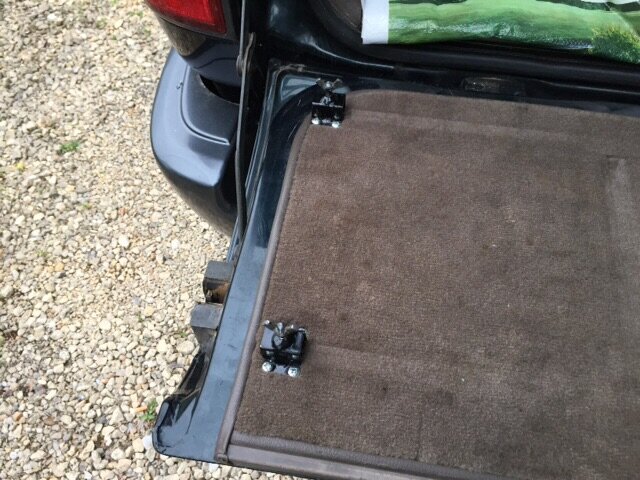
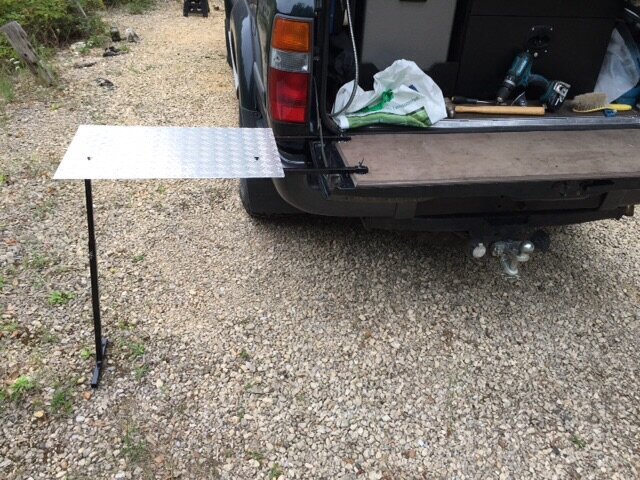
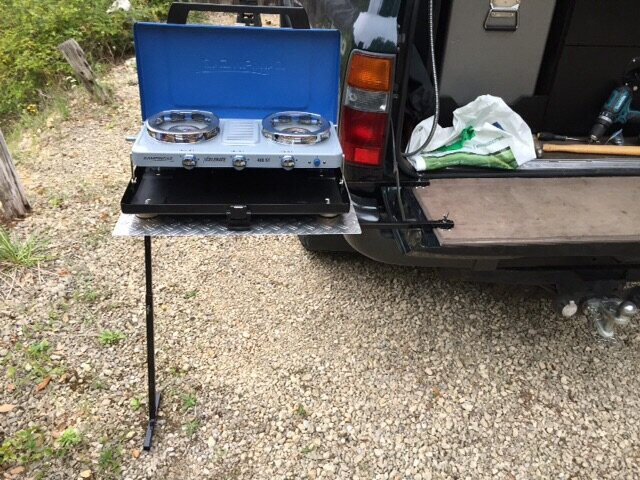
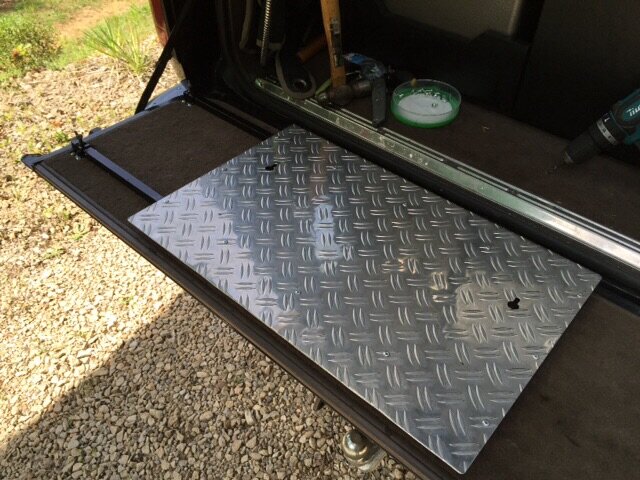
Otherwise, been busy over over the last few weeks doing stuff (more later this week) in readiness for the start of our 8 week tour of Andorra, Spain, Morroco and other parts of Portugal. Can't wait :icon-biggrin:
 
Must feel good to get it through Mark, especially after your recent episode. I assume Toyota France has post-Neanderthal era techs there. :icon-wink:
 
Glad it passed the CT - ours has had 2 now..........2nd one with all mods and the only comment was ...the tyres are bigger than standard...yup, got the origional wheels in the garage, do you want me to drive 5km home and swap them? ...No, just sell them with the car if you ever sell it!

:)
 
During our last trip out in Portugal, we got fed up with having to keep moving the cooker around on the tailgate so we could get the drawers open. So, recently I gave some thought to what the solution might be.

The first step was to make these .....

image.jpg

They are made from a bit of box section and plate steel welded together with a home made wing bolt.

Next I made the table which has an extendable leg. Over here in France the DIY shops sell steel and aluminium in various shapes, lengths and sizes and usefully one bit of box slides nicely into the other giving the extendable leg ......

image.jpg

image.jpg

Then I fitted the box section clamps ......

image.jpg

And attached the table to them ......

image.jpg

What you can't see because of the camera angle is that the leg is deliberately over centre to prevent accidental collapse after kicking it. The keyhole slots in the table top are for the cooker. I replaced the flimsy plastic legs with feet, however, in so doing, the centre of gravity changed a bit and there was a risk of the cooker tipping backwards, so, I put some pan head bolts in the two front feet and it now cannot tip backwards....

image.jpg

One of of the good things about this is its lighter than a bag of sugar, is rock solid and can be stored very simply like this......

image.jpg

... the fridge slide and drawers still open fine over the top. Pretty happy with the result. :icon-biggrin:
 

Attachments

  • image.jpg
    image.jpg
    146.9 KB · Views: 417
  • image.jpg
    image.jpg
    133.6 KB · Views: 405
  • image.jpg
    image.jpg
    158.1 KB · Views: 398
  • image.jpg
    image.jpg
    152.5 KB · Views: 404
  • image.jpg
    image.jpg
    132.4 KB · Views: 403
Last edited:
Nice solution for the stove. I need to think of something similar for my hilux, since I have same issue


Sent from my iPad using Tapatalk
 
Don't like the adverts?  Click here to remove them
Having got the 92mm hole saw and the step drill, I set about fitting the new Safari snorkel. I have to say, it's not at all difficult, a bit scary, yes but just trust the template.

image.jpg

As as mentioned in other threads, Safari have hedged all bets and made the holes too big and compensated with big washers. So, there is a bit of room to wiggle around if your drill wanders for any reason.

I also spent ages cutting and polishing the paintwork. I don't think it has seen polish for many years !

image.jpg

Got a new awning coming this week, so fitting that should be the last major addition.
 
Nice job! I was terrified the first time (and the last time!) I did the snorkle thing! Luckily it worked out ;) What awning have you gone for?
 
NICE! What make winch bumper is that? (Sorry if you've mentioned elsewhere!)..
 
That's not actually the reason that the holes are oversized. Try drilling them to perfect size. I did. You can't get the snorkel moulding on because the bolts point in at angles to be perpendicular through the wing. They should really be slots, but they're difficult to drill of course. So the holes are that size to be able to clear the tips of the bolts. I did one using a step drill until it fitted. Yep, I ended up at the sizes that they indicate in the first place.

Love the table. I have something very similar which stores under the fridge. Single leg which extends. Very useful. Means I can cook AND open the drawers.
 
Fitted the Batwing a couple of days ago. It was an interesting exercise as the Front Runner fitting kit is for roof rack rails that run lengthways on the car, whereas on my FR they run widthways. Anyhow, got them fitted OK and here it is ....

image.jpg

We also got the side panels and extra fill in panel hence the extra leg on the drivers side.
 
Yesterday I got confirmation that Toyota Portugal will reimburse every penny I spent (wasted) at Portimao plus the cost off all the parts I replaced, plus diesel costs and they have replaced all wheel studs again at my local dealer :dance:. It took a lot of time and emails but they came good in the end :thumbup:. Thank you Toyota Portugal.
 
Good result! You could 'pop in' and thank them personally in a few weeks.................:dance:
 
So, we had an incident free couple of months travelling through the Pyrenees, central Spain and Morocco and as you might expect came back with a list of things to do.

First up was to replace the under bonnet batteries with Odyssey ones and tidy up a bit. Battery A (drivers side) was relatively straight forward as the battery terminals are the same as the car wiring, only difference being I'm routing the kill switch wires differently

image.jpeg

Goodness knows why, but battery B has the poles around the other way, so, having failed to obtain the same battery with poles reversed I had to change with wiring to suit an identical battery. Negative was easy as this reached the other terminal just fine. Positive was too short so I made a short extension, joined them together with a short bolt and insulated them.

image.jpeg

image.jpeg

Finished job .....

image.jpeg

Second up up was to weld the winch tray to the bumper because even though there are 6 major bolts joining the two pieces when pulling on the bumper recovery points the bumper tips backwards and leaves dents in the bonnet :icon-cry:

These are the offending bolts ....

image.jpeg

To get at these I have to leave them done up and remove the entire assembly from the chassis end bolts, here it is, a heavy lump, but I found a use for my old unused fishing trolley ....

image.jpeg

While I was in there, I thought I'd replace the condenser which sprang a leak last summer ......

image.jpeg

Old -v- new ....

image.jpeg

All installed .....

image.jpeg

The blue wire is the feed for the Nautilus horn which I moved up here next to the alarm siren and more safe from water ingress ....

image.jpeg


I thought I'd also treat the power steering fluid pipes with fertan while in here.....

image.jpeg

Next up, welding the bumper
 
Back
Top