Don't like the adverts?  Click here to remove them

Best route for getting power up to roof lights front and rear and side ?

Joined
Jan 5, 2014
Messages
152
Country Flag
uk
I have some LED worklights to add to my roof bars. With 1 at the front, 2 at the side and 1 at the rear.
Does anyone know the best route up there please ?

Brian:auto-dirtbike:
 
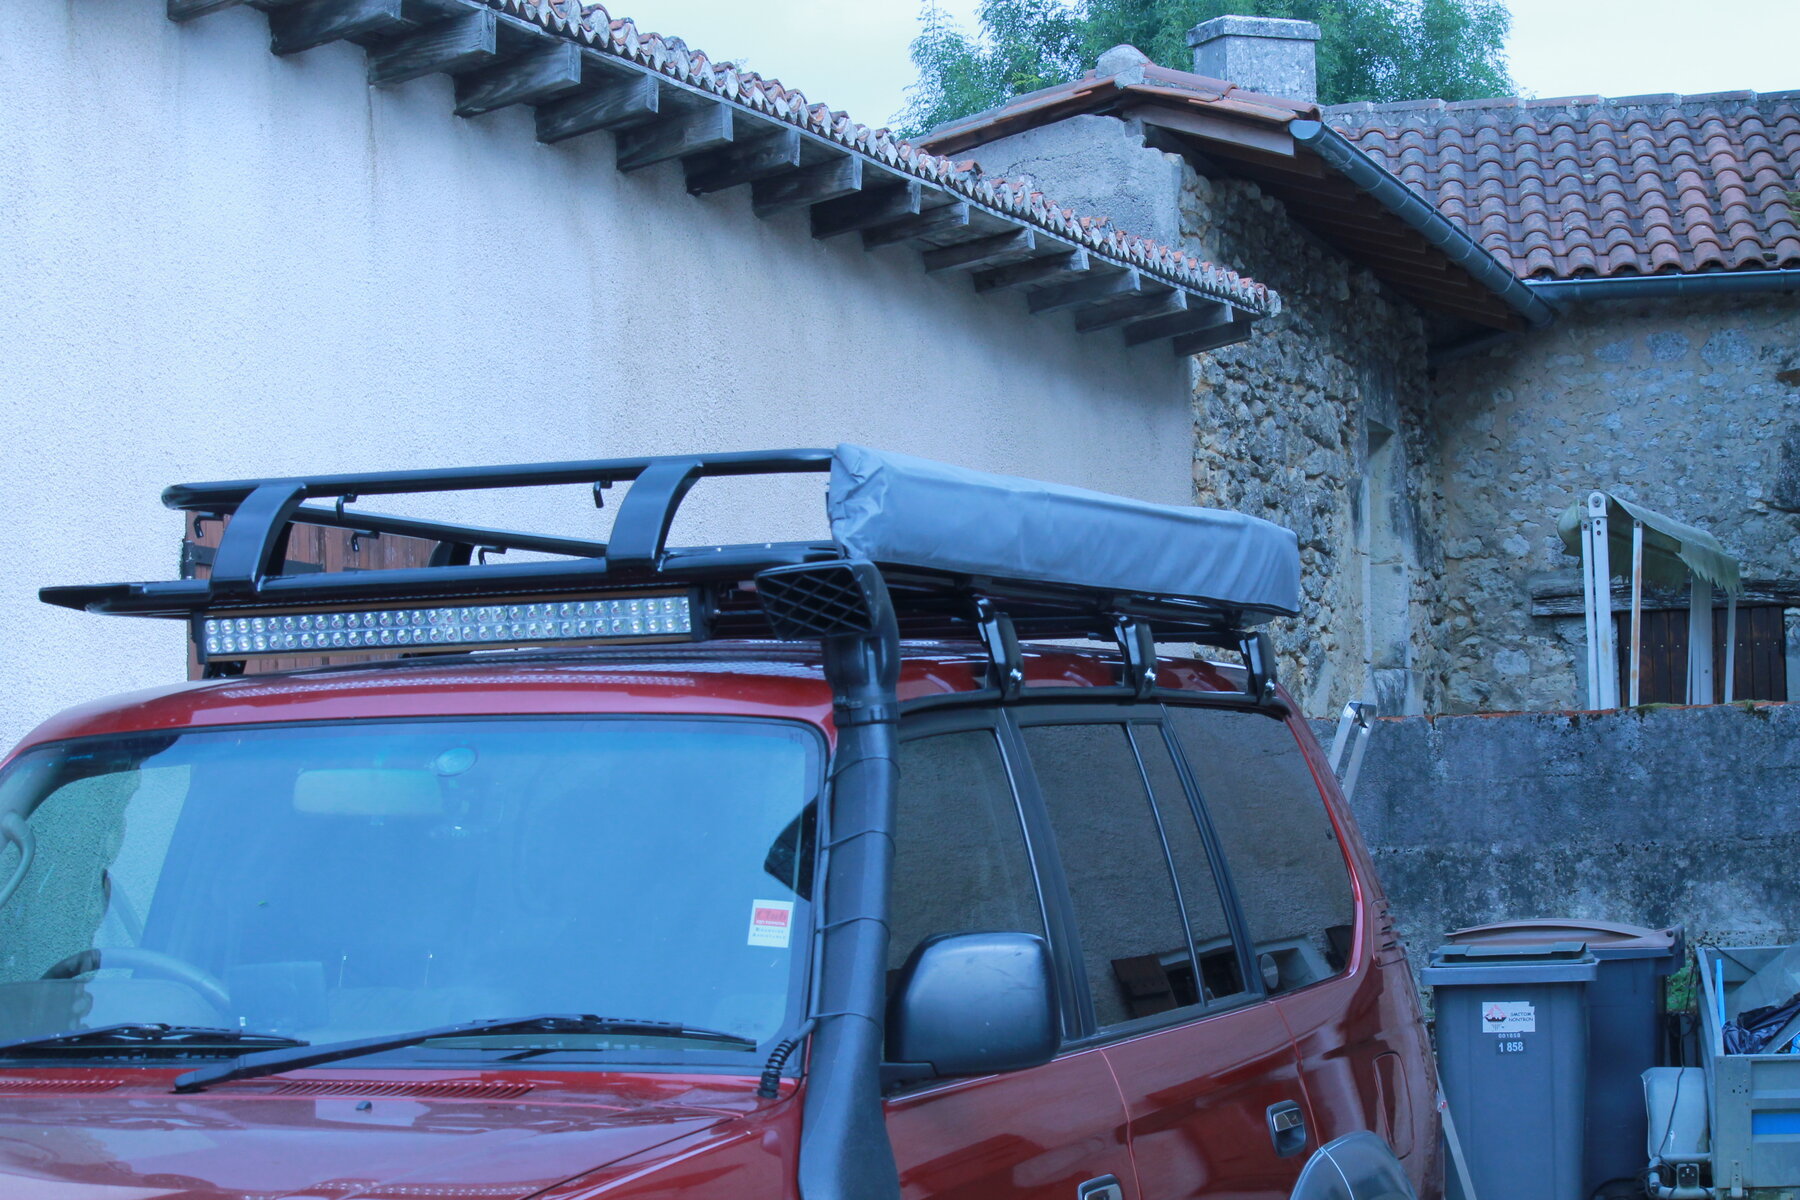
I ran mine through the top of the wing, along the snorkel, to a junction box fitted to the underside of the roof rack -

IMG_1525.JPG

works for me, cable is protected by the snorkel, and the junction box behind the awning under the roof rack stays dry.
 
You can run a cable up the side of the tailgate opening and onto the roof where the black trim strip for the 'gutter' runs, either trim the end off the strip / remove it. I ran aerial cables onto the roof on my old 100 that way. If you were going to fit a snorkel then up the side of that is easy.
 
Thank you for the replies, but what route inside the car to the rear tailgate ?

The snorkel method looks easiest but I haven't got a snorkel ( Yet) ;)
 
I'd use the scuff plate cable trays as standard then into the back plastic quarter panel, up where the third row seatbelts go, into the head lining and on from there to the outside through the rubber grommet into the tailgate reveal.
 
Thank you for the replies, but what route inside the car to the rear tailgate ?

The snorkel method looks easiest but I haven't got a snorkel ( Yet) ;)
Depends on cable size but a useful exit point at the rear are the grommets in the bottom inward facing part of the rear quarter panel, near where the sunroof rear drain pipes exit iirc.
 
Don't like the adverts?  Click here to remove them
@Brian the Sn@il , looking at doing something similar myself, which method did you use in the end to power the 4 lights?
 
IMG_4818.JPG


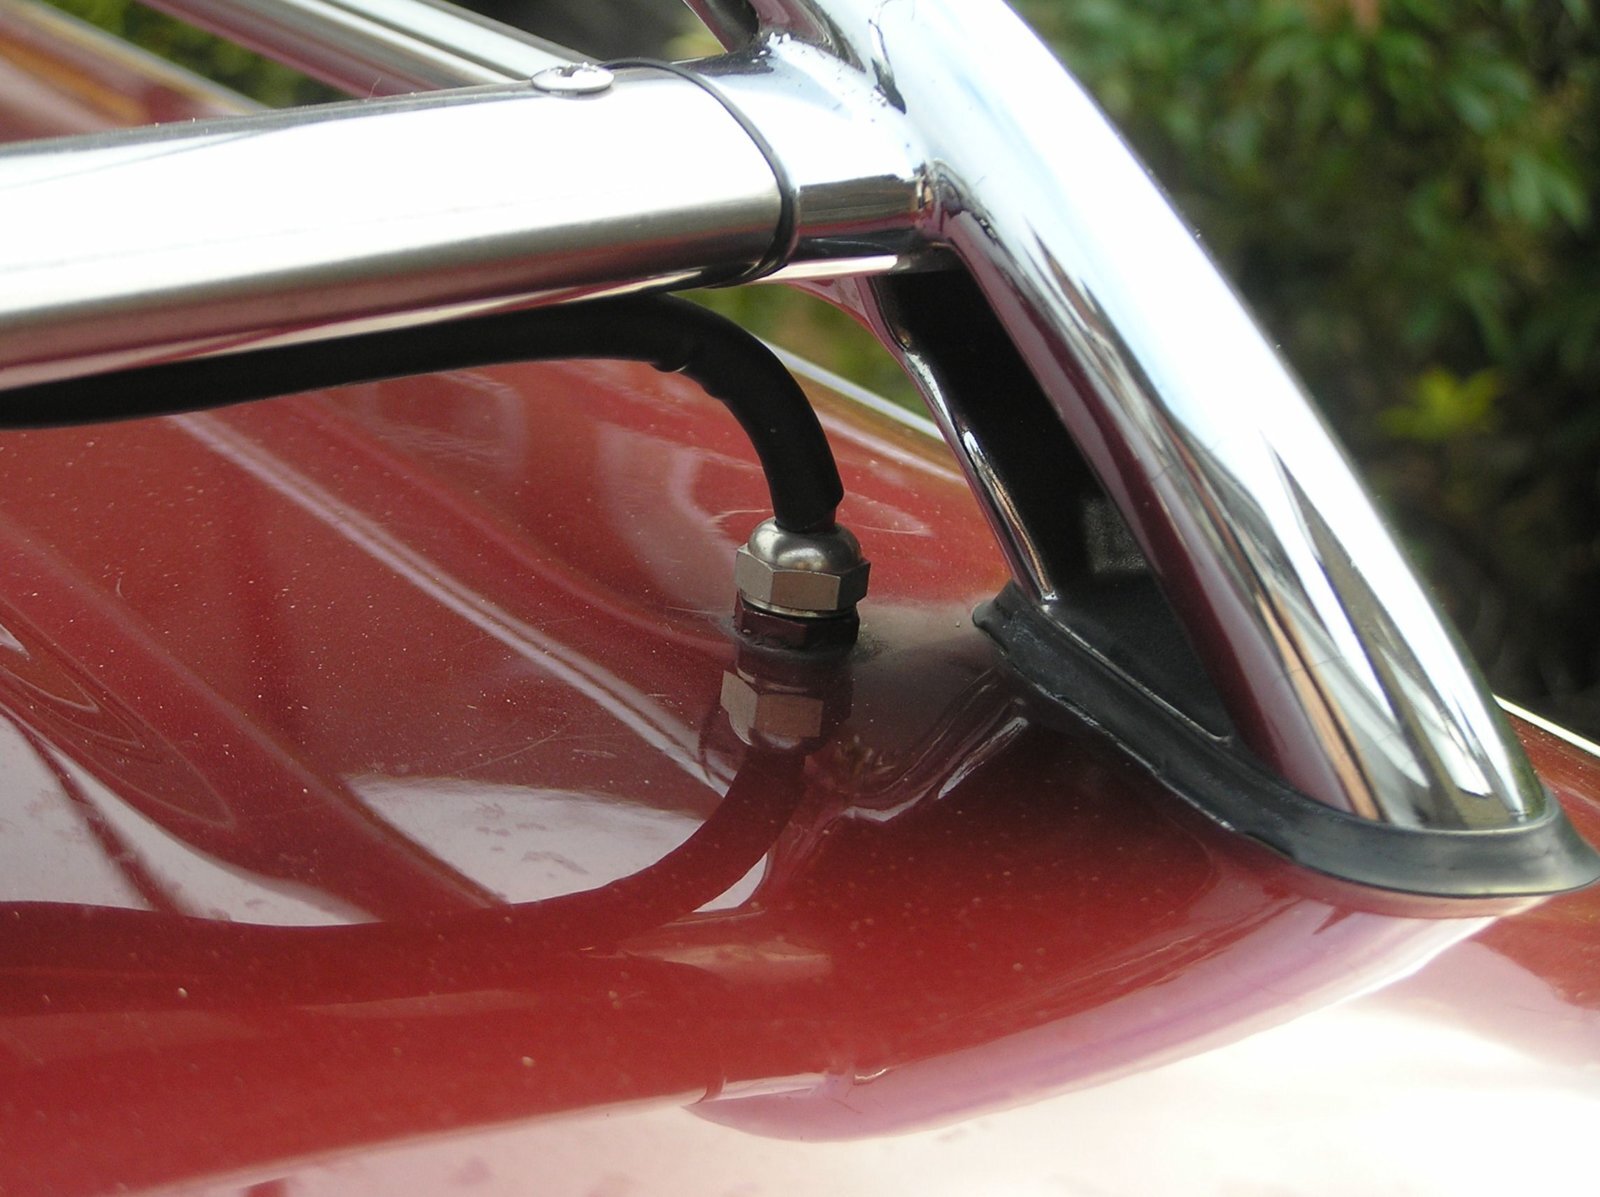
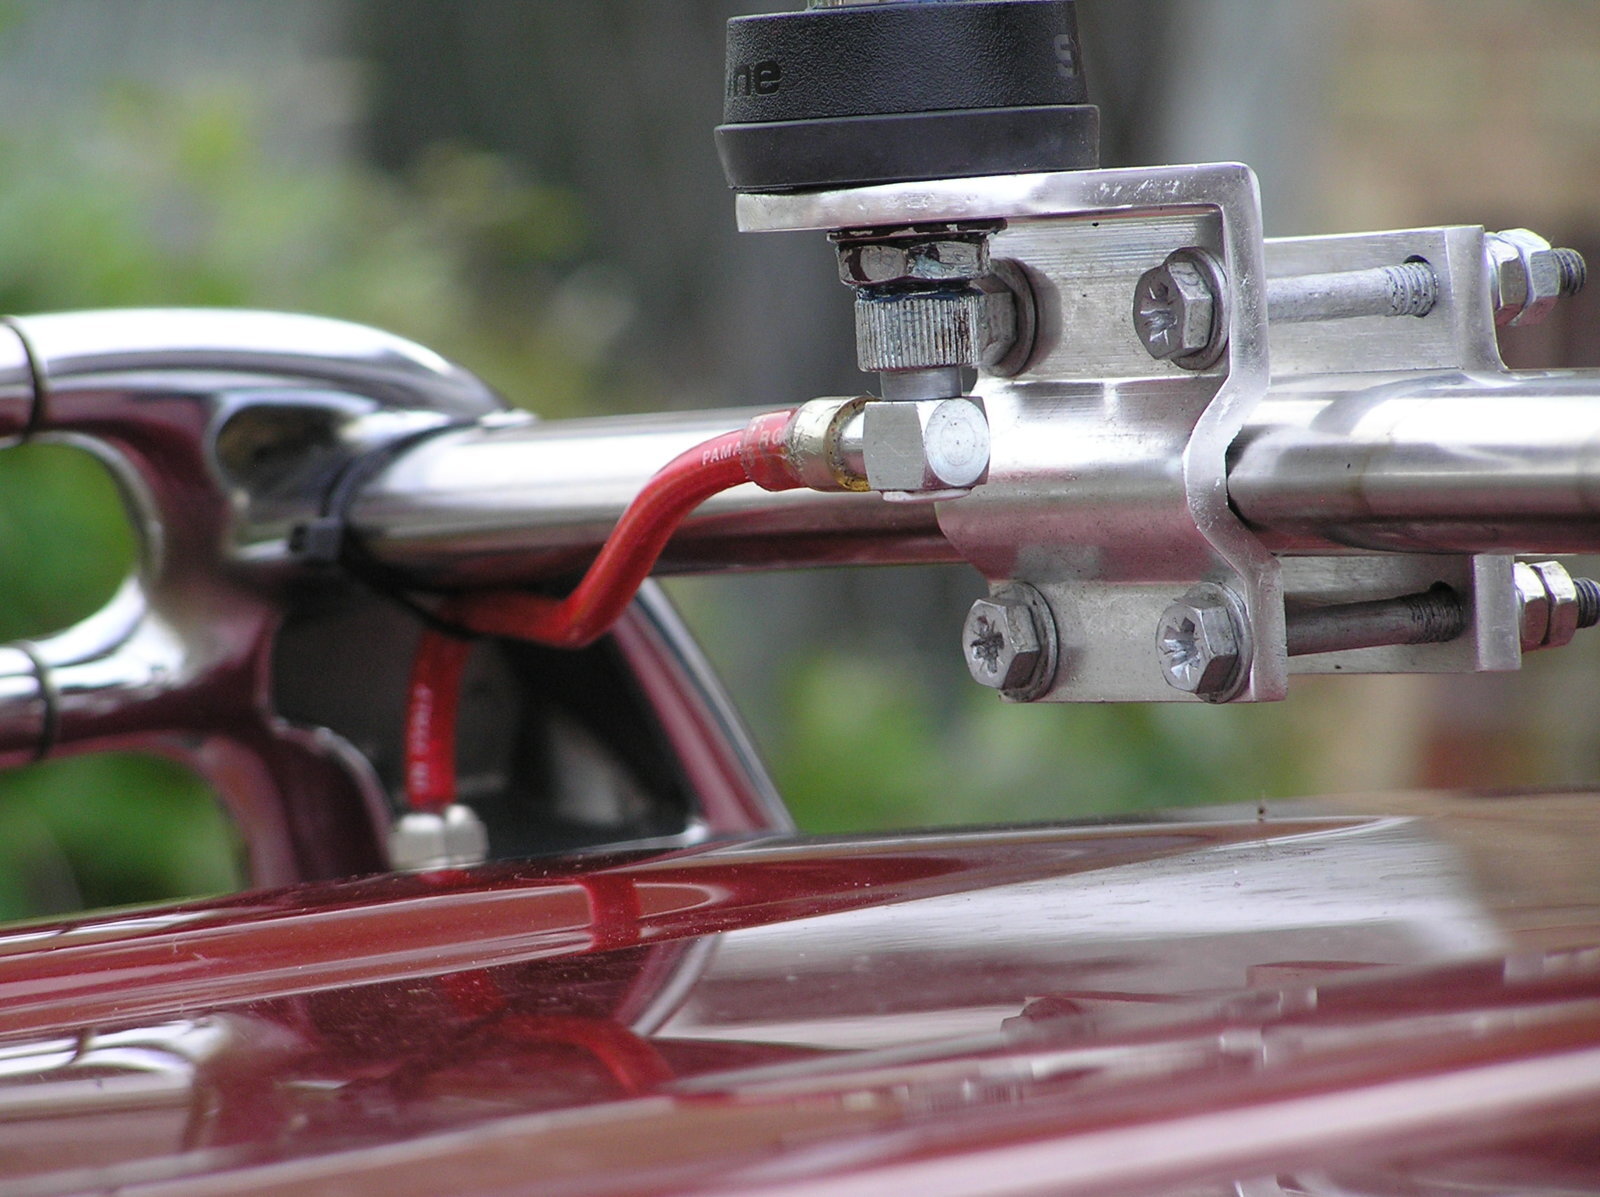
I went straight through the roof with a sealed multi pin socket and screw on glanded plug. I can unplug and cap the socket to remove the rack, complete with all the roof lighting.

Not everyone's solution, but it suits my needs.
 
thats one big plug Clive! I think my attempt to illuminate every corner may have to follow similar method to avoid a hanging basket of wires down the pillars.

Thanks for the photo as well
 
View attachment 123551

I went straight through the roof with a sealed multi pin socket and screw on glanded plug. I can unplug and cap the socket to remove the rack, complete with all the roof lighting.

Not everyone's solution, but it suits my needs.
I need something like that Clive, whereabouts did you cut through the roof? :icon-surprised:
 
thats one big plug Clive! I think my attempt to illuminate every corner may have to follow similar method to avoid a hanging basket of wires down the pillars.

Thanks for the photo as well

Welcome.

It is a bit big, but up on the roof, who cares?

TBH, it will only be undone once in a blue moon if the rack has to come off, but it's size may be n advantage on a cold day when it's peeing down with rain.

A tiny slim-line thing would likely be the devil to undo after years plugged up tight.

I did have photos of it in situ, but I don't seem to be able to find them now. They're posted on a thread somewhere, I'll have a session on the search thingy, see what I can find.
 
You can 'hide' the cable exit behind the roof bar mounts so it's much less noticeable....

View attachment 123555 Roof Gland2.jpg Roof Gland3.JPG

You could use the cable trays in the sills as already mentioned for an easy route for power, for antenna feed I think they're best avoided.
 
Last edited:
OK, found the photo, it was lurking in @oding 's 60 renovation thread at post #435, here.

For those too lazy to go all the way to the Philippines, here it is...

IMG_6890.JPG

Rather ashamed at how dirty the truck was in this pic :?

I mounted it away from the leg so I can get my hands to it. It's under the rack, and behind the leg, so it's well protected from tree branches and the like.

It's been in place for about 3 years now, so it's stood the test of time. Not only is it waterproof, but I loaded it with grease inside, so there's no corrosion in there (I've looked :lol:).

Apologies for the pink cable strap holding the waterproof junction box on to the rack leg. It's the only one we could find in that size and when I fitted it I swore I'd replace it quickly, but it's still there... :icon-rolleyes:

It carries power to the front and rear LED light bars, so no massive power loading.
 
Last edited:
Check out these really clever plugs and sockets we use at work.
They are made by Ring and called something like 'MagCode connector '
The socket isn't live until the plug is connected by means of a magnet in the plug activating the socket, clever eh!
Totally waterproof good amperage and low profile too, have a look on google
 
Apologies for the pink cable strap holding the waterproof junction box on to the rack leg. It's the only one we could find in that size and when I fitted it I swore I'd replace it quickly, but it's still there... :icon-rolleyes:

.
No apologies necessary Clive, we know you don't bat for the other side.
 
I ran the wiring from the front under the treads with the factory cables ,through the wheel arch plastics , through the body onto the tail light cavity (where I tapped into the reverse power and earths. Then up behind the gate. I have a weather proof plug that can be easily disconnected under the rack

20170103_140321%202_zps5wm6ra3y.jpg
 
Back
Top