Don't like the adverts?  Click here to remove them

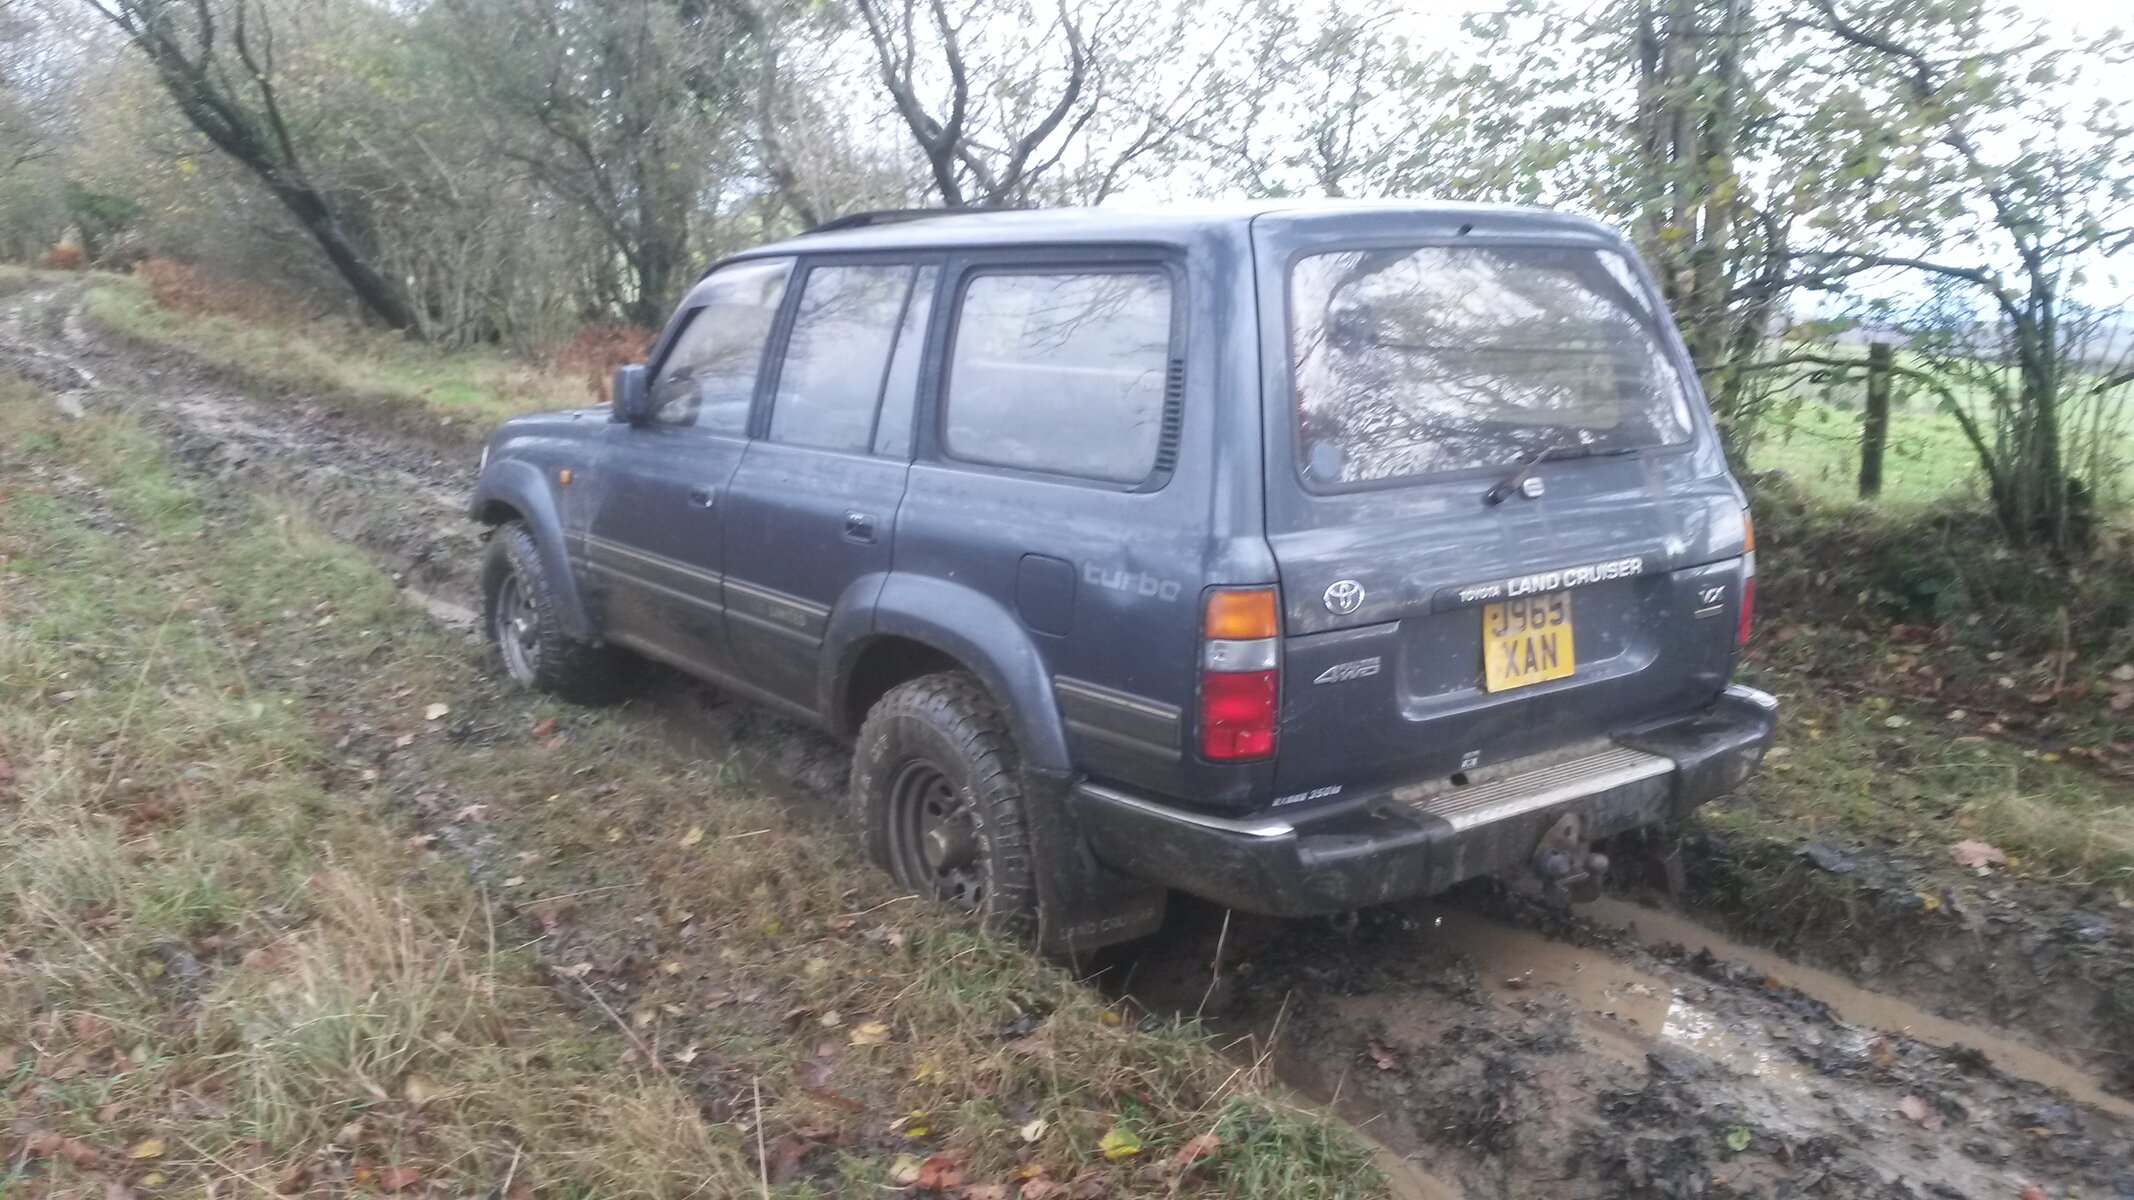
iwan's hdj81

I have had the new cable delivered today and had a bit of time before dark to fit it. All in... just a quick question. ..

The new cable hasn't got the crimped stopper fitted but supplied. With setting it up, does the crimped part stop the cable from going too slack and possibly stopping the cable from coming off the cable wheel on the valve block?

Was handy that I had some help with this, so we adjusted the cable so it was about to turn the vb pulley wheel. I then held the old cable next to the new with this setting an they were the same length.

So it seems correct to me.. main question Do I need to crimp the stopper a certain distance away from the red cable cap?

Thanks all!
 
I completed the cable installation, spent plenty of time getting the atf level right.

I have taken the last 2 exhaust sections off and have fitted near to 1m of 2 1/2 " straight pipe and a 90 bend.

Now have the desired exhaust tone! Took it for a test run... auto box is fine!! Now that's a result! Have it driving in a week!
20141107_151400.jpg
Couldn't resist taking it to the local test site!
I like it a lot :icon-biggrin::thumbup:
 
Hi Iwan that is a good looking 80 big :thumbup::dance: thanks from Tony. Ps big toys for big boys.
 
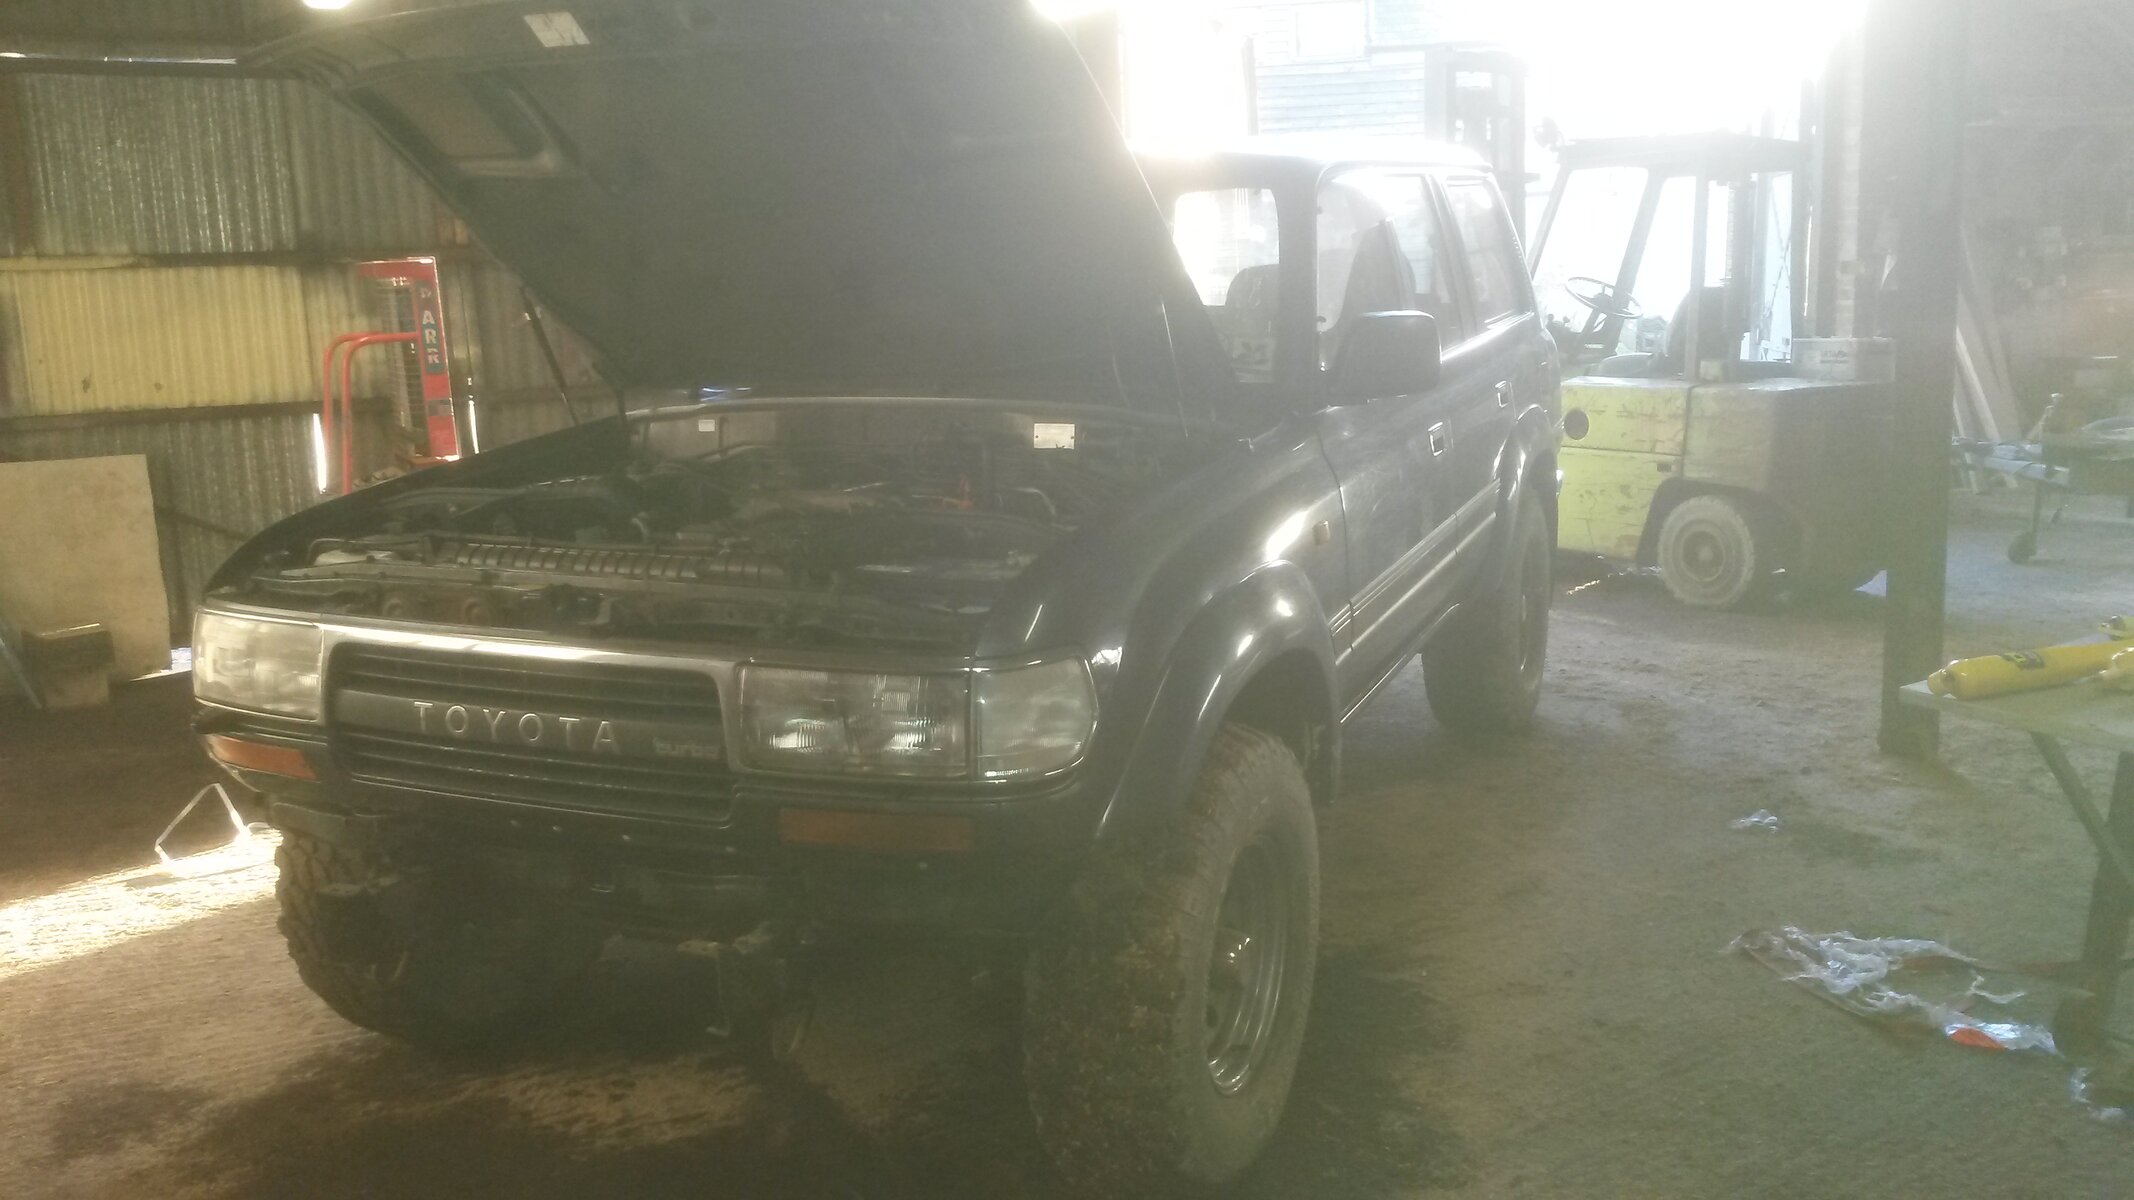
Finally have got some time away from work to give attention to the 81

20141219_092520.jpg
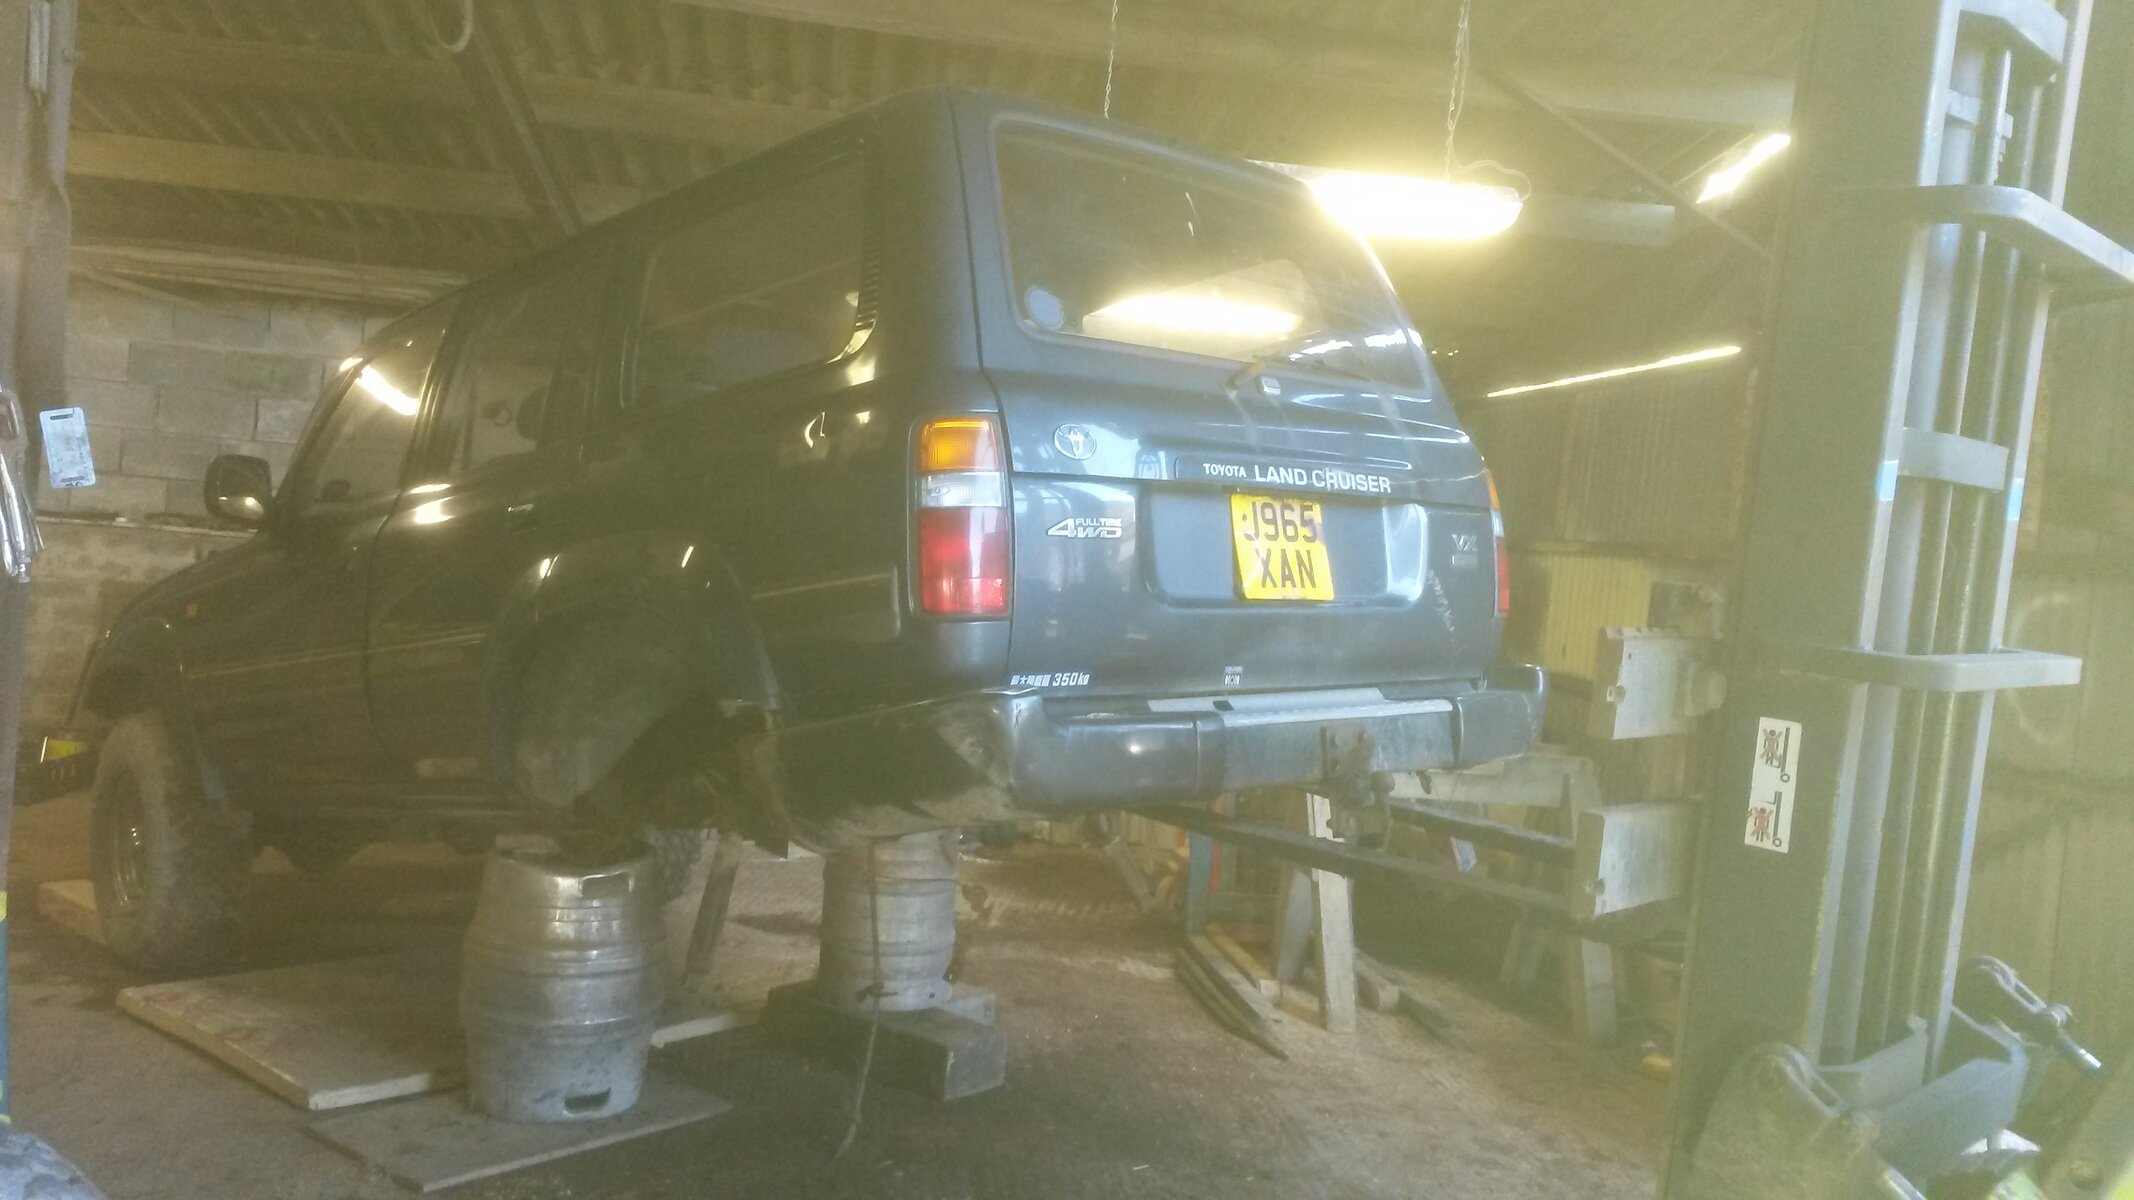
Got it in the workshop!
View attachment 16757
A couple of hours and the rear end is stripped out.
20141219_164226.jpg
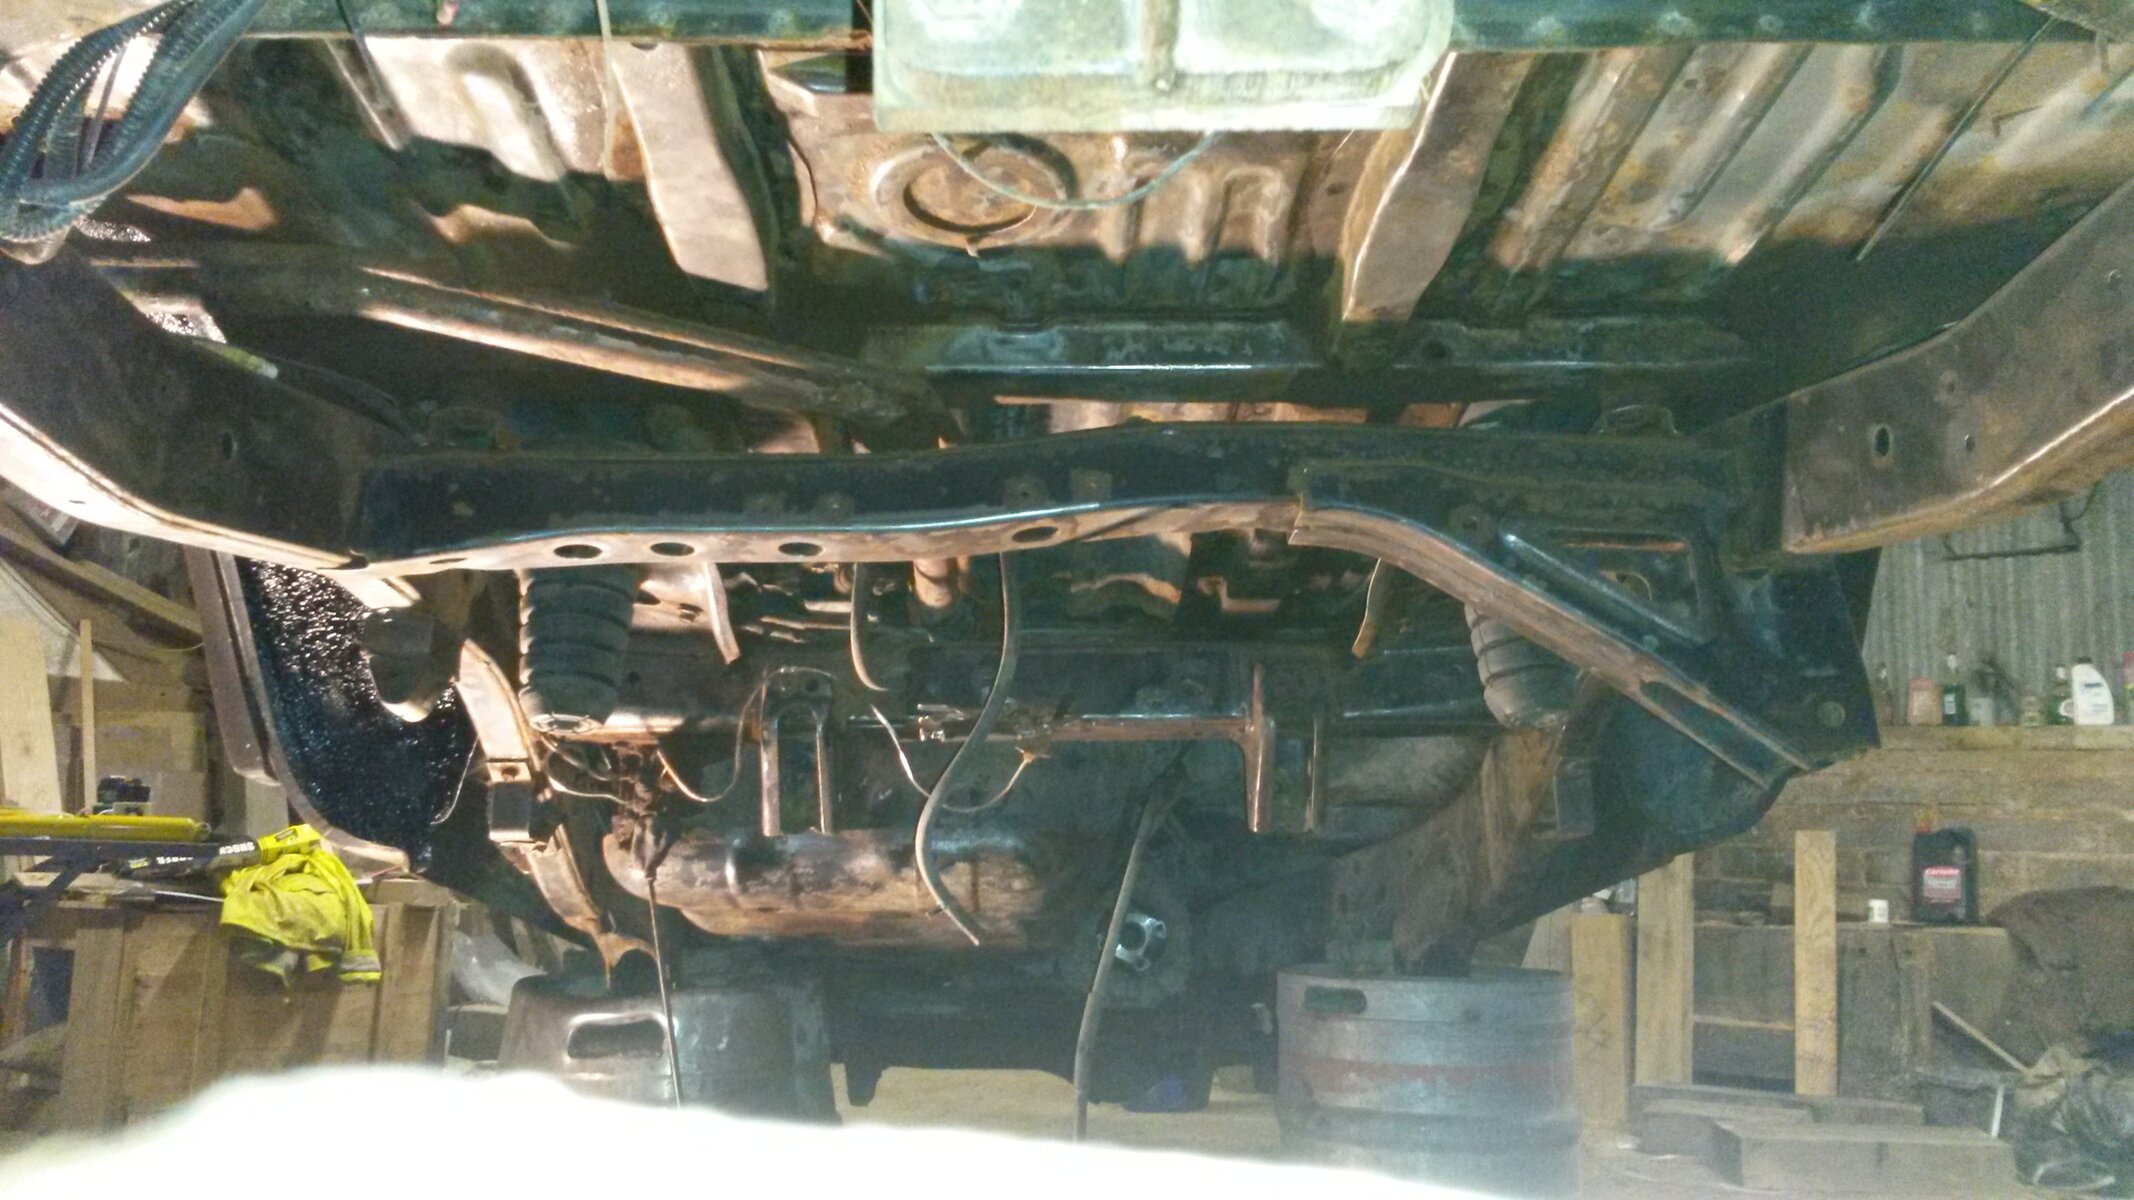
As it seems there is no underseal on the import model and there was quite a bit of surface rust on the boot floor. Thought it is best to address the issue early.
20141219_164240.jpg
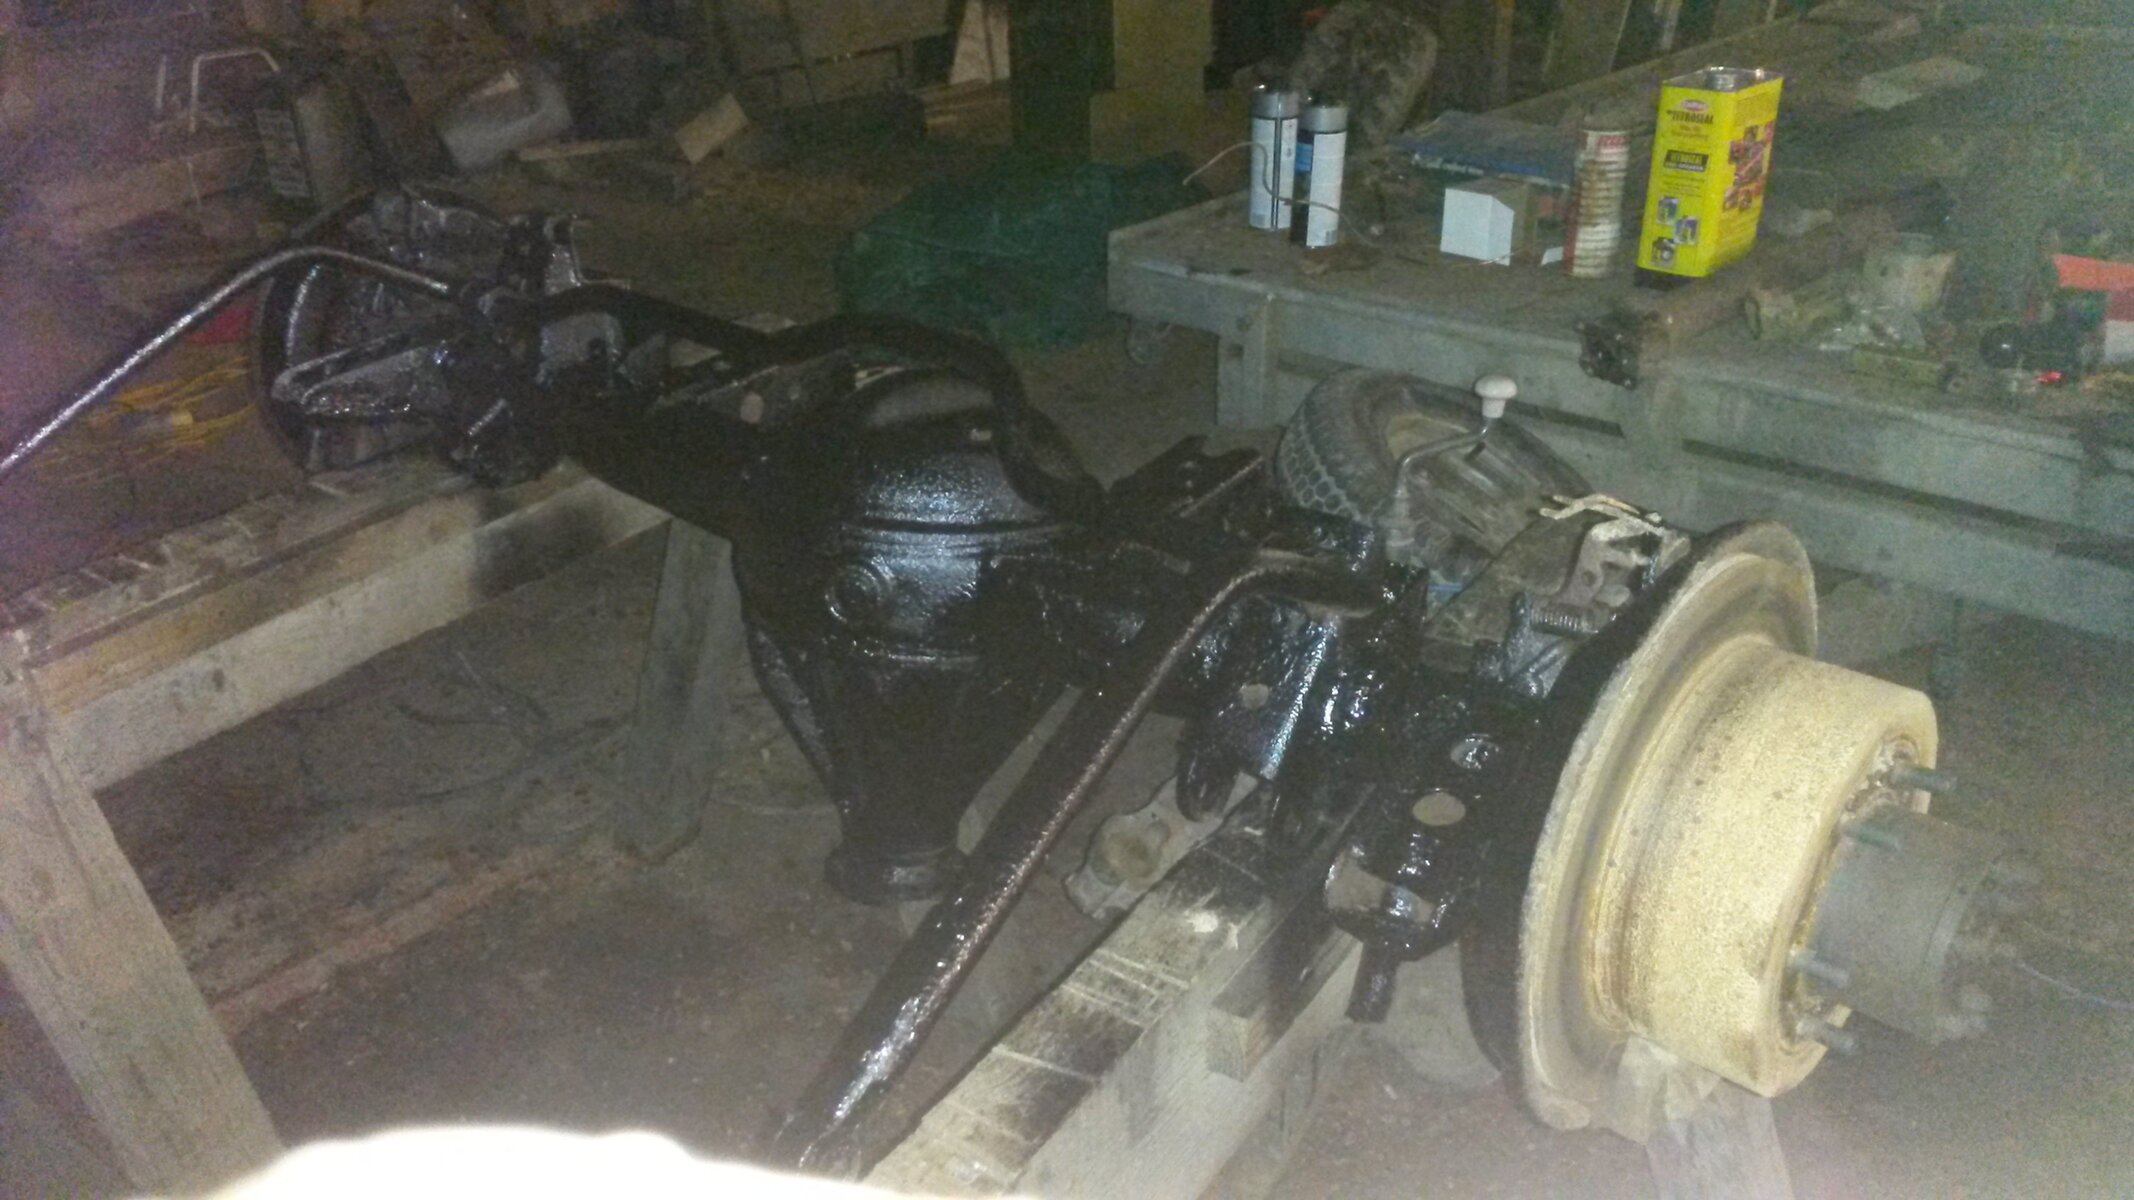
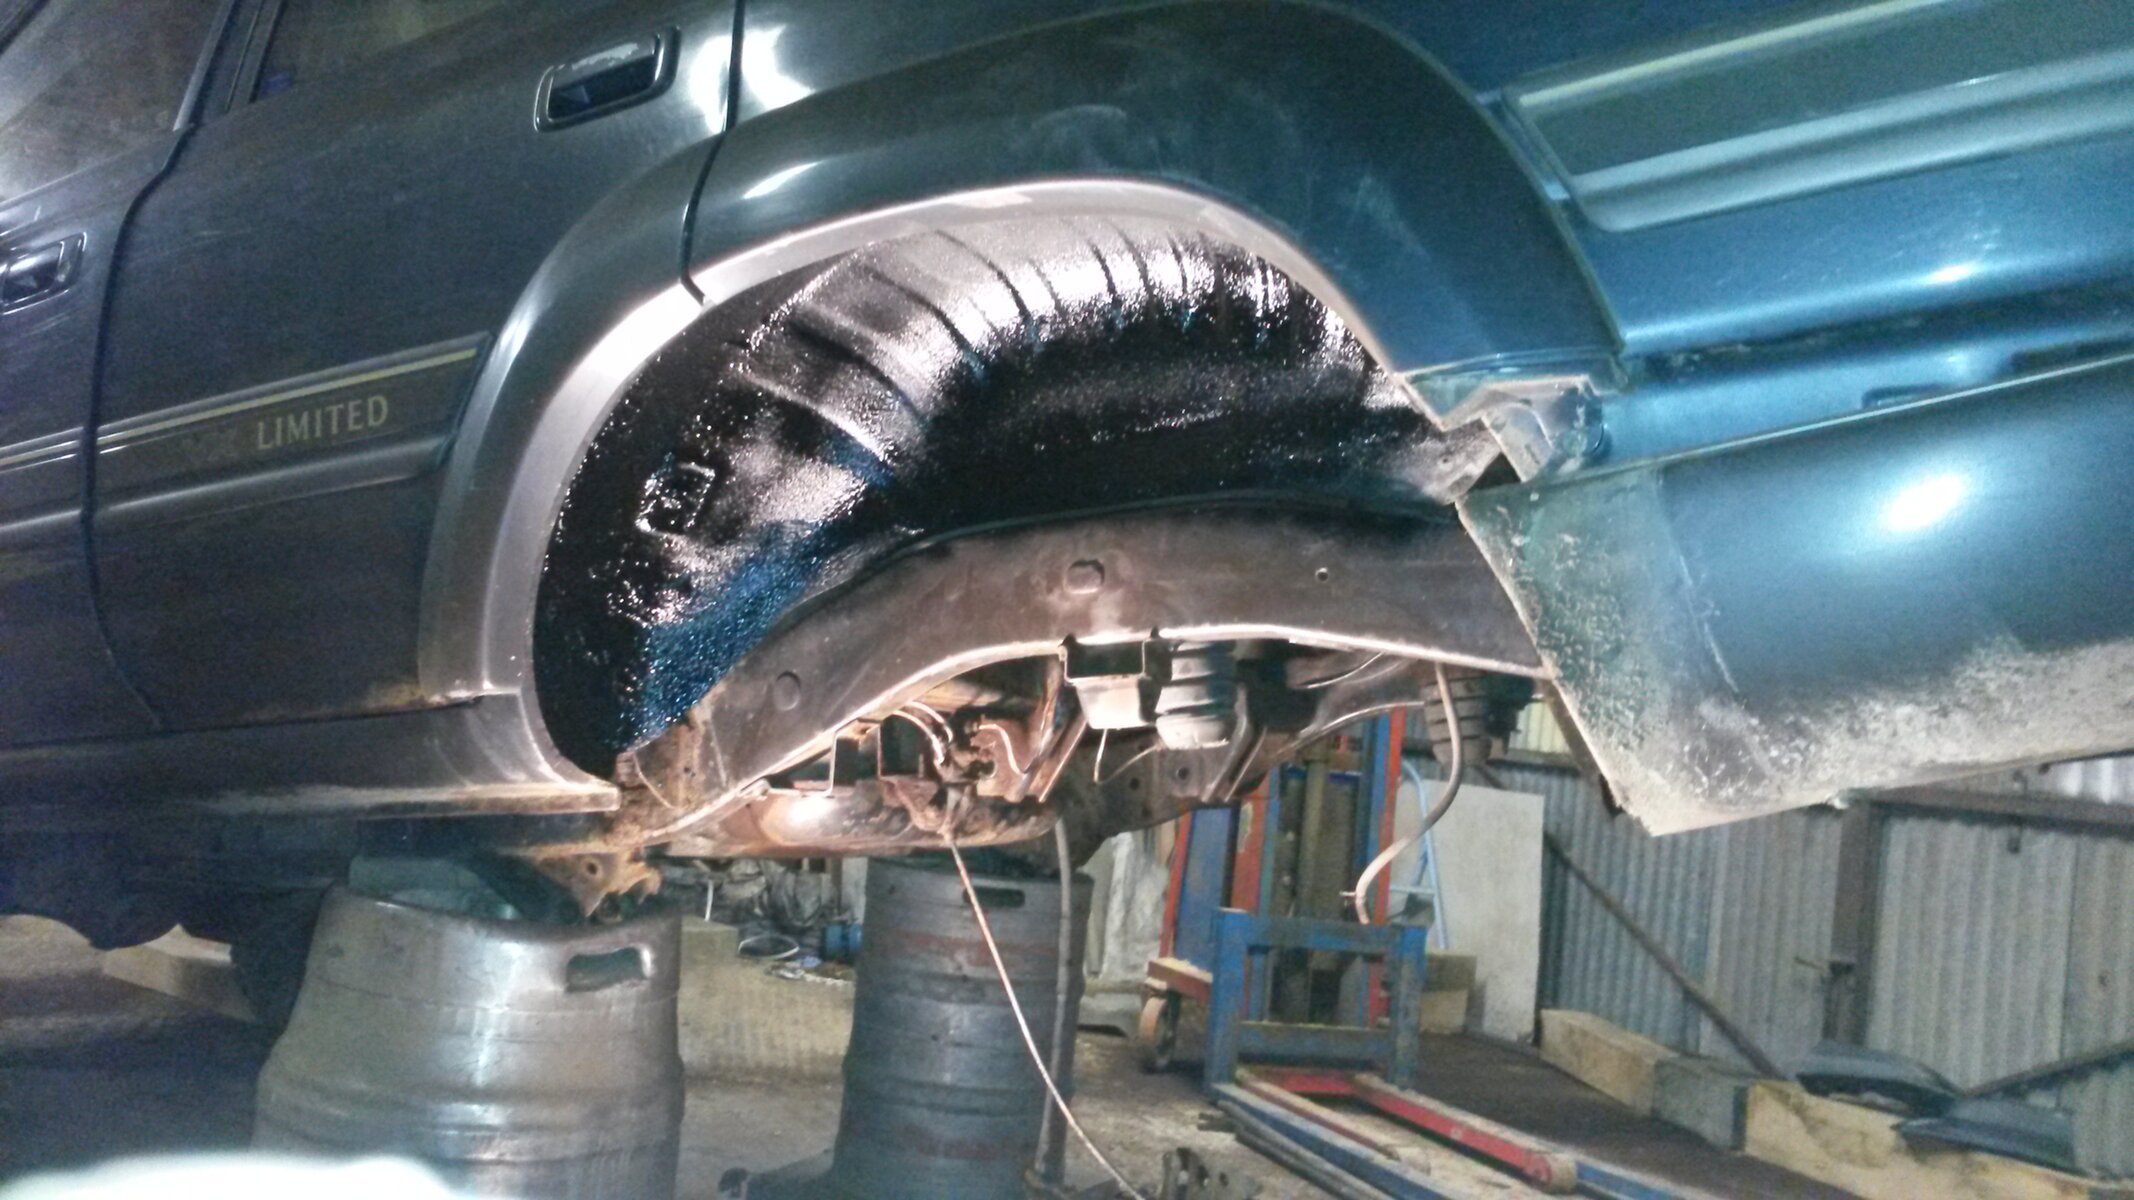
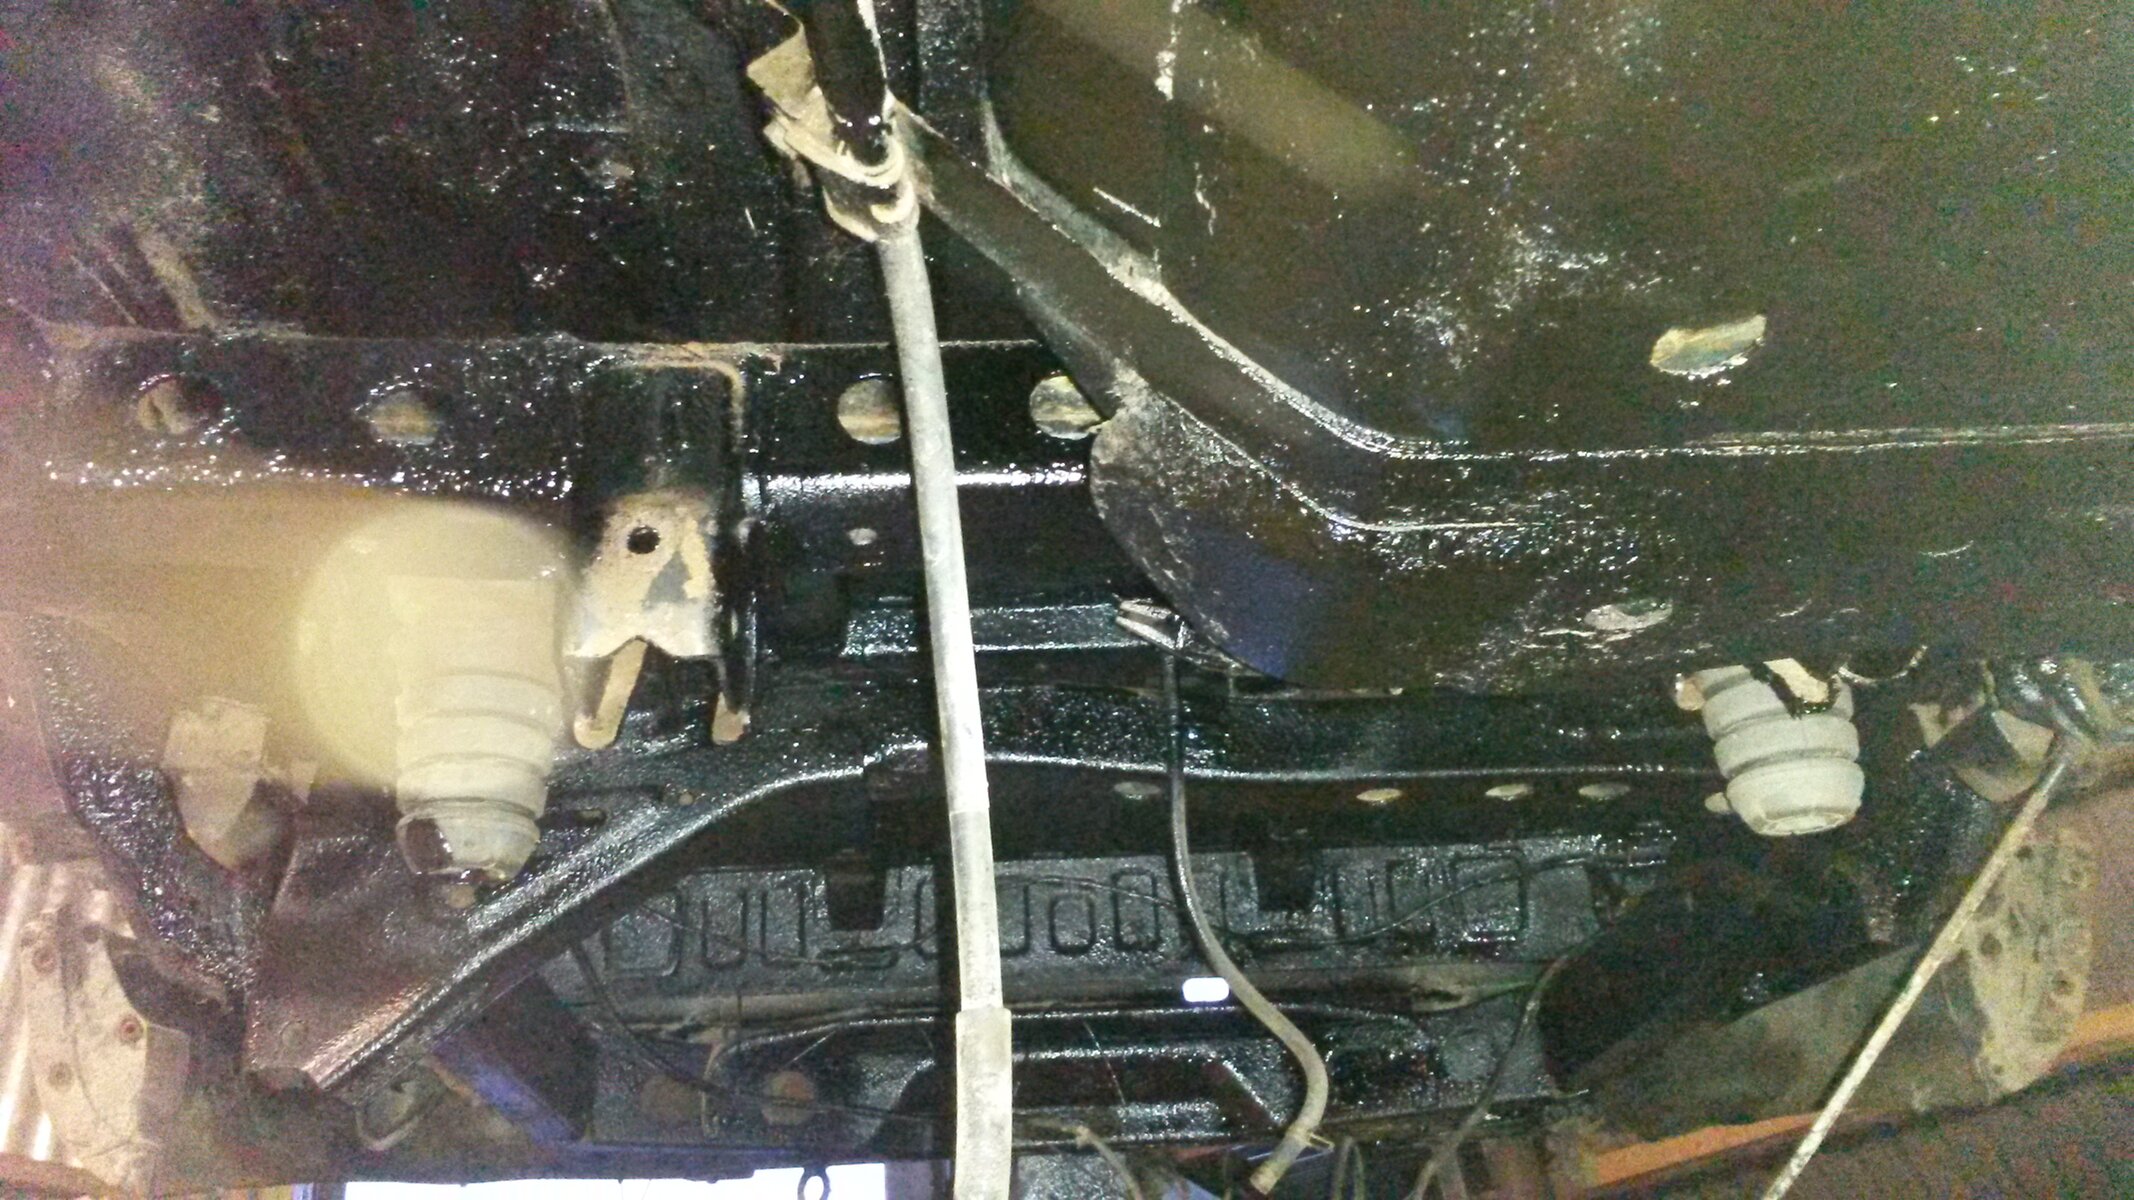
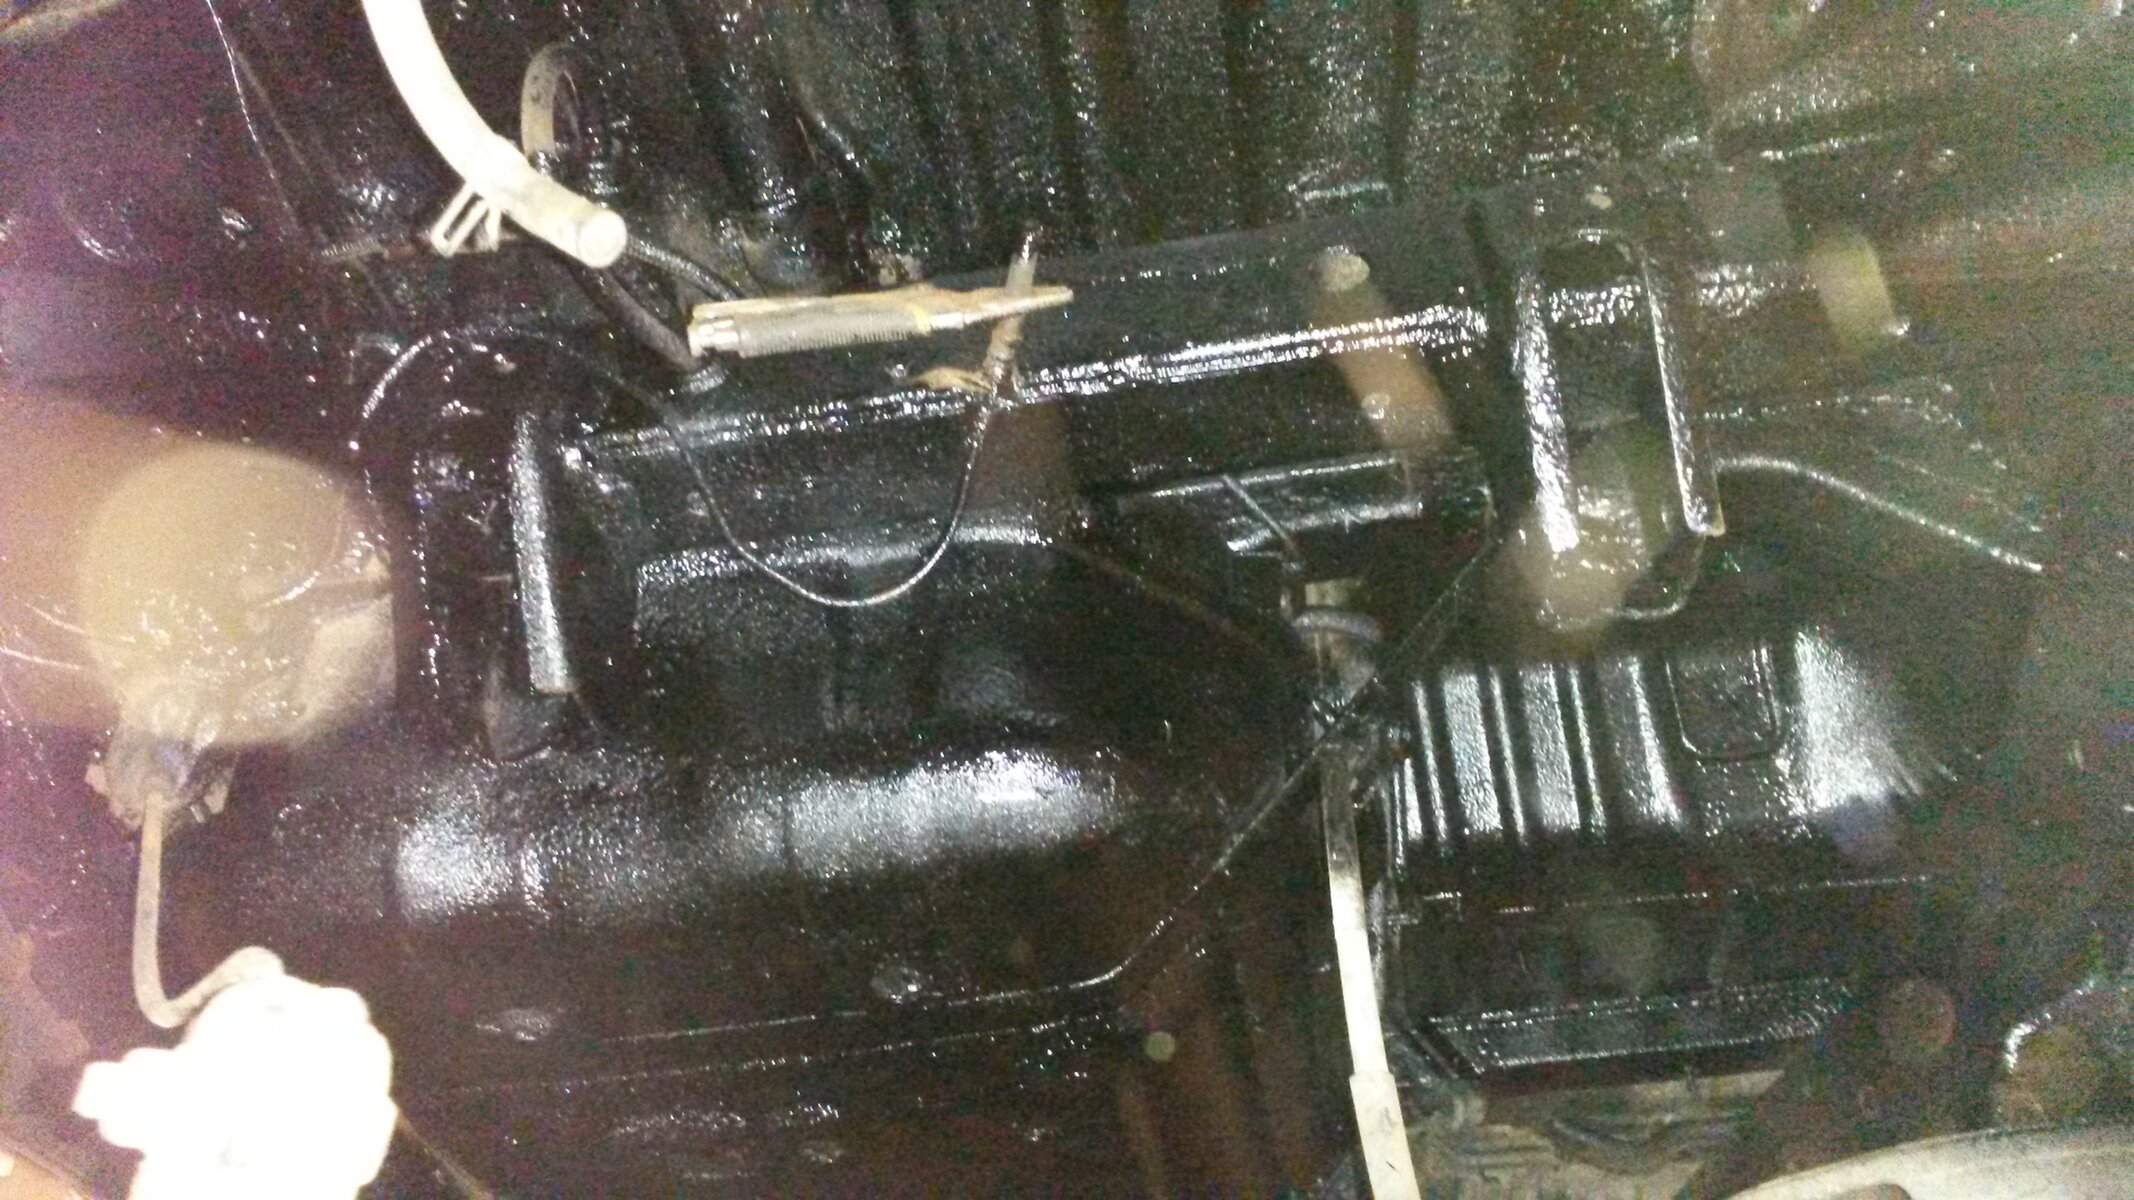
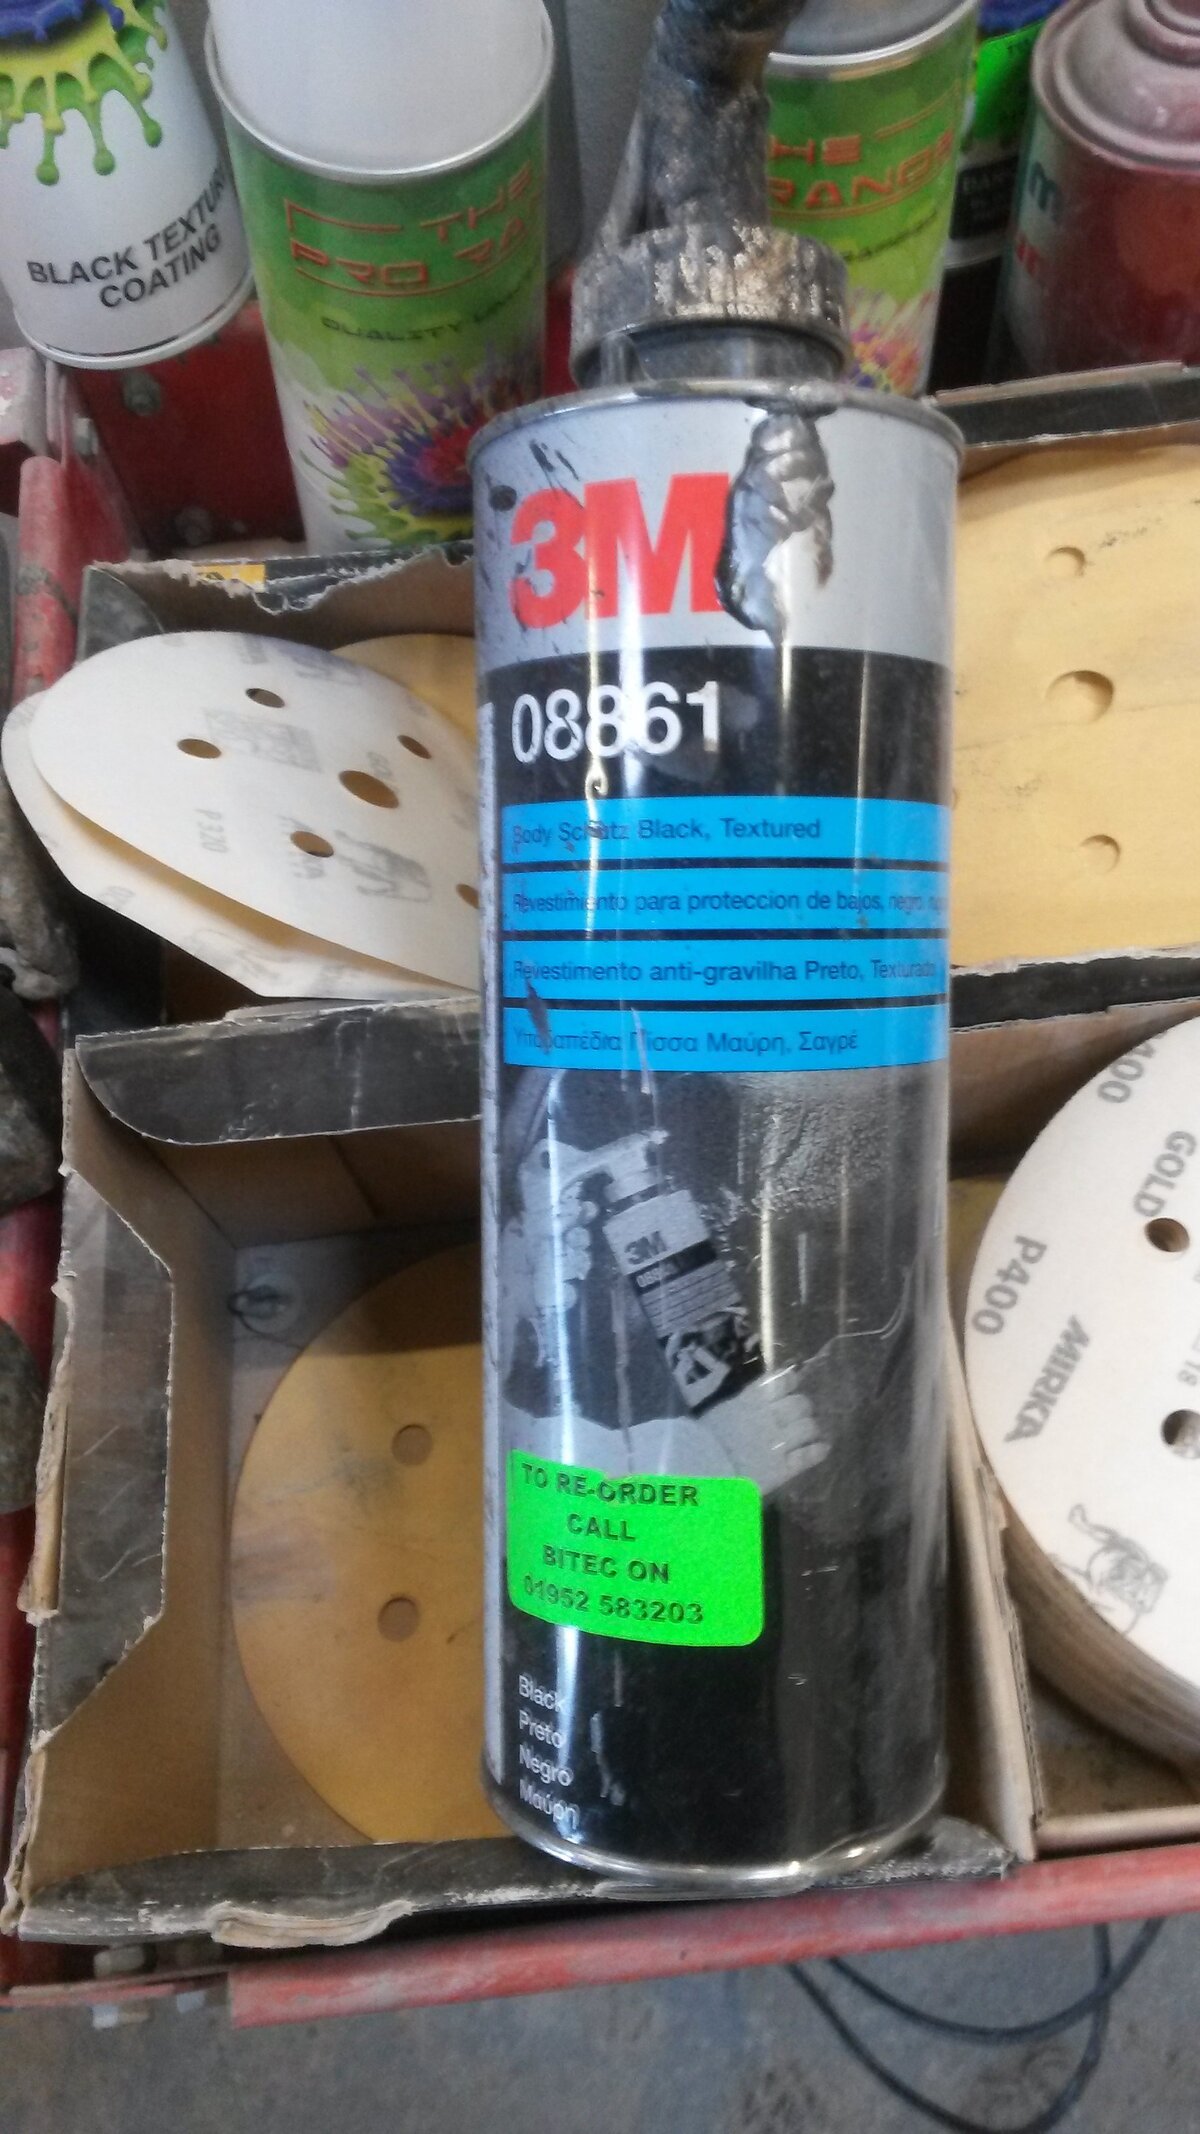
With a couple of hours on the grinder with the wire wheel.. All loose rust is cleared off the rear axle. Have used 3M 08861 asphalt bases underseal on it.
20141219_164254.jpg
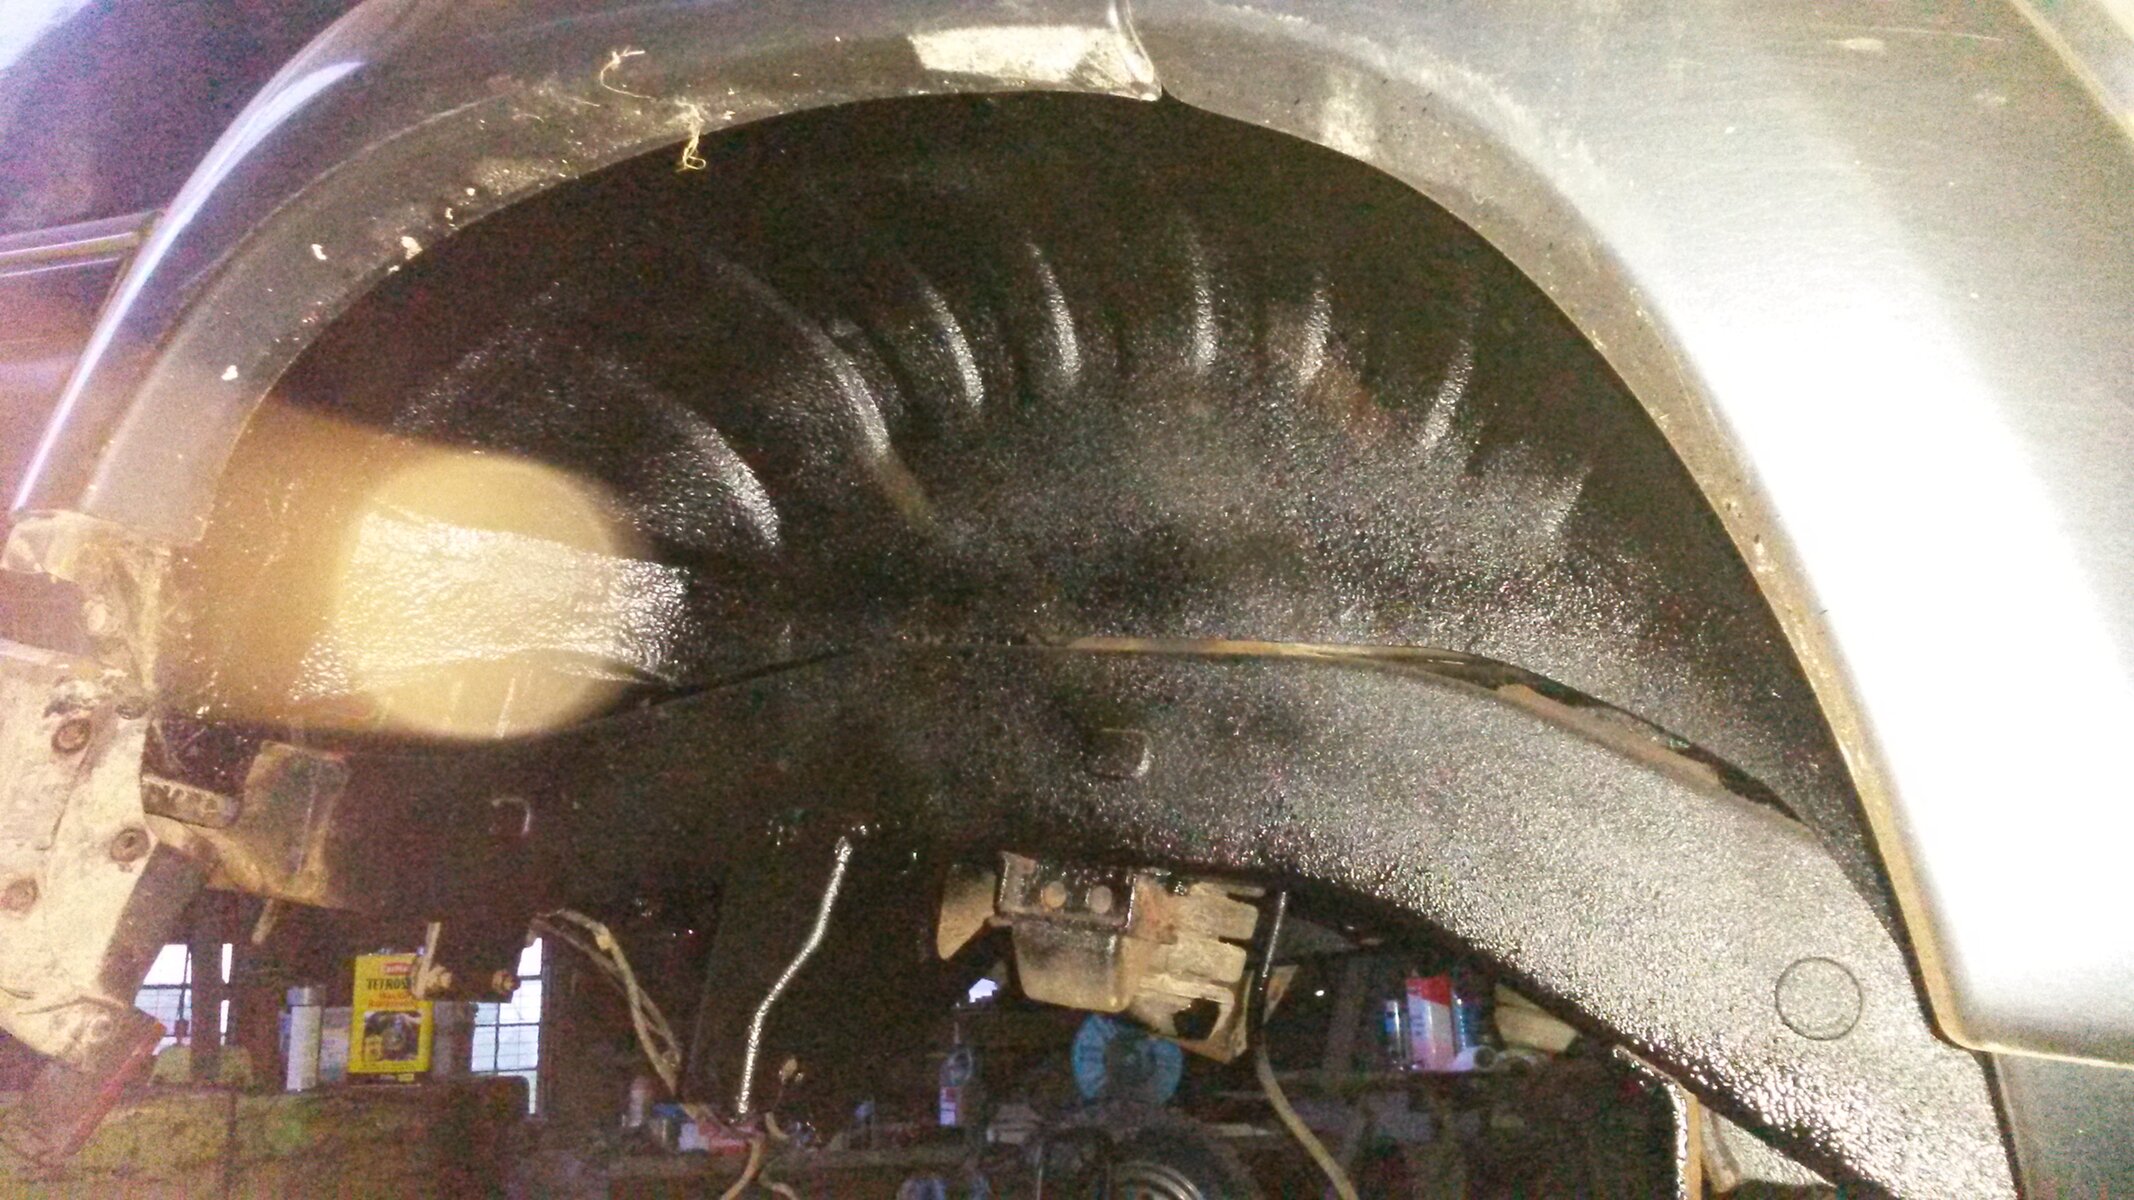
Luckily there was only light rust on the inside of both wheel arches, so a good clean up and it was ready for coating..

Day one went very well, had help for this day.. Hope to continue again on Monday.

Pleased with the fact that the truck is not full of holes!
 

Attachments

  • 20141219_130730.jpg
    20141219_130730.jpg
    1.5 MB · Views: 290
And a couple of barrels for refreshment while you work :thumbup:
 
Don't like the adverts?  Click here to remove them
Managed to fit in 3 1/2 hrs this afternoon.. small session with the grinder with wire brush.
20141221_155939.jpg
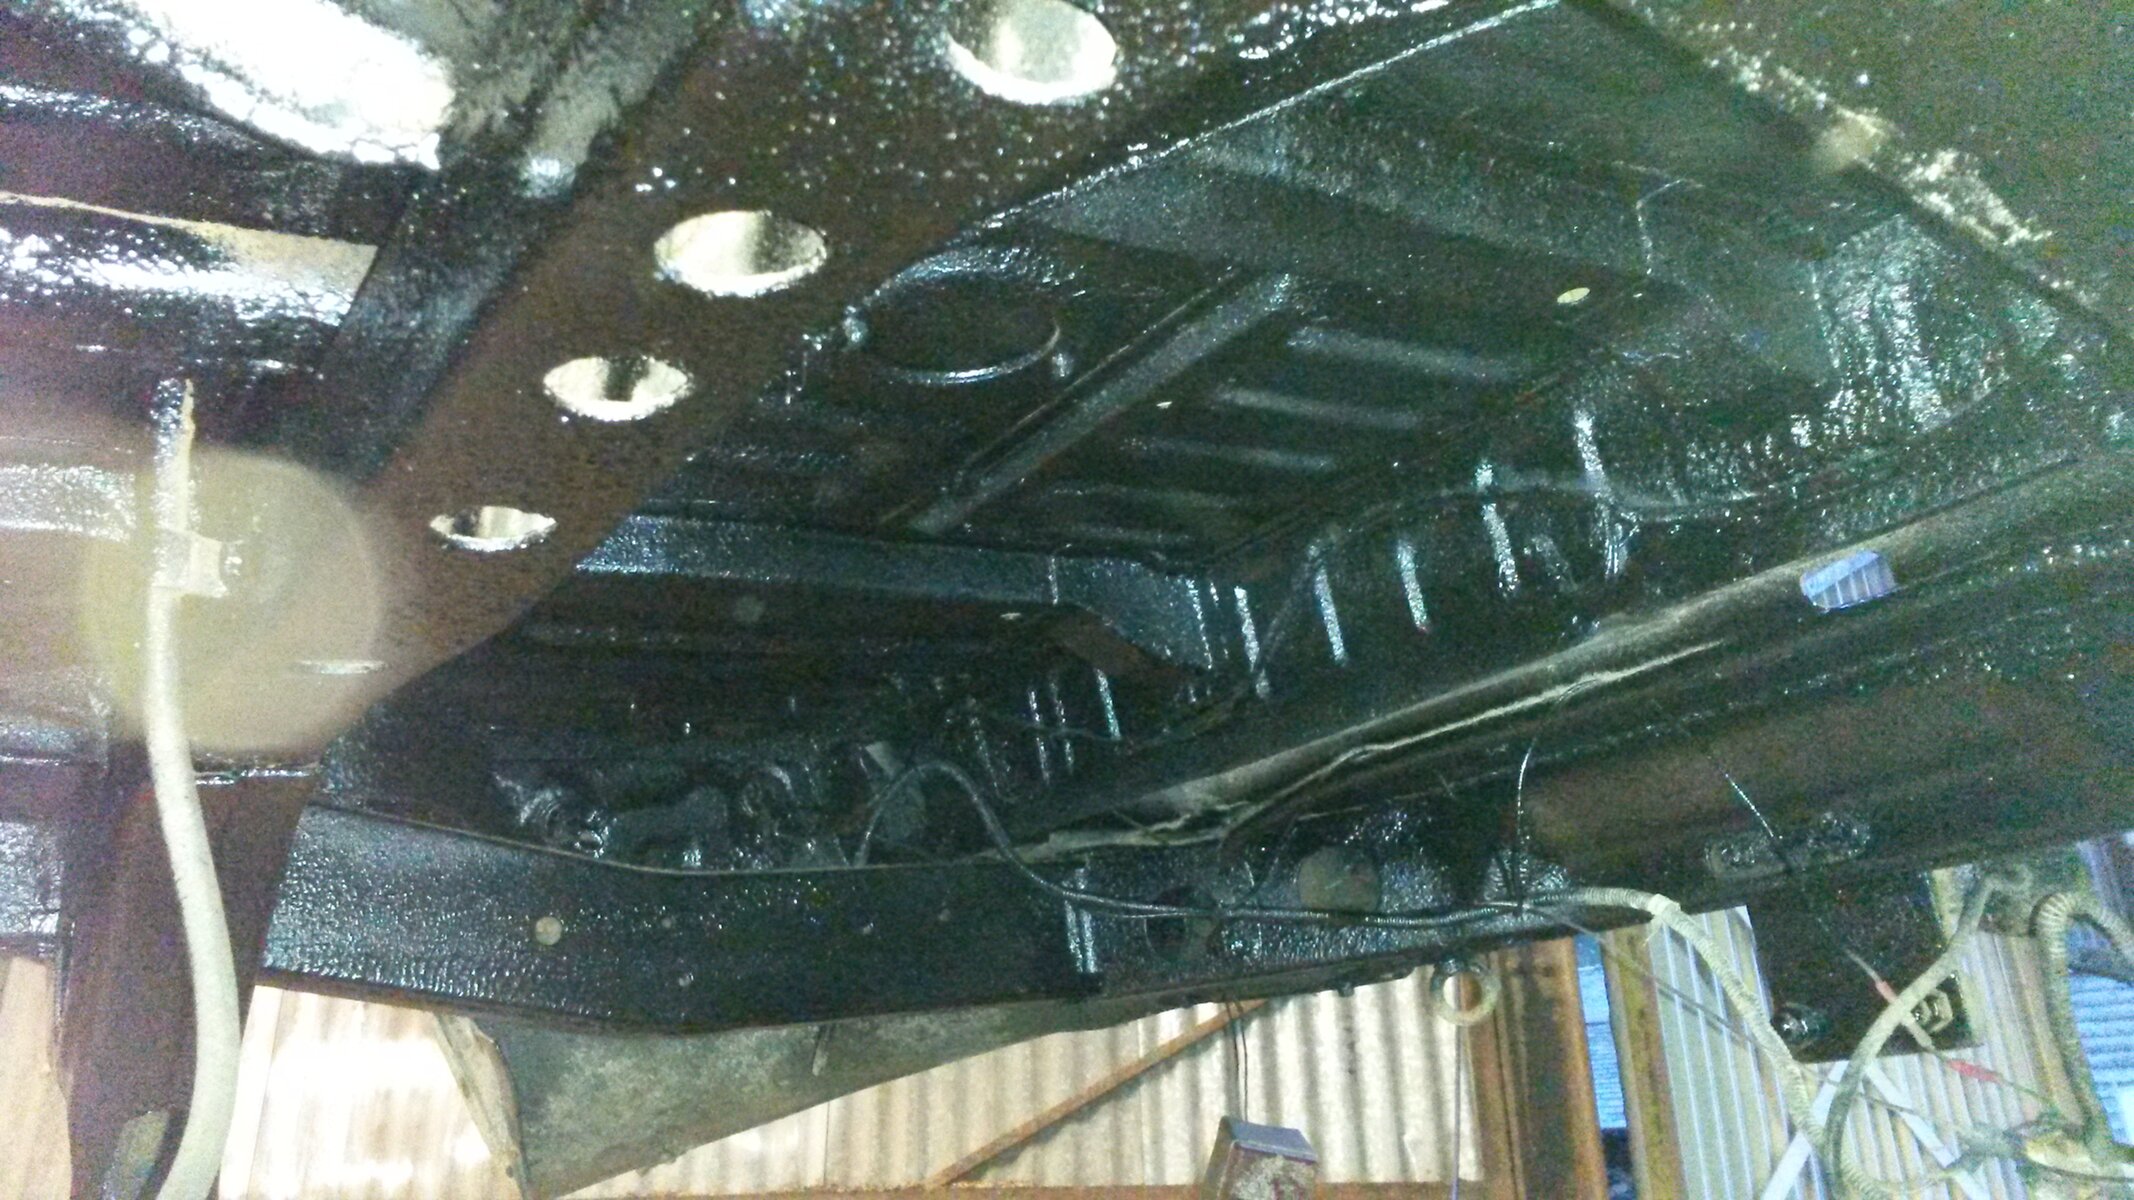
Such a difference when the 3M underseal is applied and satisfied that there's no threat of further rusting.
20141221_160108.jpg
So far I've used 6 containers of undersea leaving 1 left to tidy up missed bitsl. Also have 1 gallon of cavity clear wax to treat the internal areas.
20141221_160156.jpg
All solid and protected! Remember " A stich in time saves nine!"
Very happy with this solid truck!:icon-biggrin:
 

Attachments

  • 20141221_155920.jpg
    20141221_155920.jpg
    2.2 MB · Views: 250
Painted or sprayed on? Does it dry or is it like wax oil? I need to do this on a couple of my trucks at some point.
 
what like is the body behind the rear bumpers? good job!
I have read on here that they can rust up real bad behind the rear bumper corners. I've been waiting to get time to see and there's no sign of rust there. So no need to roll the welder out! Luckily!:pray:

Painted or sprayed on? Does it dry or is it like wax oil? I need to do this on a couple of my trucks at some point.

Well worth doing this job Trevor before other jobs. Solidity of the body is paramount... looking back to the 60 series body off rebuild..
20141103_123527.jpg
Spayed on man.. did the junk truck by brush.. very time consuming. .. but for best results you have to get all the loose rust off first or you risk trapping the rust in and it continues. It dries real solid too.:thumbup:
 
You're lucky!!! Mines is rotten behind the bumper sadly. I'm getting it welded... :'(
 
You're lucky!!! Mines is rotten behind the bumper sadly. I'm getting it welded... :'(

God darn rust bugs been at it again, the dirty old dawgs... sorry to hear that!:think:
 
You're lucky!!! Mines is rotten behind the bumper sadly. I'm getting it welded... :'(

It's the only place on mine where there was any rust, and just one side.... strangely. As if a drain hole was blocked maybe.

It didn't take much welding, all good now. :thumbup:
 
Only way is up!

20141223_144928.jpg
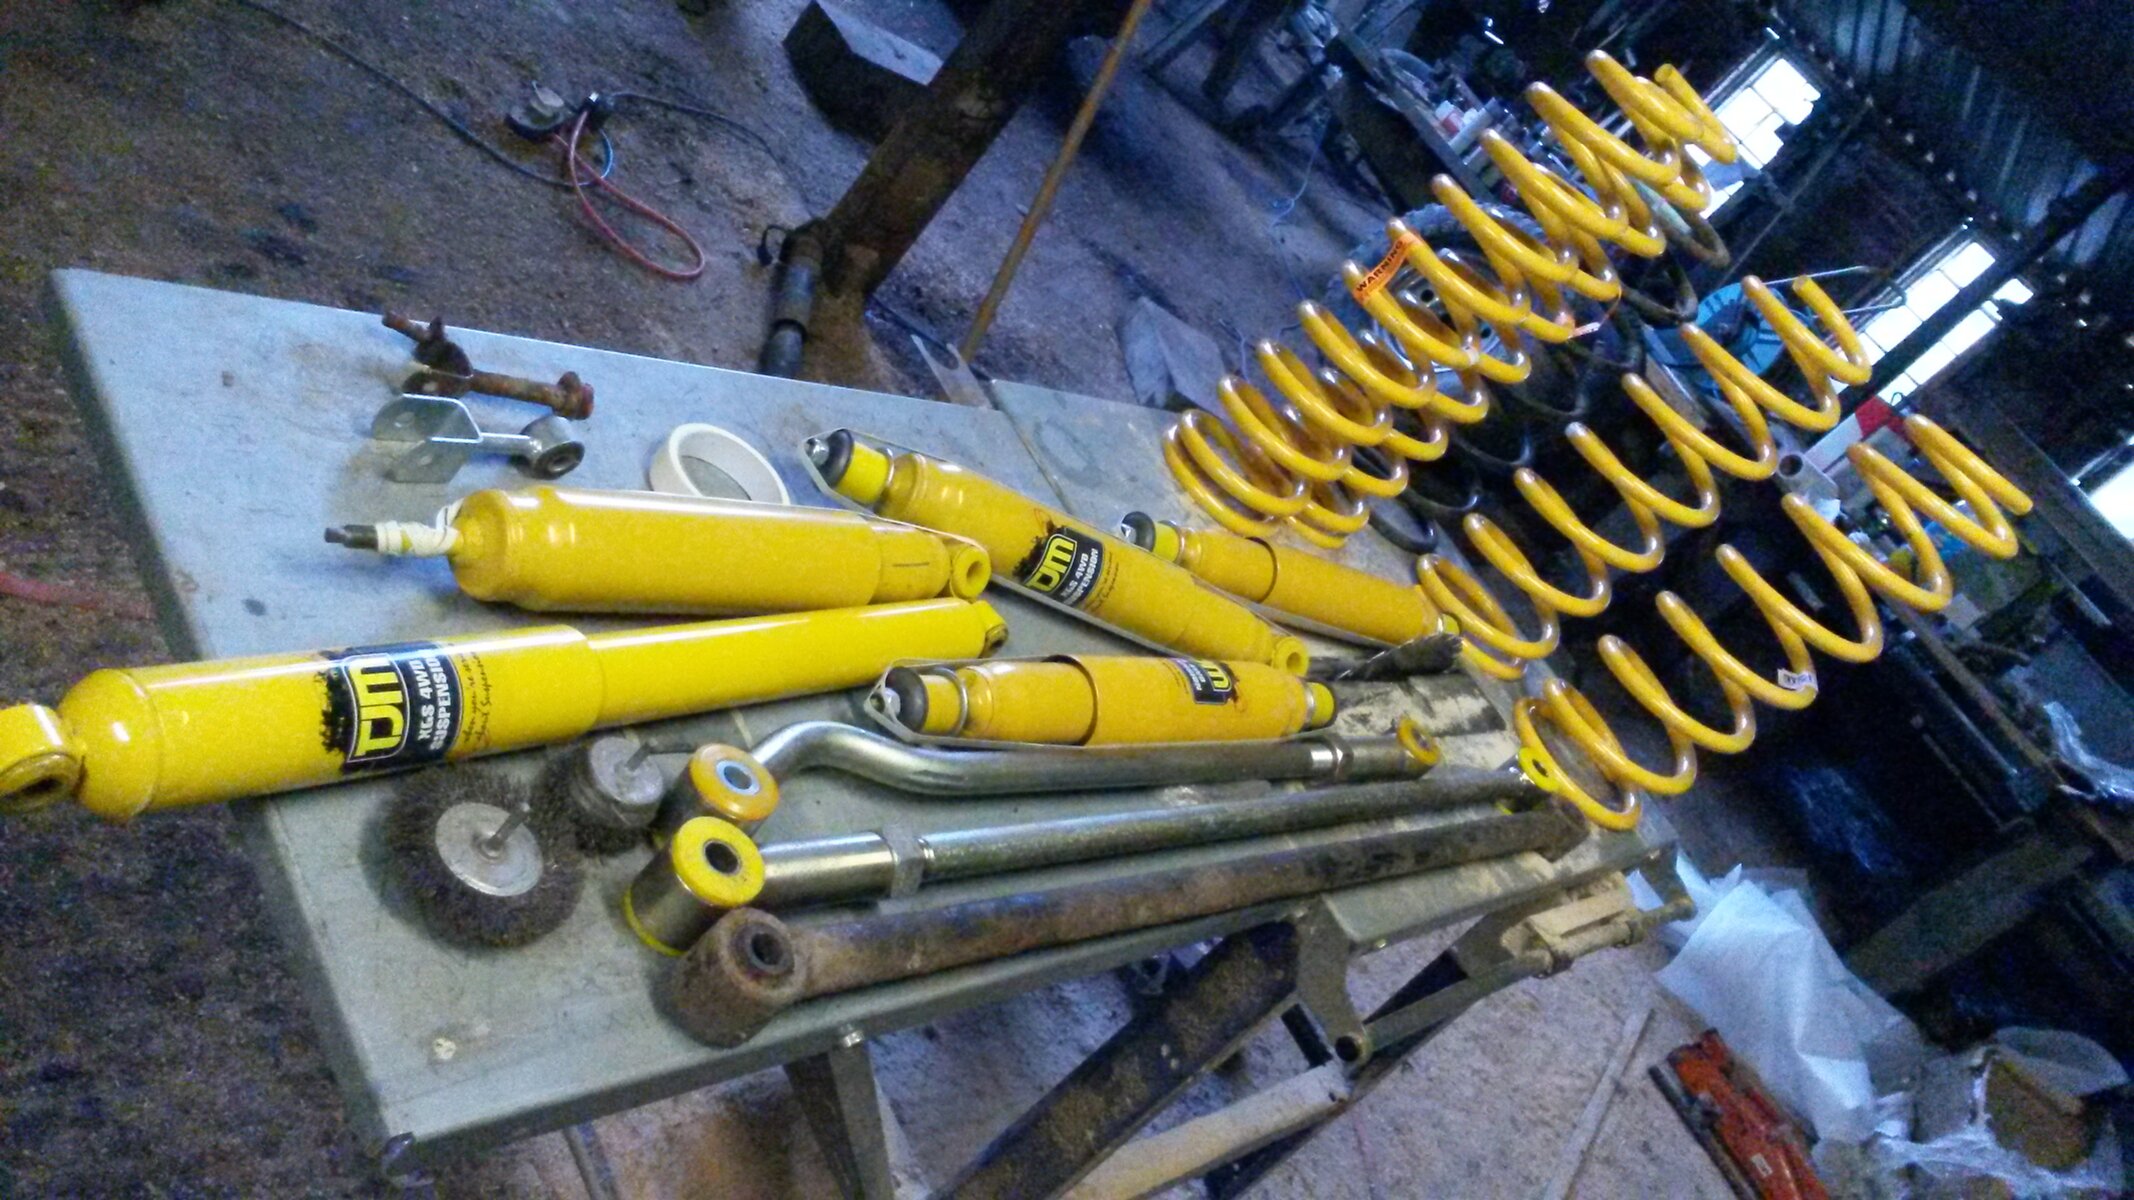
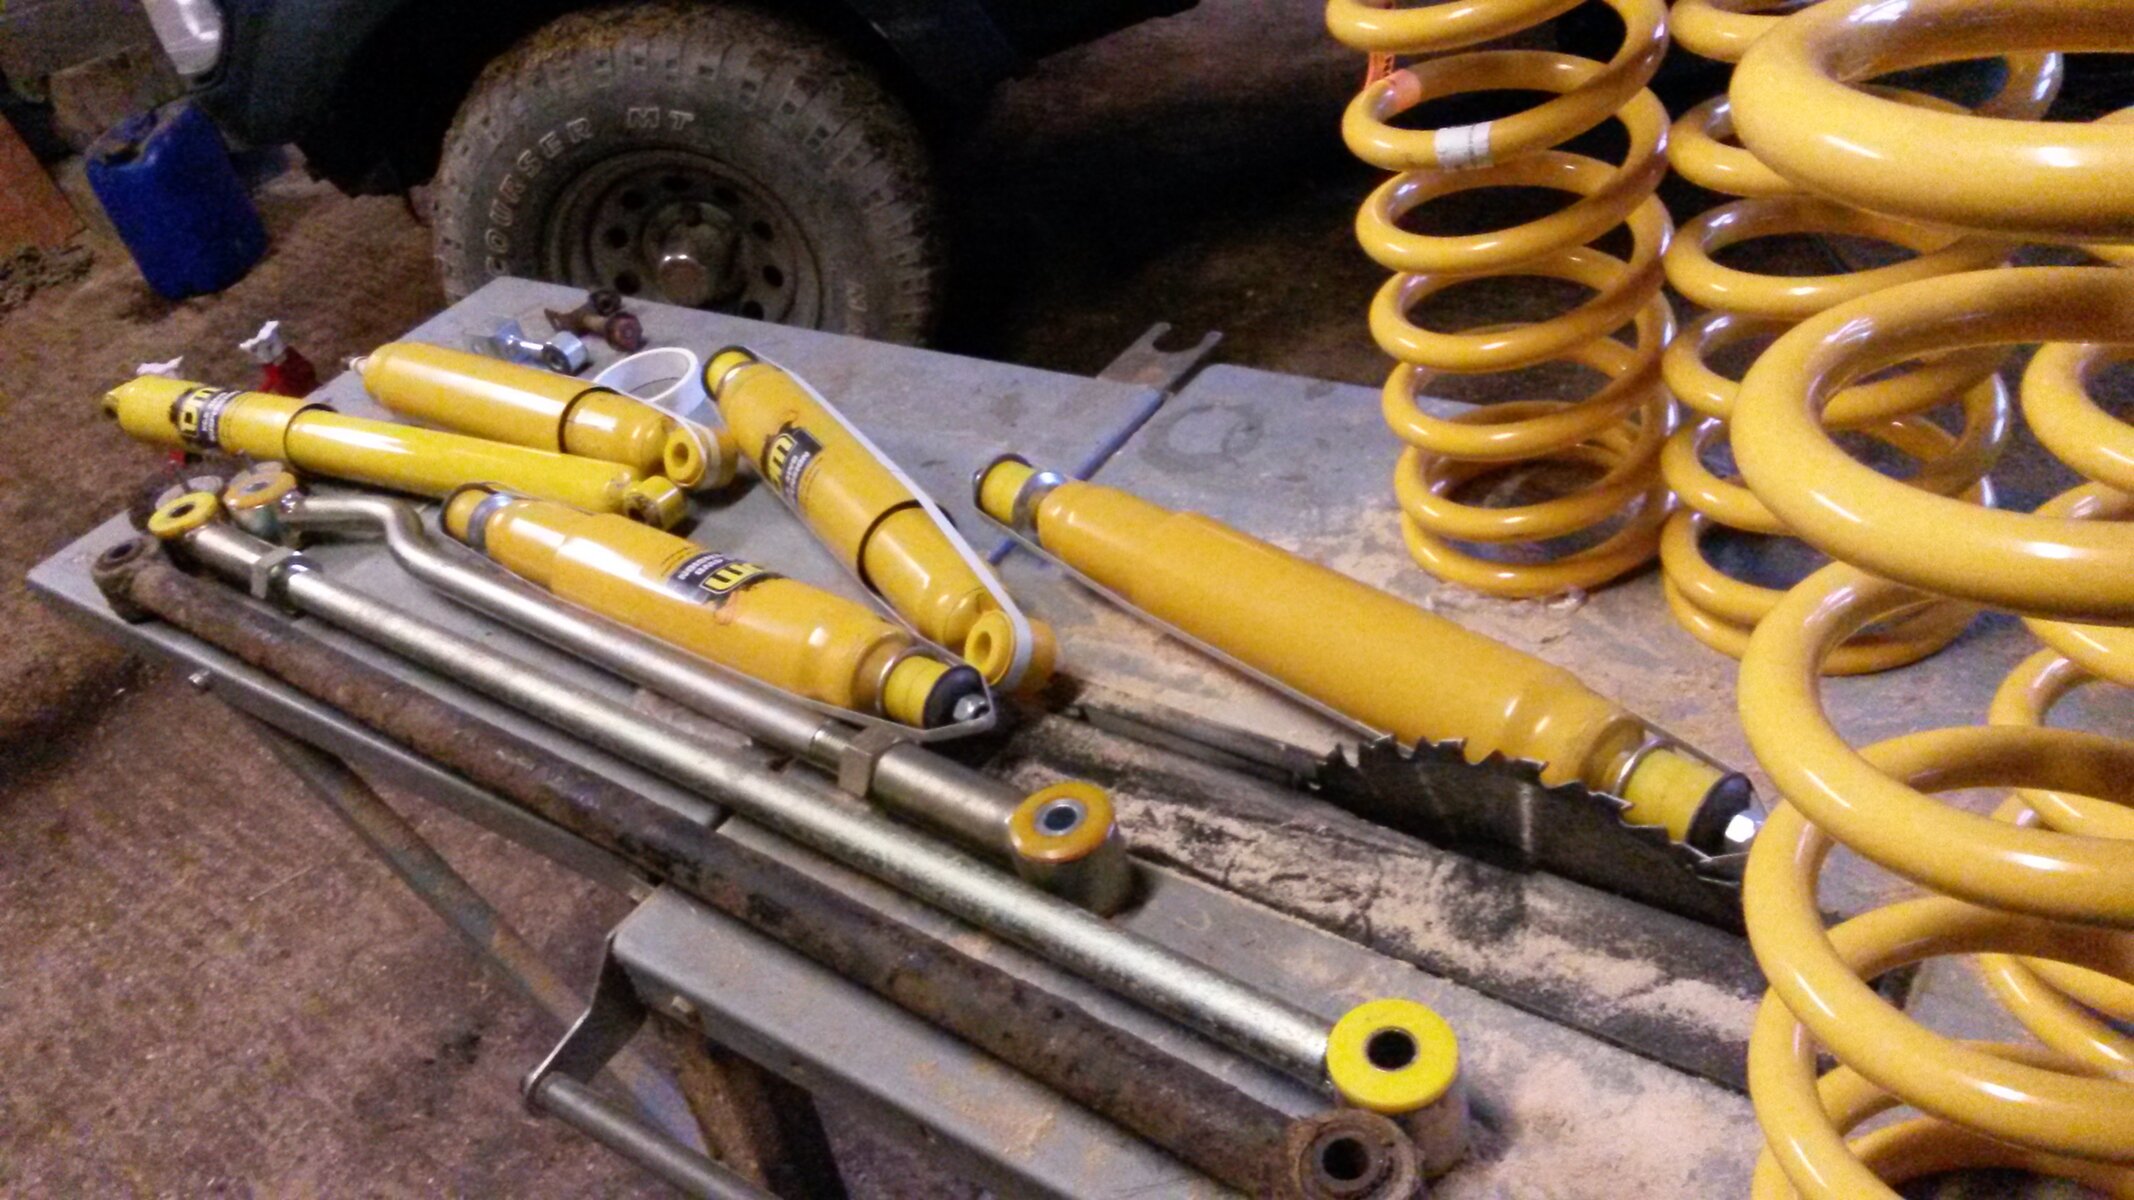
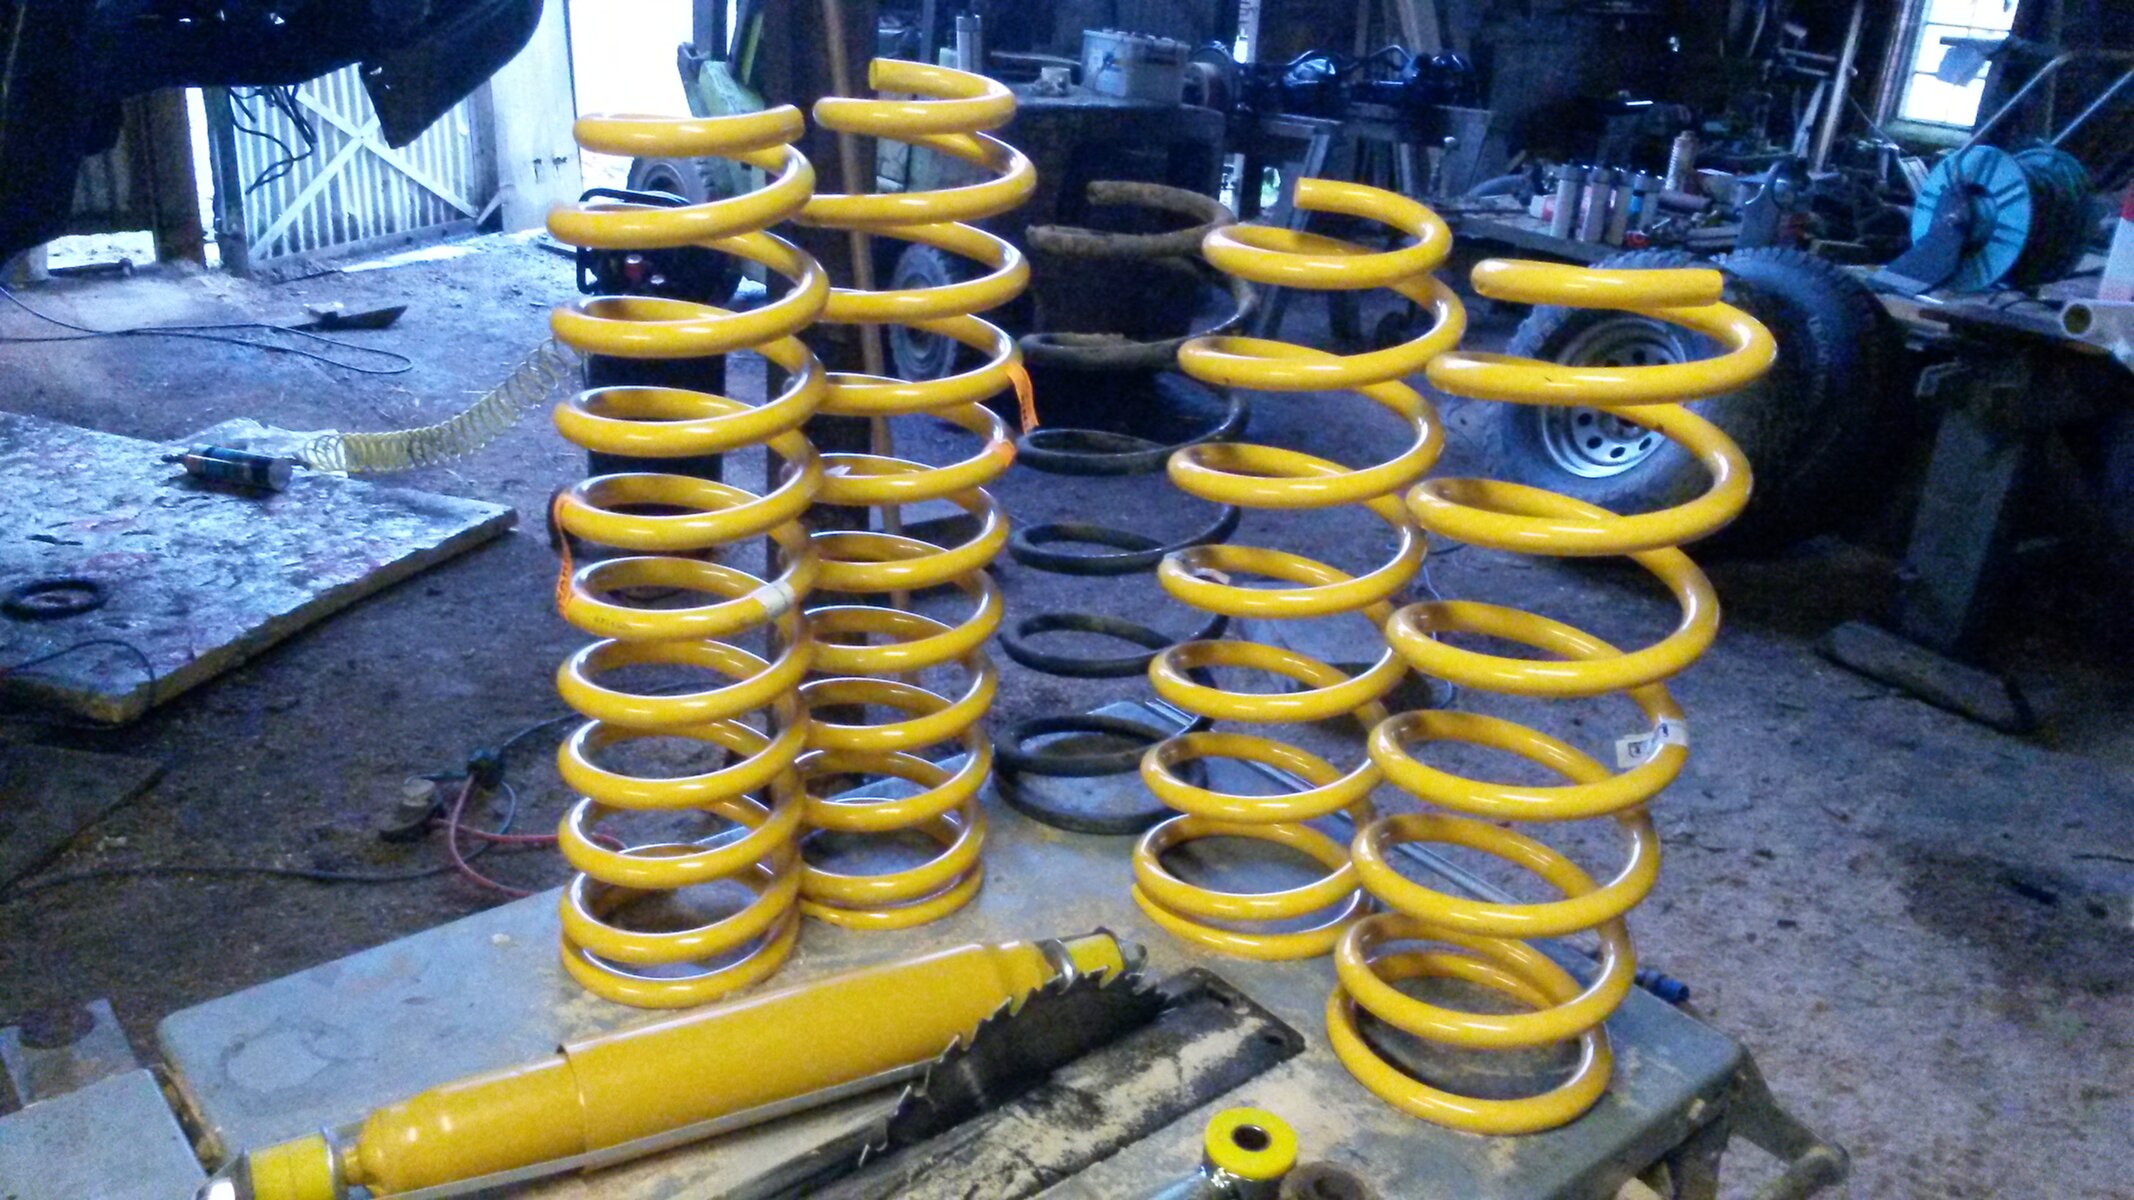
Received my lift kit yesterday..

20141223_144917.jpg
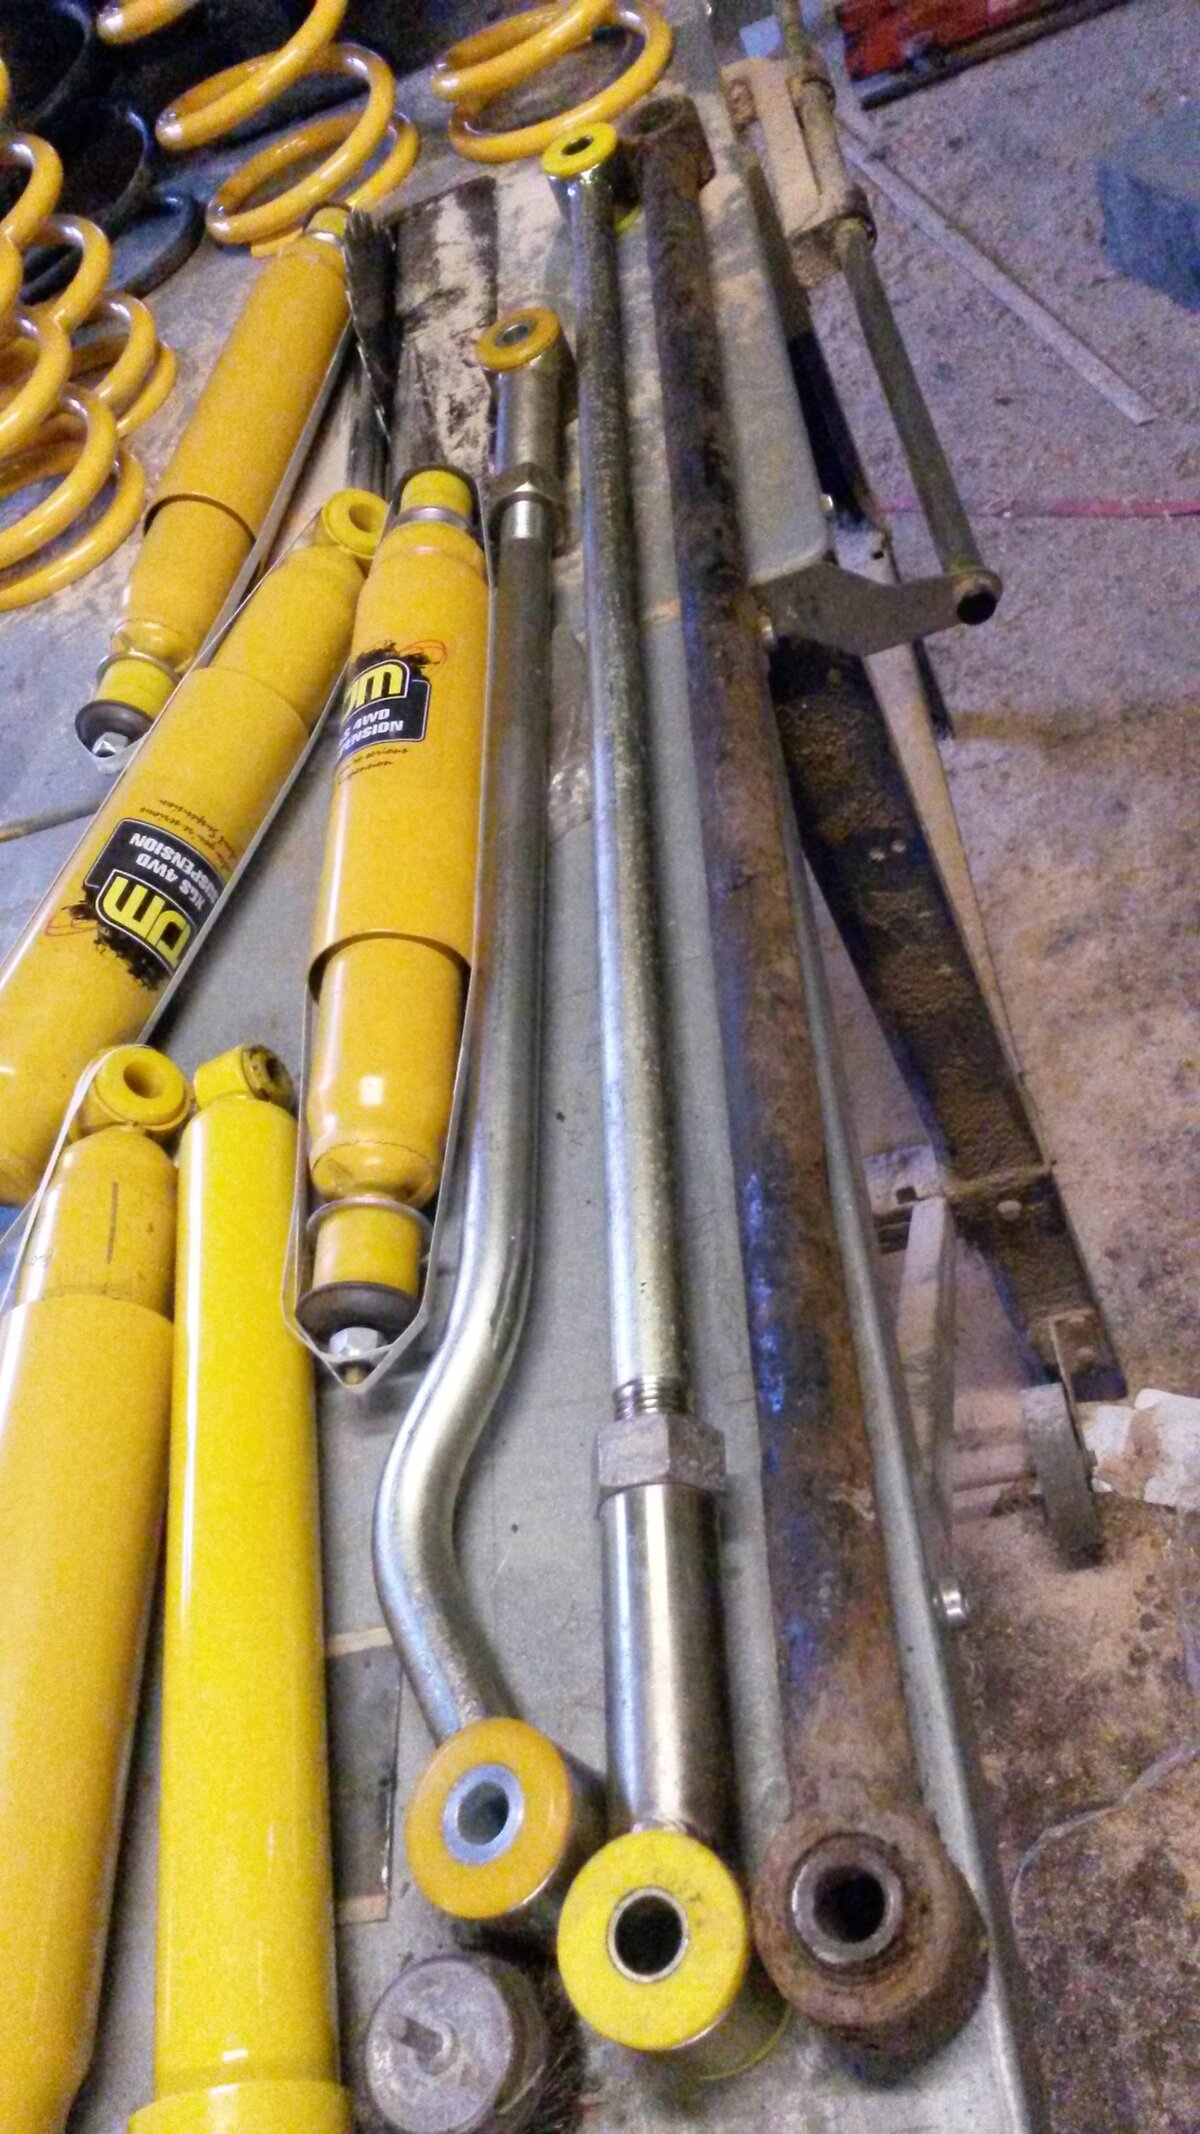
It's the TJM kit I mentioned above, it was bought and never fitted..

20141223_144948.jpg
I like the quality of the adjustable panard rods.

20141223_144939.jpg
The guy bought 5" lift for the front and 4" for the back.. I have some 30mm spring spacers on their way. I believe these springs are progressive, what does that mean?
It has the set of extended nitro shocks and a rather large foam cell steering damper. Unfortunately the steering damper fitting kit is missing, but my mate Ian is able to make them up on his lathe...

I have recorded the original heights, so am looking forward what the result will be when all is fitted...

Aint life good!:icon-biggrin:
 
You'll need some castor correction on there too. With a lift that size the steering will be a touch light and the prop entry angles out by quite a way.

Any plans?
 
You'll need some castor correction on there too. With a lift that size the steering will be a touch light and the prop entry angles out by quite a way.

Any plans?


This is where the wealth of knowledge of the forum is going to help!

I am planning on using some of Karls plates that drop the control arms on the chassis.. I've read that lowering the control arms there keeps the angle of the arm similar to the stock height. Was aiming to see how this method works.

I have a massive steering damper to go on and once again to see what its like..

I haven't thought of the prop angles... what sort of remedy is there for that? I noticed the splines on the rear prop doesn't have much length...

At the moment I'm just planning to cap off the rear end fit and see how the time goes over the xmas break. May get to the front end...

I have 30mm rear spring spacers, extended brake hoses and the bush setup off one rear shock (missing). Have plans for extending anti roll bars..

Any advice is welcome thanks
 
Nice one Iwan, looking forward to seeing the truck perched up on top of that lot! :thumbup:

I liked Chris' castor correction brackets, so much better than the offset bushings...
 
Thanks Clive, real happy with the find and that it came at a fraction of the cost!

I agree with you regarding the side brackets versus the offset bushes.. like you looking forward to the rise of the 81 and of course the test run up "the pheasant steps" rock crawl (caution in the wet tho)!! :think::thumbup:
 
OK let's not get confused here. The prop angles and the castor are all part of the same thing. Cure one you cure the other. When you lift, the axle effectively rotates forward and down. This changes the castor (shopping trolley effect) and the prop angles. The angle of the output flange from the transfer box (basically it should be perfectly vertical) should match the face of the flange on the diff. They can only be out by about 3 degrees in total. When you correct the rotation of the axle, you need to bring the diff input flange back to vertical. It might look good that the prop goes into the diff straight - but that is WRONG. It needs to mirror the other end.

Typically front plates give you new holes to bolt the radius arms into. This is reliable. What you are suggesting is that you could drop the back of the arm where it mounts to the chassis. I have never done that but I guess it does the same thing. Now someone somewhere must have thought differently as no one really seems to offer this. Problem is that when you rotate the axle with plates, you van only d about 4 degrees because the steering arm hits the top of the radius arm. In cases where you need more correction, I think that dropping the rear eye is the only way to do that. It's dark and I need to look under mine.
 
Back
Top