Y'see, wasn't so hard was it Chris? 
Thanks, and they really do look the business. Hope they add a smidgen to the braking power....
Thanks, and they really do look the business. Hope they add a smidgen to the braking power....


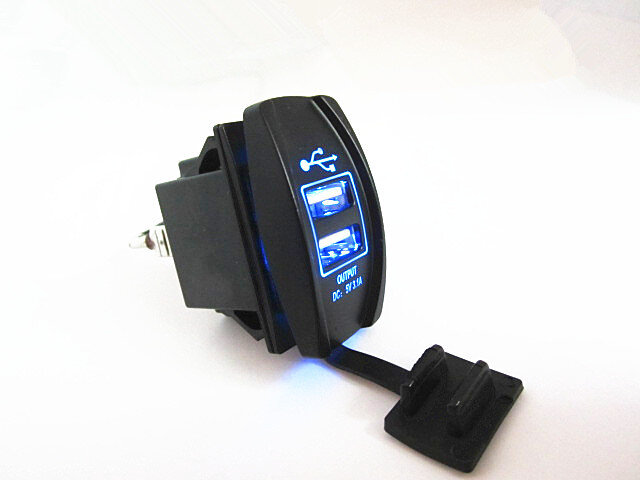
Nice one Chris, I'm p!ssed off with multi cigar sockets and wires everywhere. I don't know why there aren't loads of options of aftermarket usb's for cars and trucks by now. Most drivers have more than one gadget to charge these days, and most drivers have passengers with gadgets.
I'd like a bank of 4 or 6 to go in the drink holder aperture, and a few sockets accessible from the second row of seats. Don't seem to find anything suitable on the interweb....