Don't like the adverts?  Click here to remove them

Who is doing what maintenance today?

So mr Milner delivered a couple of window motor/ mechs today. I thought I'd have a go at fitting one before it got to dark.
This is the old one, engine on
engine off
new one, engine on
engine off
it's definitely improved but still seems to grab in the middle, any hints?
PS. changed the rubbers for new ones last year.
 
Impressive though Nick, I must admit.

I've got new motor mechs and new rubbers to fit this year, when I get around to it. You've given me some incentive now... :lol: :thumbup:
 
I had been hoping for a better result, there's clearly something causing it to stick in the middle.
 
Grease on the runners/where the glass slides along. It does look like it catches somewhere with some resistance?

By the way, is the speed of the motors working meant to be different with engine on/off as I've never experienced this with any car...
 
Grease on the runners/where the glass slides along. It does look like it catches somewhere with some resistance?

By the way, is the speed of the motors working meant to be different with engine on/off as I've never experienced this with any car...
I think it is just electric power being used without the alternator reinforcing the supply that makes it a bit slower.
 
Plenty of lube on the mechanism plus I use silicone grease on the rubber guides as it is safe. Ordinary oil based grease can spoil the rubber.
 
Don't like the adverts?  Click here to remove them
I shall have another fiddle when i get home.
 
I'm gonna give a squirt and see if it makes a difference. If not I'll take the wind deflector thing off as that's tucked in the groove of the window.
 
Bit of graphite powder in the runners works wonders. Can be messy though, easy to clean off if you get it in places you dont want it
 
I had a play with it yesterday. Seems that at a certain point the window isn't sitting quite write in the rubber on the way up and when it has to realign itself to slot back in it slows. It's fine on the way down.
Looking at it With the door card off its as if where the rubber fits to the metal part on the right at the bottom needs "tweaking" to the left a bit so that the window doesn't come out on the left hand side. I did a little video but it was crap.

In a way Nick, I have a similar problem, although for different reasons.

Long time ago, I did a stupid thing, which resulted in the truck rolling backwards with me outside of it, with the drivers' door open, and a tree in the way, which forced the door against the door restrainer, snapping that, and bending backwards on its hinges, denting the door skin against the rear edge of the front wing, as you may imagine.

My eyes water just reminding myself of that incident. :doh:

Consequently, I had to get the door skin repaired and buy and fit a new door restrainer. Having done that, I found that the restraining device fouled the front vertical window channel, not by much, maybe just by 5 or 6 mm, or so, as it traced its arc movement inside the door.

In my wisdom, I eased the window track away from the arc path of the door restraint, with a suitably stout piece of steel reinforcing bar, as you do, to give some clearance. Sadly, just as I was getting there and avoiding the "click" of contact between the two components, the vertical window track popped its spot-welds holding it to the inner door skin.

Bugger.

So I botched it somewhat, because it's a devil of a job reaching in to get at where the welds are, with some bits of brackets and screws to stop the bottom end of the window track from flapping about in thin air.

So my main problem is a proper fix for the bottom end of the window track, but that doesn't assist at all in the sluggish operation of the window mech, and fitting a new window mech isn't going to improve that aspect either.

My dilemma, accepted. However, it's what I'm faced with at the same time as replacing the mech.

Ask me why I haven't attempted it yet.... :icon-rolleyes: :lol:

Edit - And before anybody asks, no I don't have a video of my truck crunching against the tree, thank goodness :icon-redface:
 
+1 Ballistlol is great stuff, I use it on lots of things, goes a long way. My wife uses it on her sword too !
:text-+1: on the Ballistlol, I give the rubbers a squirt as soon as I notice the window slow bit. :thumbup:
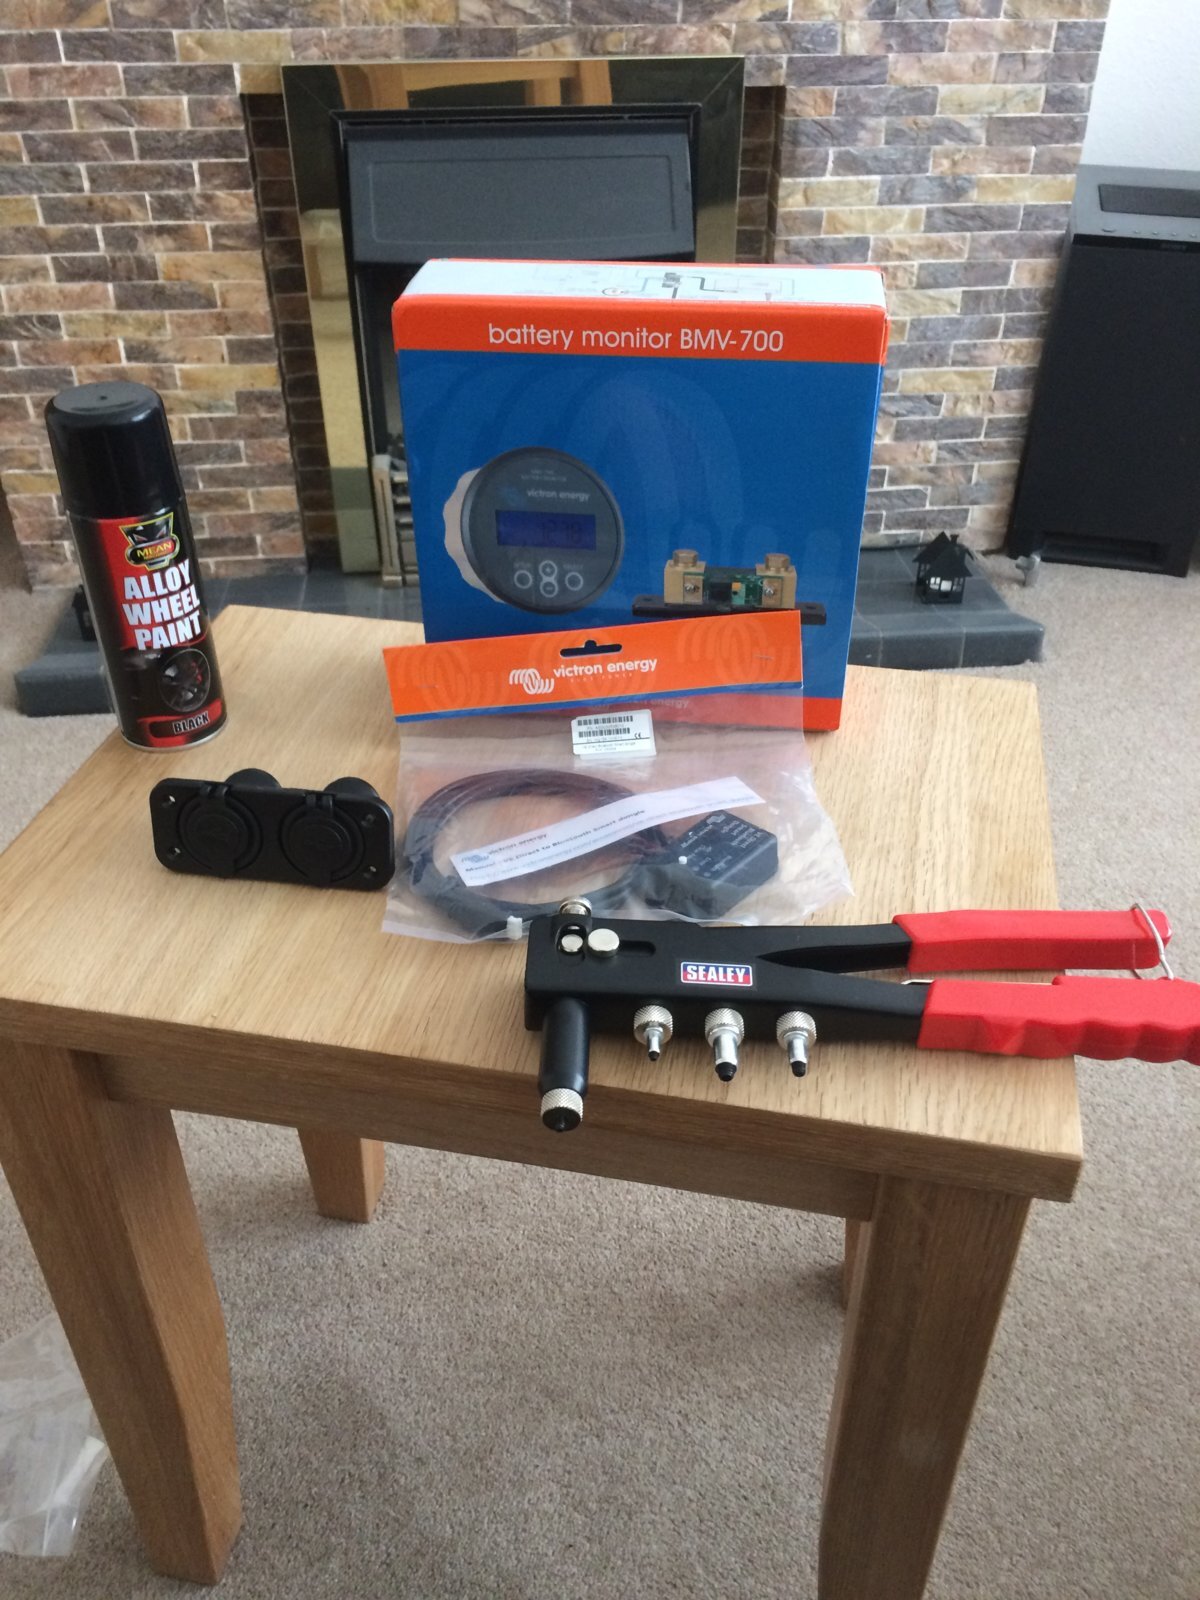
 
IMG_7307.JPG More toys turned up today
 
I'm working on the land cruiser tomorrow but today the other halfs jimny got some loving, fixed the sticky brakes and removed the cat
image.jpeg
 
So today i fitted the drivers side mechanism, the original one was not as bad as the passenger side but here goes
old engine off
old engine on
new engine off
new engine on

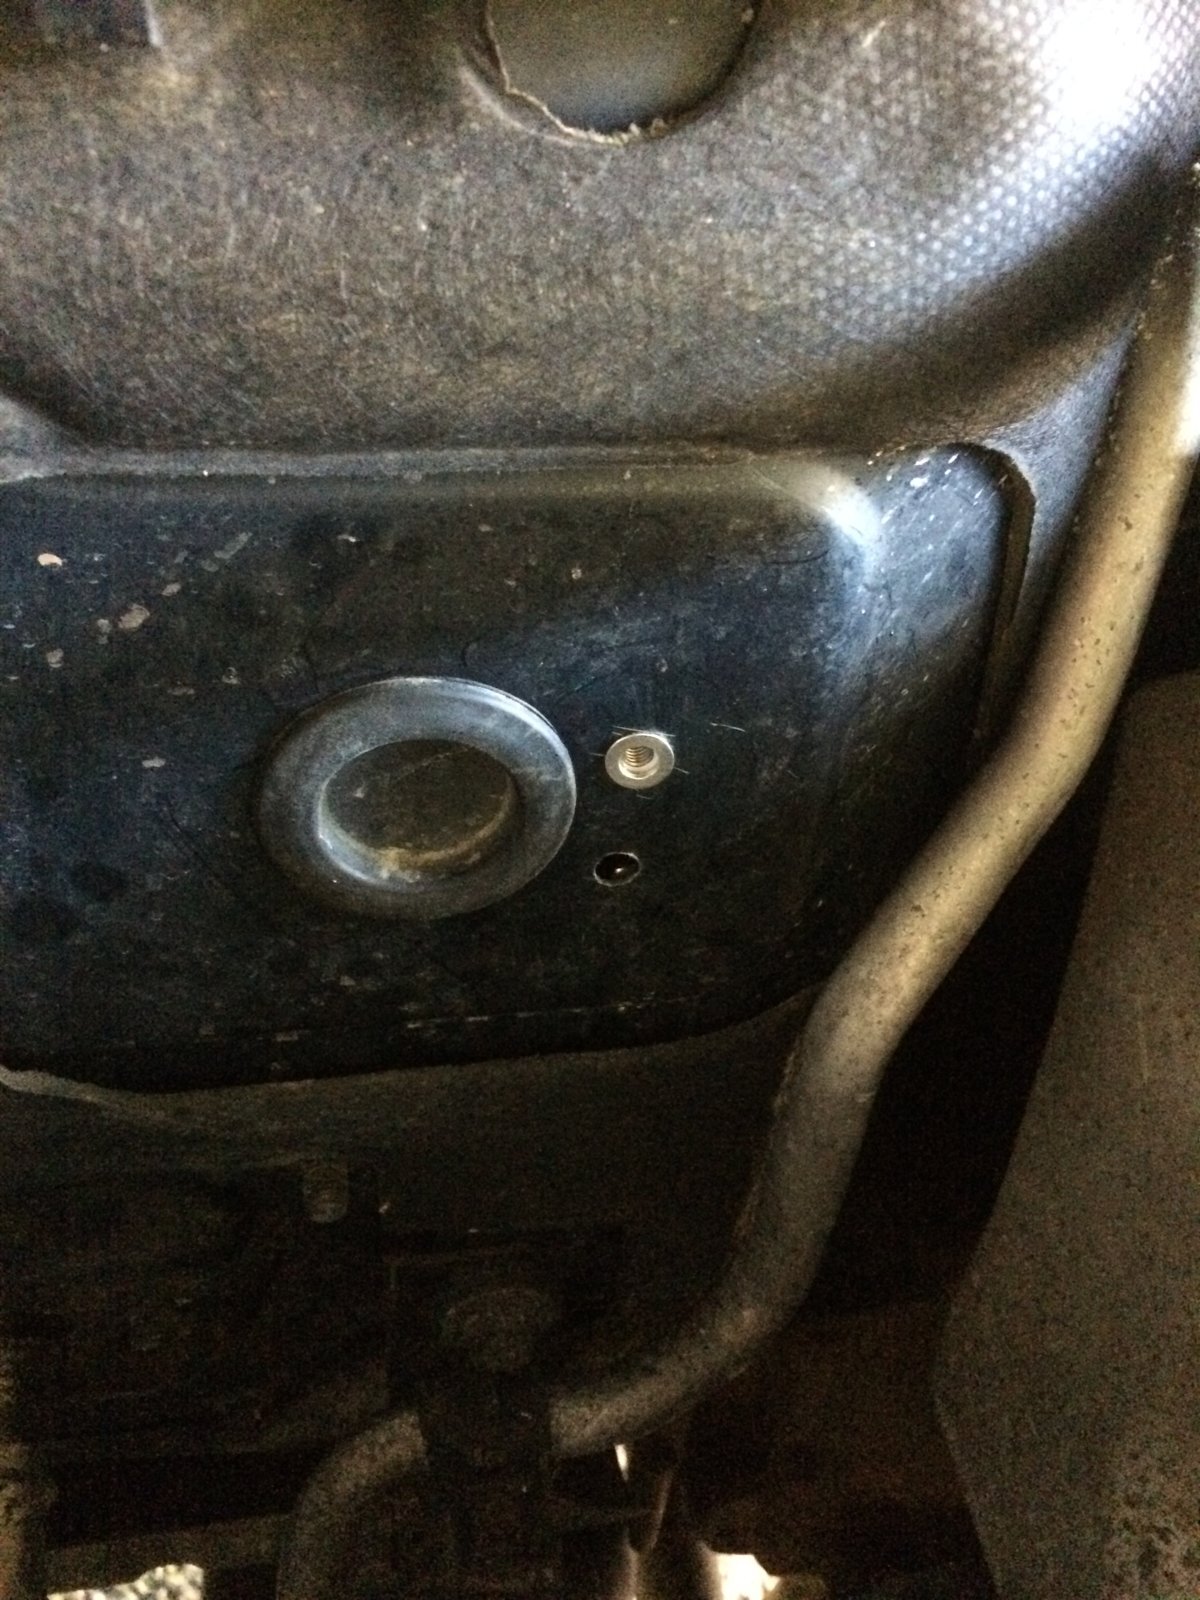
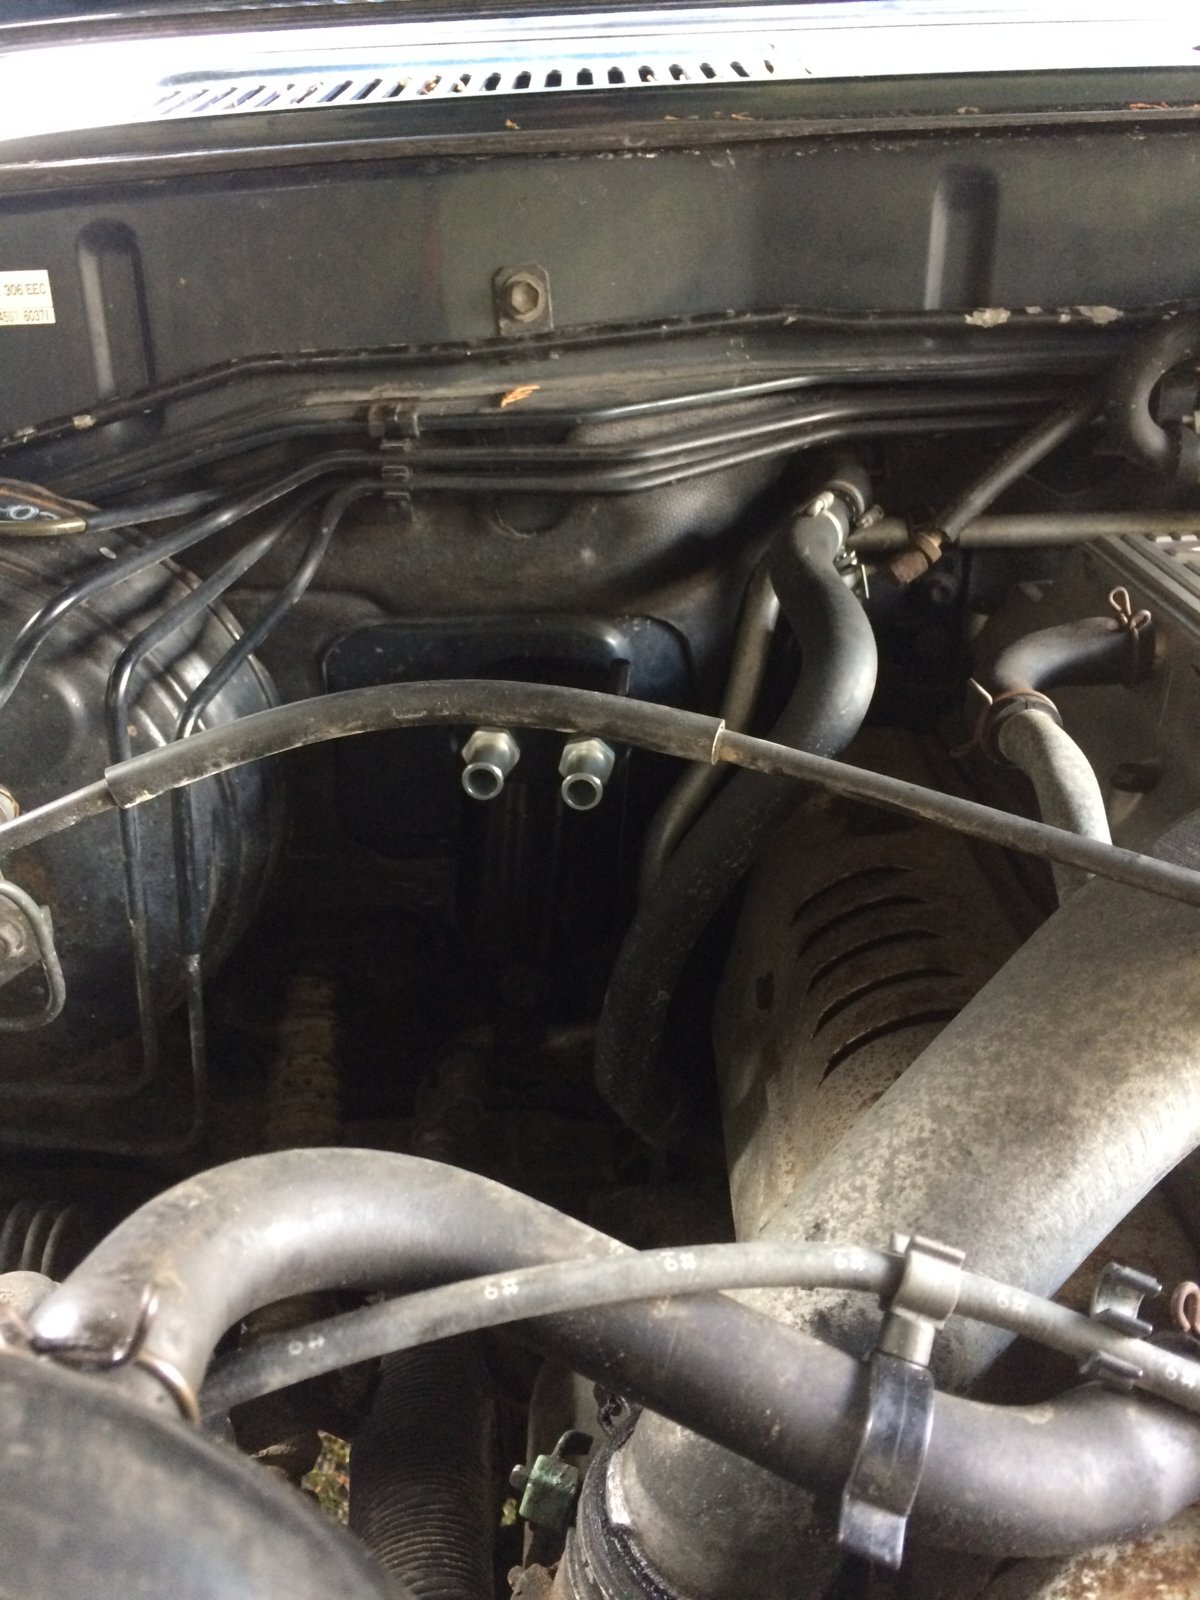
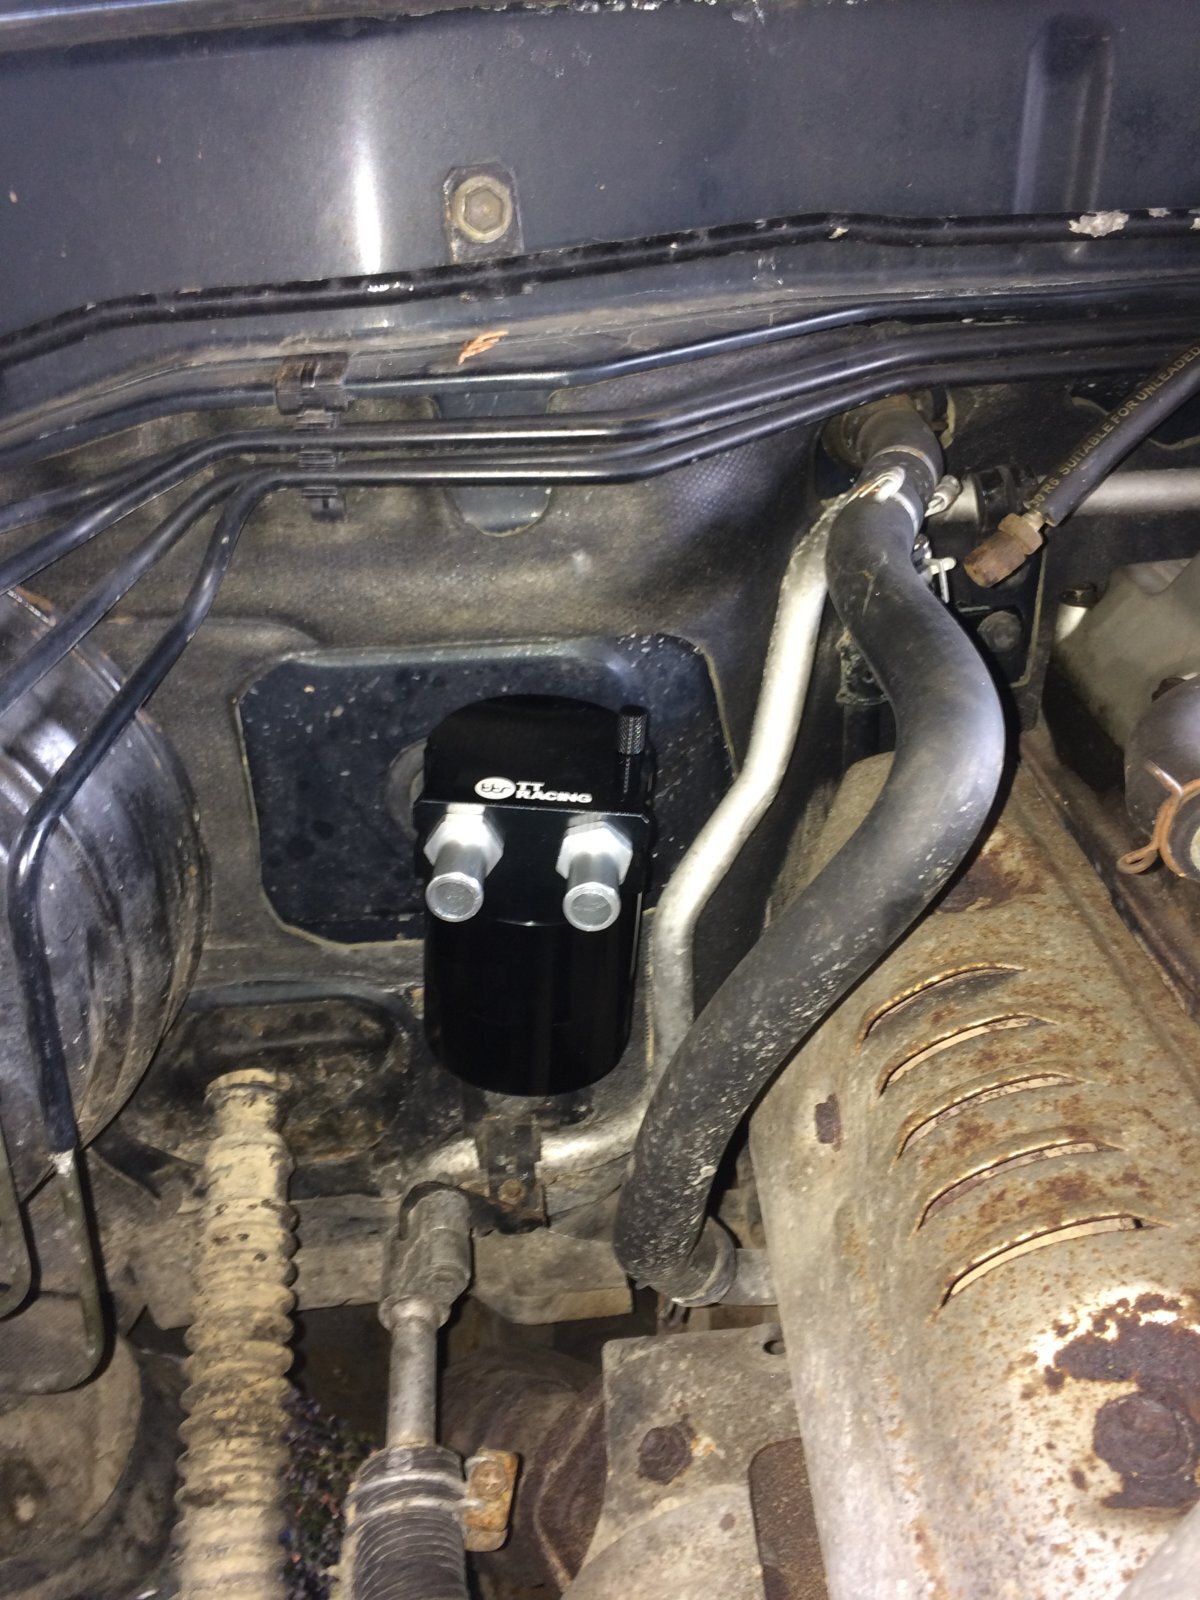
After that i finally did something i've been putting off doing, fitting the catch can. I had a go at making a bracket ages ago and failed miserably. I asked a mechanic friend for advice and hes said to just drill through the bulk head as theres nothing behind it, so pulling back the sound deadening in the footwell to double check i decided to put it next to the rubber grommet. bought a rivnut thingamy the other day so today was the day.
IMG_7319.JPG
turns out i don't have a 7mm drill so i had to do some filing, this took ages, naturally i di'nt drill the 2nd hole inthe right place either so another age past until...
IMG_7320.JPG
IMG_7321.JPG
no its not dead level, no it's not perfect but it's on!
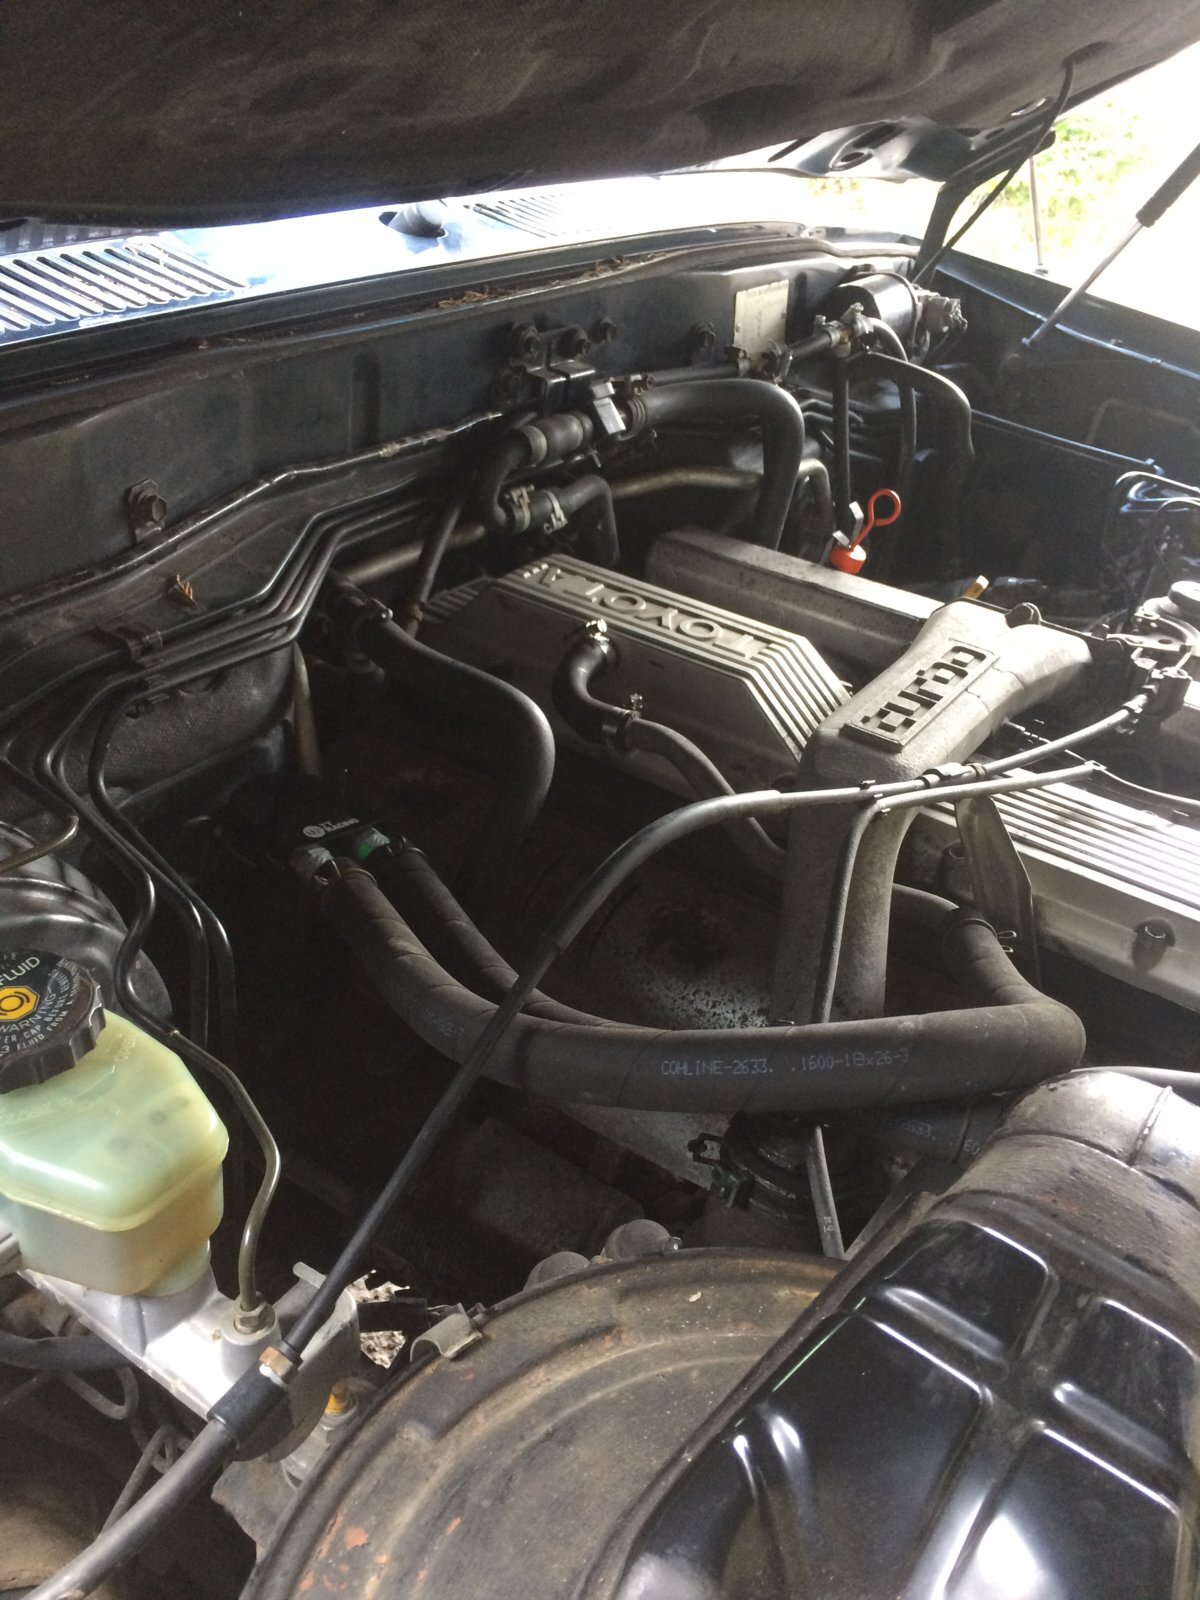
Then after much faffing with pipes iended up with this
IMG_7322.JPG
I've used the original pipe work except for the bit from the metal pipe to the air box (which is now tucked in behind the battery should something happen and a quick fix to standard) The clear plastic pipes it came with didn't fit on the Toyota ................... ( pokey out bits that pipes fit onto) and the rubber hoses i bought didn't fit onto the ..................( pokey out bits) on the catch can so i inserted the plastic pipe inside the rubber pipe at the catch can. will check regularly for any leakage but it was a pretty tight fit.
 
Back
Top