- Joined
- Oct 13, 2010
- Messages
- 6,058
- Country Flag

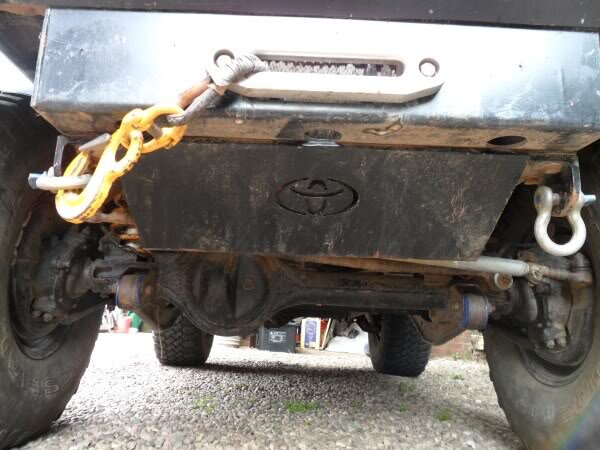
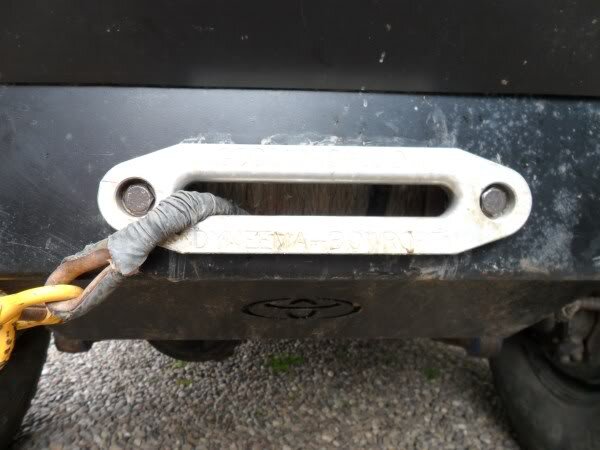
so before my Wales laning weekend i fitted my replacement fairlead.


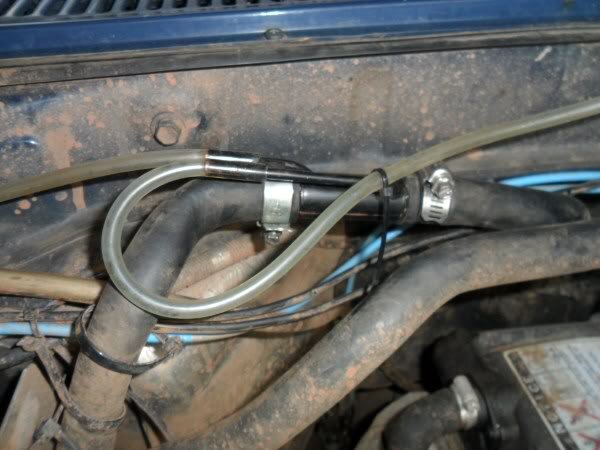
I also fitted a windscreen washer fluid, heater that Roger made and kindly gave me.


my washer jets are pretty knackered though.
so ive ordered some of the hi-lux ones that i know a few people have upgraded to.
this week i got a few bits and pieces done.
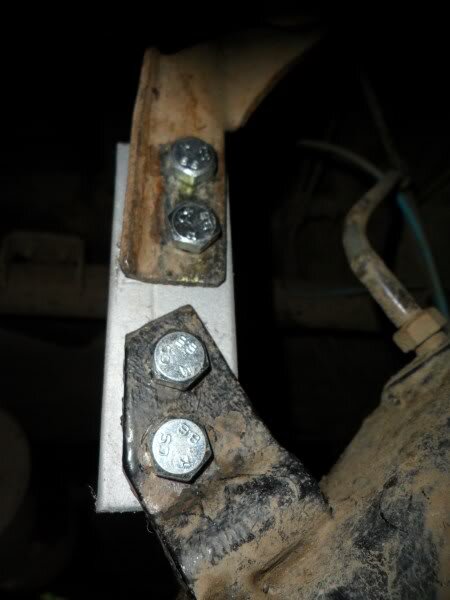
the brakes havnt been working too great for a while, so i finally decided to make a bracket for the rear brakes to account for the suspension left.


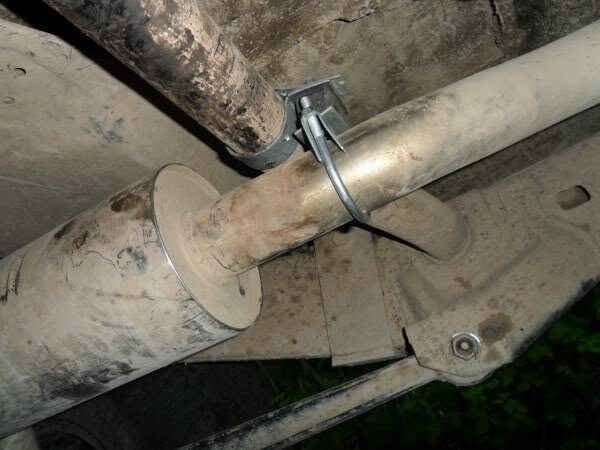
added another bracket on my exhaust to pull the middle up a bit.

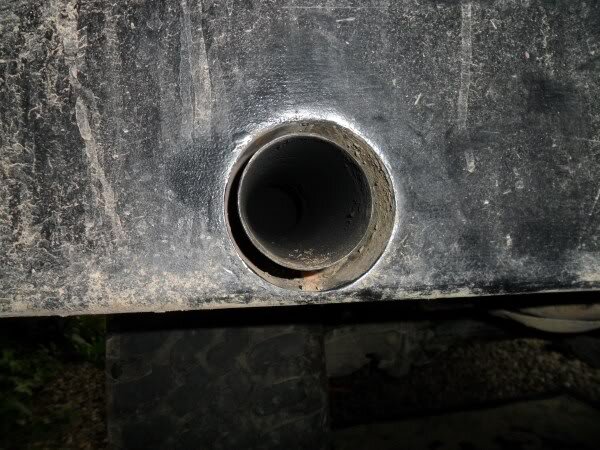
this has moved the end of the exhaust so that its now almost centre of the hole in the bumper and no longer rattles on tick over.

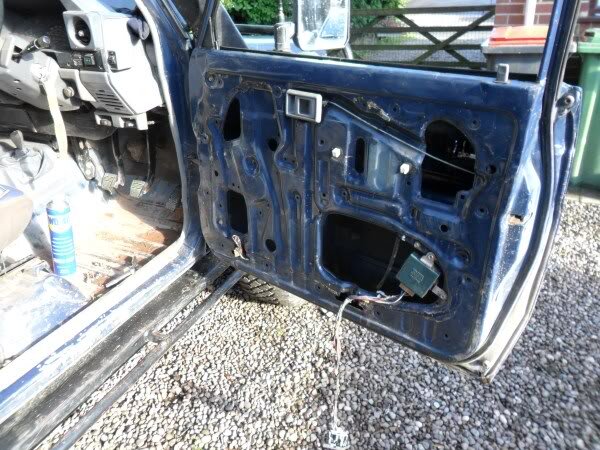
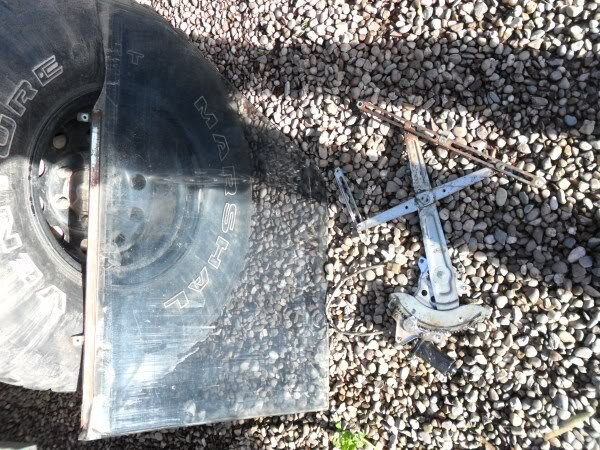
when i got stuck on that very muddy lane a few months ago, the muddy water had half filled the drivers footwell, it must have also filled the door aswell, because the window wouldnt go up or down very smoothly afterwards.
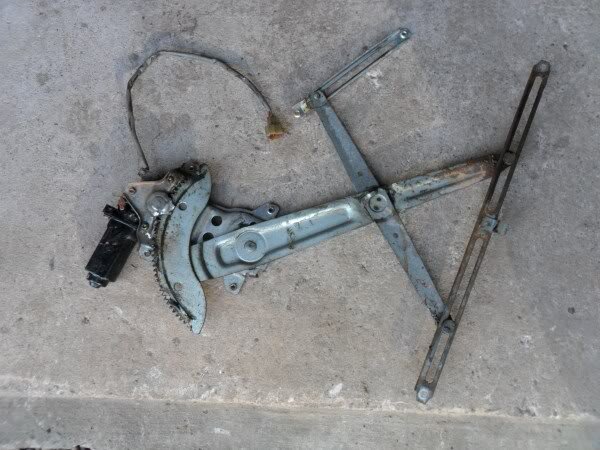
stripped it down.

glass and mechanism out.

the mechanism was filthy.

after cleaning it up and greasing and re-fitting the mechanism and glass the window now works perfectly.
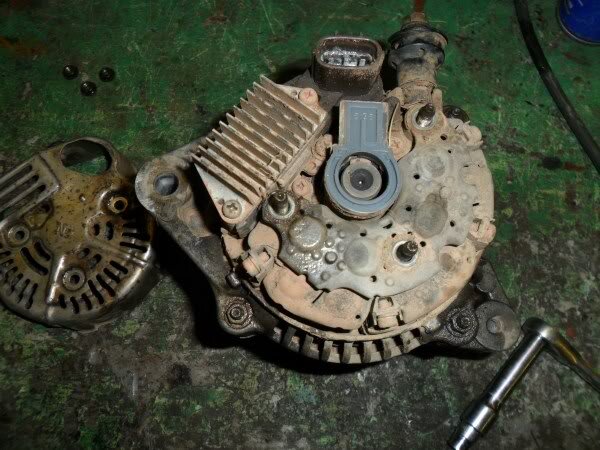
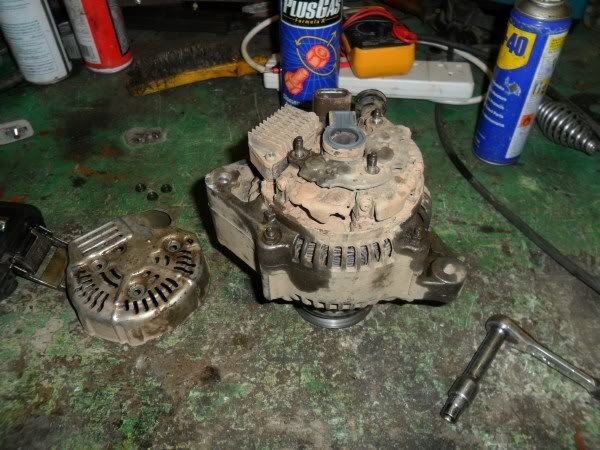
last night i removed my alternator which has been playing up.

was very dirty.


after stripping it down and cleaning all the contacts and bushes i put it back together and re-fitted it on the truck.")
still not working properly.
decided this morning that i would change the rear brake shoes.
but looking at the job, i decided it would be a lot easier if i could jack the truck straight up and take both wheels off in one go, not very easy when the diff isnt centre of the axle.
then i remembered what Roger has made for his trolley jack.")


so i had a look at what bits of metal i could find, and knocked up something similar to Rogers.
marked the 2 ends that needed notching for the tube.

both ends notched, tube cut and clamped in place ready for welding.

cut a square piece of 10mm plate and cut an old socket in half.


all done.


ground wasnt level so had to use a bolt to raise the one stand up higher than the other.

worked well.


means im now able to jack either axle up in one, and then use my hilti impact wrench to spin the nuts off. super quick wheel changes now!


took the read drums off to reveal some very dirty, rusty internals.


came to fit the new shoes and discovered there the wrong ones.
i got them free with the 4-runner, engine donor vehicle, and hoped theyd be the same.

jet washed all the mud out and adjusted the shoes out.

the brakes are now working so much better. i suspect the shoes wernt self adjusting, due to mud and rust before.
got some paint on the jack attachment.


i decided then to do my oil change.
so i took the truck for a spin and got the engine hot.

i decided to do the oil change in a layby as i didnt want to risk leaking more oil on my drive.


what i stupidly didnt realise was that the funnel was far too small to cope with the volume of oil that would come out.

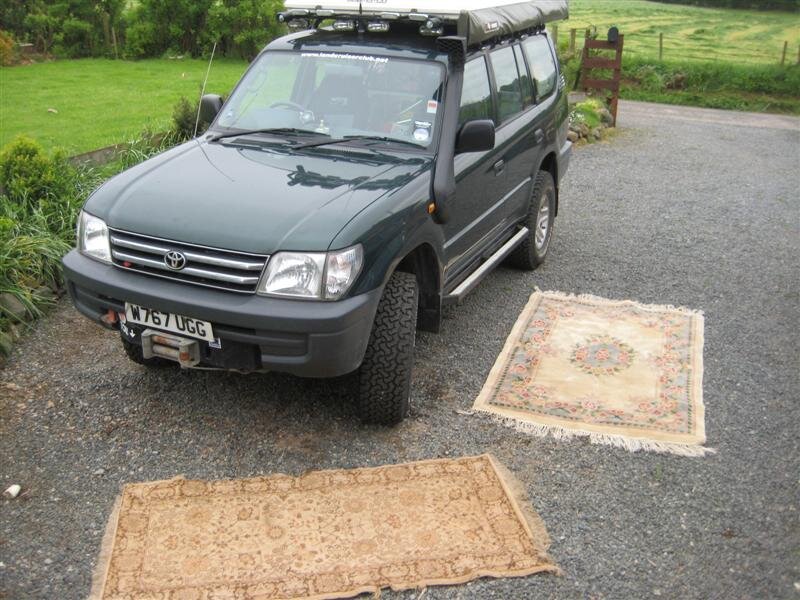
lets just say my prayer mat has got just a little bit of oil on it now.
oil that was on special offer at Asda a few months ago, total bargain. and a new filter from milners.

oil change done, i came home and sorted out some of my fuel for next weekends lake district trip.
trying a 60/40 mix this time. if it runs ok on that i might up the veg to 80/20

im planning on upgrading the alternator from a 70AMP to a 120AMP.
im reasonably confident this one will fit.
http://www.ebay.co.uk/itm/310383279038? ... _870wt_698
im going to wait for the toyota factory service manuals to arrive first though, before i order a new one. as i suspect the problem might not necessarily be the alternator.
this is the 3rd engine that has been fitted in my truck and theres lots of wires and connectors both on the engine and in the [strike:2u75ywqh]spaghetti[/strike:2u75ywqh] wiring loom that arnt connected to anything. so im hopeful with all the wiring diagrams, i might be able to make sense of what needs to go where.
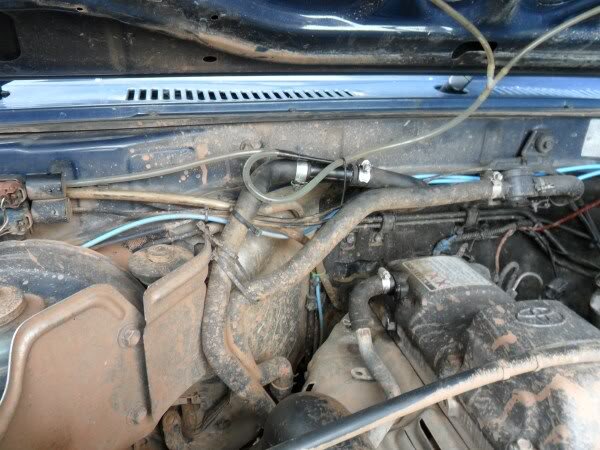
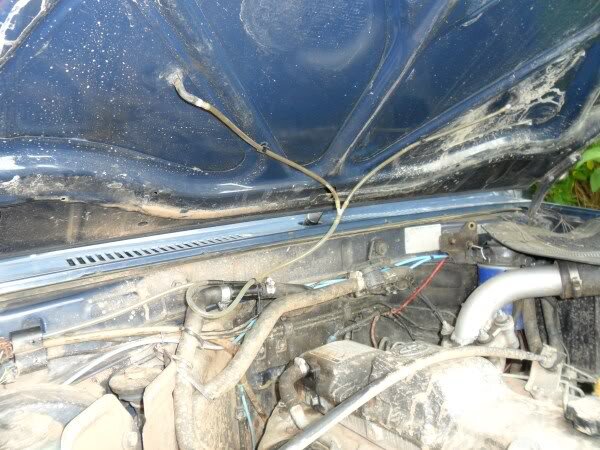
I also fitted a windscreen washer fluid, heater that Roger made and kindly gave me.
my washer jets are pretty knackered though.
so ive ordered some of the hi-lux ones that i know a few people have upgraded to.
this week i got a few bits and pieces done.
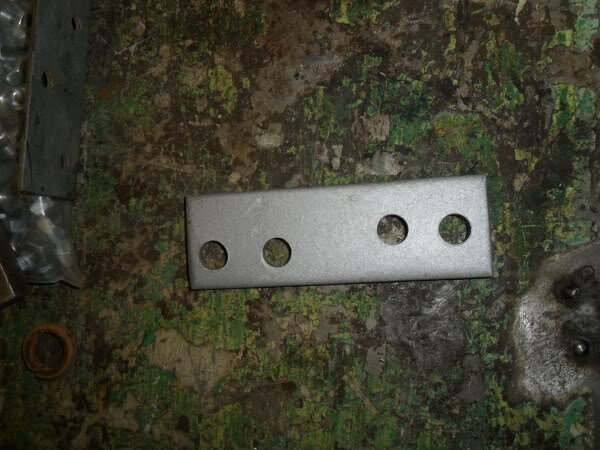
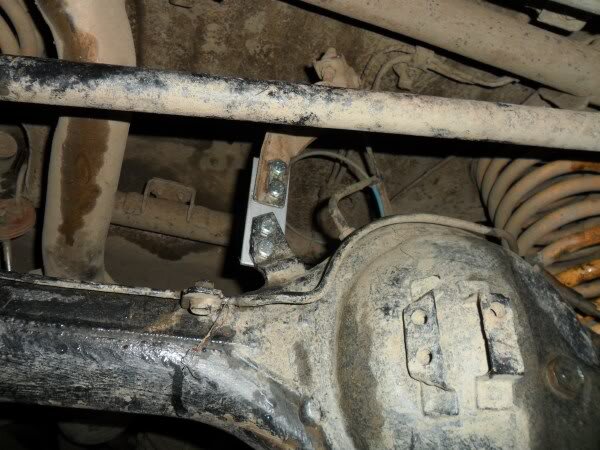
the brakes havnt been working too great for a while, so i finally decided to make a bracket for the rear brakes to account for the suspension left.
added another bracket on my exhaust to pull the middle up a bit.
this has moved the end of the exhaust so that its now almost centre of the hole in the bumper and no longer rattles on tick over.
when i got stuck on that very muddy lane a few months ago, the muddy water had half filled the drivers footwell, it must have also filled the door aswell, because the window wouldnt go up or down very smoothly afterwards.
stripped it down.
glass and mechanism out.
the mechanism was filthy.
after cleaning it up and greasing and re-fitting the mechanism and glass the window now works perfectly.
last night i removed my alternator which has been playing up.
was very dirty.
after stripping it down and cleaning all the contacts and bushes i put it back together and re-fitted it on the truck.
still not working properly.
decided this morning that i would change the rear brake shoes.
but looking at the job, i decided it would be a lot easier if i could jack the truck straight up and take both wheels off in one go, not very easy when the diff isnt centre of the axle.
then i remembered what Roger has made for his trolley jack.
so i had a look at what bits of metal i could find, and knocked up something similar to Rogers.
marked the 2 ends that needed notching for the tube.
both ends notched, tube cut and clamped in place ready for welding.
cut a square piece of 10mm plate and cut an old socket in half.
all done.
ground wasnt level so had to use a bolt to raise the one stand up higher than the other.
worked well.
means im now able to jack either axle up in one, and then use my hilti impact wrench to spin the nuts off. super quick wheel changes now!
took the read drums off to reveal some very dirty, rusty internals.
came to fit the new shoes and discovered there the wrong ones.
i got them free with the 4-runner, engine donor vehicle, and hoped theyd be the same.
jet washed all the mud out and adjusted the shoes out.
the brakes are now working so much better. i suspect the shoes wernt self adjusting, due to mud and rust before.
got some paint on the jack attachment.
i decided then to do my oil change.
so i took the truck for a spin and got the engine hot.
i decided to do the oil change in a layby as i didnt want to risk leaking more oil on my drive.
what i stupidly didnt realise was that the funnel was far too small to cope with the volume of oil that would come out.
lets just say my prayer mat has got just a little bit of oil on it now.
oil that was on special offer at Asda a few months ago, total bargain. and a new filter from milners.
oil change done, i came home and sorted out some of my fuel for next weekends lake district trip.
trying a 60/40 mix this time. if it runs ok on that i might up the veg to 80/20
im planning on upgrading the alternator from a 70AMP to a 120AMP.
im reasonably confident this one will fit.
http://www.ebay.co.uk/itm/310383279038? ... _870wt_698
im going to wait for the toyota factory service manuals to arrive first though, before i order a new one. as i suspect the problem might not necessarily be the alternator.
this is the 3rd engine that has been fitted in my truck and theres lots of wires and connectors both on the engine and in the [strike:2u75ywqh]spaghetti[/strike:2u75ywqh] wiring loom that arnt connected to anything. so im hopeful with all the wiring diagrams, i might be able to make sense of what needs to go where.
Attachments
-
 SAM_0014.jpg57.3 KB · Views: 71
 -
 SAM_0017.jpg43 KB · Views: 49
 -
 SAM_0015.jpg37.4 KB · Views: 51
 -
 SAM_0016.jpg60.6 KB · Views: 67
 -
 SAM_0018.jpg68.1 KB · Views: 59
 -
 SAM_0264.jpg58.6 KB · Views: 51
 -
 SAM_0265.jpg60.2 KB · Views: 66
 -
 SAM_0266.jpg30.9 KB · Views: 64
 -
 SAM_0258-1.jpg44.8 KB · Views: 53
 -
 SAM_0261.jpg67 KB · Views: 59
 -
 SAM_0269.jpg84.9 KB · Views: 56
 -
 SAM_0270.jpg100.8 KB · Views: 60
 -
 SAM_0271.jpg55.6 KB · Views: 67
 -
 SAM_0287.jpg61 KB · Views: 64
 -
 SAM_0288.jpg64 KB · Views: 50
 -
 SAM_0289.jpg65.8 KB · Views: 54
 -
SAM_0290.jpg36.7 KB · Views: 0