OK guys update time...........................

Work pics...................
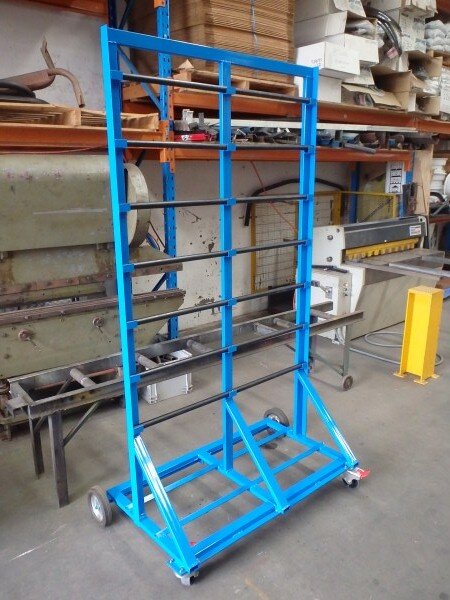
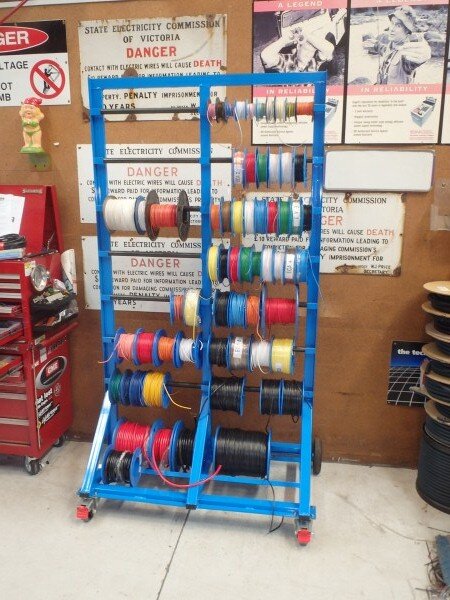
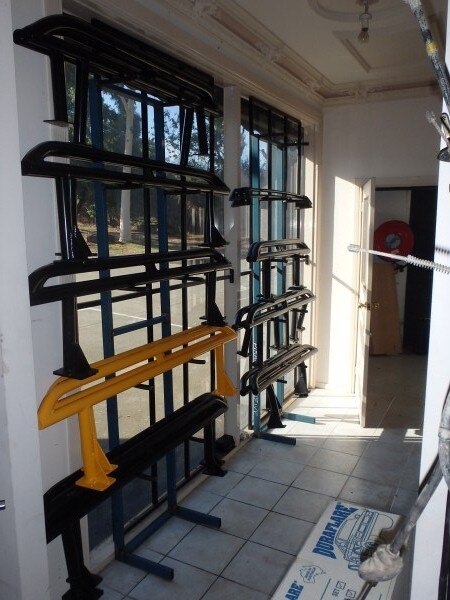
The cable rack came back from the powder coaters.

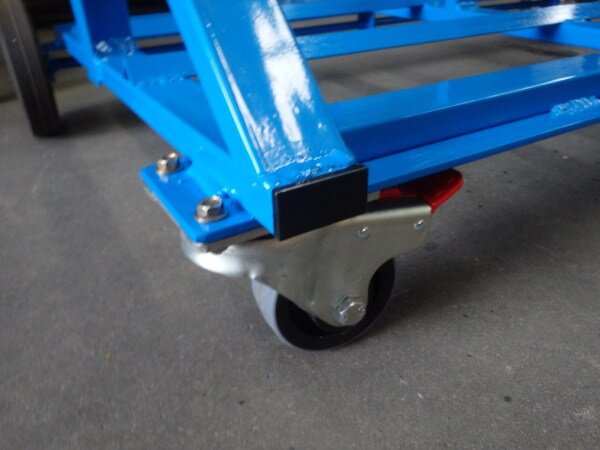
So I bolted the wheels on and put all the bars back in place.

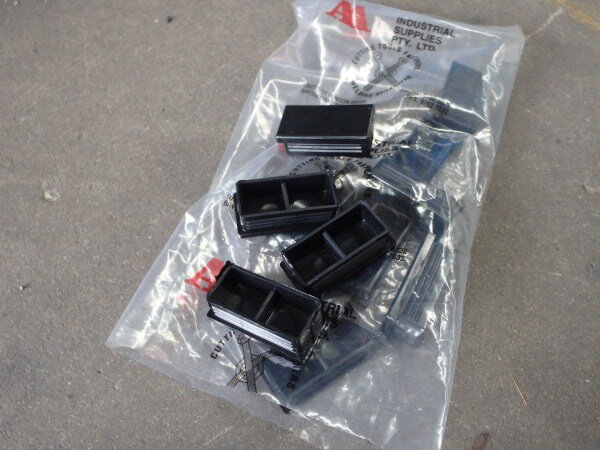
I picked up some plastic bungs.

And fitted them in place.

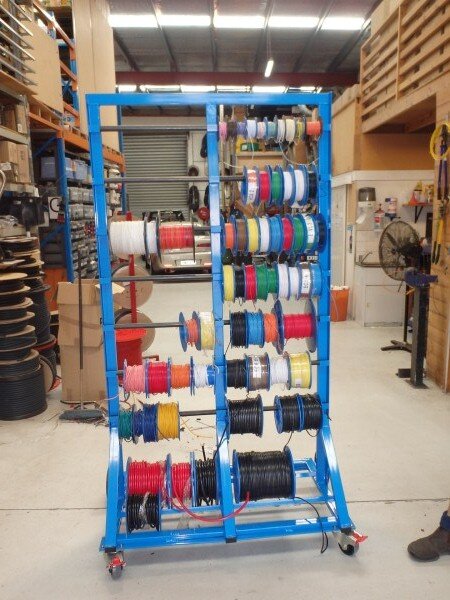
Our auto electrician started loading reals of wire on.


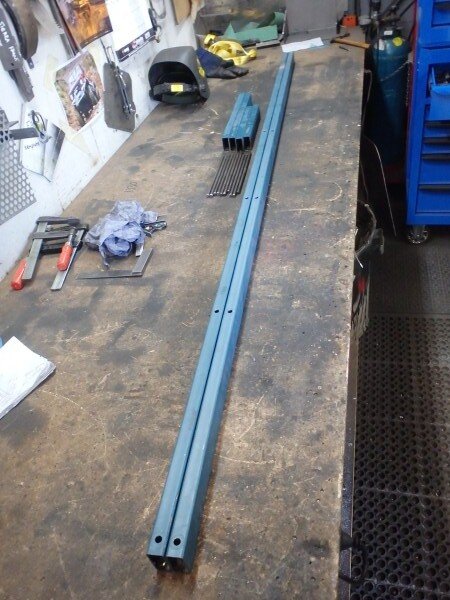
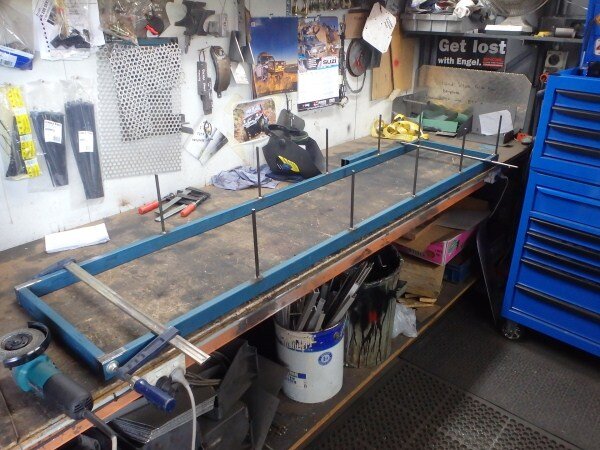
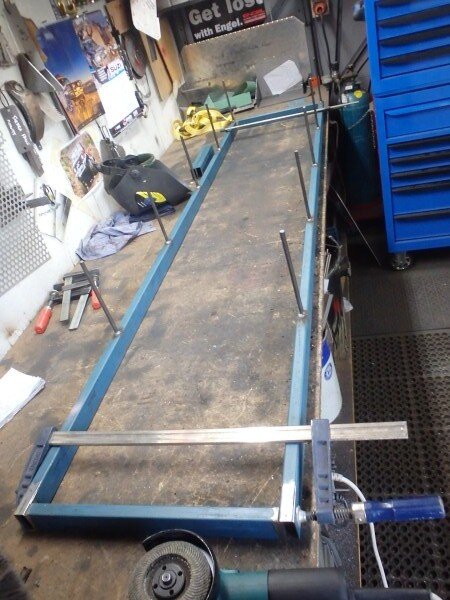
I built another rock slider display stand.


And fitted it in place.


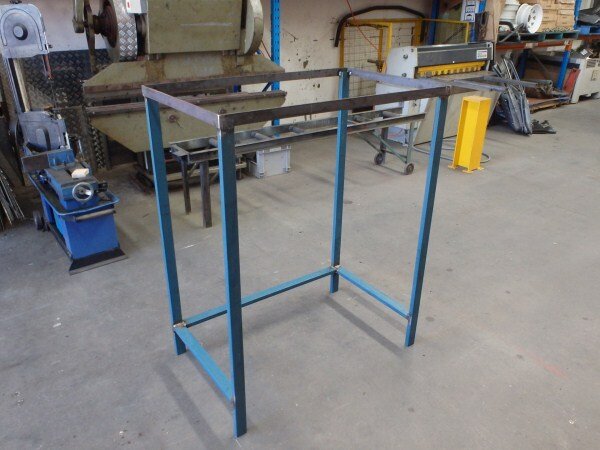
I also built another stand, I will explain what its for next week when its back from the powder coaters.


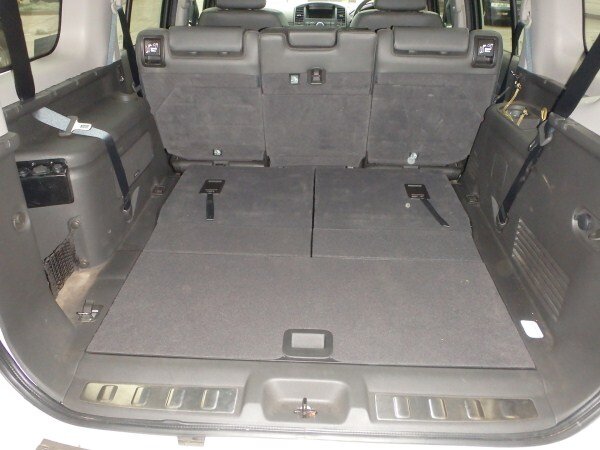
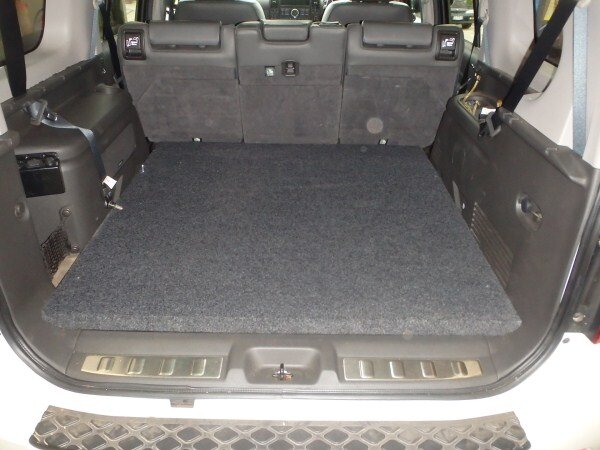
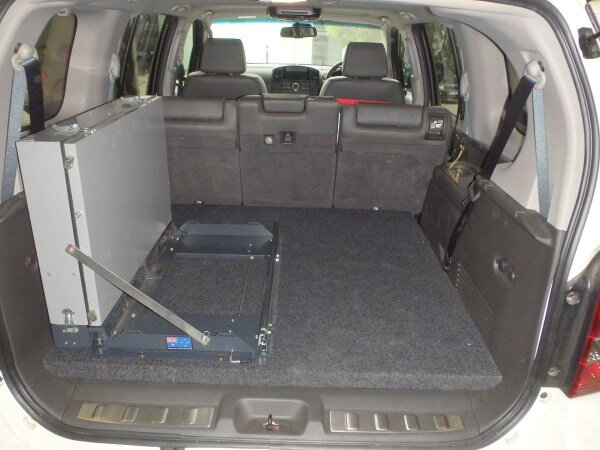
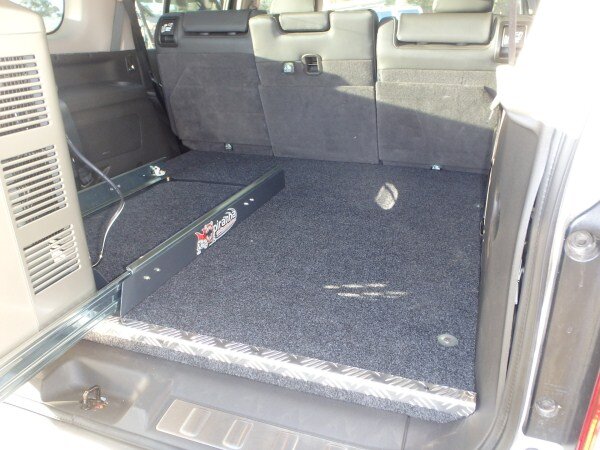
I had a little project on a customers car this week. I needed to build a false floor which is not something we normally do, but as he was buying a duel battery system, fridge slide, fridge and kitchen it made sense for us to also do the false floor, which I was very confident I could do to a high standard.

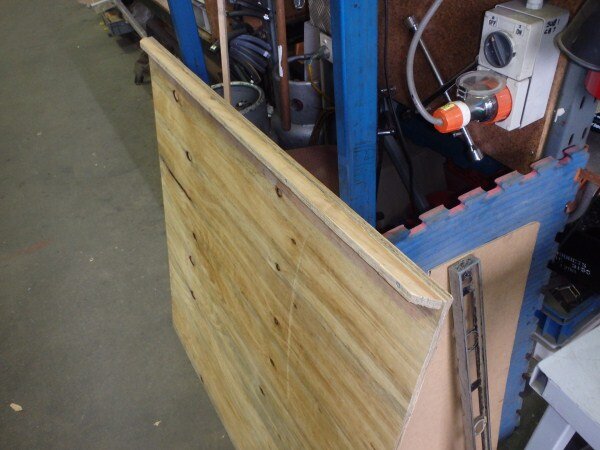
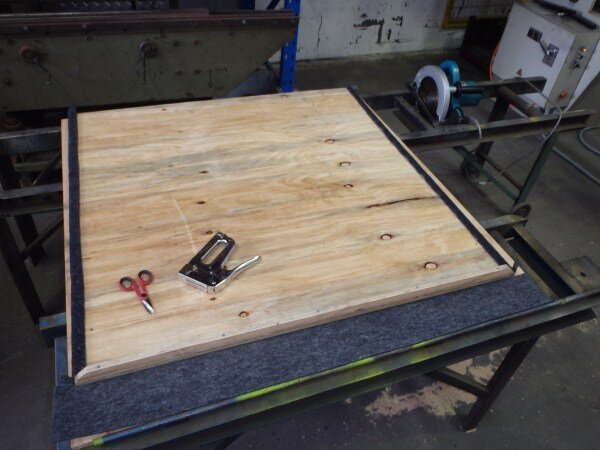
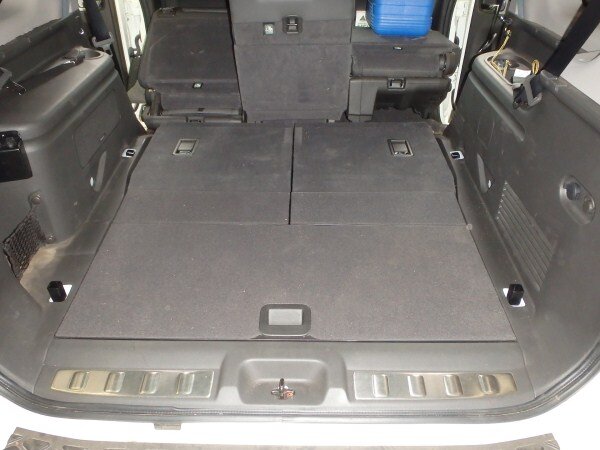
So I needed to mount a piece of ply in the back and pack it up until it was level and secure it down.

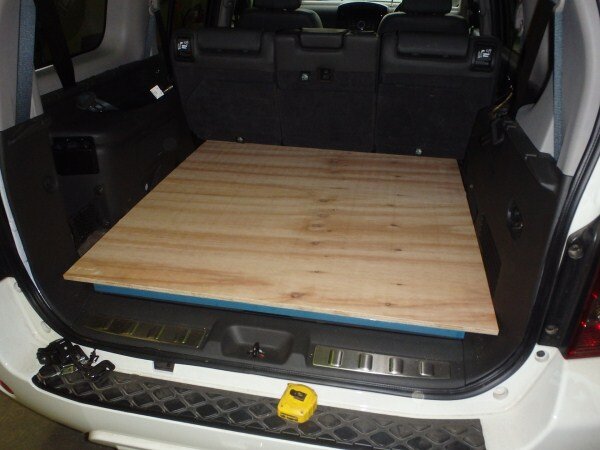
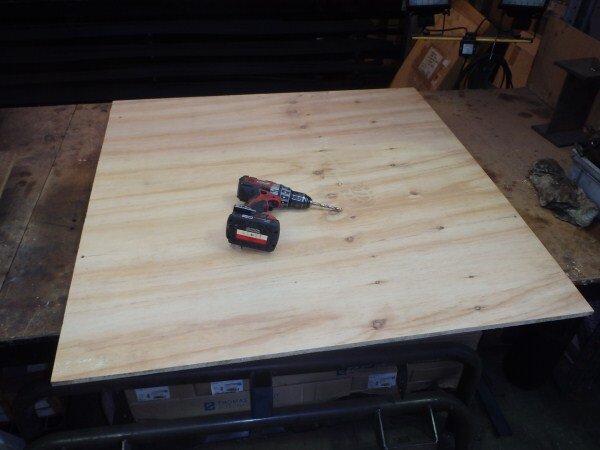
Cut the ply.


Cut and screwed another piece of ply under the front (back of car) edge.

I put the ply back in place and when I was happy with the position and height I put a strip of masking tape along each edge at the top of the ply. This meant that when I removed the ply I could then hold a straight edge between the bottom of the masking tape each side and measure down at various points to work out how big my spacers needed to be.

I marked and drilled where my mounting holes needed to be.

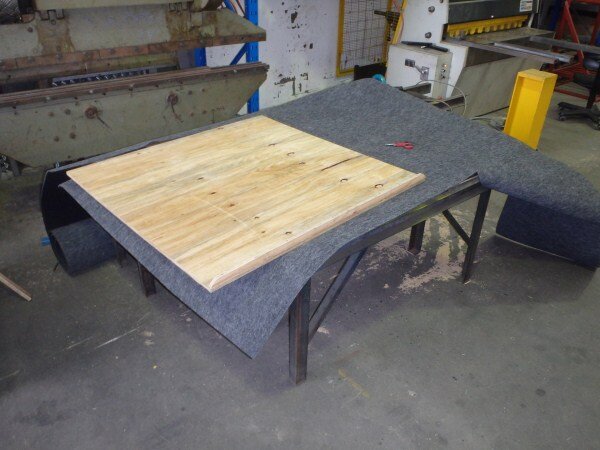
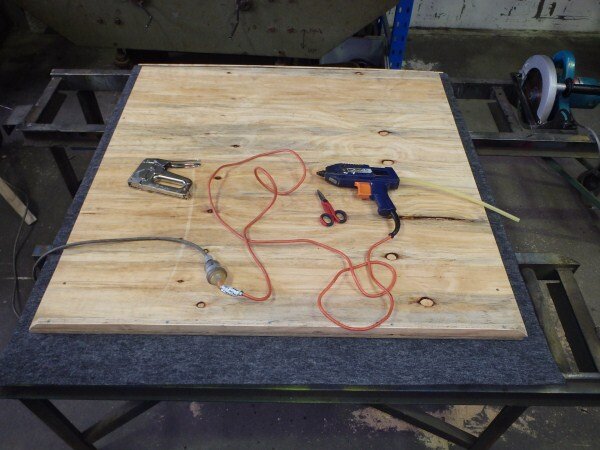
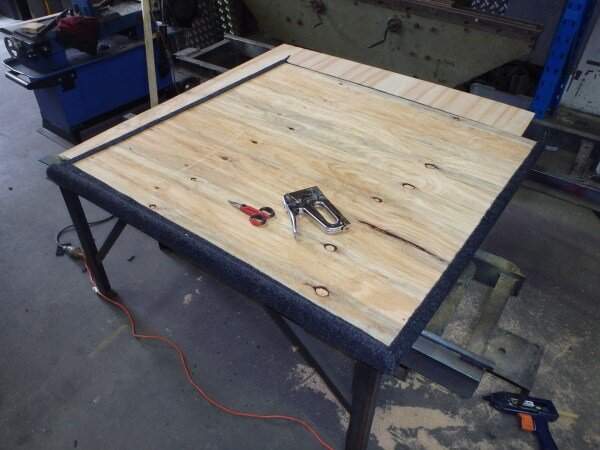
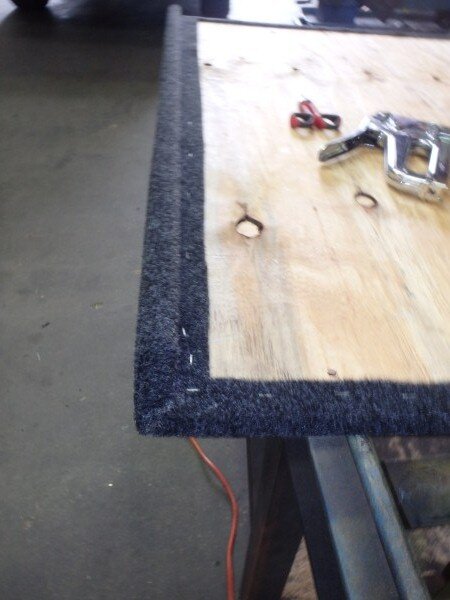
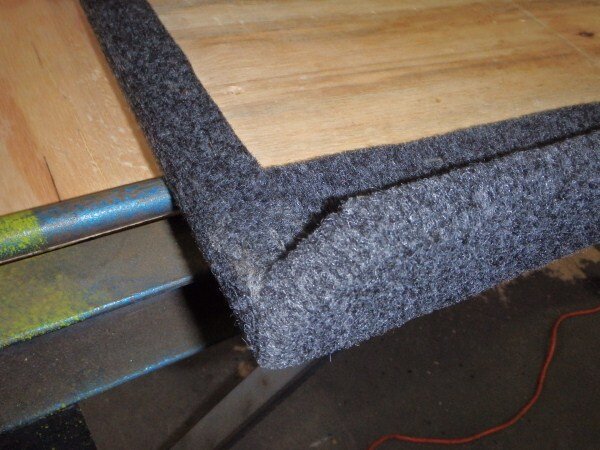
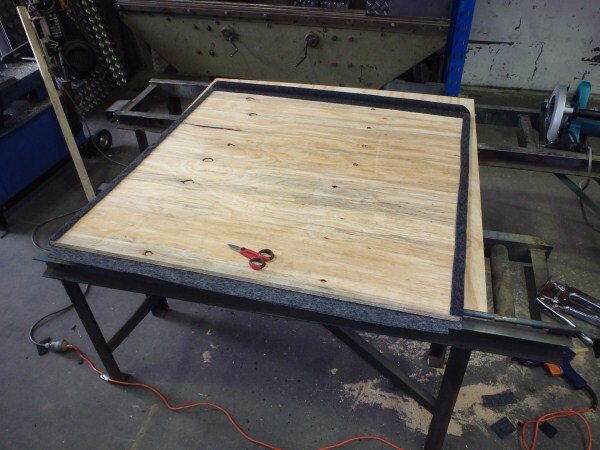
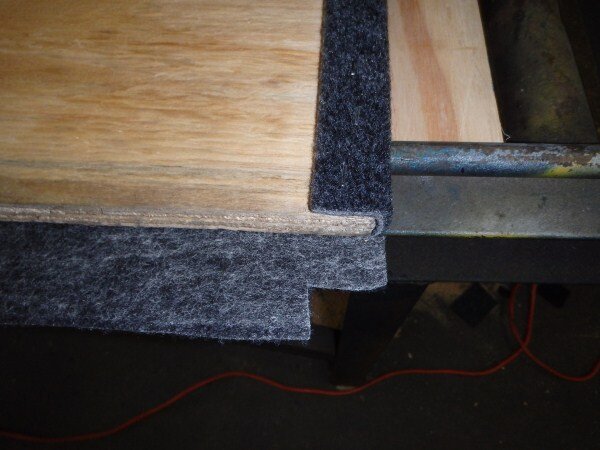
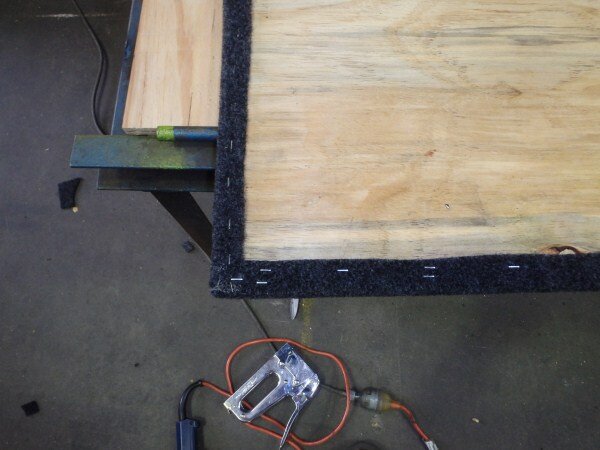
The next job was to cover it in marine carpet.

I've discovered I'm actually really good at carpeting ply for installs and I can get it very neat.


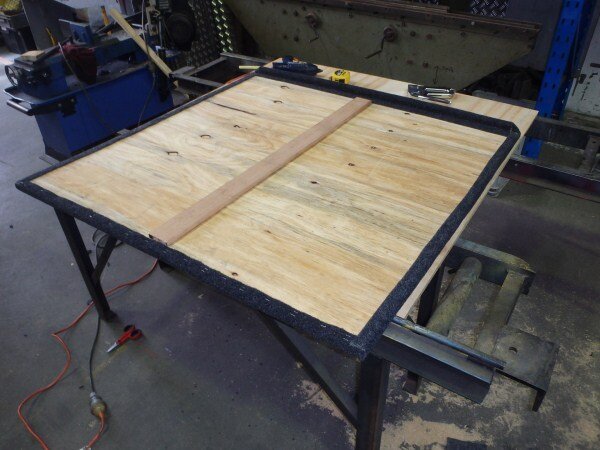
I added a 12mm thick strip down the middle to pack it up and support the middle of the false floor.


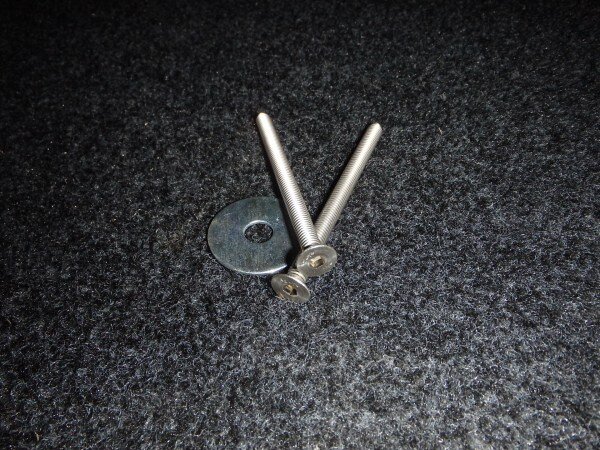
I picked up some M8 stainless steel bolts to fix it down with into the original tie down point mounting holes.


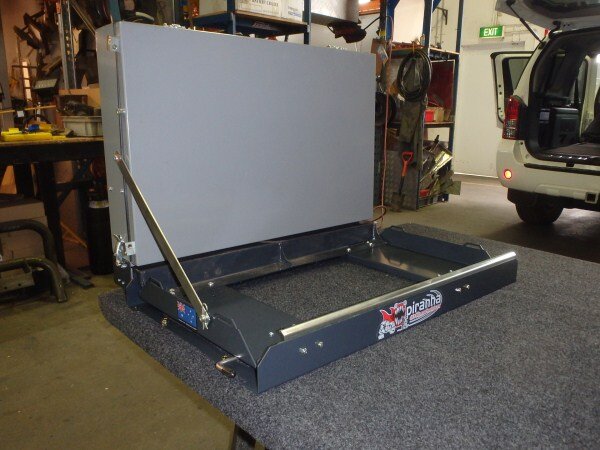
Next job was to fit one of our fridge slides to the 30 second kitchen.


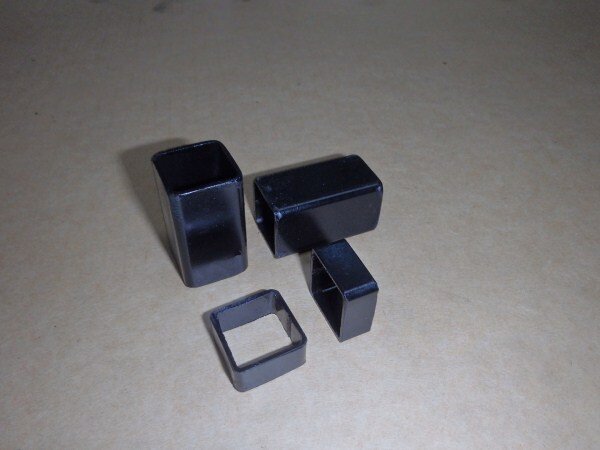
I cut and painted some box section spacer blocks.

And got them in position ready for the false floor to be placed on top of them.


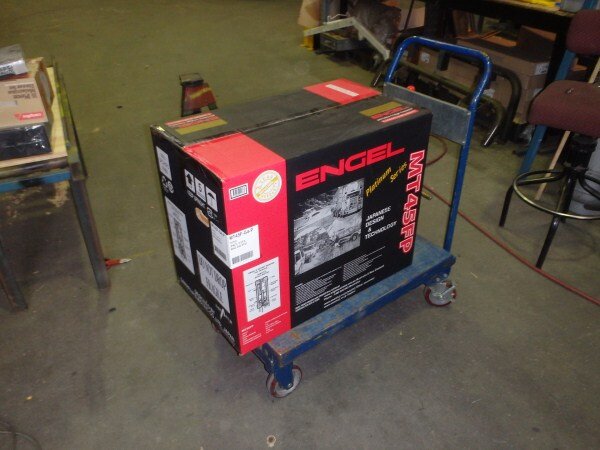
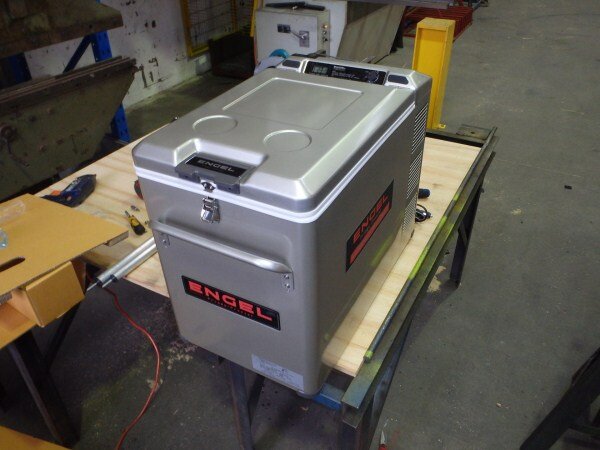
I got an Engel fridge out of the warehouse.


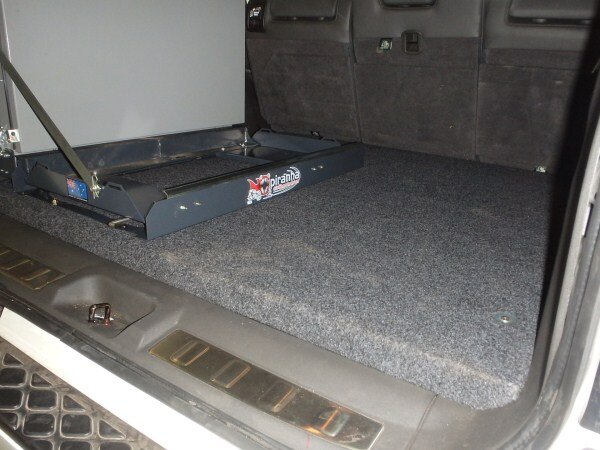
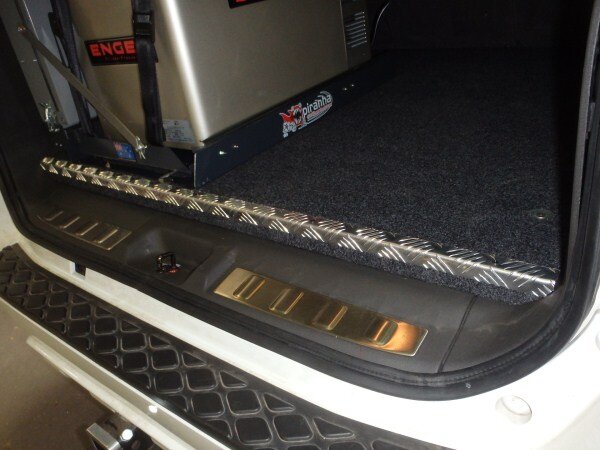
I cut, bent and screwed a strip of checkered alluminium along the front to finish it off nicely.


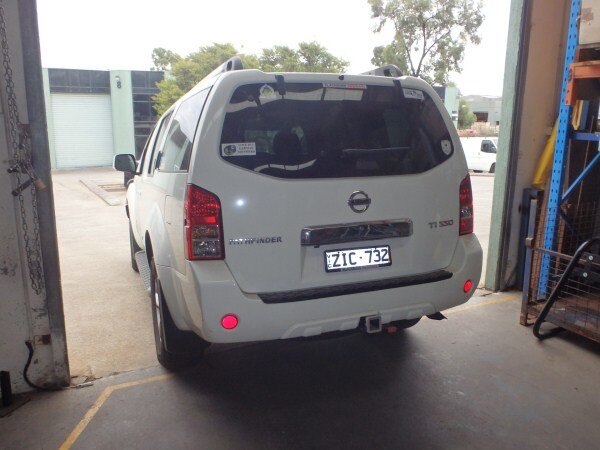
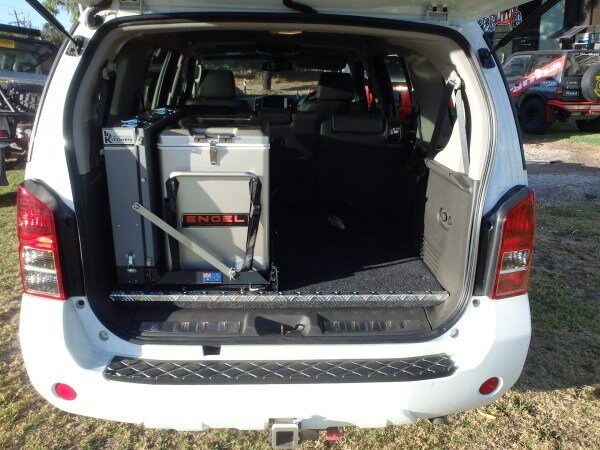
I brought the customers car back round the front so we could get some pics in better light.


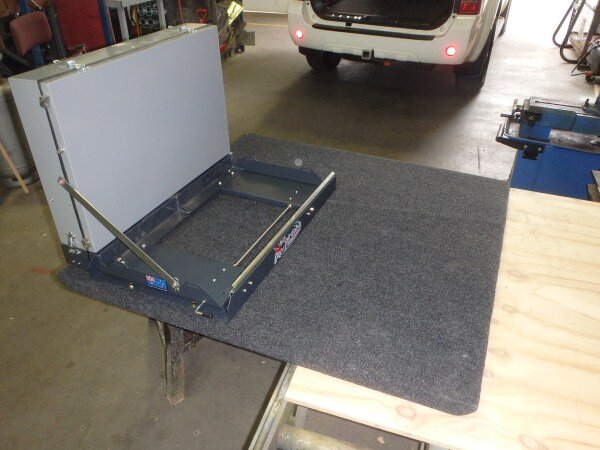
The kitchen can be pulled out on its own and used under the cover of the tailgate.


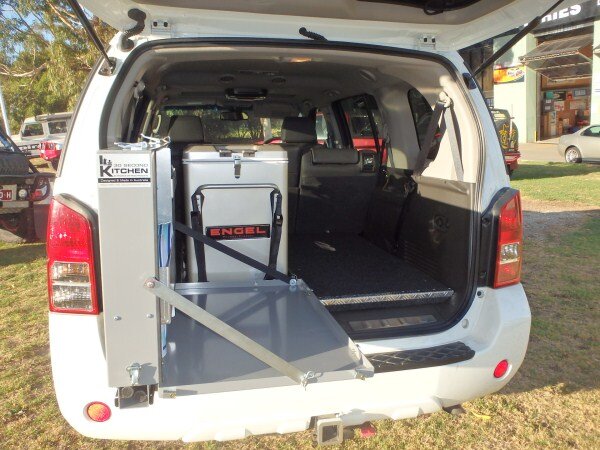
Or it can be slid out aswell as the fridge, although the legs should also be positioned under the kitchen with it this far out (not fitted in the pic).

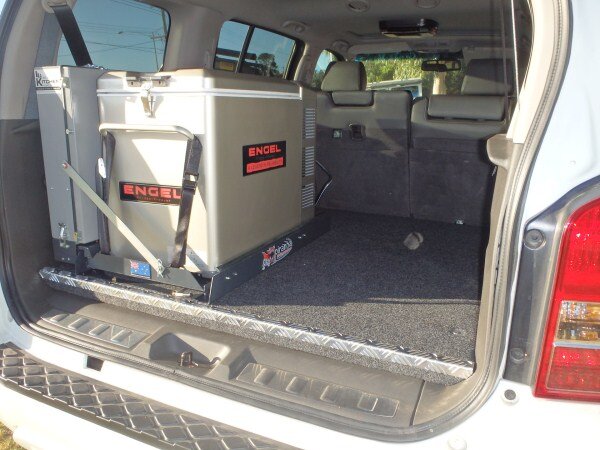
Still lots of usable boot space.

OK LJ next...................................
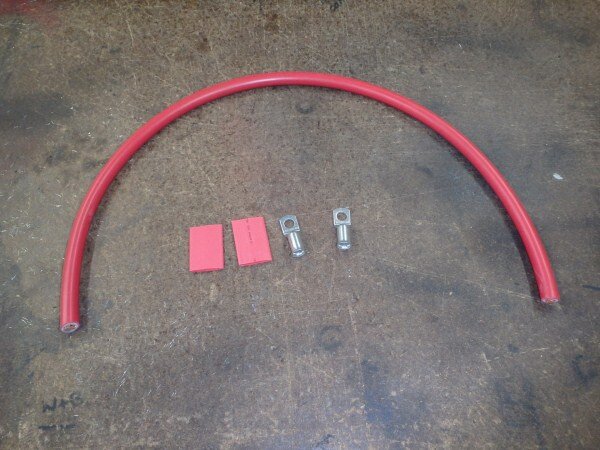
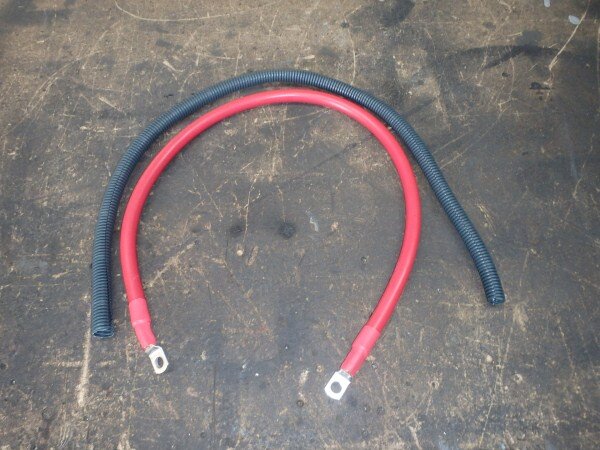
I needed to make up a new cable to link my 2 batteries so I opted for 50mm.
This is the correct way to make up big battery cables and earth's.

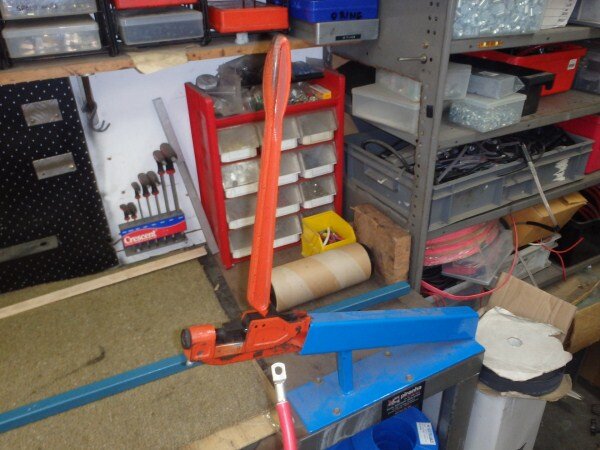
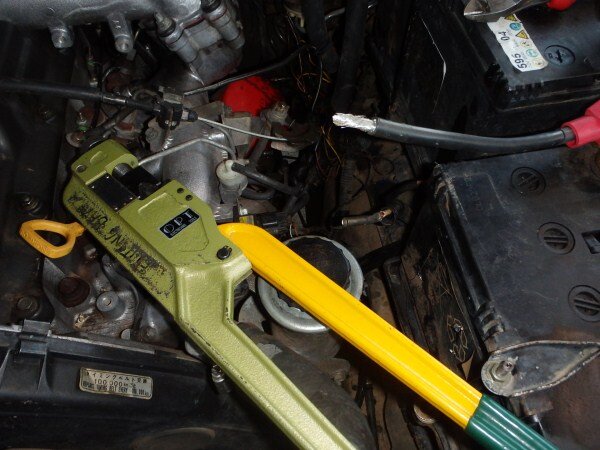
The correct terminals crimped on using the right tool.


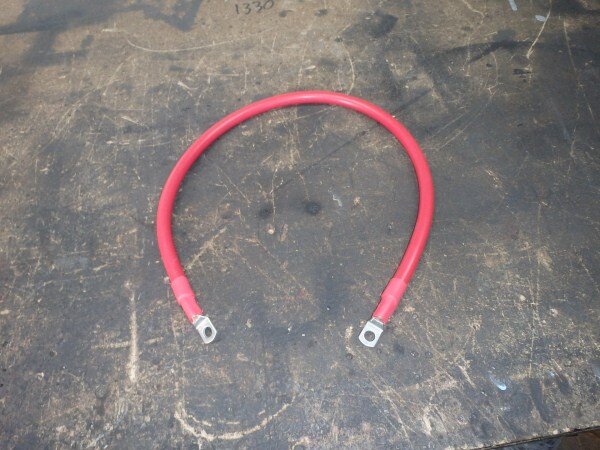
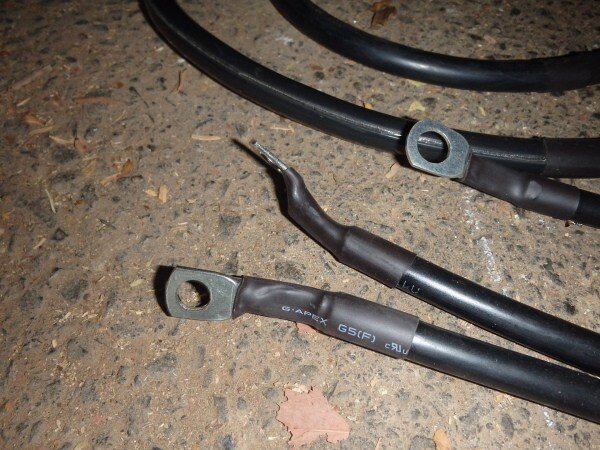
Terminals crimped on the next job is to use heat shrink.
Melted in place using a heat gun, not a cigarette lighter or blow torch like I've ignorantly done for the past 4-5 years as I didn't realize a heat gun is the right way to do it.


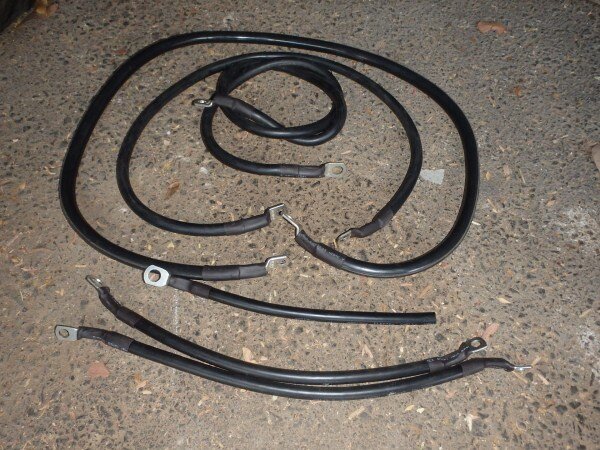
Followed by convulated tube, or conduit as they call it at my work.

Heres all my new earth leads that I made up last week.


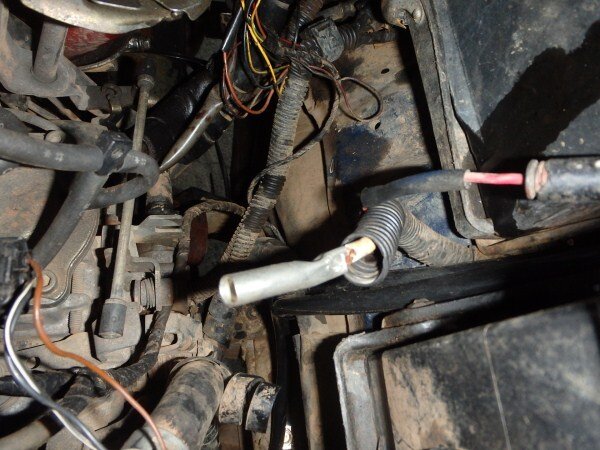
I needed to join a new thick live cable onto my original loom. Cable this big is too big to solder and heat shrink so proper crimp on terminals are used, these are then covered in thick heat shrink that contains glue, and then finally the whole lot is covered in convulated tube and tape.


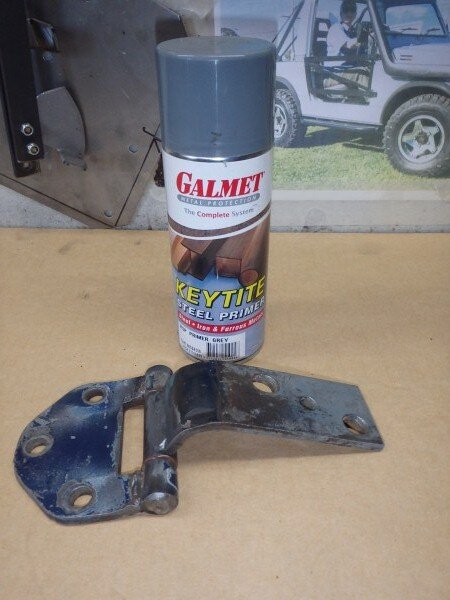
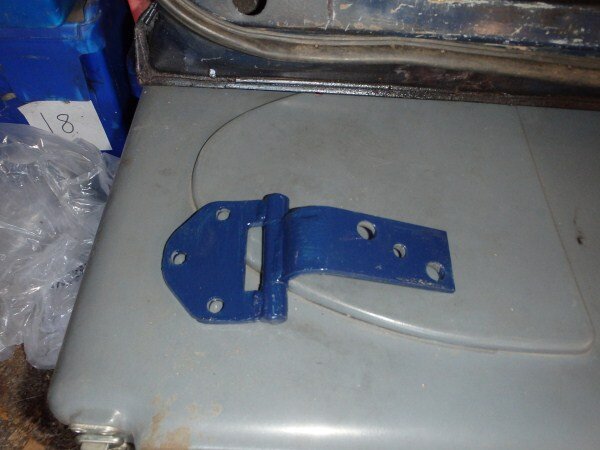
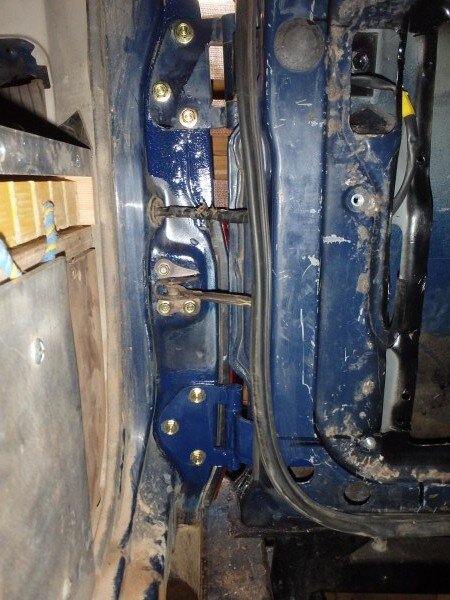
I gave the repaired rear door hinge a few coats of primer.

Followed by some blue hammerite which is an almost perfect match to the Midnight Blue Toyota colour.

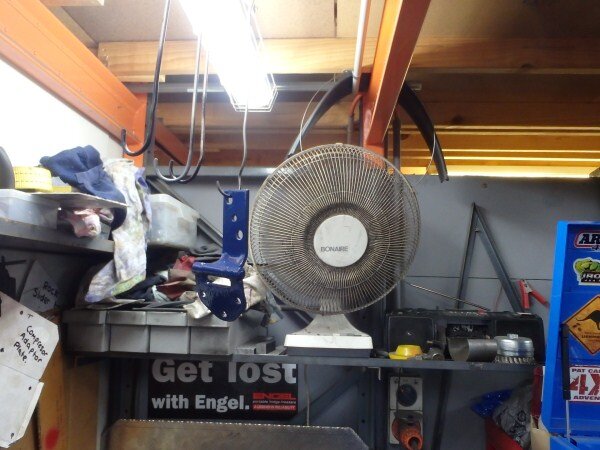
I then hung it in front of my fan for an entire day to get it to dry.

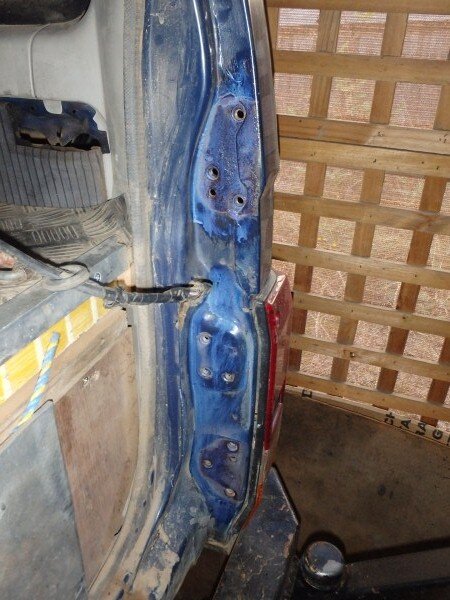
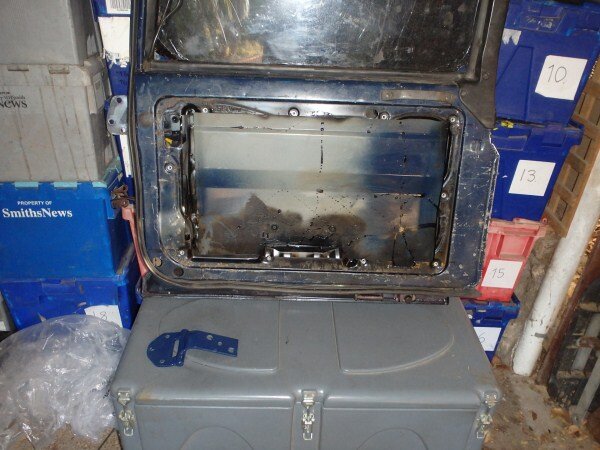
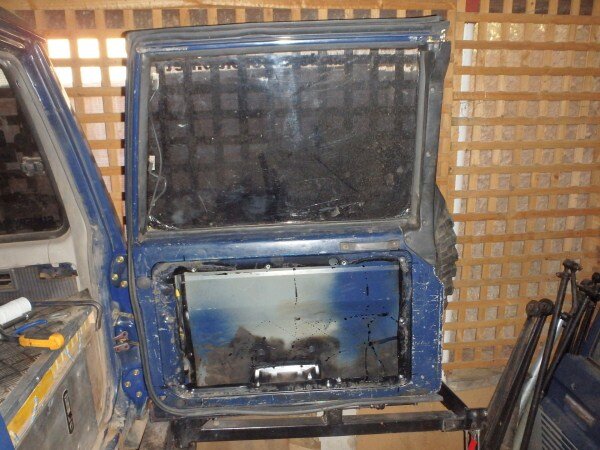
I rust killed the body where the hinges had been as there was a bit of surface rust.

Followed by blue hammerite.

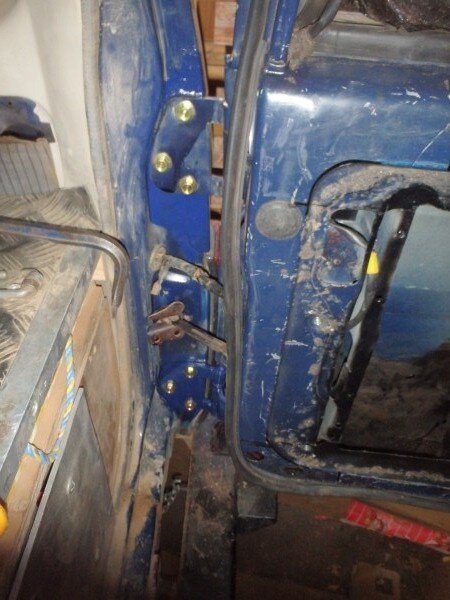
Needed to bolt the hinge back onto the door next.


Bolted the door back on next.


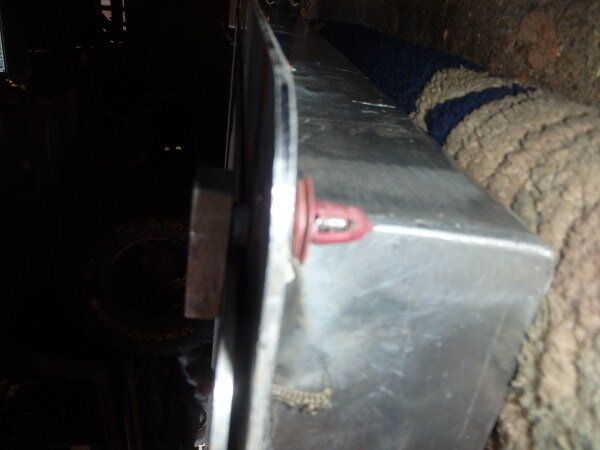
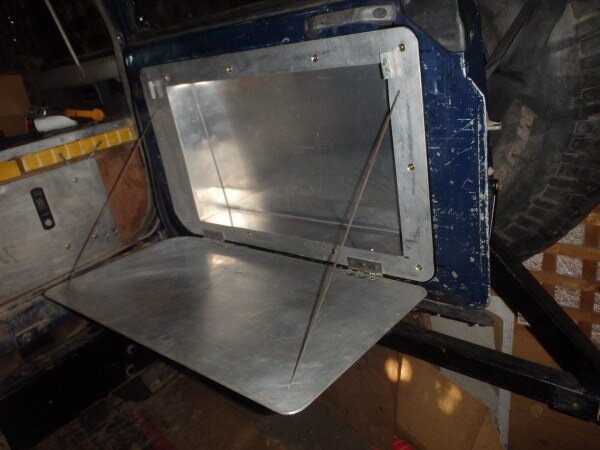
I wanted to fit the table/storage box next.

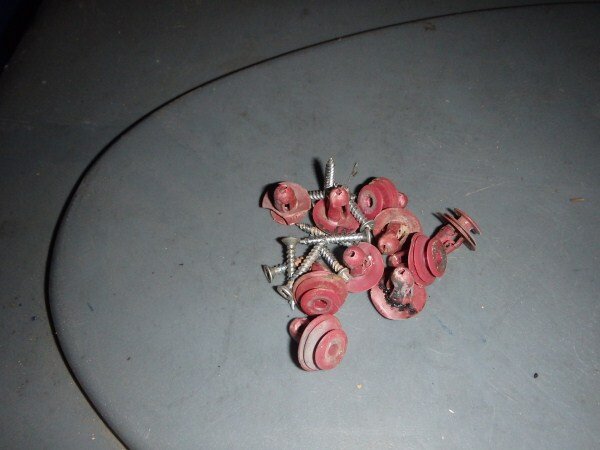
First job was to remove all the old plastic clips.


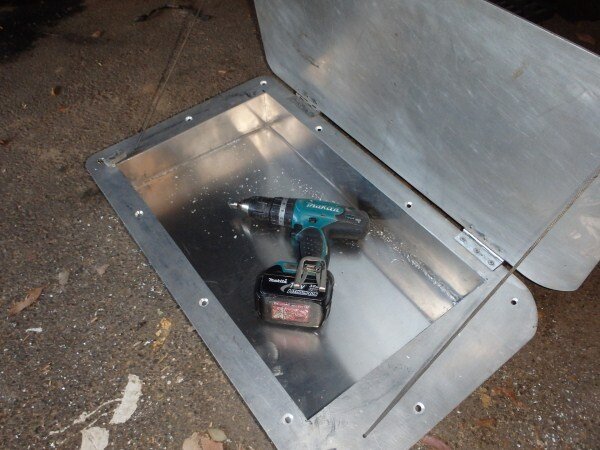
I then enlarged all the holes and then countersunk them all.

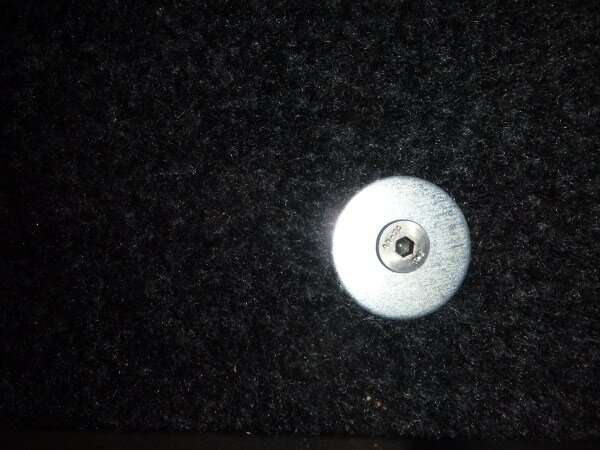
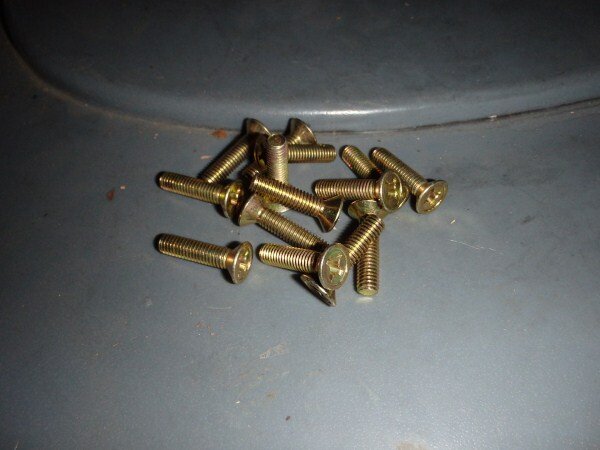
Ready for the new countersunk headed bolts.

All done.

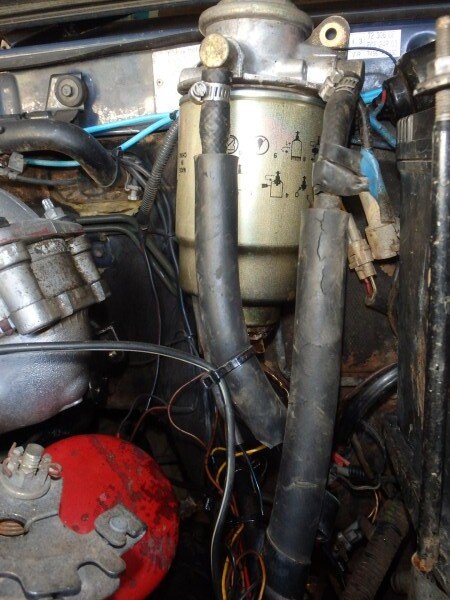
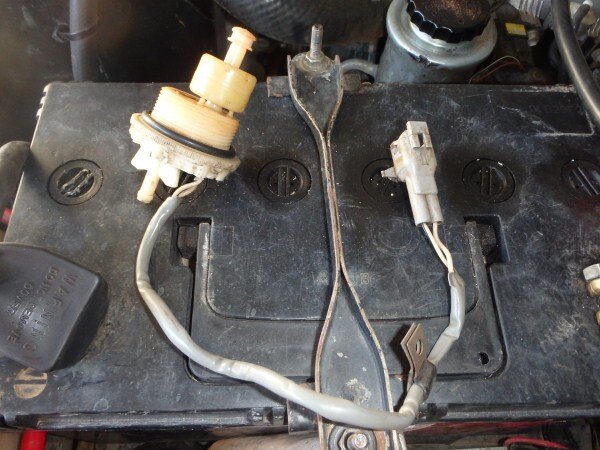
Another job that I needed to do was fix the leaking fuel filter housing.

I suspected it was leaking from the bottom so I got another one from the local Toyota wrecker.

New one.

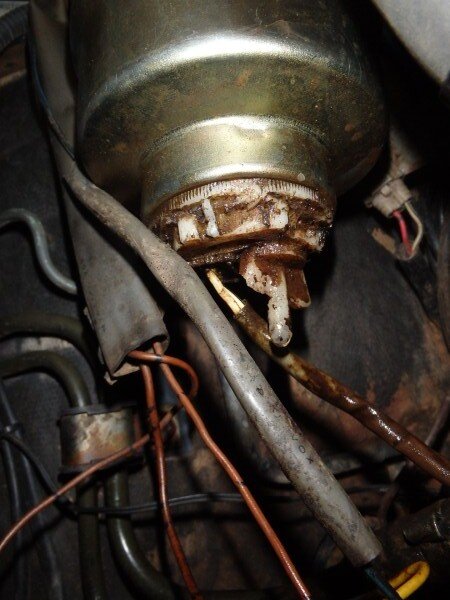
Upon removing the old one it was obvious as to why it had been leaking. It looks like it has been melted away but is no where near anything hot. Cant imagine diesel would do that?


New one for comparison.

Old one.

That changed and shes running beautifully again and more importantly isnt leaking fuel everywhere!
My welding course is going well and once I finish what I'm doing now I will be a fully qualified coded TIG welder.

After TAFE today I went shopping.


All profesional welders need a descent helmet, hence me splashing out nearly $400 (£200) on one.


Now my £20 auto darkening ebay/chinease special has worked faultlessly for the past 2 years.

But when you buy an expensive helmet its designed so that the head strap and positions where it sits on your head avoids any of the pressure points that cause fatigue and head aches.
Also this one will work on very low amp AC TIG welding for when I'm welding alluminium, a lot of cheaper helmets wont do that. I also like the big screen on it giving awesome vision.
I also picked up some sleaves to protect my left arm from UV rays when MIG welding. Will mean I can continue to wear short sleaves when welding and wont have to put factor 50 sun screen on my arm which is what I have been doing to avoid that MIG sunburn.

And some TIG gloves. Mig gloves are no good because there far too thick and you cant feel the filler rod easily or move your hands easily. TIG doesnt require the same sort of protection as MIG as you havent got molten hot sparks shooting all over the place. Tig is beautifully neat and clean to work with, I love it!

And finally a baraclava for when I'm MIG welding under cars and hot sparks are landing on my head. This will be worn inside my helmet.

Heres some horizontal TIG welds I did today.


And some much harder vertical welds.


And last few pics........................
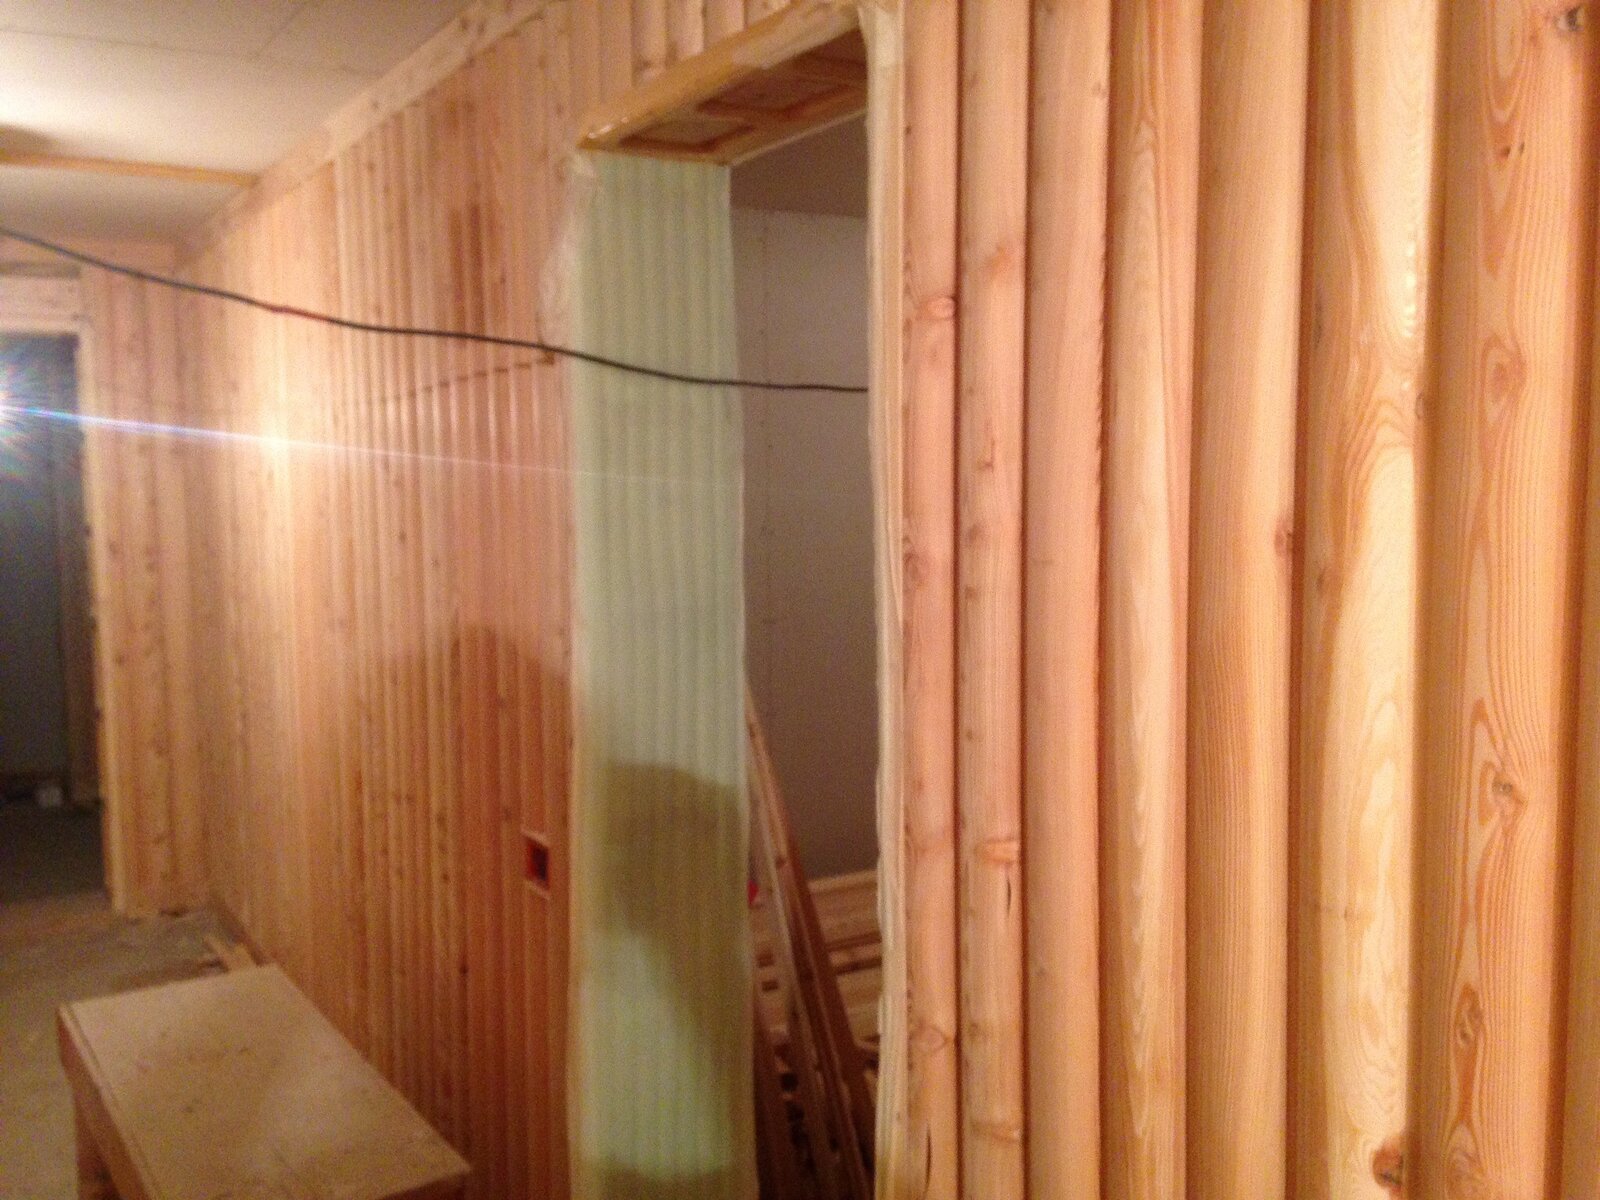
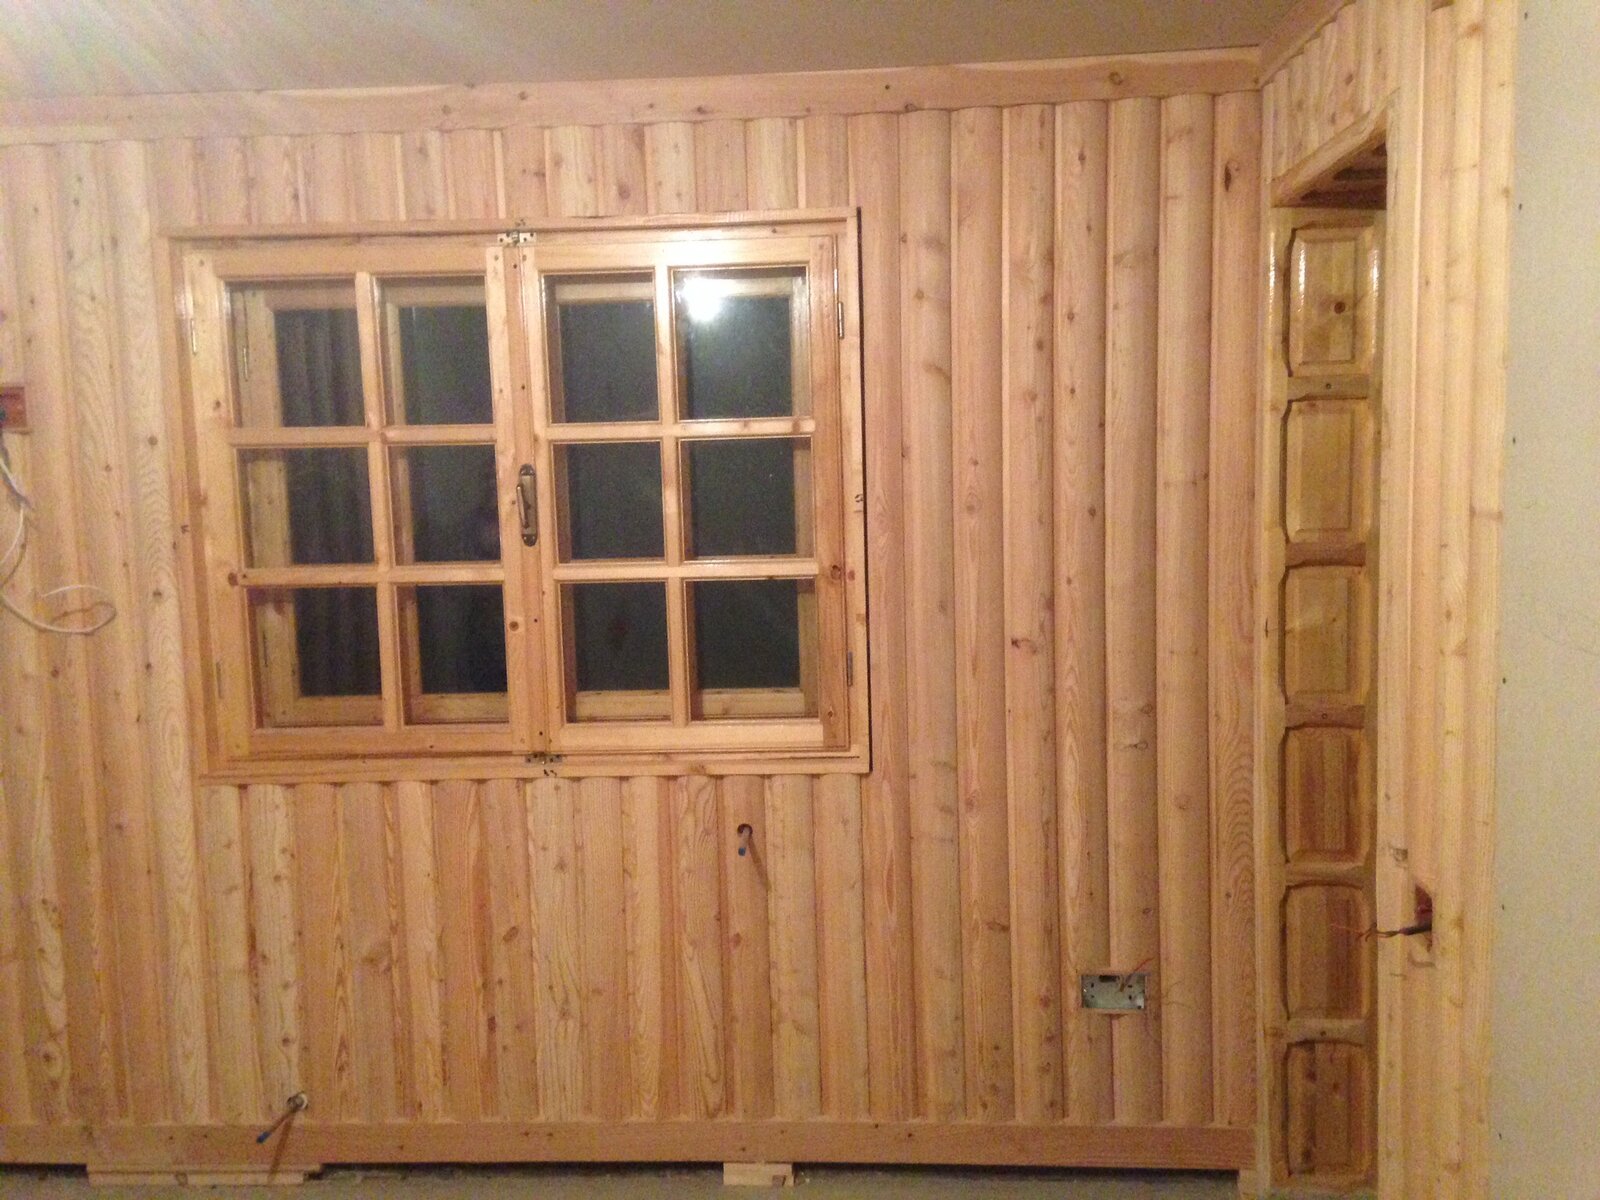
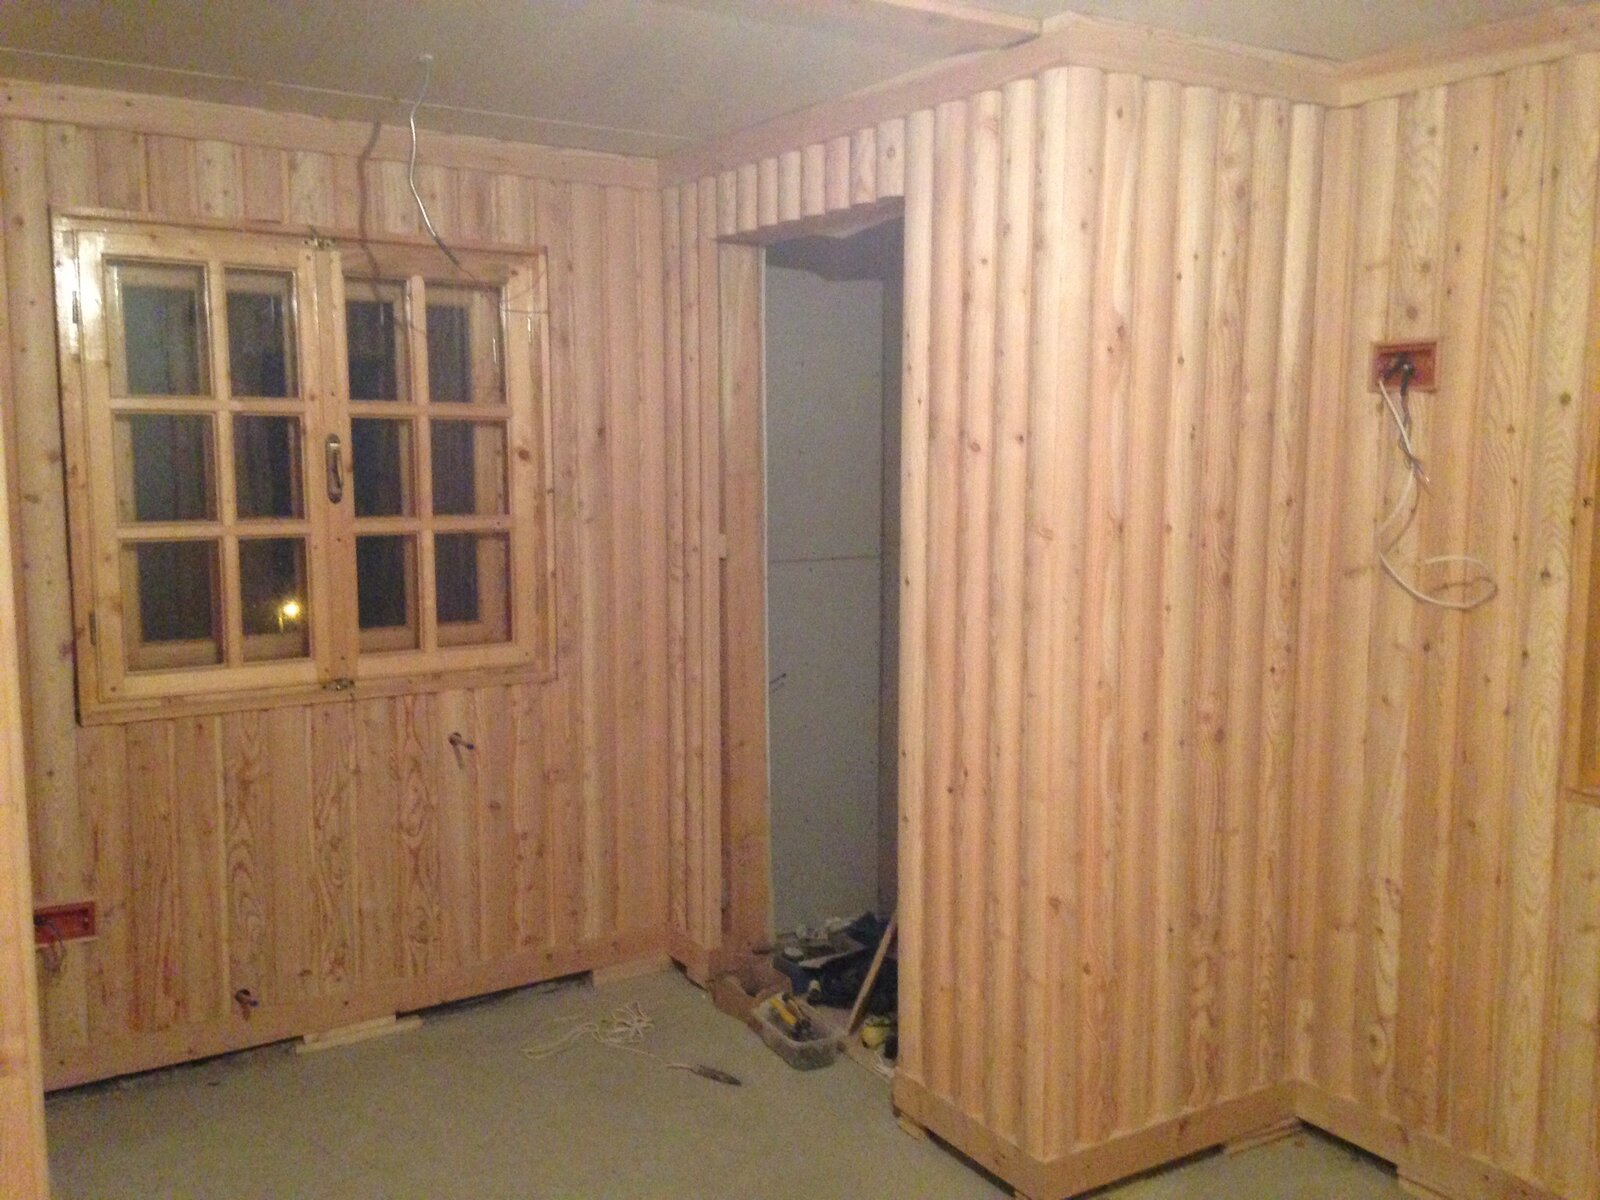
The building work on the house.
The carpet went down yesterday in the 2 bedrooms, and the curtains a few days before that.

I've fitted new wardrobe doors in the spare room.


And my room.


Just need to fit the warrdrobe doors and new bedroom doors.

After just over 13 months of living in this amazing country rent free I've decided to get my own place!

So in 5-6 weeks I will be getting a place with my good friend Erin who is also looking for some where to rent as her lease is up.
I've enjoyed the past 10 months living with Michael, but I've reached the point now where I'd rather pay rent and have much less money than spend my free time doing building work.

Now I could stay here and pay Michael rent but hes getting married soon, and I'd quite like a change anyway. So I'm excited about getting a place and having evenings and weekends totally free to get LJ ready for the Simpson Desert trip at the end of the year.
I've now got 4 days off work.
So I want to get the building work on the house finished and do some work on LJ.
Then Sunday I'm off to a music festival with Erin, Its going to be messy!

Oh nearly forgot...............
If Crispin is able to setup a private members only area of the forum only visible to members with say x amount of posts I can start a build thread for the exciting new project I'm working on for the Guinness World Record attempt.


I liked that!

")


 ) but he has a double garage, with a single garage along the back of that, and space down the side for 5 cars, and driveway space for another 3 in front of the garage....
")