Betoner
New Member
- Joined
- Mar 30, 2021
- Messages
- 44
- Country Flag
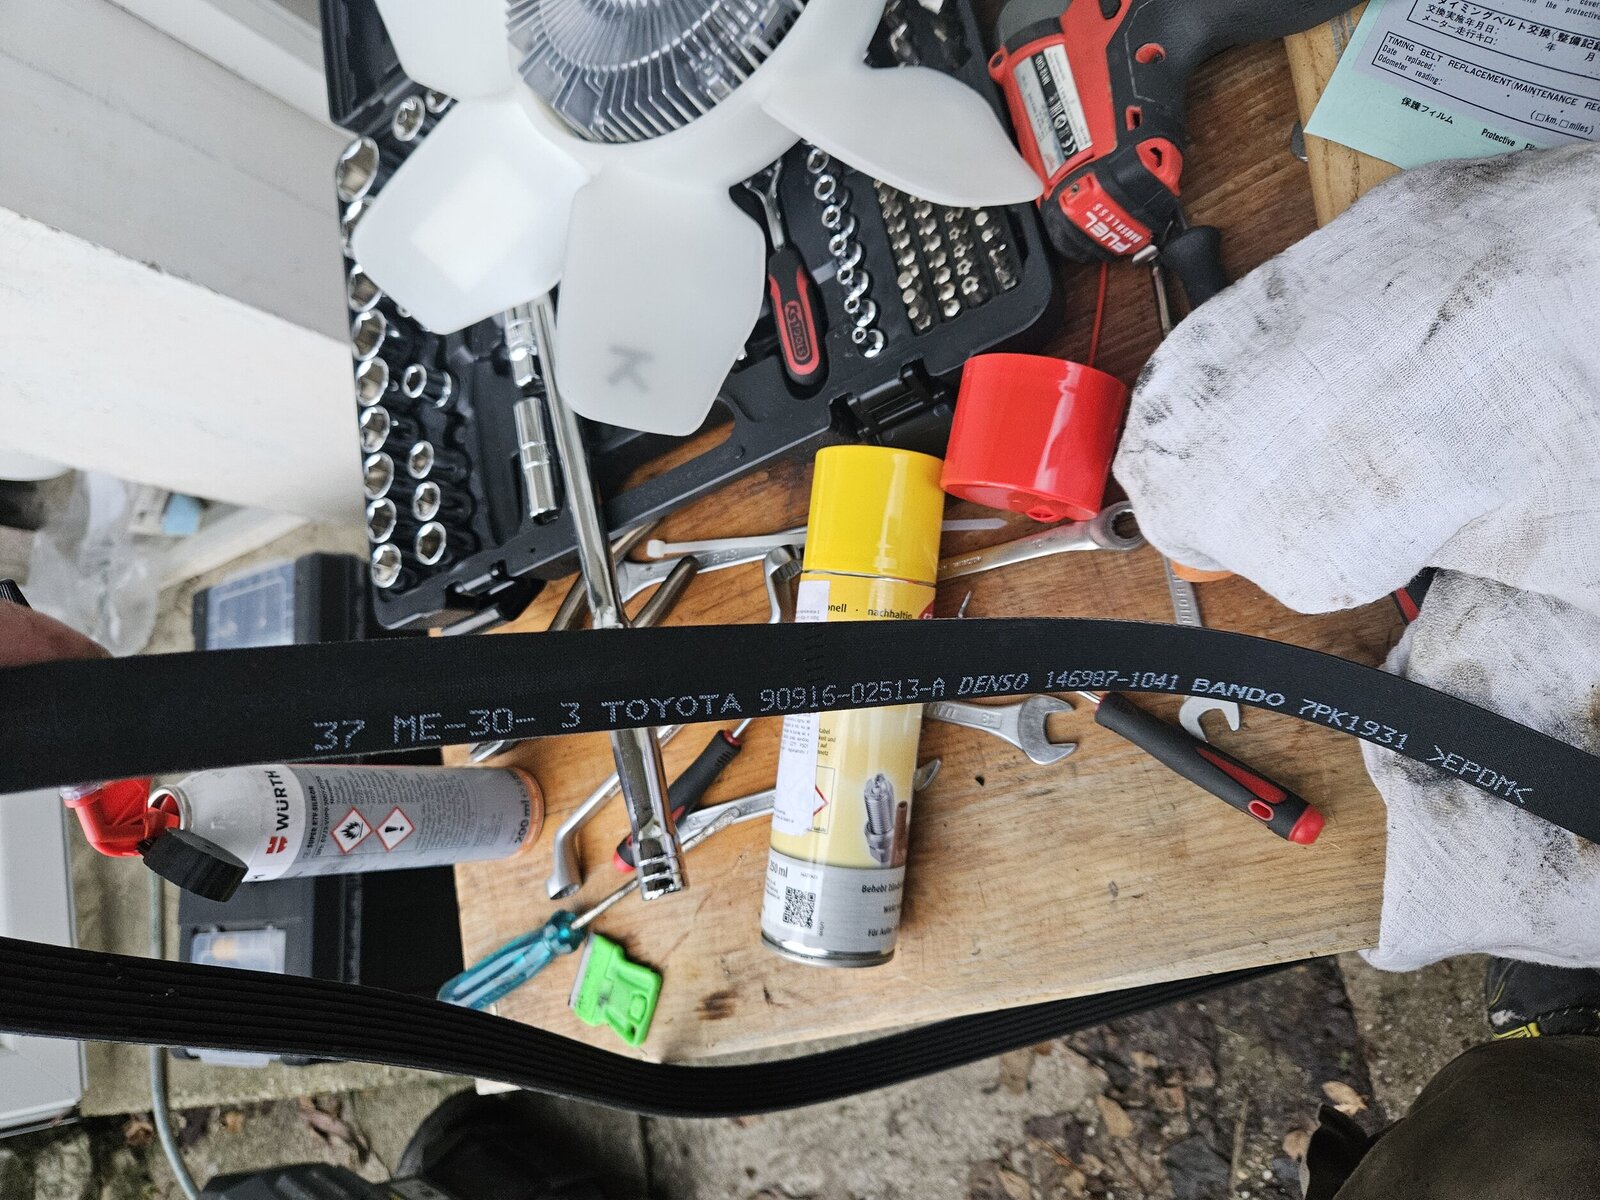
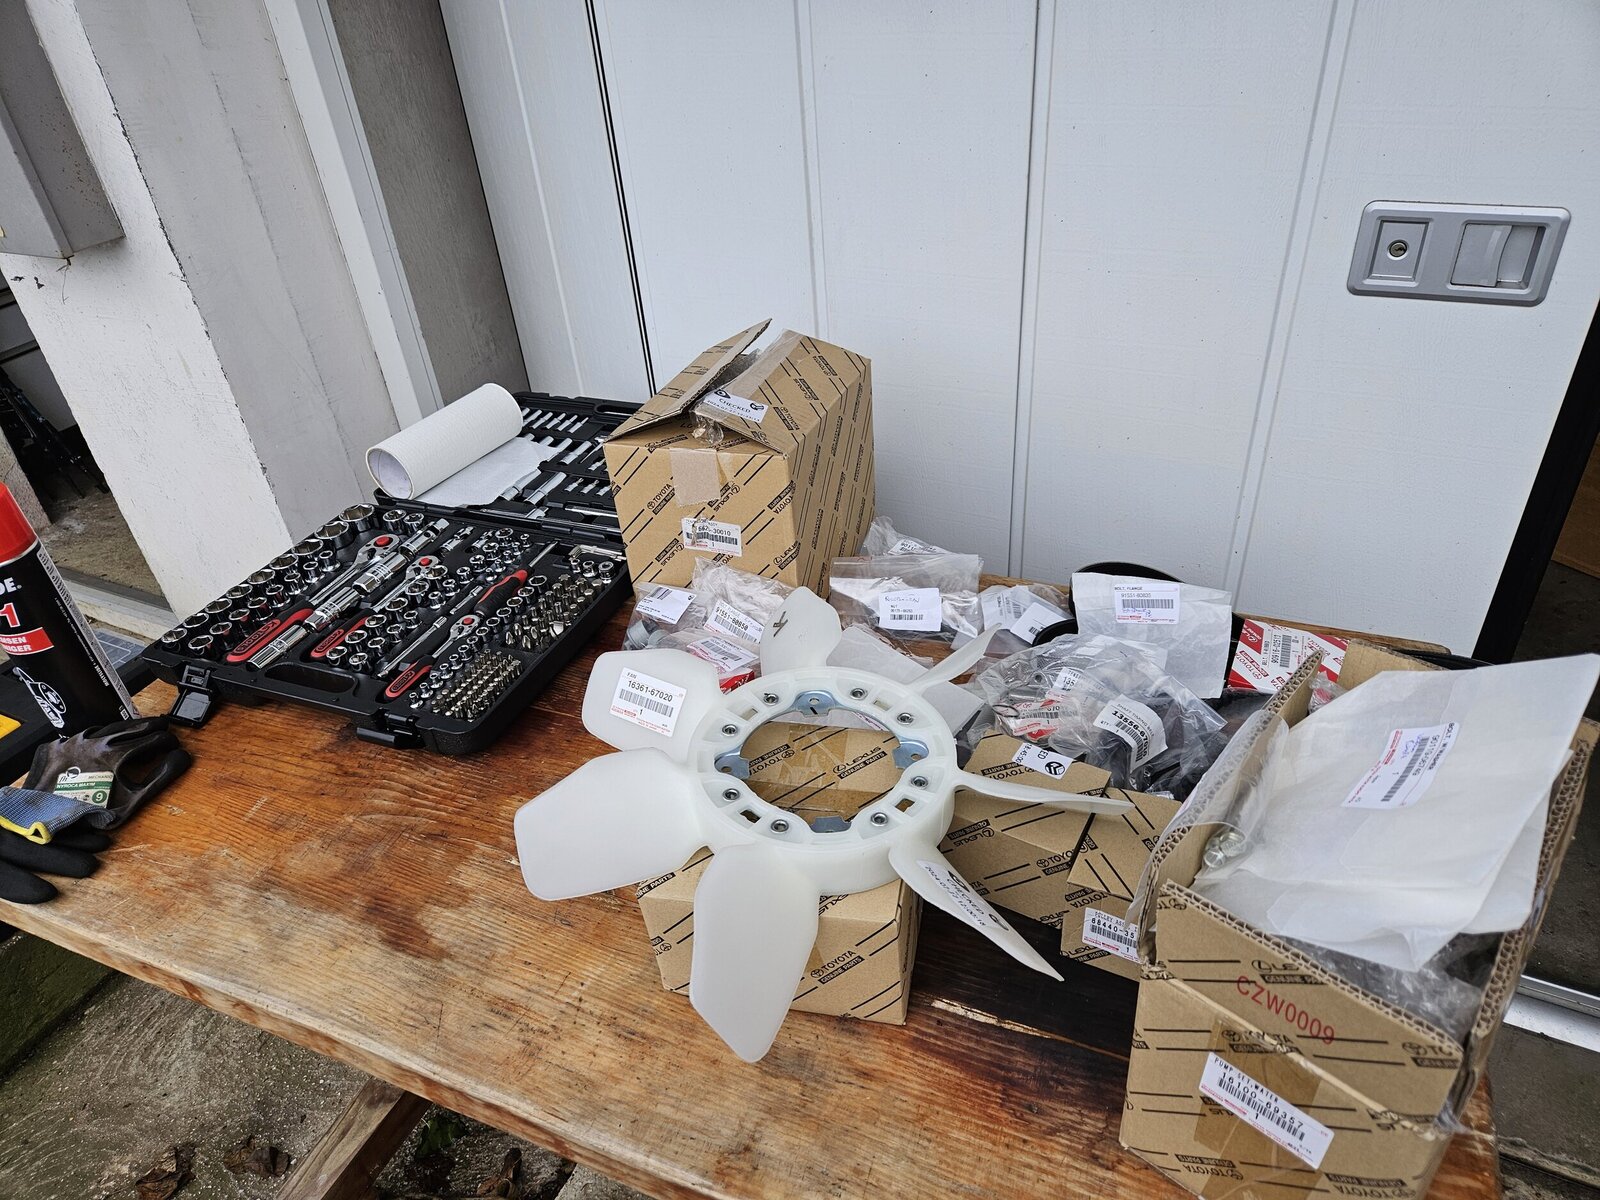
So after buying Toyota parts online and at official service, today came the day of BigFrontEngineJob. Part table is getting ready.
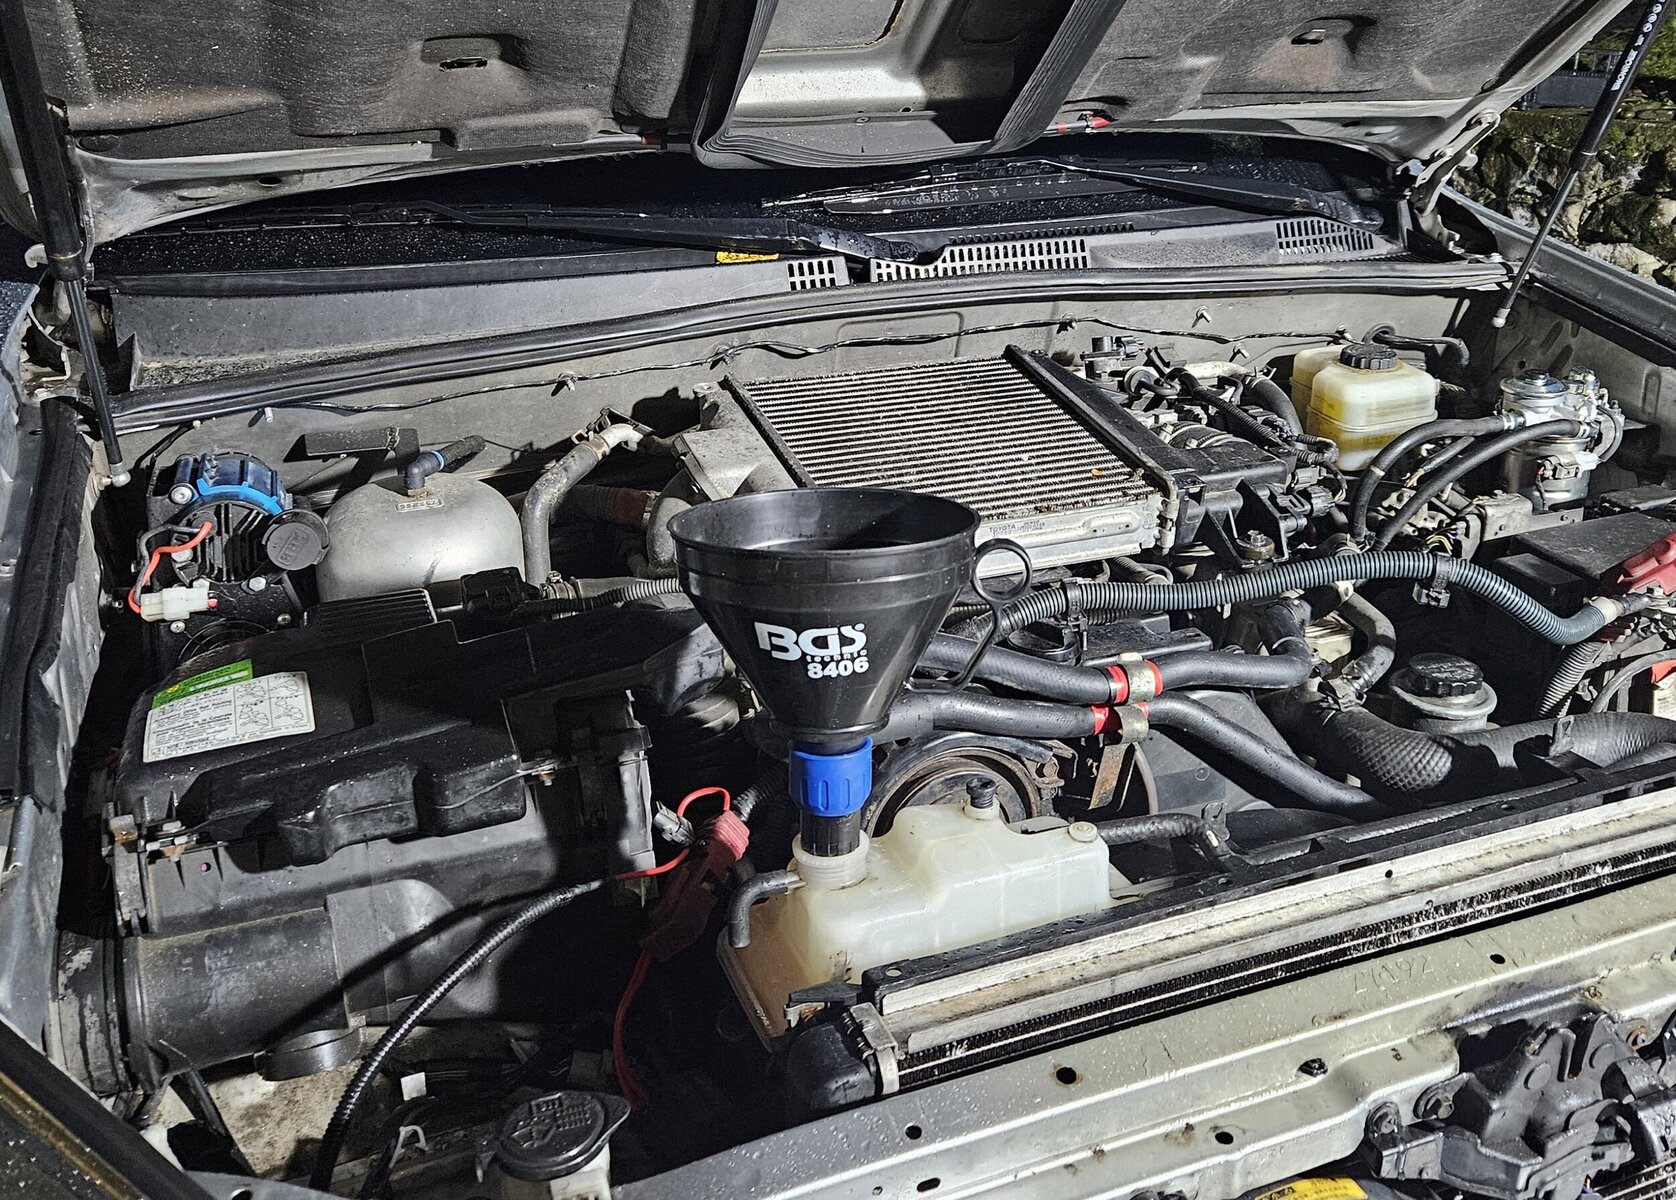
Under the hood. Lc120 is LHD winter type,two batteries and visco heater.
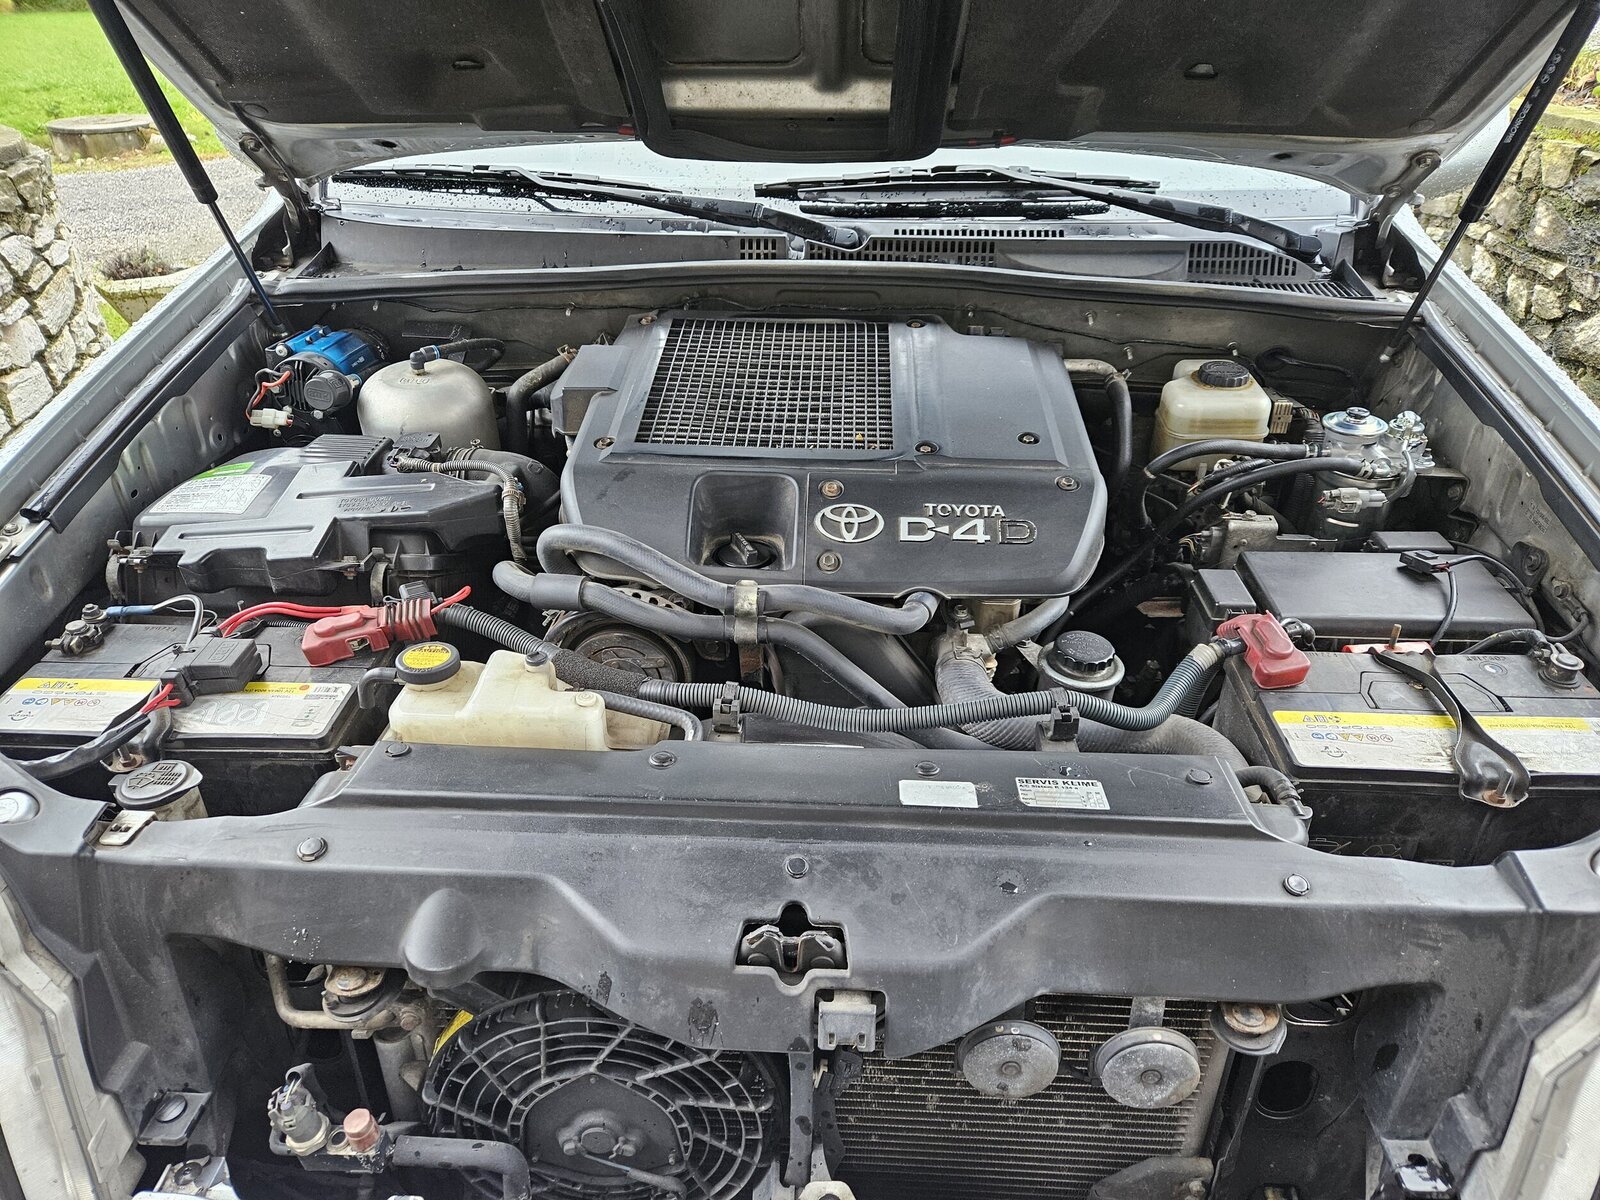
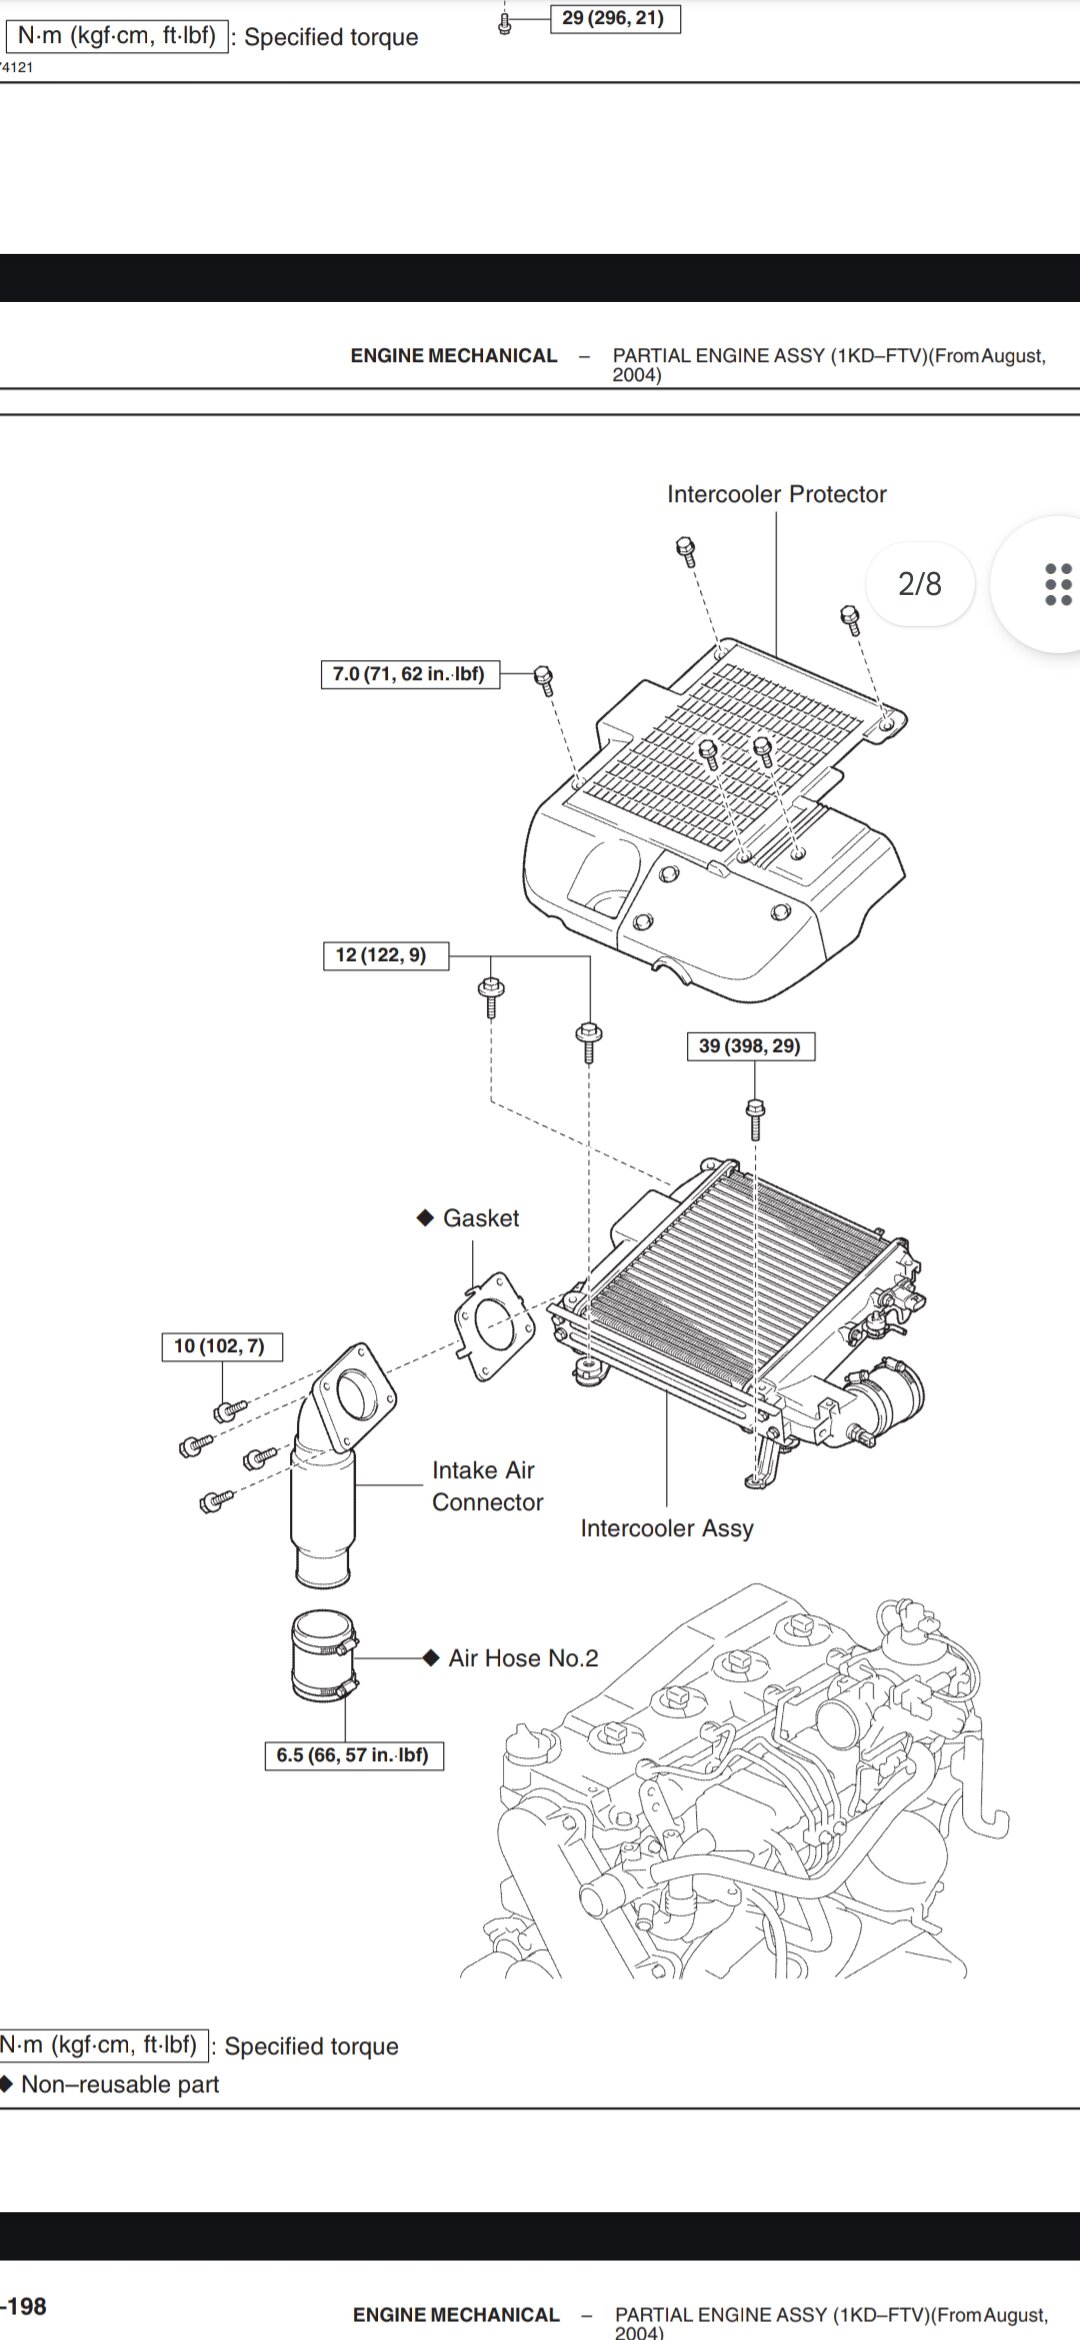
Firstly I unscrew ths coolant bolt under a radiator (driver side) to let the coolant out. Then I removed batteries, intercooler protector, plastic above radiator, radiator reservoar, thick coolant hose on driver side. Now I was able to detach fan shroud and start unscrewing fan (visco clutch-water pump connection) - 4 screws 12 mm. I remember this one cause I had to rent a ring wrench from my neighbour. After some persuading with the wrench and a screwdriver (to block the rotation) fan came out.
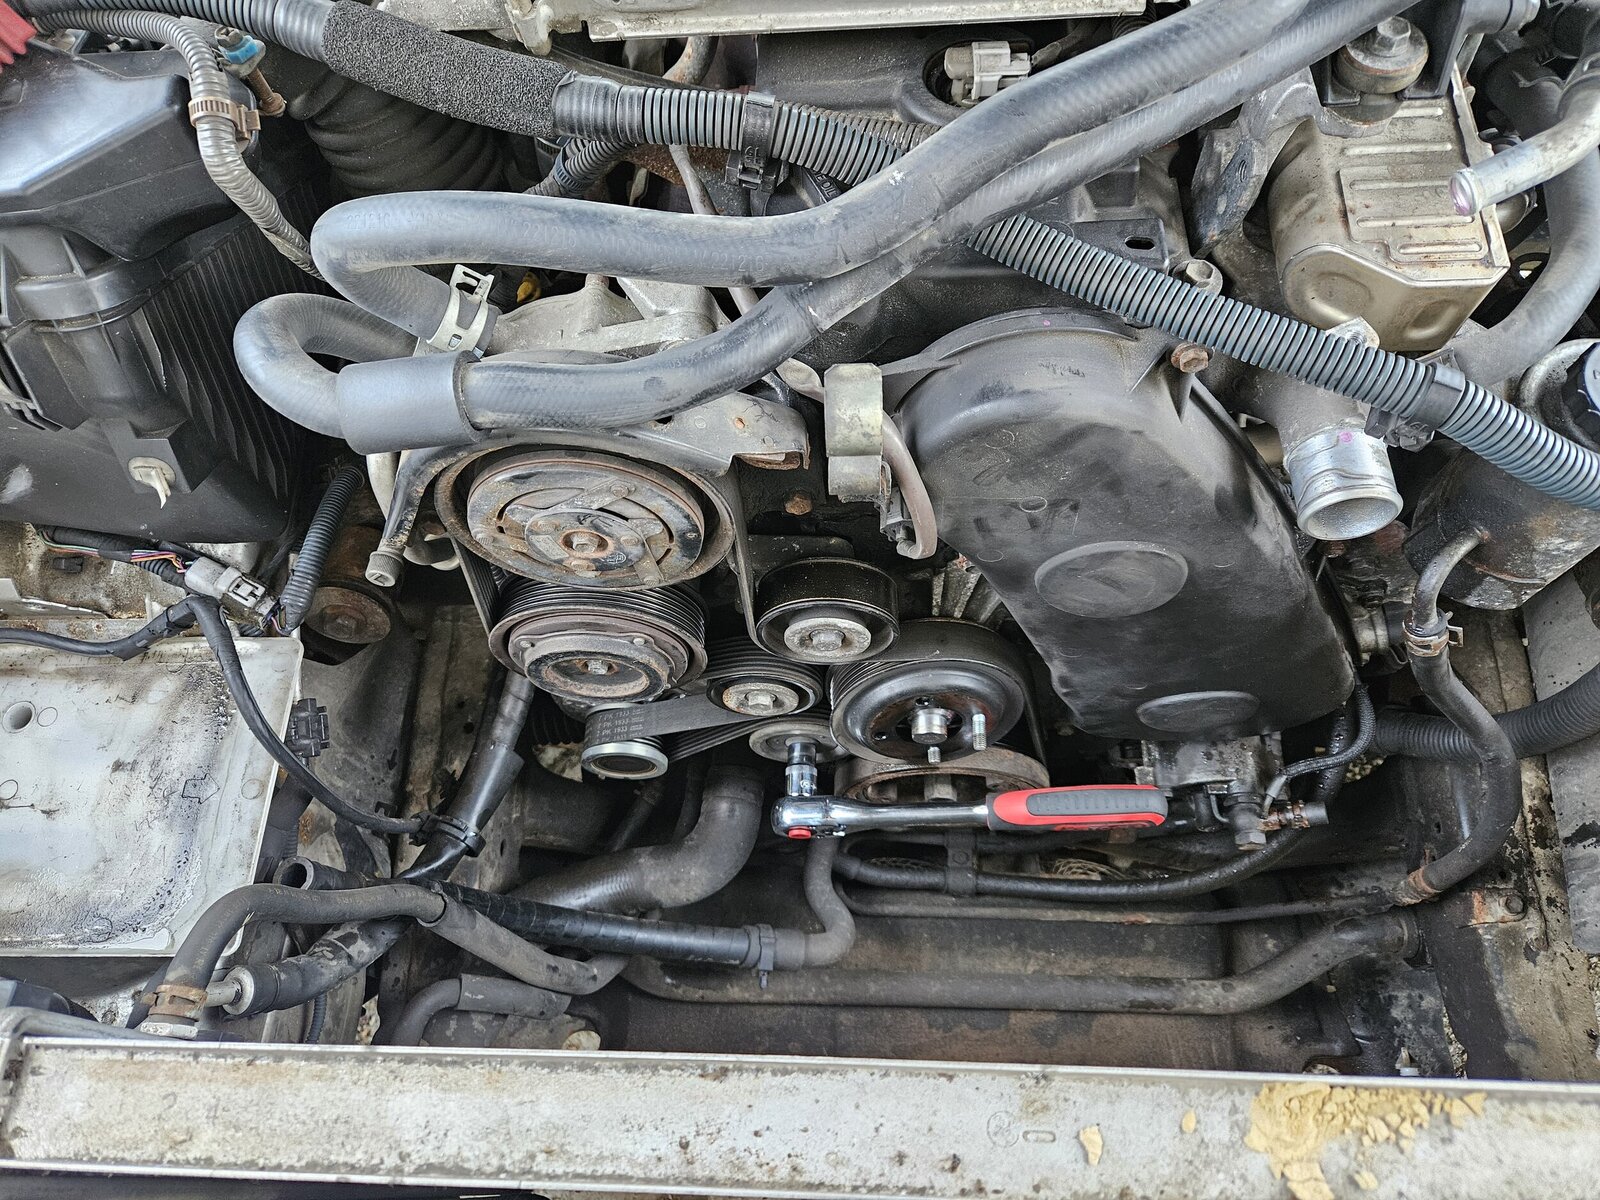
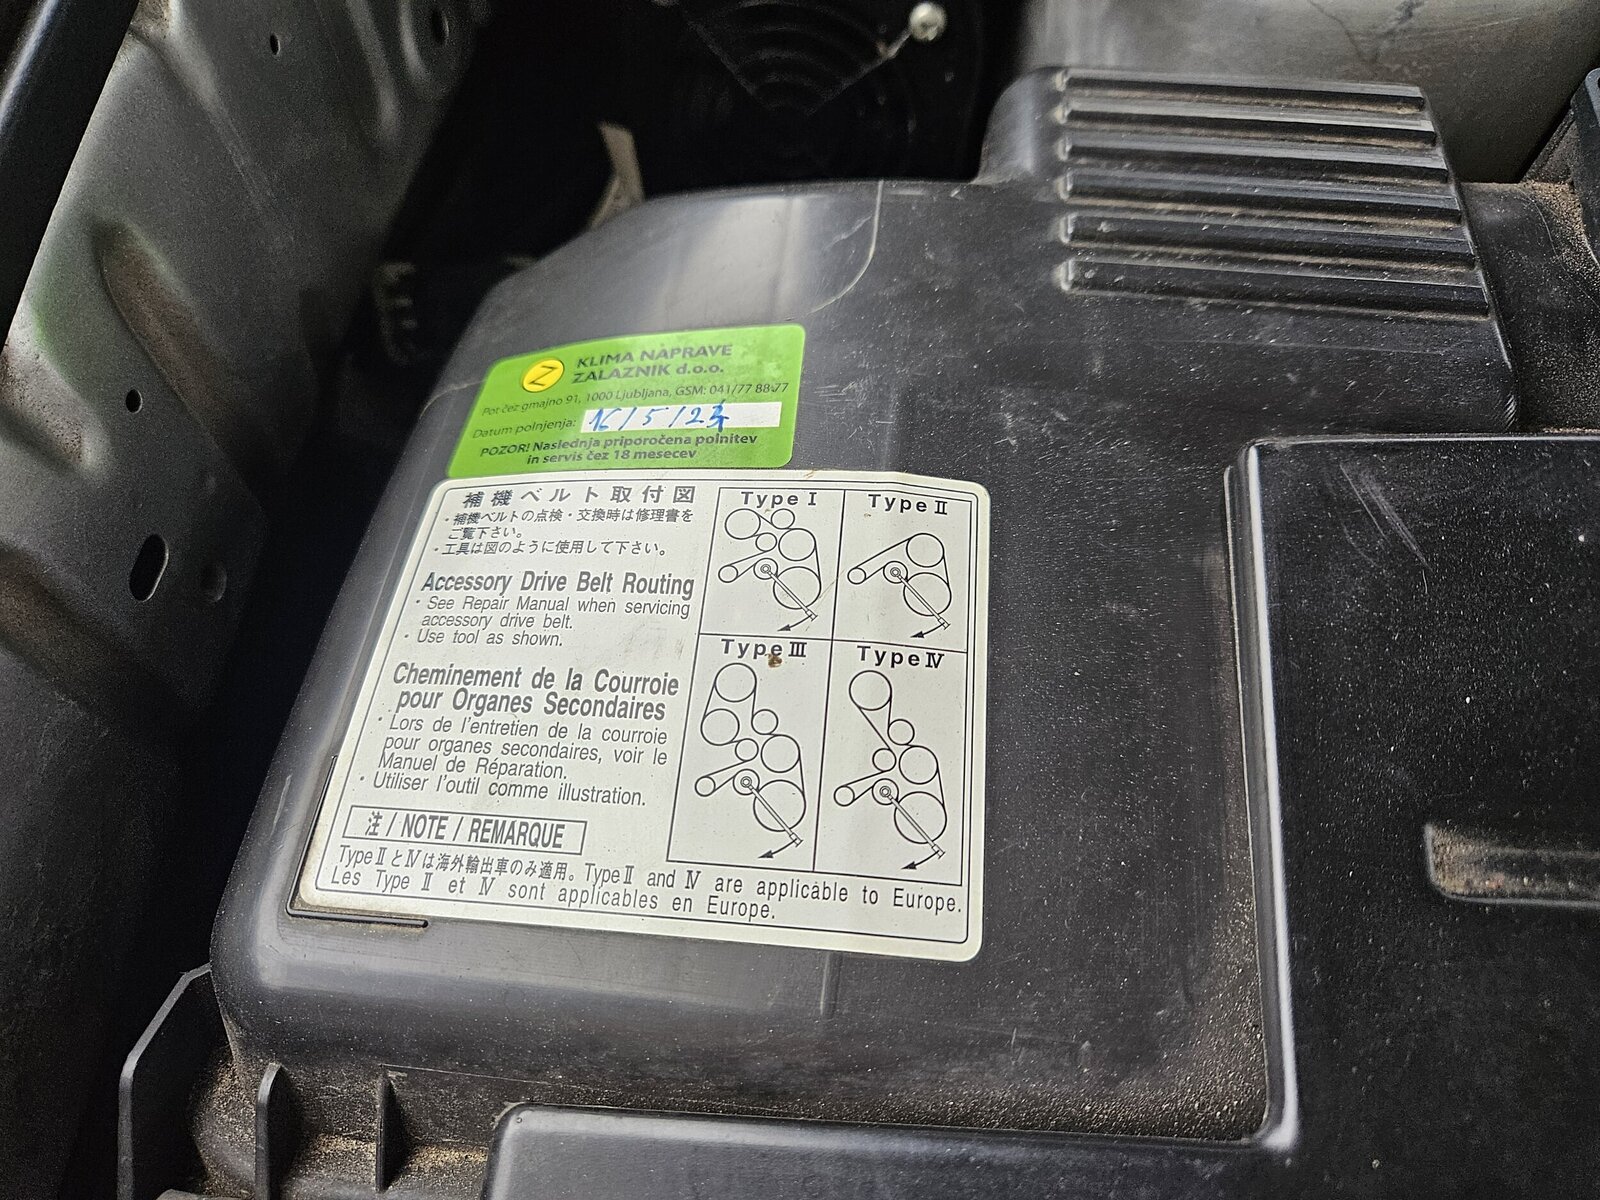
With turning a tensioner idler clockwise I coudt get the pk belt out. Removing visco heater shield (2 screws) and then the visco heater itself.
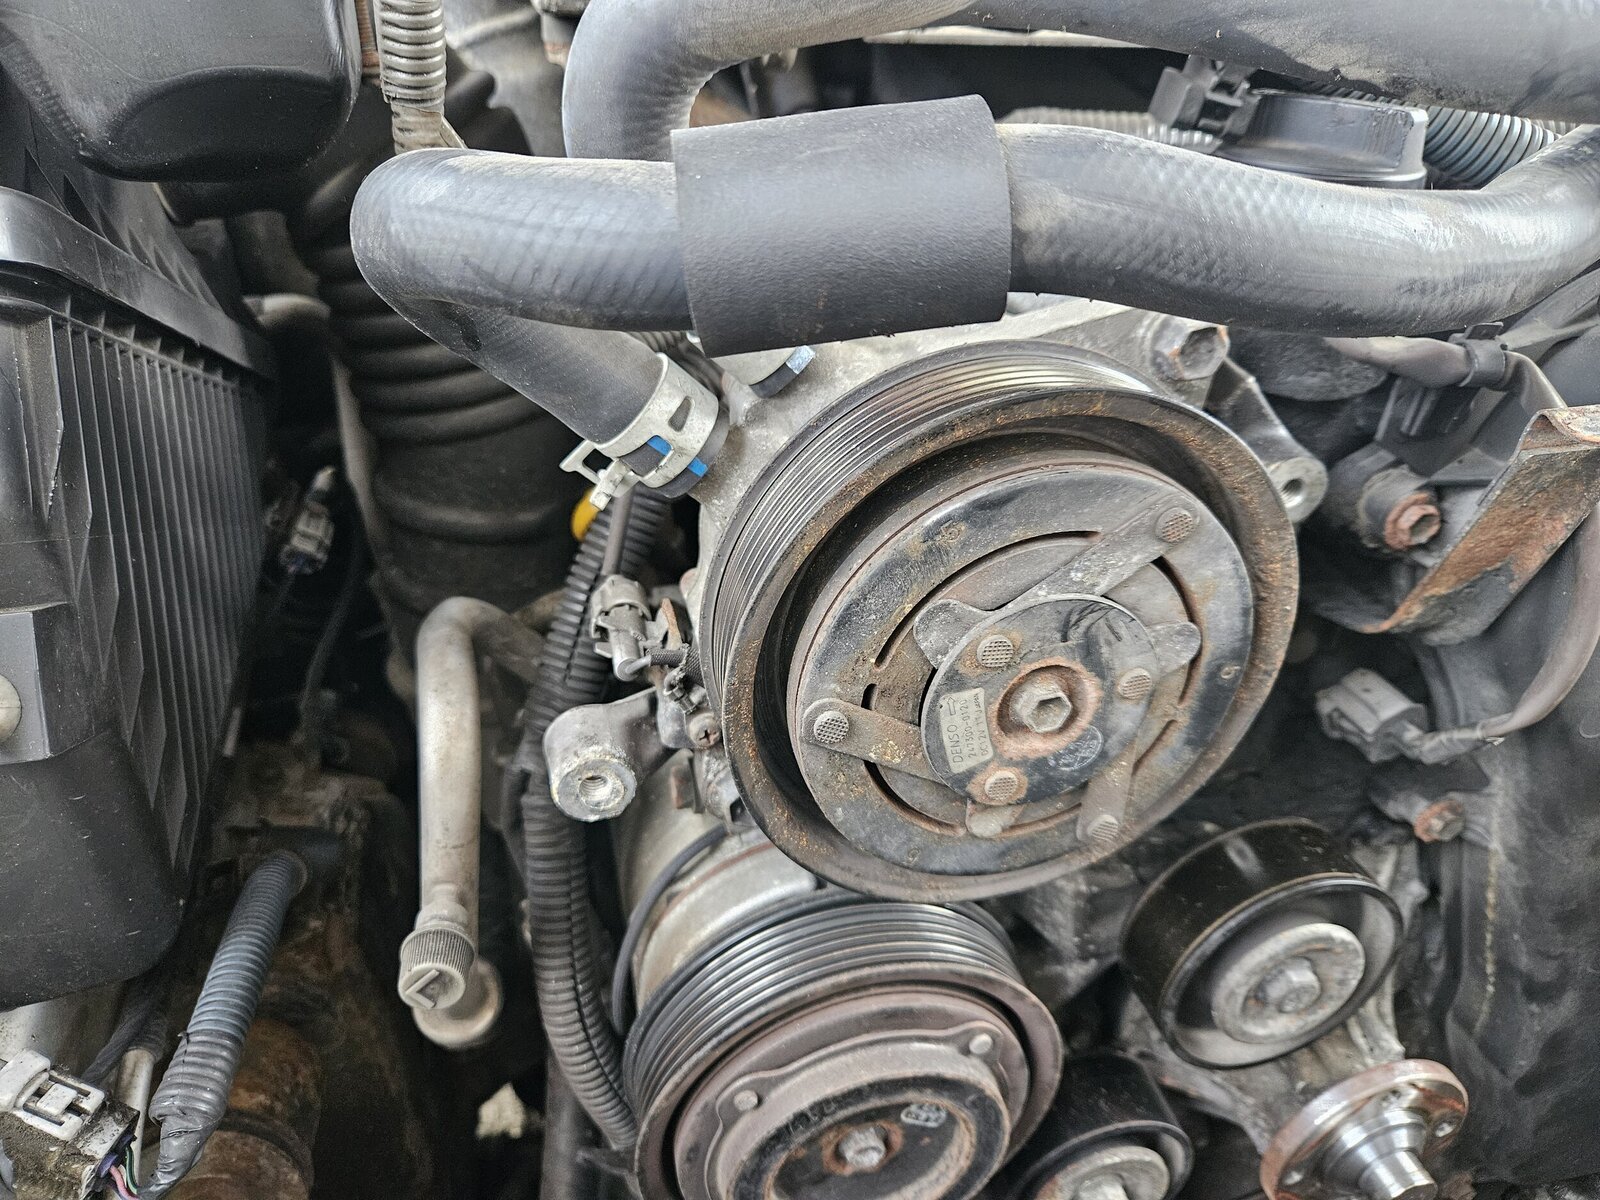
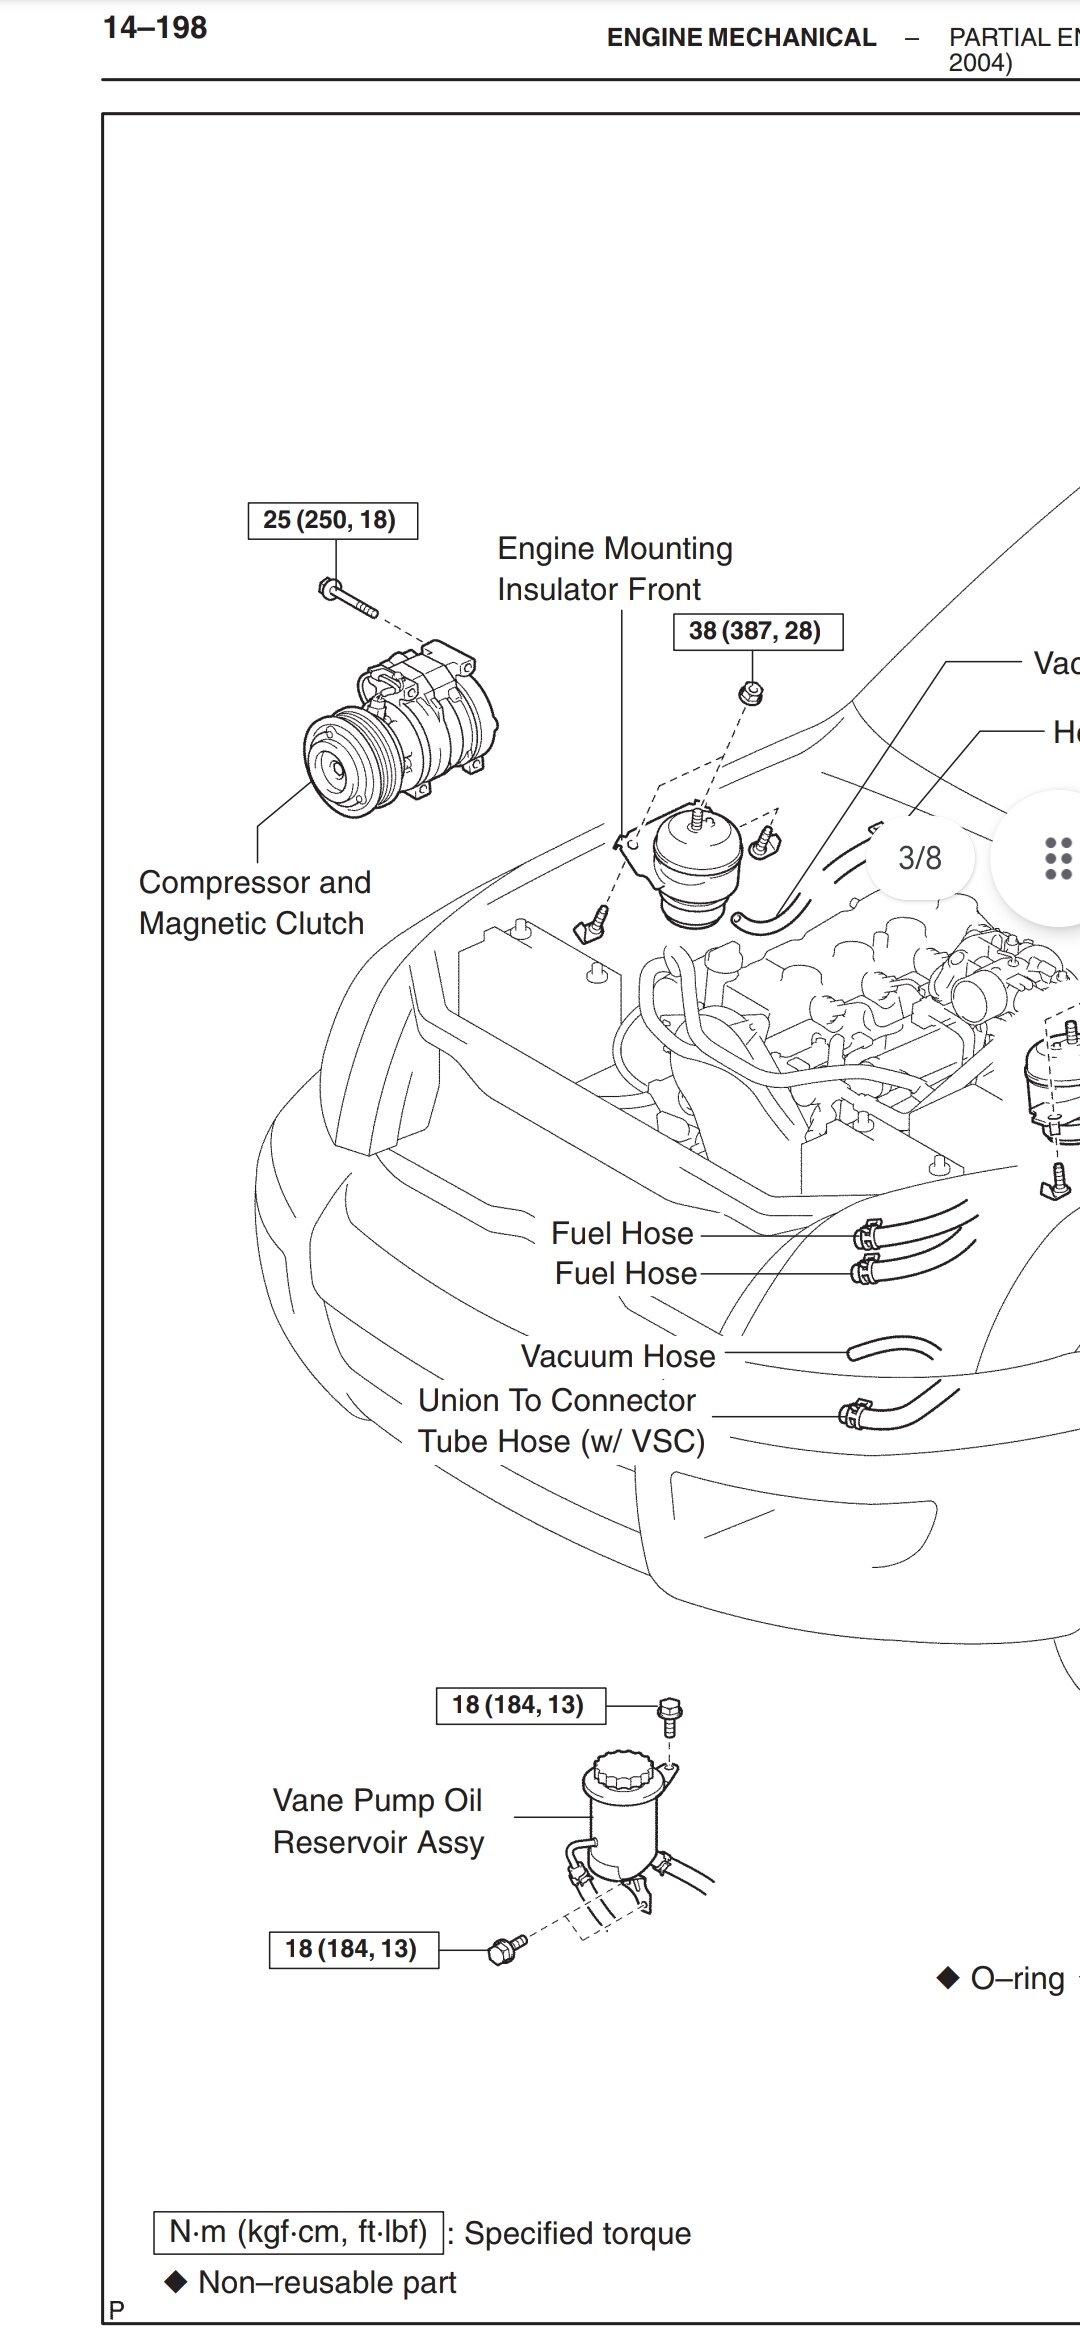
Next in line is ac compressor, 4 long horizontal screws. I left ac lines intact. To get more space, I removed airbox too. Zipties for securing compressor.
Under the compressor is an alternator, secured with one screw above and one below. There is also a wire, connected by bolt, for charging.
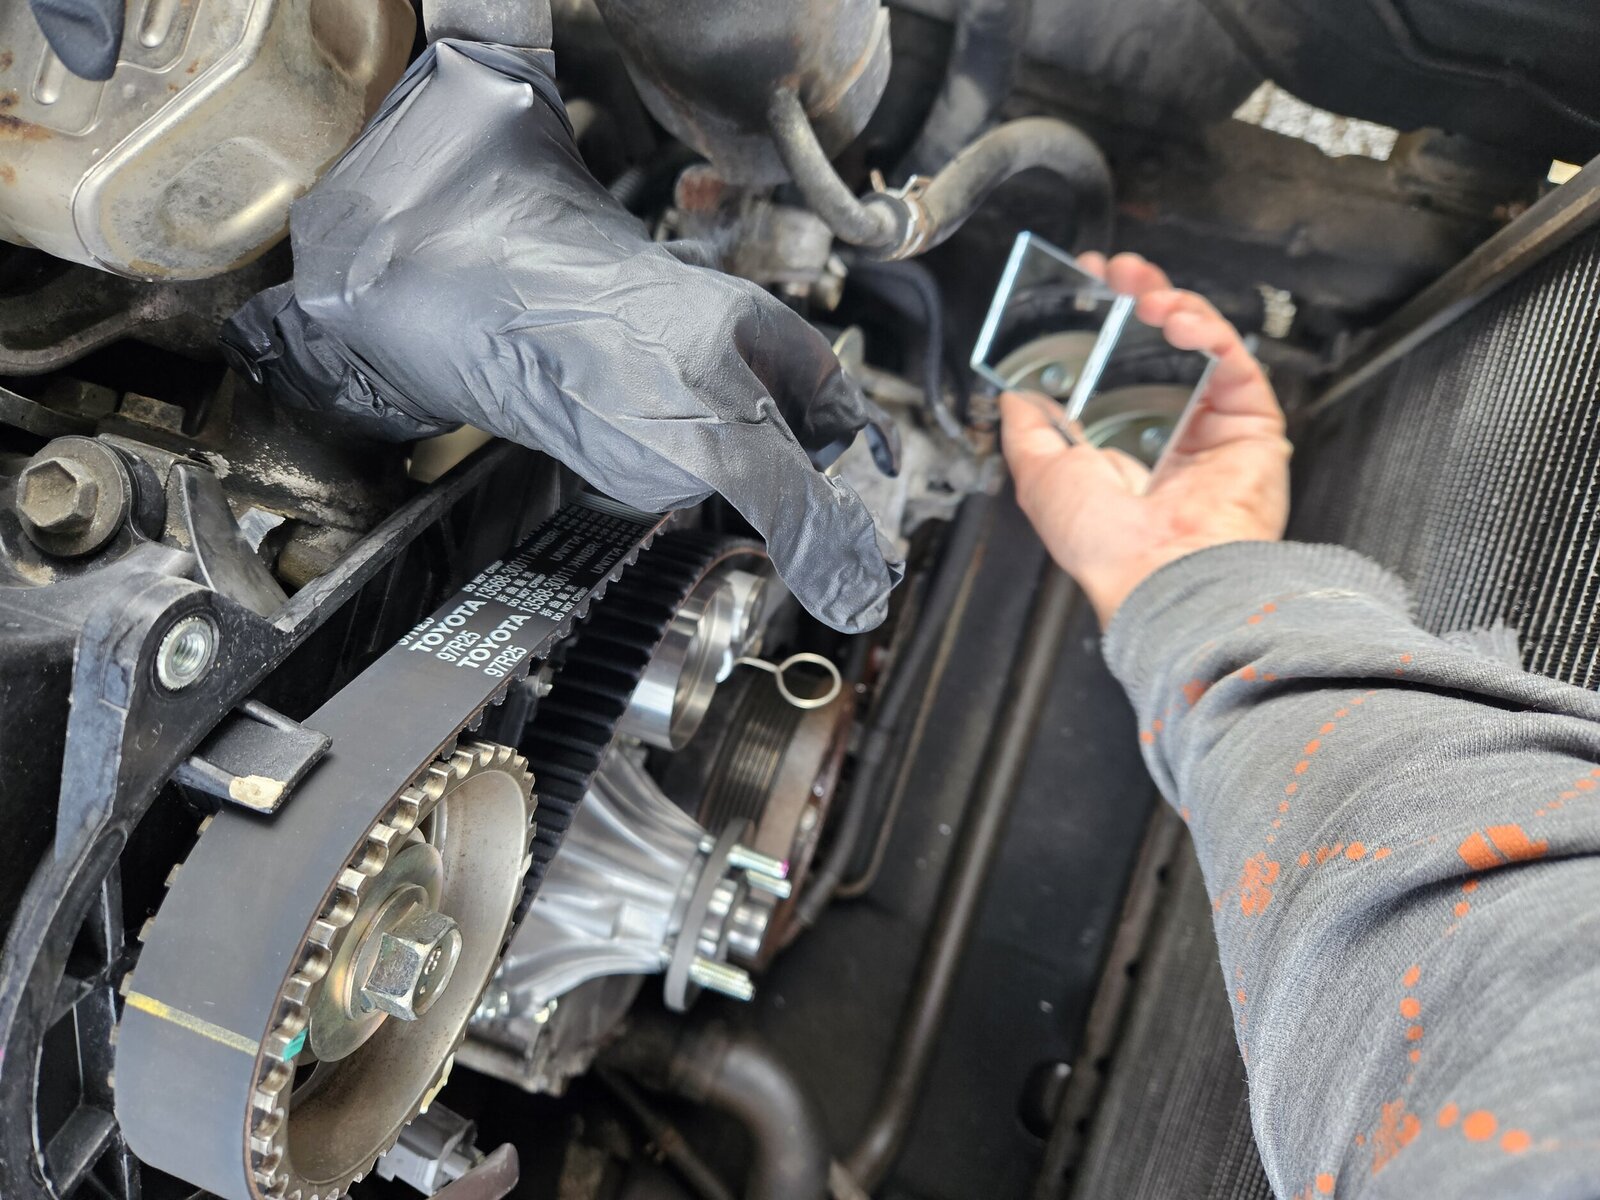
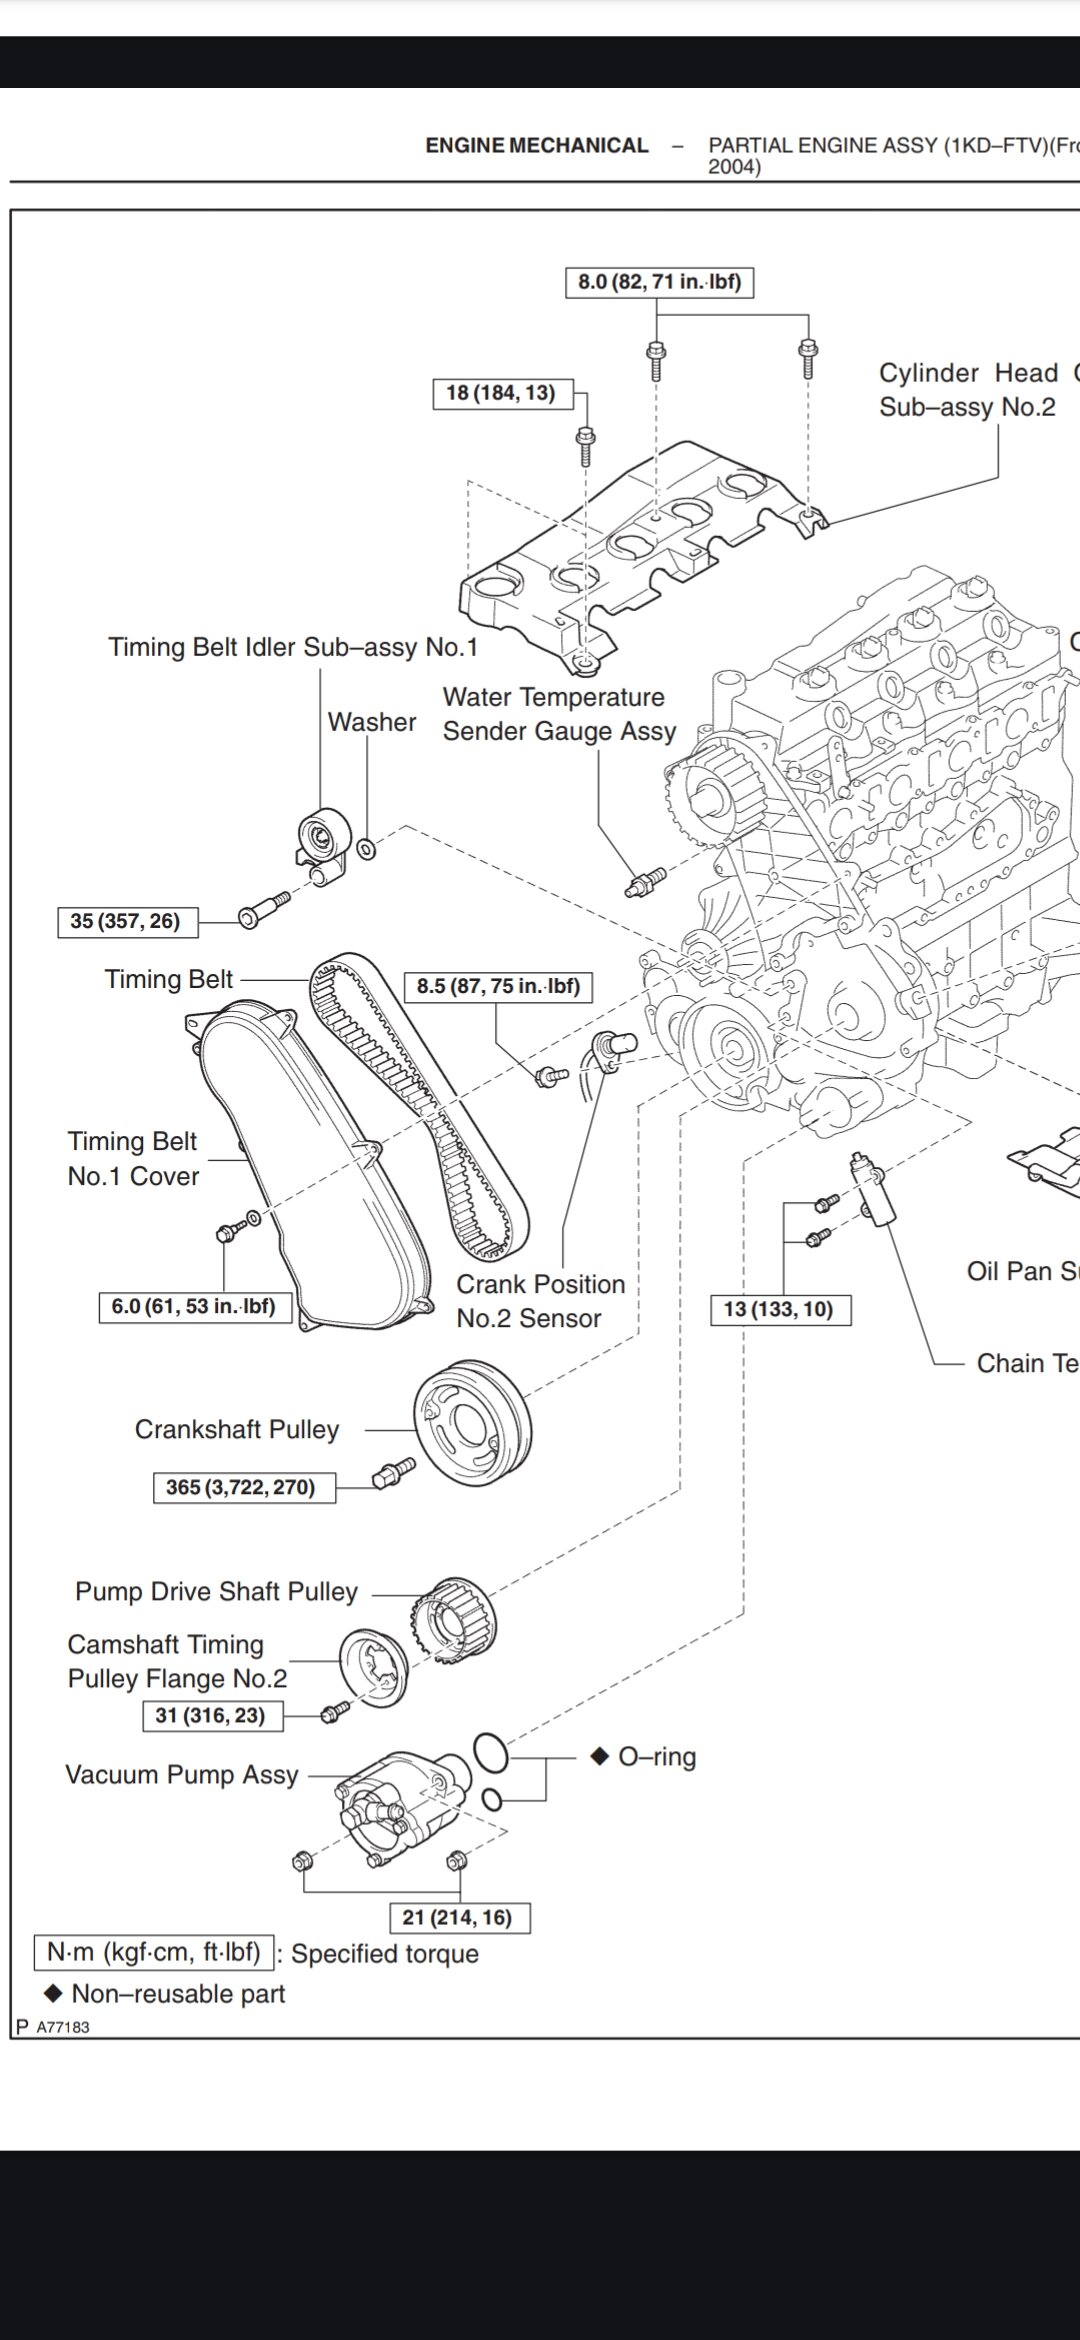
By opening plastic timing belt cover I checked the timing belt.
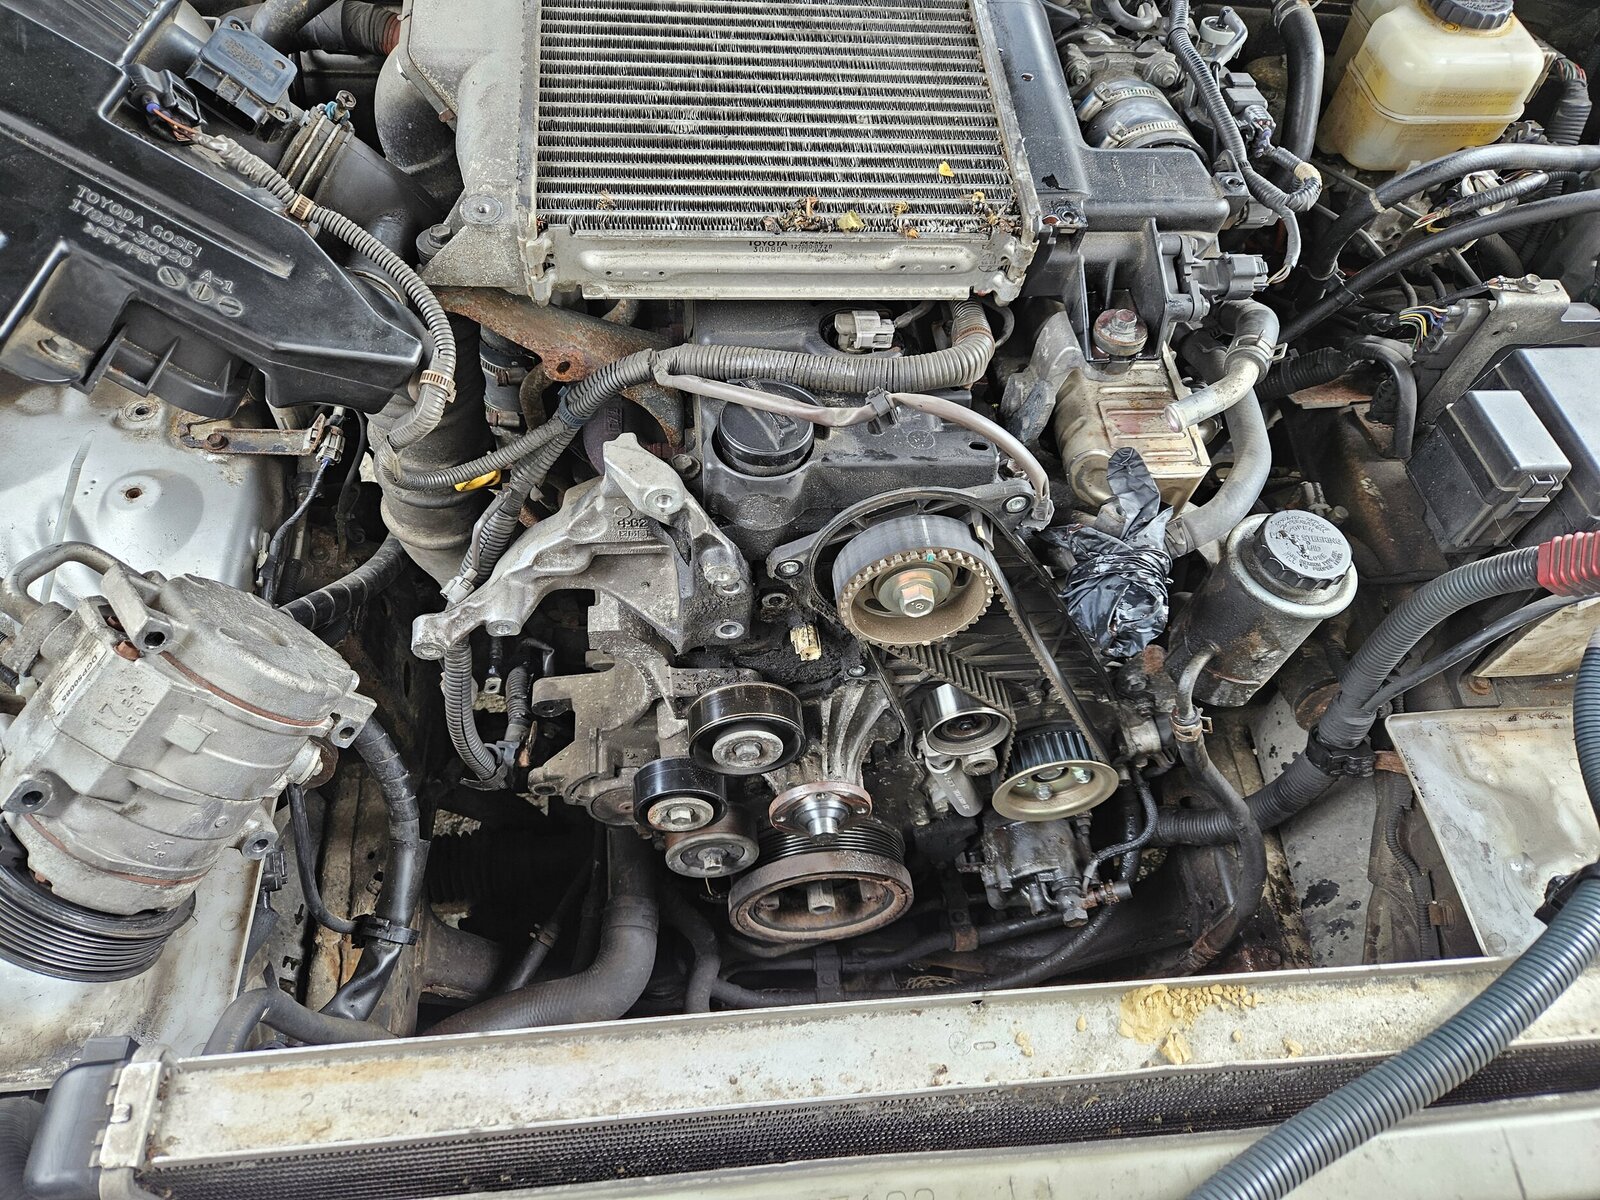
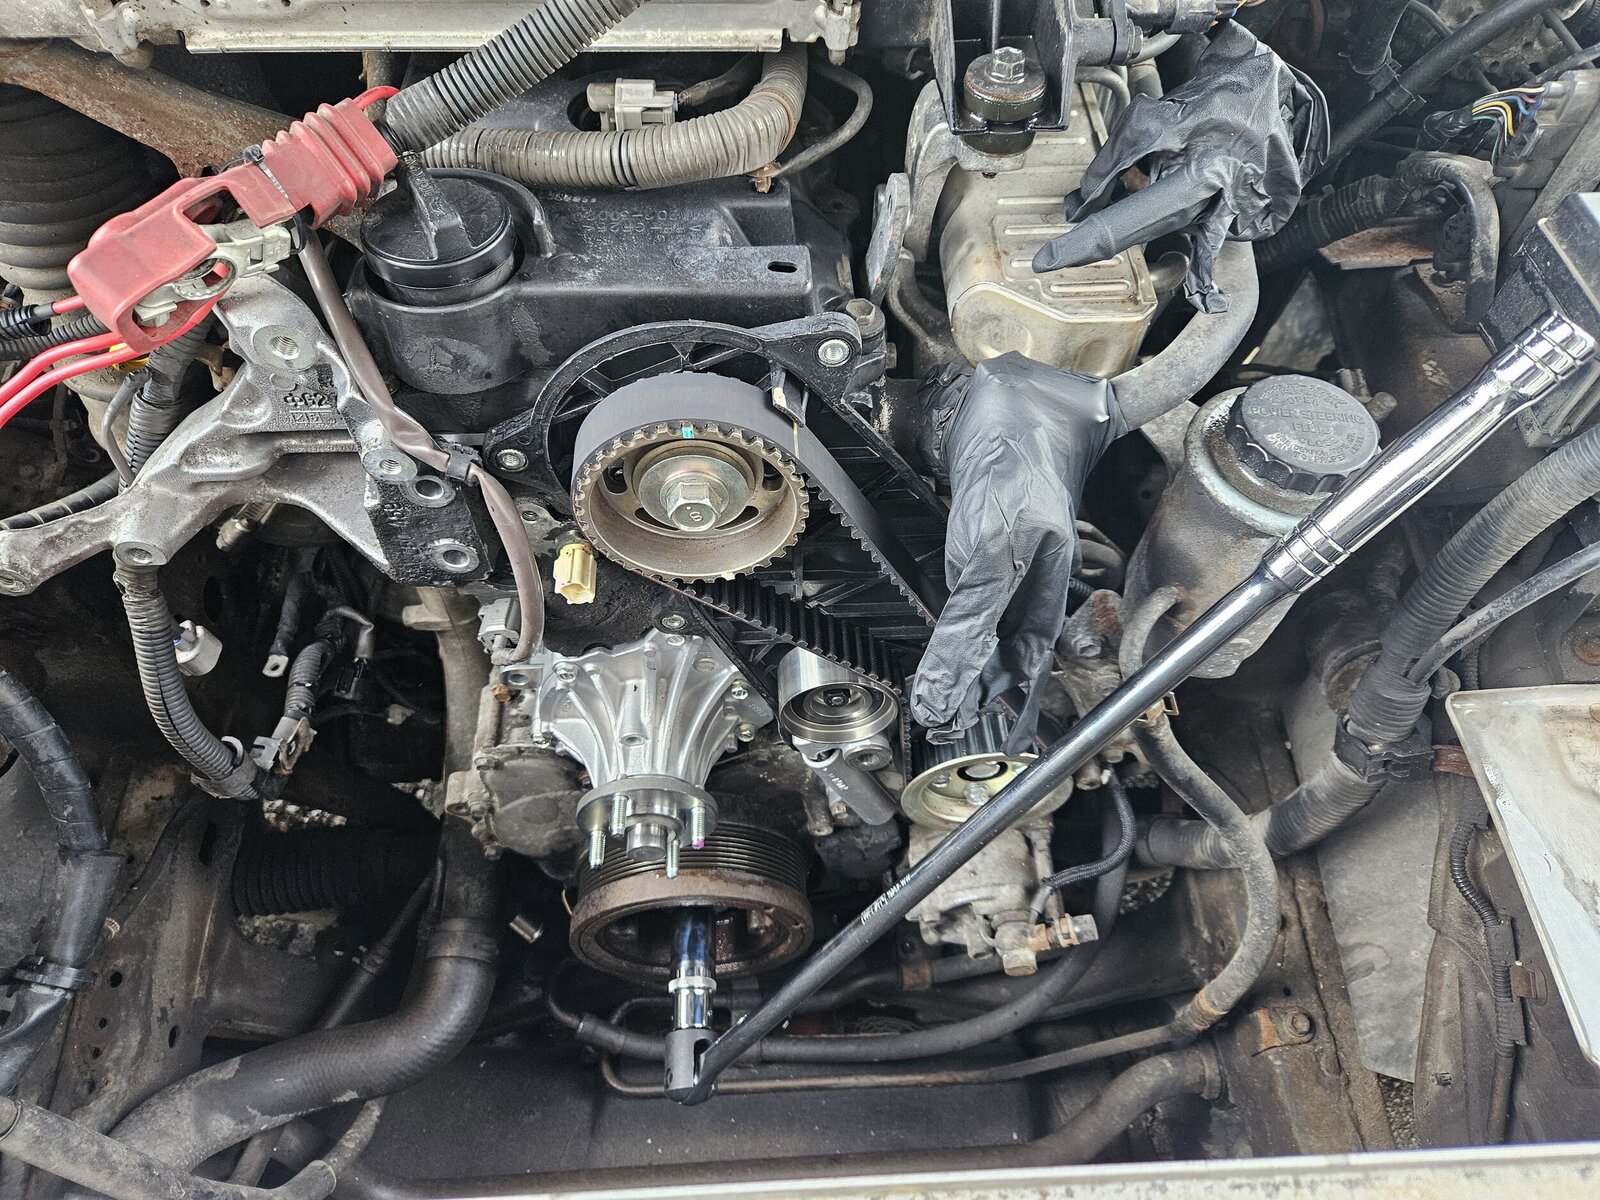
By turning crankshaft I aligned timing marks on camshaft and pump drive shaft pulley. Unscrewing a camshaft pulley was a next move, also helping with a long breaker bar on crankshaft (22 mm) for blocking the movement.
No need for timing belt tensioner and idler (hex 10mm) anymore.
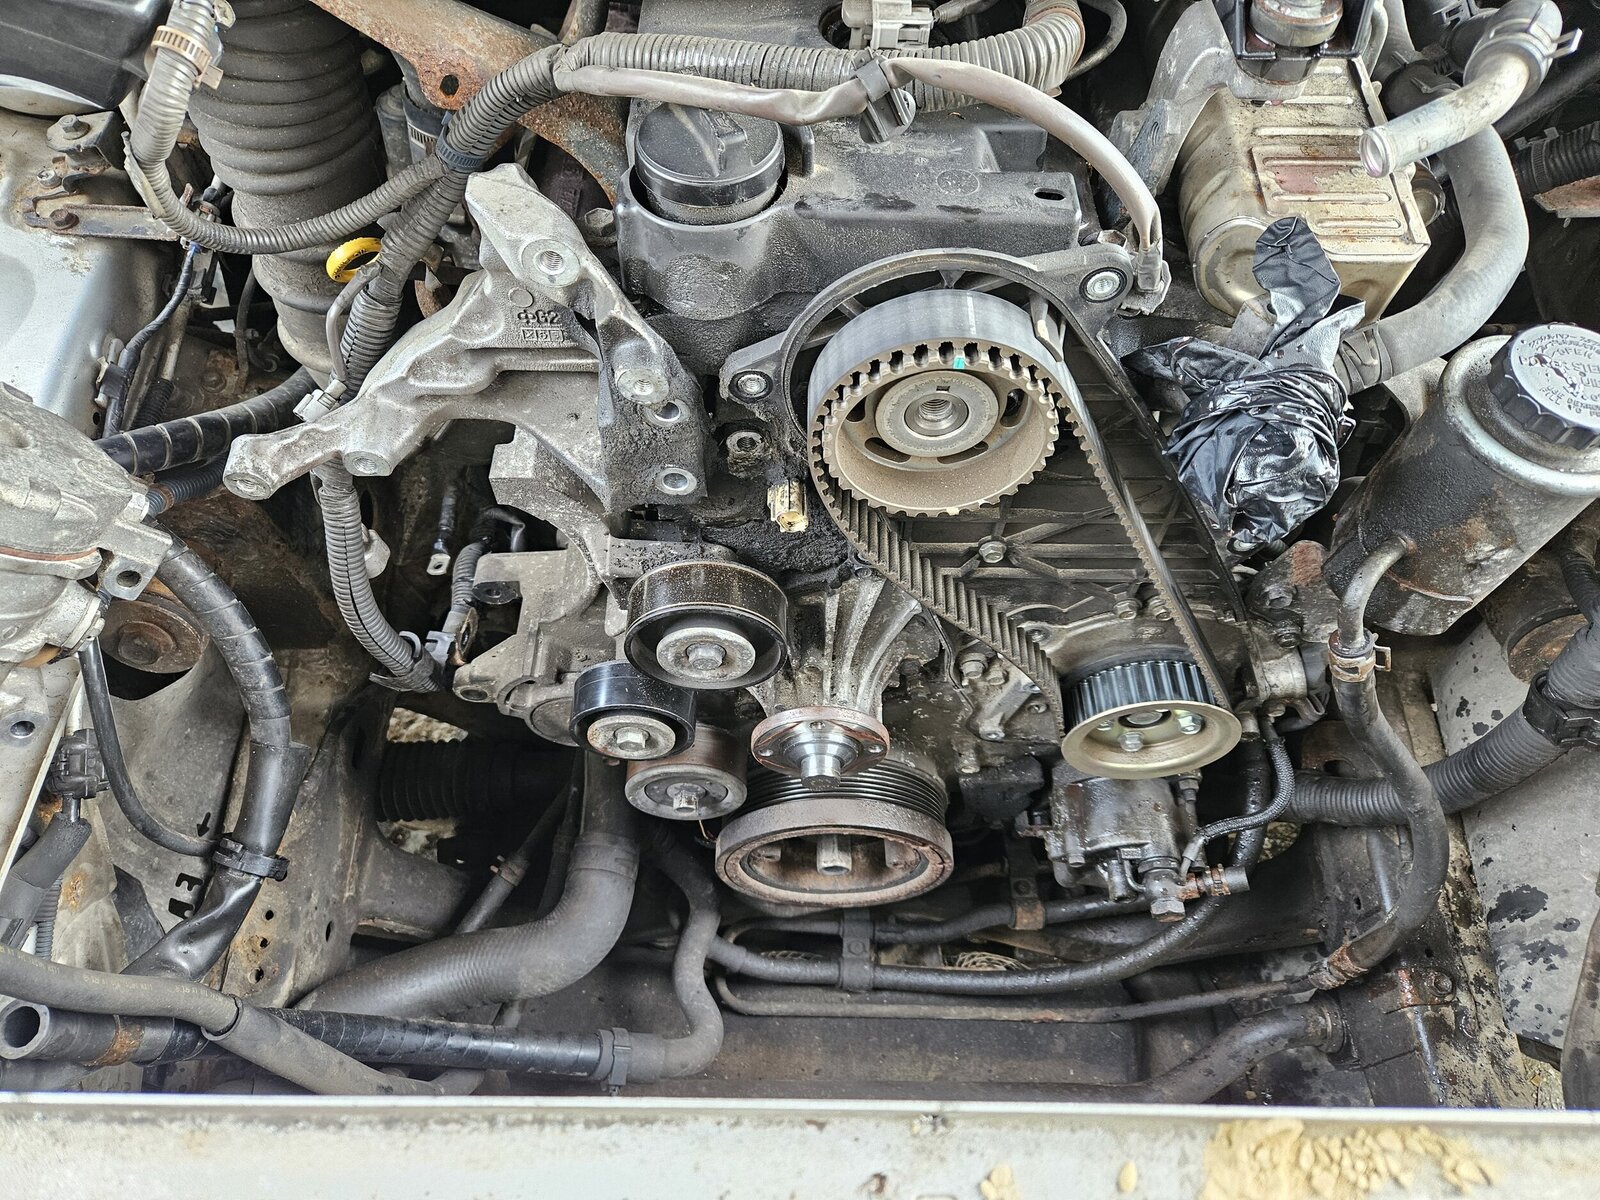
For removing a camshaft pulley tapping with socket and hammer was a solution. It took a while. Not loosing a woodruff key was a mission, but not impossible. Plastic (under) cover needed to get down so I could get access to camshaft seal and whole two piece pump.
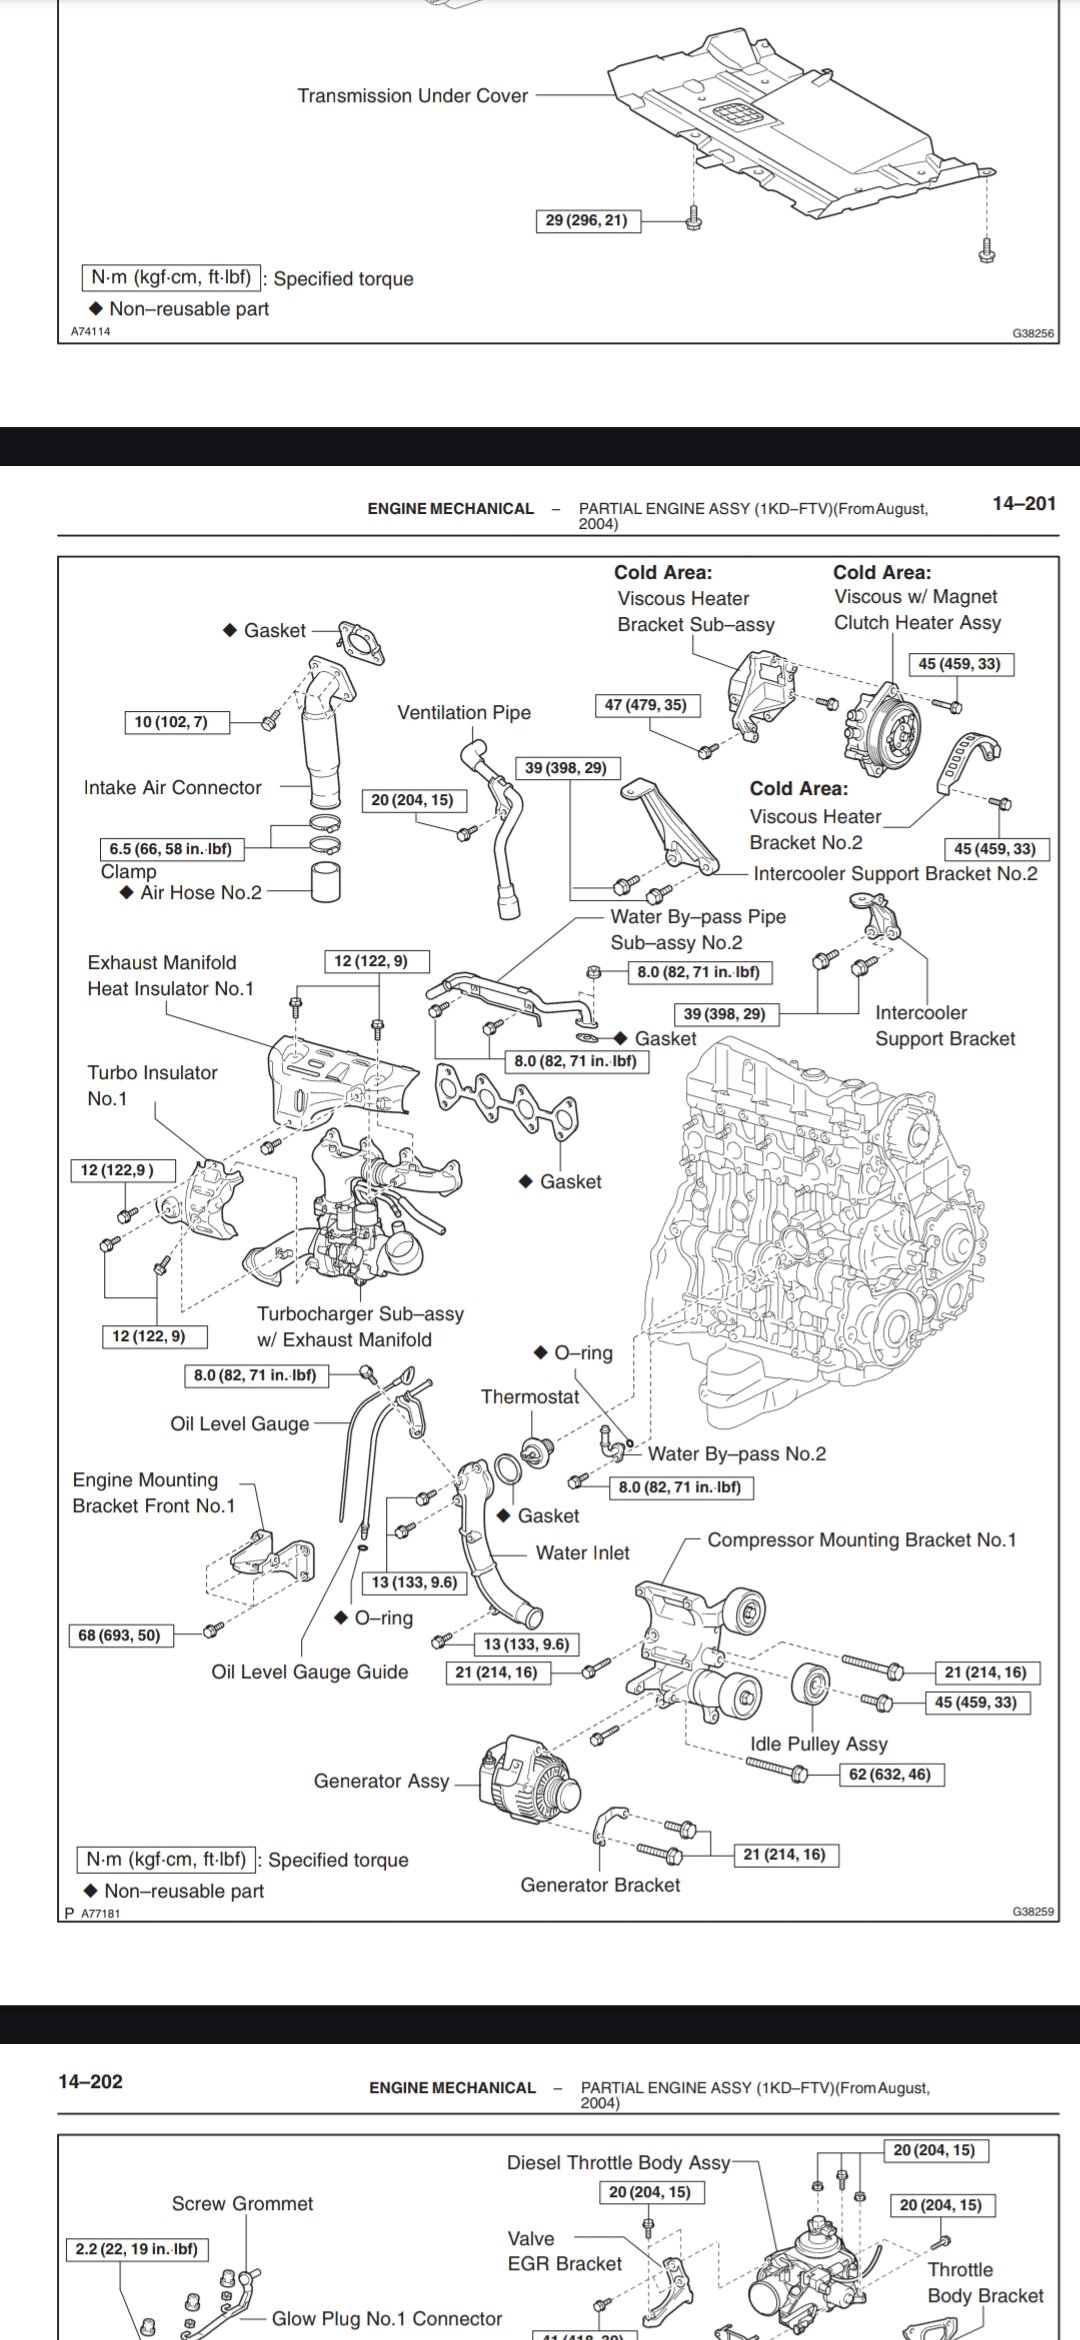
After removing two idlers for v-ribbed belt I could also remove tensioner.
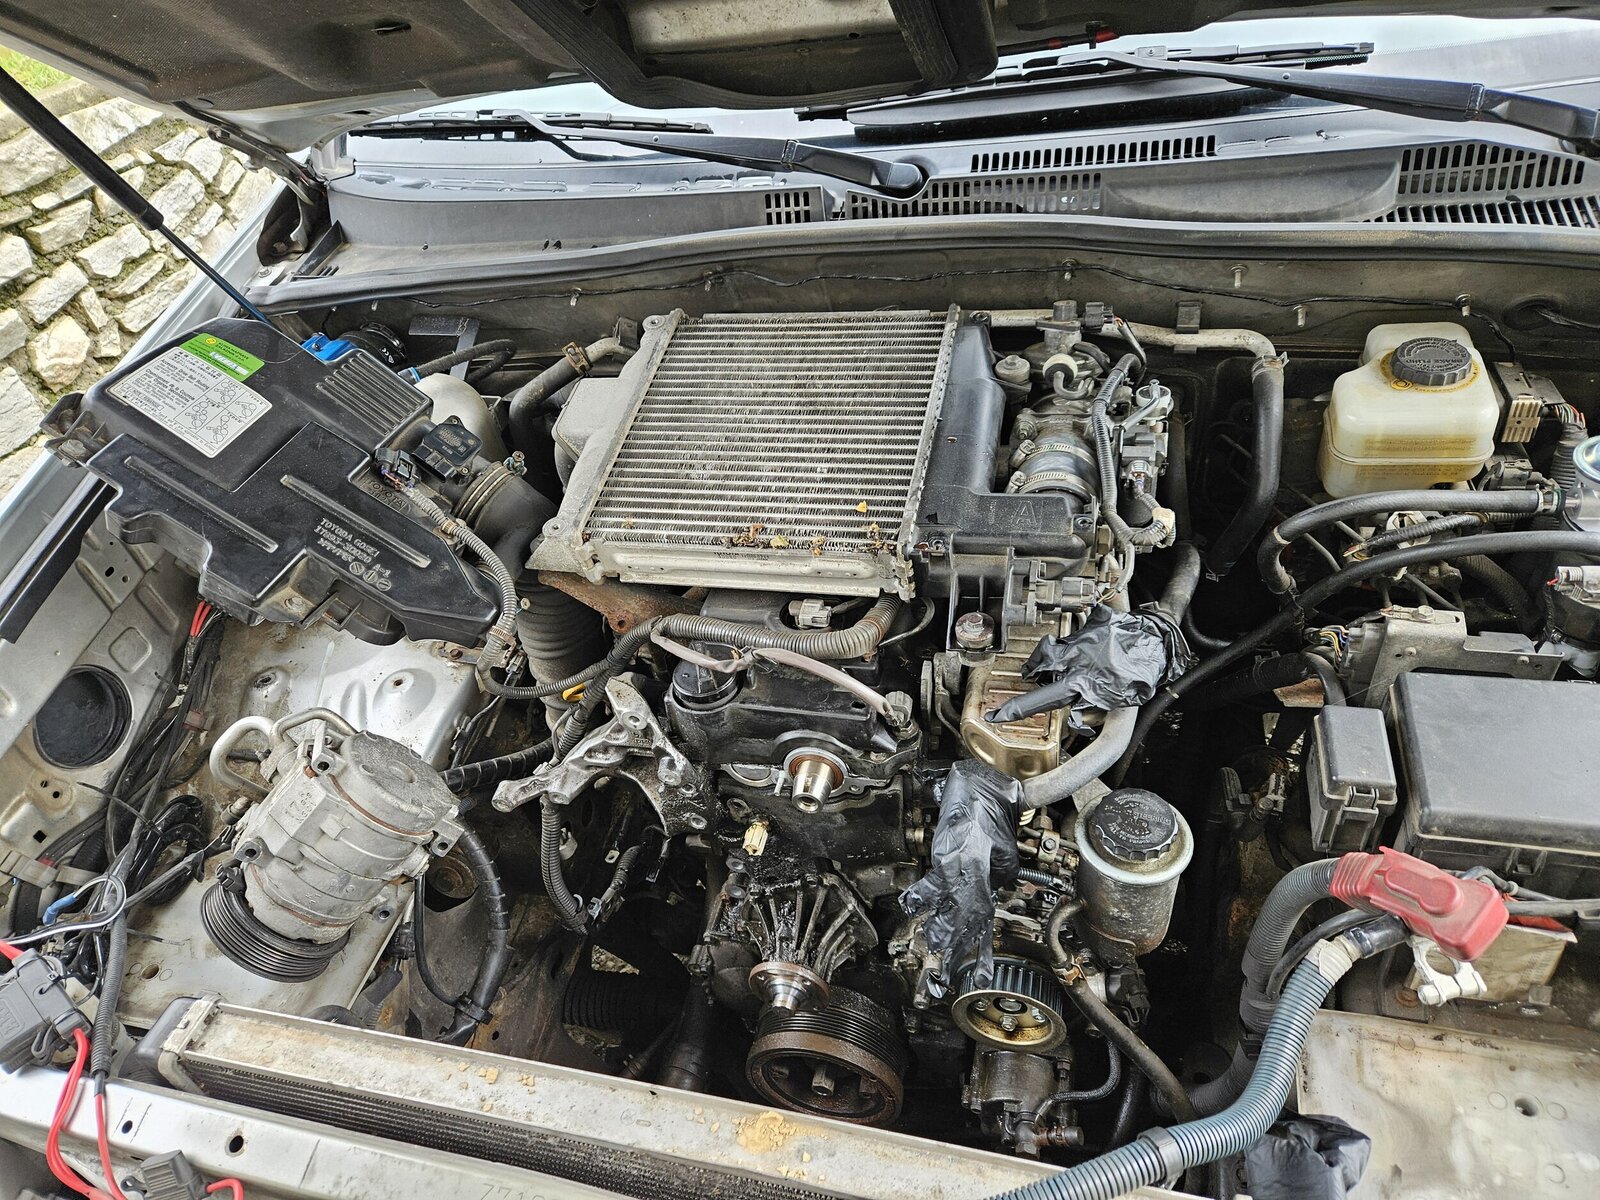
Some degreasing and pressure washing the engine ans radiator made an work environment more friendly.
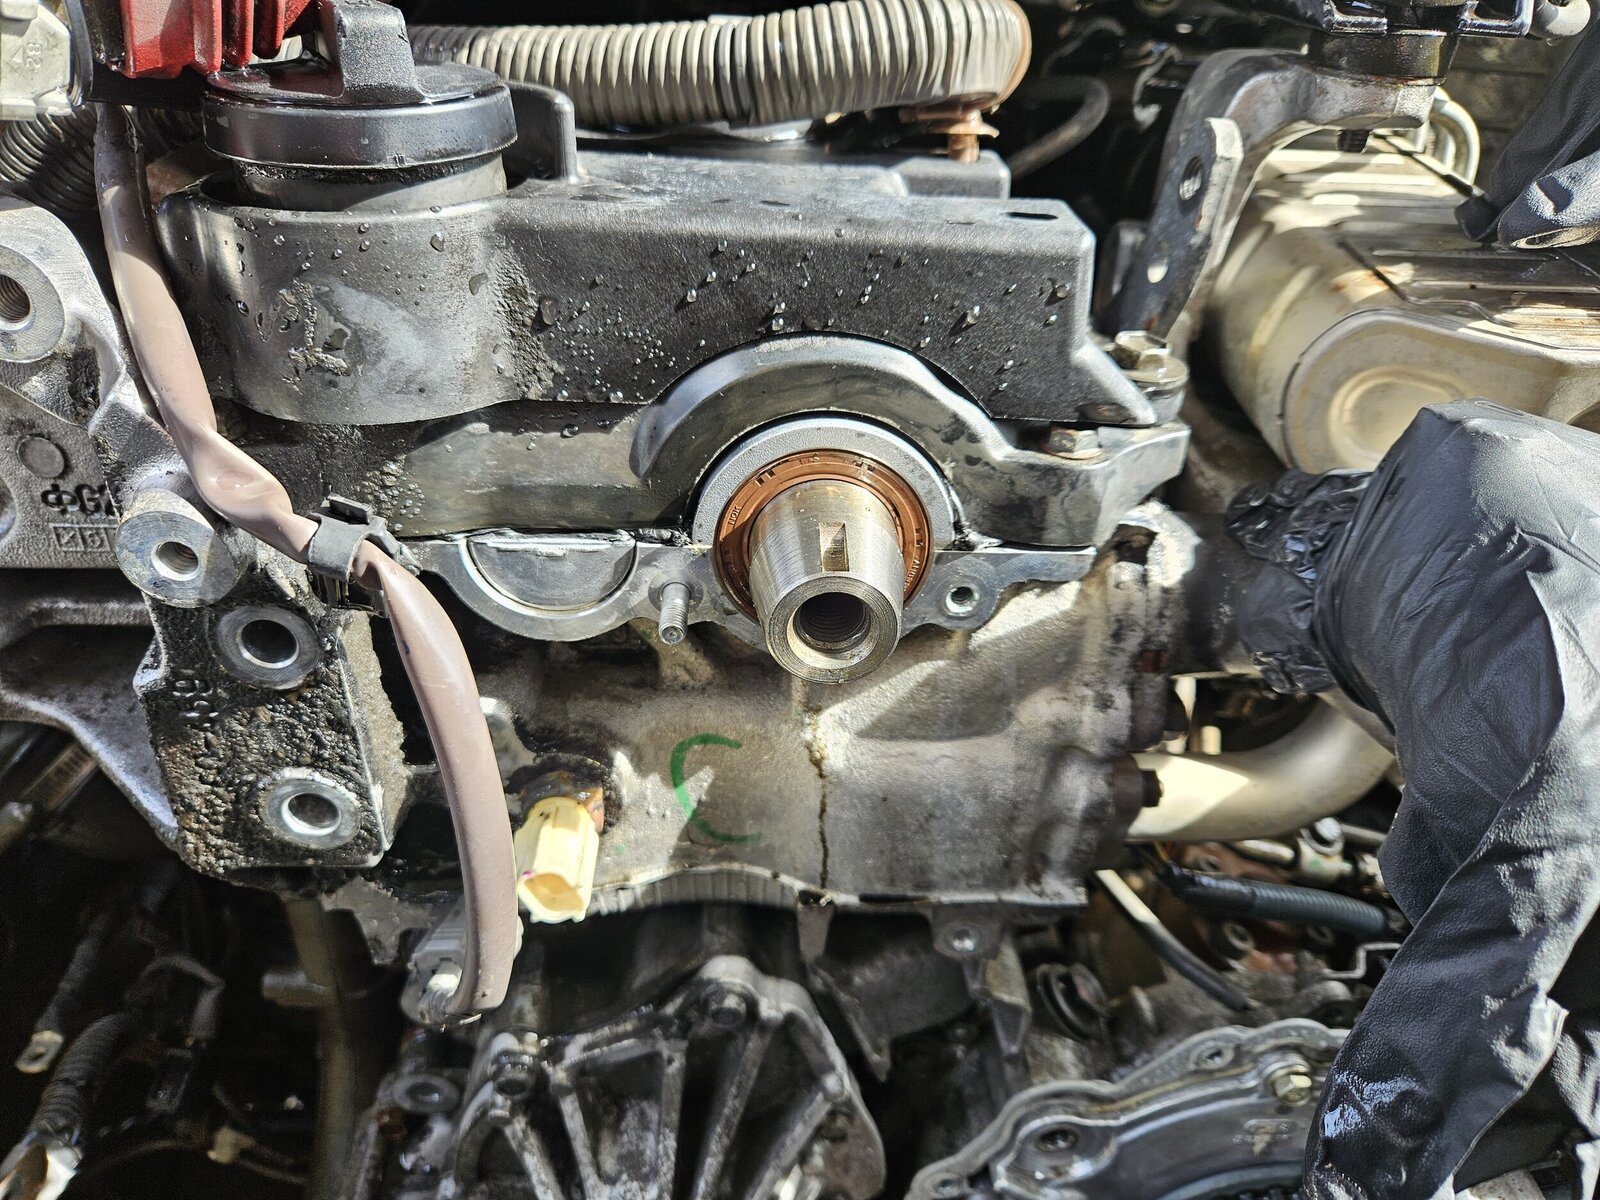
Removing a camseal with a screwdriver, instaling new seal with an old seal, big socket and a hammer.
Finaly there was a time to remove waterpump.
The sidemission was also to change a thermostat, on passenger side of an engine. 3 screws with almost zero space, but doable. 4th screw was for an oil stick. Remember when instaling new thermostat, the small "hole" must be on top. Dont forget to order a thermostat seal too.
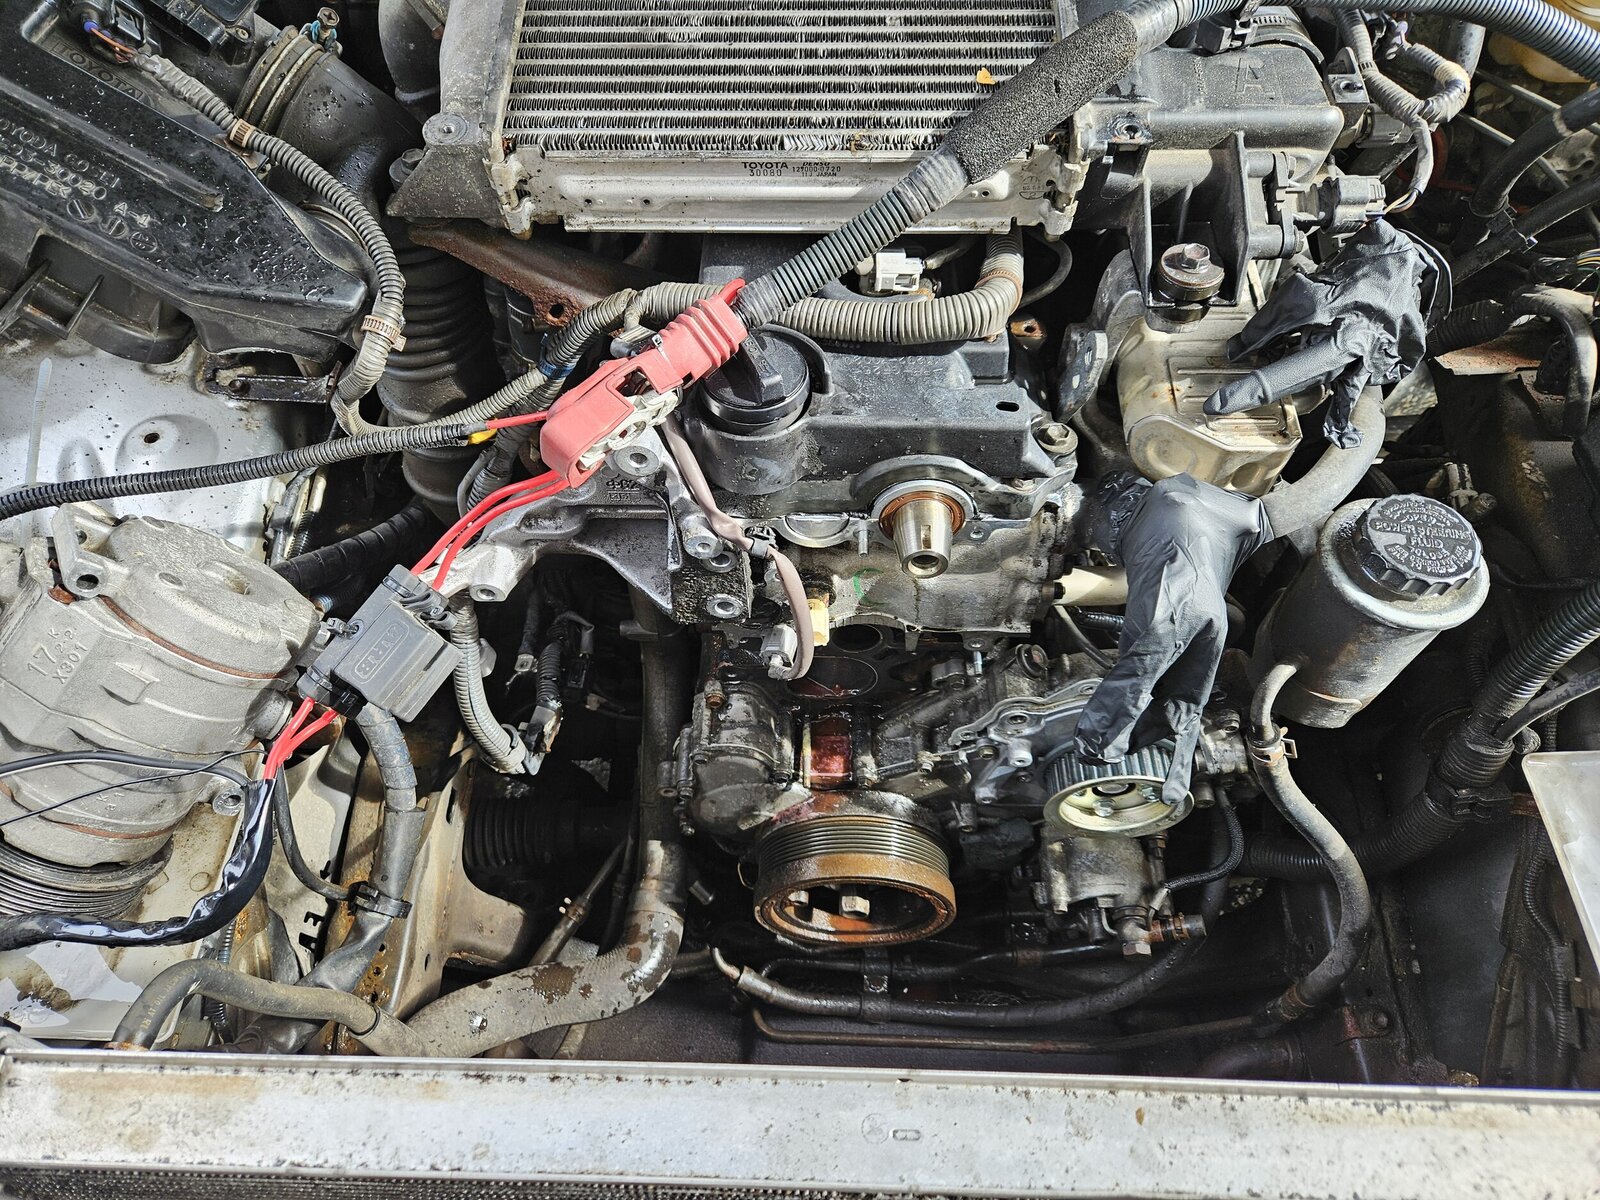
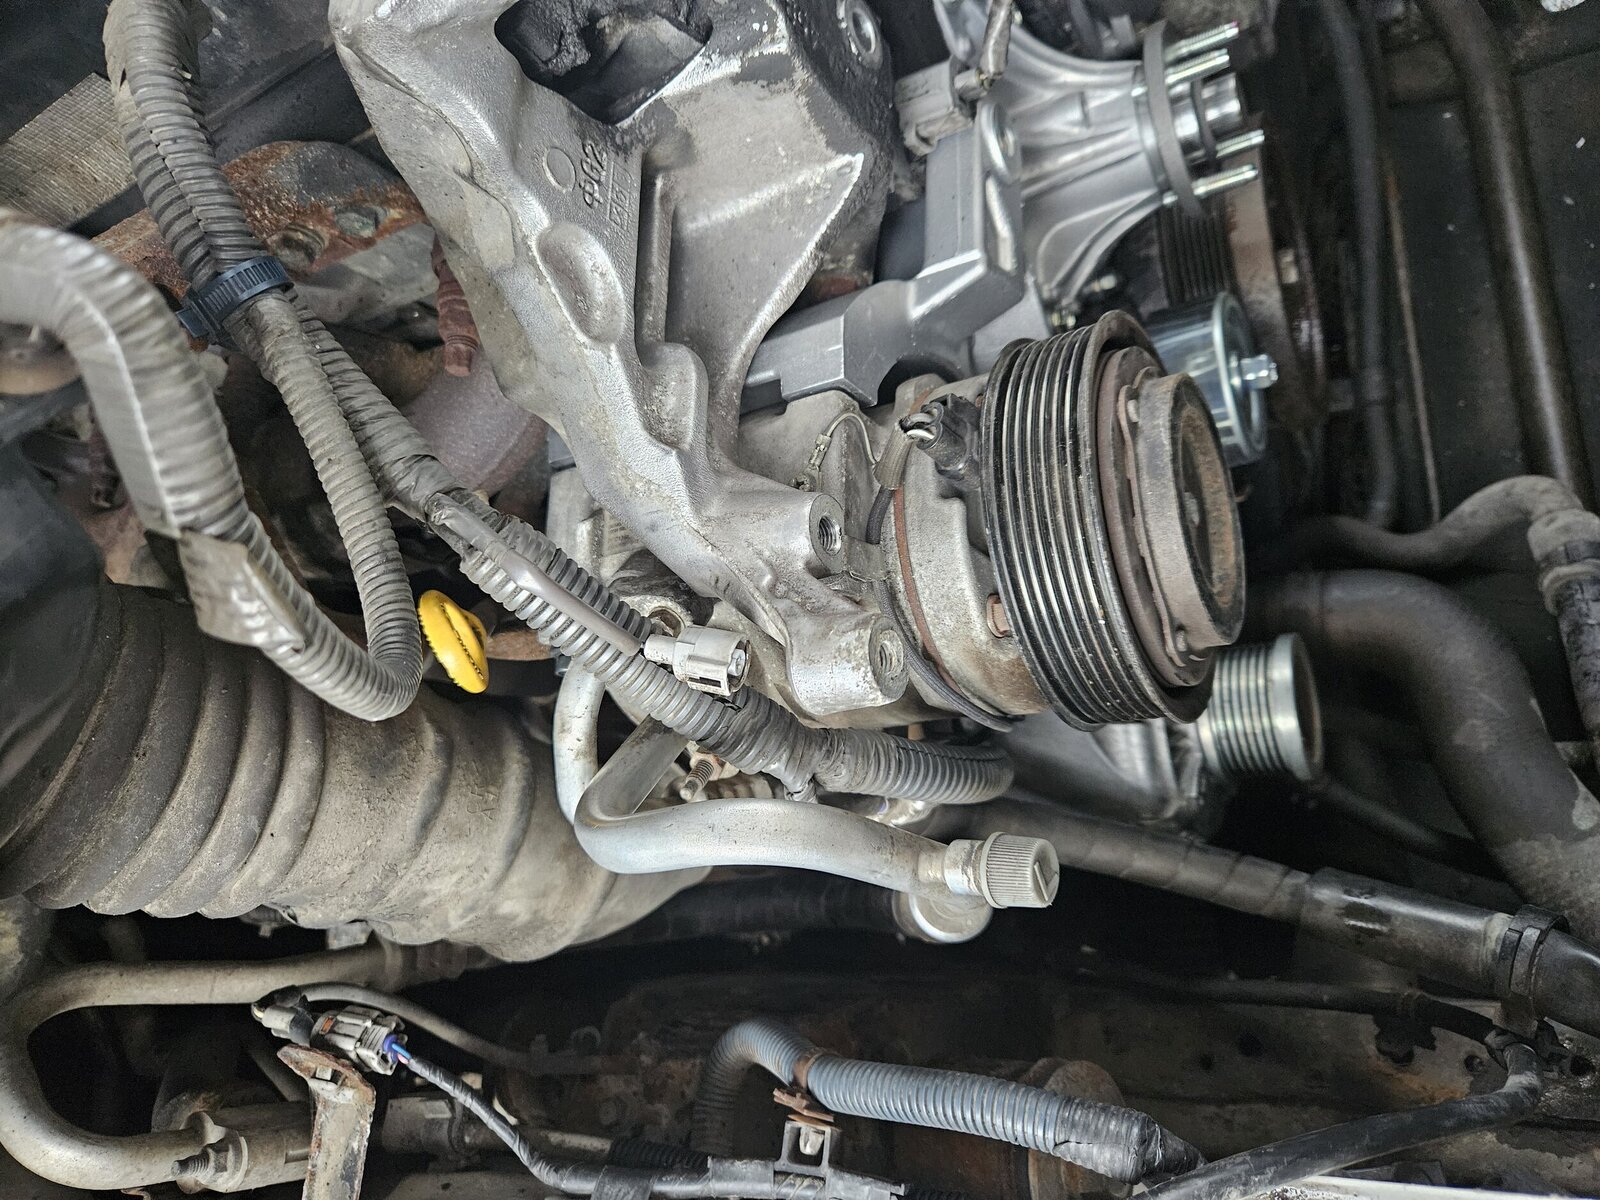
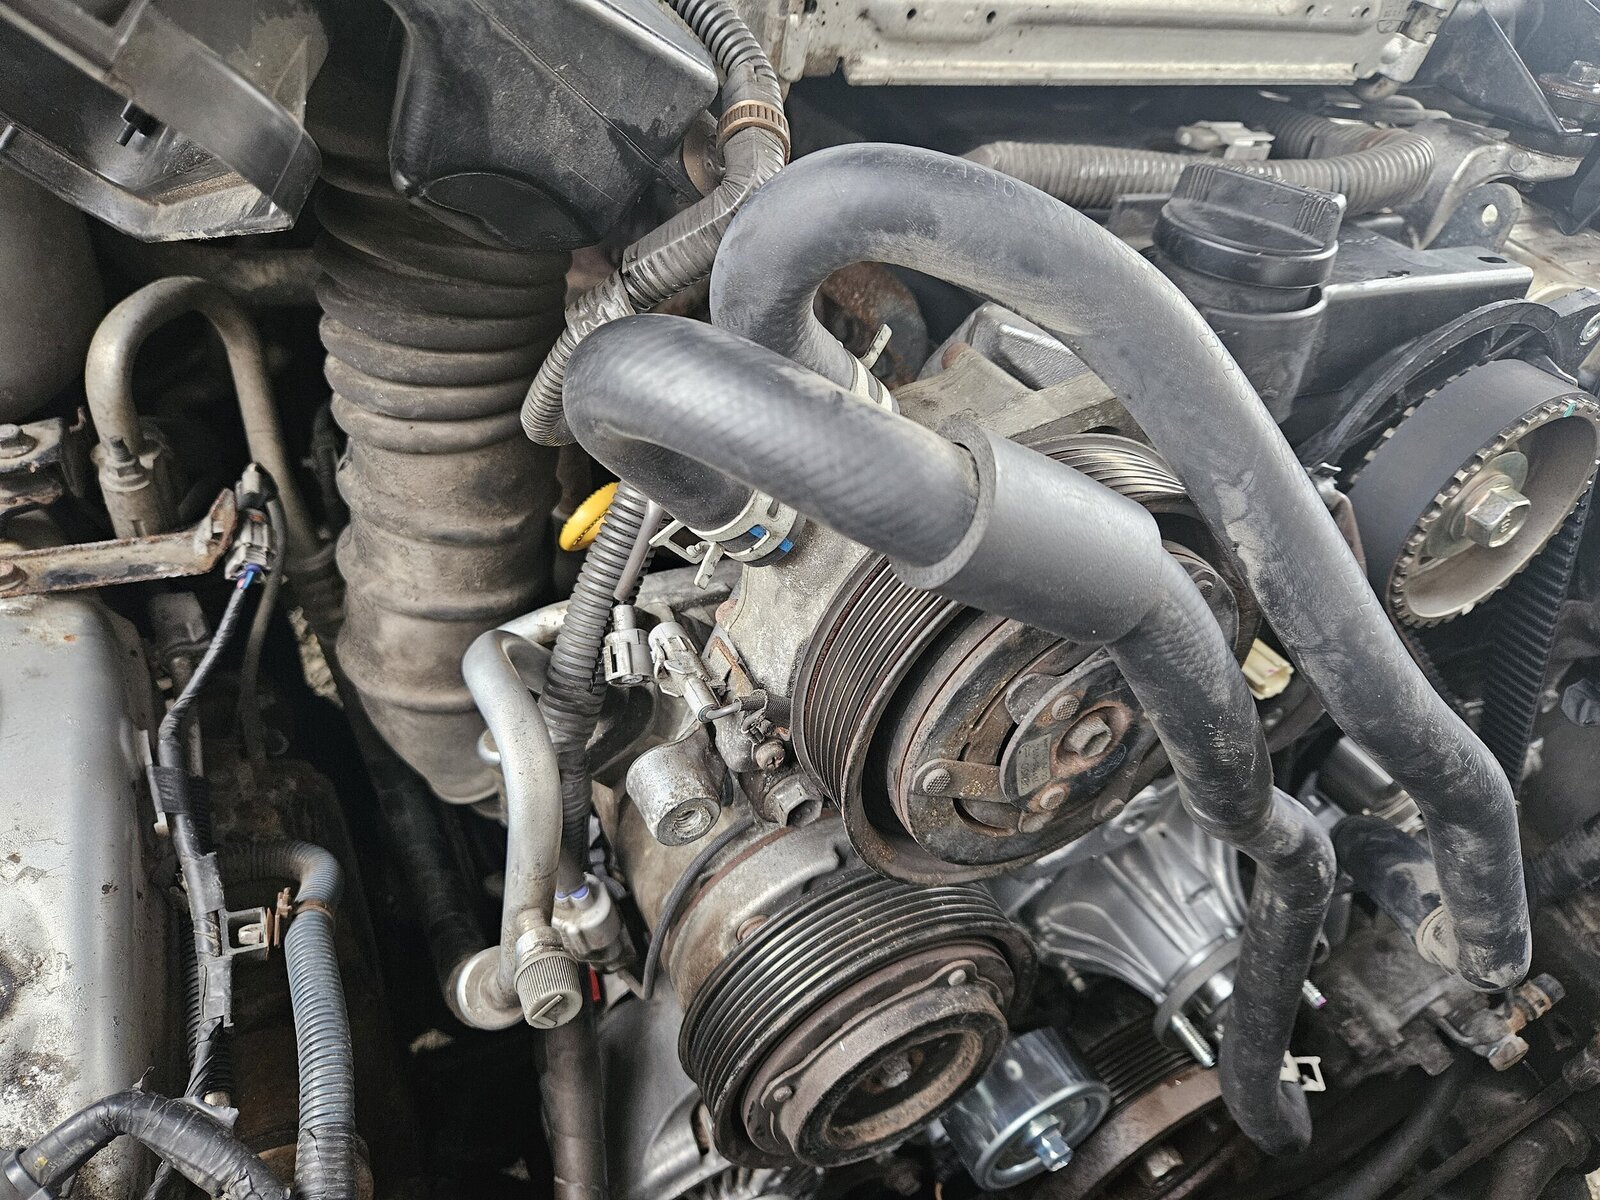
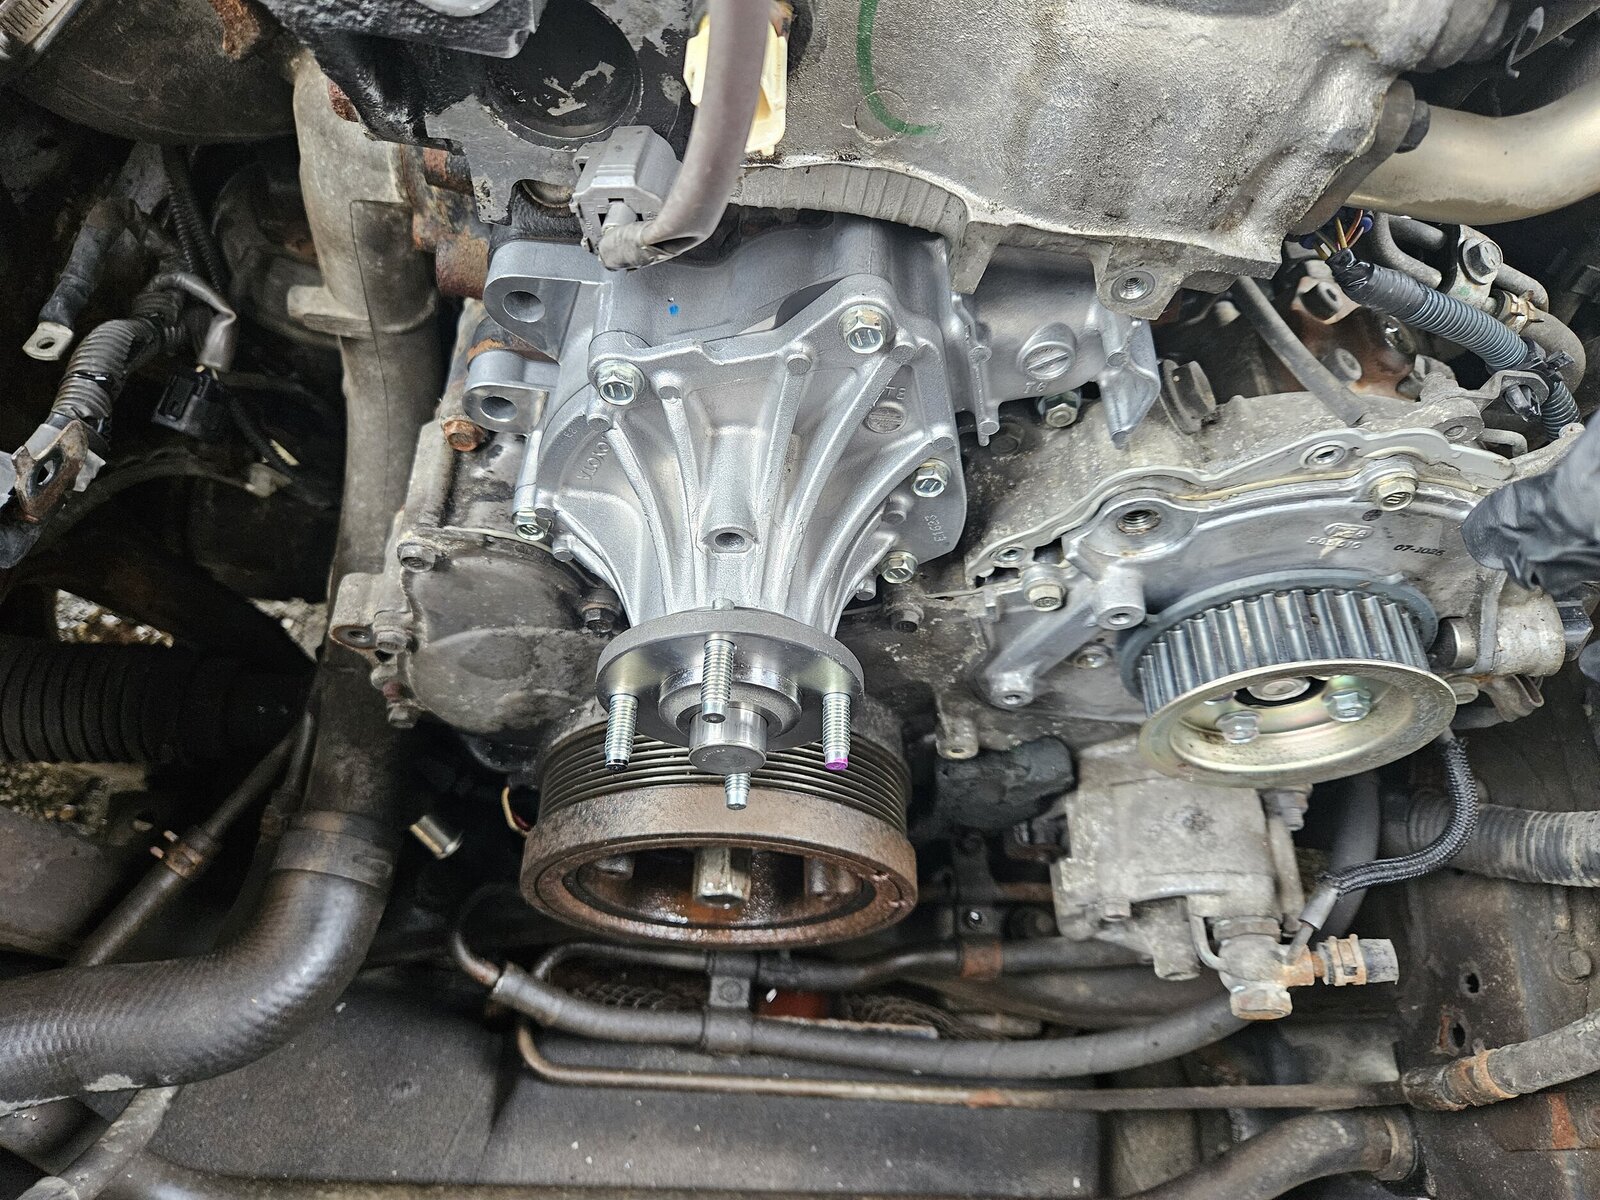
After removing and checking the surface for an waterpump with a razor, I installed new two piece waterpump. On the left side of the picture you can also see thermostst location, below it I also removed coolant hose (same that goes to reservoar) for removing as much coolant as possible. There is also a screw on driver side of an engine (oil cooler) for draining a coolant, usualy used only when changing coolant without removing waterpump.
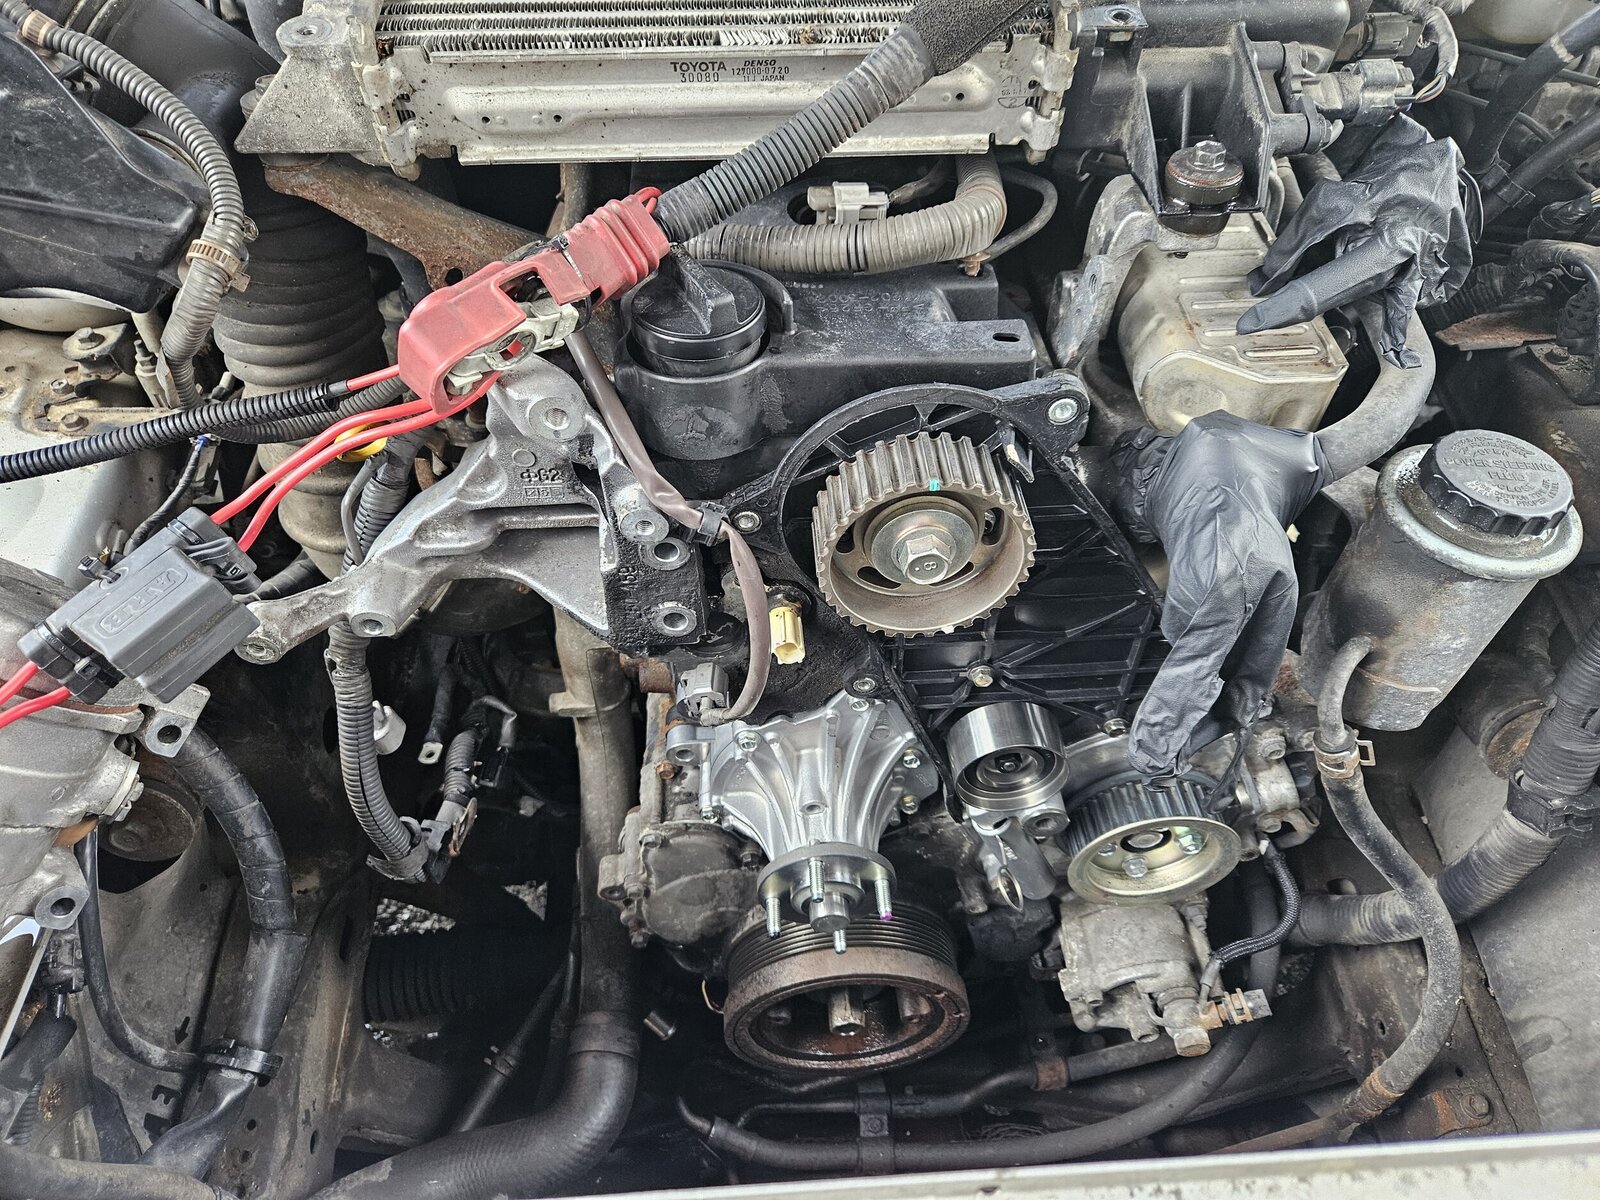
(Under) cover plastic went on with some rtv on bottom engine side, then camshaft pulley (not to torque yet), idler and tensioner.

Under the hood. Lc120 is LHD winter type,two batteries and visco heater.

Firstly I unscrew ths coolant bolt under a radiator (driver side) to let the coolant out. Then I removed batteries, intercooler protector, plastic above radiator, radiator reservoar, thick coolant hose on driver side. Now I was able to detach fan shroud and start unscrewing fan (visco clutch-water pump connection) - 4 screws 12 mm. I remember this one cause I had to rent a ring wrench from my neighbour. After some persuading with the wrench and a screwdriver (to block the rotation) fan came out.

With turning a tensioner idler clockwise I coudt get the pk belt out. Removing visco heater shield (2 screws) and then the visco heater itself.

Next in line is ac compressor, 4 long horizontal screws. I left ac lines intact. To get more space, I removed airbox too. Zipties for securing compressor.
Under the compressor is an alternator, secured with one screw above and one below. There is also a wire, connected by bolt, for charging.
By opening plastic timing belt cover I checked the timing belt.

By turning crankshaft I aligned timing marks on camshaft and pump drive shaft pulley. Unscrewing a camshaft pulley was a next move, also helping with a long breaker bar on crankshaft (22 mm) for blocking the movement.
No need for timing belt tensioner and idler (hex 10mm) anymore.

For removing a camshaft pulley tapping with socket and hammer was a solution. It took a while. Not loosing a woodruff key was a mission, but not impossible. Plastic (under) cover needed to get down so I could get access to camshaft seal and whole two piece pump.
After removing two idlers for v-ribbed belt I could also remove tensioner.

Some degreasing and pressure washing the engine ans radiator made an work environment more friendly.
Removing a camseal with a screwdriver, instaling new seal with an old seal, big socket and a hammer.

Finaly there was a time to remove waterpump.
The sidemission was also to change a thermostat, on passenger side of an engine. 3 screws with almost zero space, but doable. 4th screw was for an oil stick. Remember when instaling new thermostat, the small "hole" must be on top. Dont forget to order a thermostat seal too.

After removing and checking the surface for an waterpump with a razor, I installed new two piece waterpump. On the left side of the picture you can also see thermostst location, below it I also removed coolant hose (same that goes to reservoar) for removing as much coolant as possible. There is also a screw on driver side of an engine (oil cooler) for draining a coolant, usualy used only when changing coolant without removing waterpump.

(Under) cover plastic went on with some rtv on bottom engine side, then camshaft pulley (not to torque yet), idler and tensioner.

Last edited:


