Update.................
I've been building the solar panel frames for the roof of the Solar Suzuki. Its been time consuming and challenging designing a system that is light, strong and quick and easy to fold out.
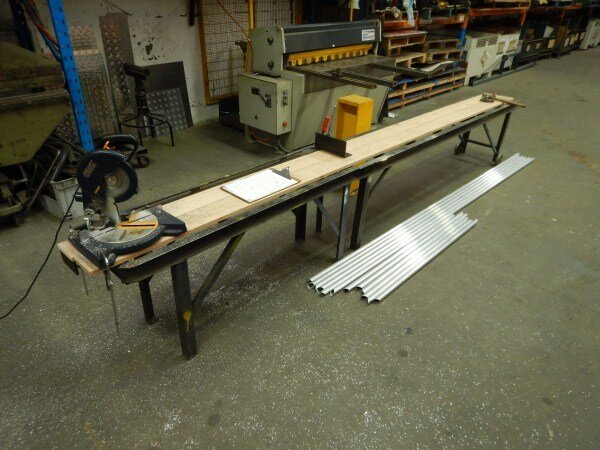
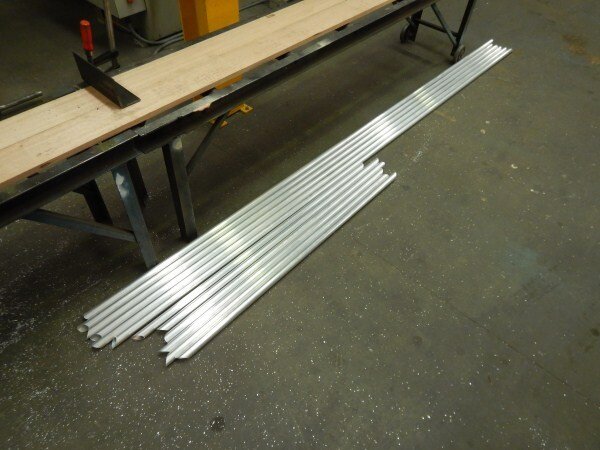
Firstly I cut some alluminium tube.
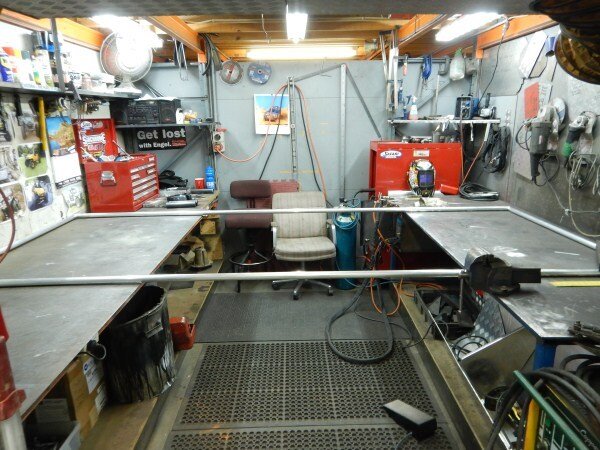
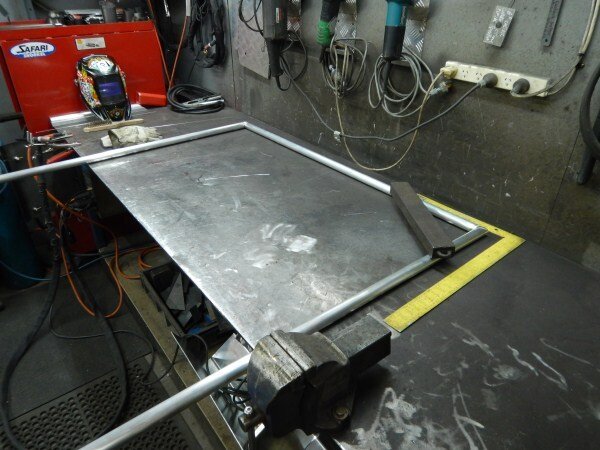
The welding bay was
just wide enough for the length of the frames.
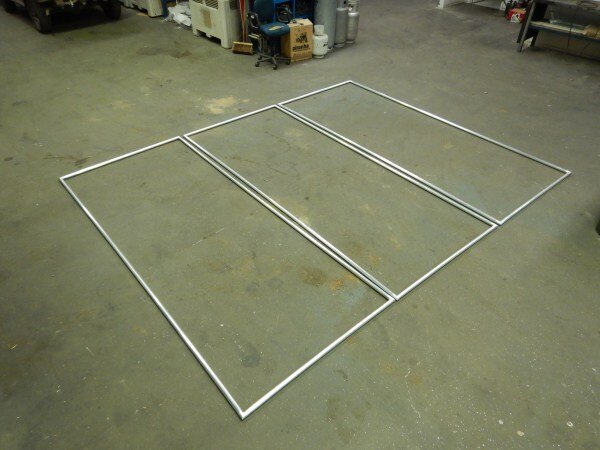
So my design brief was to construct 3 frames that will fit on top of the roof of the Suzuki, each containing 4 x 180amp solar panels. They will be hinged together with 1 folding out one side and the other folding out the other side.
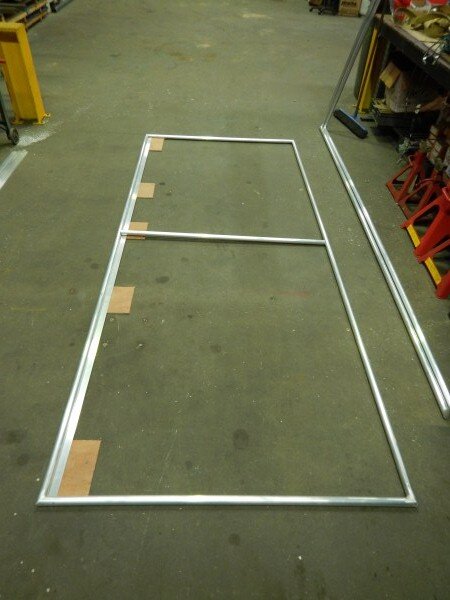
I started cutting some 40mm flat which will be welded in position and will have another loose strip bolted on top of it with the panel sandwiched between the 2.
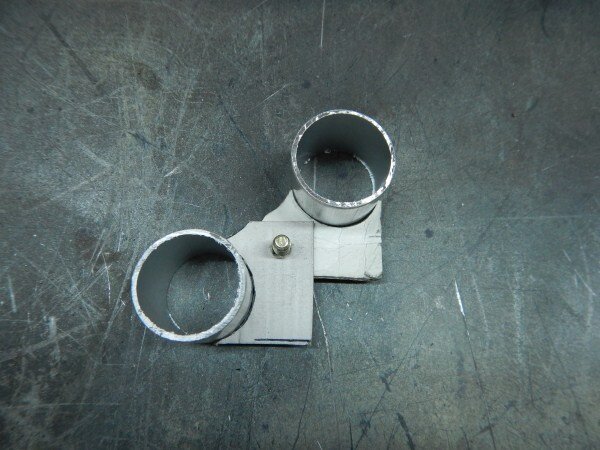
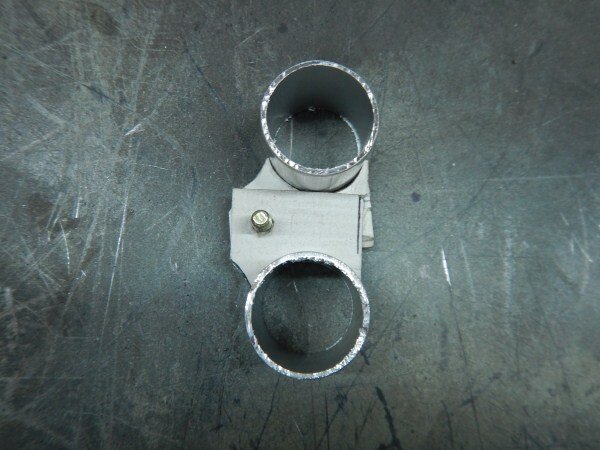
I designed some hinges and made some cardboard prototypes.
I wanted to ensure maximum movement.
I could then make the hinges in alluminium.
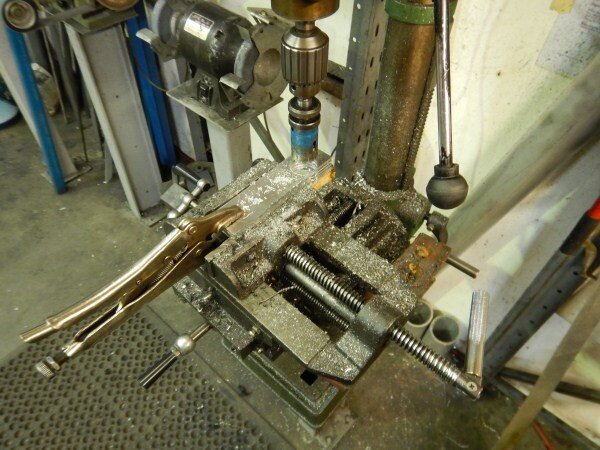
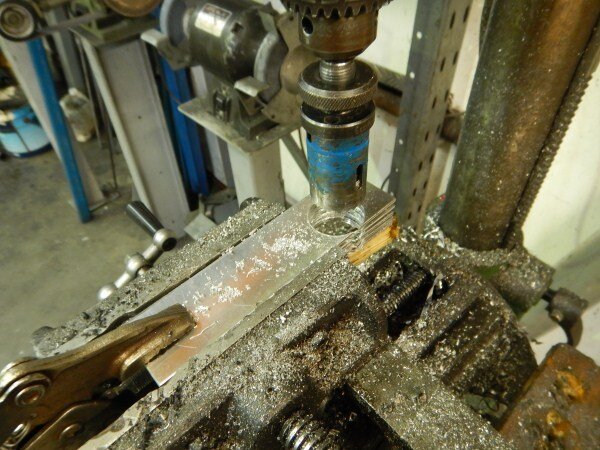
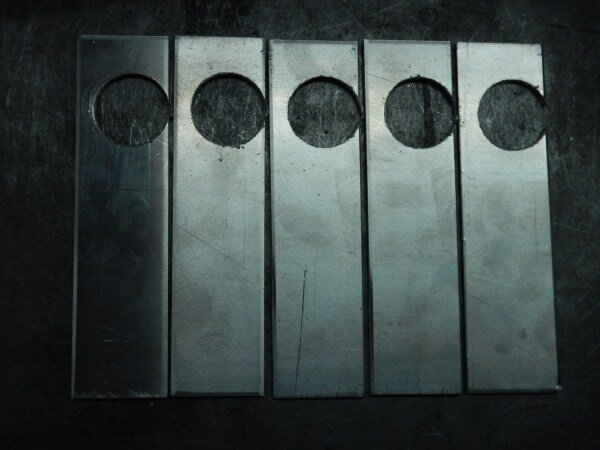
Stack drilled/hole sawed 5 strips of alluminium.
Ended up with this.
A bit more trimming on the guillotine followed by some grinding.
More stack drilling.
I opted for some needle bearings between hardened steel washers bolted between the leaves of the hinges.
All assembled and ready to weld on.
*I swapped the nylon lock nuts for normal nuts at this point to avoid the nylon melting (worst smell ever, I hate it!)
Clamped in position and ready to weld.
Tacked in position.
So they will be folded flat while crossing the desert.
Then when stopped recharging they will fold out.
Next I needed to design the other hinges, which needed to be off set to allow the other frame to fit in between.
Cardboard template.
Again I was going for maximum movement.
More stack drilling.
Lots of trimming and grinding later and I had all the bits.
Again they would be assembled with needle bearings and a normal nut for welding, which would get changed for a nylon lock nut afterwards.
Assembled and ready to weld on.
Tack welded in position.
So imagine the frames are on top of the Solar Suzuki.
The one folds out.
Then the other one folds out.
They will of course have poles and guy ropes to help secure the frames at the correct angle to maximise the efficiency of the panels as they track the sun across the sky.
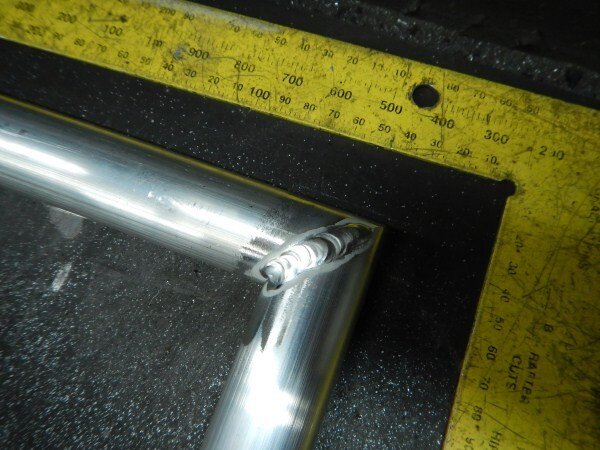
I then dismantled the 3 frames and got them on the bench one by one to fully weld the hinge leaves on and to weld in the 40mm flat for the panels to bolt to.
I've been doing some work on LJ and a couple of little projects of my own after work in the evenings.
Projects first.............................
A few years ago I built an adapter for my trolley jack, after seeing Roger's one.
The only issue was that I just used some of the tube pieces out of one of my pairs of axle stands and this meant that some times I didnt have enough sets of axle stands.
So these tube sections belonged in my axle stands and the holes wernt really spaced properly for the trolley jack anyway.
Bent some 6mm plate.
Cut and drilled some tube.
Welded the 2 together.
Test fitting.
Cut the threaded ends off some big bolts.
To use as pins.
Welded some chains on.
Finished!
This means I now have 2 usable pairs of smallish axle stands again.
And a better jack adapter setup.
Another project I'm working on is to produce 2 more stands to match the huge HGV ones I've also got.
These stands are awesome and very handy but I only have 2, so to have 2 more will be perfect!
They sit just over 2ft high normally.
And go up to almost 4ft!
Being able to get the chassis of a 4wd 4ft off the ground would be very useful for certain jobs or for a ground up restoration on a beautiful 40 series!

OK............................
What I've been doing on LJ!

So as I mentioned previously LJ is going to be used for the up coming house renovations and needs to be able to tow heavy trailer loads of building materials and building waste.
Cut some receiver hitch box section to size and drilled a 17mm hole through the middle.
The drop hitch I picked up last weekend slides nicely into place.
Got a tow ball.
Just needs the excess thread cutting off.
Cut and drilled some 8mm steel plate.
Welded it to the receiver hitch.
Got some little D shackles.
Got LJ in and removed the rear bumper.
Worked out the position of the receiver hitch.
Welded it on.
Gave it a coat of black paint.
Re-fitted it.
I can also add a recovery point if I dont want to use my normal recovery point mounted above the reciever hitch. This recovery point would be stronger as the one above is relying on the threads on the M12 bolts.
I popped the grill back off.
And tidyed all the wiring up.
I'd love to be able to make use of some of the old front brake parts I have.
And if I could lose the handbrake off the rear axle then I could, well at least use the calipers.
So I wanted to look at getting the X-Brake working.
Jacked the rear end up using the nice new jack adaptor bits.
(The safest way to quickly raise an axle with an off set diff)
Bolted the caliper back on.
Ran out of time with that little project, but will come back to it soon.
Another little project.............................
This is the wooden box I knocked together before my Simpson trip to stop my 2 x 10 litre water containers from rolling around.
It was a struggle to lift the water containers up and out of the box, even more so since I fitted the roof storage cage.
Bec really struggled and on 4wd trips she would have to ask me to get the water out as and when she needed it.
Something needed to be done!
Brought the water containers to work for a measure up.
Technical drawing.
Using the left over alluminium from my fuel tank build.
Cut the corners out.
Using the awesome new folder I folded it up.
Had to remove some of the fingers, but thats the beauty of these machines is that you can, in order to fold boxes!

One folded box, all from one sheet of alluminium!
The containers fitted beautifully.
A few sexy TIG welds later.
I was thinking of how best to keep the top of the containers restrained.
I was thinking of using a rubber strap but couldnt think of a way of making it work which I was happy with.
In the end I went for the humble fridge slide strap.
Bolted on.
I left the strap long enough so it can be slackened off enough to remove the container(s) without having to un thread the strap each time out of the buckle.


Test fitting.


For the pricely some of $10 (£5ish) I got it powdercoated satin black.


Straps bolted back on.

And fitted the water containers back in.


It needs screwing down into the false floor in the back of LJ when it goes back in, as currently I've pulled it all out!

I had to pull it all out so I could find my trailer socket which I'd left inside the drivers side rear quater panel as I didnt think I would need it again/for a while as I didnt have a tow bar fitted.
Its also made mounting the fuel filter and pump a lot easier.


The fuel pump switch is all wired up in the blank on the heater/aircon controls. I would have prefered it up the top with the rest of the carling switches so all the switches are neat and together. I cant stand having a 4wd with random aftermarket switches dotted all over the place. But obviously there isnt any space so I think this was the next best place.

The switch is all wired up to switch a relay mounted under the bonnet, using an ignition live and I've run the wire back into the cab and just need to connect it up to the fuel pump.
The fuel pump is ready to be plumbed to the main tank. I've drilled a hole through the floor and have fitted a grommet (you may have spotted it in the pic above looking down at the fuel filter and pump) so now I just need to push the hose through and connect it up.
Then I need to mount the trailer socket and then put all the interior back together.
Then I need to get serious with the rear disc brake conversion, X-Brake hand brake, anti roll bar modifying and refitting and fixing the air leaking rear diff lock.
I also want to tidy the body work up a bit and give the sides another few coats of blue, but that wont be for a few months till the weather warms up a bit.


So i'm not buying new calippers..

As usual always interesting following what you are up to with LJ.Especially the parts with the Air Con install as i still have to get the Air Con on my BJ regassed and then hopefully all sweet for the summer.Loving the read mate.
Hopefully the weather will start to warm up soon mate.






I'm running one on mine with front removed and its tight so with both it would be like a sports car


