- Joined
- Oct 13, 2010
- Messages
- 6,058
- Country Flag
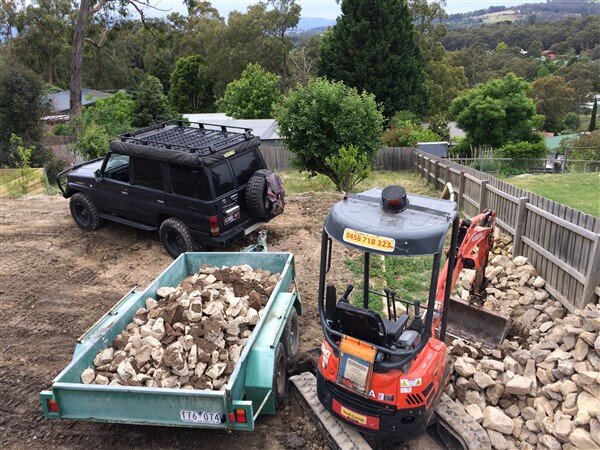
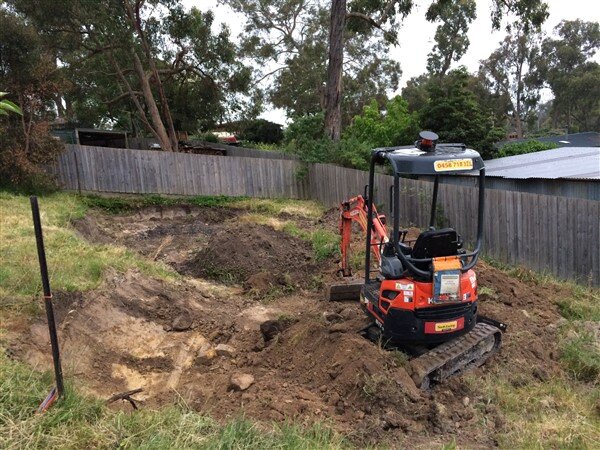
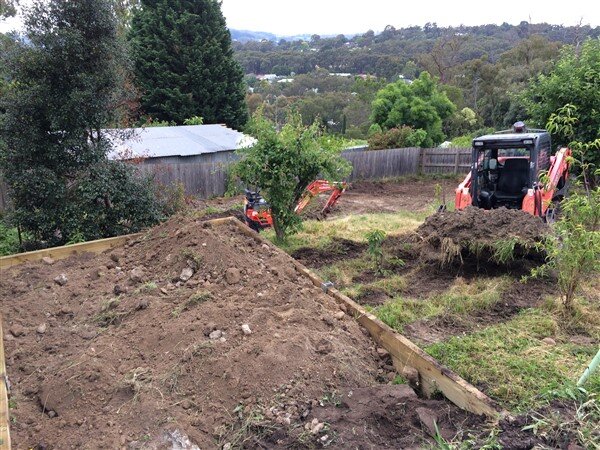
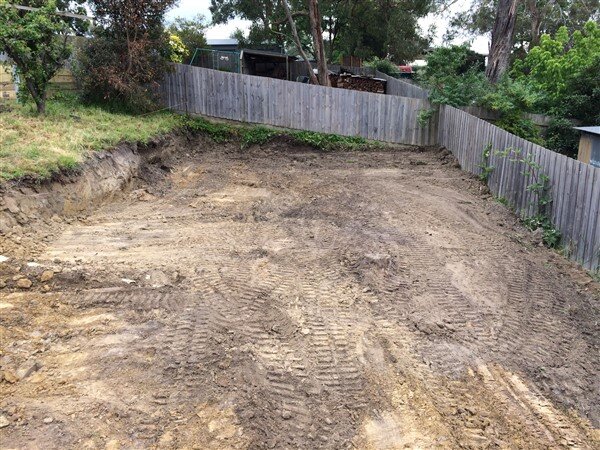
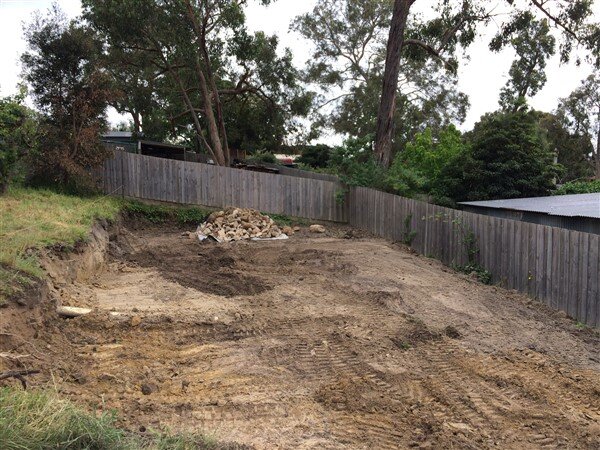
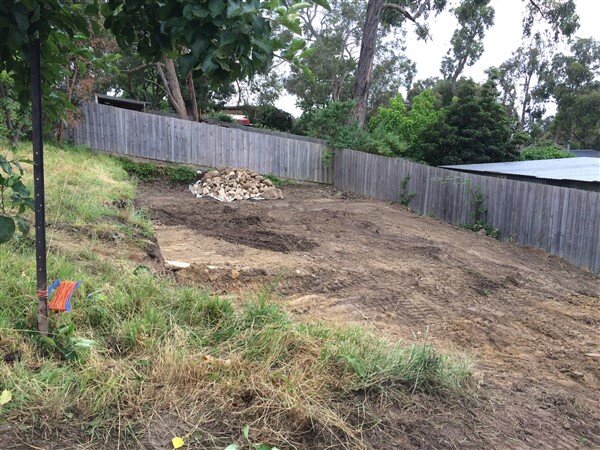
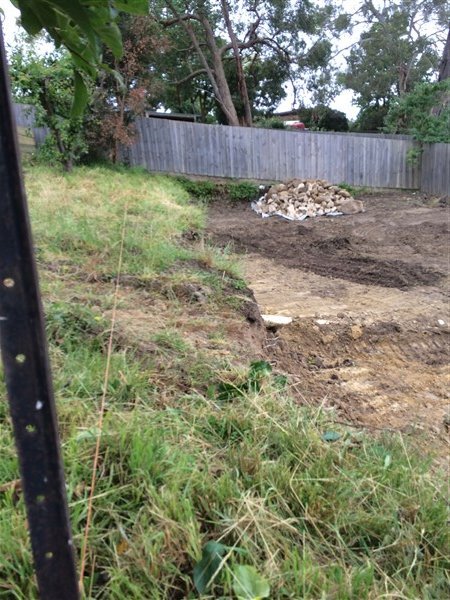
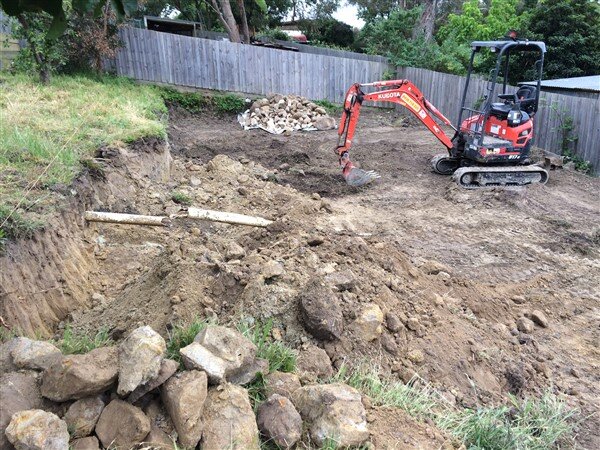
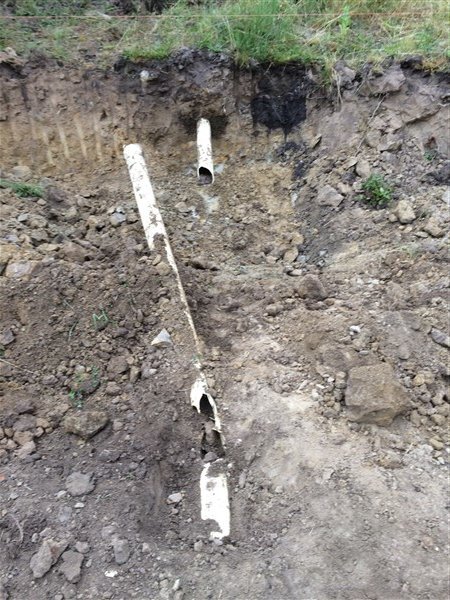
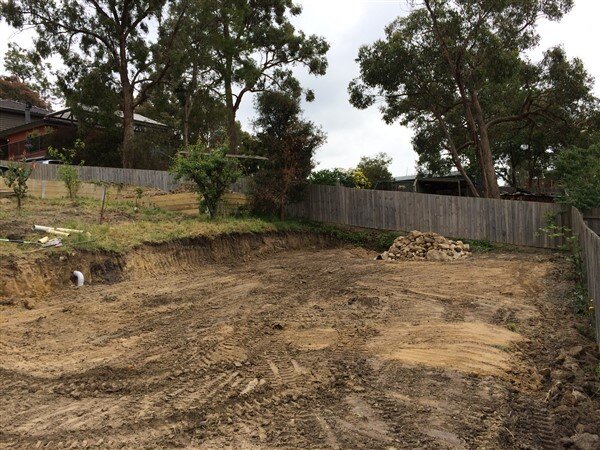
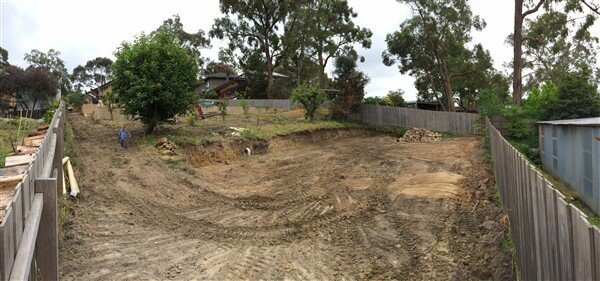
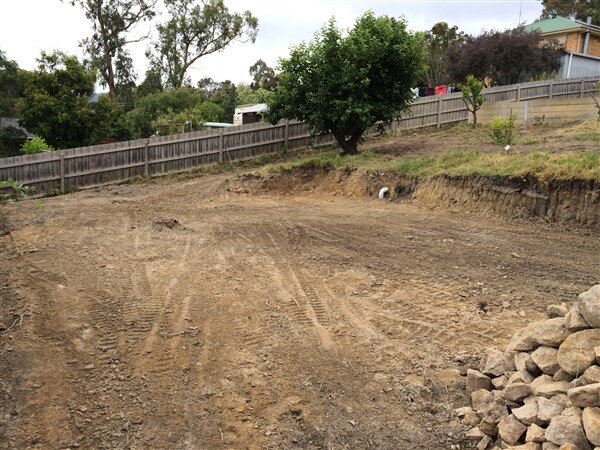
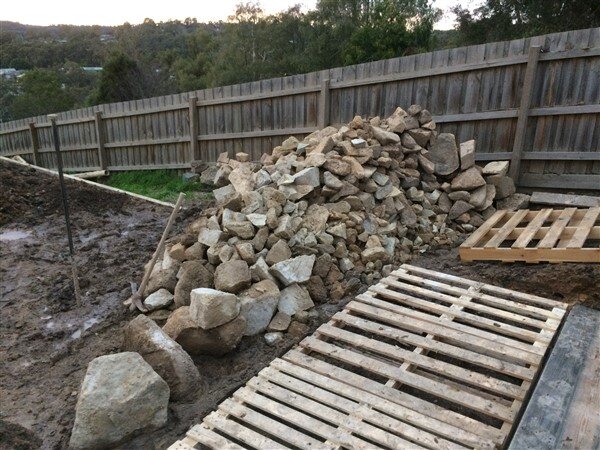
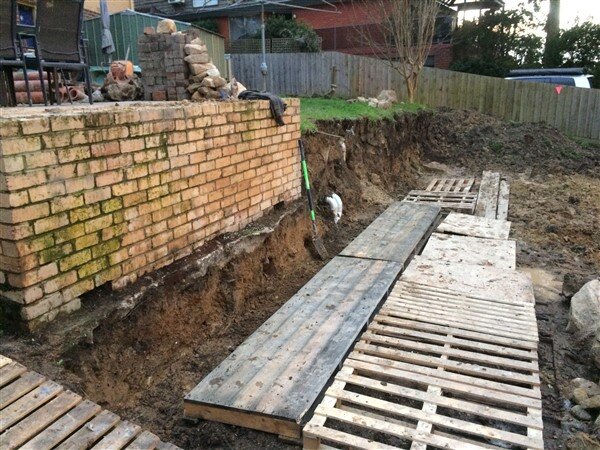
Work continued digging and leveling my way along.
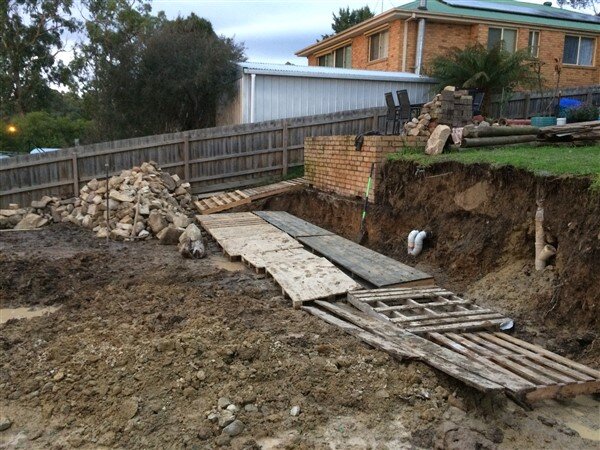
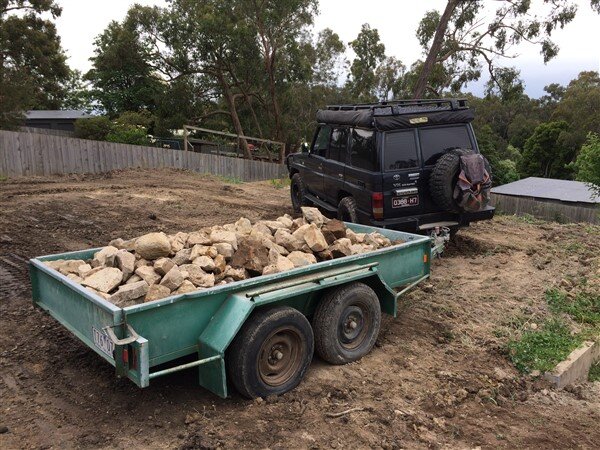
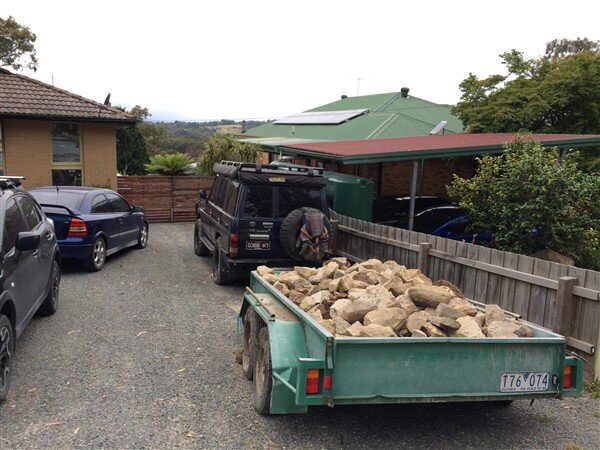
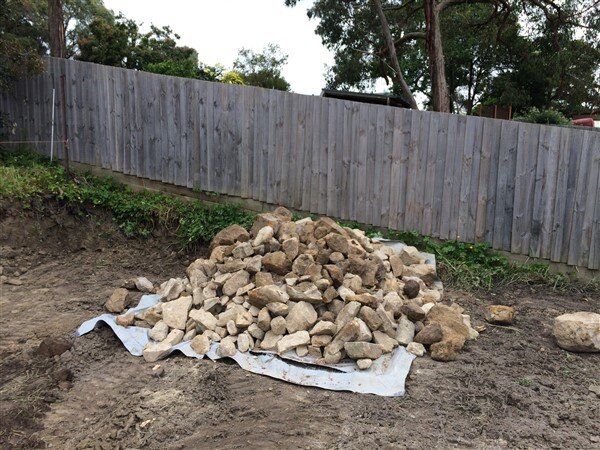
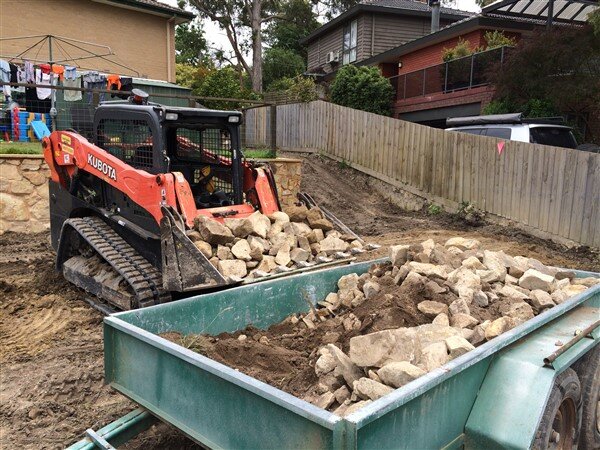
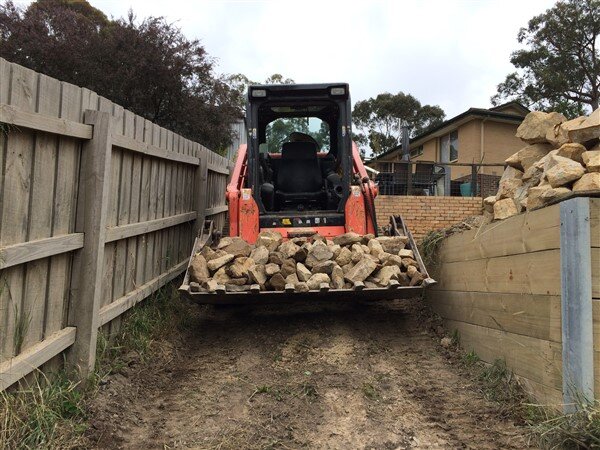
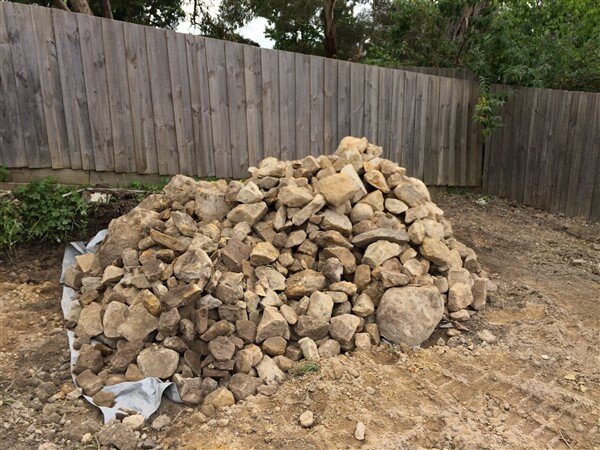
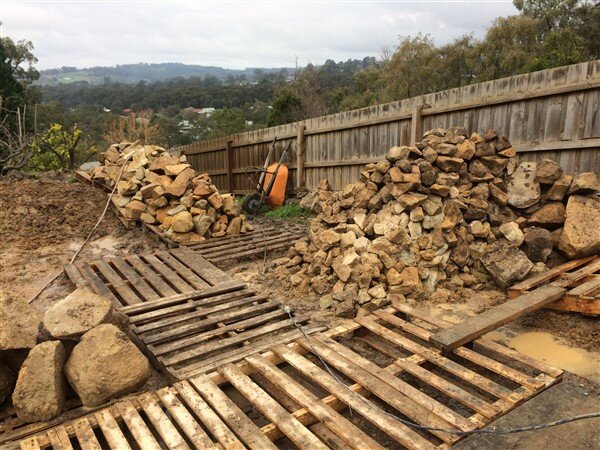
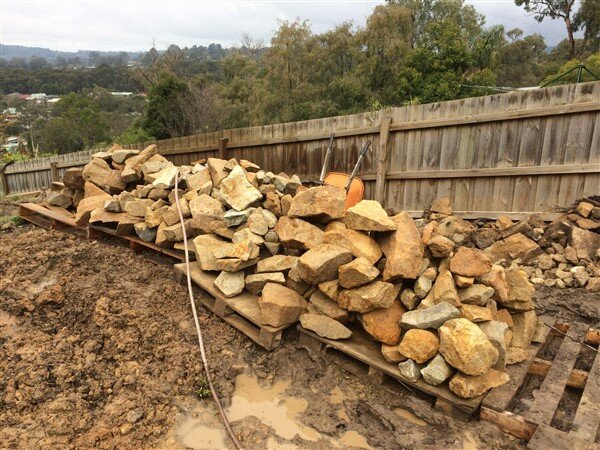
And the rock pile continued to grow.
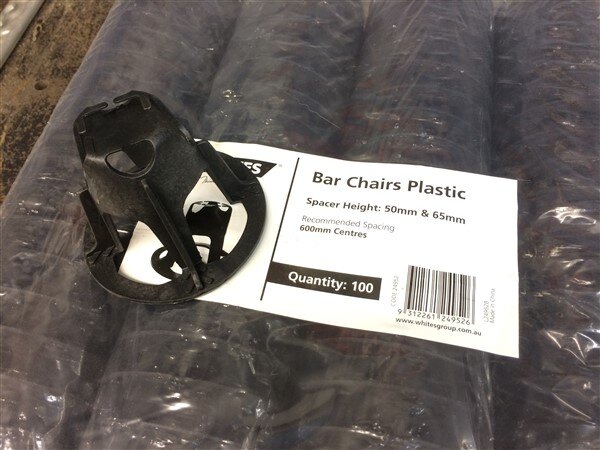
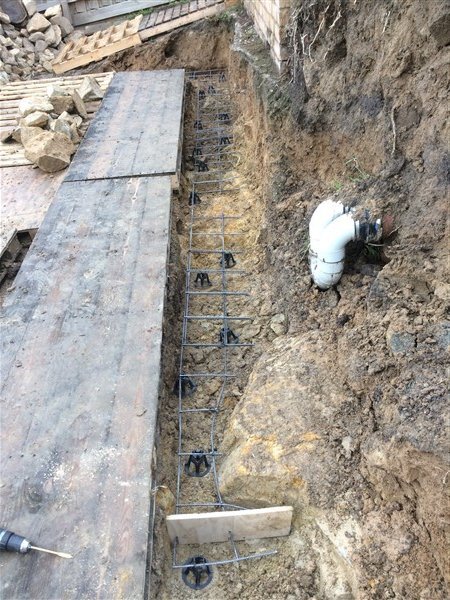
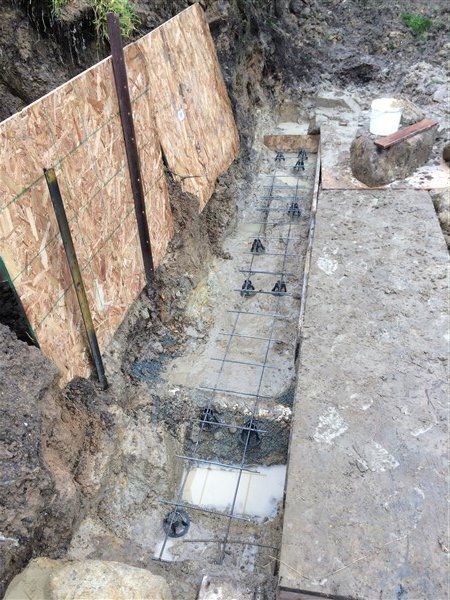
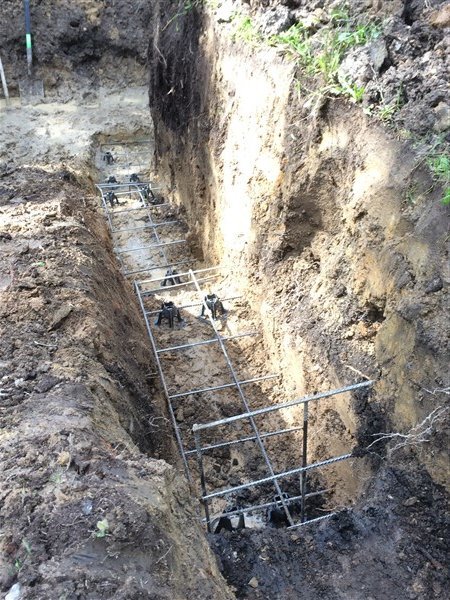
I bought some bar chairs.
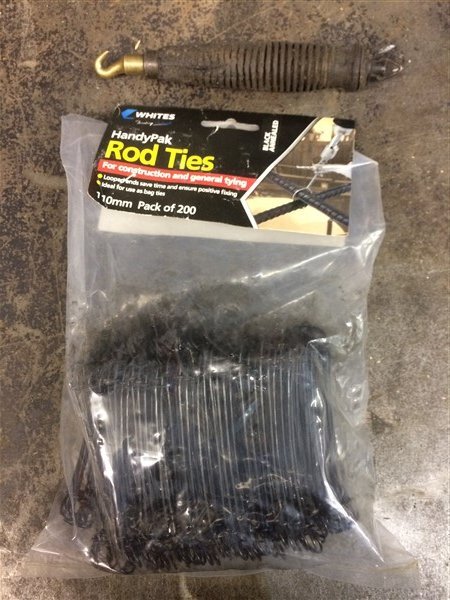
Tie wires and I knew this old tool I've been carrying around for the past 15 years and never needed, would be needed one day!
I cut some mesh, laid it on the bar chairs and secured it all together with the tie wires.
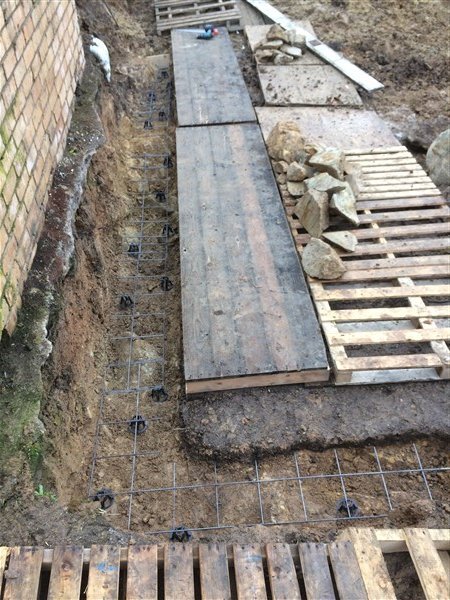
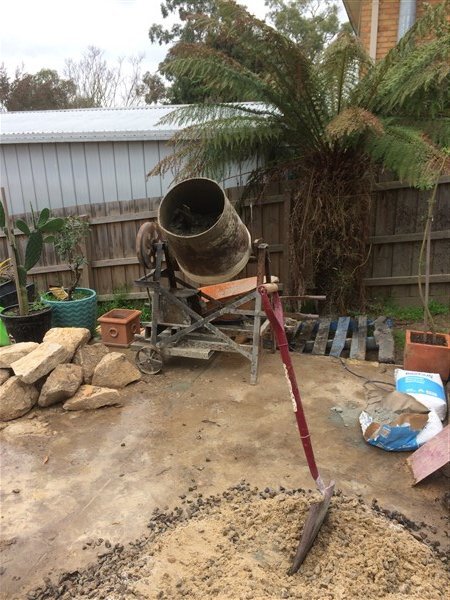
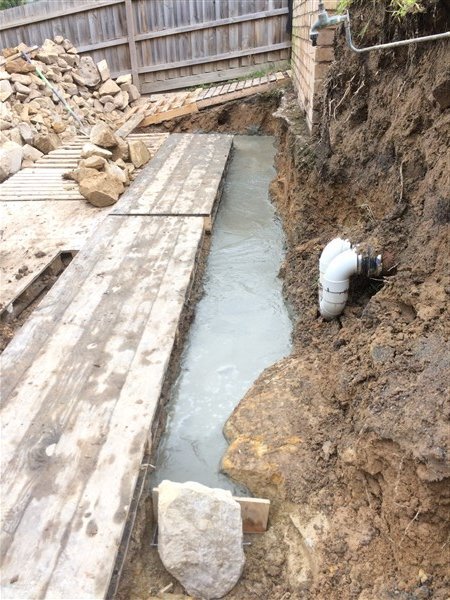
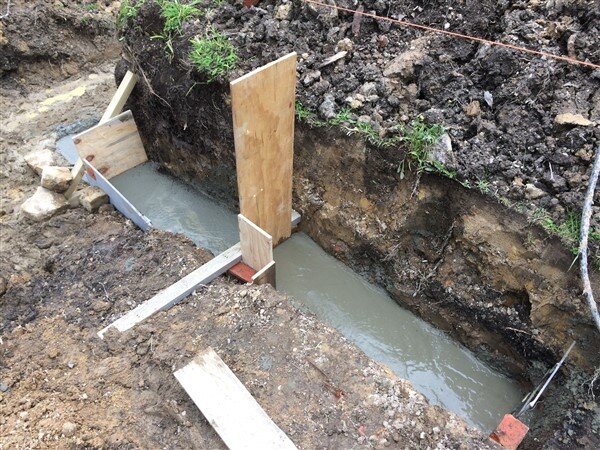
Mixed some concrete.
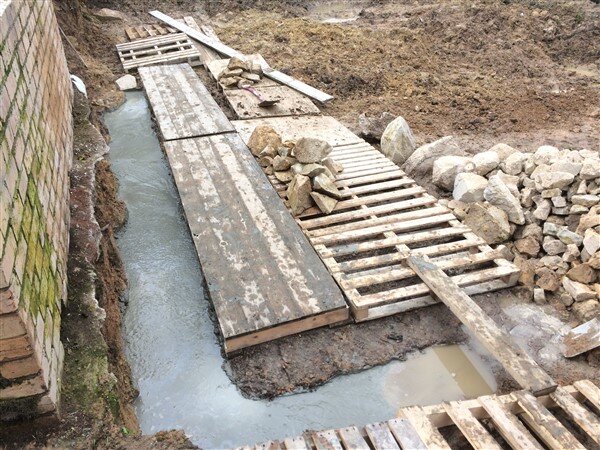
And poured it all in.
Next I needed to wash the clay and mud off some rocks.
I set aside an area that wouldnt put anymore water into the already water logged ground I was working on.
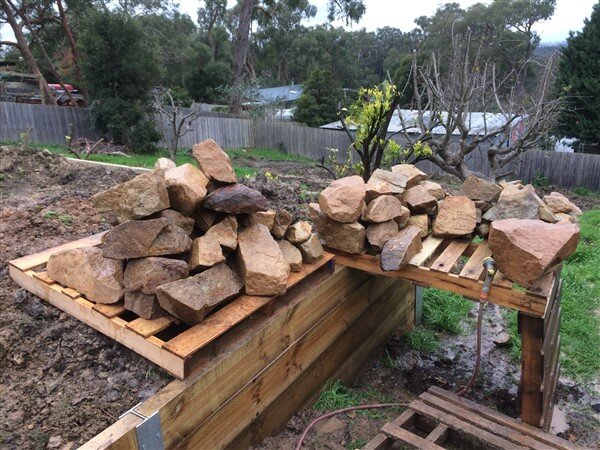
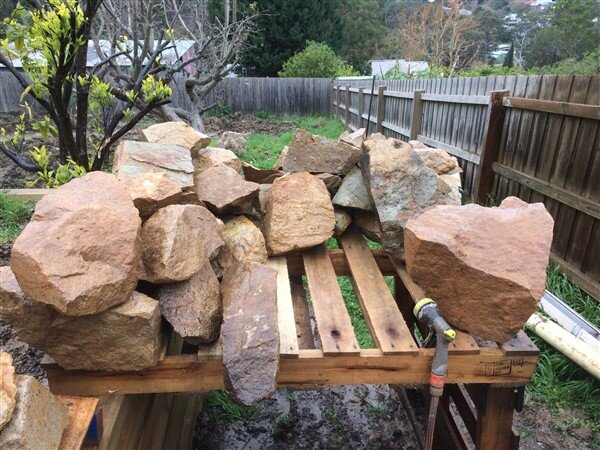
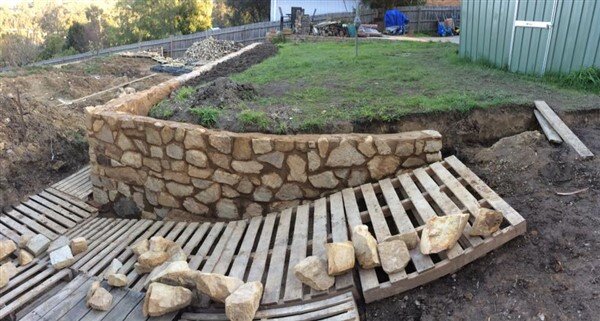
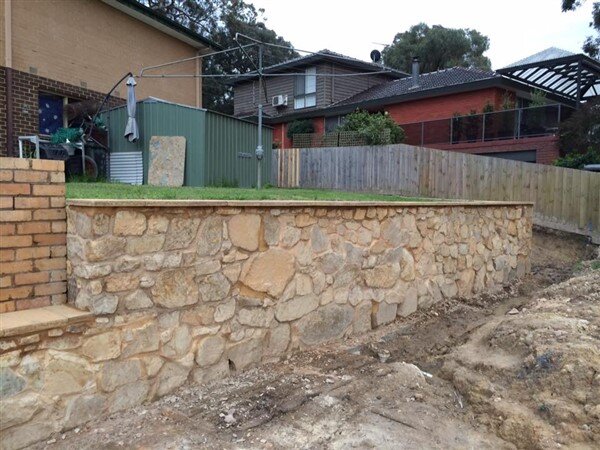
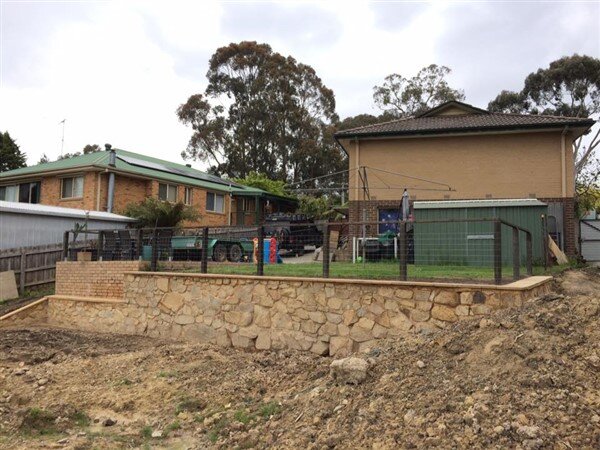
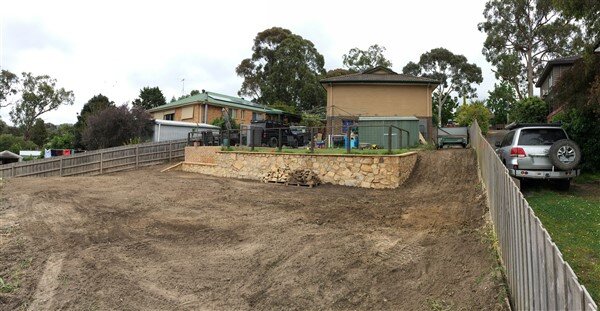
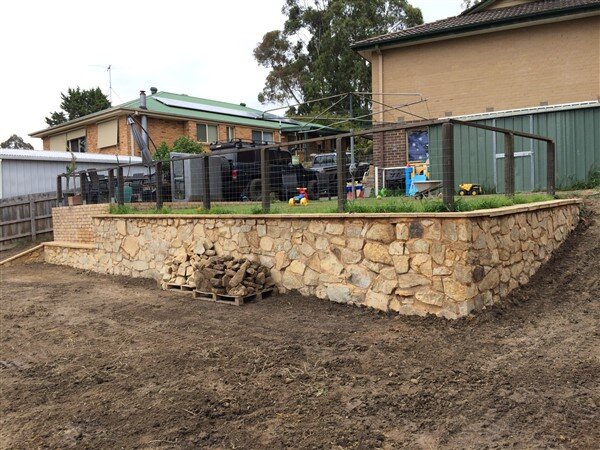
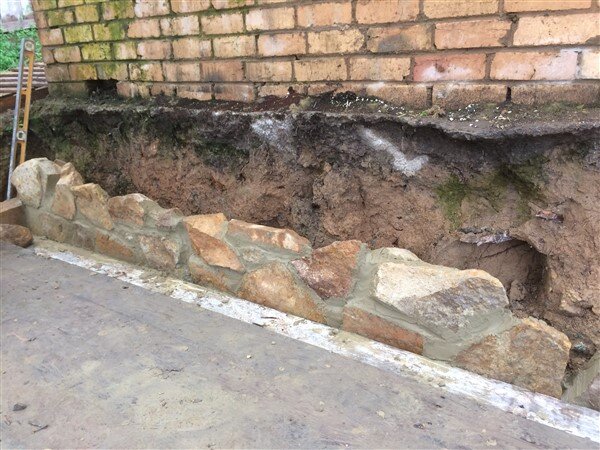
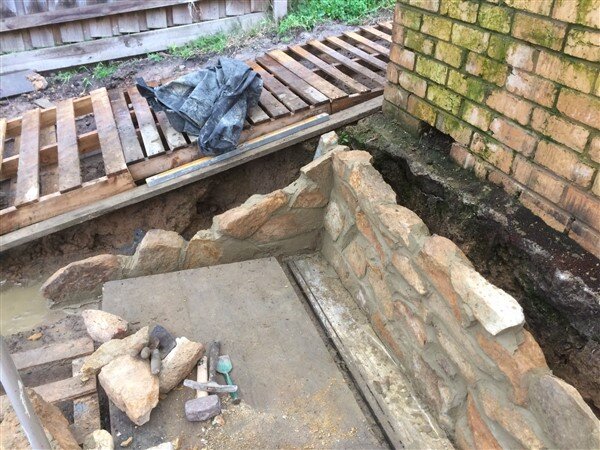
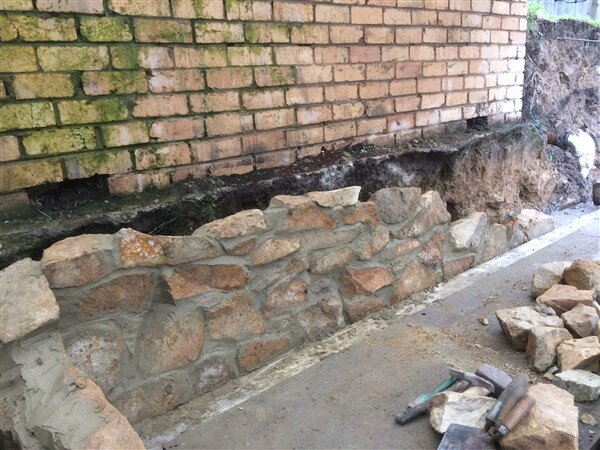
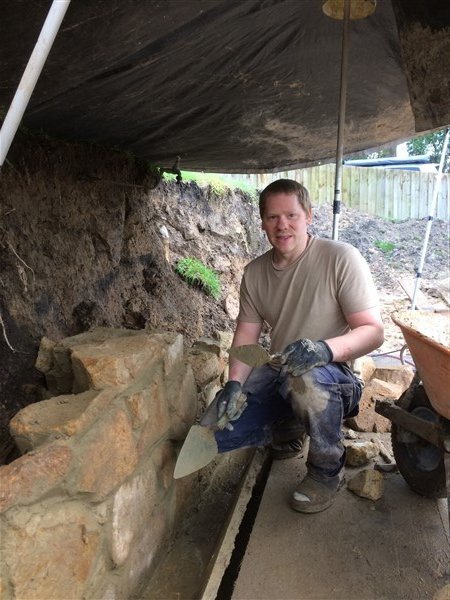
And began construction of the wall!
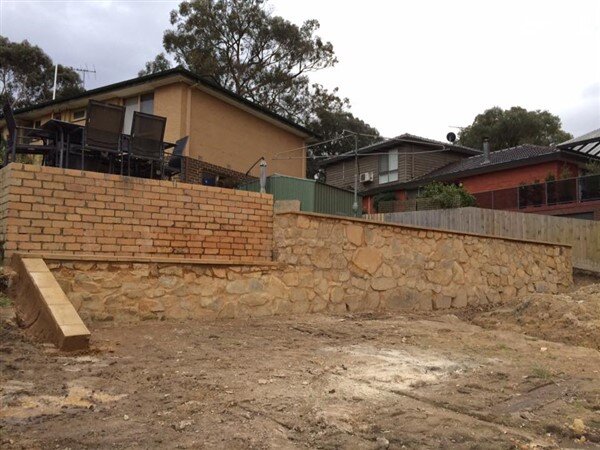
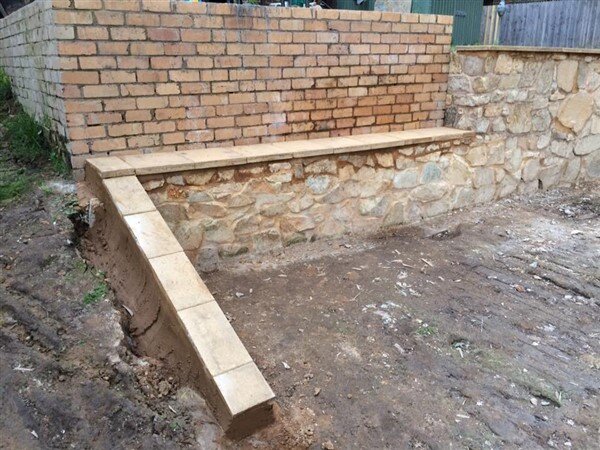
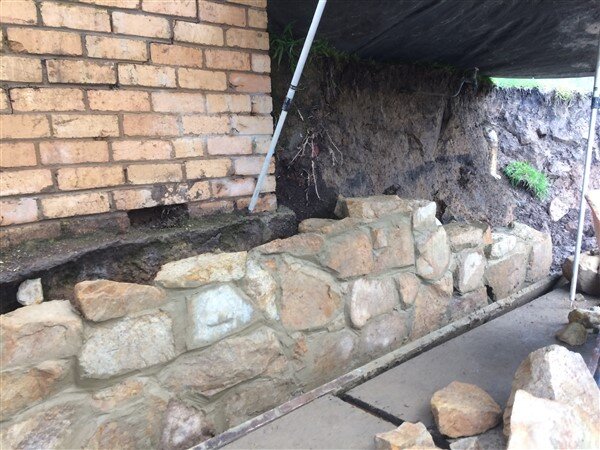
This first area was built using small rocks as because there is already a bit of an overhang on the concrete foundation for the brickwork above I couldnt go too big as I didnt want the rest of the wall to stick out too much past the brickwork.
I also wanted to pour concrete behind my little wall to help stabilise the brickwork as it was beginning to become a bit too undermined for my liking and there were already a few old cracks in the brickwork.
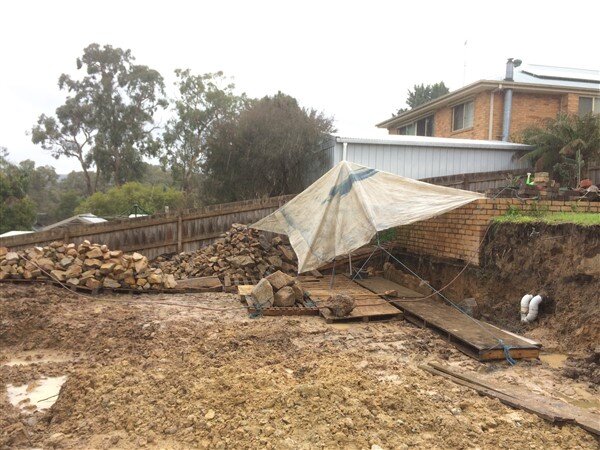
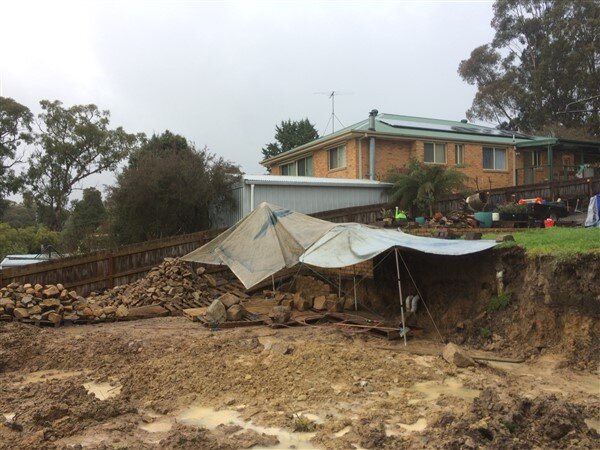
I wasnt prepared to let the weather stop me from the task at hand so tarps were erected on days of rain.
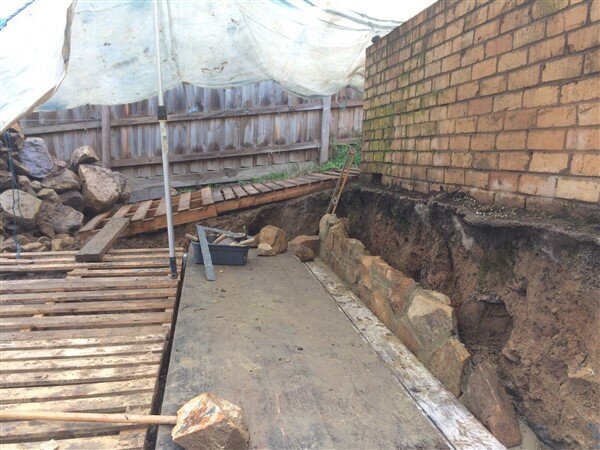
Wooden boards were needed to keep the bank from falling in in places.
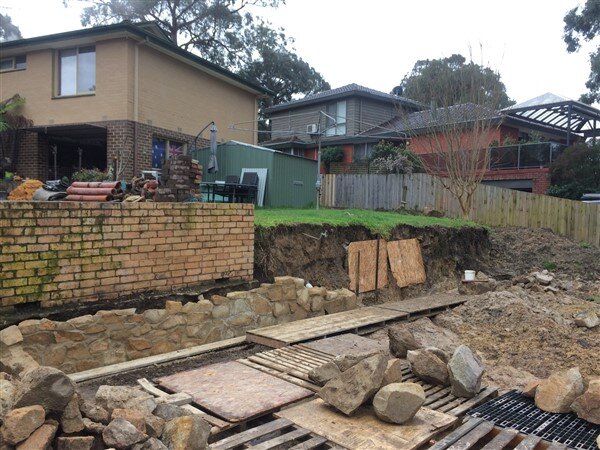
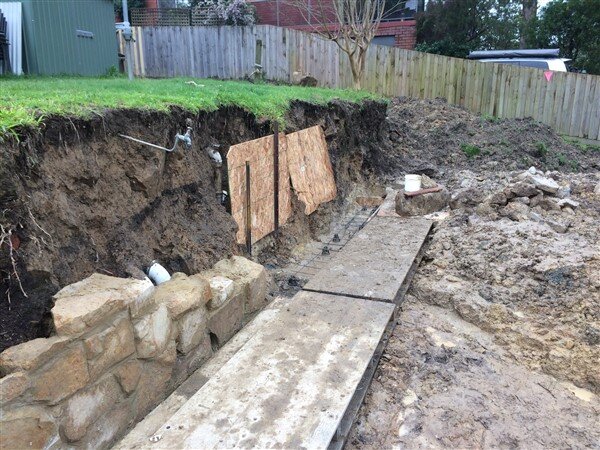
The next section of concrete footing was ready to be poured and cast.
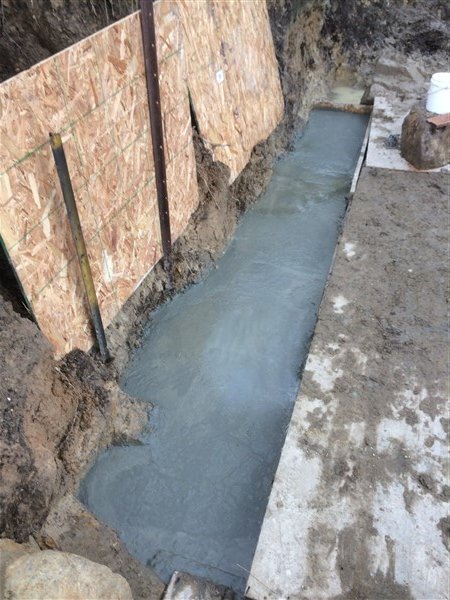
I also concreted behind the little stone wall section.
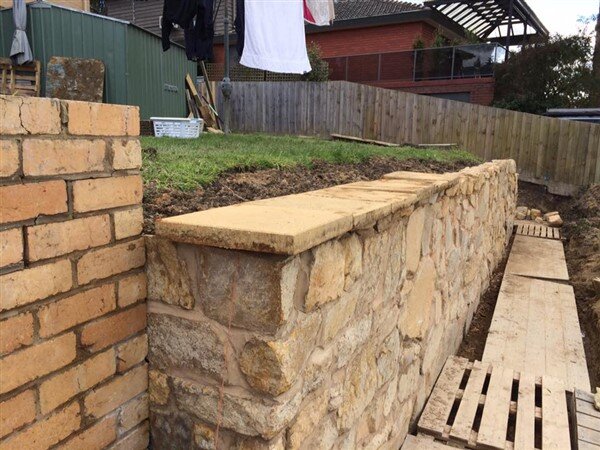
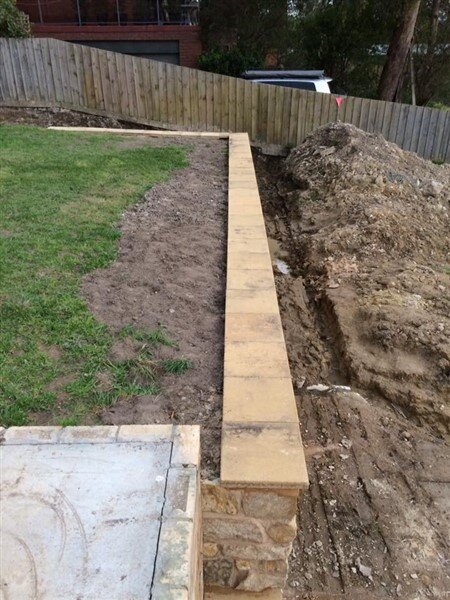
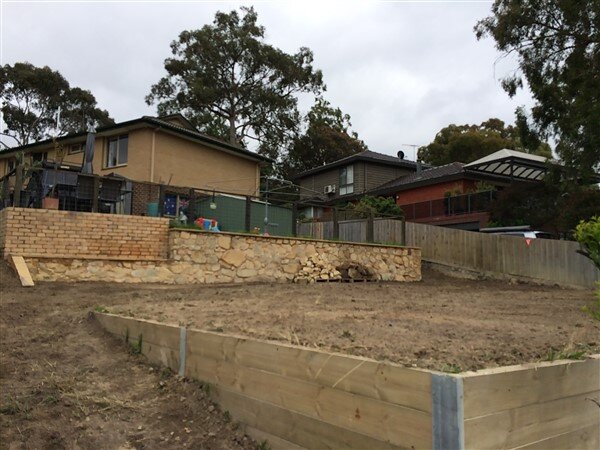
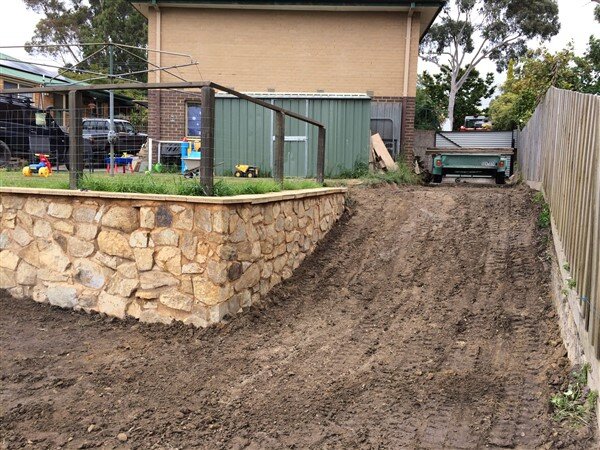
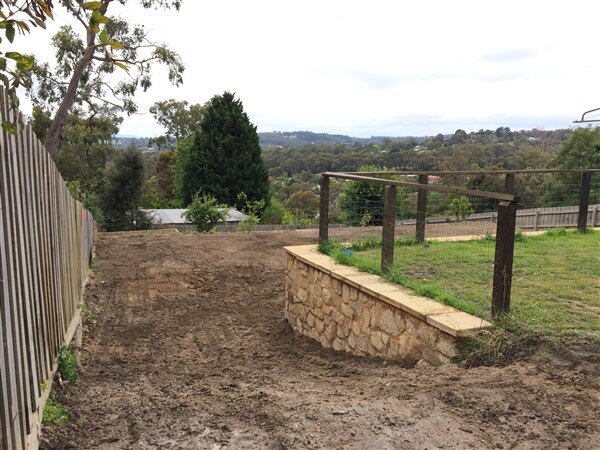
The entire wall will be capped with 300mm square paving slabs, including this low section which will form a bit of a bench/table as I'm going to build a small patio in front of it as its a nice place to sit in the evenings with the wall providing shade from the strong summer sun on your back.
The brickwork will get pressure washed and re-pointed where necessary.
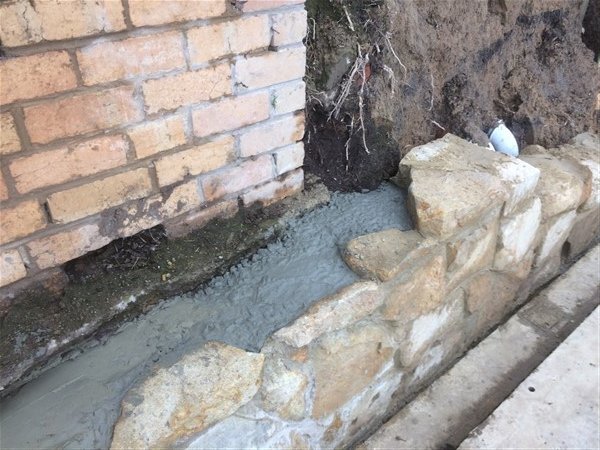
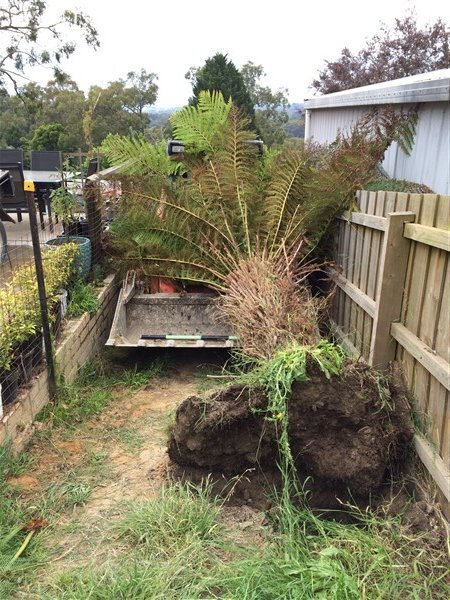
All along the bank the top meter is made ground and when they constructed the house they dumped all their rubbish in this area, including a mountain or rocks that they couldnt see any value in, which I've been digging out and adding to the pile.
That big rock in the pic below was too good to leave buried so it had to come out.

Only it turned out to be much bigger than I was expecting.
I managed to get it down onto a sheet of OSB but then I couldnt lift it to get the board out.
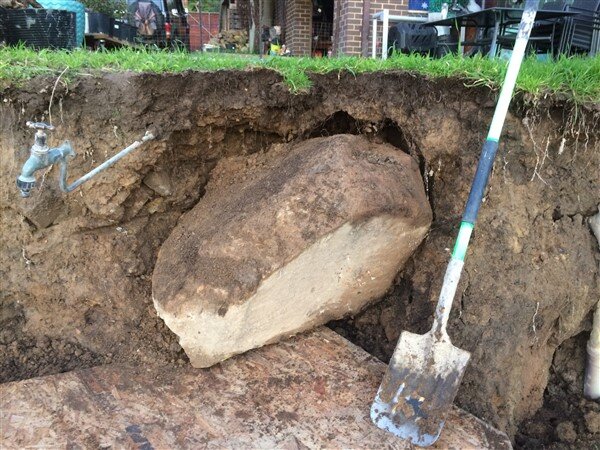
So I was pondering what to do, thinking I wish I had a crane............
Then I remembered I do have a crane!
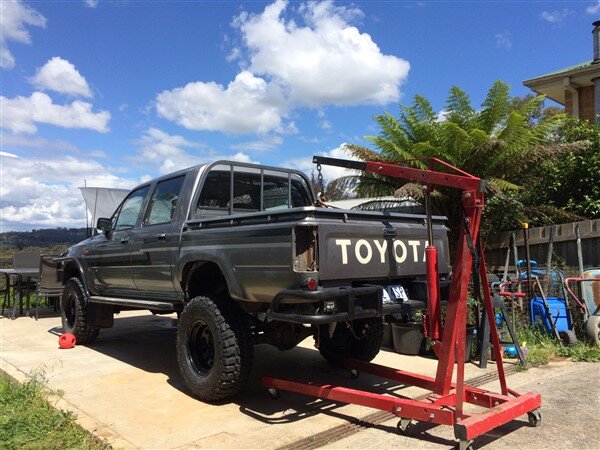
I had to go and buy some 6mm thick walled tube and a piece of 4mm thick square box section that fitted inside it as the original crane arm wasnt long enough and a piece of 50mm box with a 5mm wall bent like a banana and I had to add a lot of ballast to the base of the crane to keep it down but it bloody worked a treat!
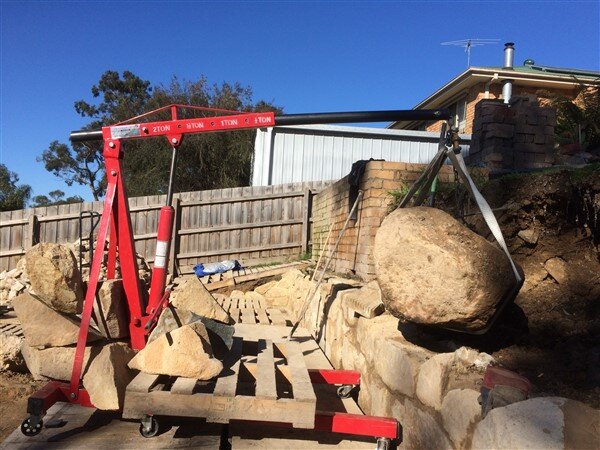
I lifted it up, pressure washed it and then lowered it down onto a bed of mortar.
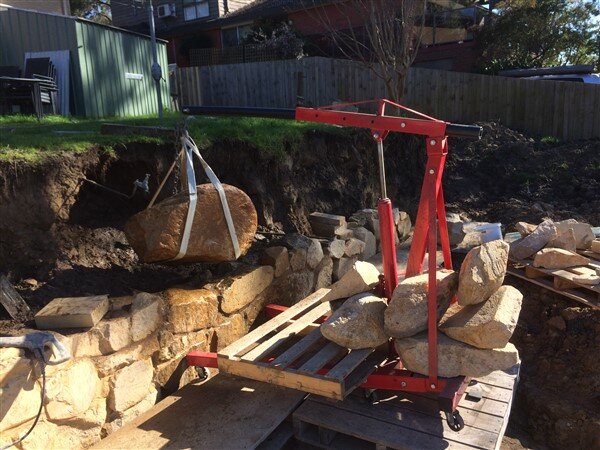
And built it into my wall!
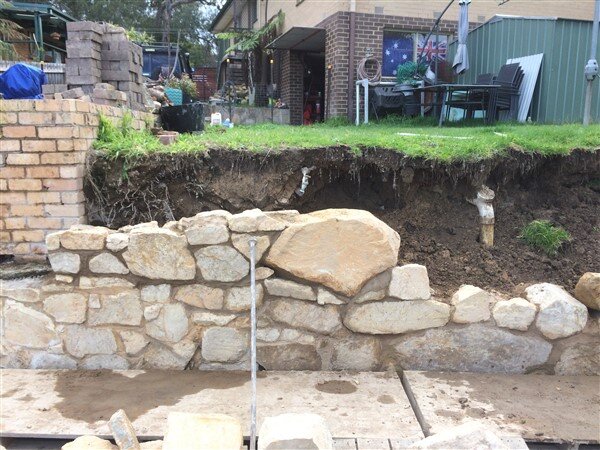
I continued digging and had made it the very end of where the wall will be!
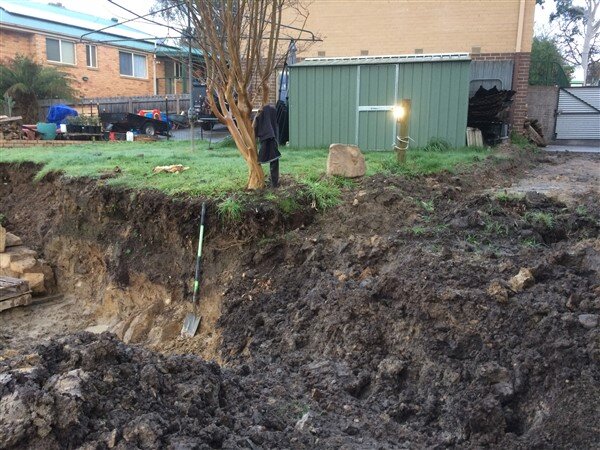
Bit more wall building.................
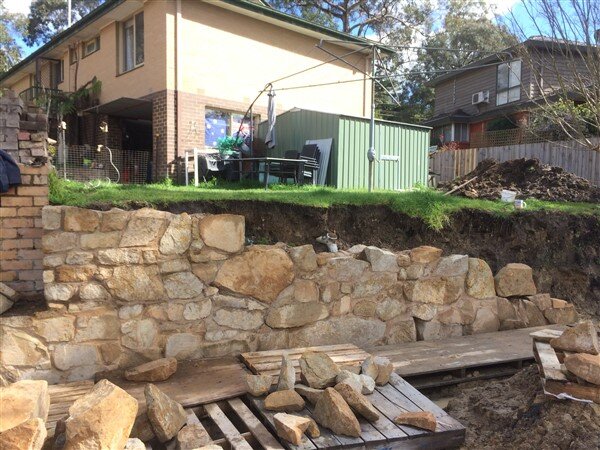
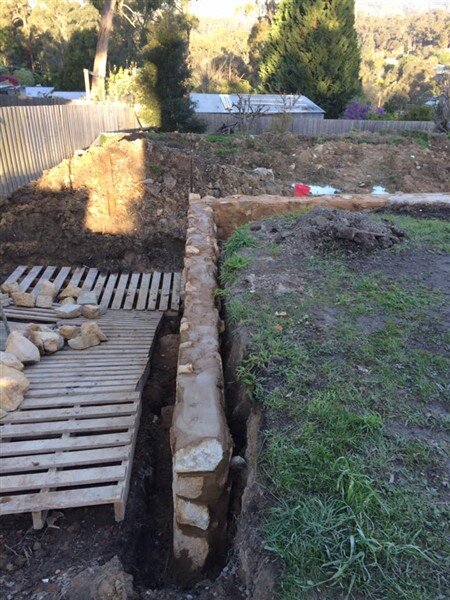
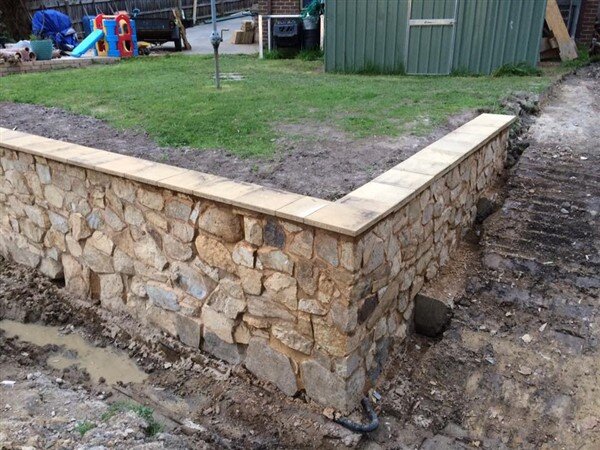
More concreting next and this section around the corner I decided to do as a stepped footing rather than wasting lots of stone under the ground that will never be seen.
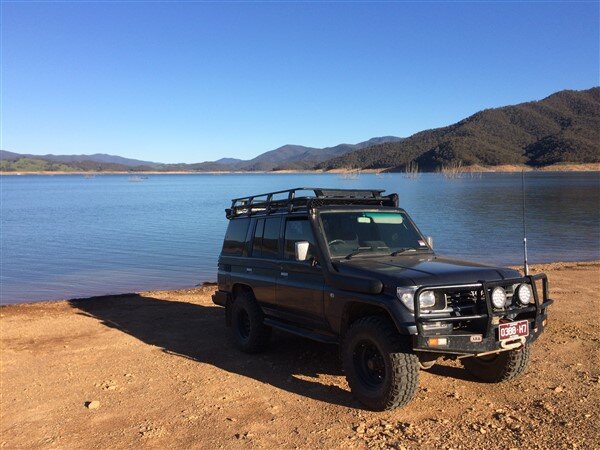
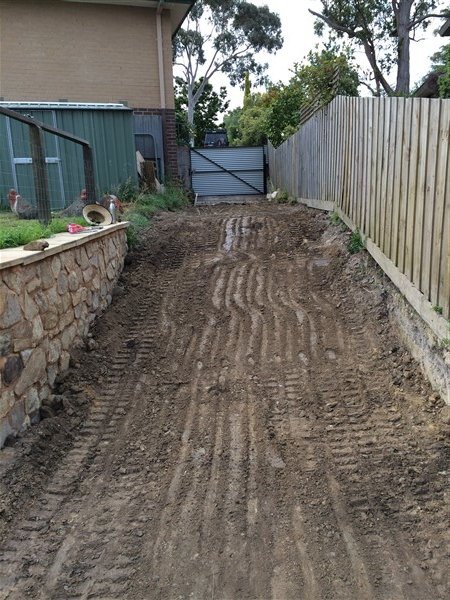
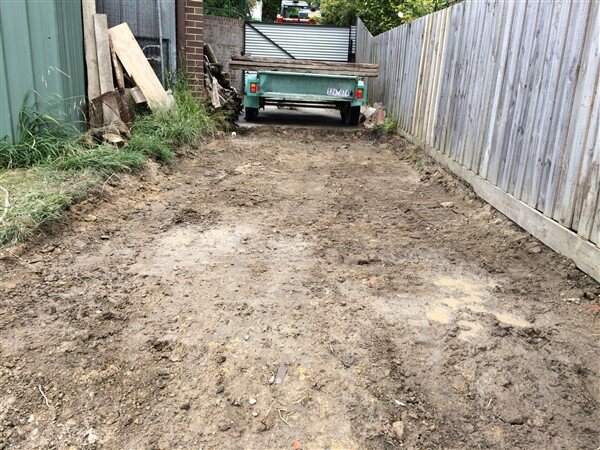
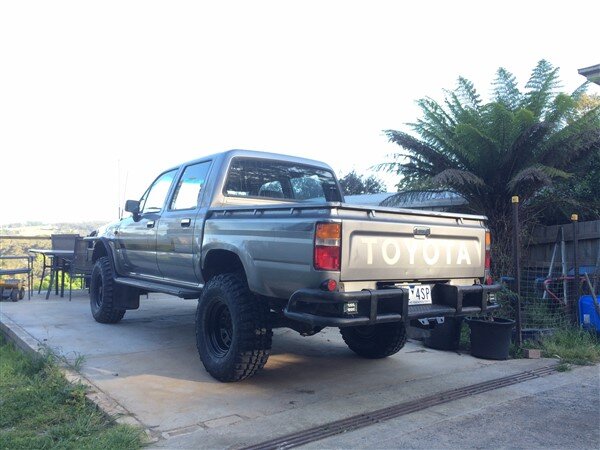
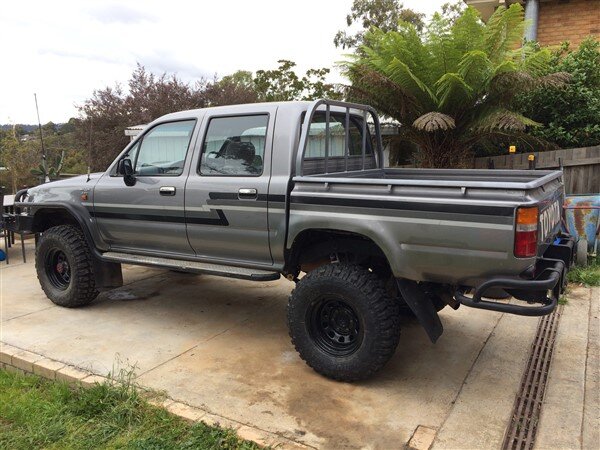
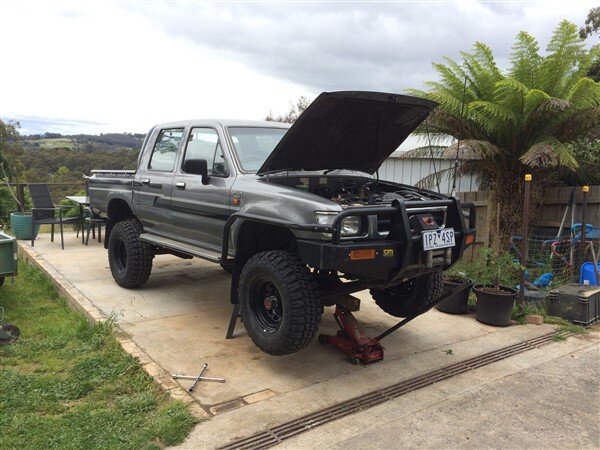
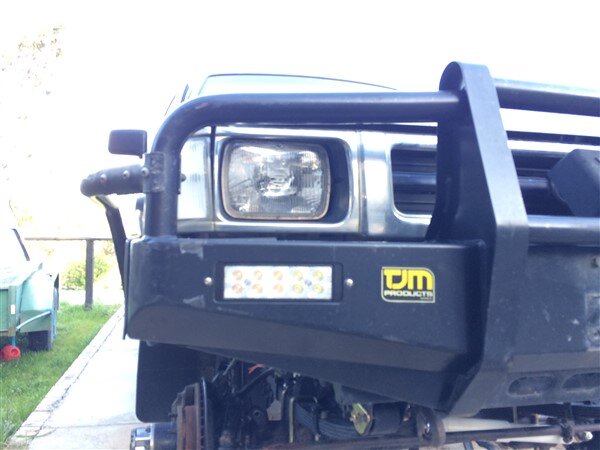
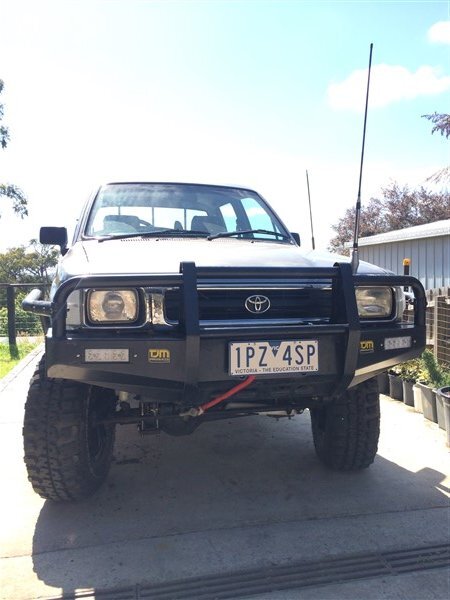
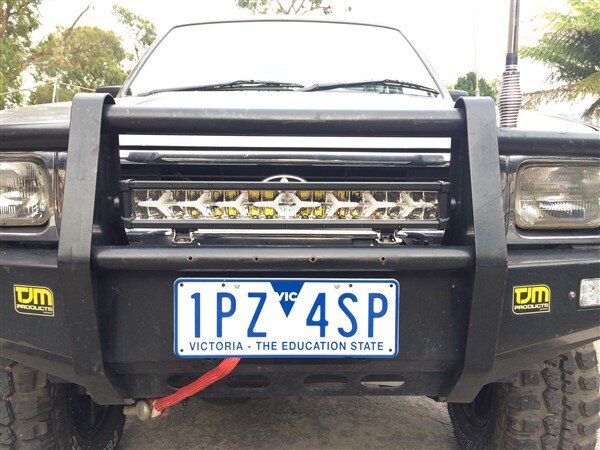
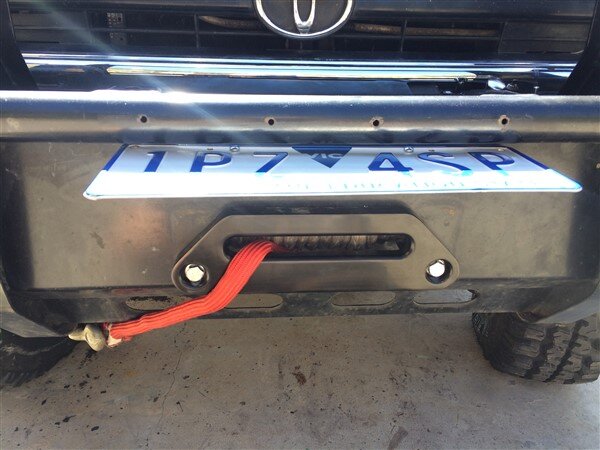
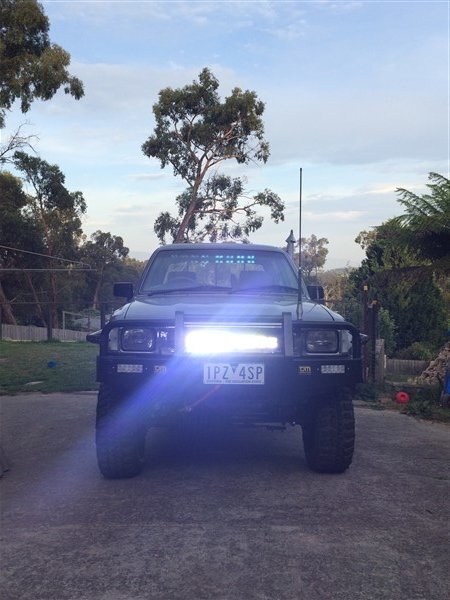
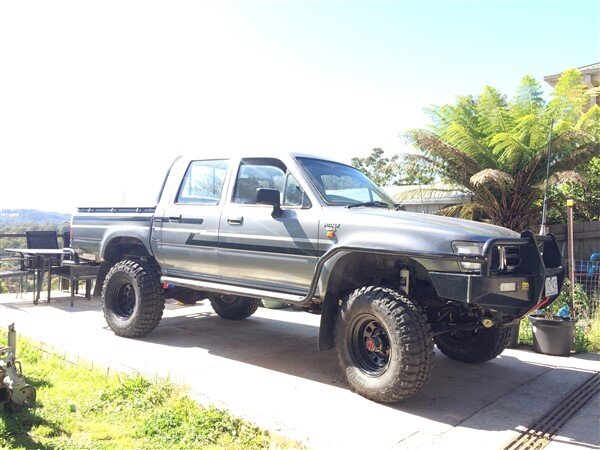
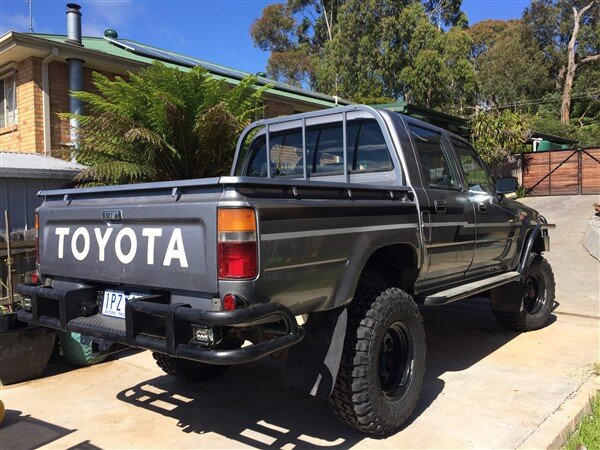
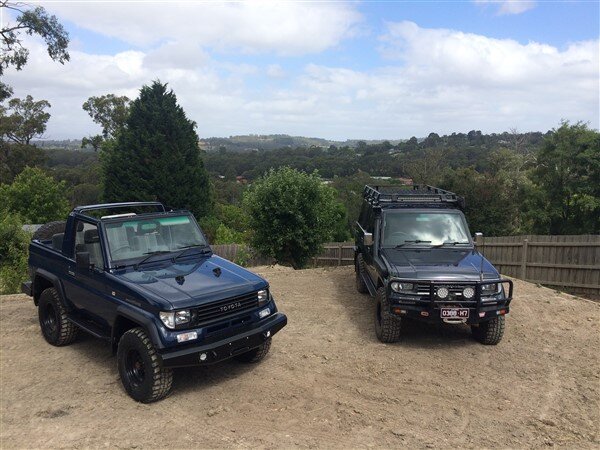
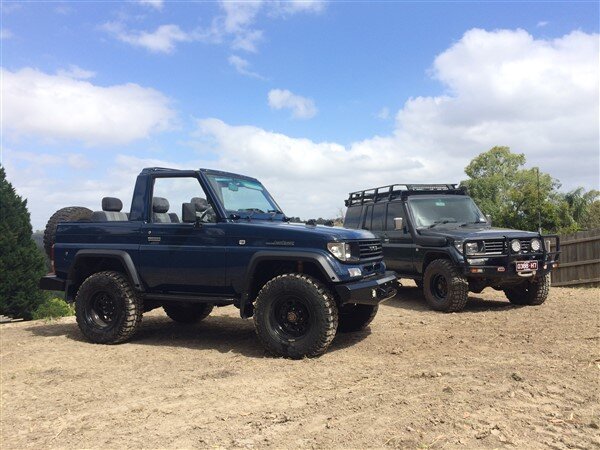
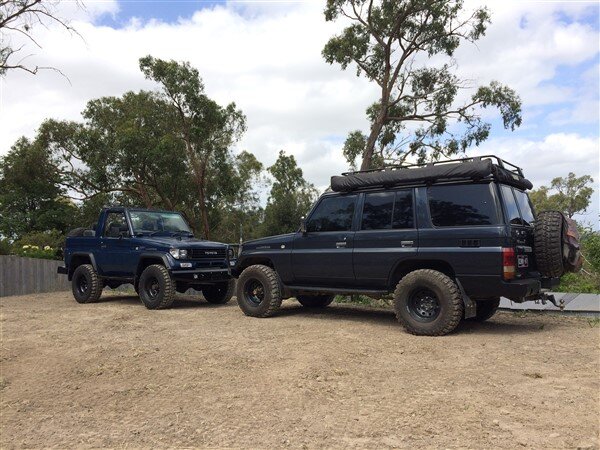
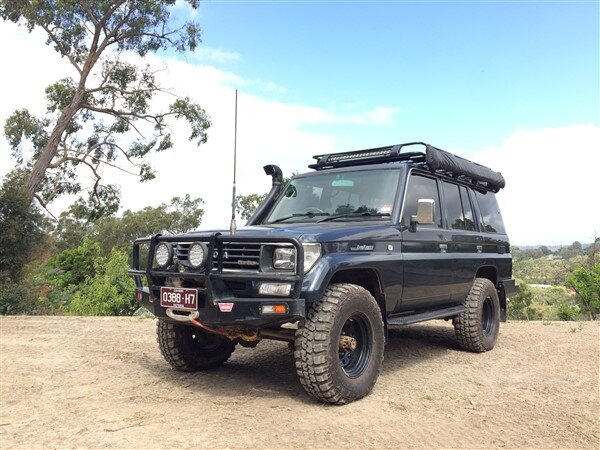
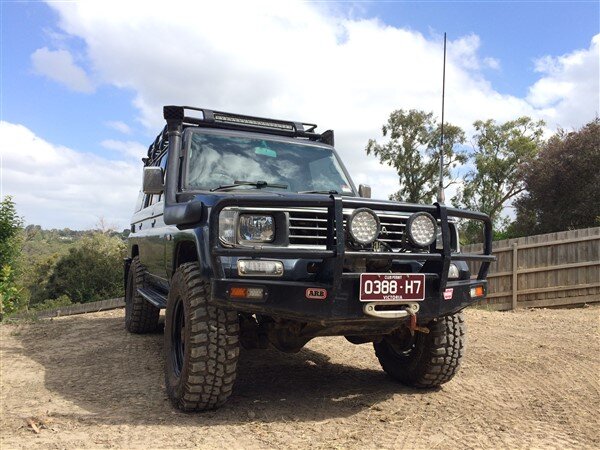
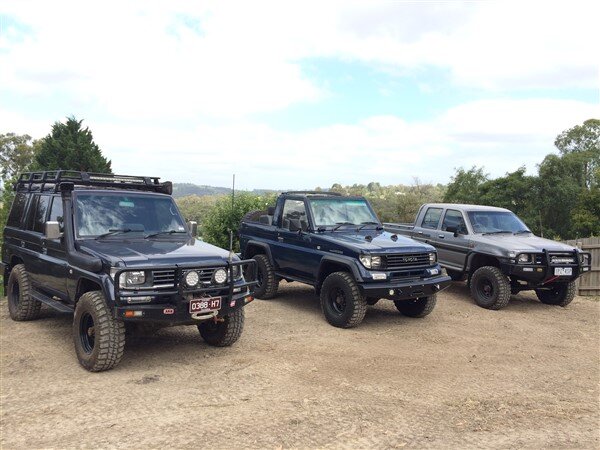
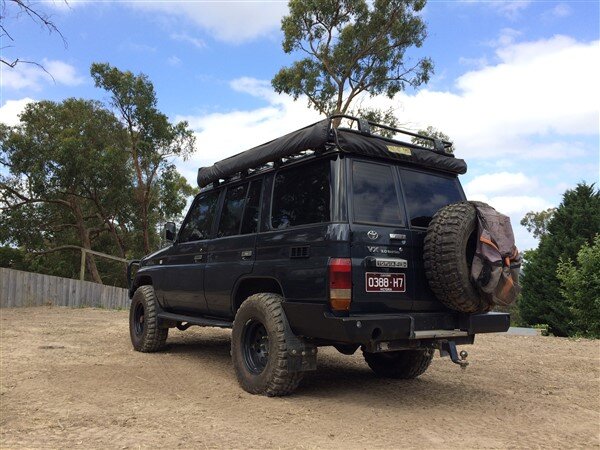
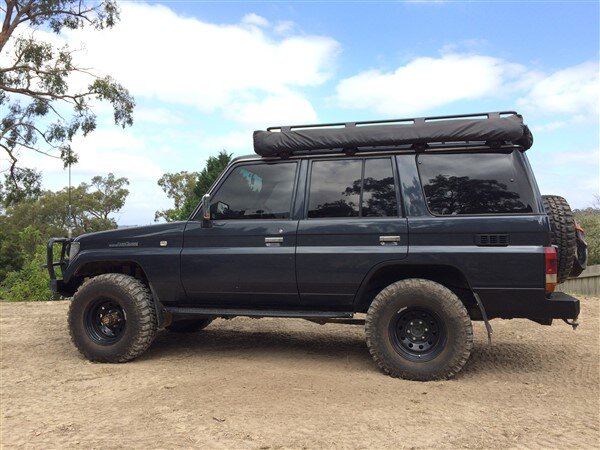
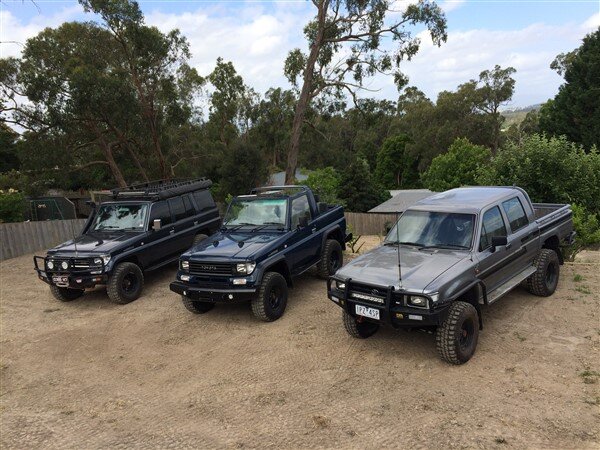
Alongside this section of wall will be a concrete driveway down to the new garage I'm going to build for The 78 and car parts to live in.
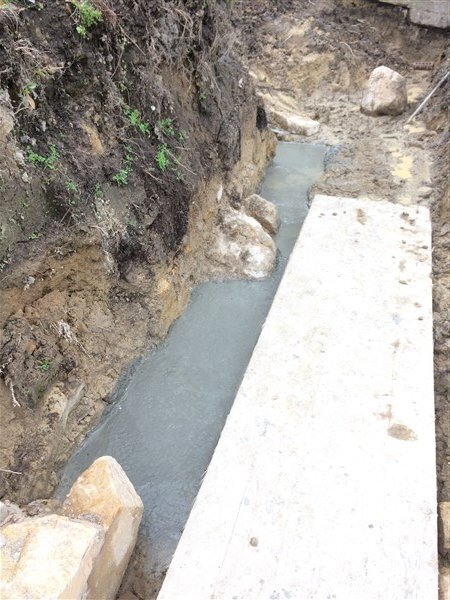
These bits of bed rock were too hard to try and remove so I decided to build them into the wall and so I concreted around them.
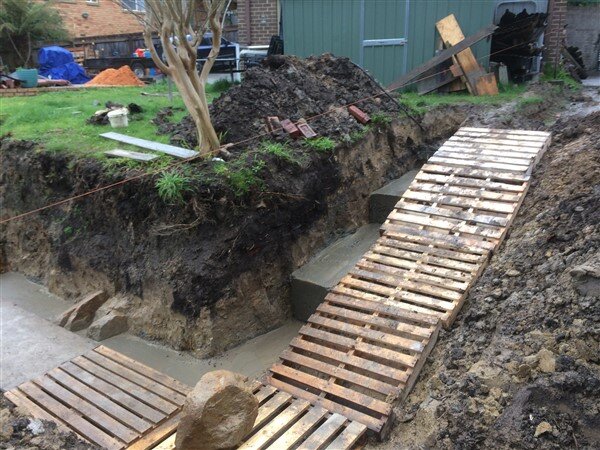
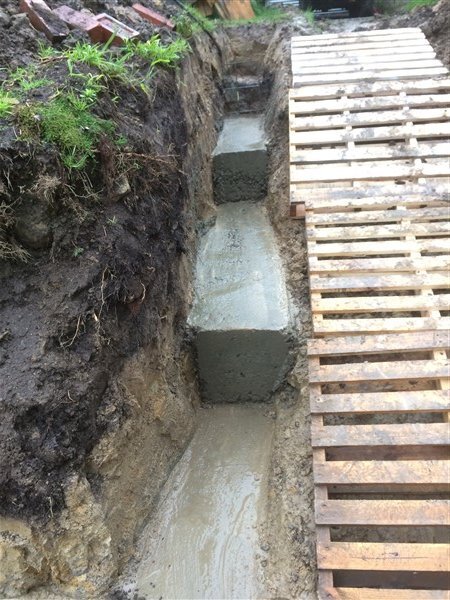
More wall building.
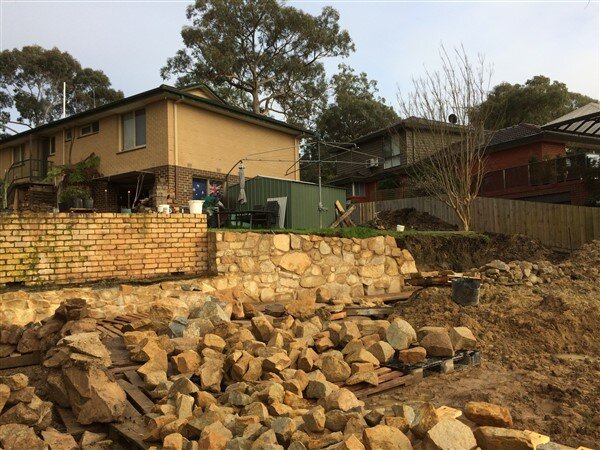
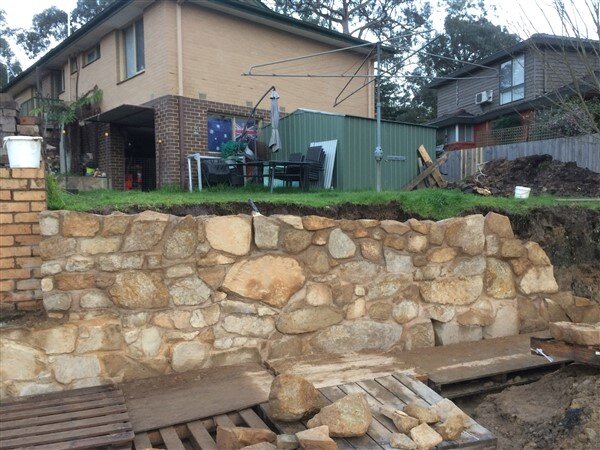
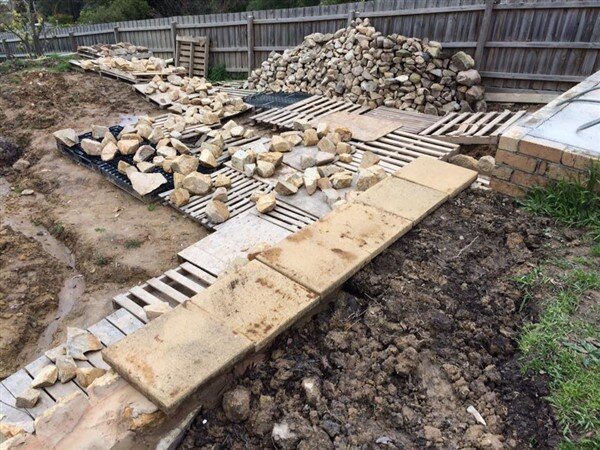
I went through the entire dirty rock pile and re-stacked it, mainly so I could see if there were anymore big rocks worth pulling out and secondly to give better access to the site.
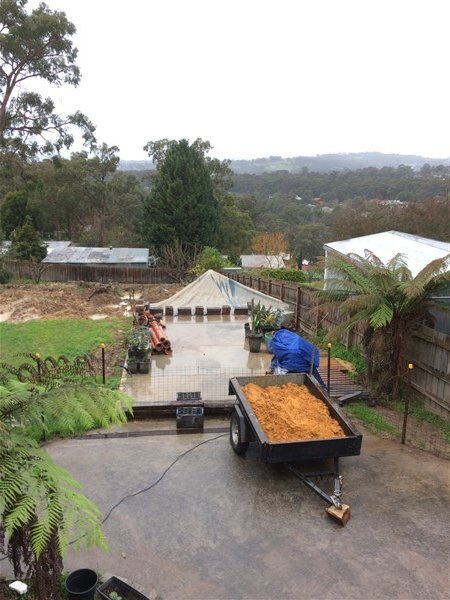
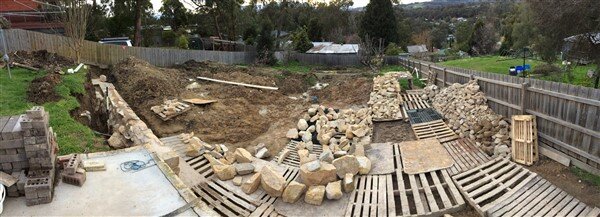
You can see how much water it sitting on the ground so the pallets really have been a god send!
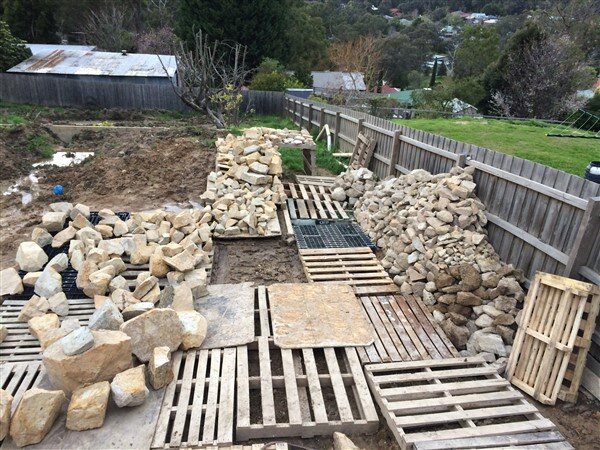
The pile of big rocks at the bottom of the pic below were waiting to be used on the next section of wall, many of them were too heavy to lift so I needed to use them at the bottom of the wall and use the sack truck to move them to their position and then use crow bars and some times pieces of pipe as rollers to get them perfectly into position.
With the main section of wall nearing completion I dug down behind it and added some scourian volcanic rock and a length of agi pipe for drainage, so that ground water doesnt build up behind the wall.
I then covered the entire pipe in the scourian rock.
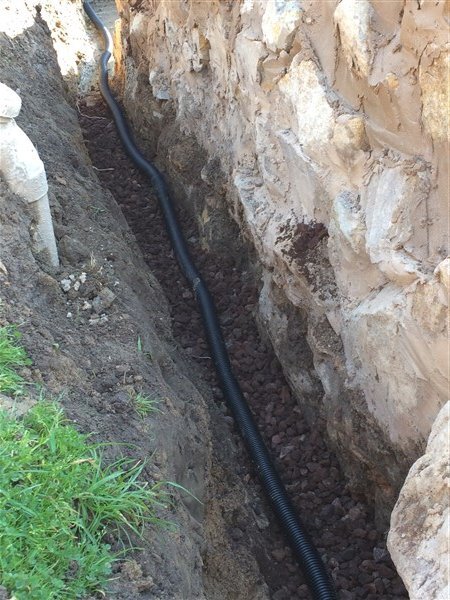
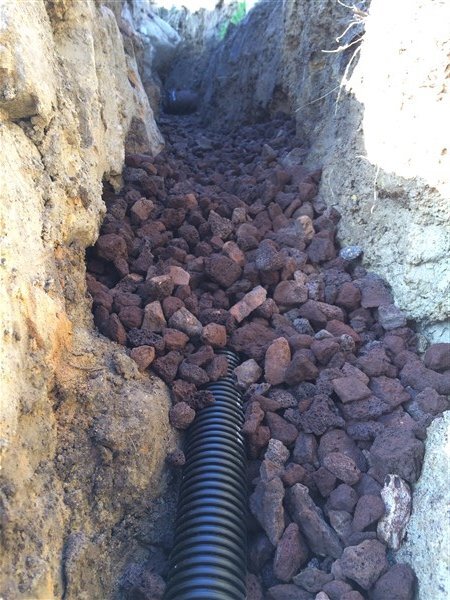
And I then began filling over the top with dirt.
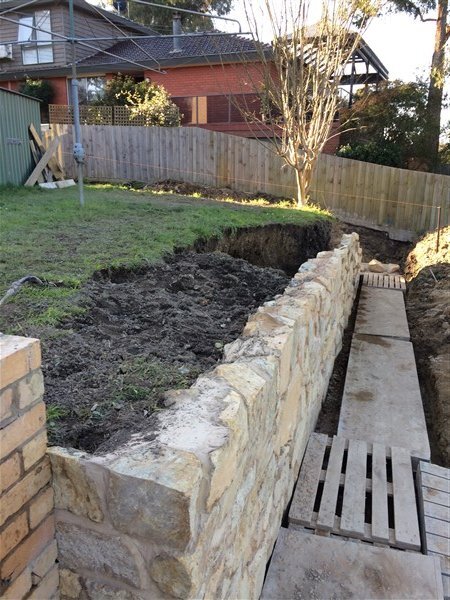
So close now!
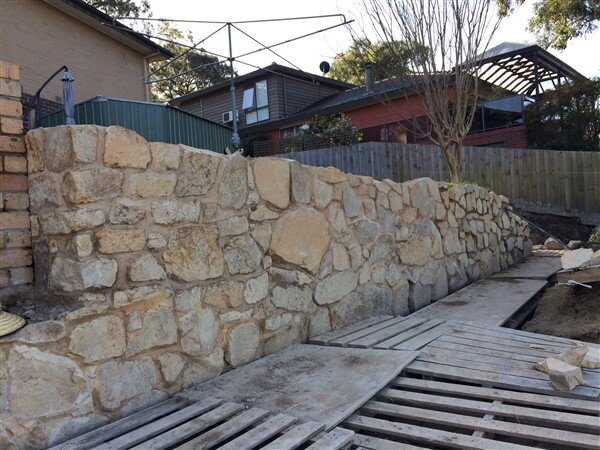
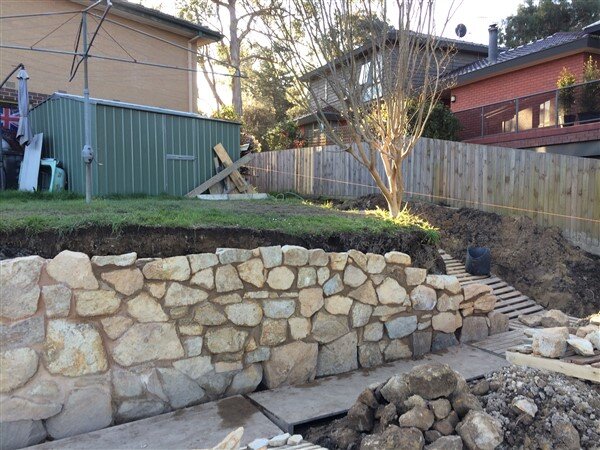
I'm hoping next weekend to finish the main section and go around the corner and up the stepped footing.
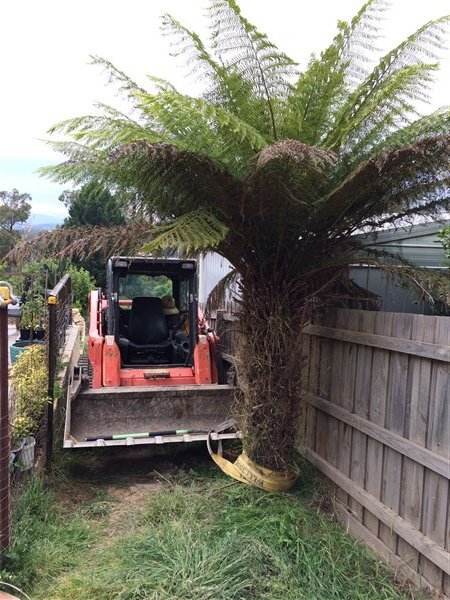
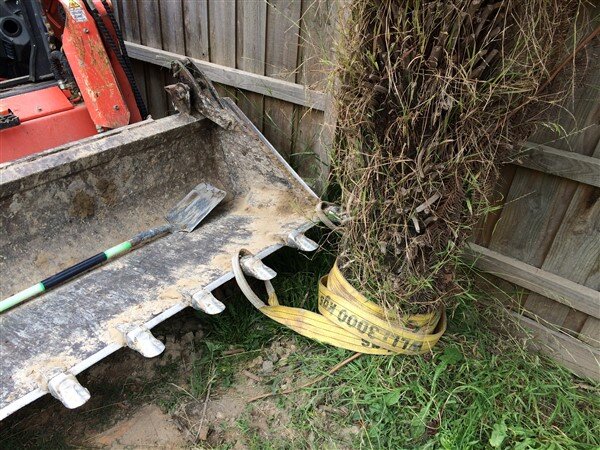
I also want to winch that tree out.
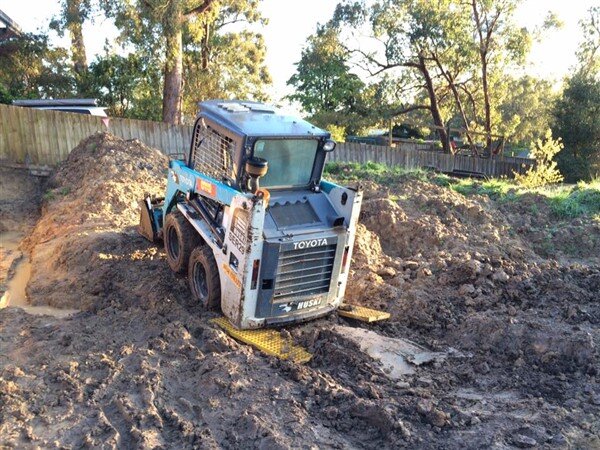
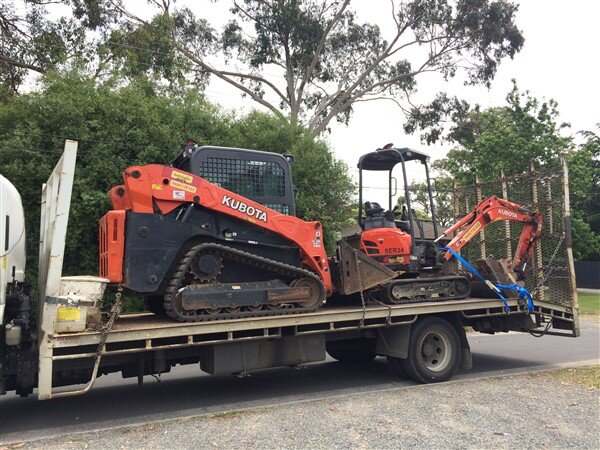
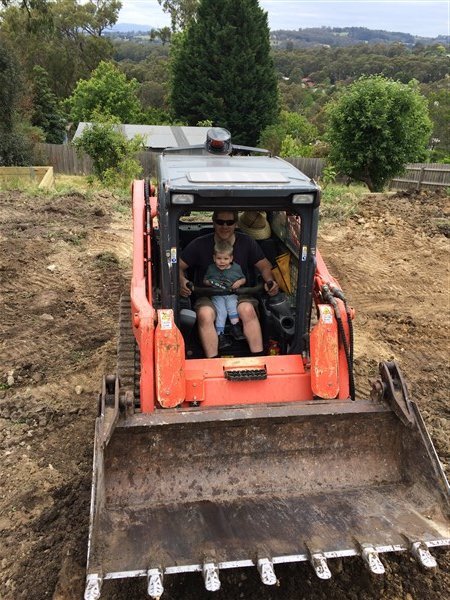
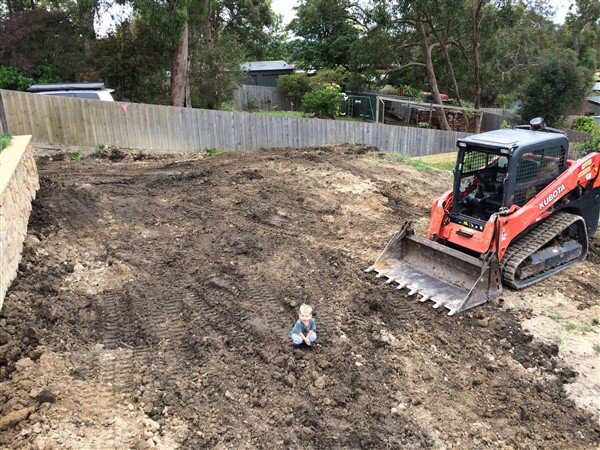
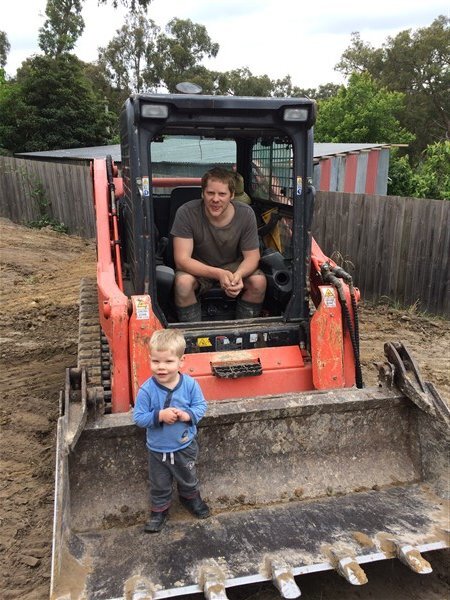
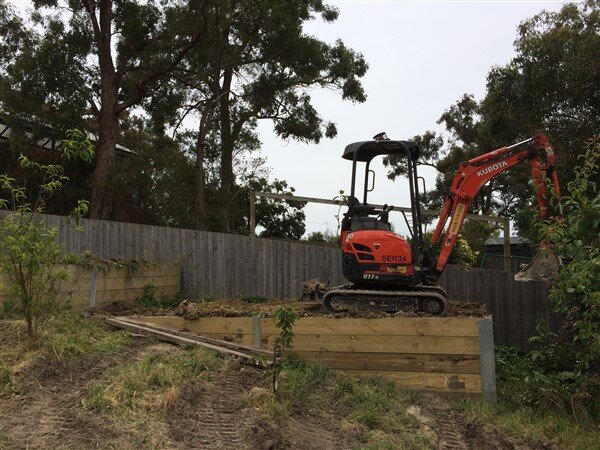
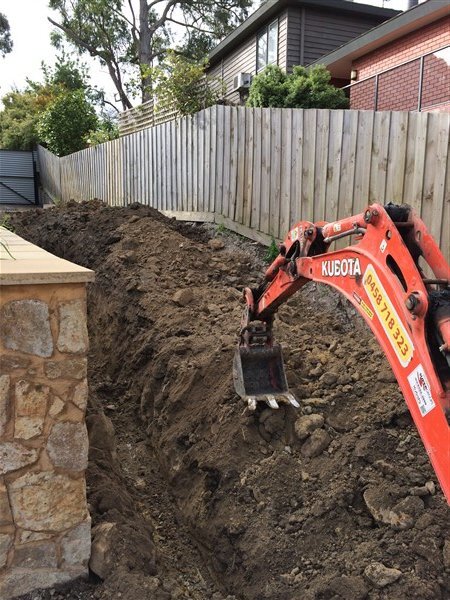
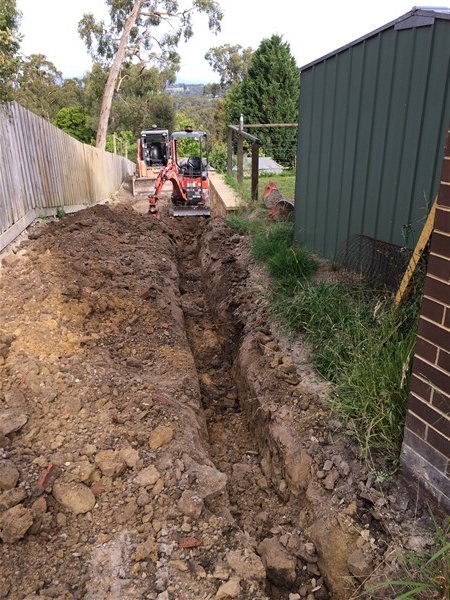
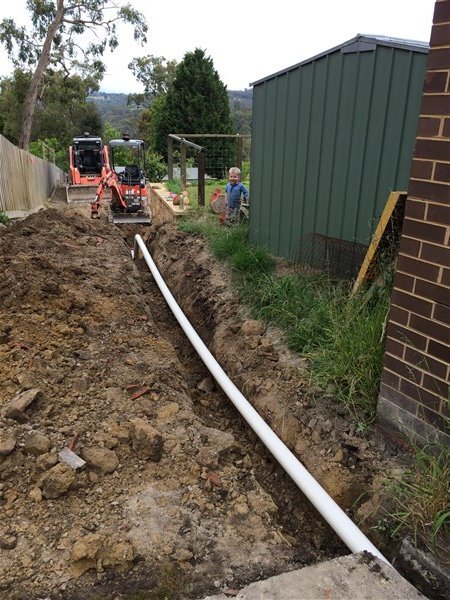
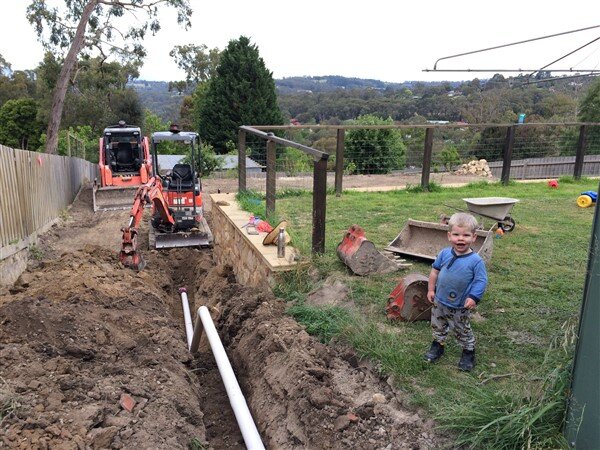
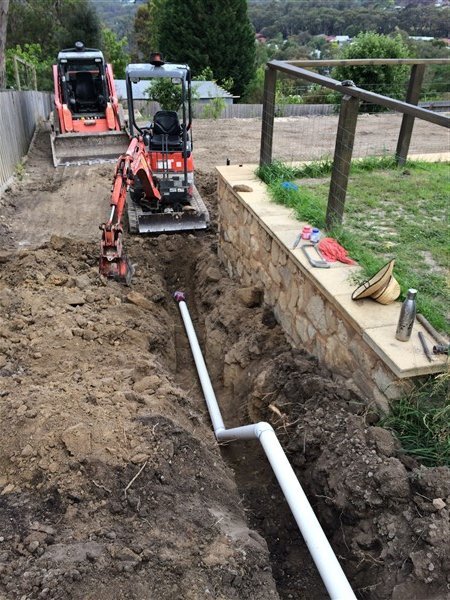
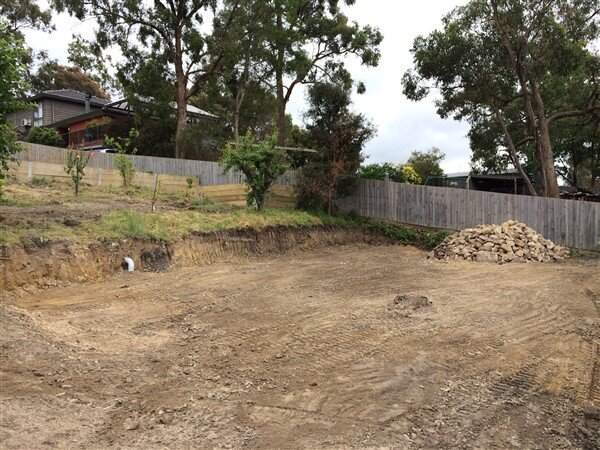
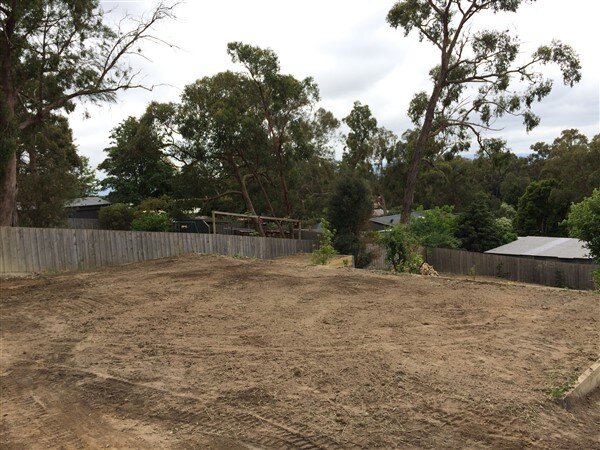
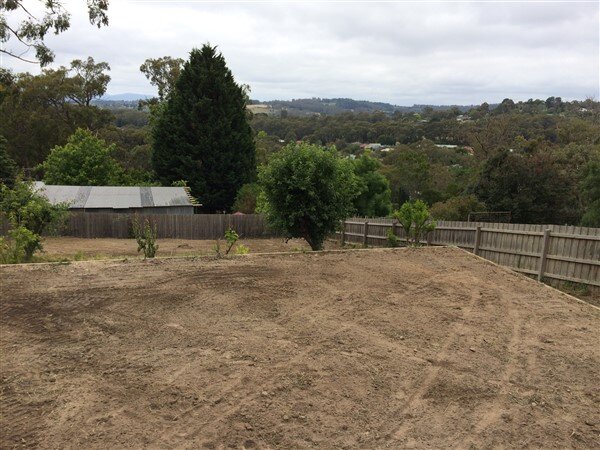
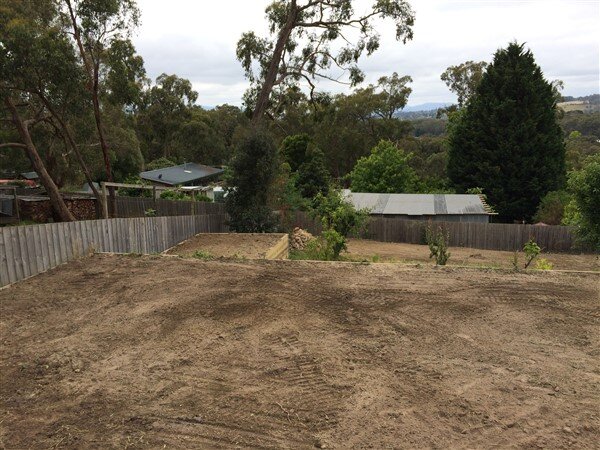
Spring has definitely arrived in Melbourne and my hope is that in a month or 2 the ground will have dried up enough for me to get the machines back in (a normal sized bobcat this time) to finish the job they started all those months ago.
Then I can get a load of top soil delivered to go under the lawn, get a load of ready mix concrete delivered for the driveway and garage pad and then work can begin on building a garage.
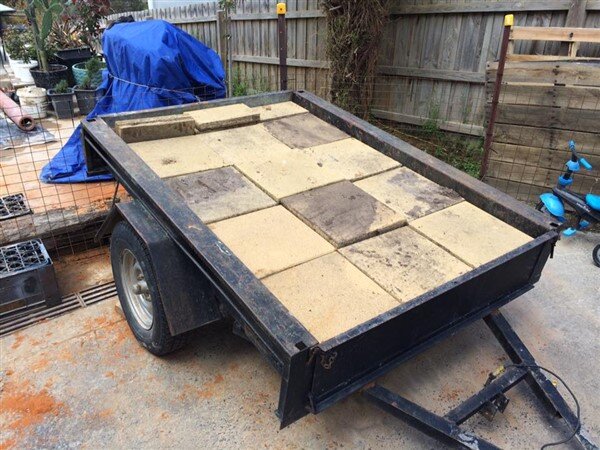
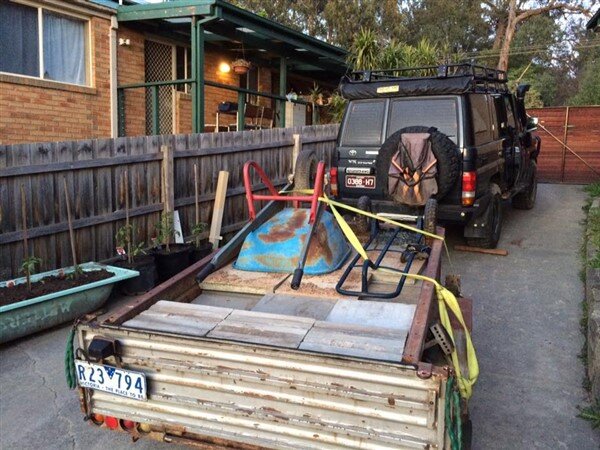
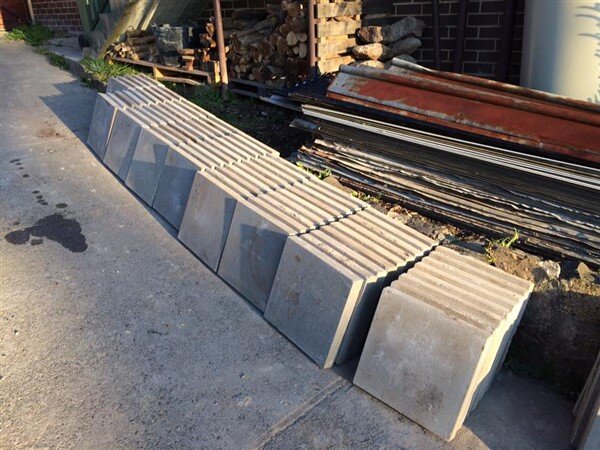
Before then I want to source a load of cheap second hand paving slabs for the top of my wall and patio area.

And the rock pile continued to grow.


I bought some bar chairs.

Tie wires and I knew this old tool I've been carrying around for the past 15 years and never needed, would be needed one day!

I cut some mesh, laid it on the bar chairs and secured it all together with the tie wires.


Mixed some concrete.

And poured it all in.


Next I needed to wash the clay and mud off some rocks.
I set aside an area that wouldnt put anymore water into the already water logged ground I was working on.


And began construction of the wall!

This first area was built using small rocks as because there is already a bit of an overhang on the concrete foundation for the brickwork above I couldnt go too big as I didnt want the rest of the wall to stick out too much past the brickwork.
I also wanted to pour concrete behind my little wall to help stabilise the brickwork as it was beginning to become a bit too undermined for my liking and there were already a few old cracks in the brickwork.

I wasnt prepared to let the weather stop me from the task at hand so tarps were erected on days of rain.


Wooden boards were needed to keep the bank from falling in in places.


The next section of concrete footing was ready to be poured and cast.


I also concreted behind the little stone wall section.
The entire wall will be capped with 300mm square paving slabs, including this low section which will form a bit of a bench/table as I'm going to build a small patio in front of it as its a nice place to sit in the evenings with the wall providing shade from the strong summer sun on your back.
The brickwork will get pressure washed and re-pointed where necessary.

All along the bank the top meter is made ground and when they constructed the house they dumped all their rubbish in this area, including a mountain or rocks that they couldnt see any value in, which I've been digging out and adding to the pile.
That big rock in the pic below was too good to leave buried so it had to come out.

Only it turned out to be much bigger than I was expecting.
I managed to get it down onto a sheet of OSB but then I couldnt lift it to get the board out.


So I was pondering what to do, thinking I wish I had a crane............
Then I remembered I do have a crane!

I had to go and buy some 6mm thick walled tube and a piece of 4mm thick square box section that fitted inside it as the original crane arm wasnt long enough and a piece of 50mm box with a 5mm wall bent like a banana and I had to add a lot of ballast to the base of the crane to keep it down but it bloody worked a treat!

I lifted it up, pressure washed it and then lowered it down onto a bed of mortar.

And built it into my wall!

I continued digging and had made it the very end of where the wall will be!

Bit more wall building.................

More concreting next and this section around the corner I decided to do as a stepped footing rather than wasting lots of stone under the ground that will never be seen.
Alongside this section of wall will be a concrete driveway down to the new garage I'm going to build for The 78 and car parts to live in.


These bits of bed rock were too hard to try and remove so I decided to build them into the wall and so I concreted around them.


More wall building.


I went through the entire dirty rock pile and re-stacked it, mainly so I could see if there were anymore big rocks worth pulling out and secondly to give better access to the site.
You can see how much water it sitting on the ground so the pallets really have been a god send!

The pile of big rocks at the bottom of the pic below were waiting to be used on the next section of wall, many of them were too heavy to lift so I needed to use them at the bottom of the wall and use the sack truck to move them to their position and then use crow bars and some times pieces of pipe as rollers to get them perfectly into position.

With the main section of wall nearing completion I dug down behind it and added some scourian volcanic rock and a length of agi pipe for drainage, so that ground water doesnt build up behind the wall.
I then covered the entire pipe in the scourian rock.


And I then began filling over the top with dirt.

So close now!


I'm hoping next weekend to finish the main section and go around the corner and up the stepped footing.
I also want to winch that tree out.
Spring has definitely arrived in Melbourne and my hope is that in a month or 2 the ground will have dried up enough for me to get the machines back in (a normal sized bobcat this time) to finish the job they started all those months ago.

Then I can get a load of top soil delivered to go under the lawn, get a load of ready mix concrete delivered for the driveway and garage pad and then work can begin on building a garage.
Before then I want to source a load of cheap second hand paving slabs for the top of my wall and patio area.

Last edited:


