Olazz
Well-Known Member
- Joined
- Apr 23, 2010
- Messages
- 1,428
- Country Flag

I bought some Cheap LED's recently to install in the rear tail gate after seeing J.W. setup in a post on here. They ended up in the bin after arriving as they were plastic flimsy and half broken.
A few days passed and J.W. found what looked like the exact item I needed, with integrated touch switch. He posted the link on here.
Promptly bought 2 of them from MUD's and held on to them until I went to collect my truck from Voelckers Cruisers.
Where they will go

Panel removed to see innards

Deciding on the spacing as I wanted them to light the drawers as they opened

Dismantled LED to show slimline form

The only drilling needed for the cabling

LED in place with just 2 screws

Flush fitting with no extra drilling required

Cover snaps in place

Wiring routed through bottom of door

Through existing rubber housing from door to body work

Rear head lining gently removed to feed wiring through

Internal wiring for rear courtesy light after removing Light. Refitted later to give even more light if needed.

New wires finally through after much fiddling and pulling

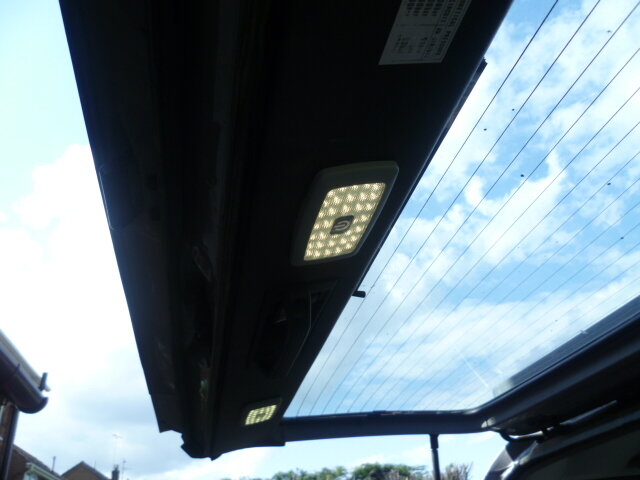
Finished Installation

LED showing centre € ...its really the snazzy on-off switch

The final result. Fantastic amount of light Only 2 LED's no internal light

As they're wired to rear courtesy, when the rear hatch is closed they turn off automatically, and will not light unless you switch them on manually.

Very very pleased with the result. Had lots of help from Rich at Voelckers.
Thanks J.W. excellent find.
Thanks Rich for all the help
Thanks JV for the use of tools and garage/tea/food etc.
A few days passed and J.W. found what looked like the exact item I needed, with integrated touch switch. He posted the link on here.
Promptly bought 2 of them from MUD's and held on to them until I went to collect my truck from Voelckers Cruisers.
Where they will go
Panel removed to see innards
Deciding on the spacing as I wanted them to light the drawers as they opened
Dismantled LED to show slimline form
The only drilling needed for the cabling
LED in place with just 2 screws
Flush fitting with no extra drilling required
Cover snaps in place
Wiring routed through bottom of door
Through existing rubber housing from door to body work
Rear head lining gently removed to feed wiring through
Internal wiring for rear courtesy light after removing Light. Refitted later to give even more light if needed.
New wires finally through after much fiddling and pulling
Finished Installation
LED showing centre € ...its really the snazzy on-off switch
The final result. Fantastic amount of light Only 2 LED's no internal light
As they're wired to rear courtesy, when the rear hatch is closed they turn off automatically, and will not light unless you switch them on manually.
Very very pleased with the result. Had lots of help from Rich at Voelckers.
Thanks J.W. excellent find.
Thanks Rich for all the help
Thanks JV for the use of tools and garage/tea/food etc.


 & having seen Jon's working at the weekend, one of the next essential mods for Muxley!!!