Don't like the adverts?  Click here to remove them

The make

alliston

New Member
Joined
Aug 11, 2015
Messages
47
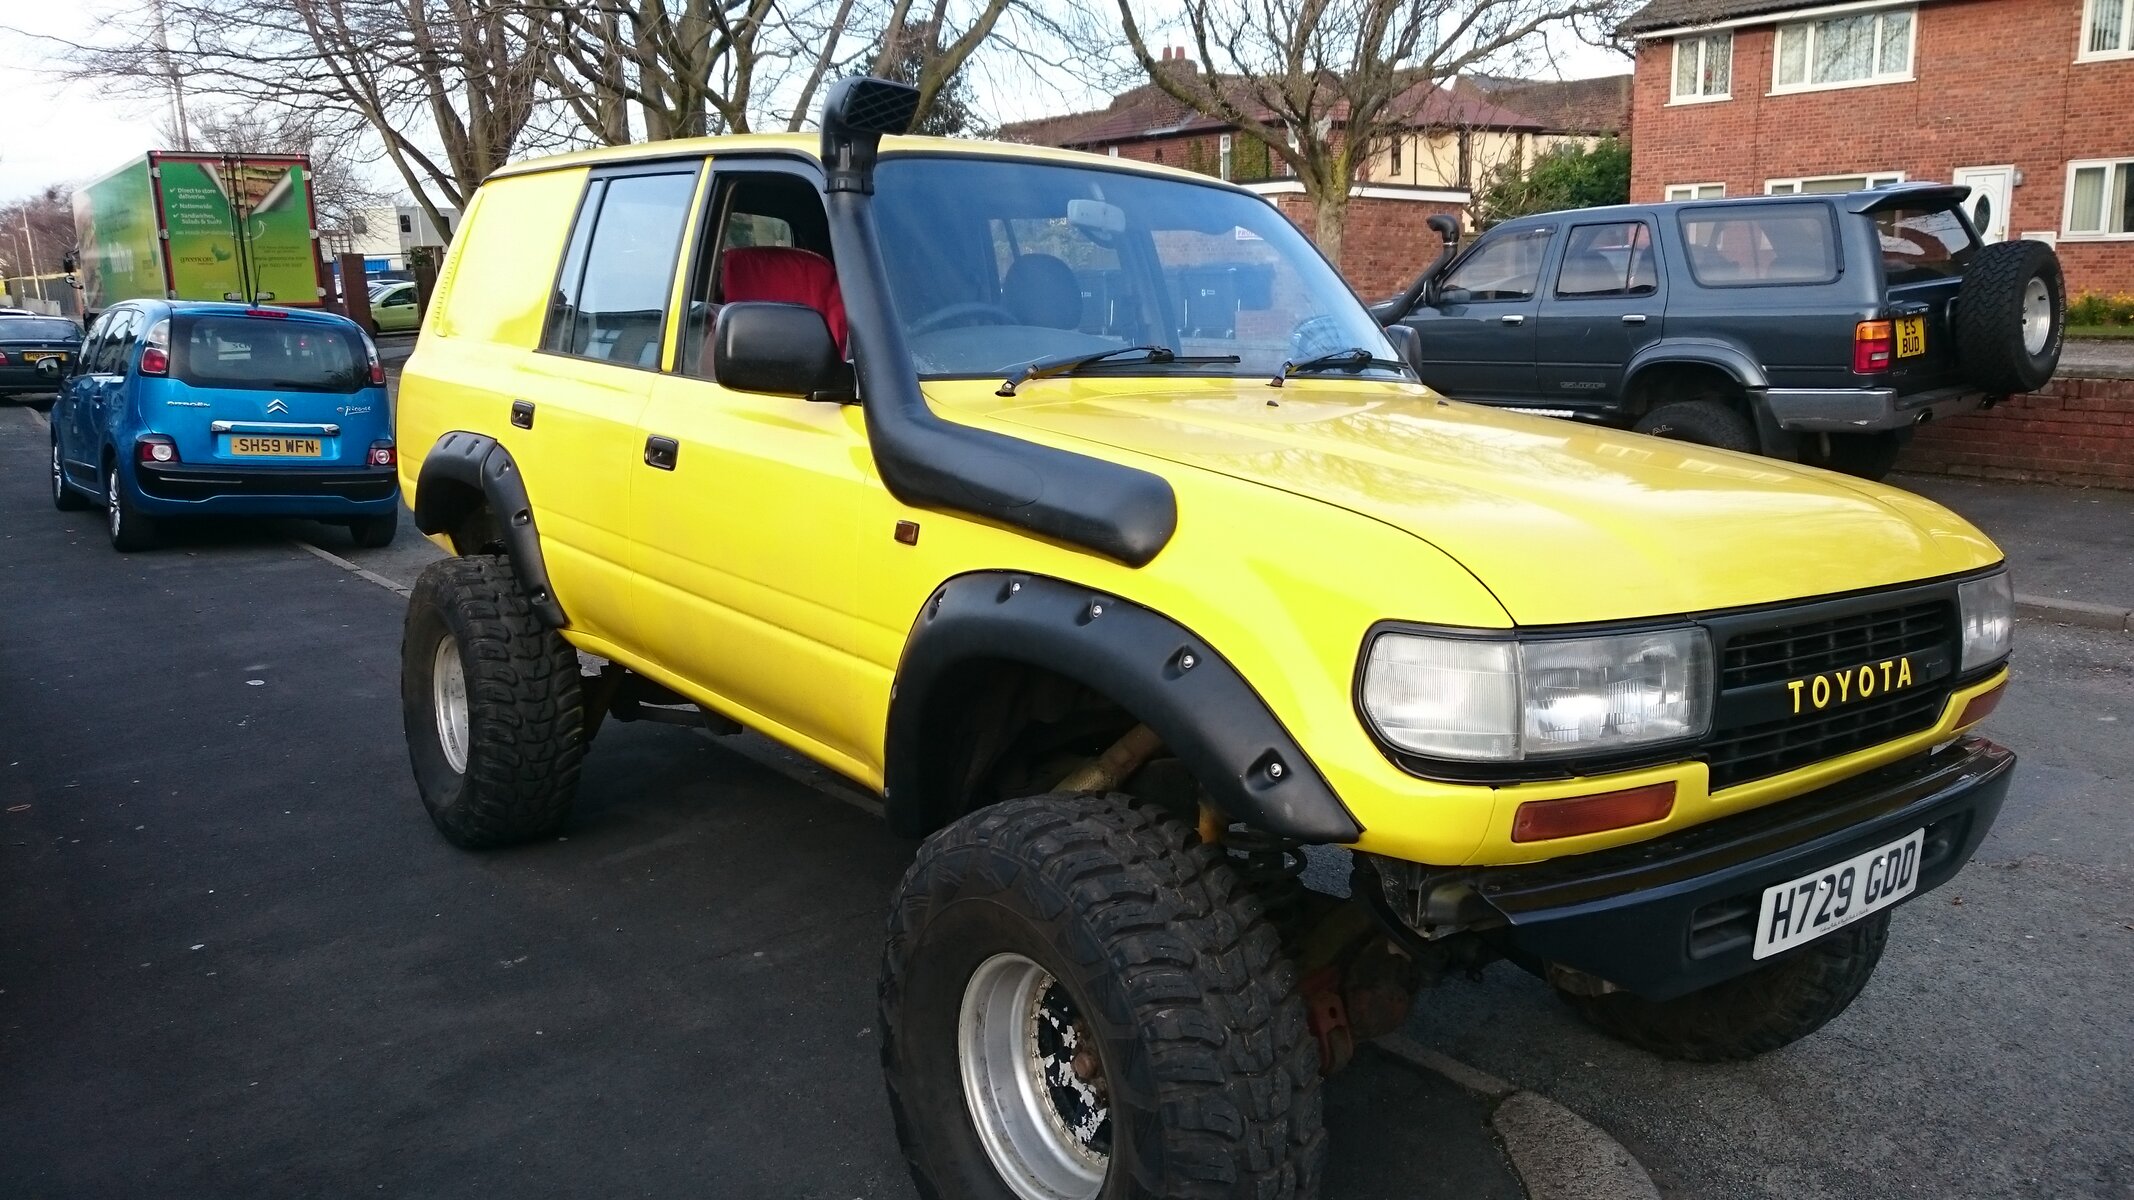
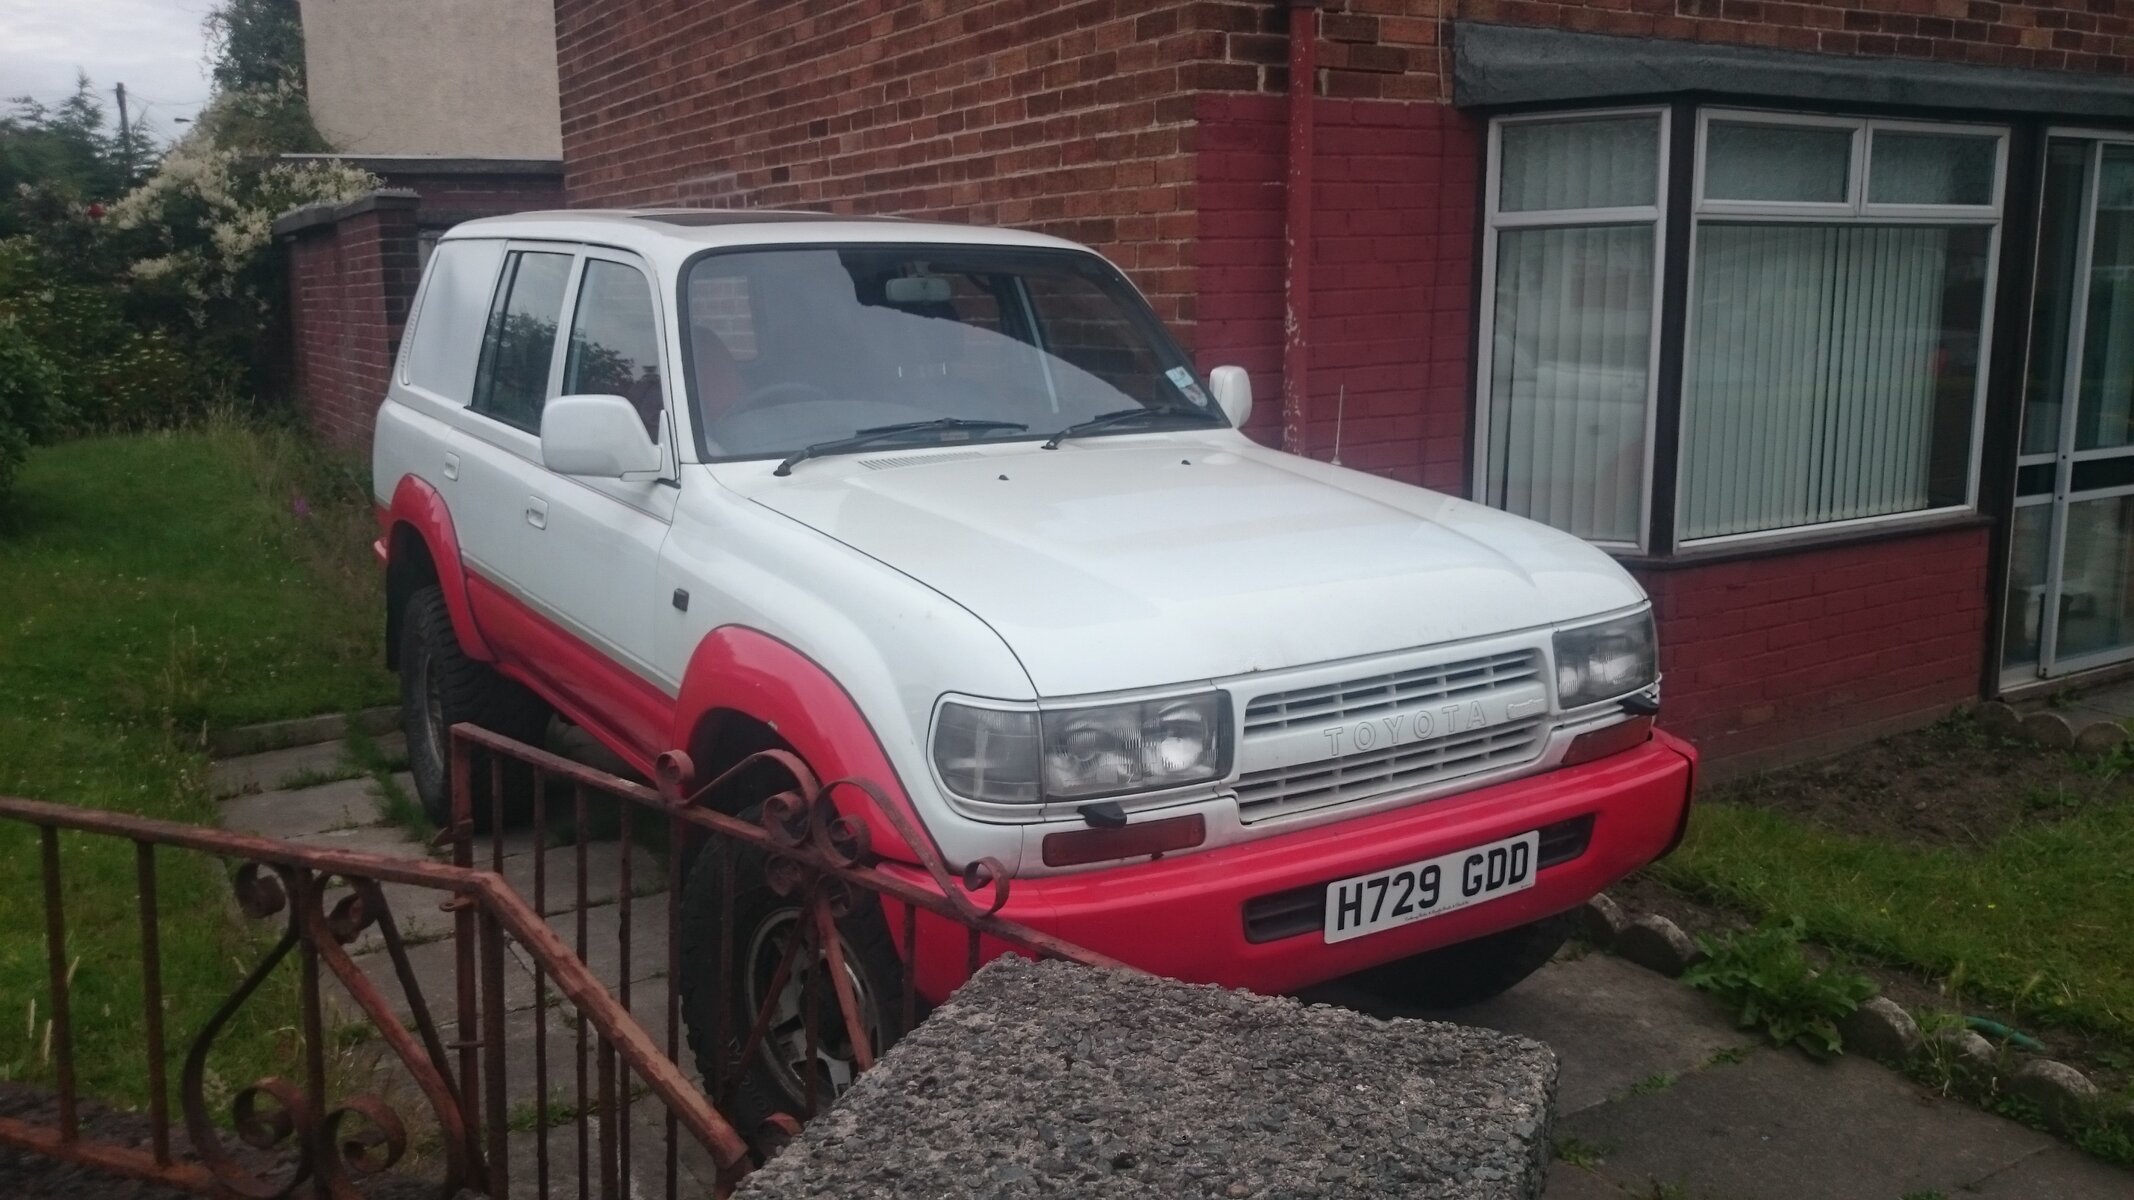
Though I would share the work I have been doing to my 1990 landcruiser cruiser I have made a video with all the pictures in to save time uploading them hope u enjoy.
https://youtu.be/NYNmXlrobmk
First I took all the stickers of before I even put it on the road a simple caramel wheel and a couple of hours had it all boxed off.

I already had 35" kumhos on split rims ready to install just had to fit body lift and remove the corner parts of the bumper to stop rubbing.
After removing the old arches and finding rust had to remove rust and fill all the arch holes in body

Eventually I started preparing the roof for the paint. Cleaned and prep ready for primer.
After a couple of coats of primer it was time to open the tin of yellow and get a few coats on

After roof was painted got the car back to the garage to fix my wondering steering. Simple bolt to adjust the caster and a quick wiz with angle grinder it's time to fab new brackets to adjust the castor to factory

Castor done back to the workshop to finish painting striped down and prep.and get the paint on
After rebuilt wasn't to happy with the finish some didn't seam the right shade compared to other panels. Back the garage and a go over again with alot more coats to get the same finish all over

Painting finished and happy with the finish time to do the black detail to break up the yellow

Final price to the puzzle was some new black archers
DSC_0834.JPGDSC_0024.JPG
 
Last edited:
Love the yellow! Which engine?


Sent from my iPhone using Tapatalk
 
Nice work, looks to be a diesel turbo?

regards

Dave
 
If anyone runs into that you can tell 'em they should've gone to Specsavers!!![emoji4]
 
Don't like the adverts?  Click here to remove them
Great looking 80 .......nice to see a different colour & theme. [emoji6]


Sent from my iPhone using Tapatalk
 
I must confess I havent watched the video yet, but I read what you've been doing and scrolled down and saw the first pic and thought Wow! What have you done to it, that looks hideous! :icon-rolleyes: :oops:

Then I scrolled a bit further and realised thats what it used to look like and now it looks seriously cool in yellow! :lol:

Nice work! :clap:

I like how you've done the very back windows yellow and the Toyota badge on the grill, the arches also look great. :thumbup:

Any more plans for it? :icon-smile:
 
It all looks very well done but I don't like the colour, sorry.
 
Thanks guys I should of done a proper build thread instead I just don't a quick catch up. Erm future plans roof rack. Chromoly cv and shaft for the front. I was debating weather to 3 link the front but I'd rather keep it handling well on road and not make it to much of an extreme off roader. It's my daily drive aswell to don't want to compromise to much as I want to kit it up for a some long camping trips.
 
I thought the colour might not be everyones cup of tea but I like to do something different
 
I was thinking the colour didn't work until the black bits went on. Still not sure but the black makes it far better. I did wonder if having the side back windows in black might help balance it out more. It would look really cool with a pair of gullwings in there. [emoji4]
 
Keep trying Rich, keep trying. :laughing-rolling: I agree though a black panel would look better.
 
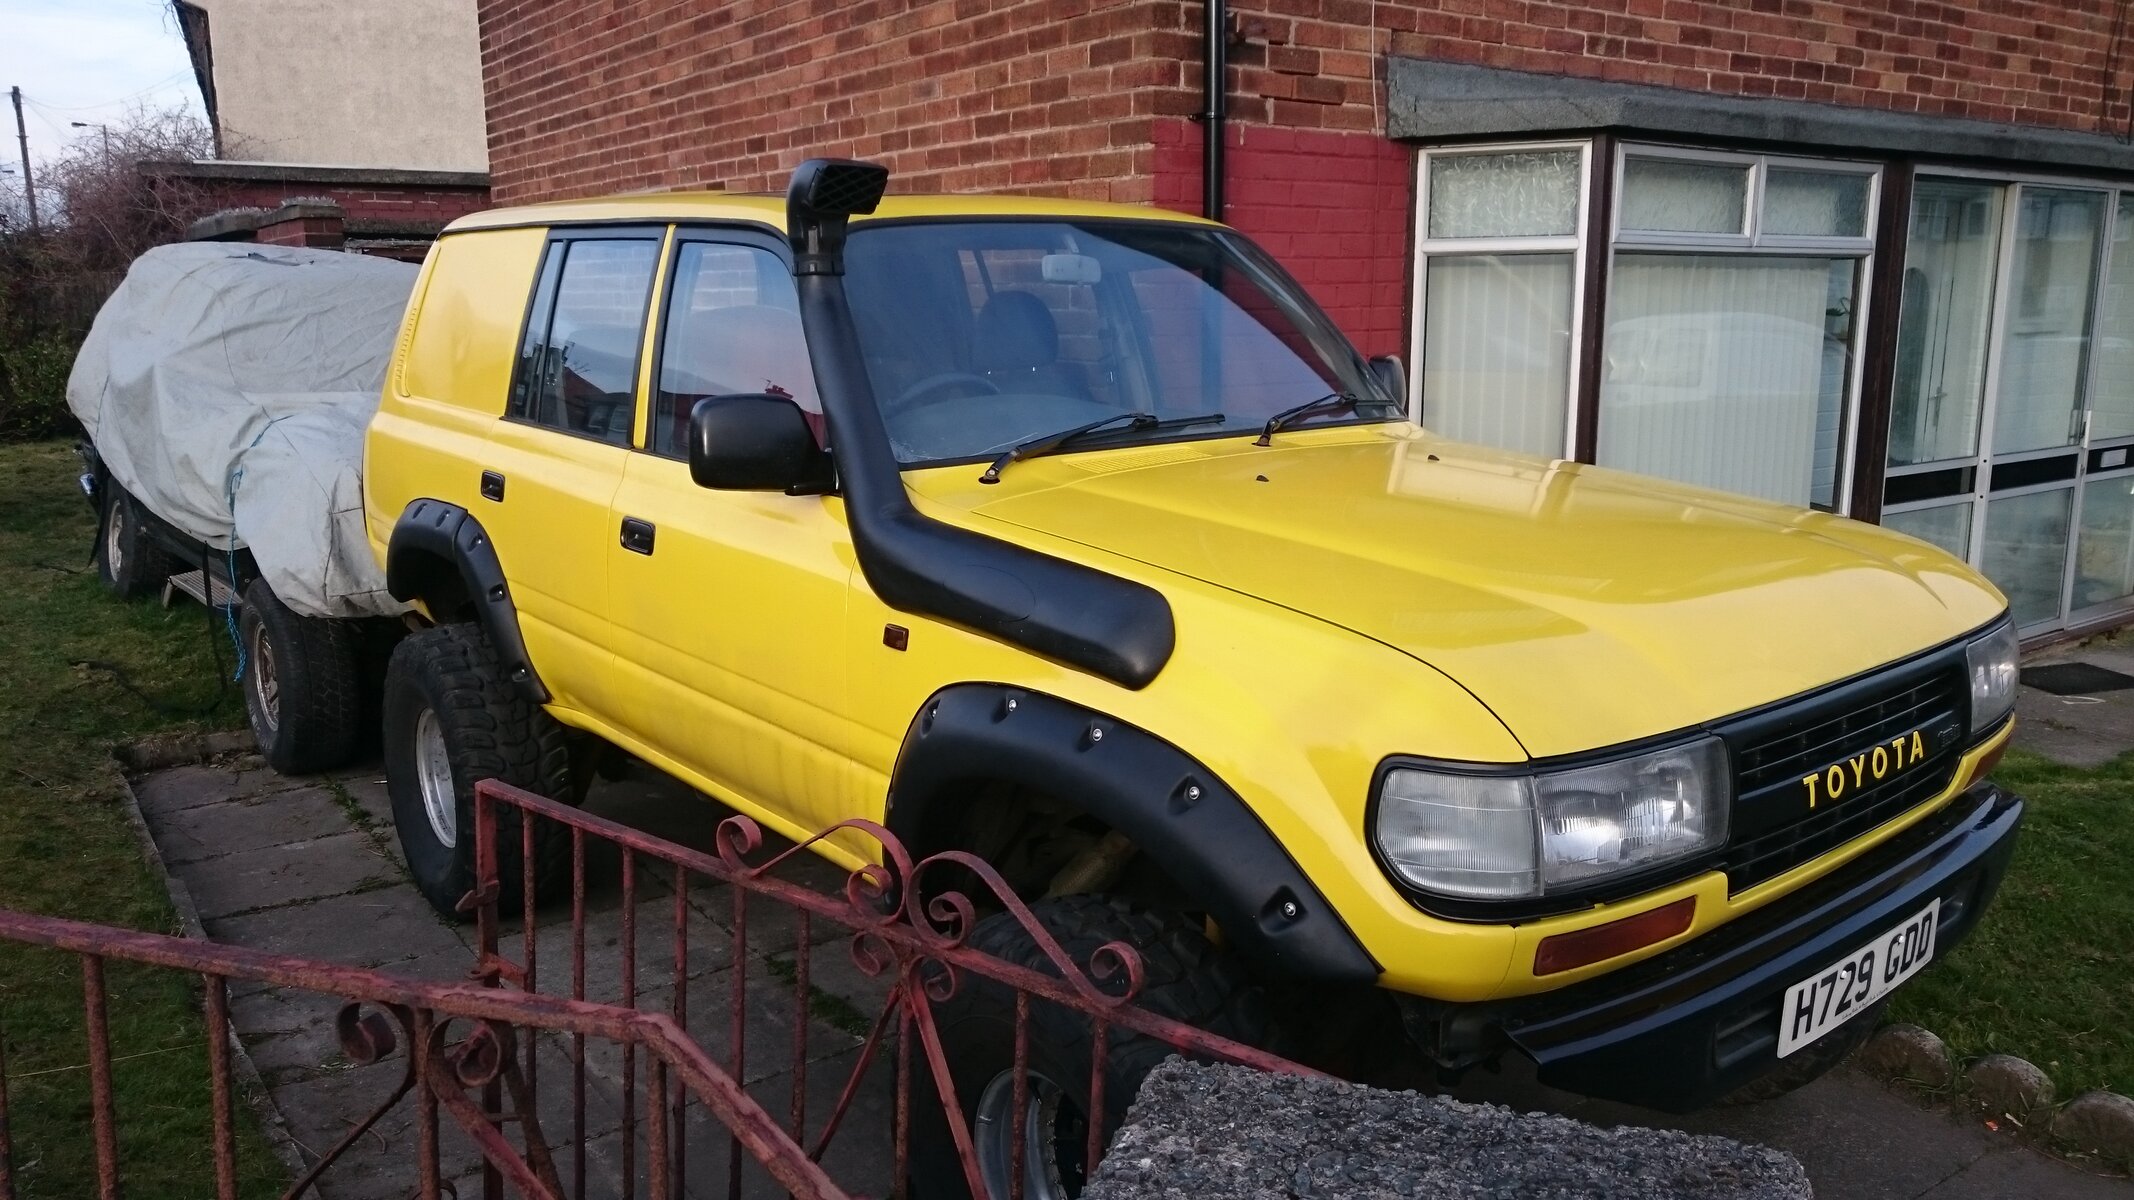
Though I would share the work I have been doing to my 1990 landcruiser cruiser I have made a video with all the pictures in to save time uploading them hope u enjoy.
https://youtu.be/NYNmXlrobmk
First I took all the stickers of before I even put it on the road a simple caramel wheel and a couple of hours had it all boxed off.

I already had 35" kumhos on split rims ready to install just had to fit body lift and remove the corner parts of the bumper to stop rubbing.
After removing the old arches and finding rust had to remove rust and fill all the arch holes in body

Eventually I started preparing the roof for the paint. Cleaned and prep ready for primer.
After a couple of coats of primer it was time to open the tin of yellow and get a few coats on

After roof was painted got the car back to the garage to fix my wondering steering. Simple bolt to adjust the caster and a quick wiz with angle grinder it's time to fab new brackets to adjust the castor to factory

Castor done back to the workshop to finish painting striped down and prep.and get the paint on
After rebuilt wasn't to happy with the finish some didn't seam the right shade compared to other panels. Back the garage and a go over again with alot more coats to get the same finish all over

Painting finished and happy with the finish time to do the black detail to break up the yellow

Final price to the puzzle was some new black archers
View attachment 25615View attachment 25616

Looks good, where did you source the black archers???
 
I have to confess to not watching the video yet, I have that to look forward to.

I too don't like the colour but that's not my business, the job looks good as is (but I'd go with the black rear panels too:icon-biggrin:)

Any plans to "fill-in" the gaps between the front bumper ends and the arches? I'd imagine that quarter to be a bit vulnerable, I know that my front ARB quarters have come in handy on several occasions :whistle:

The lift looks 'substantial' do you have any steering 'drift' issues? I'm going with dropper boxes on mine when I get the chance to collect them from Stan's place. At the moment I'm sure that the caster correction is inadequate.

Nice job despite the colour, I'd have gone for white and black, but it sure looks smart :thumbup: Well done :clap:
 
Thanks Clive, the cheque is in the post ok. [emoji6][emoji106]
 
Back
Top