Iwan
Well-Known Member
- Joined
- Mar 28, 2011
- Messages
- 1,908
- Country Flag

I have this oak framed barn which is a listed building and has bats! It's in dire need of restoration and was near collapse!

There's lots of subsidence in the left hand side corner post that has slipped off the stonework and has driven into the ground like a gate post! The horizontals in the gable a frame have snapped.

Over the open bay of 16ft the lhs has dropped 2ft / 600mm and has a lean of 8 to 9"!

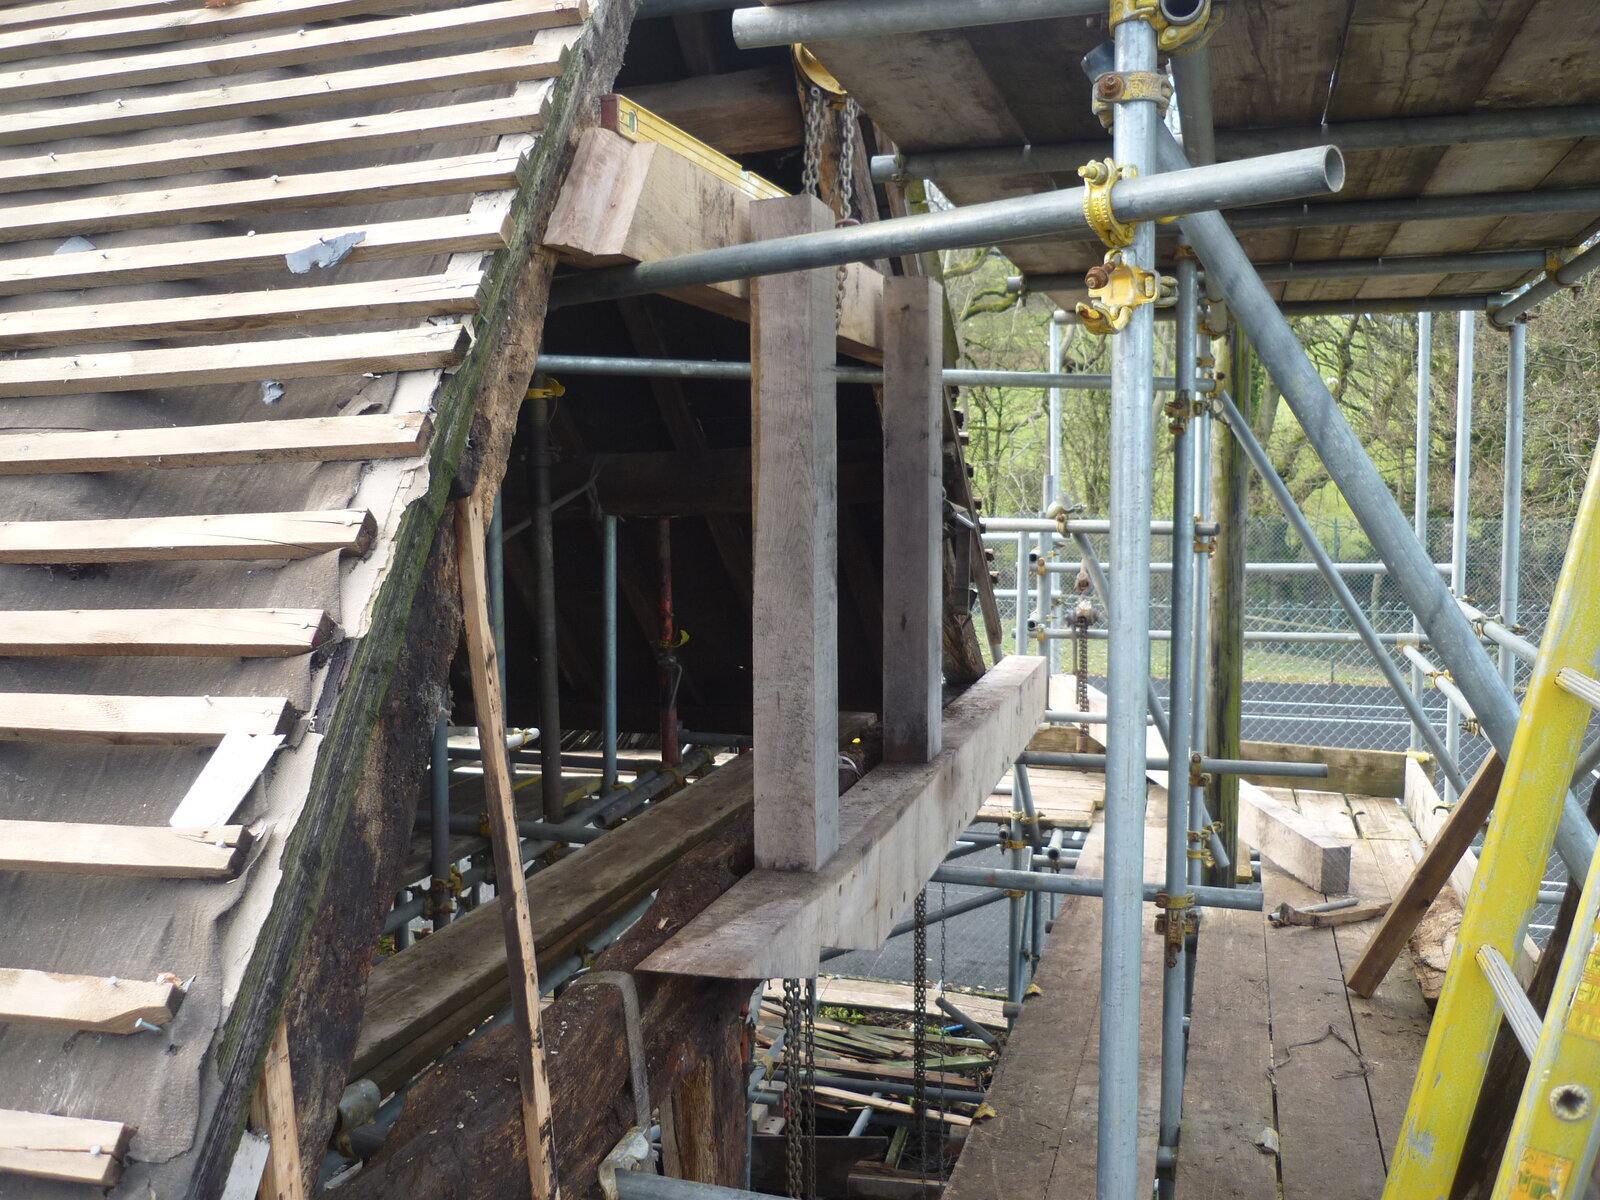
So with this kind of job you need structural scaffolding.. the first job is to take the slates off the roof.

With the weather boarding off the gable end you can see the extent of subsidence to the right hand corner!

Inside there's an OTT internal scaffold which holds the weight of the roof above! We have bolted together accrows to make double length supports for the roof purlins. Right at the top you can see the first pulley block it's a 2 ton yale block and tackle with a 45 foot or 15 metre chain on it!

This one can lift from the outside of the gable and slide in to lift from the inside.

With internal and external scaffolds you can then run support bars through under the beams, making the weight of the barn being stood off the scaff.
The orange pulley block is a tiger 2 ton with 16ft /5m chain length.

So we aim to lift the barn back to its original height.

When you start lifting with the pulley blocks you lift 4" then stop and go around the accrows and the support pipes and you catch up with the height raise.

Because the barn was leaning, we used this 2 ton yale pull lift and what a good tool this is. Works better when it's pulling heavy and it helped a lot to get this corner back to level!

A very handy pair of pulley blocks!

The site is very tight and the only way to get the new beams in is to pulley block them in!

My mate shows the scale of it and in this pic it shows how much of the barn is missing..

The yellow block's chain goes outside to the trailer! About 45 foot of chain used via this pulley to make a 90 degree turn in the chain!

It works really well!

Took time to get this replacement oak tie beam nearly up onto the support bars.

Setting up for the gable a frame repair.

Best use a softwood plank to mimic the new beam to get the angles! To our surprise the board was level!

An thats as far as we got yesterday! It's a very positive and enjoyable job! I like it!
There's lots of subsidence in the left hand side corner post that has slipped off the stonework and has driven into the ground like a gate post! The horizontals in the gable a frame have snapped.
Over the open bay of 16ft the lhs has dropped 2ft / 600mm and has a lean of 8 to 9"!
So with this kind of job you need structural scaffolding.. the first job is to take the slates off the roof.
With the weather boarding off the gable end you can see the extent of subsidence to the right hand corner!
Inside there's an OTT internal scaffold which holds the weight of the roof above! We have bolted together accrows to make double length supports for the roof purlins. Right at the top you can see the first pulley block it's a 2 ton yale block and tackle with a 45 foot or 15 metre chain on it!
This one can lift from the outside of the gable and slide in to lift from the inside.
With internal and external scaffolds you can then run support bars through under the beams, making the weight of the barn being stood off the scaff.
The orange pulley block is a tiger 2 ton with 16ft /5m chain length.
So we aim to lift the barn back to its original height.
When you start lifting with the pulley blocks you lift 4" then stop and go around the accrows and the support pipes and you catch up with the height raise.
Because the barn was leaning, we used this 2 ton yale pull lift and what a good tool this is. Works better when it's pulling heavy and it helped a lot to get this corner back to level!
A very handy pair of pulley blocks!
The site is very tight and the only way to get the new beams in is to pulley block them in!
My mate shows the scale of it and in this pic it shows how much of the barn is missing..
The yellow block's chain goes outside to the trailer! About 45 foot of chain used via this pulley to make a 90 degree turn in the chain!
It works really well!
Took time to get this replacement oak tie beam nearly up onto the support bars.
Setting up for the gable a frame repair.
Best use a softwood plank to mimic the new beam to get the angles! To our surprise the board was level!
An thats as far as we got yesterday! It's a very positive and enjoyable job! I like it!