Big LJ update.........Wheel base stretch brackets, drums and roof rack.
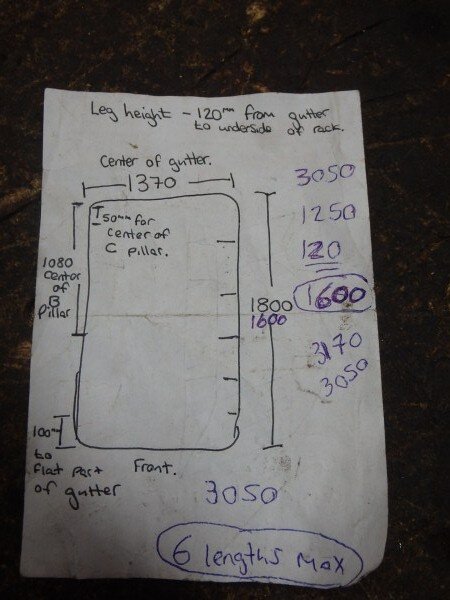
OK the brackets to move the front axle 50mm further forwards first which will improve the approach angle, hopefully make LJ more stable as the wheel base will be longer, and also provide more tyre clearance against the bulk head. They will also fix the castor without the need for castor correction bushes as I will also drop the mount down slightly.

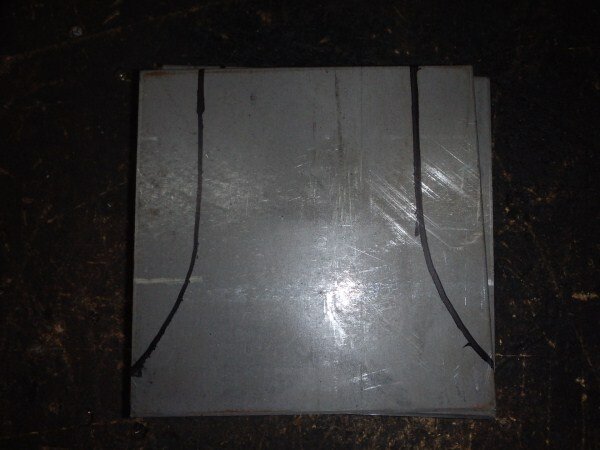
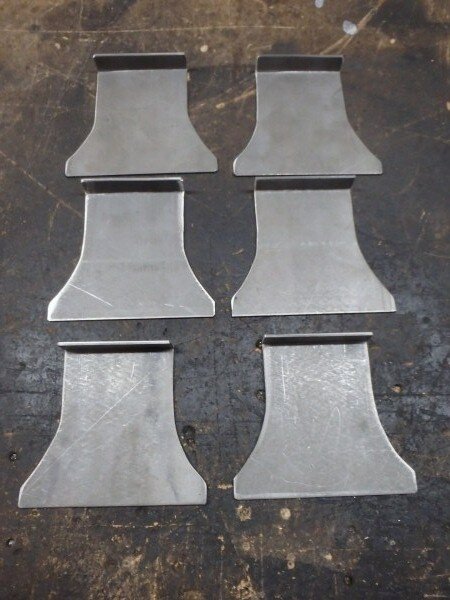
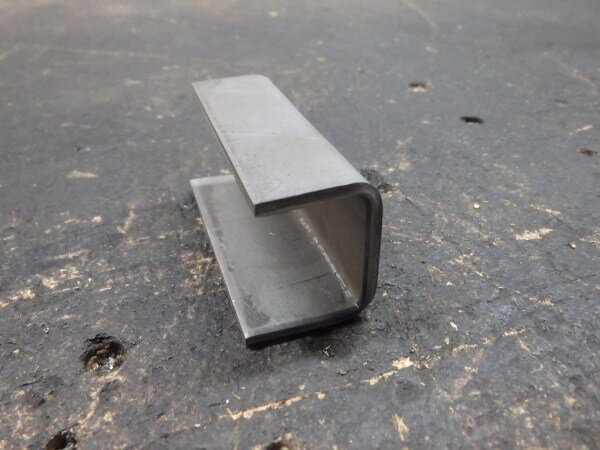
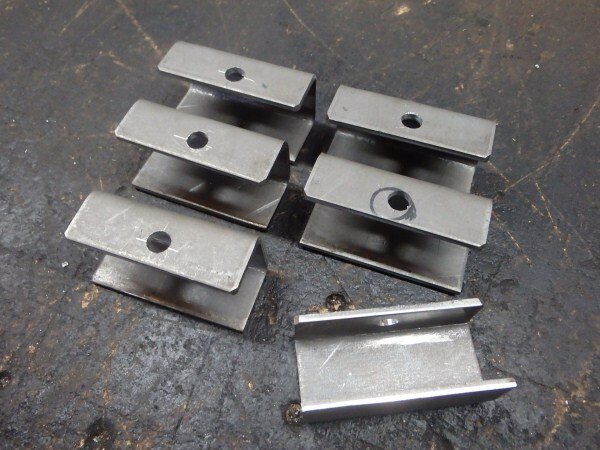
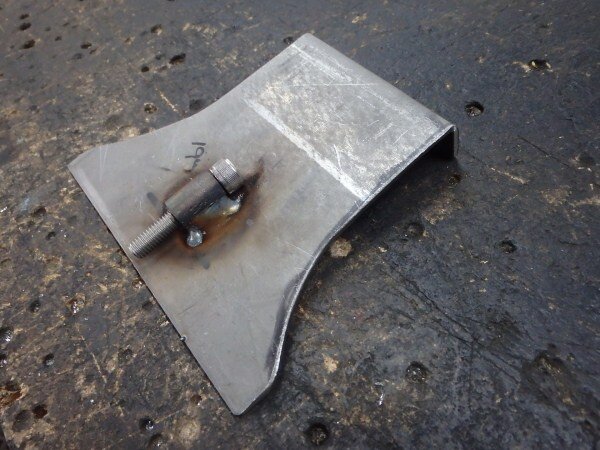
Cut some 3mm plate.


Bent some of it.

And tacked it together.


Comparing it to my prototype.


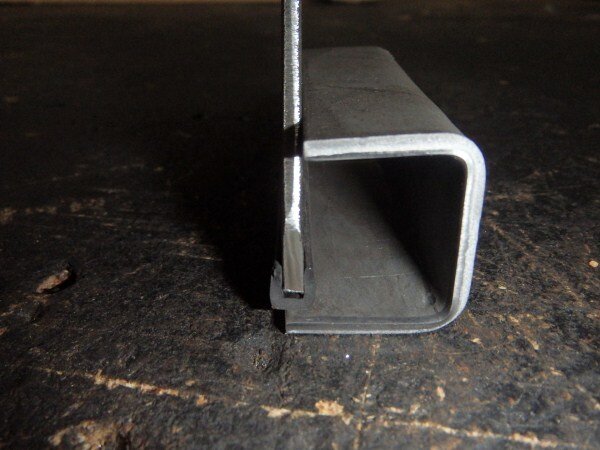
I could then bring them home and try them on the car.
They are a really snug fit and actually required tapping into place with a hammer.


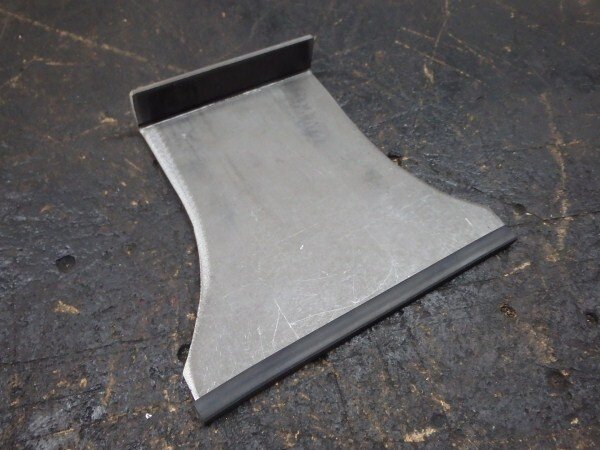
I marked where the inside of the bracket coming down from the chassis is as I wanted to add a piece of metal to fit snugly up against that.

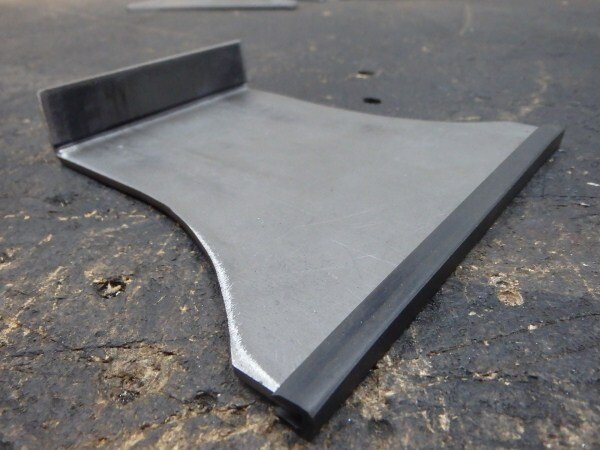
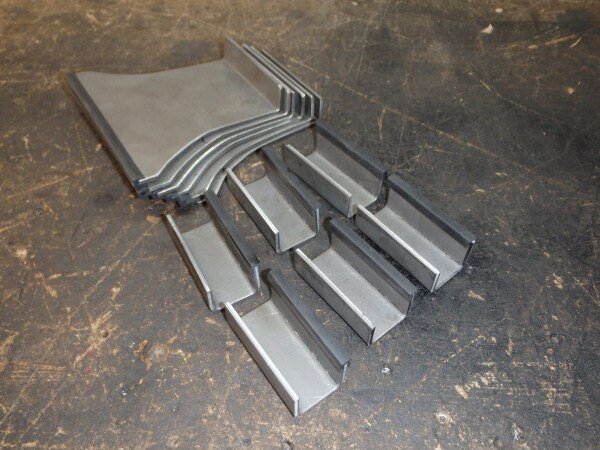
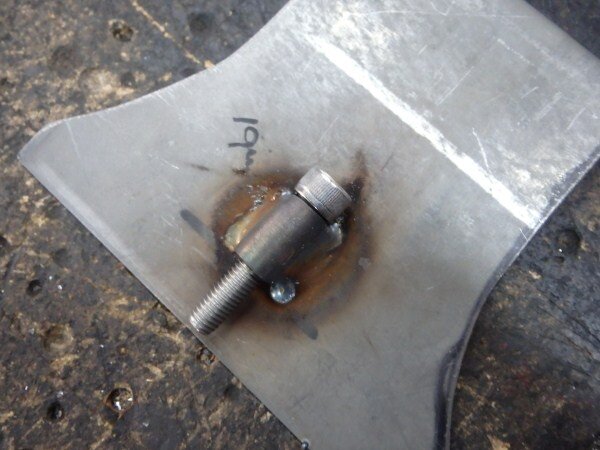
I fully welded the outside of them.

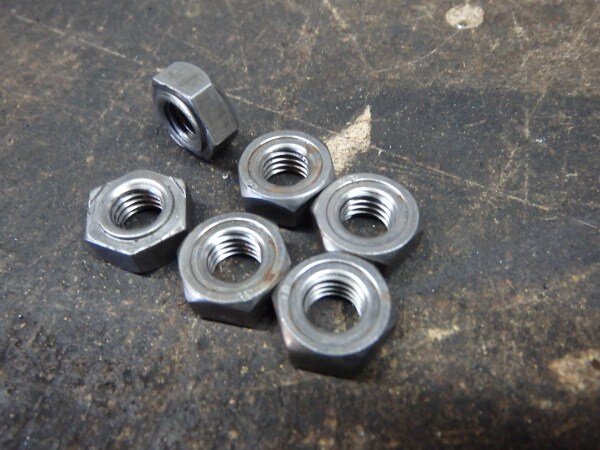
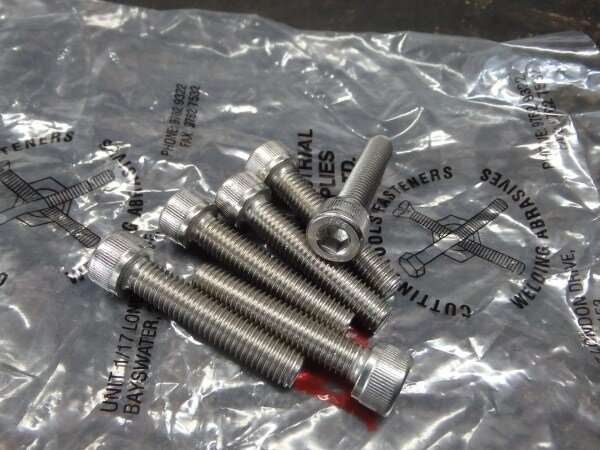
And picked up some high tensile M18 bolts.

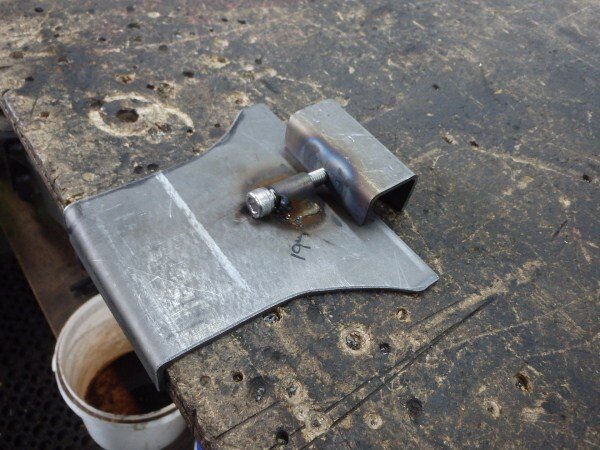
I needed to add the pieces that would fit snugly up against the chassis, these bits would also help to space back out the internal measurement to be a snug fit for the bush on the end of the radius arms.

Cardboard template. (the cut out bit is to give me an area to weld, as I didnt want weld where it butts up against the chassis, I wanted that to be a nice neat square edge.)

Cut some out in metal.

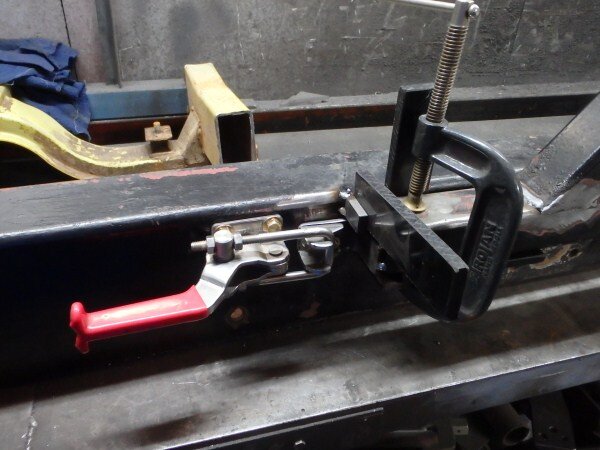
And clamped them in position ready for welding.


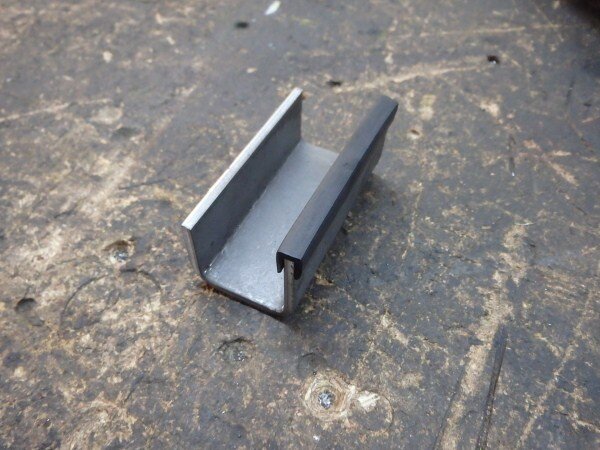
Welded.


Smoothed all the welds down.


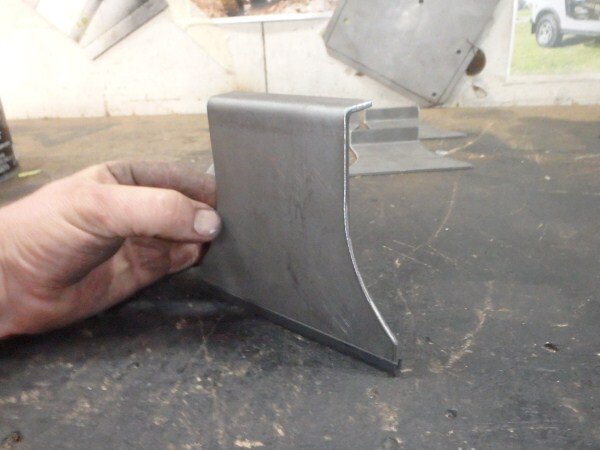
And tried them back on LJ.


Beautiful fit!


Marked the holes using the prototype/template.

Centre punched.

And drilled, started off with a small drill bit and worked up.


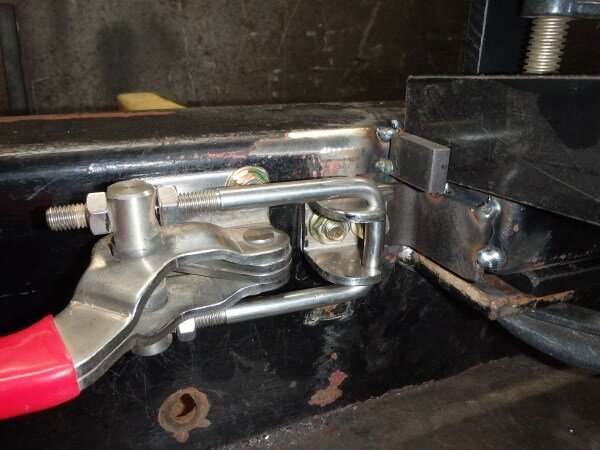
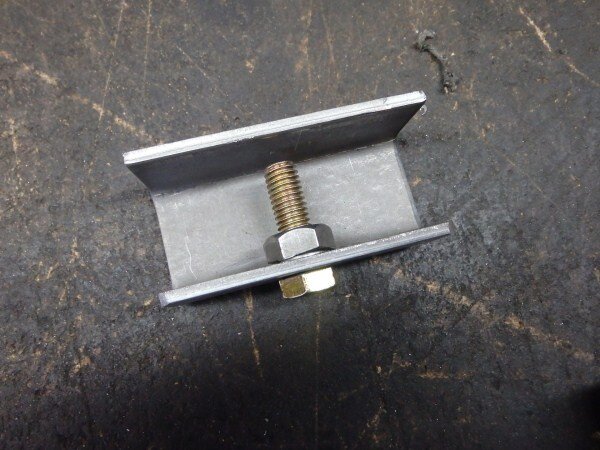
I got a spare radius arm on the bench to make sure it would all fit and work.


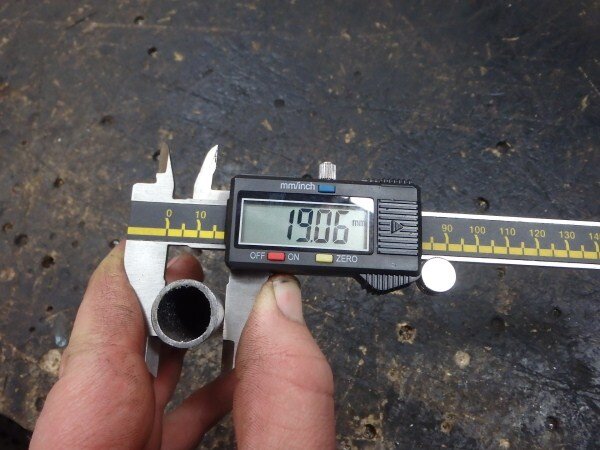
My orginal plan was to use 2 M18 bolts with dome heads coming through this way, as I didnt think there would be room for 1 bolt coming straight through with crush tubes, against the back of the radius arm.

There was clearance, just. So I bolted them onto LJ.


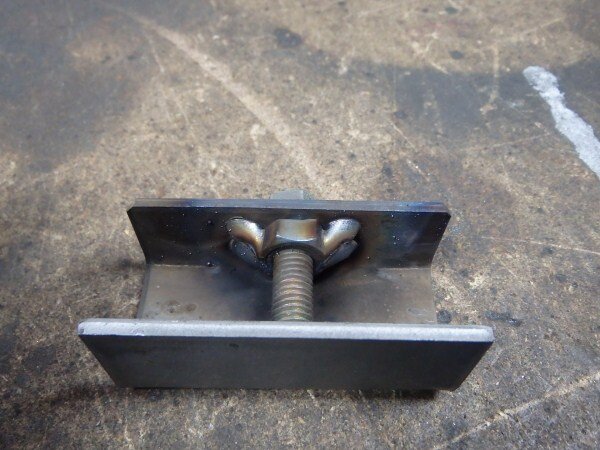
That one fitted and worked so I drilled the other one.

And got it fitted.


I needed to actually fit the radius arms into the new mounts next, but as the front axle had no wheels on it and was sat on stands I decided to put some wheels on the back so I could remove the stands and use the bits out of the stands on my jack adaptor.


I was struggling to safely pull the front axle forwards and had decided to put the front wheels back on when it all went tits up and LJ fell off the front axle stands.

It happened slowly and I wasnt underneath it or anything but still not good. I decided then that I needed to bring my huge chassis stands home from work.


Wheels back on.

Radius arms jacked up.

And bolts in.

Loads of tyre clearance to the bulkhead.

And the front tyres were now very close to the front of the car making for an awesome apraoch angle! Remembering the 37"s will be a good 1.5-2"s closer to the front.

I am slightly concerned about clearance on the front bumper as havent got that back on to check yet.


Not really enough clearance between the arm and the bolt heads so that would need re-thinking.

The panhard rod was now touching the pumpkin on the axle so that would need altering.


Moving it to the otherside of its mount would give it 50mm of clearance.

Obviously how ever I adjust the panhard rod mount it needs to be ridicoloulsy strong, so I may even brace it back to the other chassis leg. I would however like to keep it all bolt on which complicates matters considerably.


I took the brackets back off LJ.

And checked to see how much clearance there was for a bolt to go straight through.


Just about enough.

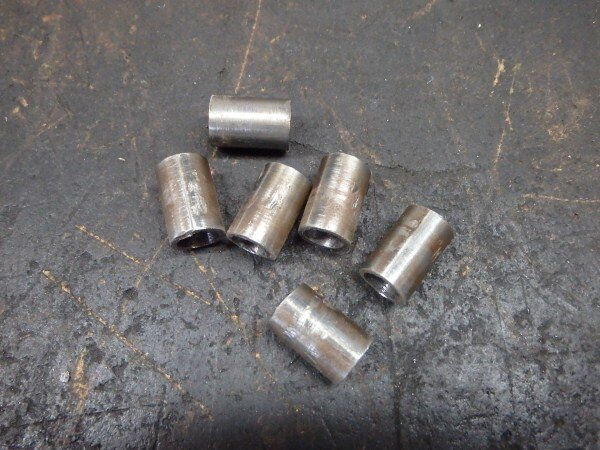
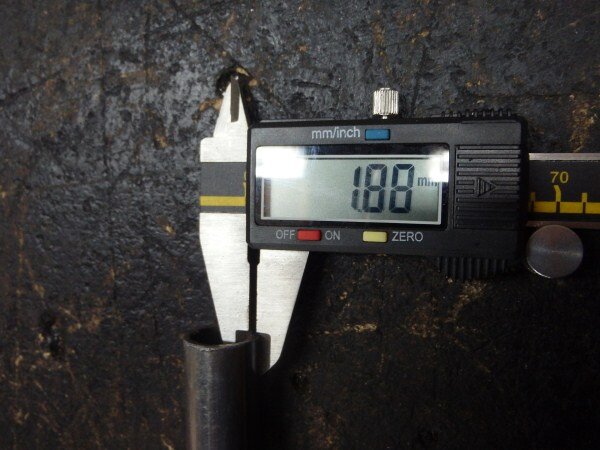
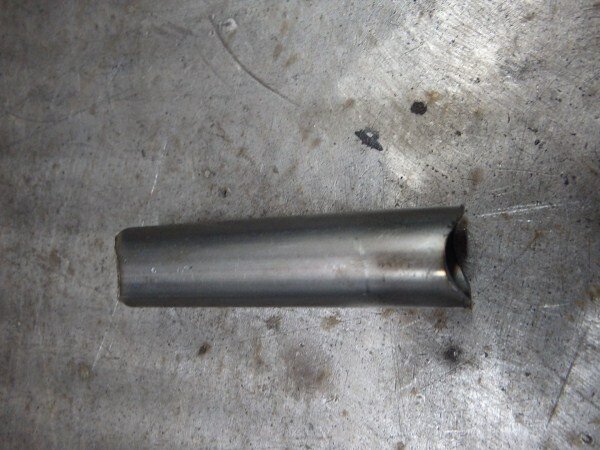
I cut some crush tubes.


Tighter than I'd have liked but it would clear just.

I fully welded the inside as smoothing down the outsides had removed a lot of the reinforcing from the welds.


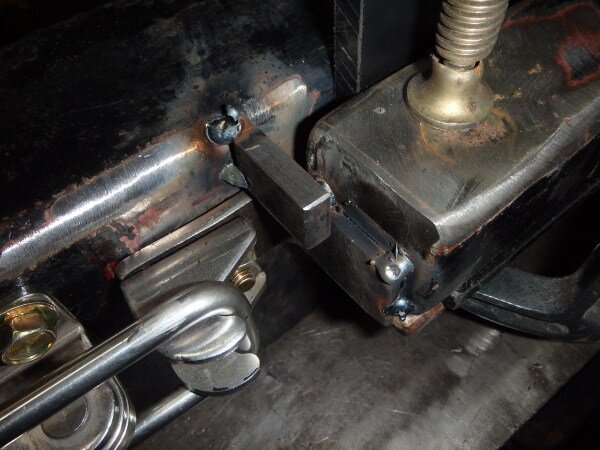
I cut some gussets.

And welded them in position.

I dropped them off at the electro platers and 3 hours later they were ready.

Picked up some more M18 high tensile bolts.


I wasnt quite happy with the crush tubes.

They could have been much tighter to the bolt but this was the only tube that we had anywhere near the right size.

The solution....................
Make the tube smaller.
Cut through the seam.

Closed it up with hose clamps.

And welded it back together.


I brought them home and fitted them.


The fronts are clamped nice and tight against the chassis by the rock slider mounts.

Arms could be bolted on next.


Plenty of clearance between the arm and my crush tubes.


The panhard rod has always been twisted and I wonder if this is why its flogged a few sets of bushes out and caused death wobble!
Also ideally it needs to be longer as the suspension has been raised. So my plan is to make or source a stronger, adjustable panhard rod and modify the bracket to mount it 50mm further forwards.


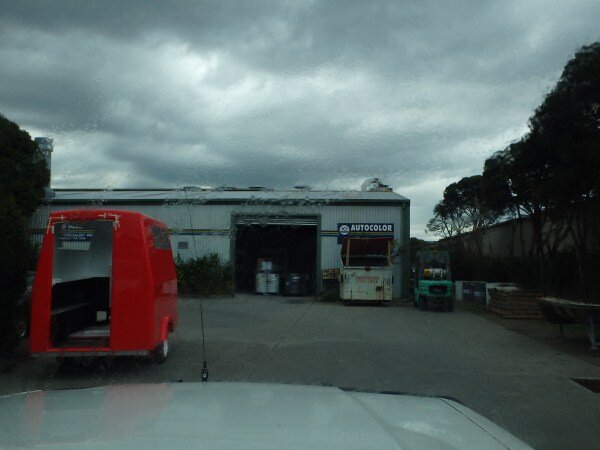
I had to go and pick up some tyres for a customers Suzuki in the 60, I also picked up the repaired tyre off LJ.

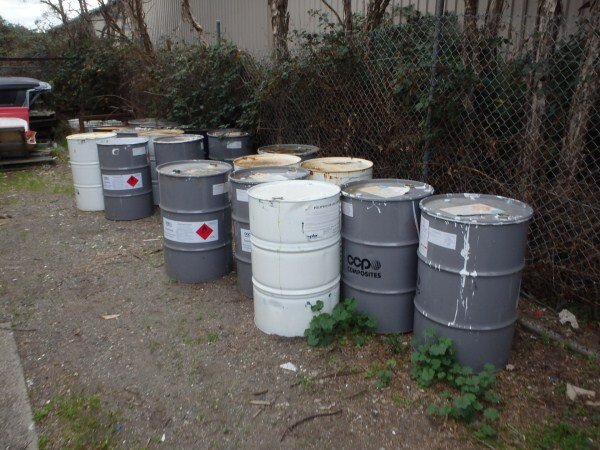
The tyre place we use is just up the road, near ARB HQ. While driving to pick up the tyres I went past the fibre glass place that I always go past and I spotted a load of perfect loose lid drums on a pallet. So I stopped and spoke to the boss there and said I needed 4 empty drums and can I buy some. He said we normally just weigh them in as scrap but we dont get much anyway so just help your self to as many as you want.

Its funny because last weekend I borrowed a trailer and tried buying some drums off a guy who advertises on ebay and gumtree. Well he messed me around and said I could pick them up Saturday afternoon, to cut a long story short in the end he refused to sell me 4 as he said its not worth his time etc. etc This is despite the ebay listing offering 2 drums for X amount of $'s which I was prepared to pay.


I accepted it obviously wasnt meant to be and put faith in the fact some thing would turn up and it did!

Anyway.........................
Back to the drums.
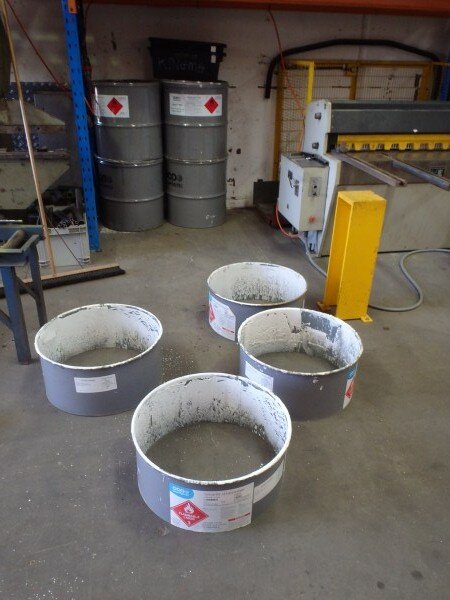
The place make fibre glass bodies like the red one on the left.
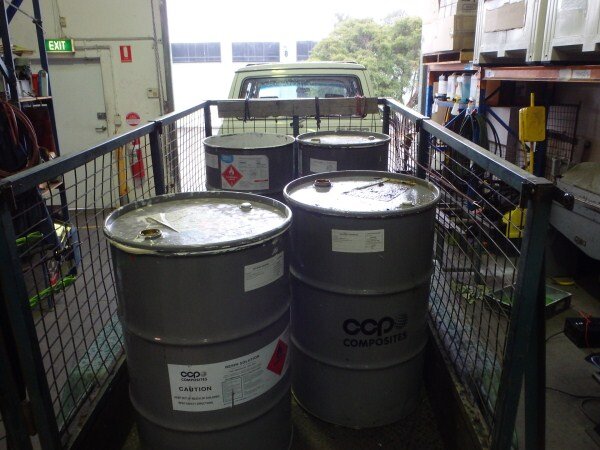
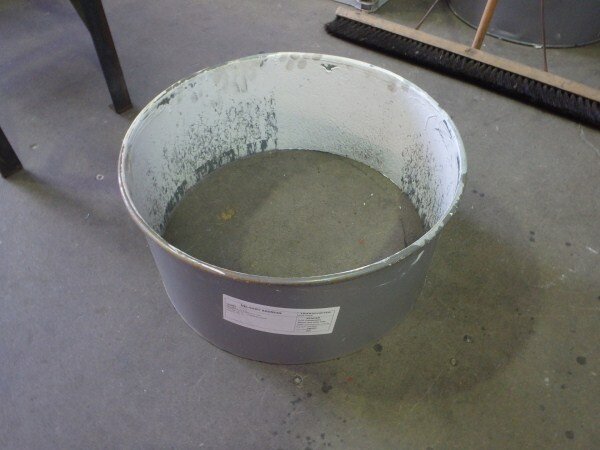
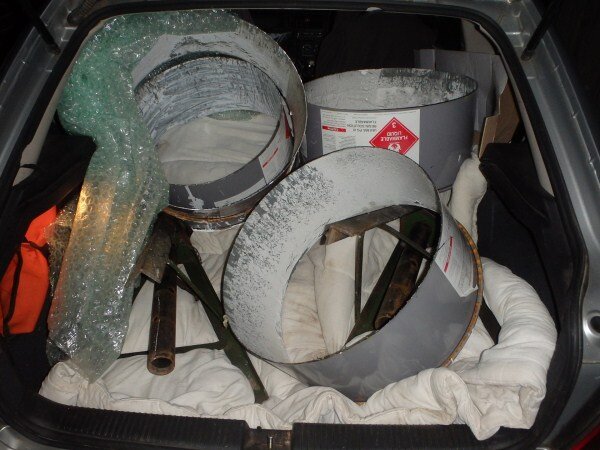
I picked 4 good dent free ones.
And got them back to work.
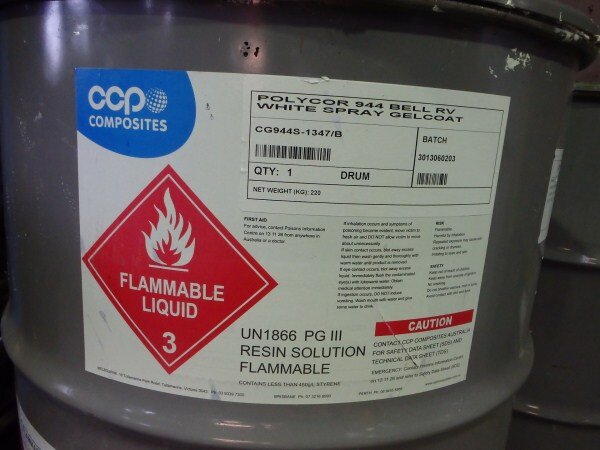
They had had the resin in so they stunk a bit.
I cut the tops off them one lunch time.
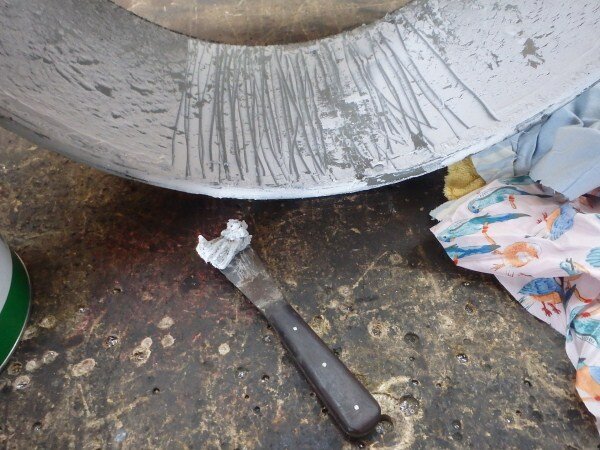
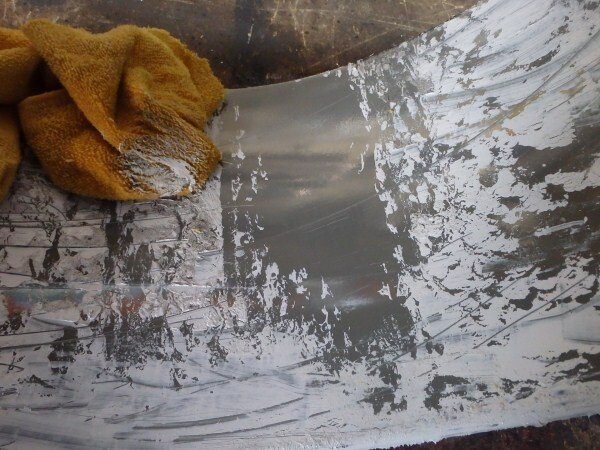
I tried cleaning the resin off.
But it was very difficult with thinners and a scraper.
To clean this little patch took 5 minutes worth of scrubbing.
It made for a very smelly drive home even with all the windows down.
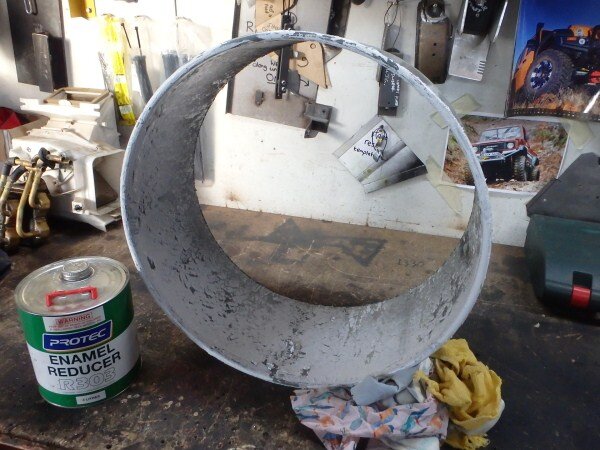
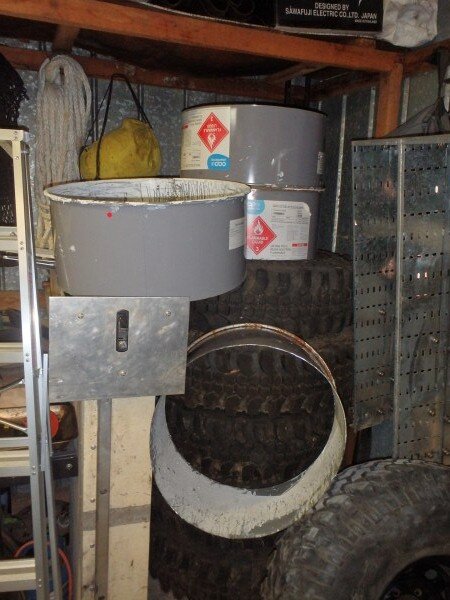
Sat in my garage waiting to be welded onto LJ.
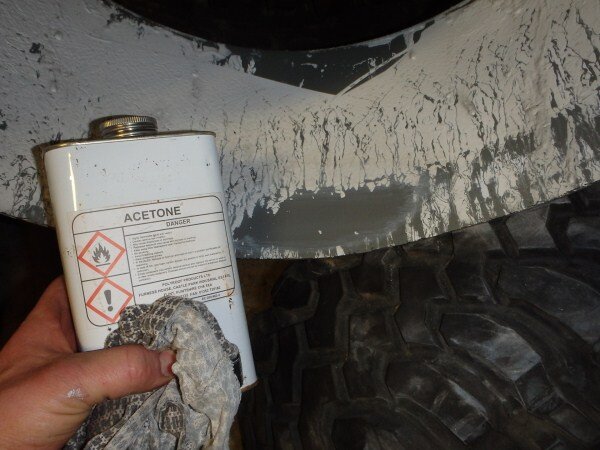
I thought acetone might remove the resin easier but it wasnt much easier.
Rear bumper/swing away wheel carrier next.................
I tried mounting the swing away wheel carrier latch how I wanted to, but as Gav so rightly said.................it wont work mounted like that.

I will never doubt you again dude.

I thought that by adding a piece of metal for it to pull against it might work.
I decided I would bring the bumper home and have another think with it back on LJ.
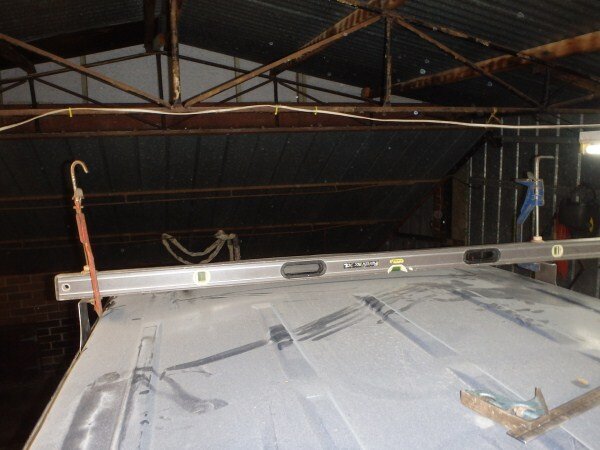
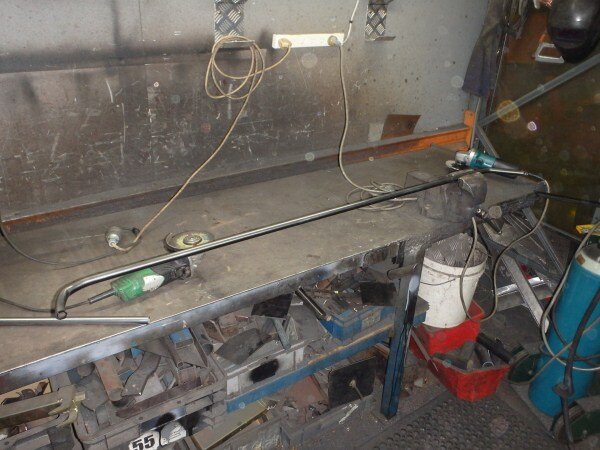
Roof rack next.......................
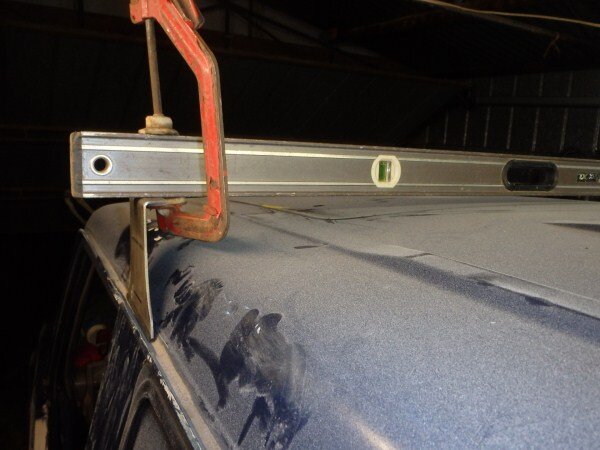
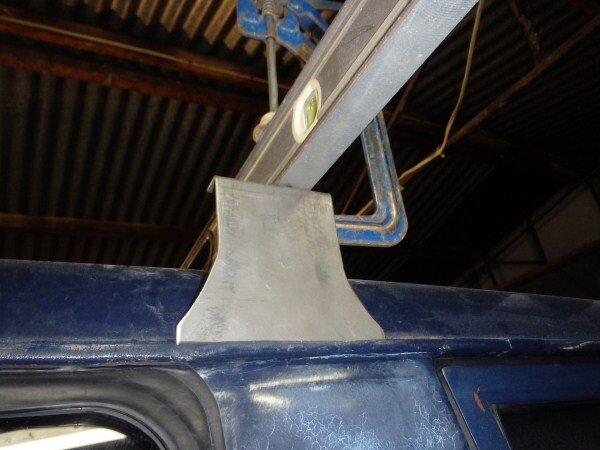
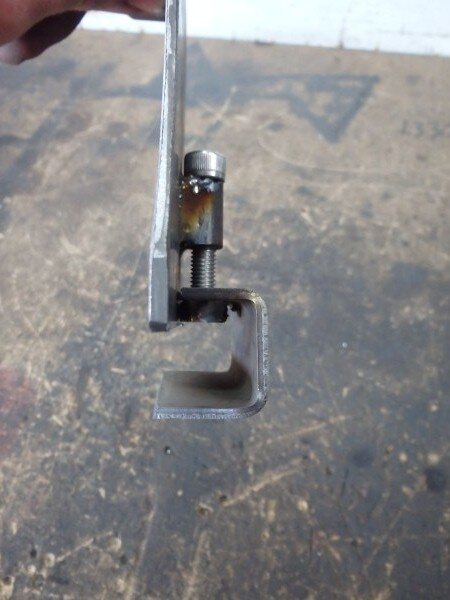
I made the feet/mounts first.
I added some rubber strips.
Gutter clamp.
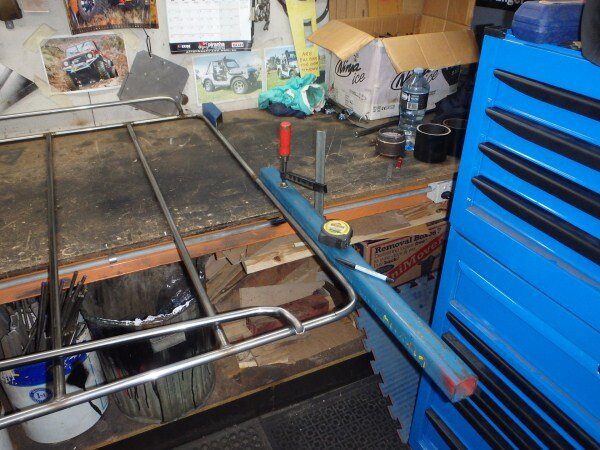
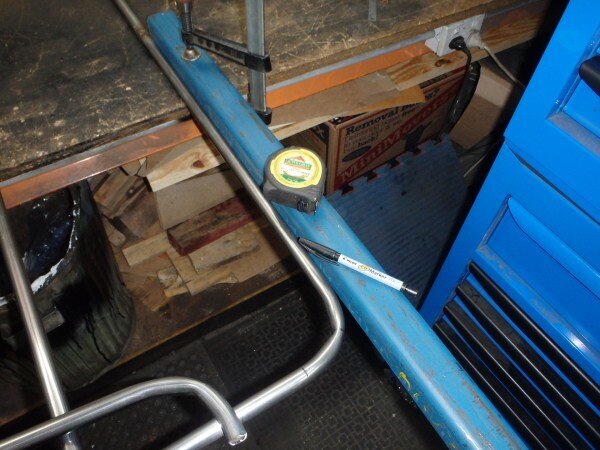
I brought the mounts home to try them and so I could get an accurate measurment between them for the width of the rack.
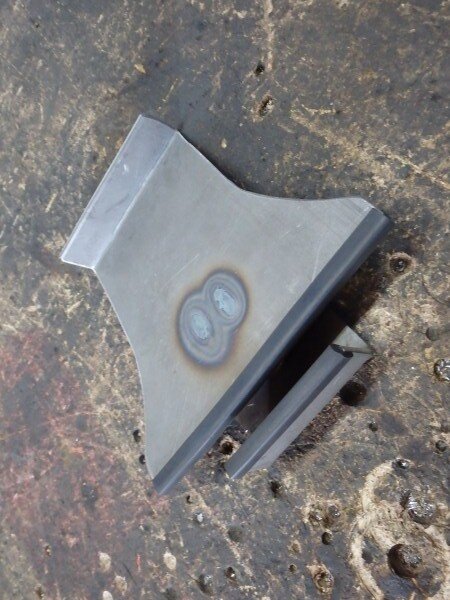
I cut some pieces of tube.
And welded them to my mounts.
Drilled some holes in the other pieces.
Got some M8 weld nuts.
Bolted them in place.
And welded them on.
Picked up some stainless steel bolts.
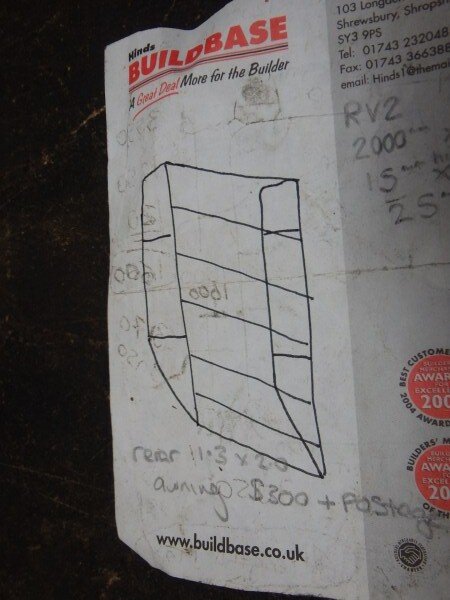
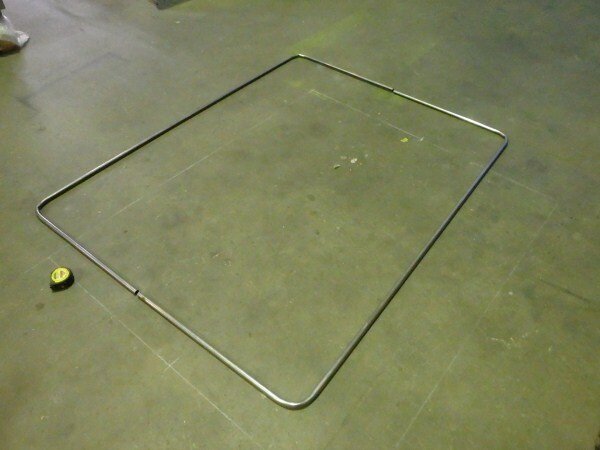
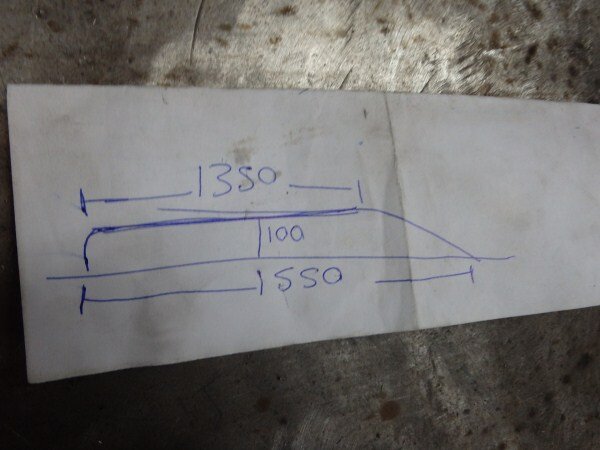
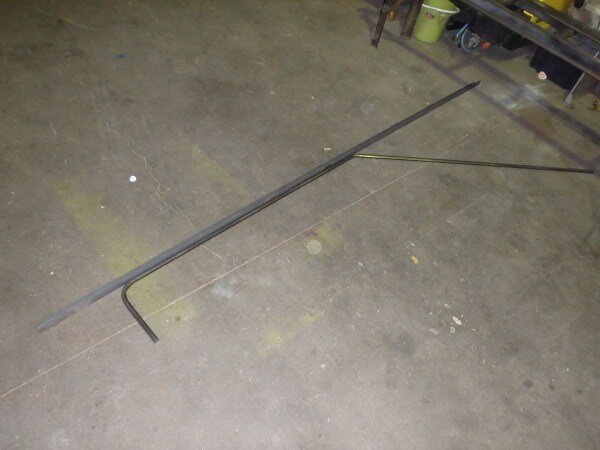
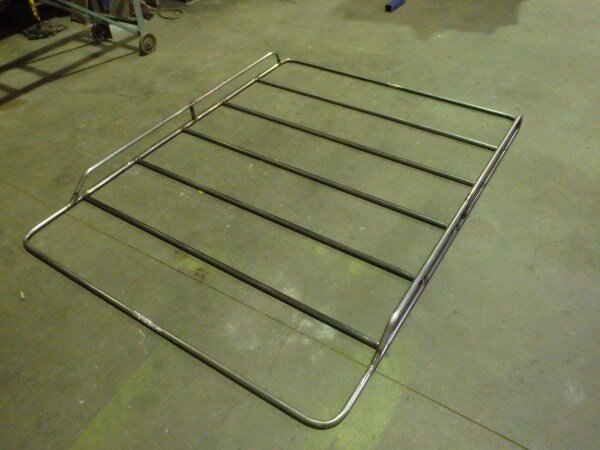
For the actual rack itself I had some very detailed and complicated plans to work from.
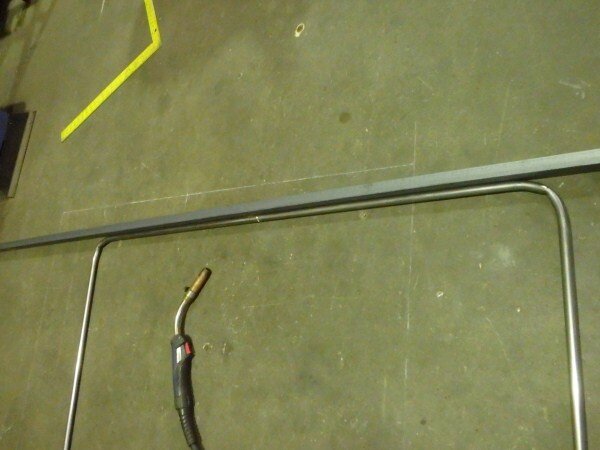
And this is the tube. Very small I know but I want this rack to be nice and light, we all know how tippy LJ gets off road so I dont want to add a load of weight up high. The rack is just there to carry an Oz Tent RV and to mount an awning above the back door for shade and shelter when cooking.
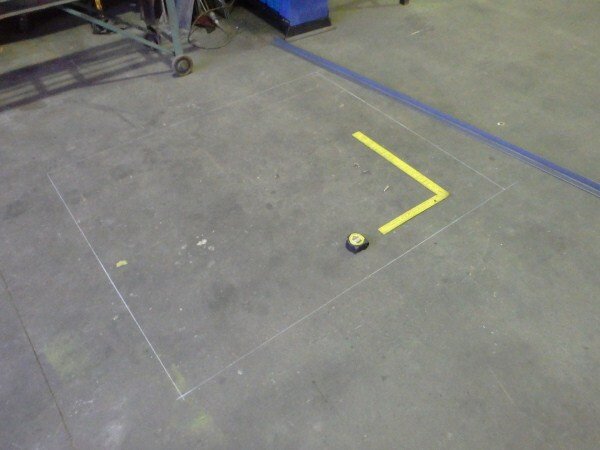
Marked it out on the floor with french chaulk.
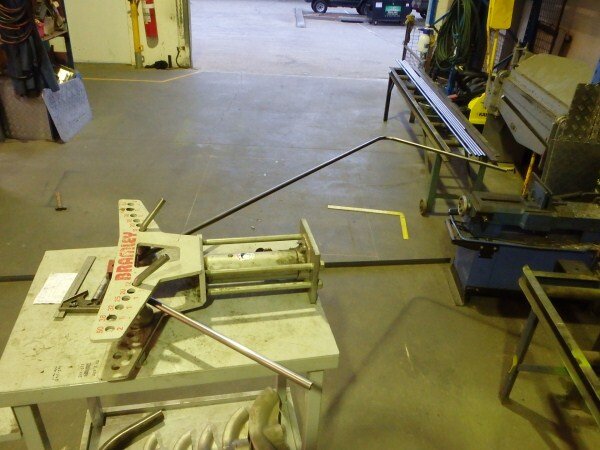
And got bending.
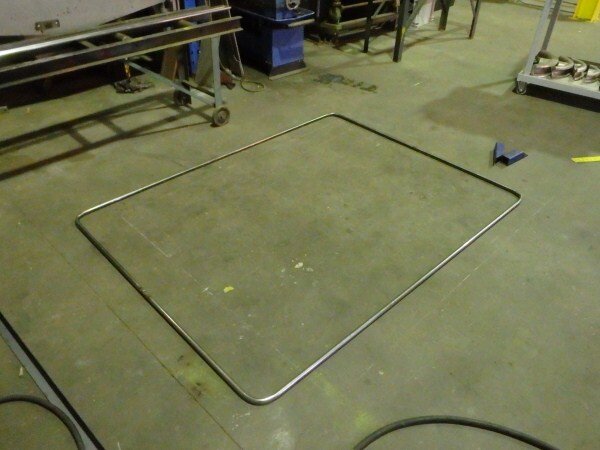
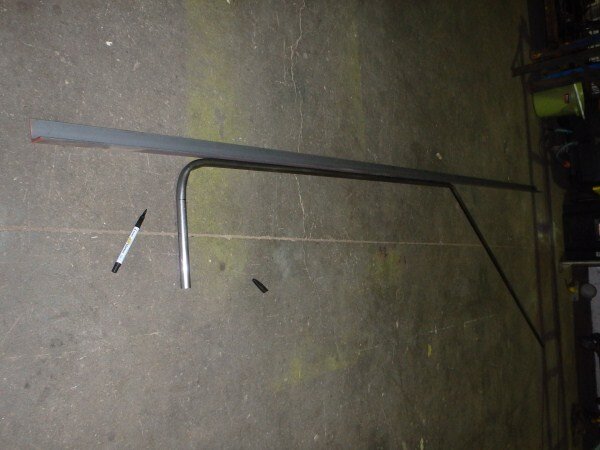
Sadly we didnt have any tube long enough to do it in one piece so it had to be in 2 halves.
I got the pieces on the bench to prep the joints.
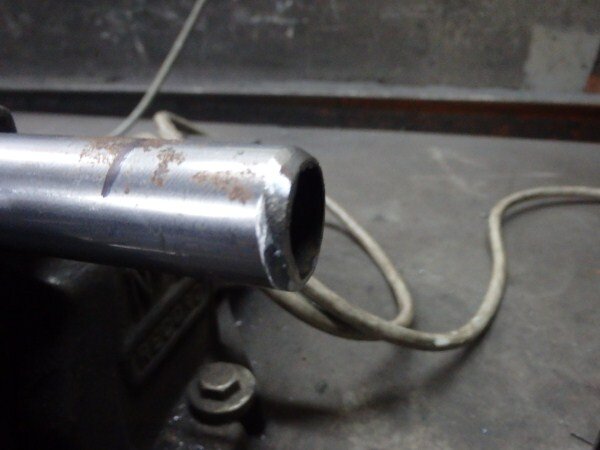
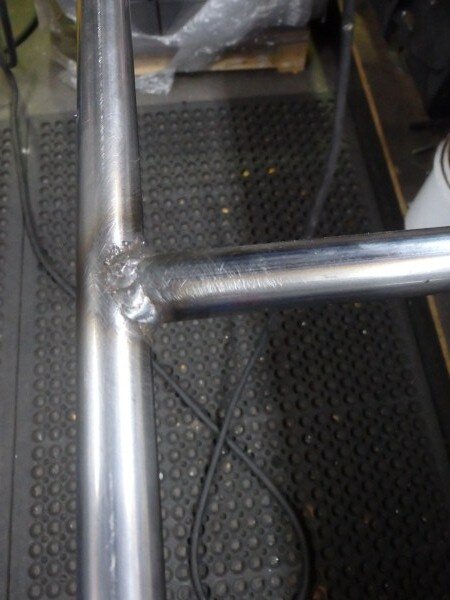
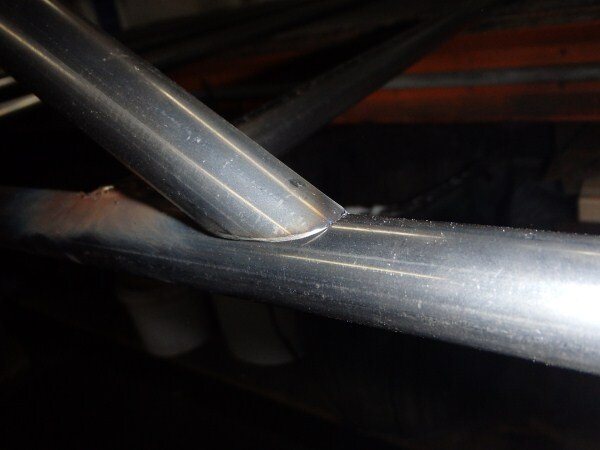
As I will be smoothing down the welds that connect the 2 hoops to hopefully make the wleds invisible its important to have a proper weld joint otherwise most of the weld would get ground away and it would be weak as!
So I opted for a V joint, which meant grinding each piece on about a 45 degree angle.
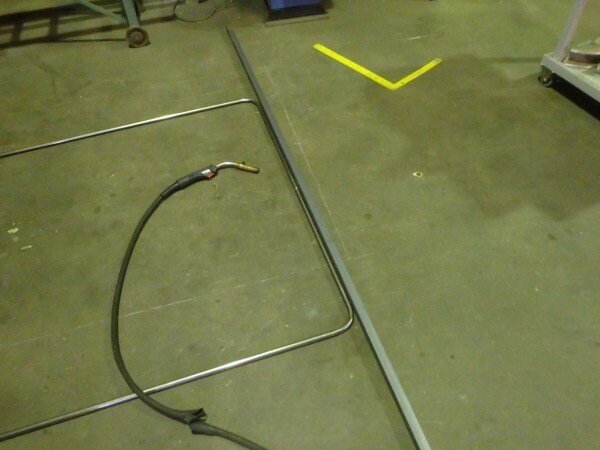
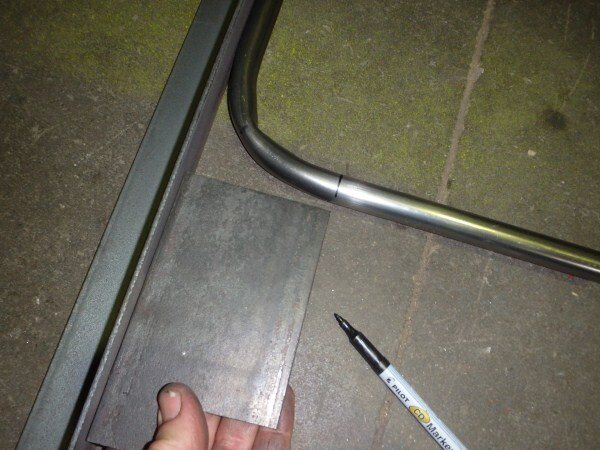
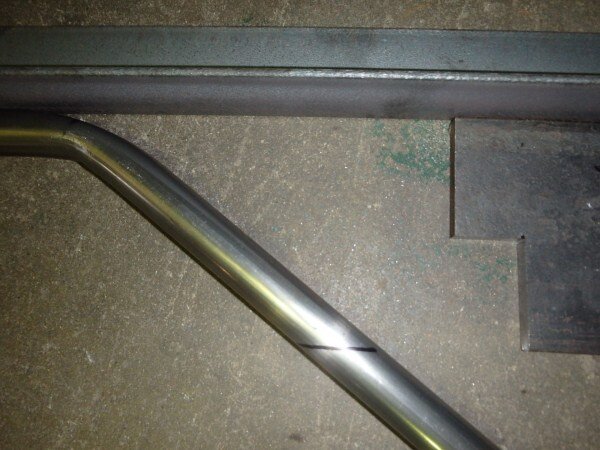
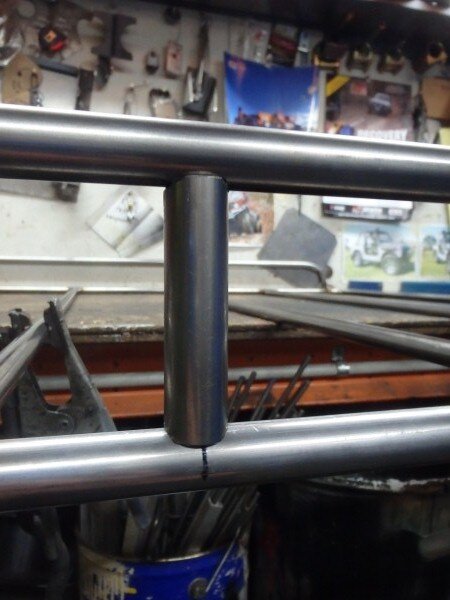
I welded the 2 sections together and used a piece of angle as a straight edge to ensure I welded them together nice and straight.
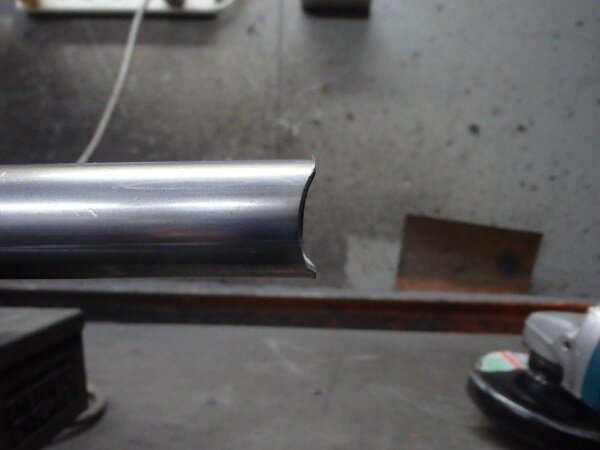
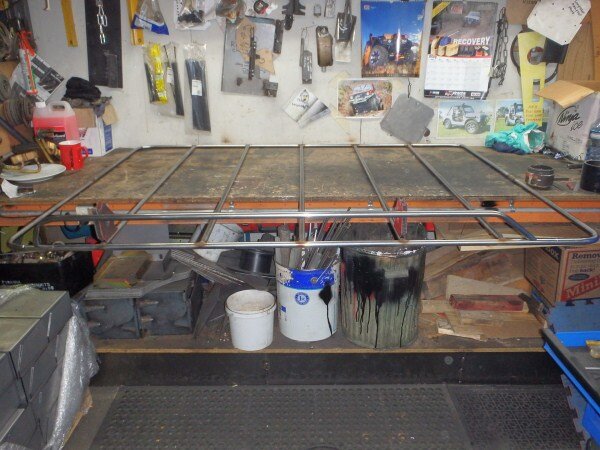
I needed to cut and notch all the middle pieces next.
Being such small, light tube meant notching was very easy with the grinder and a flap wheel disc.
I used the seam as a guide to ensure I always notched the tube to perfectly match the angle of the notch at the other end.
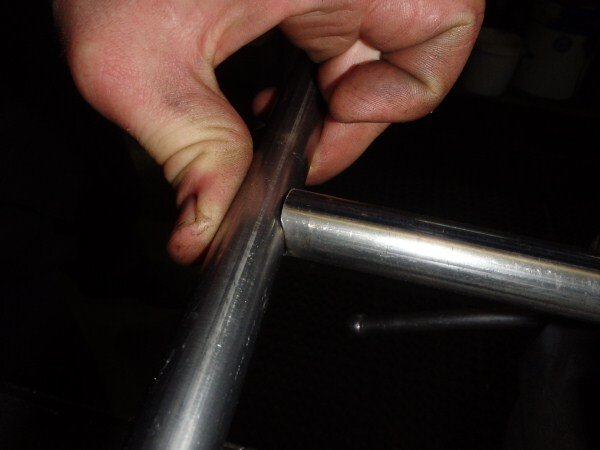
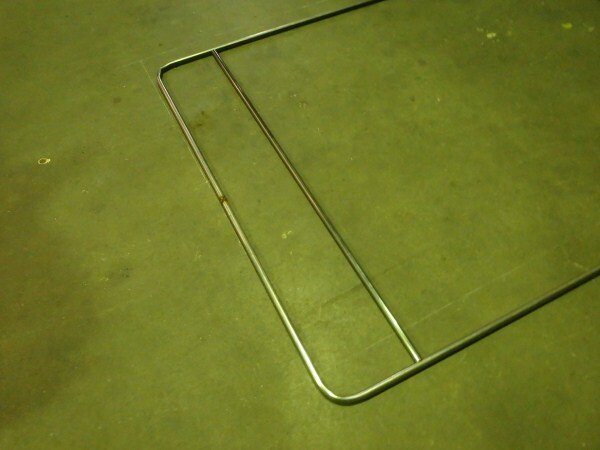
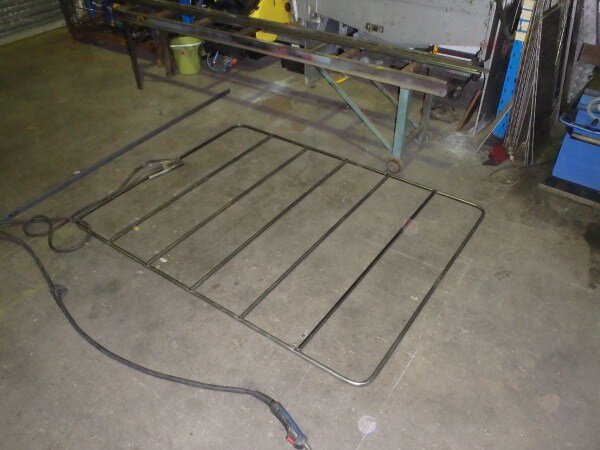
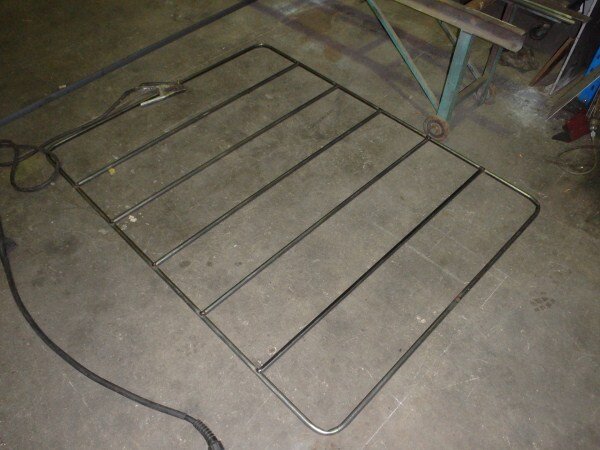
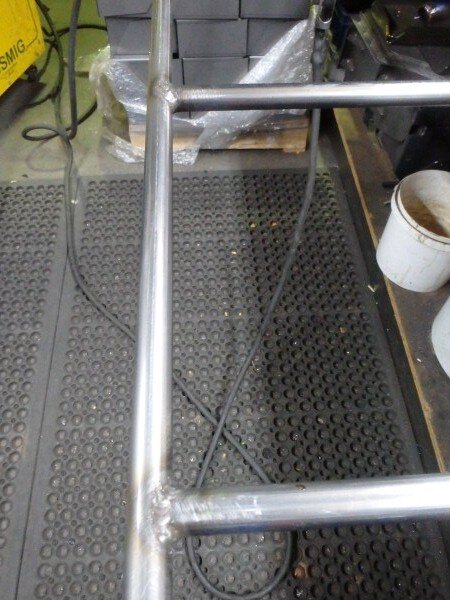
I got them all tacked in place.
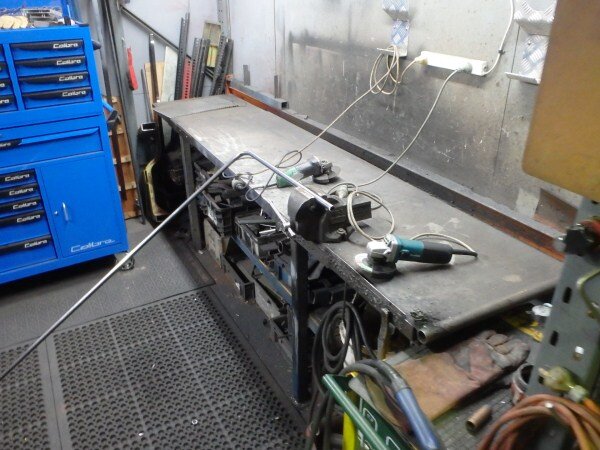
I then got it on the bench to fuly weld all the tubes.
I would have loved to have welded it all with TIG. TIG would have been so much nicer to work with, stronger welds and far neater!
More technical drawings.
And more tube bending.
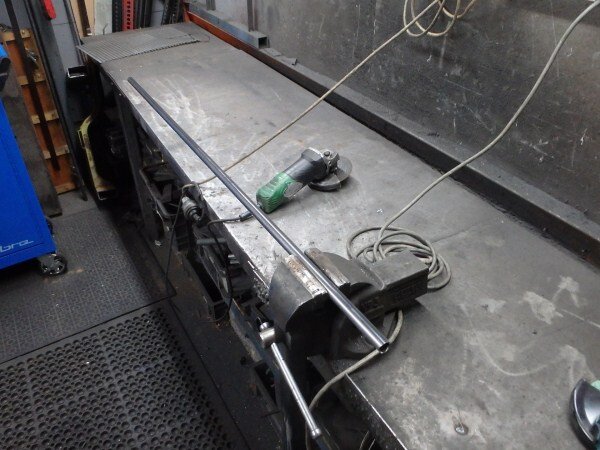
I needed to cut the ends off at the correct angle and height, so I layed it against a straight piece of steel.
I could then use a nice square off cut of plate to mark the angle and height accurately.
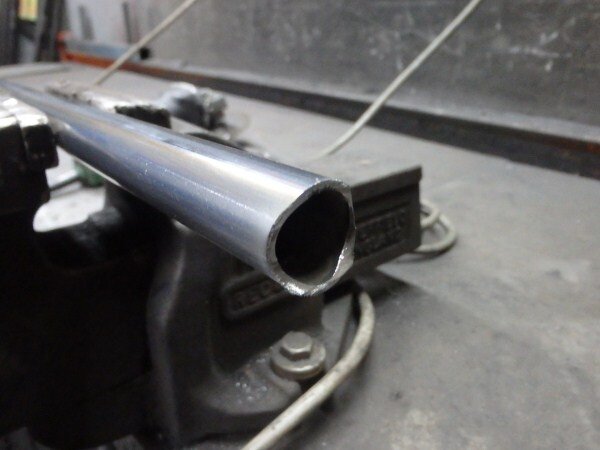
I then put it in the vice and cut the 2 ends off.
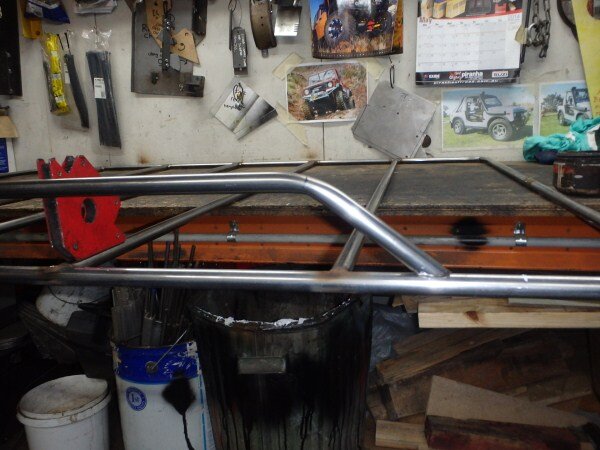
I notched the ends and then tried it in position.
I got it clamped and welded in place.
I had to use a straight edge to accuraetly measure in order to position the next one.
I cut 2 small pieces of tube.
Notched them and welded them in position.
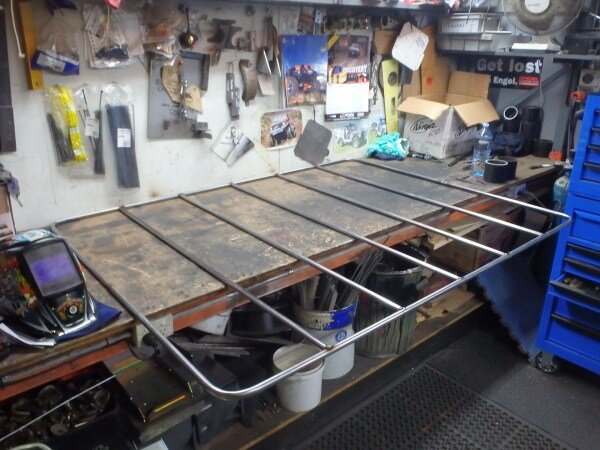
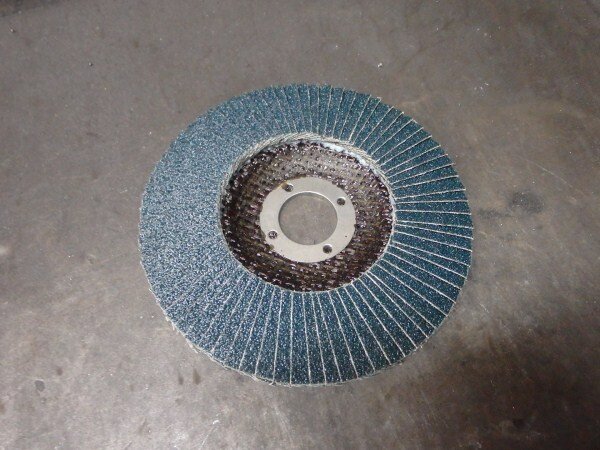
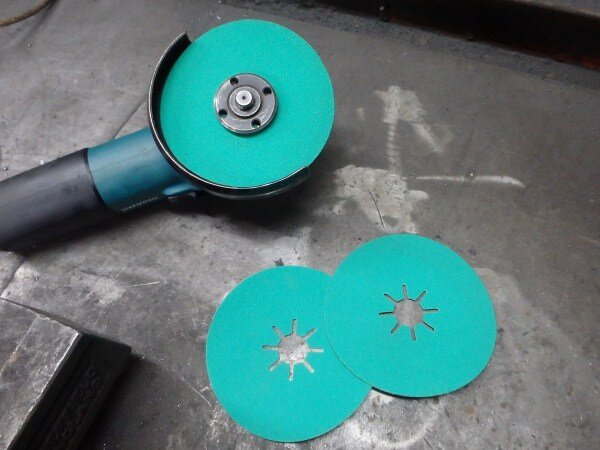
Normally I use flap wheel discs to smooth welds down, but because this is just getting powdercoated a flap wheel disc would leave scratch marks that would show through the powdercoating.
So I used sanding discs instead.
These can get into much harder to reach places and as the disc can flex a lot if follows the contour of the tube better than a flap wheel disc.
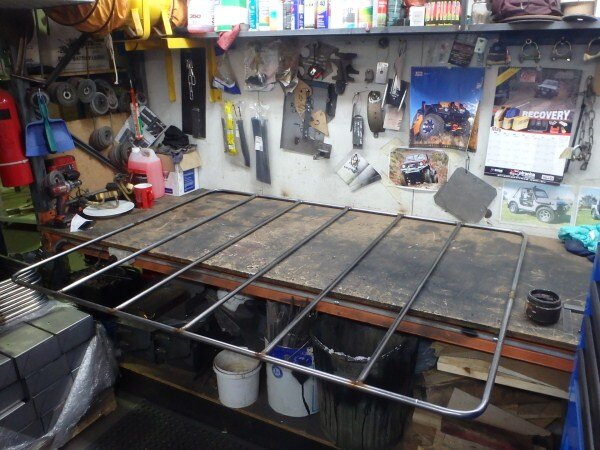
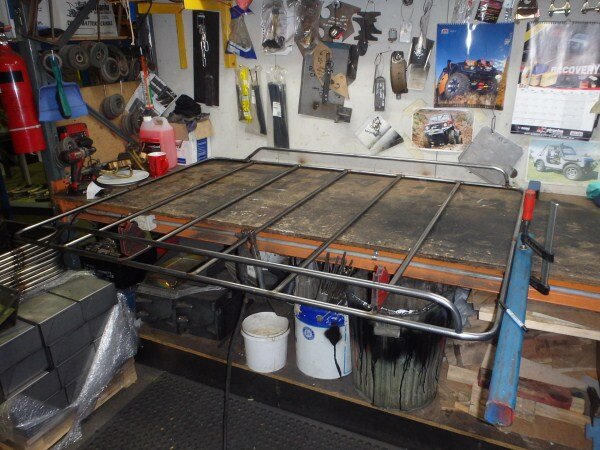
After smoothing the welds down and removing any splatter it was looking good.
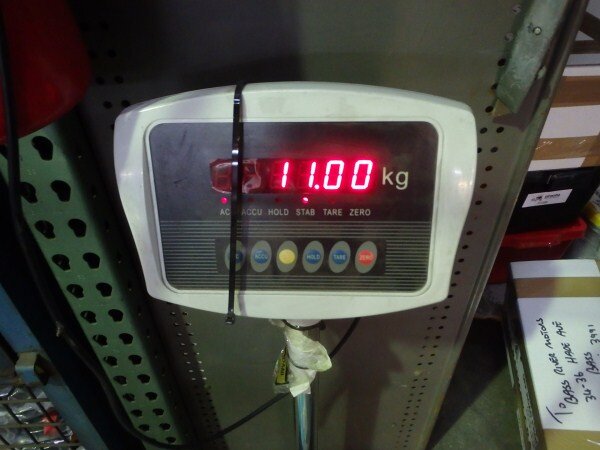
Couldnt resist seeing what it weighs.
I'm happy with that, obviously the feet will add a few more kg.
As it was raining heavily I shrink wrapped it to keep it dry and was in the process of trying to tie it on the roof when I thought what am I doing theres a trailer over there! So I borrowed the trailer to get it home.
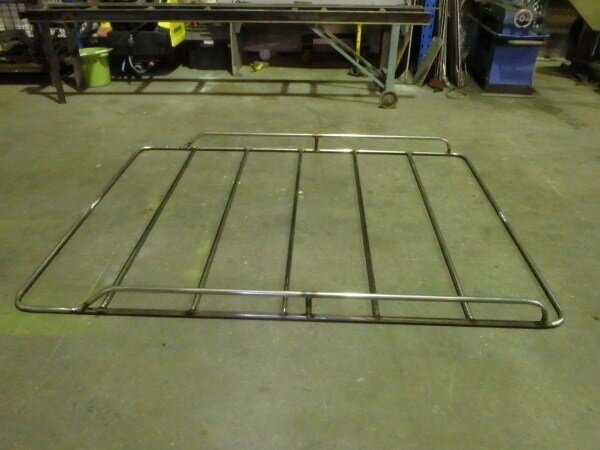
Got it home and couldnt wait to see what it would look like.
I didnt want to add a tube all the way around the top as it would make sliding the tent up harder. If I had of done it like that then I would have folded up some sheet steel and made some nice fancy sections to connect the 2 square tube frames, like the ARB racks.
I assembled my brackets.
And bolted them in place.
And sat the roof rack on them.
Will try and get some better pics now its daylight.

My plan is to weld the feet to the roof rack when I take LJ to work to weld the quater panel to the drum flares/arches.
Not sure I will get much/any work done on LJ this weekend.

Got to work out a quote for a carpentry job for some one this morning, then lunch time I've got a date with a really hot girl, then tonight I'm off to a rave in the city which I probably wont be leaving till 7am, so tomorrow will probably be a write off.

Oh well should be a good weekend even if there is nothing 4x4 related about it!