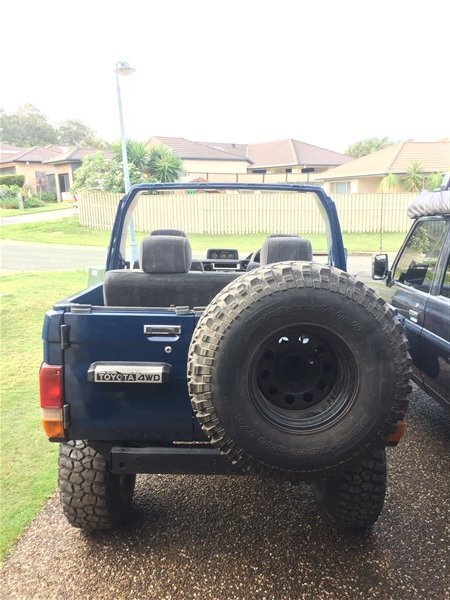
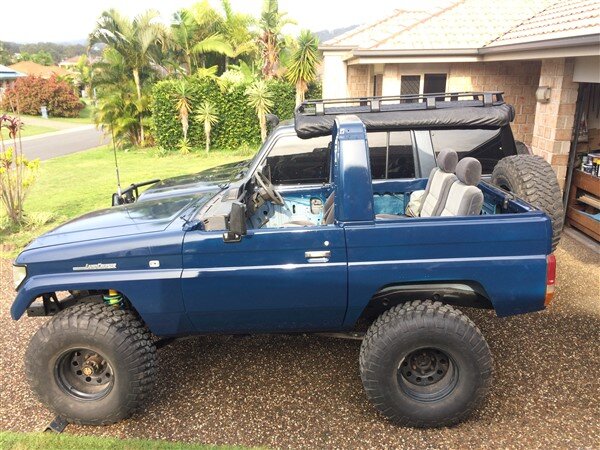
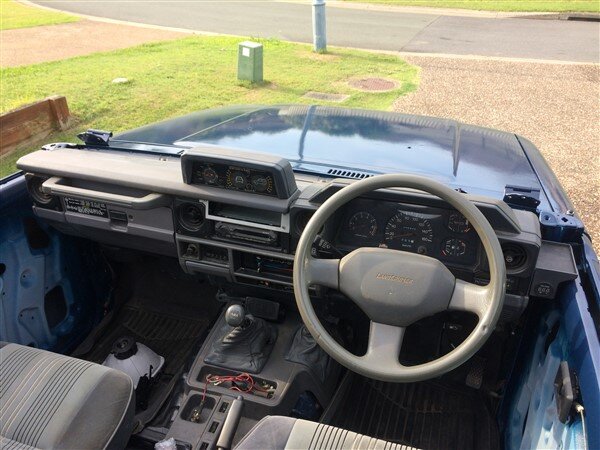
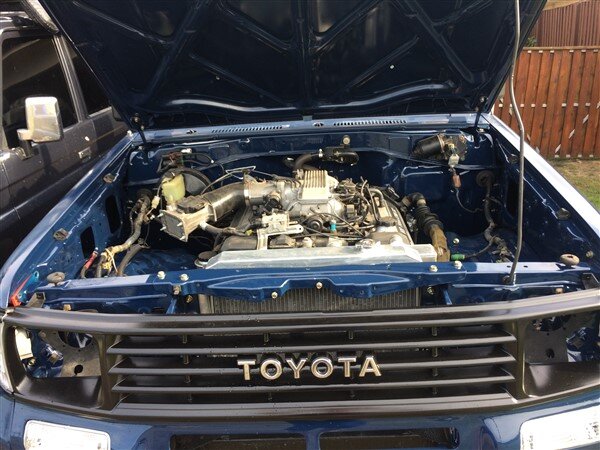
Brilliant Ben, no other way to describe what you’ve achieved.
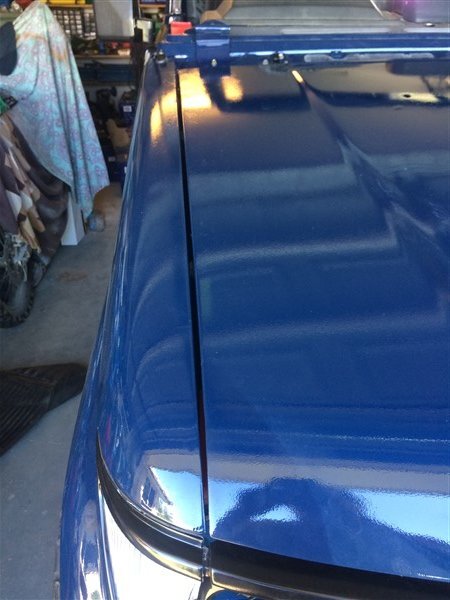
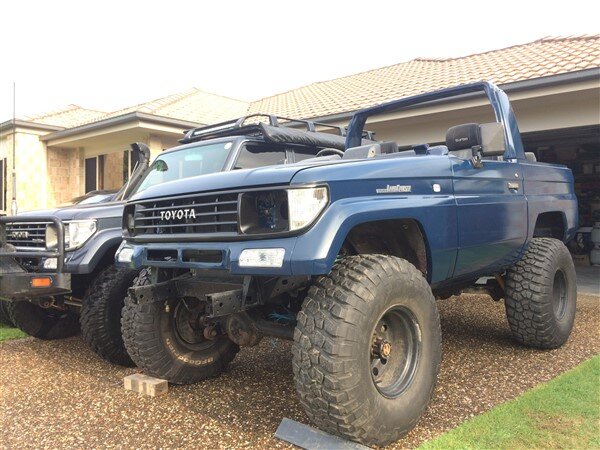
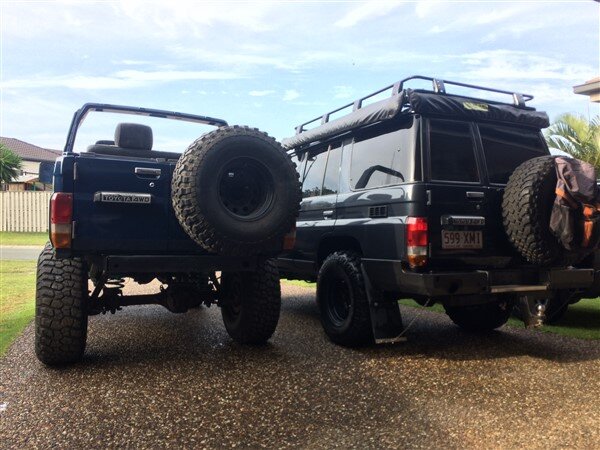
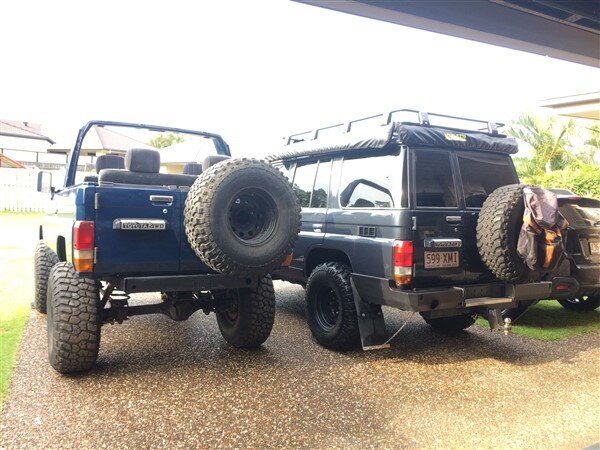
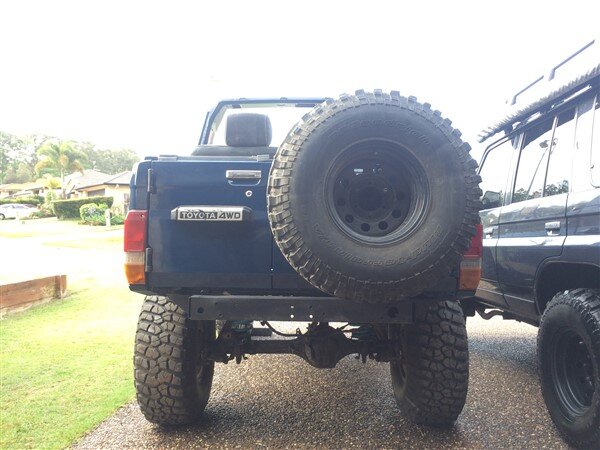
Love the color BTW...
Love the color BTW...
















 )
)
Thanks Clive.
Its my favorite colour that they offer the new 70's in!
But its not that popular for some reason.
I get why white is the most popular colour, its a hot country and it makes sense.
The silver and grey are also very popular and I get that, their probably my second 2 favorites after the blue.
I even get the sandy taupe colour, thats also nice and looks very retro.
But what I really dont get is how popular that maroon red is!
For some reason thats more popular than the blue!
Anyway, rant over, back to the build!
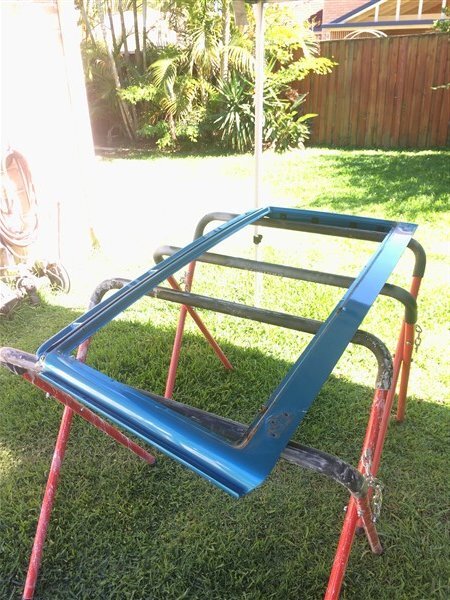
My next job was to sort out all the panels for the front end, as well as the windscreen surround.
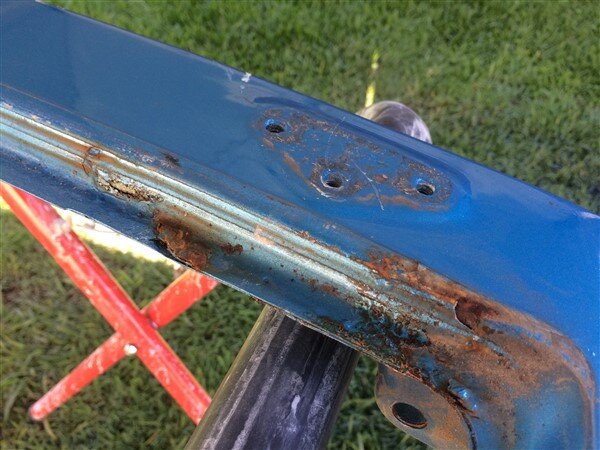
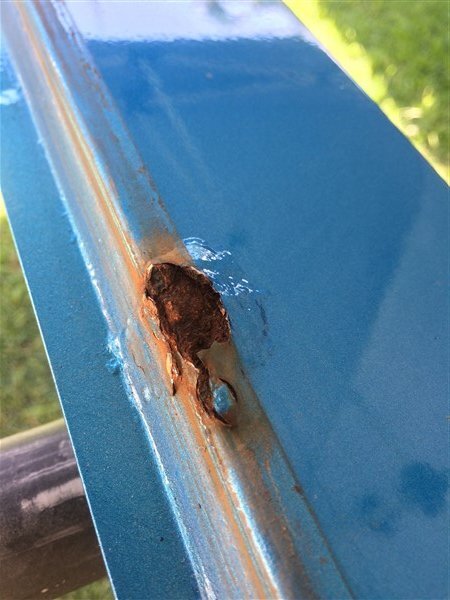
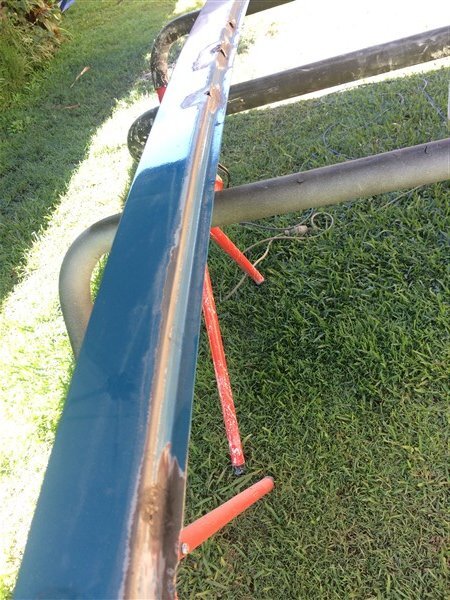
The OEM windscreen surround that came on the body had a couple of rust bubbles showing through so I had already prepared myself for the worst.
I removed the screen and like the one in the 78, managed to crack it in the process.
Luckily my car insurance let me have 1 free screen per vehicle per year.
View attachment 136204
View attachment 136205
View attachment 136206
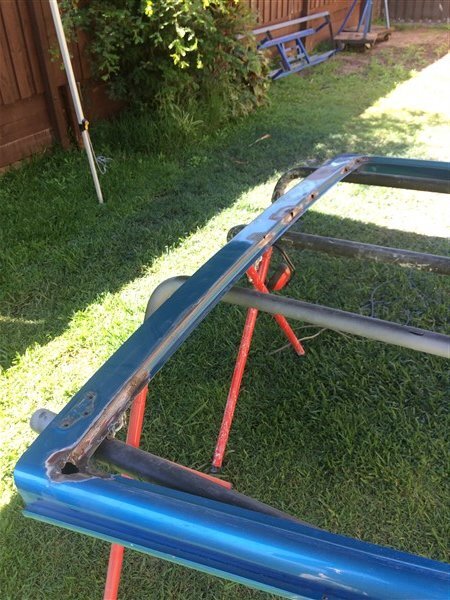
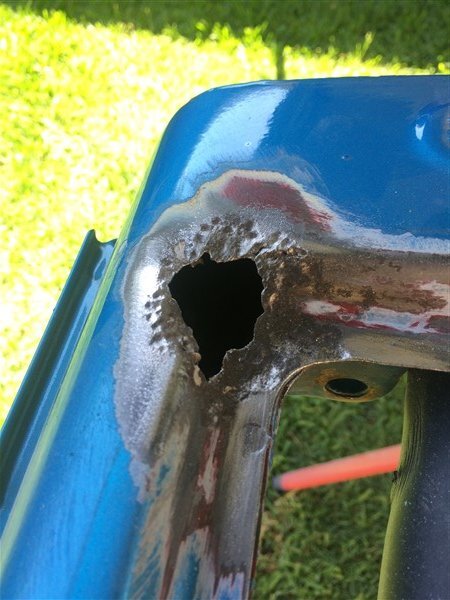
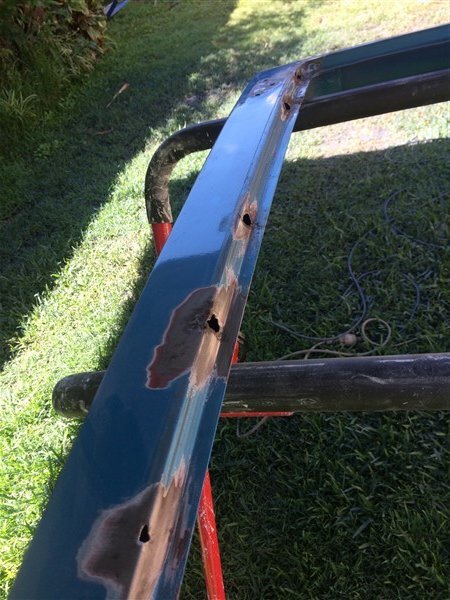
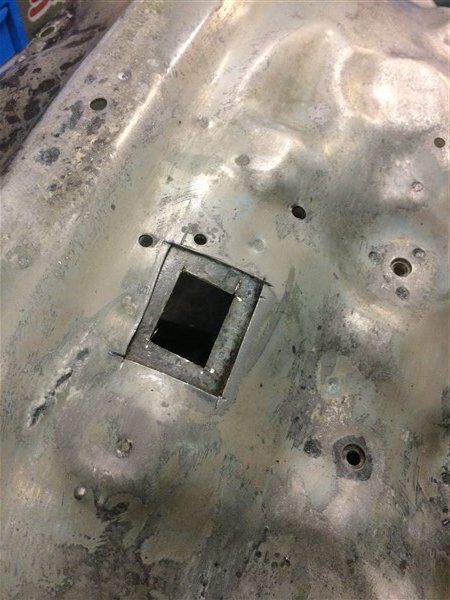
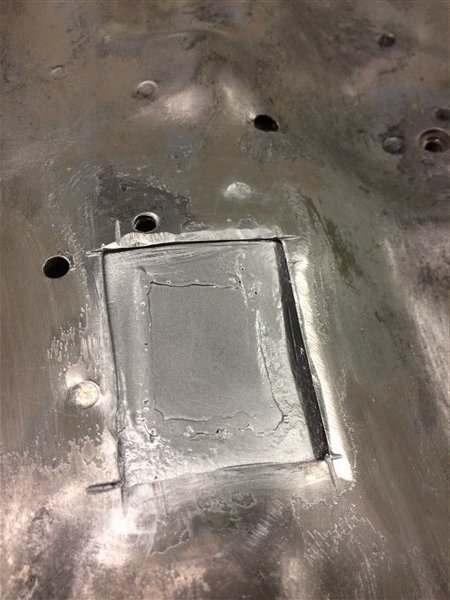
After hitting it with a wire wheel in the grinder, which revealed the previous previous owner had been up to his old tricks of filling straight over rot holes.
It looked like this.
View attachment 136207
View attachment 136208
View attachment 136209
View attachment 136209
View attachment 136210
I've still not entirely decided what to do with it, I have 3 options.
1. Fix it up, paint it and use it.
2. Use the spare fibreglass one that came with the body.
3. Source a new OEM metal one.
I'm swinging more towards option one as then I will still have the soft top channel that is spot welded to the top of this original soft top windscreen surround. The fiberglass one doesnt have it as its a 75 series one which is an identical screen surround apart from they dont have the soft top channel spot welded to the top.
I could drill all the spot welds out and try and attach it to the fiberglass one some how, but to run the fiberglass one technically, it would need to be signed off by an engineer to say its safe and road worthy as that is the only way you're legally allowed to replace any body panels with fiberglass ones.
A new OEM one would be nice but their $600+ and I would still have to spot weld the soft top channel to the top.
Anyway................
That is all on hold for the moment as I figured that can be sorted out later, when were back in Melbourne if need be.
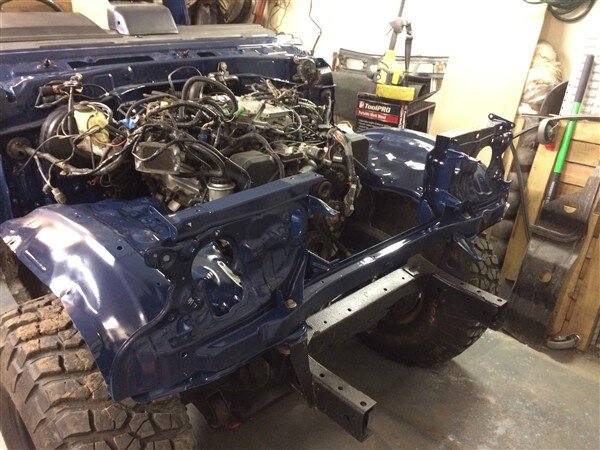
So for now I need to concentrate on getting all the front end repaired, painted and fitted.
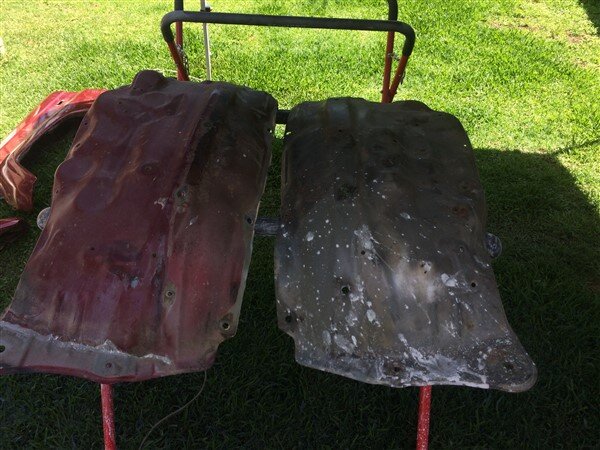
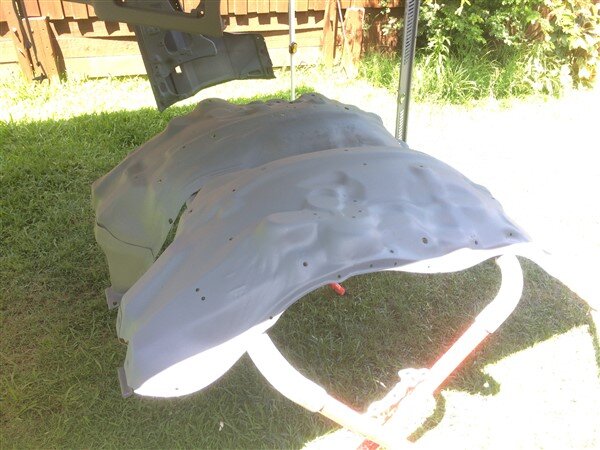
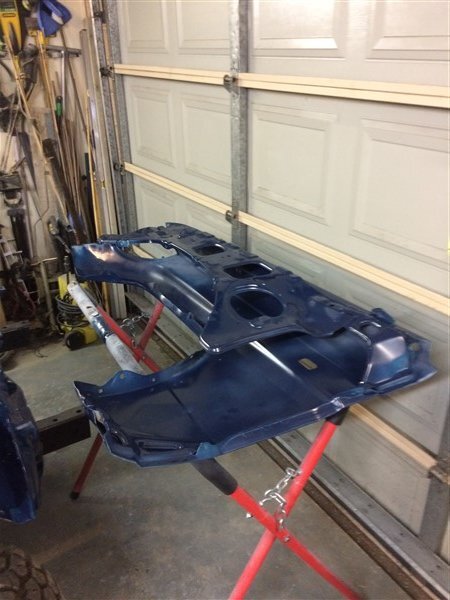
I cleaned the inner arches up with a wire wheel in the grinder and sprayed them with rust convertor.
View attachment 136211
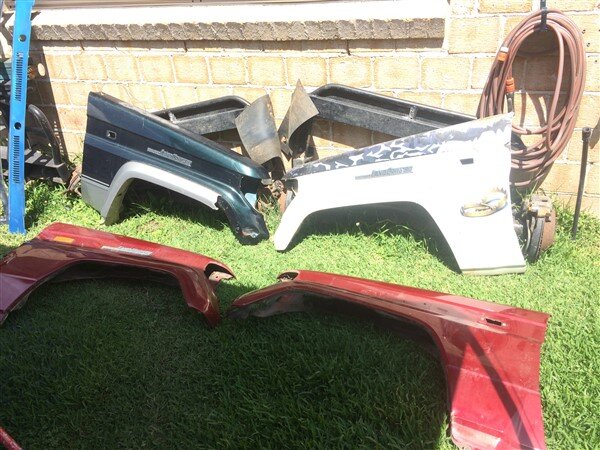
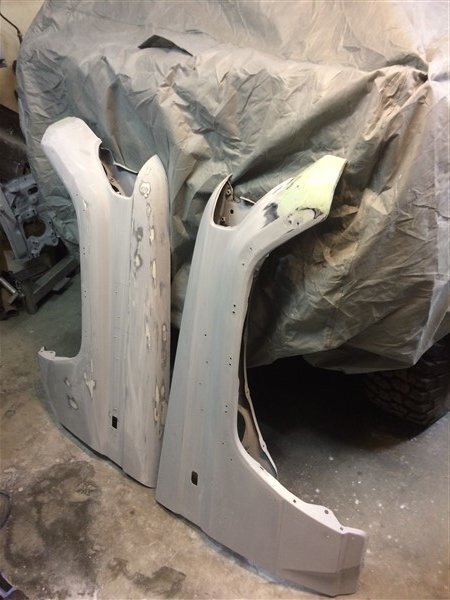
And then got all of my front guards/wings out so I could select the best.
Sadly non of them were perfect and they all had damage in different spots, so it was a case of choosing what I thought would be the easiest to repair and would come out the best.
View attachment 136212
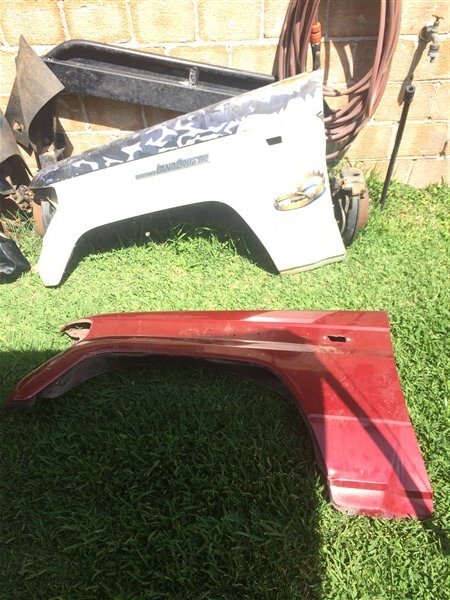
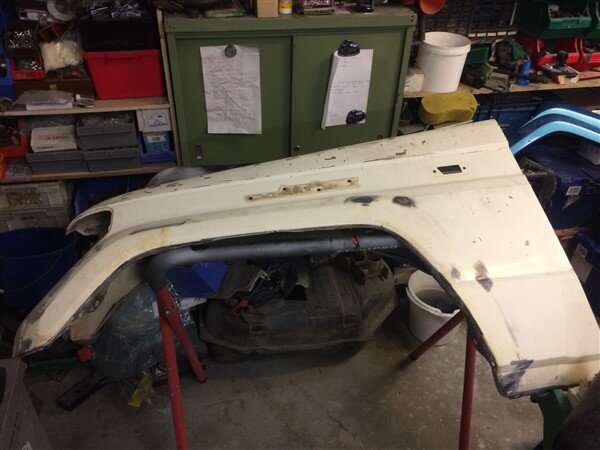
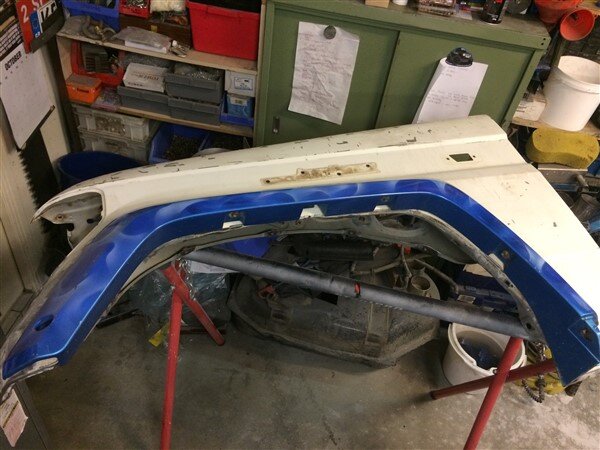
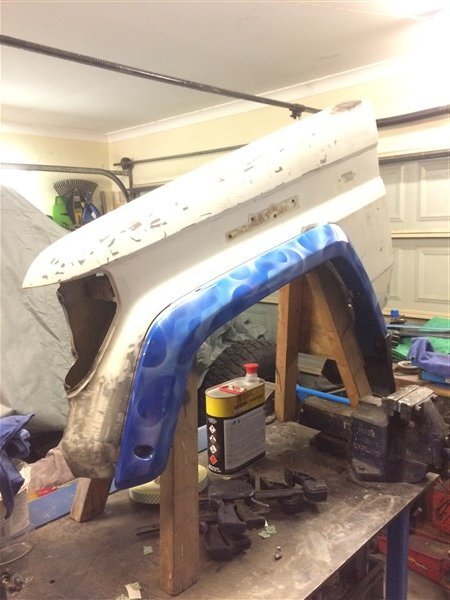
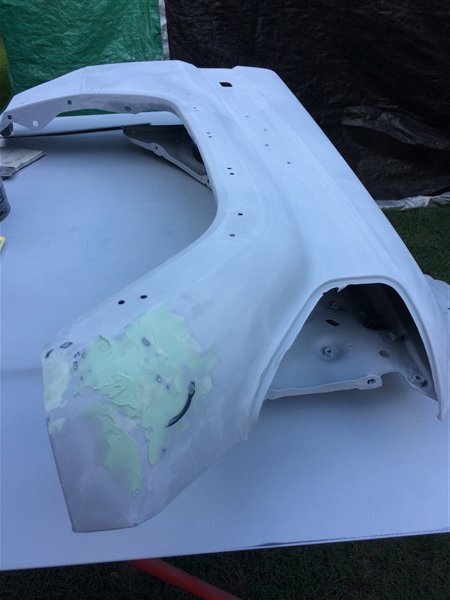
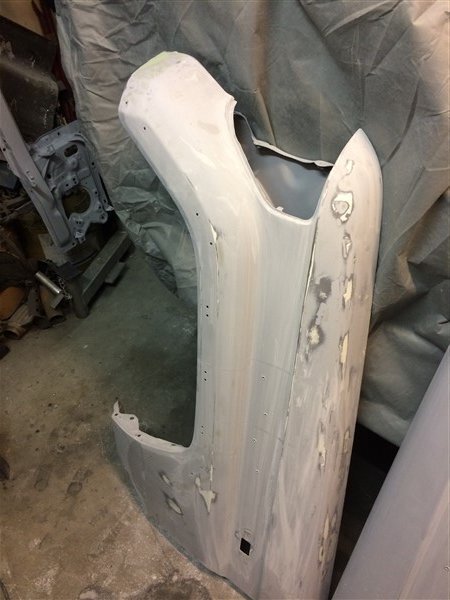
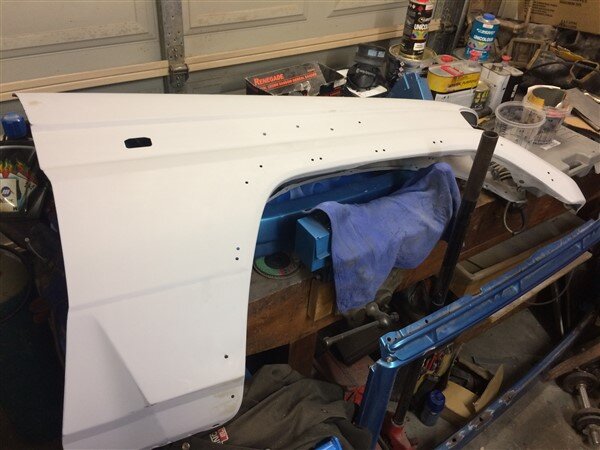
On the passenger side I went for the white LJ70 guard that came off a fire damaged vehicle and had old vinyl wrap/graphics along the top.
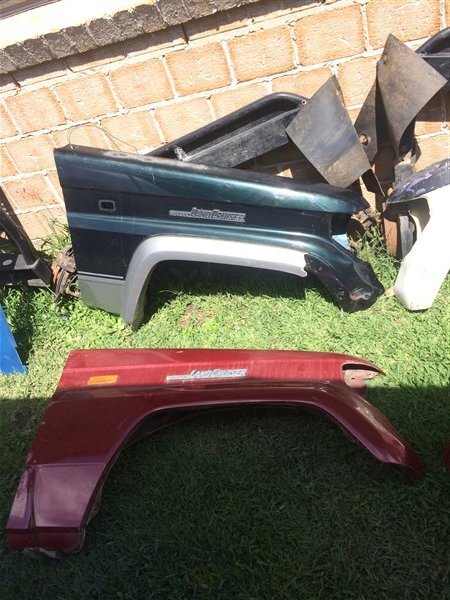
Because it was pretty straight and dent free, unlike the red one which had a lot of filler right on the very front corner.
View attachment 136213
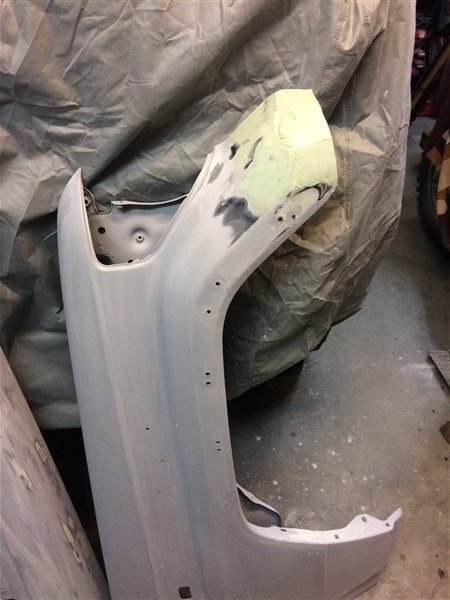
On the drivers side I went for the slightly damaged KZJ78 one as although the front corner was badly damaged, I decided it would be a lot easier to repair than the nasty crease along the door edge on the red one, which I couldnt seem to hammer out as I couldnt get any tools into it.
View attachment 136214
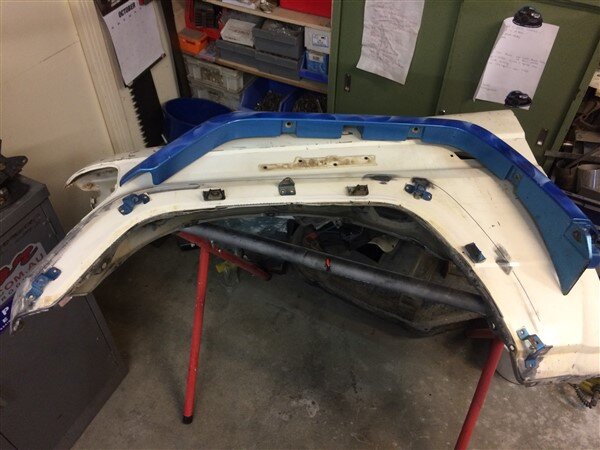
The other advantage of the KZJ one was it already had all the holes/brackets for the flares.
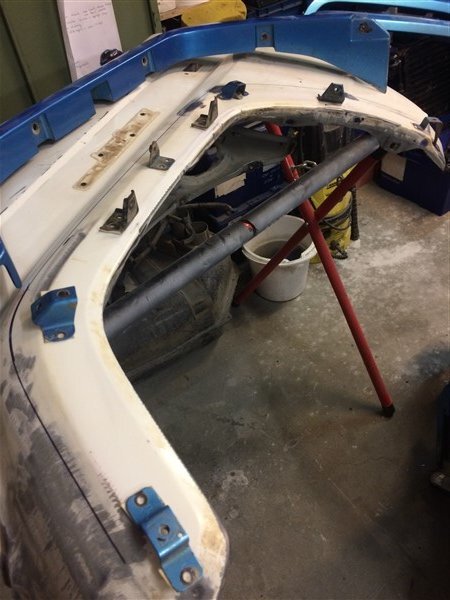
The white passenger side didnt, so my next job, after removing all the old burnt stickers, was to drill all the holes for the brackets.
View attachment 136215
View attachment 136216
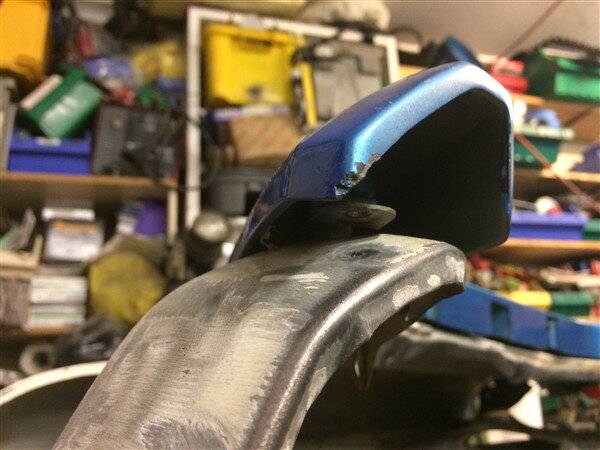
I discovered that the earlier round headlight front end flares (which these are) are different to the square headlight front end, which I'm fitting.
Not only do they hang below the guard, they also dont meet it properly right at the very front.
View attachment 136217
So I will have to get some fiberglass and modify them slightly.
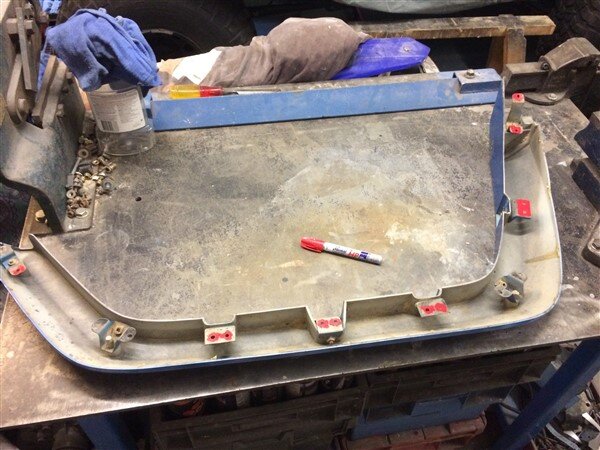
I needed to mark where all the bracket mounting holes needed to go.
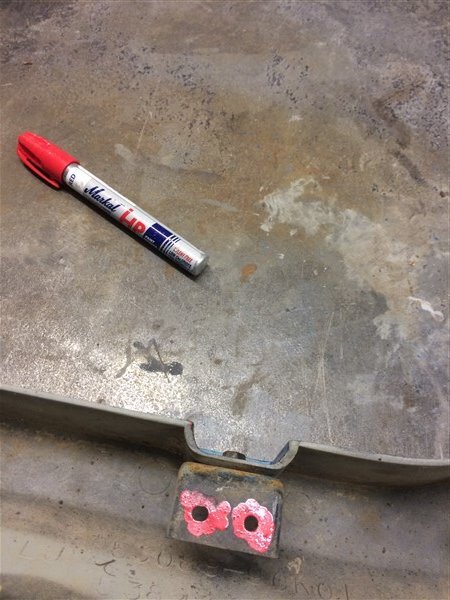
So I thought I could put a good coat of paint on the brackets with a paint pen, then hold the flare in place and apply some pressure to leave marks on the guard.
View attachment 136218
View attachment 136219
That didnt really work, but then I had a much better idea!
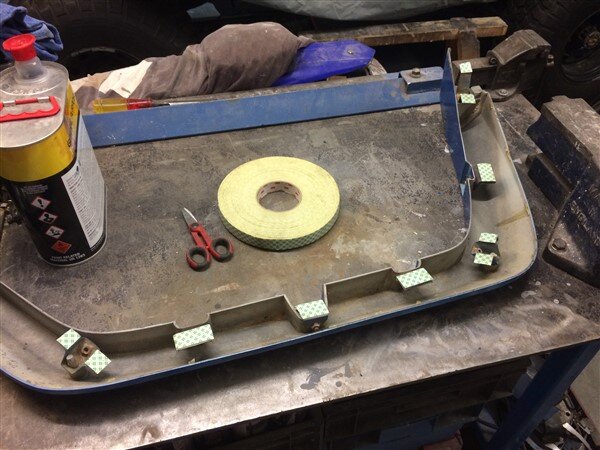
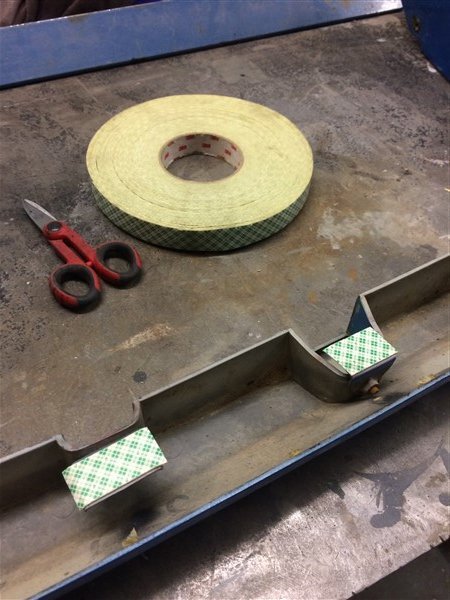
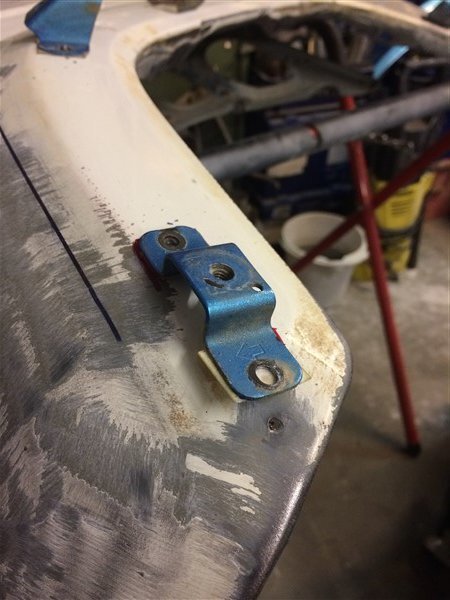
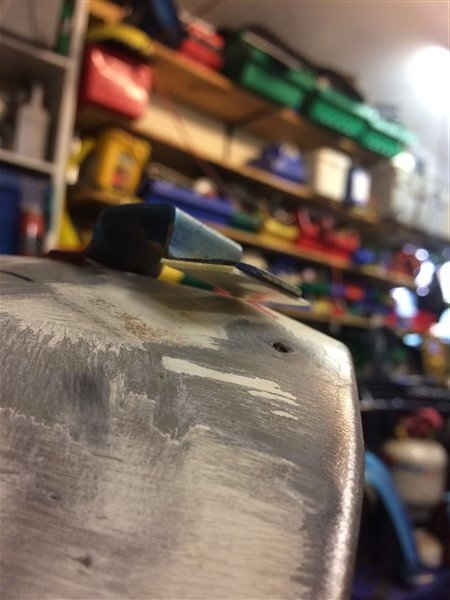
I applied double sided tape to all the brackets.
View attachment 136220
View attachment 136221
Then pushed the flare in place and applied some pressure.
And the flare stayed in position.
View attachment 136222
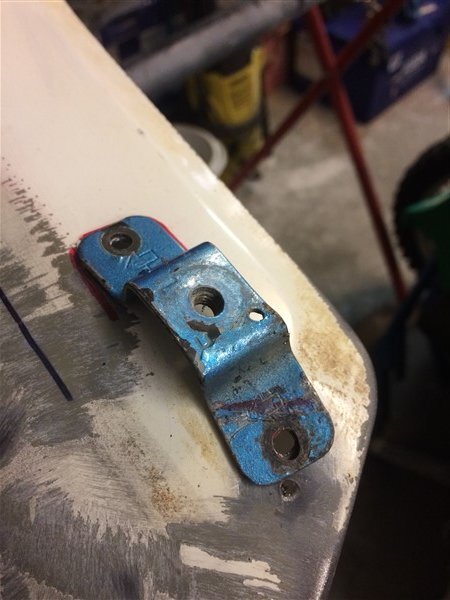
Then I could carefully unbolt the flare, leaving all the brackets stuck perfectly in position.
View attachment 136223
View attachment 136224
I could then drill through the brackets and through the guard, ready for riveting them on later, after paint.
View attachment 136225
This very front bracket needed some slight adjustment, as its obviously not meant for this guard.
View attachment 136226
That was soon bent and the second hole drilled.
View attachment 136230
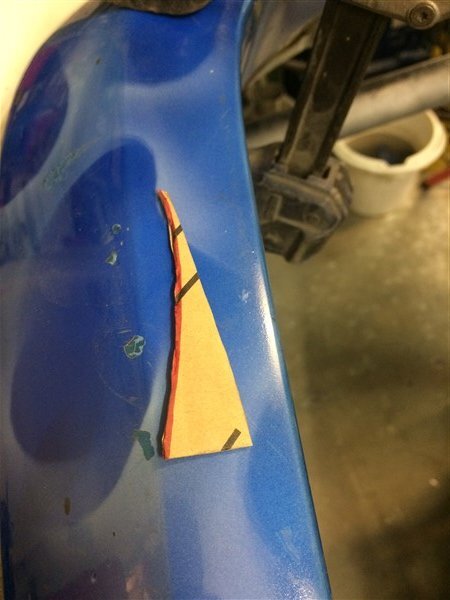
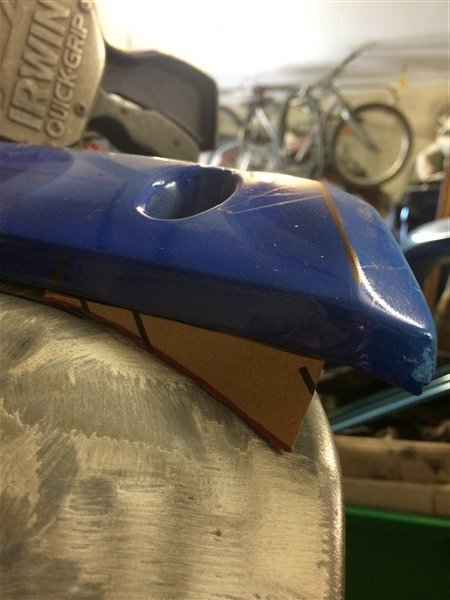
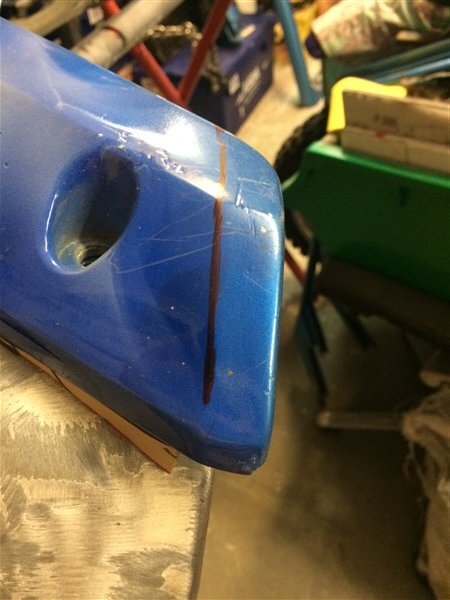
I made a cardboard template of exactly how much fiberglass I needed to extend the front of the flares by.
View attachment 136227
View attachment 136228
I also marked how much needs trimming off them.
View attachment 136229
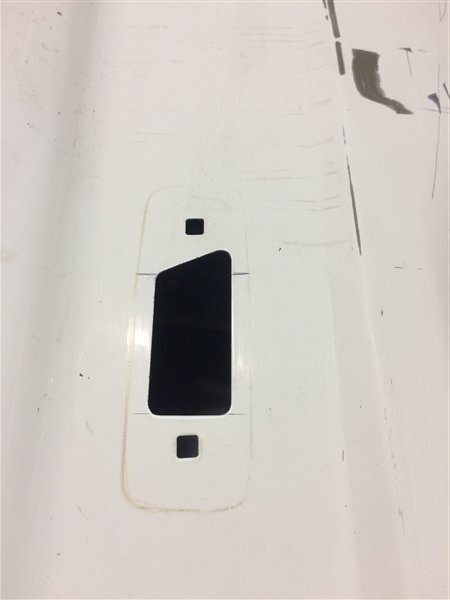
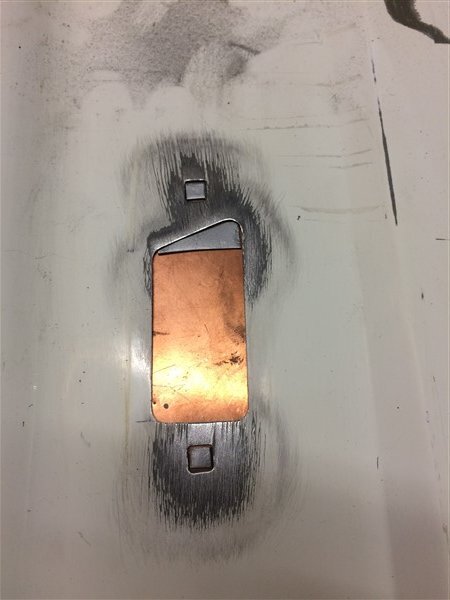
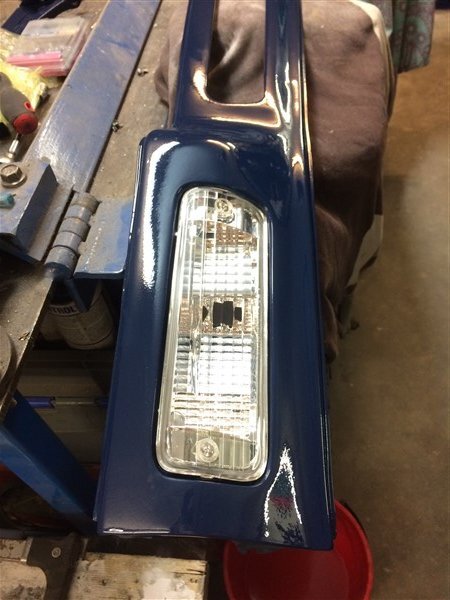
The KZJ78 guard had the perfect cut out in it for the side repeater, but the passenger side needed to be adjusted slightly.
View attachment 136231
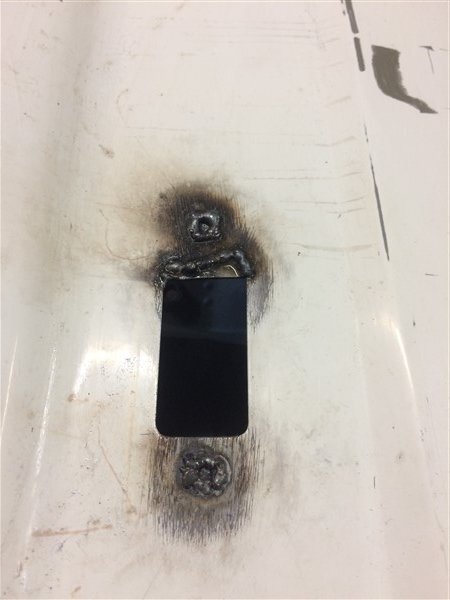
Put a strip of copper underneath it and cut some little piece of metal to weld in.
View attachment 136232
And welded them in.
View attachment 136233
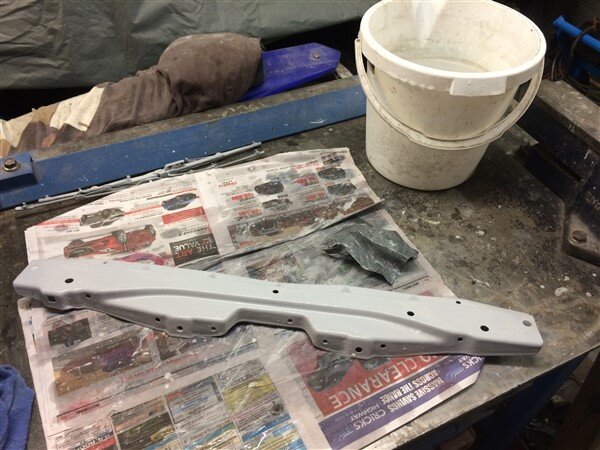
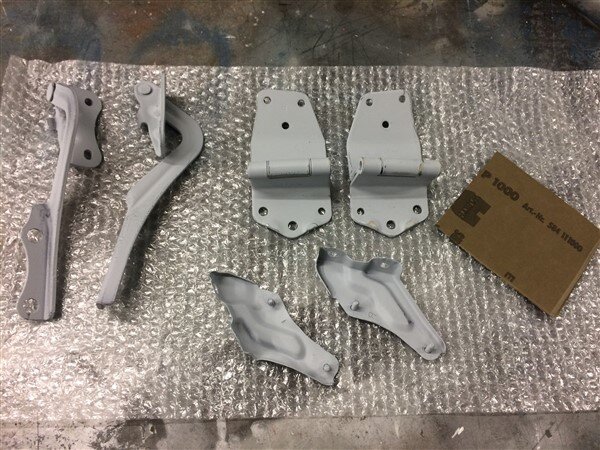
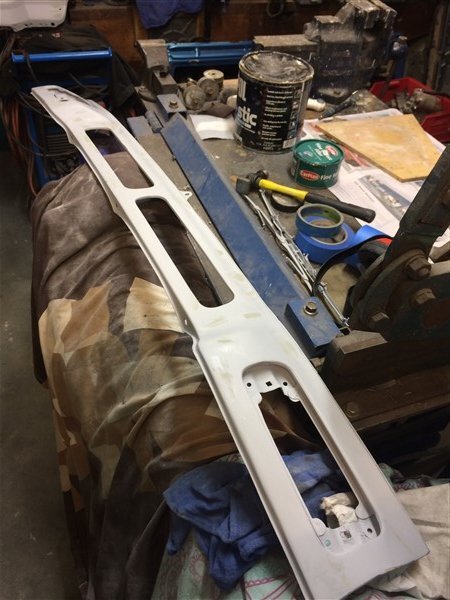
After grinding the welds down and giving all the panels a good sand it was time to get a coat of acid etch primer on them.
View attachment 136234
View attachment 136235
But first I just needed to repair one little rot hole in the drivers side inner arch.
View attachment 136236
Cut out the rot in both layers.
View attachment 136237
Welded the bottom layer in, smoothed the welds down and gave it a coat of the zinc weld through paint.
View attachment 136238
Then welded the top section in and ground the welds down.
View attachment 136239
Now they were all ready for the etch primer.
View attachment 136240
View attachment 136241
View attachment 136242
View attachment 136243
View attachment 136244
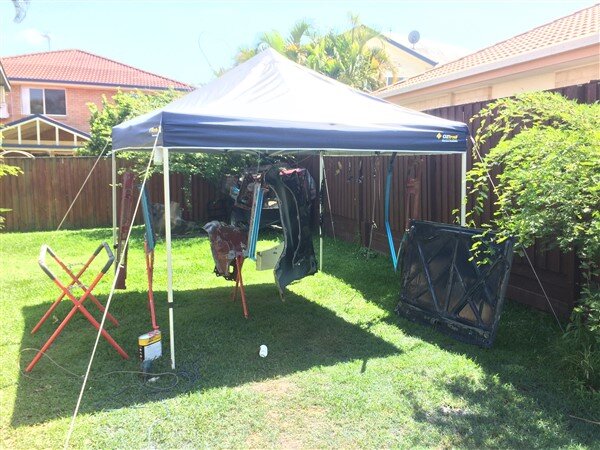
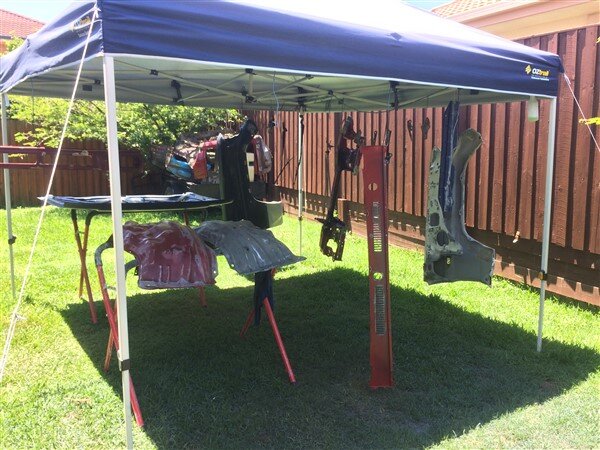
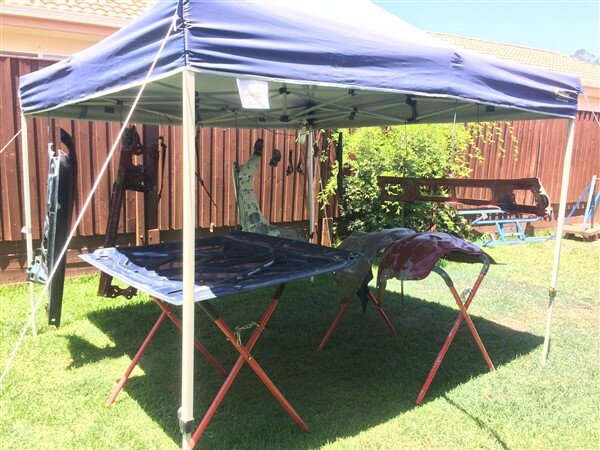
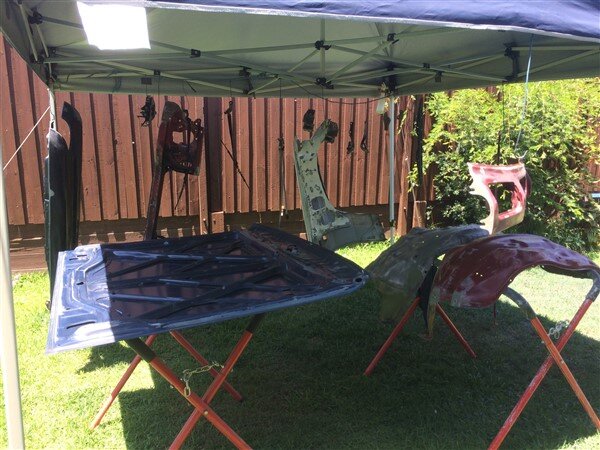
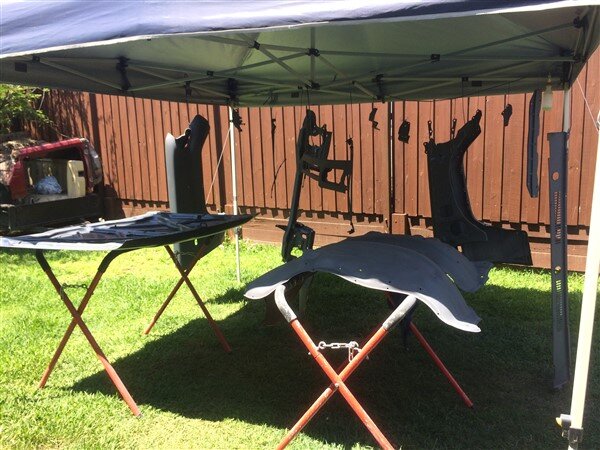
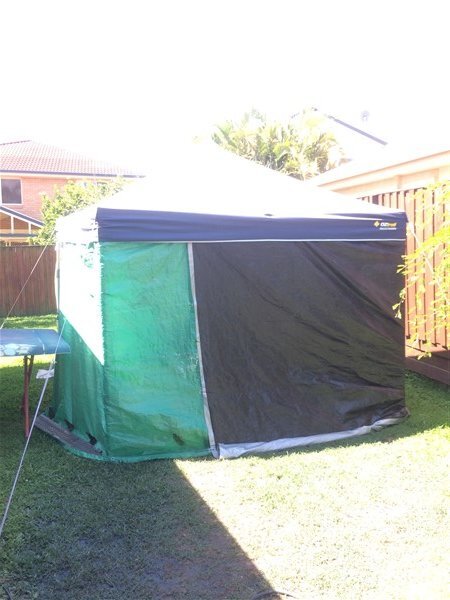
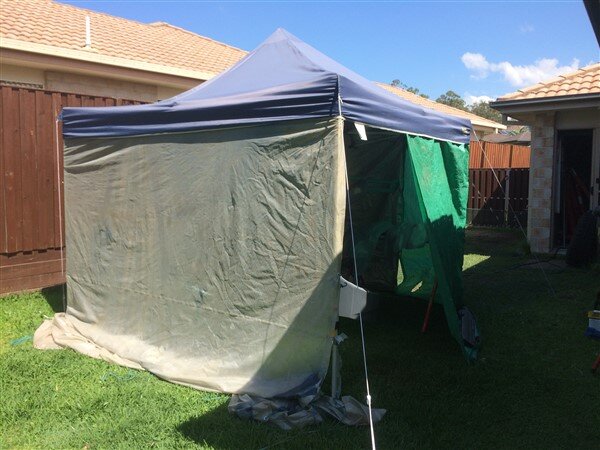
After throwing a litre of etch primer at them I decided I would have to enclose the sides on the gazebo before going to the 2k paints as it was pretty windy and I didnt want that blowing all over my neighbors property.
So I set some tarps up.
View attachment 136245
View attachment 136248
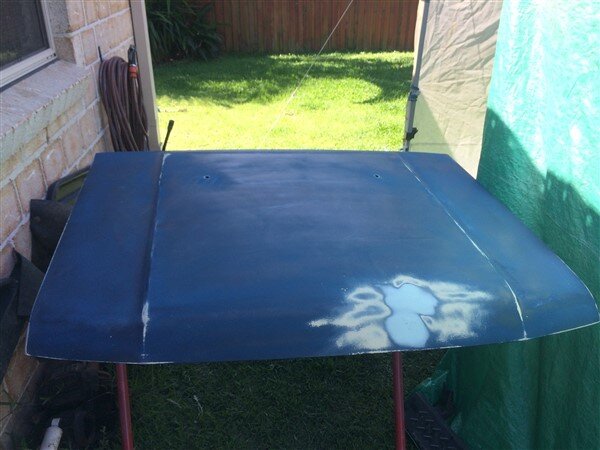
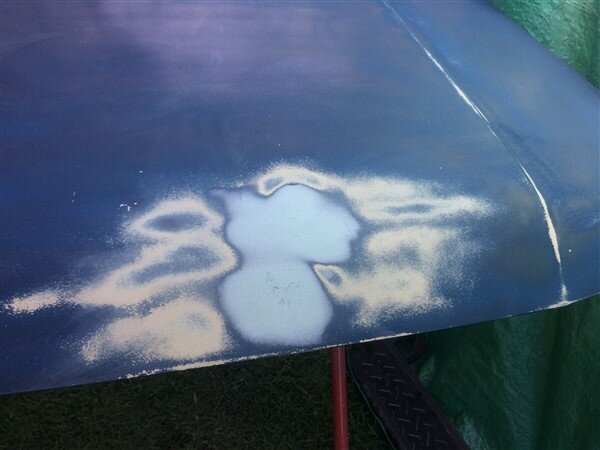
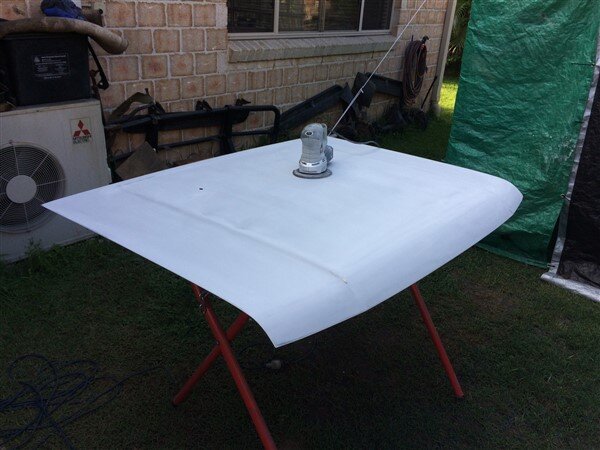
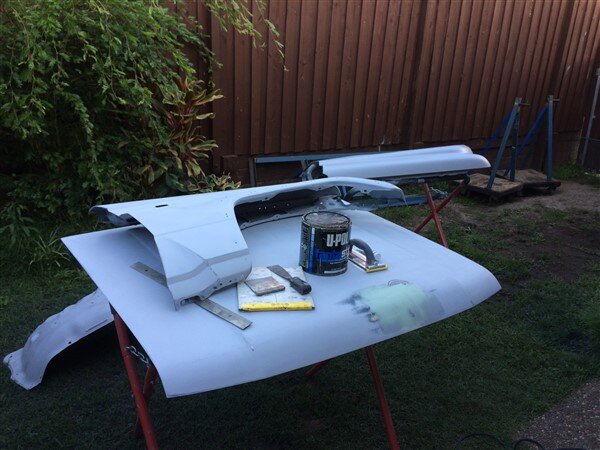
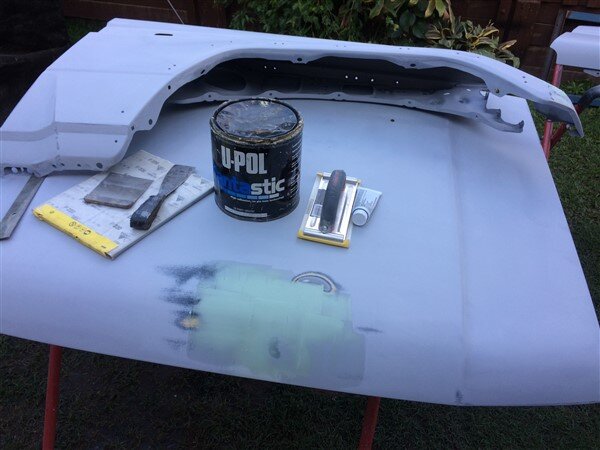
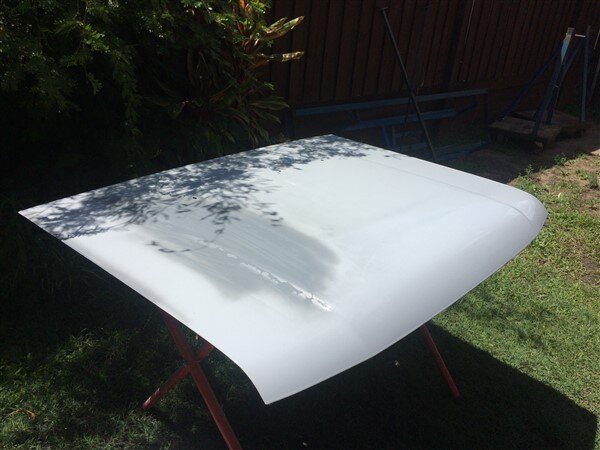
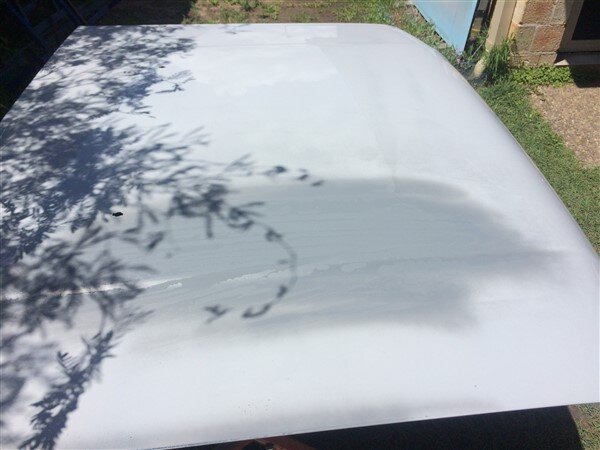
I sanded LJ's original bonnet down and finally decided to fix the dent it sustained in the roll over in Wales all those years ago.
View attachment 136246
View attachment 136247
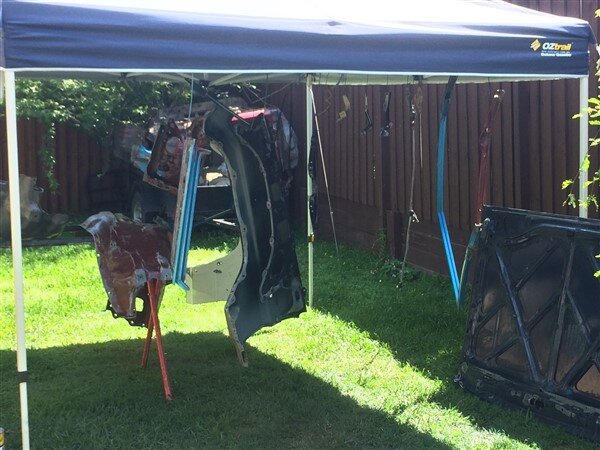
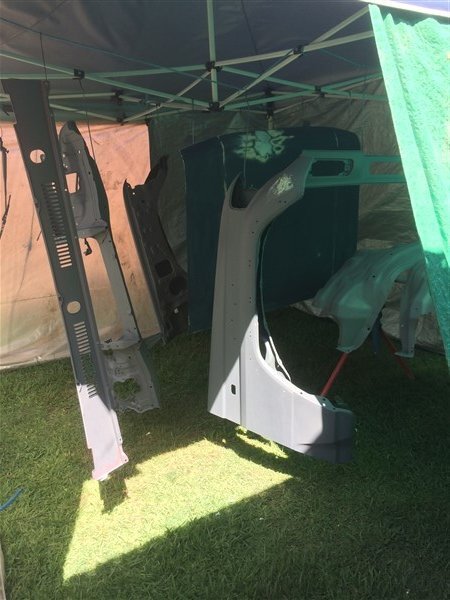
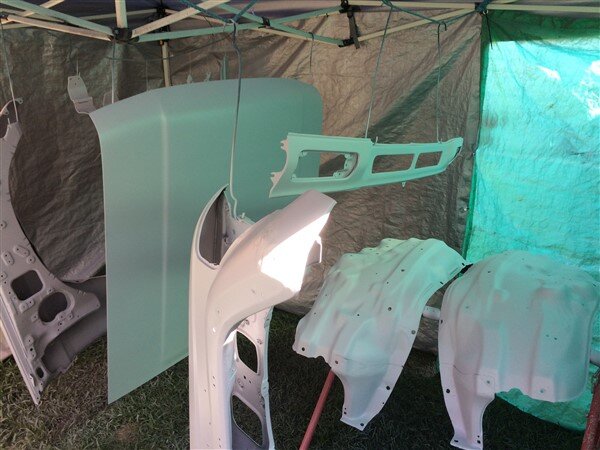
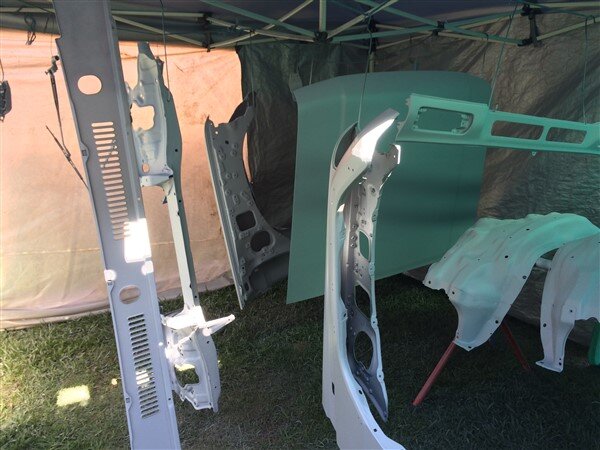
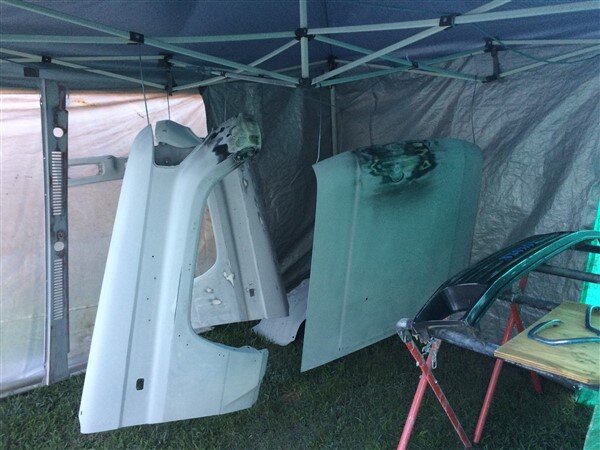
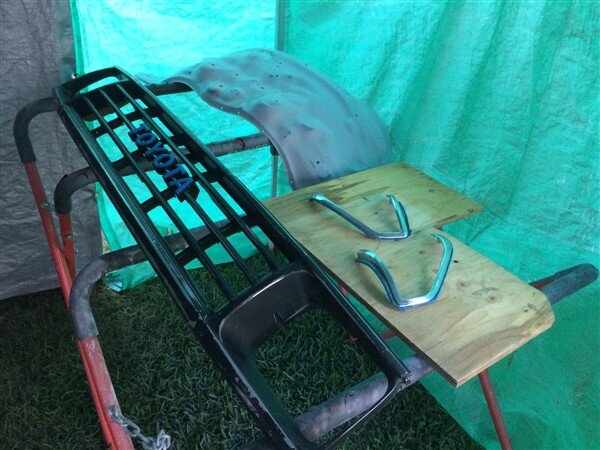
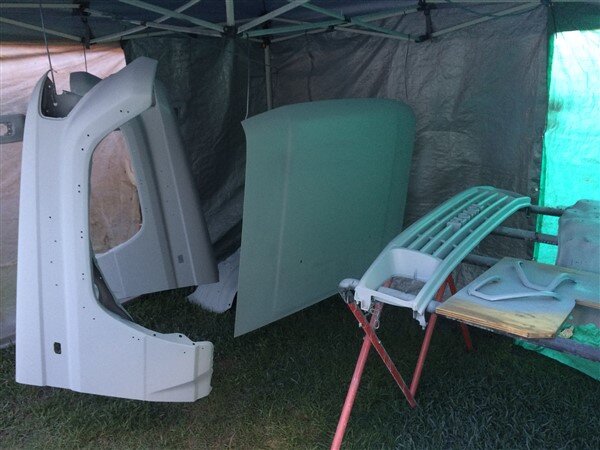
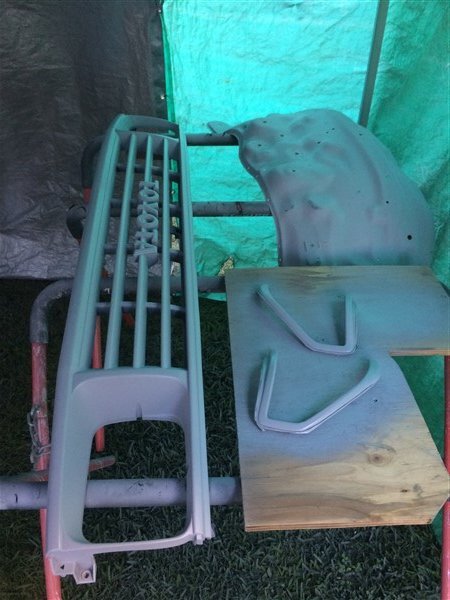
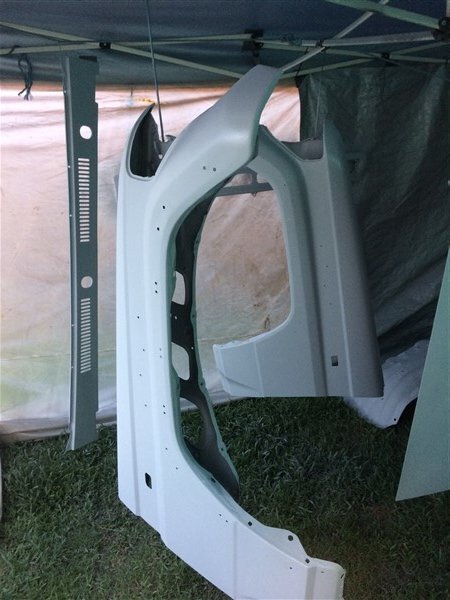
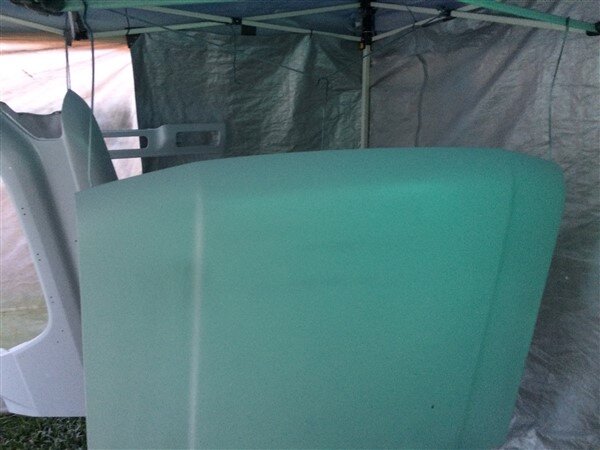
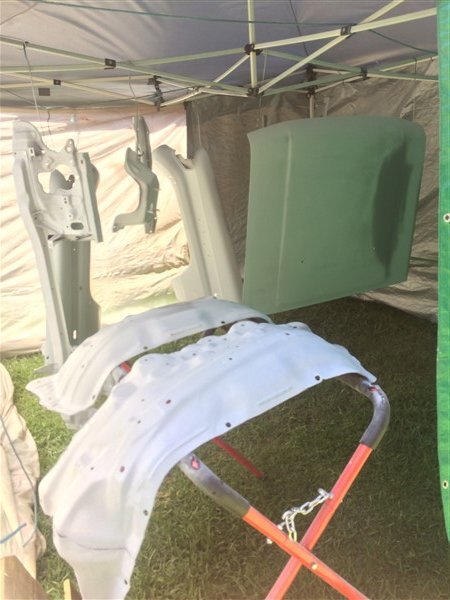
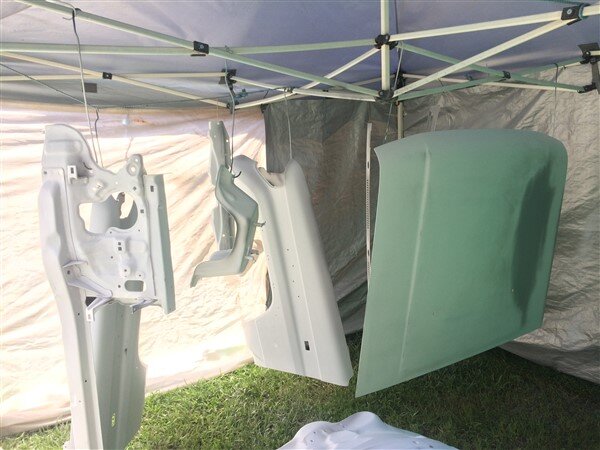
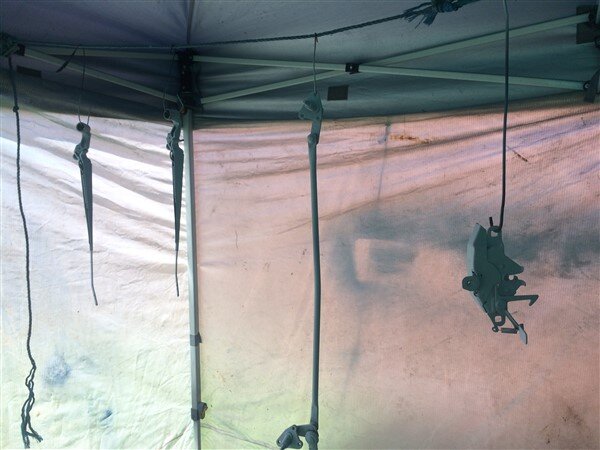
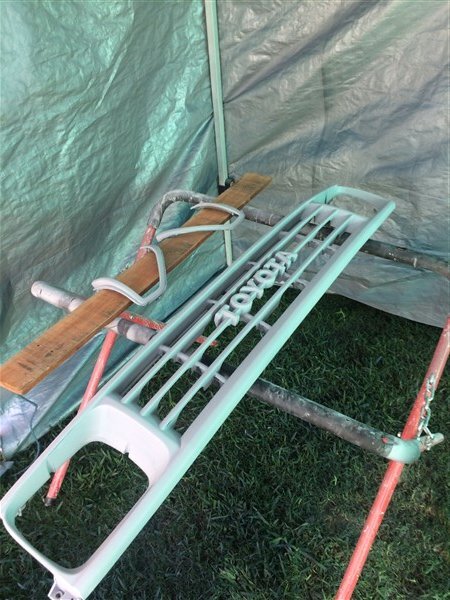
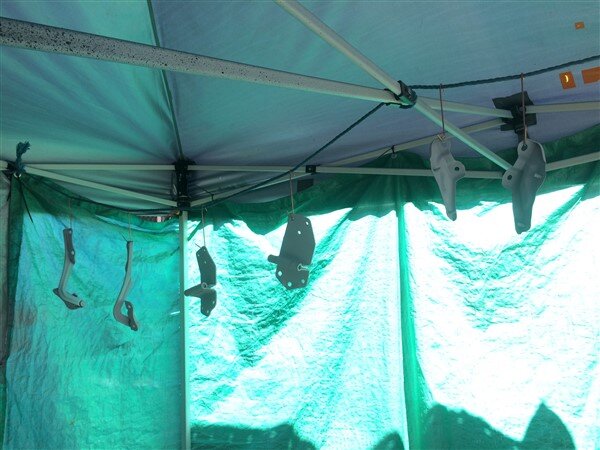
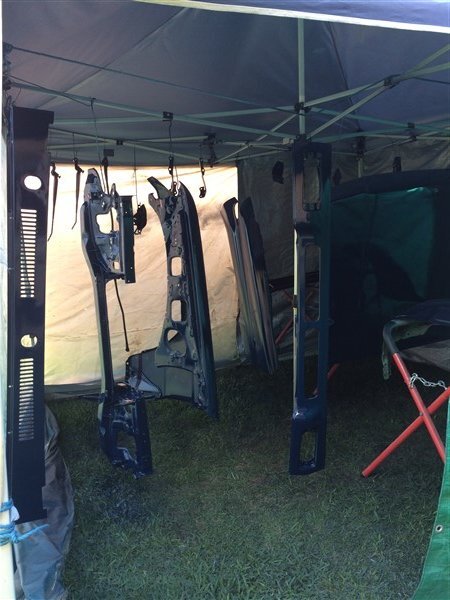
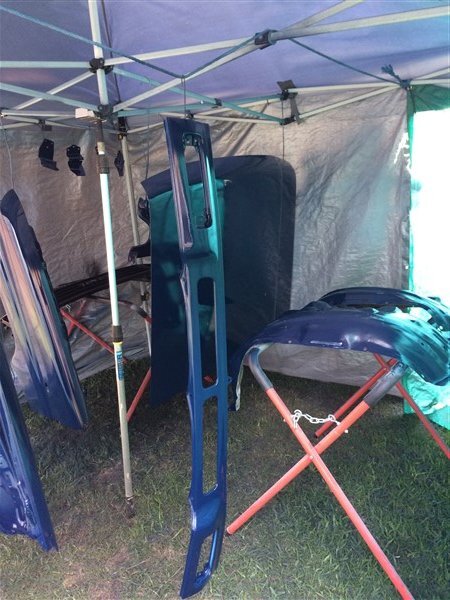
Then I hung everything up in the gazebo ready for the 2k primer.
View attachment 136249
And got some primer on them.
View attachment 136250
View attachment 136251
View attachment 136252
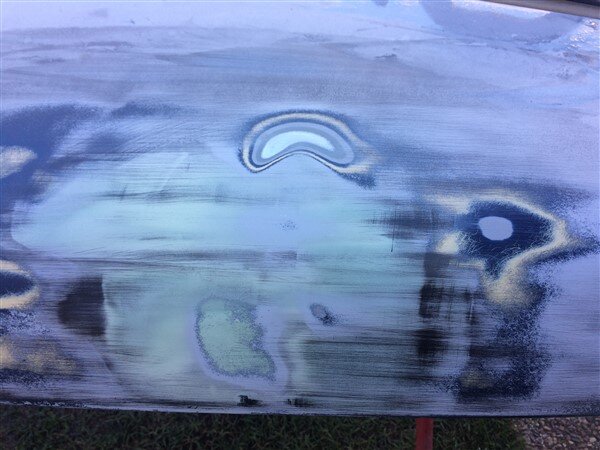
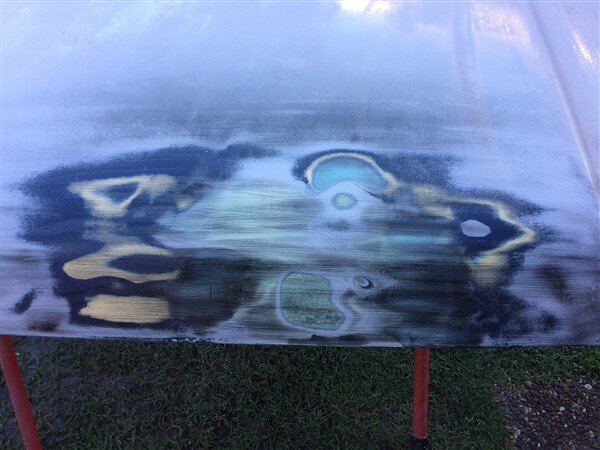
Then it was time so sand them all down with wet n dry paper and get everything nice and smooth.
View attachment 136253
Catch a breath Ben, you’re wearing me out reading all this
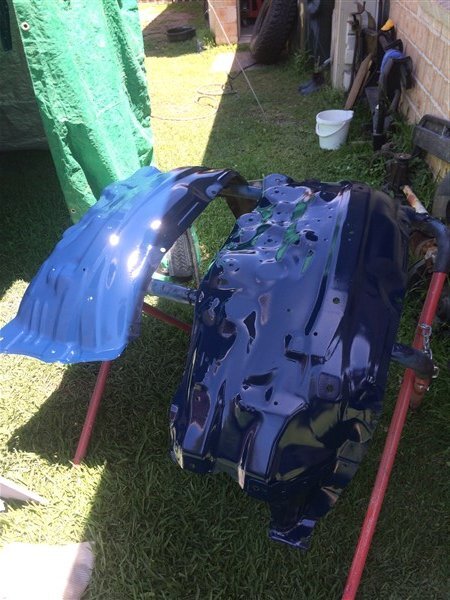
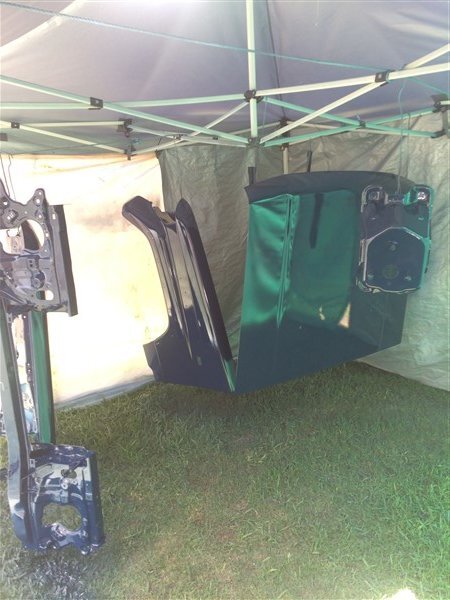
The only problem with the dark blue is dust.
It looks dirty almost immediately after a wash, especially in the summer, otherwise I love it!


You can go off some people you know…But what I really dont get is how popular that maroon red is!
"Hand me that spanner son…"Just need to find a spot in the garage for the cot to sit while I'm working.
Keep diggin'…
Thanks guys.
Sory Rich, I forgot you had one in that colour!
I thought now Chas had finally seen the light and had a re-spray, I could be honest about my thoughts on that colour.


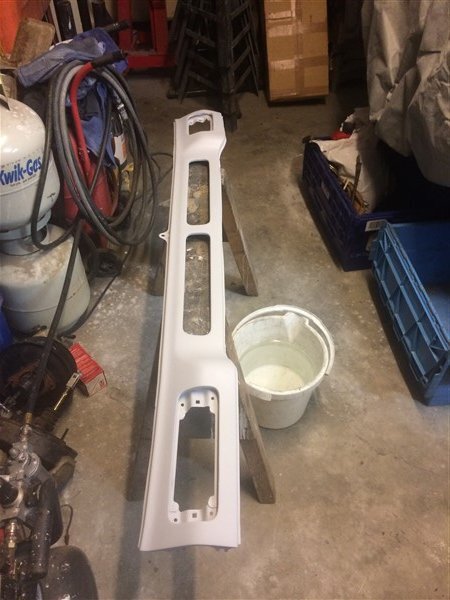
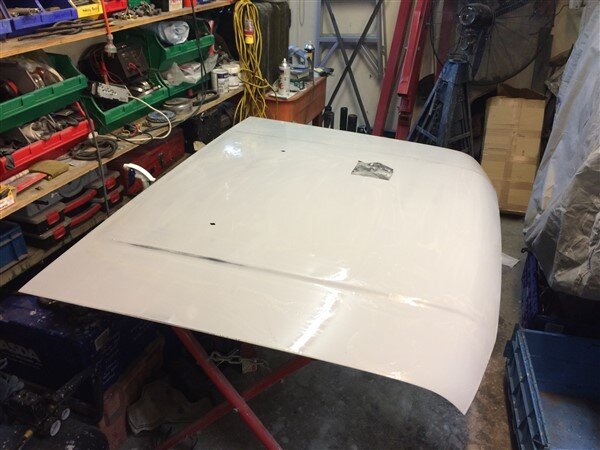

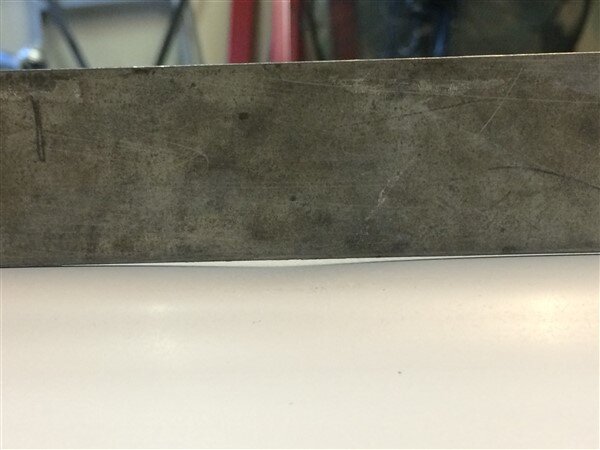
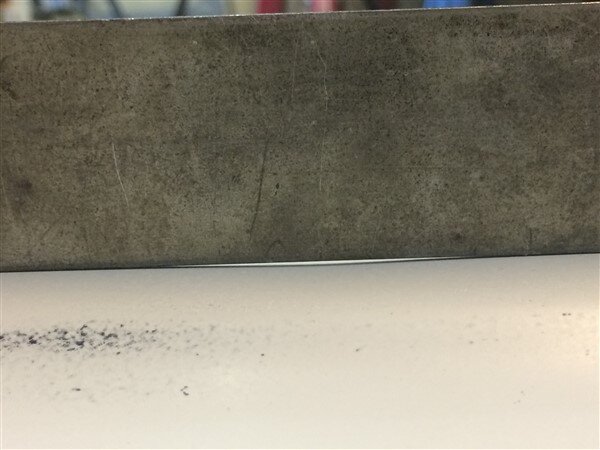
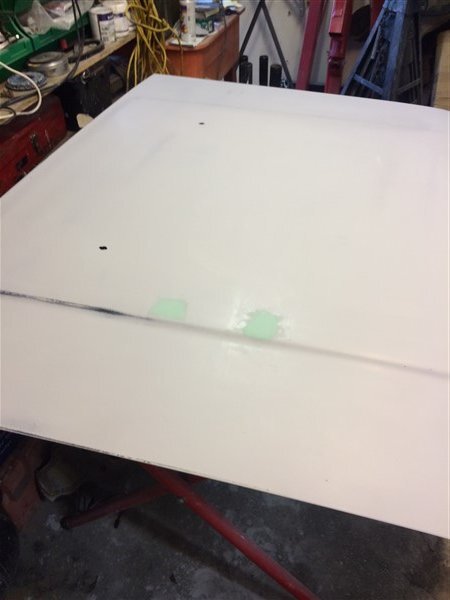
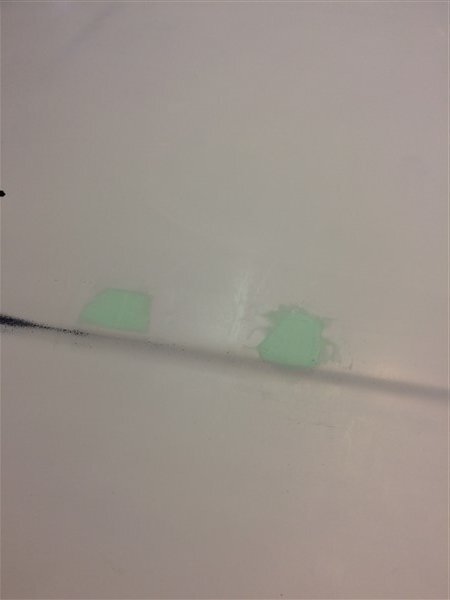
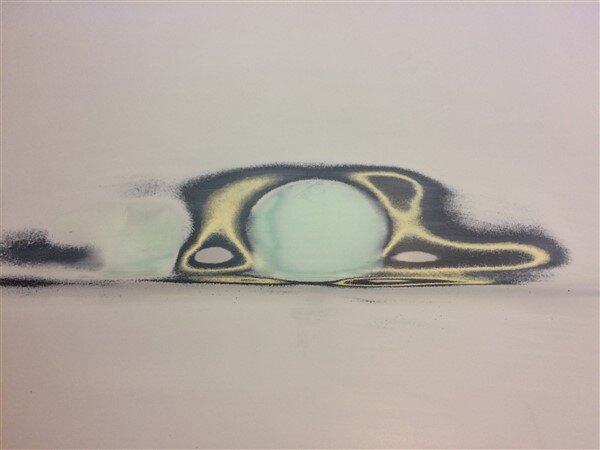
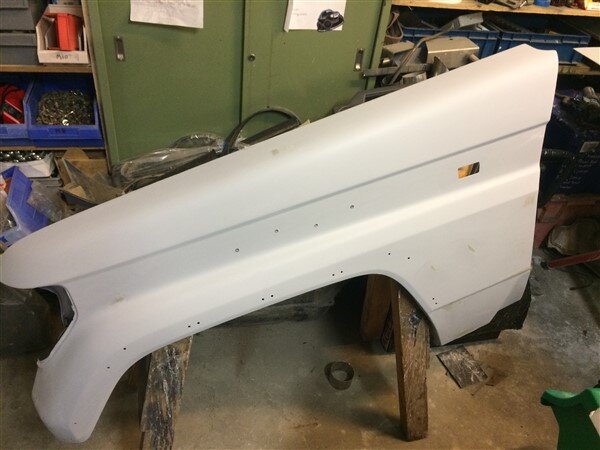

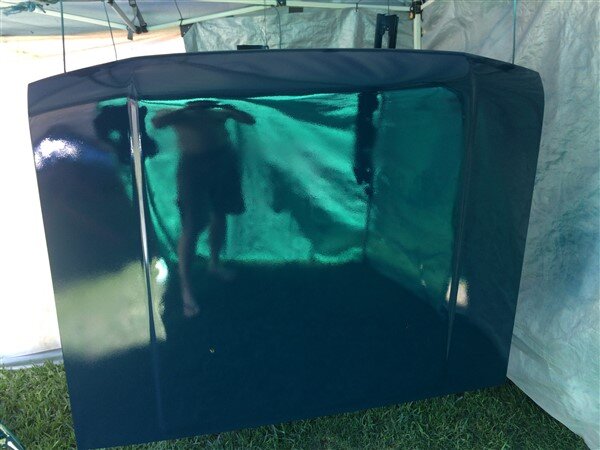

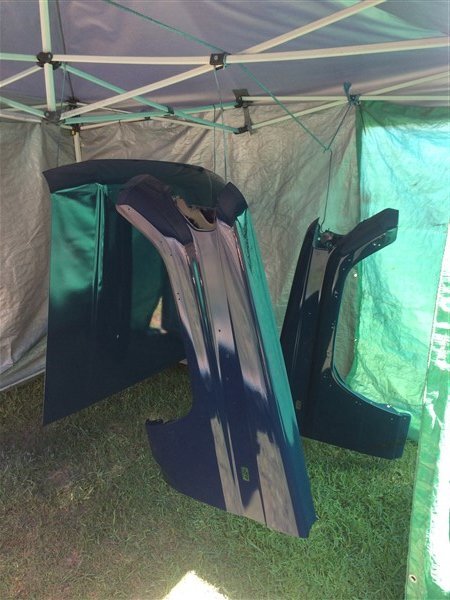
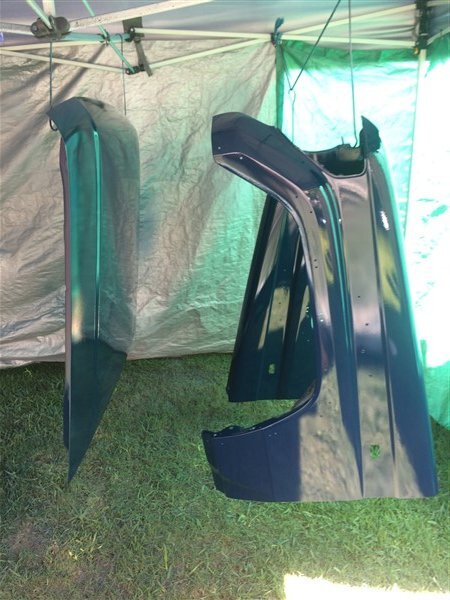
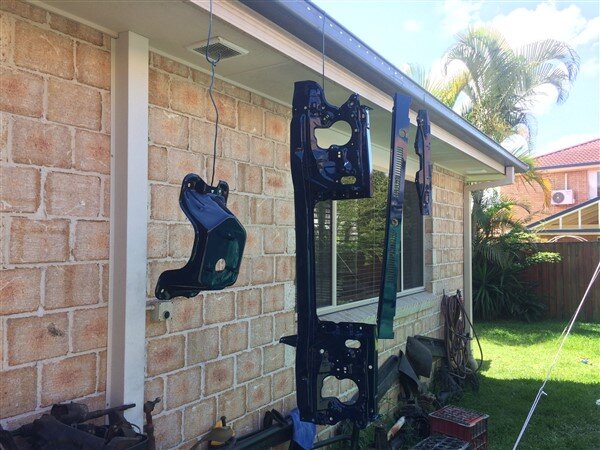
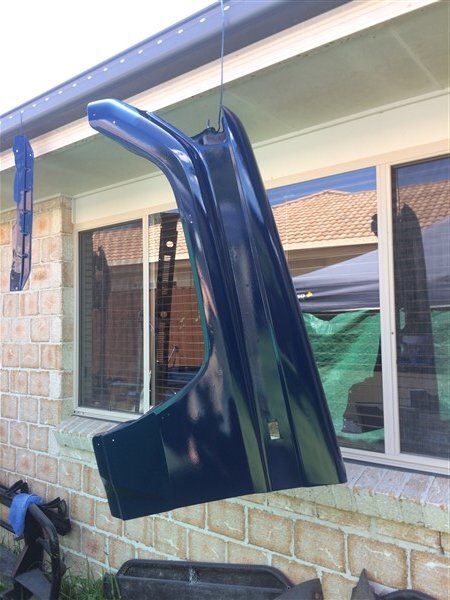
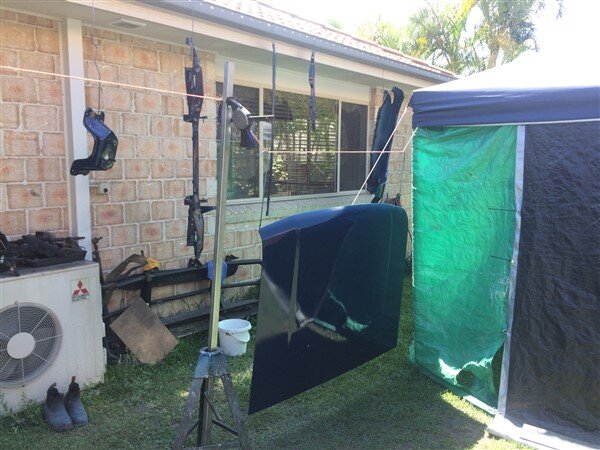
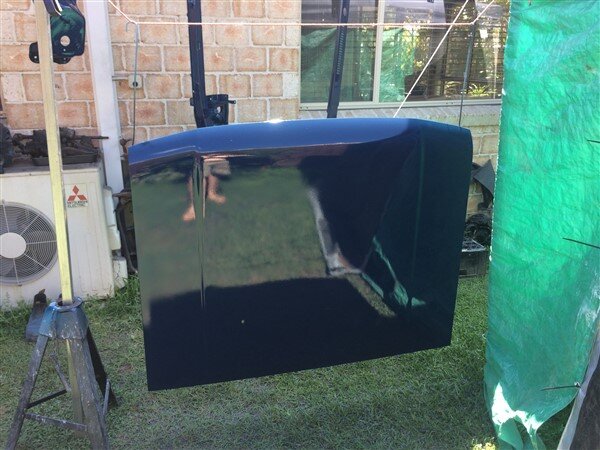

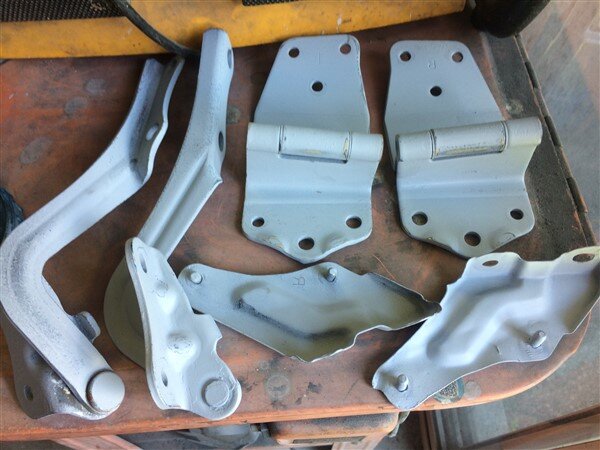


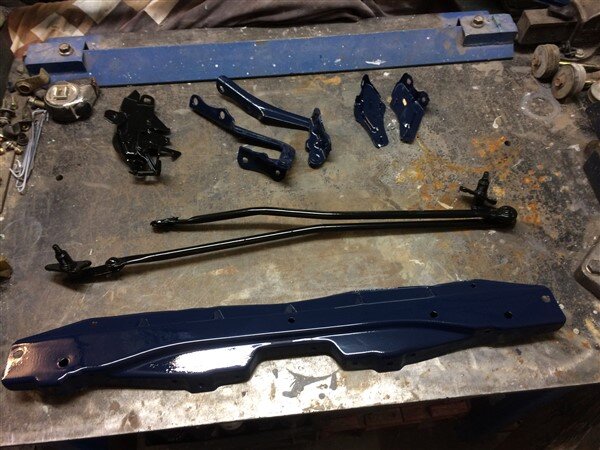
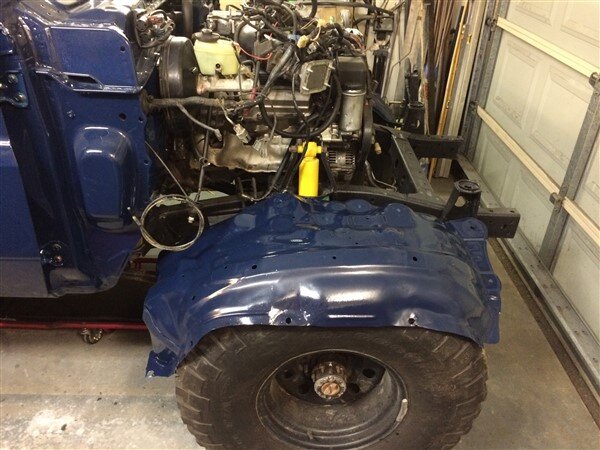
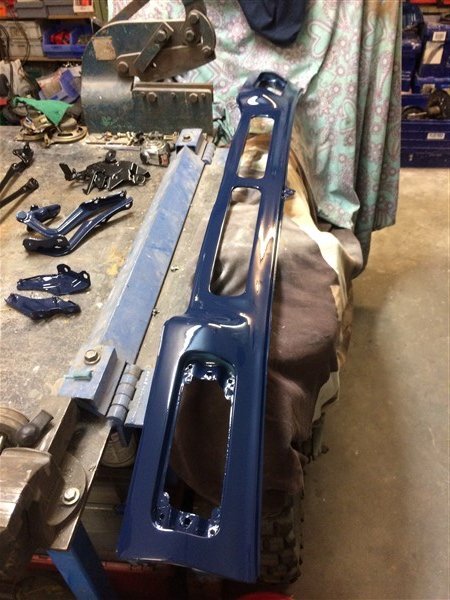
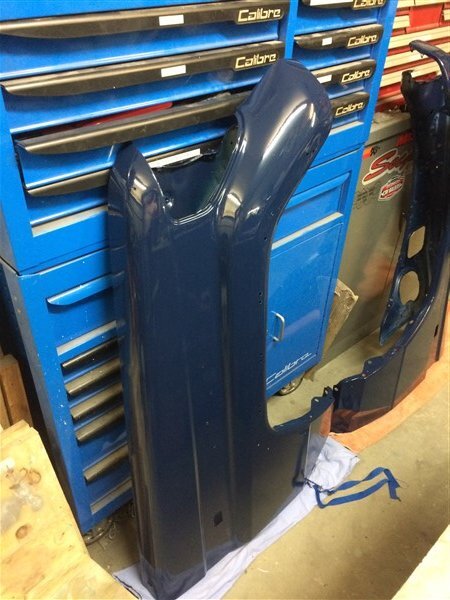

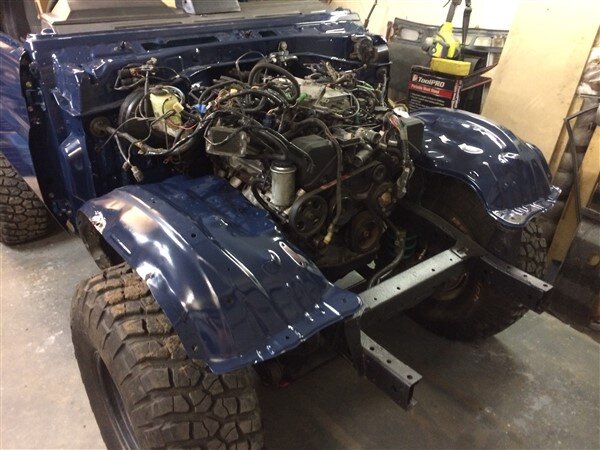
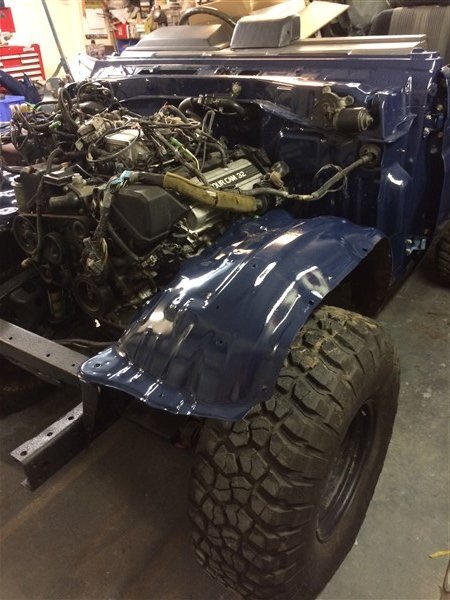




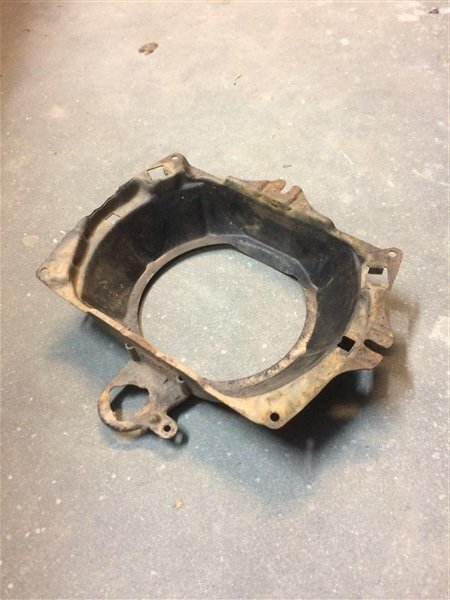
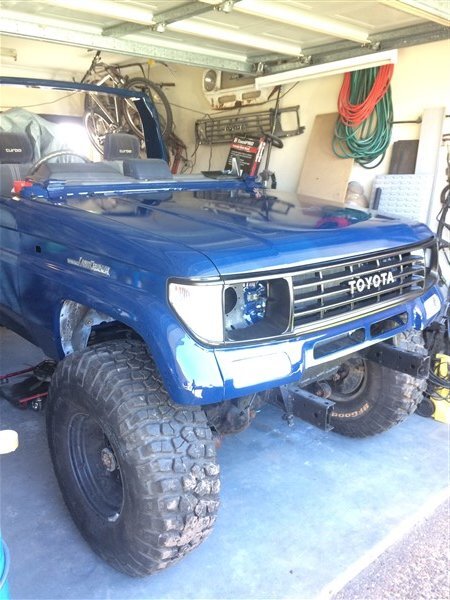
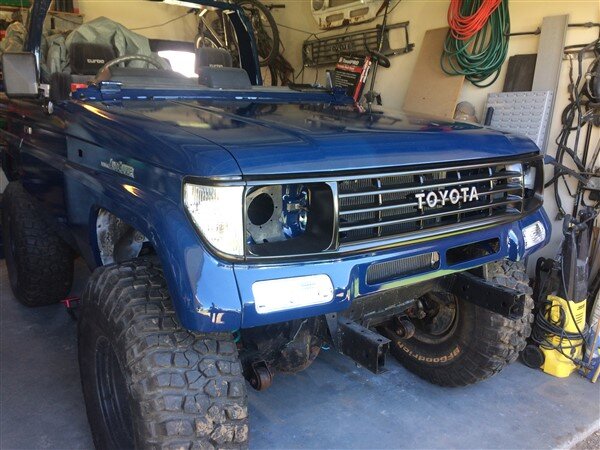

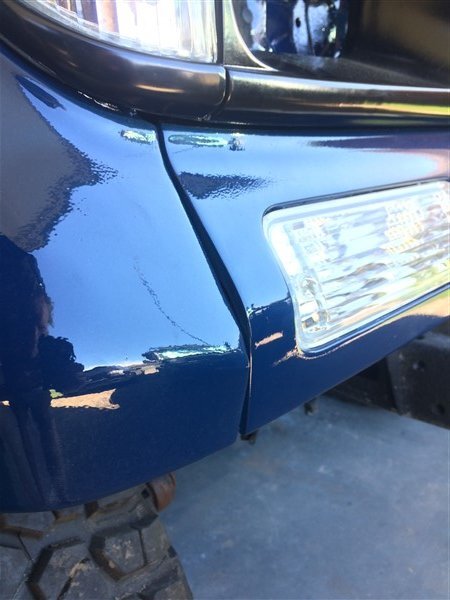

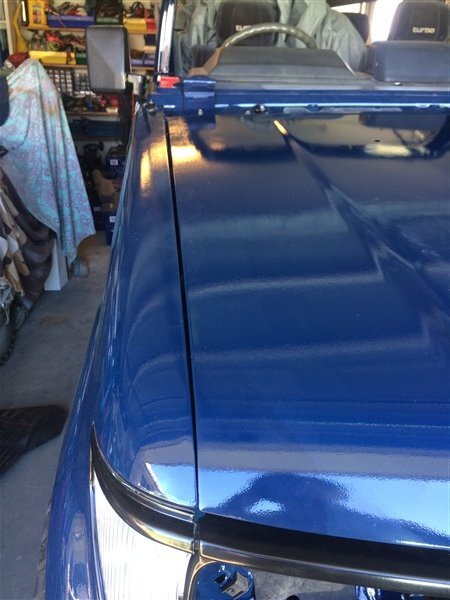

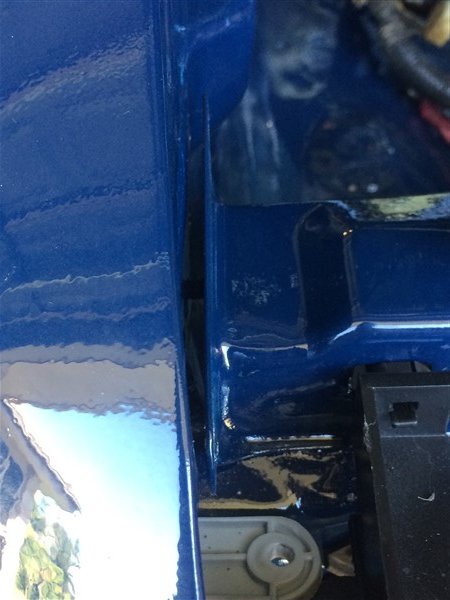
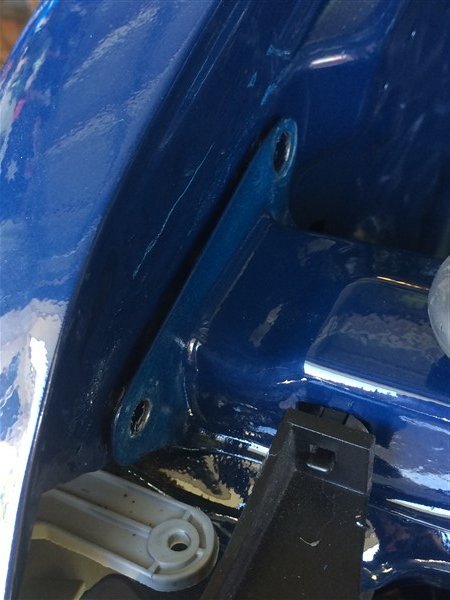
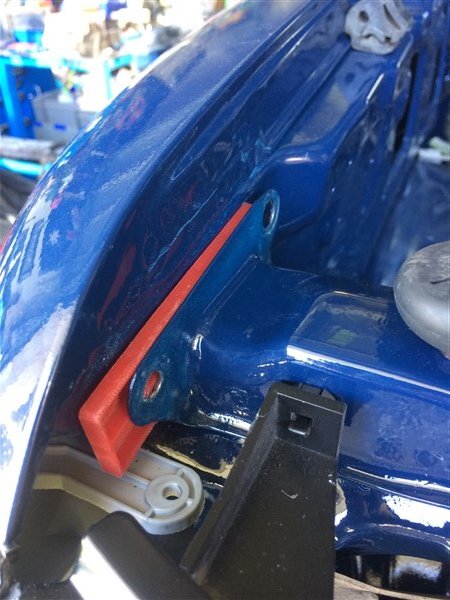


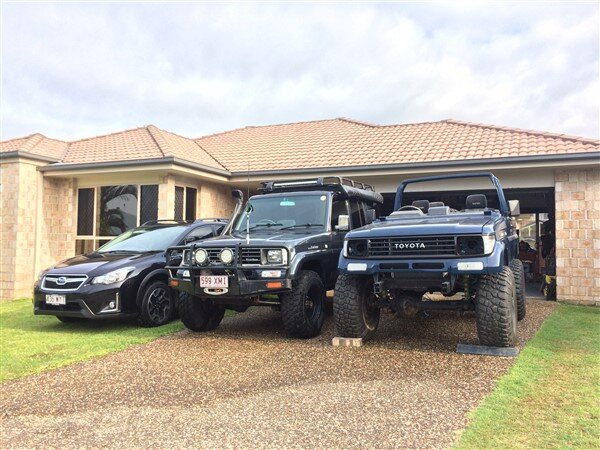
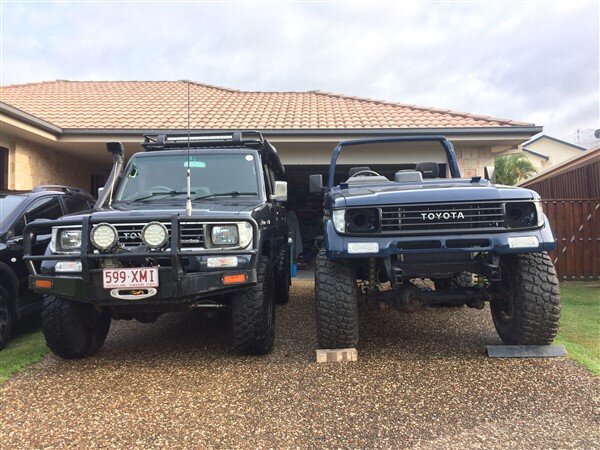
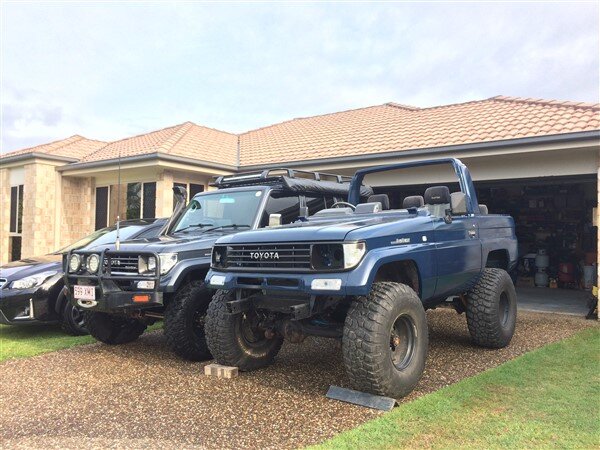

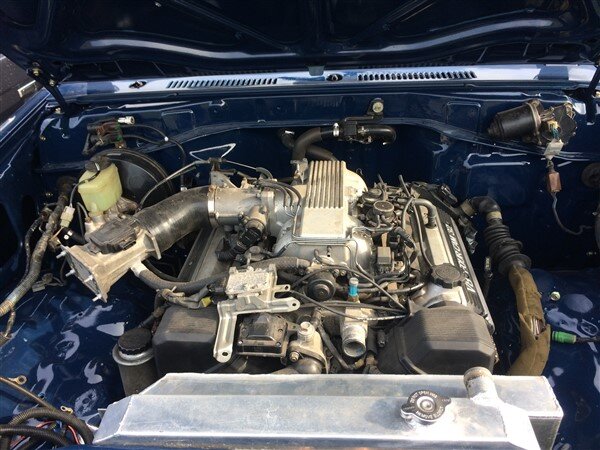
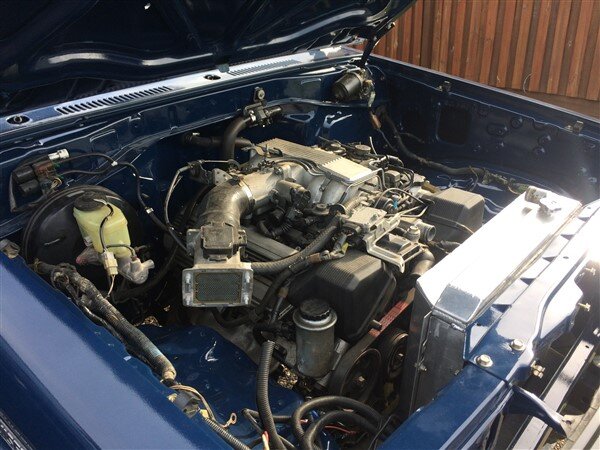
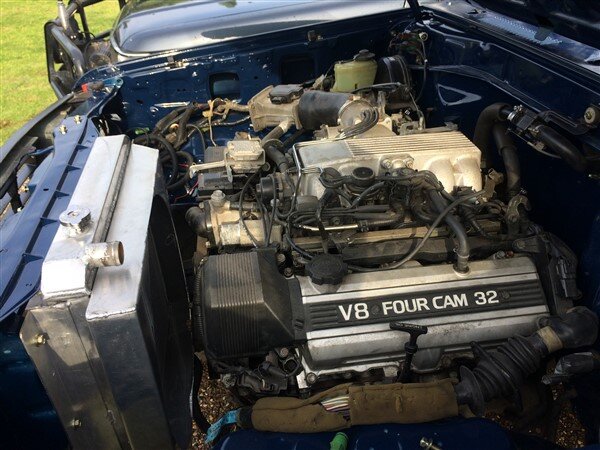


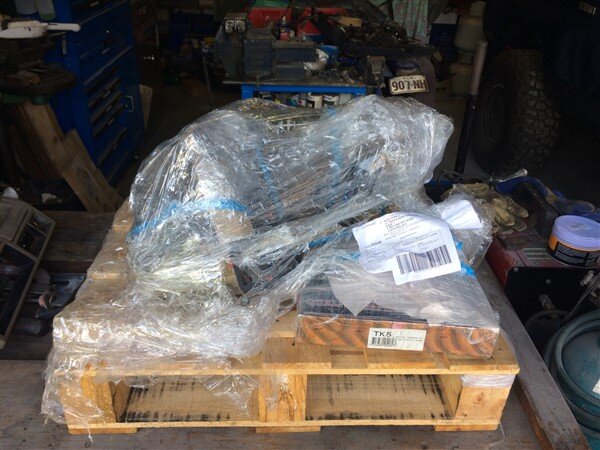


Lookin' good Ben. I reckon 'Mini Me' will be late arriving, so you might have a bit more time than you thought.You'll be able to get some lay ins once he arrives.


Fcuking ICE COOL lad. It's the type of truck you should enter into shows aswell. She'd clean up; a genuine hard core off roader that' looks like Mr toyota intended

