Don't like the adverts? Click here to remove them
You are using an out of date browser. It may not display this or other websites correctly.
You should upgrade or use an alternative browser.
You should upgrade or use an alternative browser.
LJ70 Build Thread!
- Thread starter Ben
- Start date
Ooops, I meant to say that too. Congrats on becoming an official Australian citizen.
Do they give you a hat with corks on it at the door?
Do they give you a hat with corks on it at the door?
Paddler Ed
Well-Known Member
Ed, how can you loose your driving license if you dont tell them if you move?
Because it's one of the penalties for not voting, admittedly 4th on the list of how the fine and non-payment progresses, in most States, and the reason why it's a problem if you don't tell them you've moved is because you won't get the fines in the post....so you won't know that there's been a fine issued. See the link? We had a mate here cop a fine in NSW because he'd forgotten to update his move to QLD and because he missed the State election or the by election, he got a fine.
https://www.elections.wa.gov.au/vote/failure-vote
https://www.ecsa.sa.gov.au/voting/failure-to-vote
VIC fire it off to their fines organisation who do the same, as does NSW.
doyle61
Member
- Joined
- Dec 19, 2013
- Messages
- 136
- Country Flag
First of Ben, congrats on your citizenship lad. Second, I really enjoyed that write up. It's funny but because of Facebook I knew of all the progress but why I really like the forums over Facebook are the detail you can go into on the forum. Going to try and include a winch system similar to yours on my 70 and I'm going to copy the rocksliders aswell lol
Don't like the adverts? Click here to remove them
- Joined
- Oct 13, 2010
- Messages
- 6,058
- Country Flag
Because it's one of the penalties for not voting, admittedly 4th on the list of how the fine and non-payment progresses, in most States, and the reason why it's a problem if you don't tell them you've moved is because you won't get the fines in the post....so you won't know that there's been a fine issued. See the link? We had a mate here cop a fine in NSW because he'd forgotten to update his move to QLD and because he missed the State election or the by election, he got a fine.
https://www.elections.wa.gov.au/vote/failure-vote
https://www.ecsa.sa.gov.au/voting/failure-to-vote
VIC fire it off to their fines organisation who do the same, as does NSW.
Thats very interesting Ed.

I will make sure that if/when I enroll that I keep them up to date with my address.

Excellent work as always, that bumper is flawless! The fabrication work is great mate, are you sure there's not 40 hours in a day over there!!?
Congrats on the citizenship.
Thanks mate, I'm extremely happy with how the bumper turned out!

I wish there were 40 hours in a day, I have so much work I need to get done!

First of Ben, congrats on your citizenship lad. Second, I really enjoyed that write up. It's funny but because of Facebook I knew of all the progress but why I really like the forums over Facebook are the detail you can go into on the forum. Going to try and include a winch system similar to yours on my 70 and I'm going to copy the rocksliders aswell lol
Thanks mate.
Yeah its good how much detail I can go into on here, but I also like how easy it is to post pics and a short description on Facebook and I like how on there there are so many members who have the exact same car, so sharing ideas and help is very easy.

But posts get lost so easily on there so its nice to have it all documented here.
- Joined
- Oct 13, 2010
- Messages
- 6,058
- Country Flag
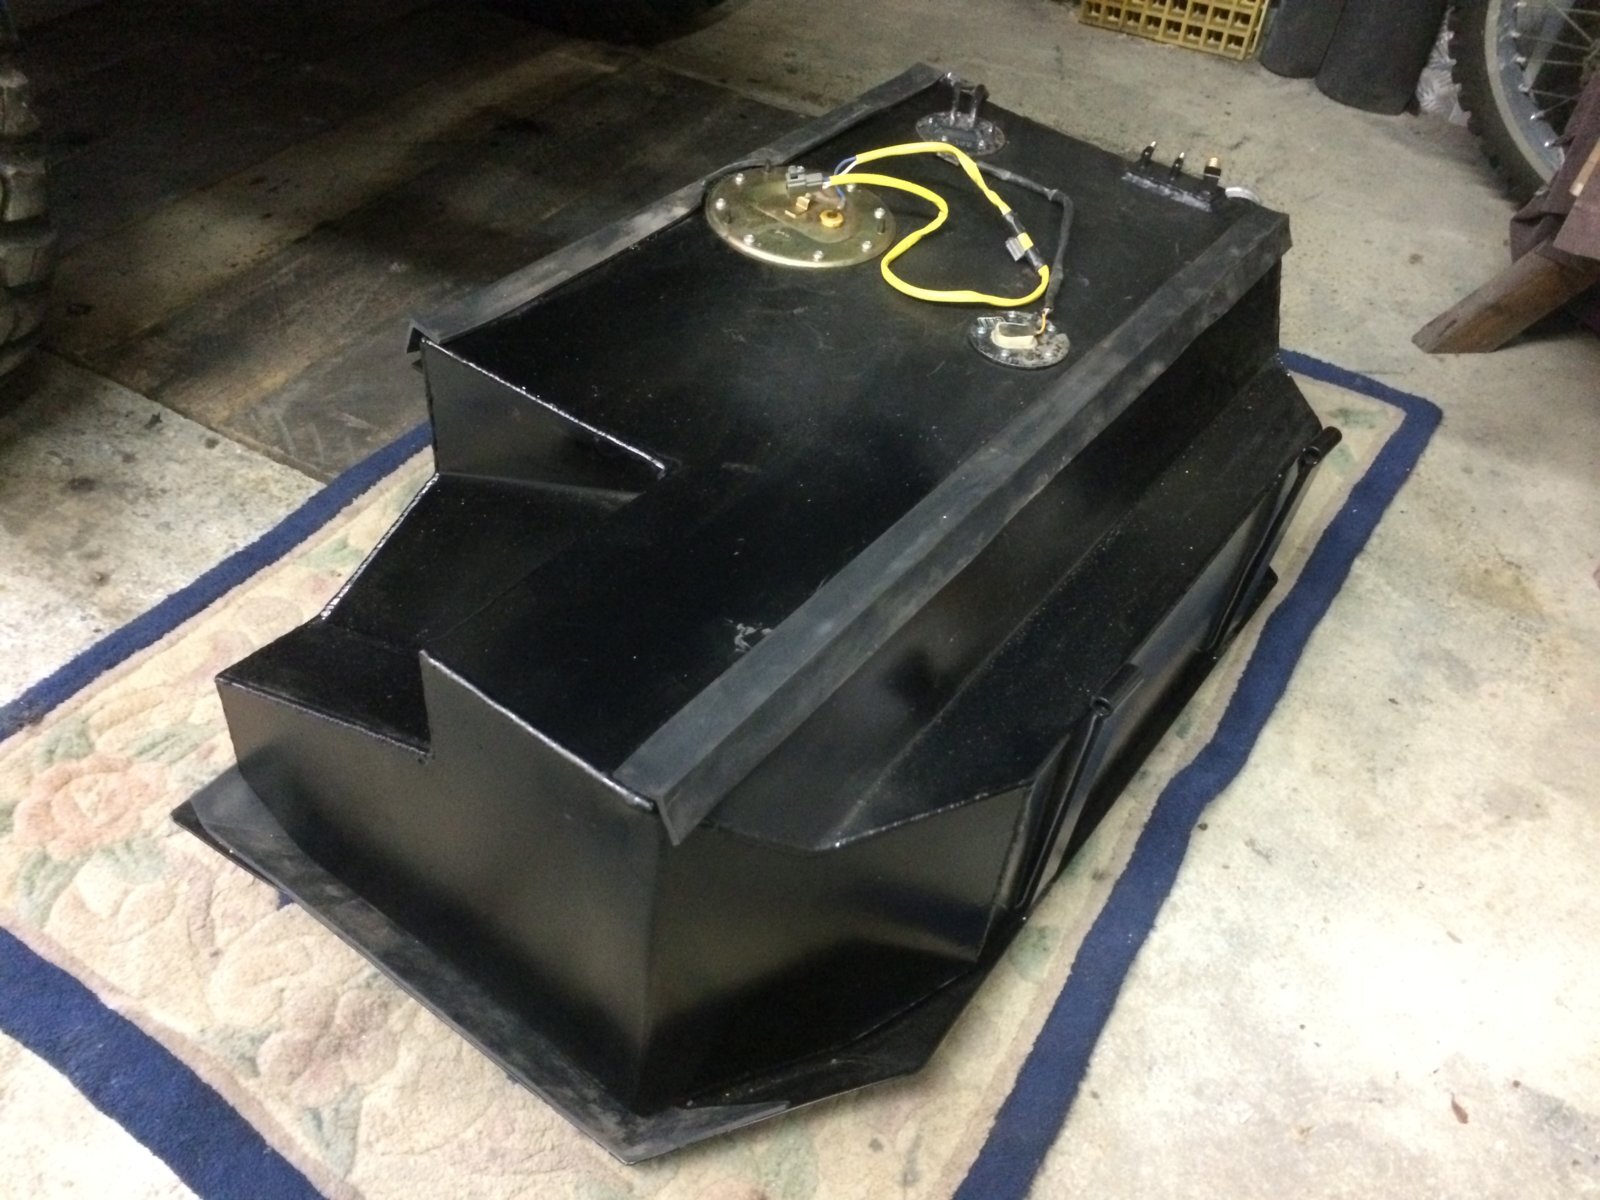
Fuel Tank
I attached strips of rubber to the fuel tank guard and rubber L section along 2 of the edges on the tank.
These pieces of rubber needed weighing and clamping down while the adhesive set.
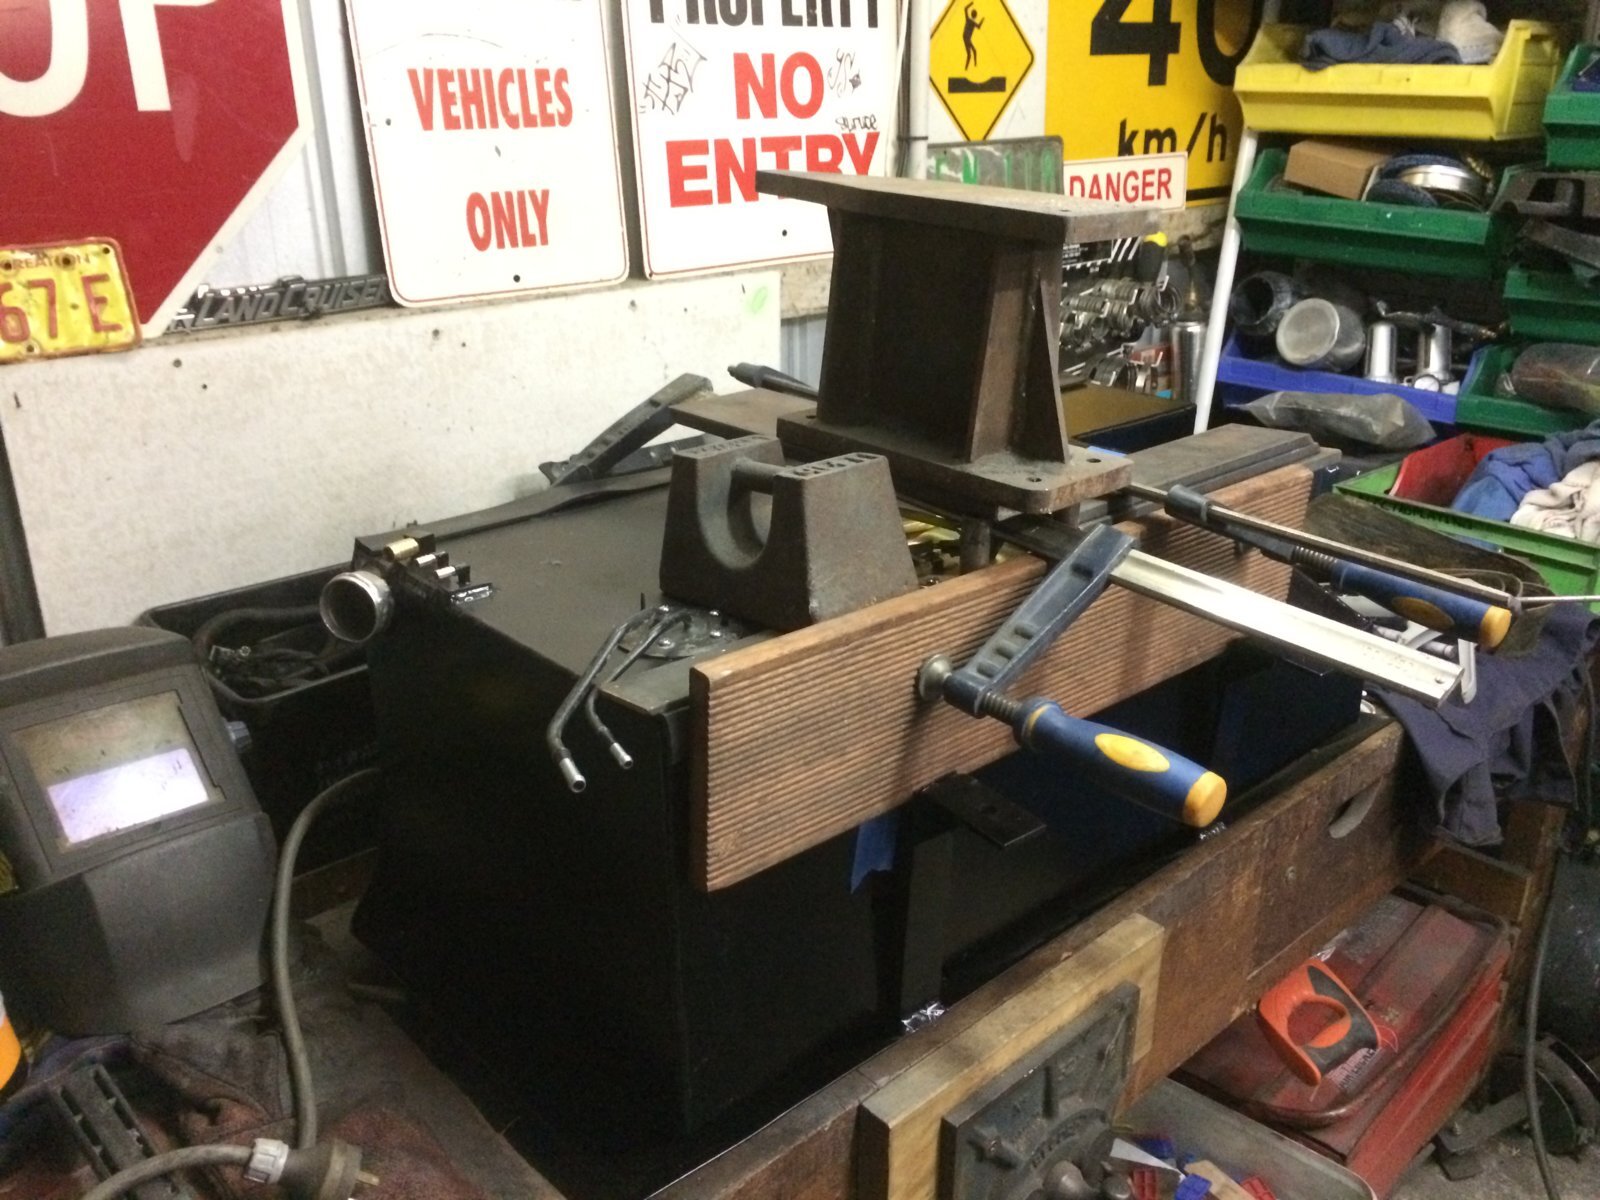
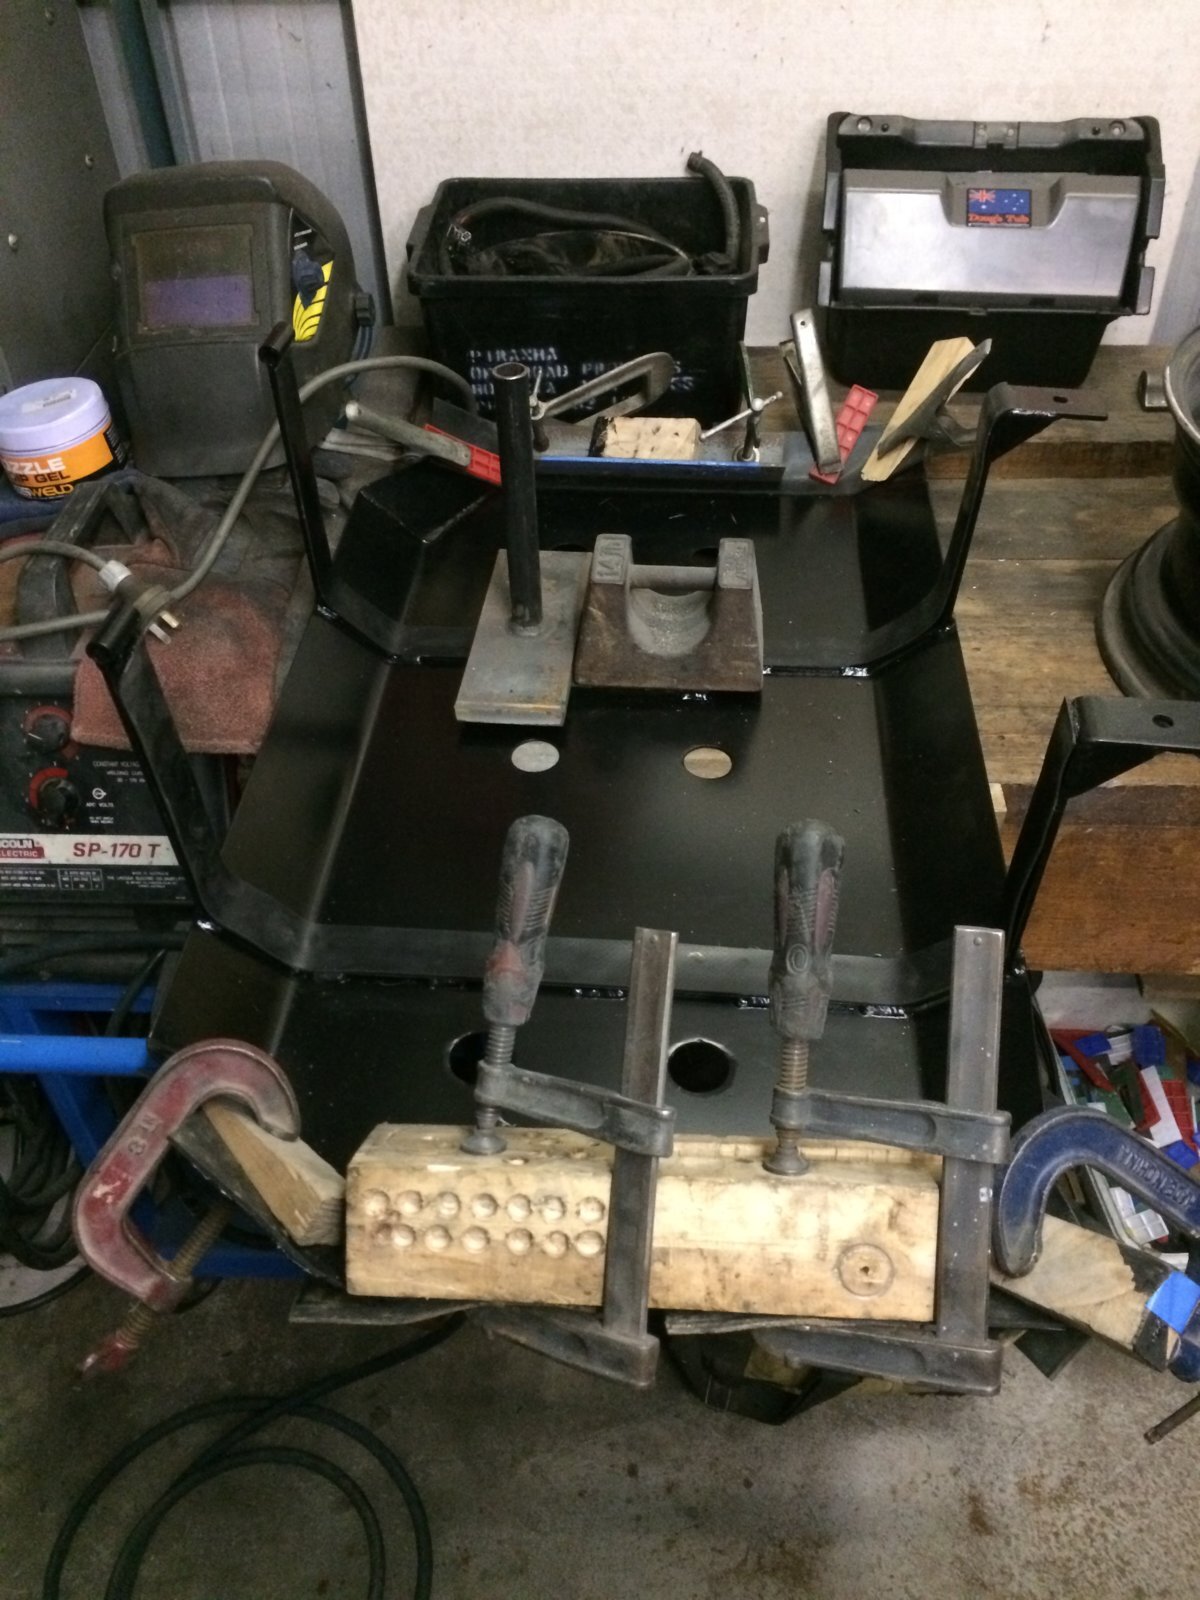
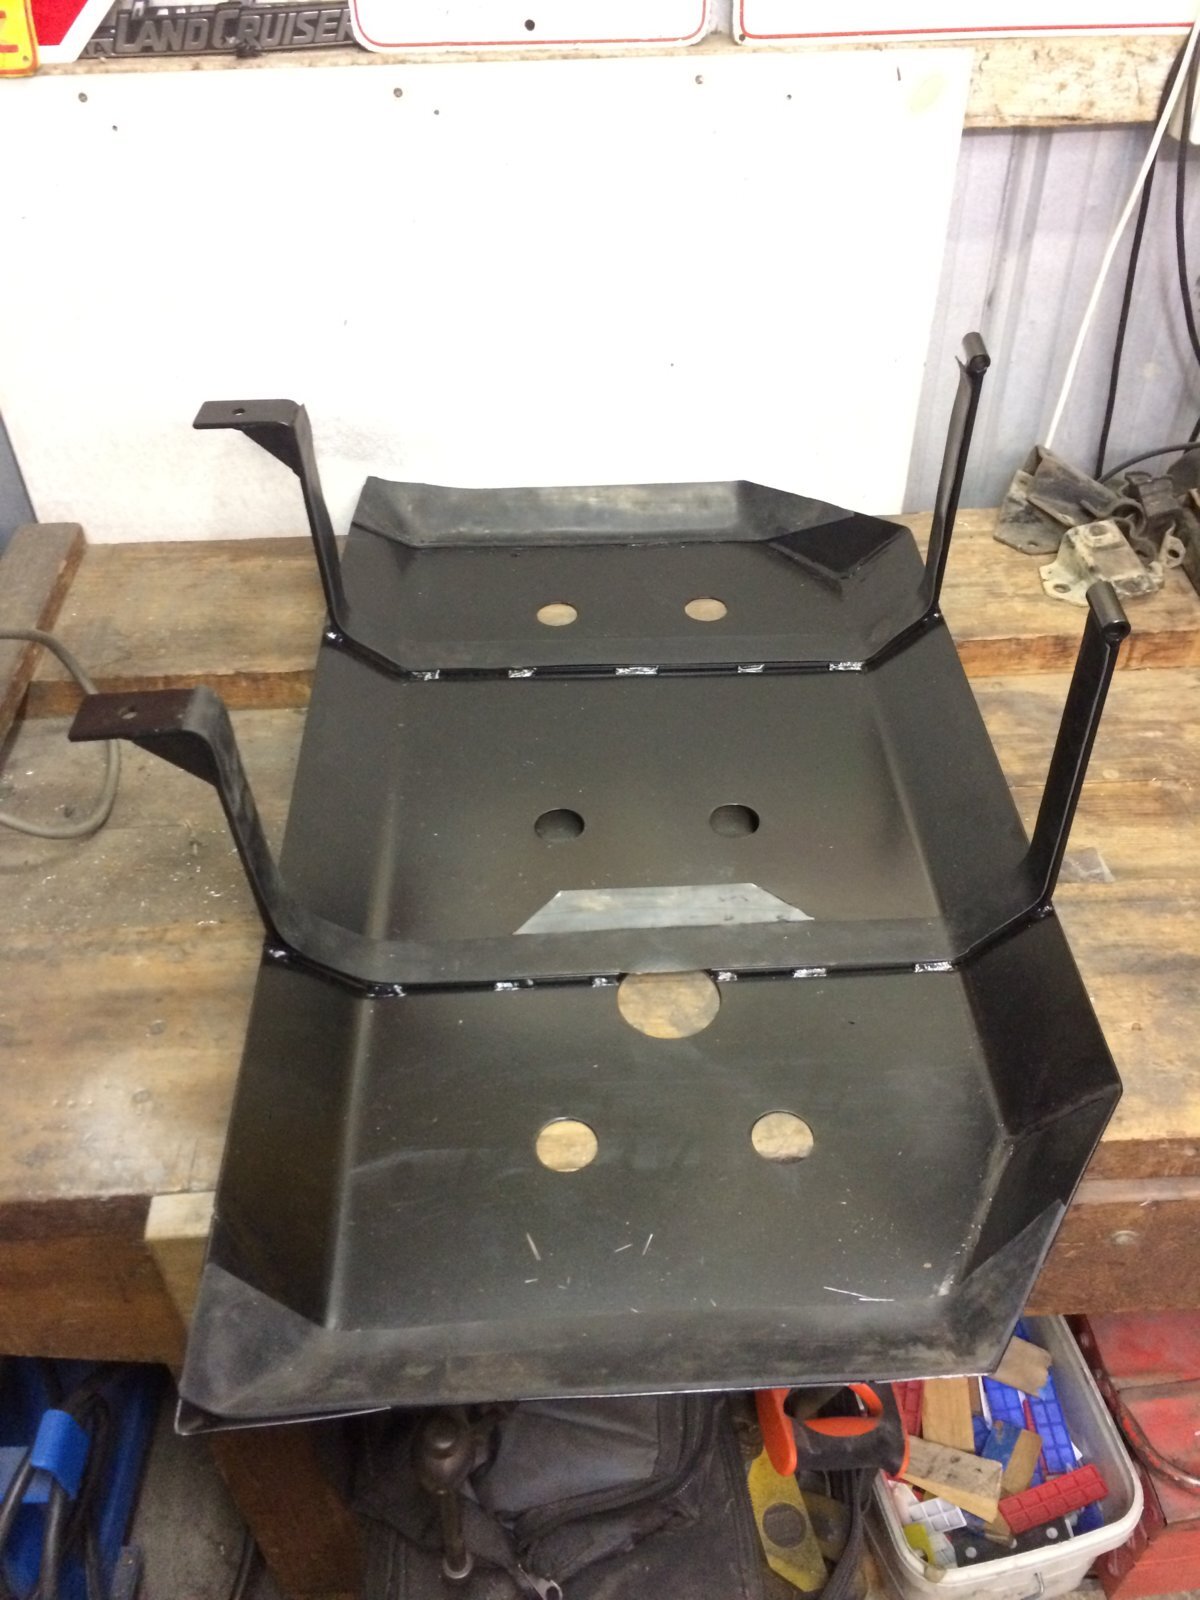
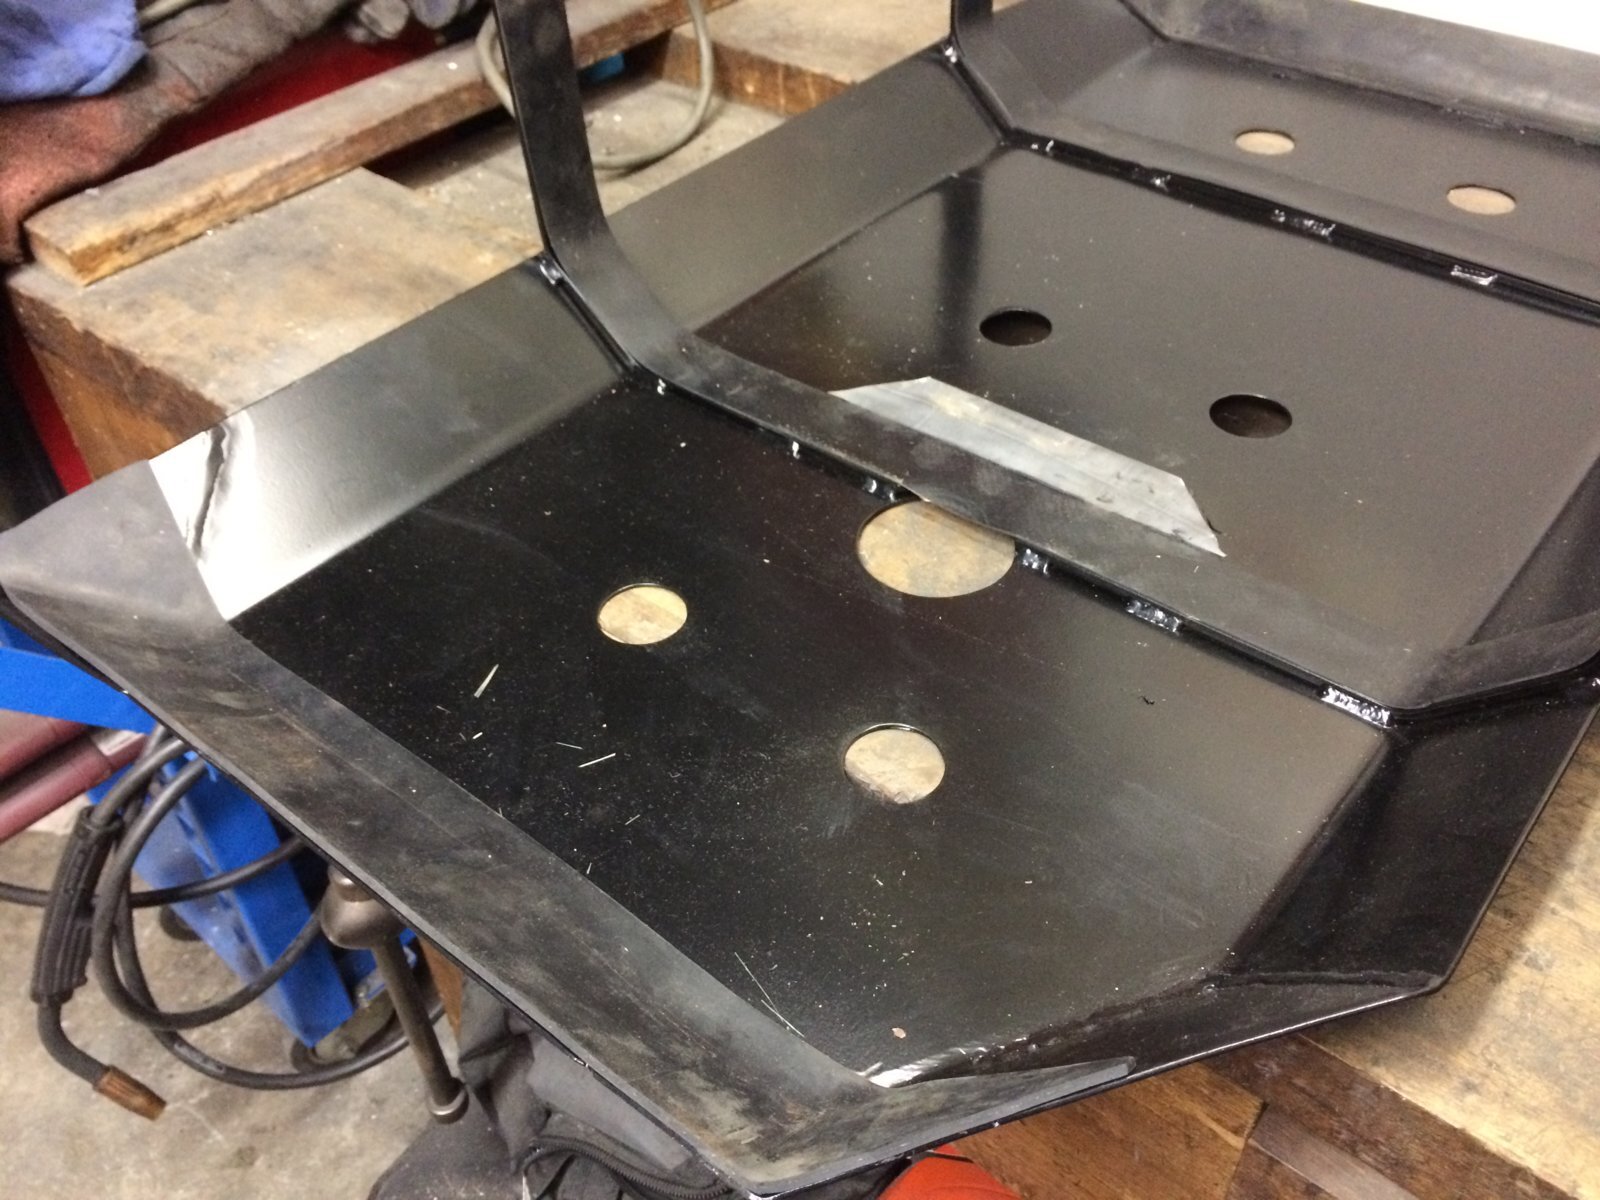
All done and ready to fit!
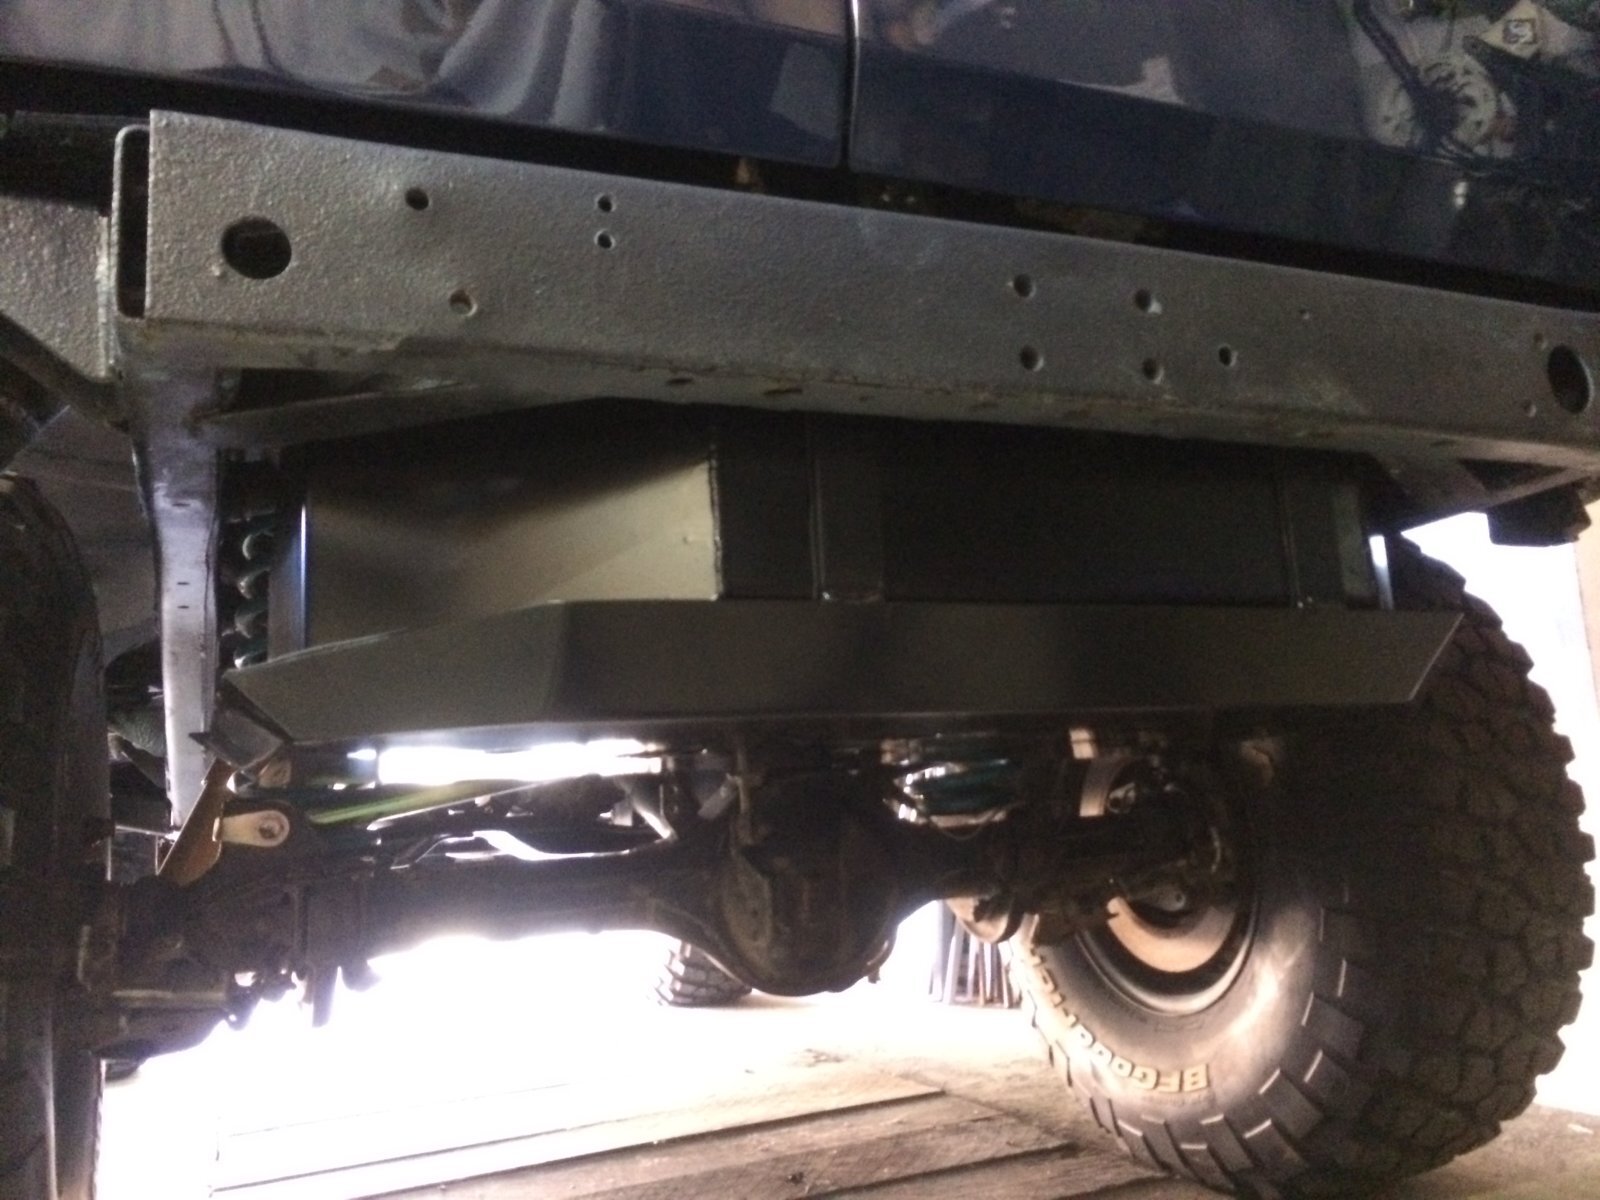
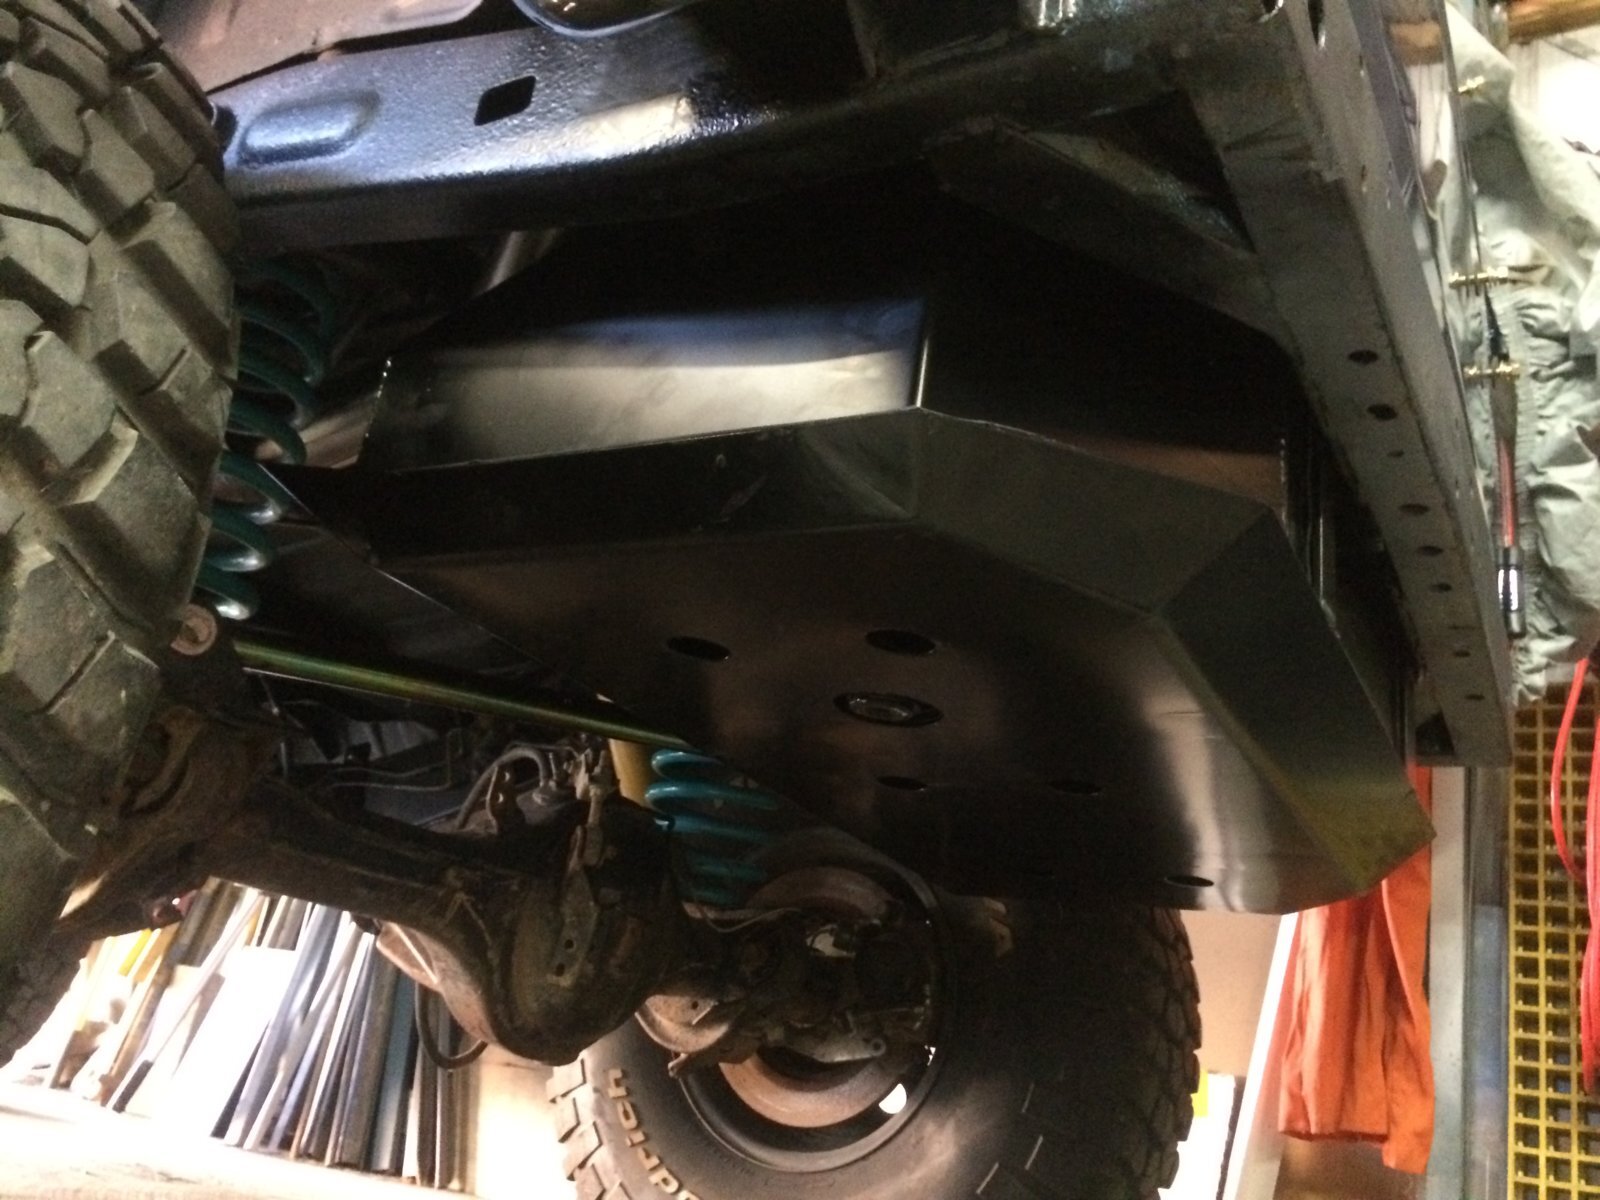
Fitted.
Wheels
I've been looking at the 35" BFG KM2' on LJ over the last few months thinking they are too big.
I must be getting old!
So I've decided to fit 285 x 75 x 16's to it, the same size I have on The 78. They measure about 33" tall which should be a better size.
I still have a set of 16" wheels spare, which I used to have my 37's on before I sold them. But unfortunately UK salted winter roads had caused them to go a bit rusty.
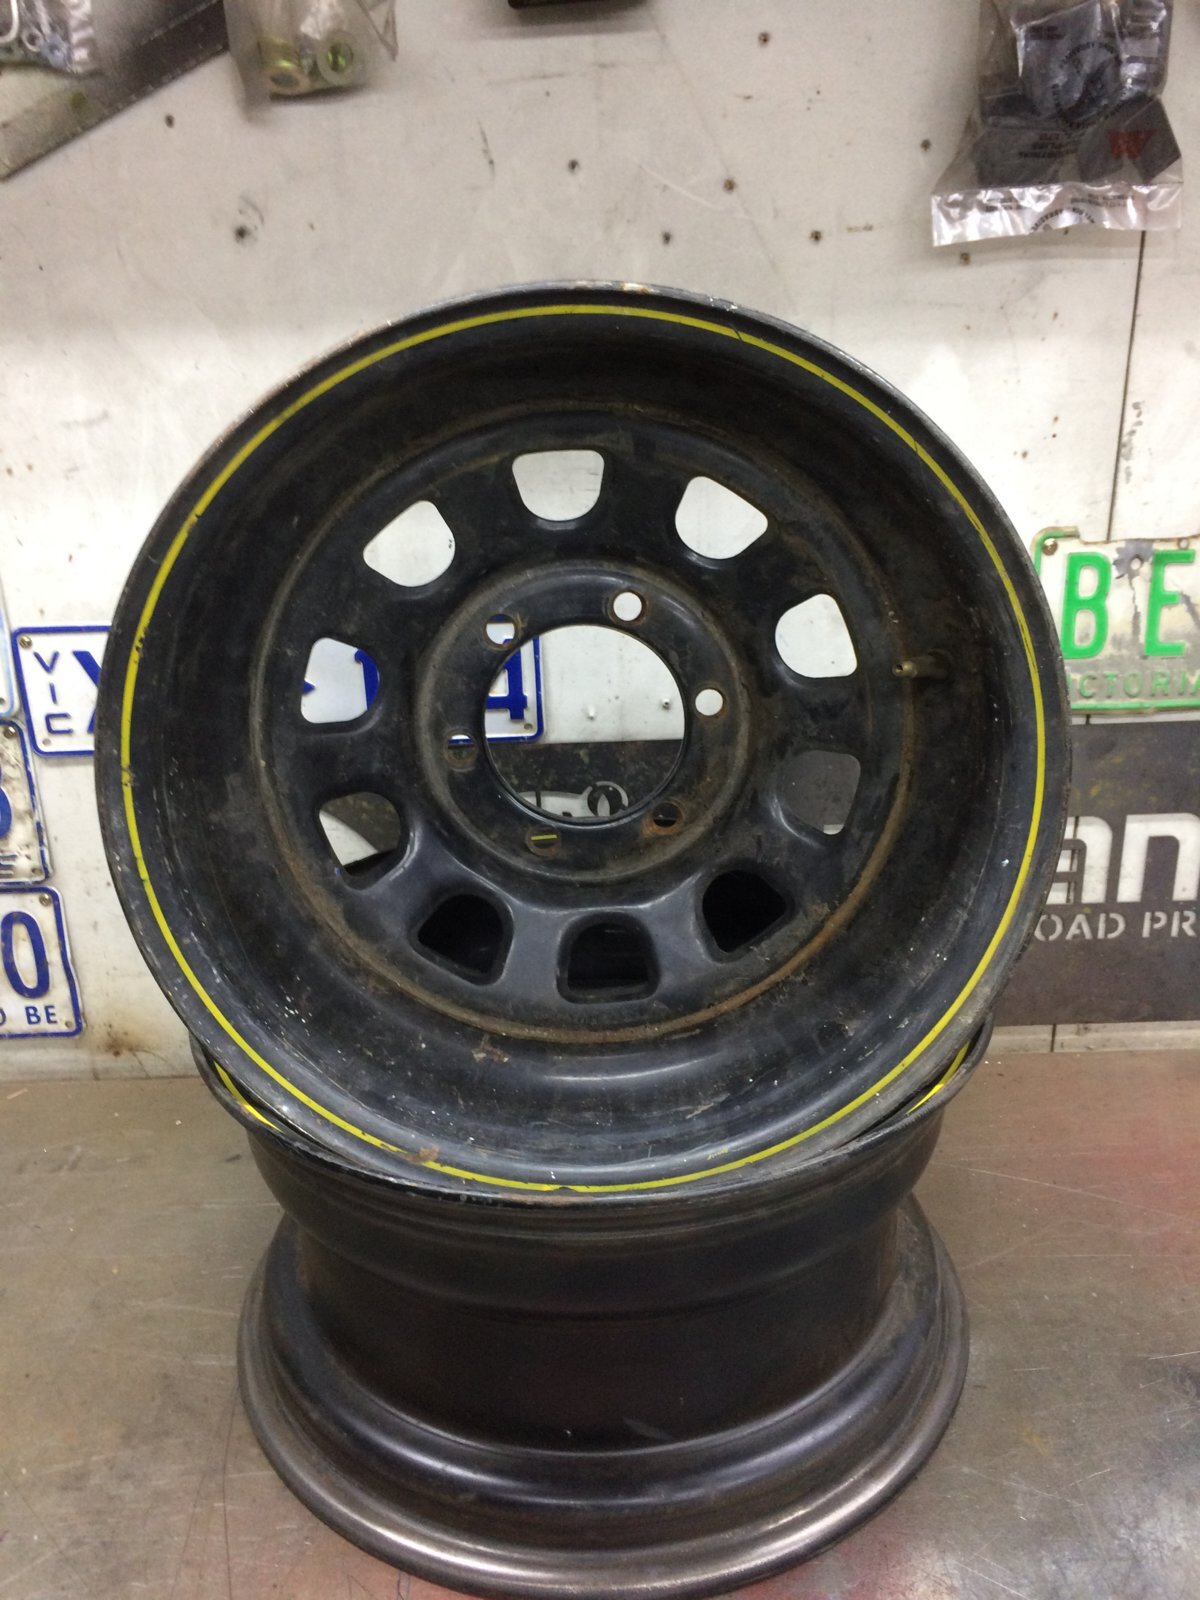
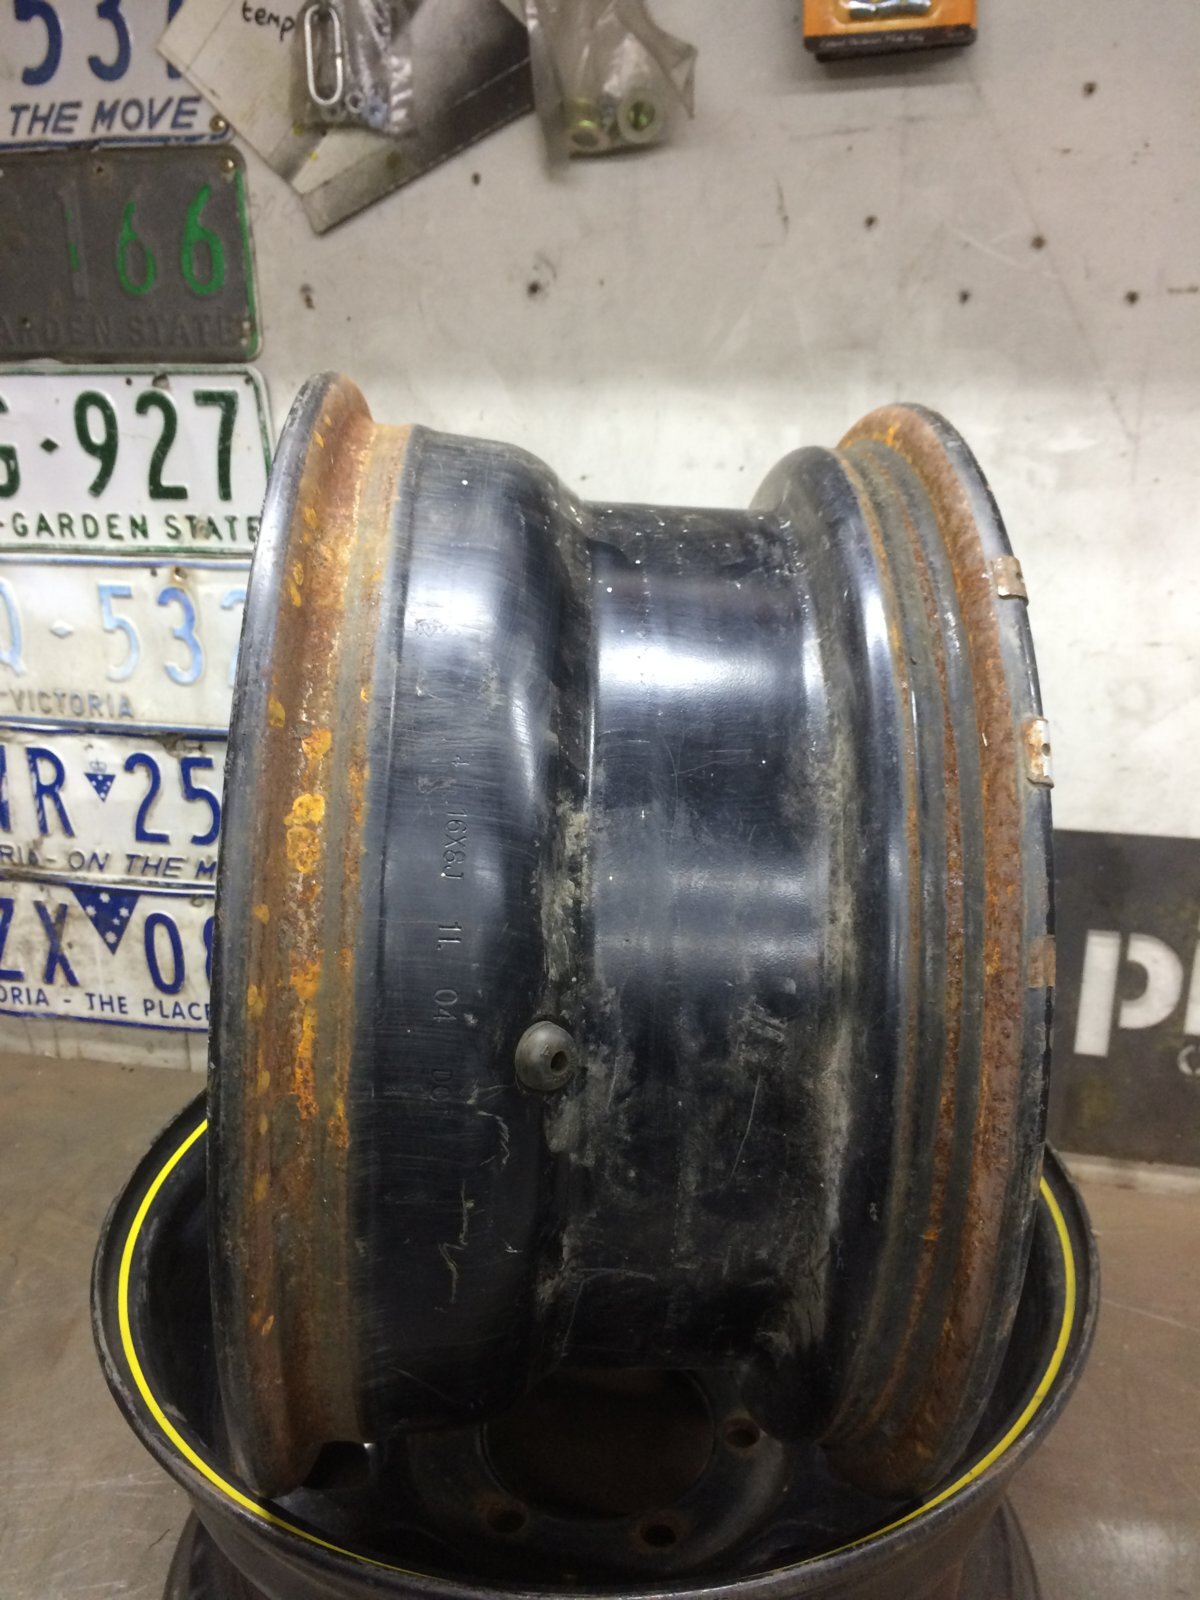
So I gave them a sand down.
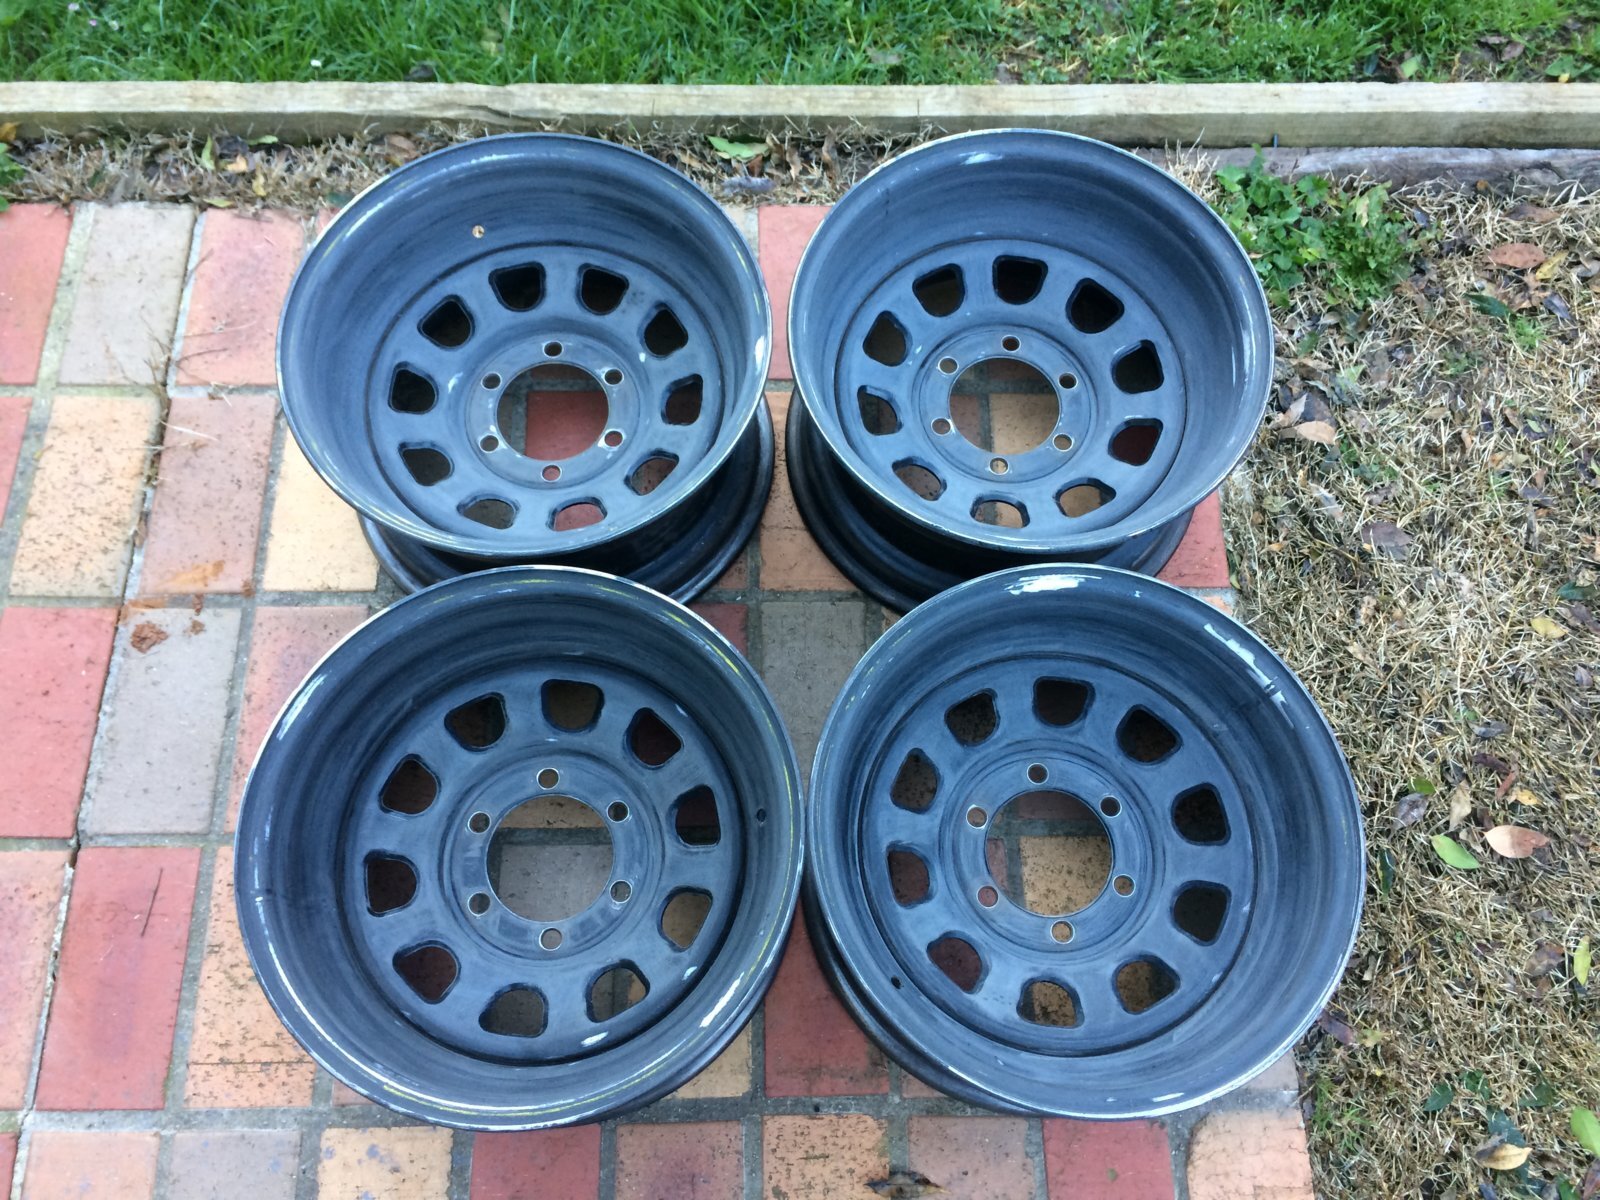
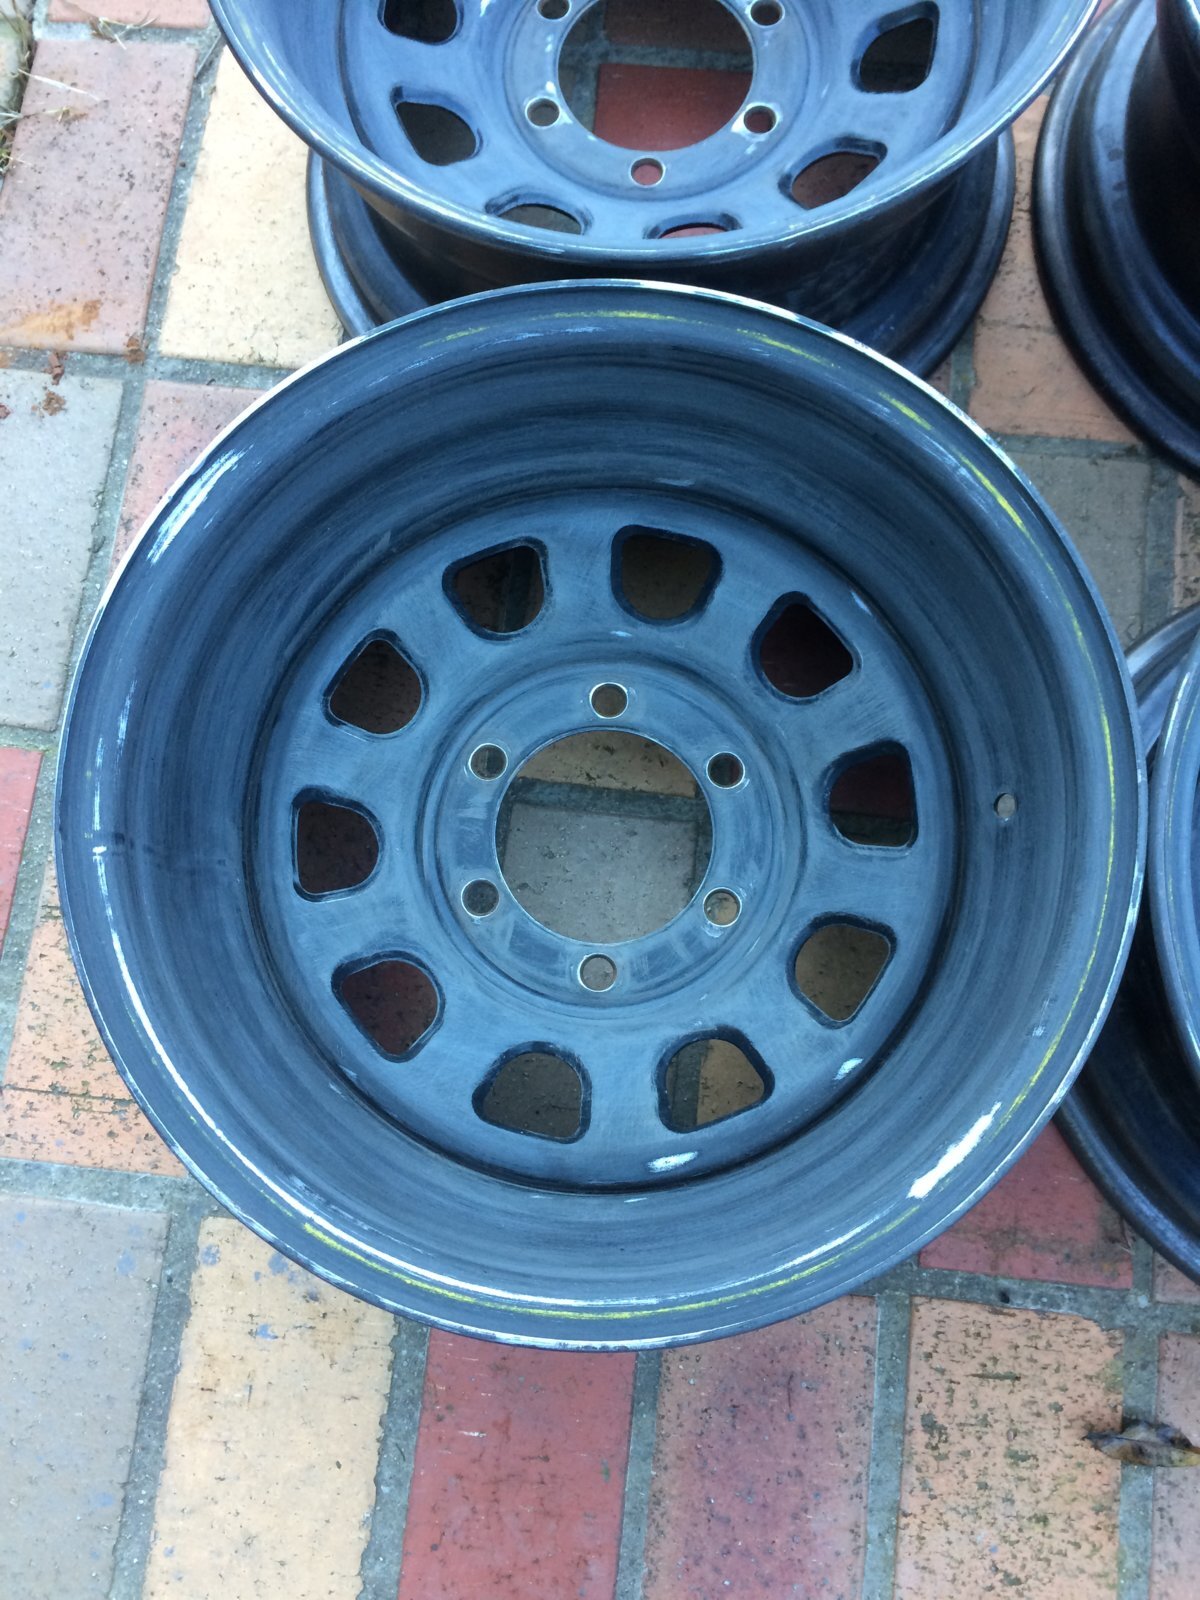
Dropped them off at the powder coaters and a few hours and $20 a rim later they were coated in satin black!
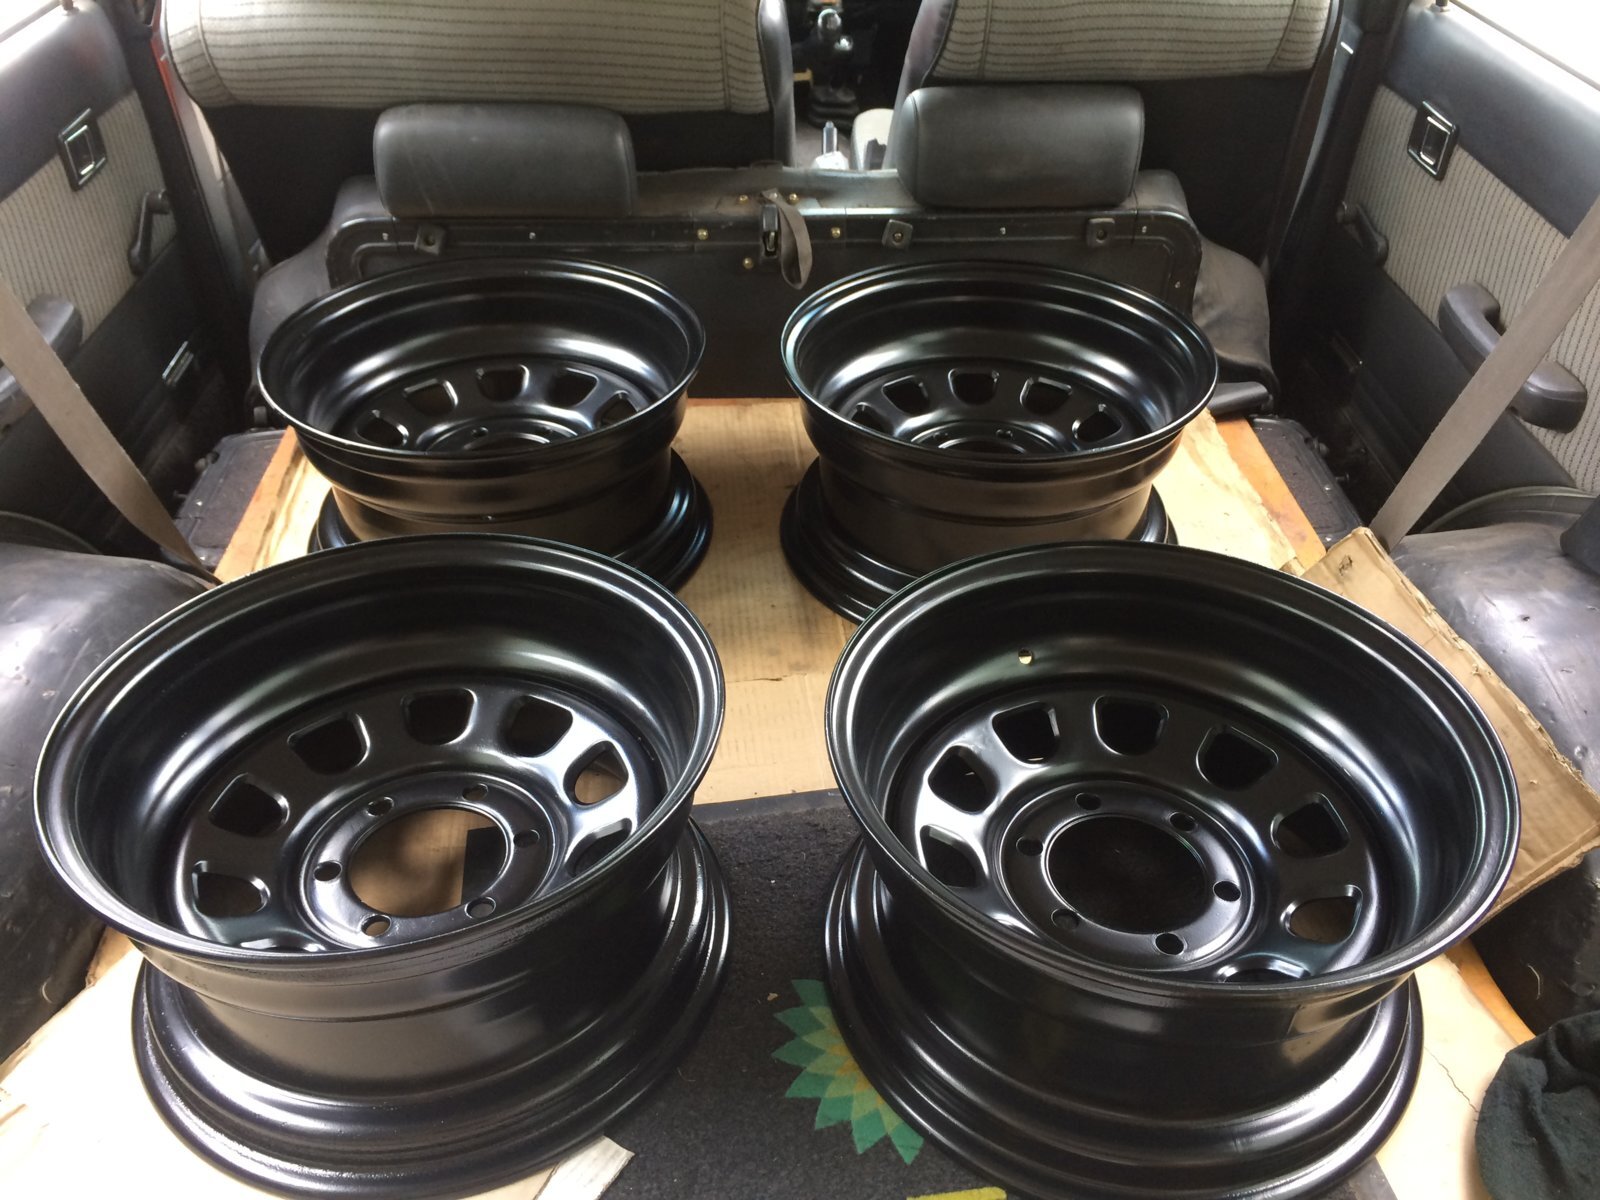
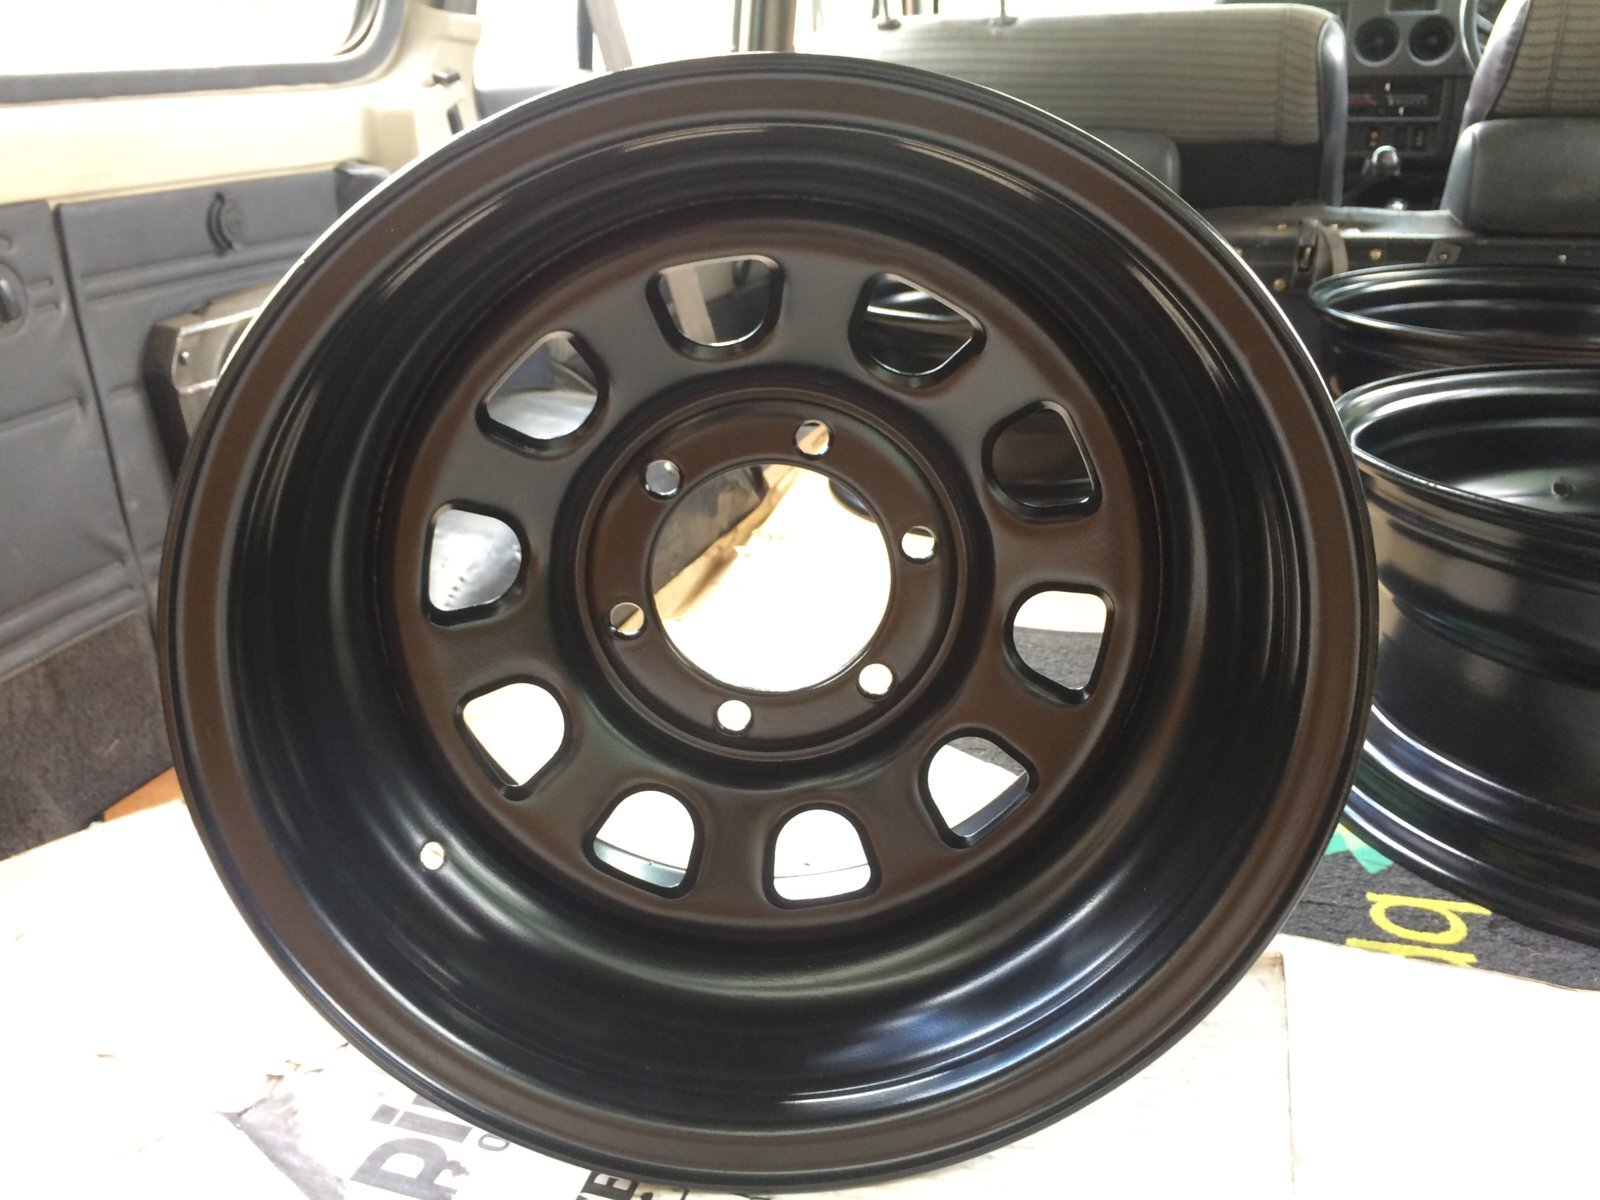
To save some money I'm buying my bosses old tyres off his HDJ79 ute, then when I have some spare cash I will get a new set of KM3's for them.
He gets his tyres for free as companies want to see their products on his LandCruiser's on the TV shows and magazine articles, so he never wears them down that much before getting a new set.
Engine Bay
I picked up a belt for the new power steering pump.
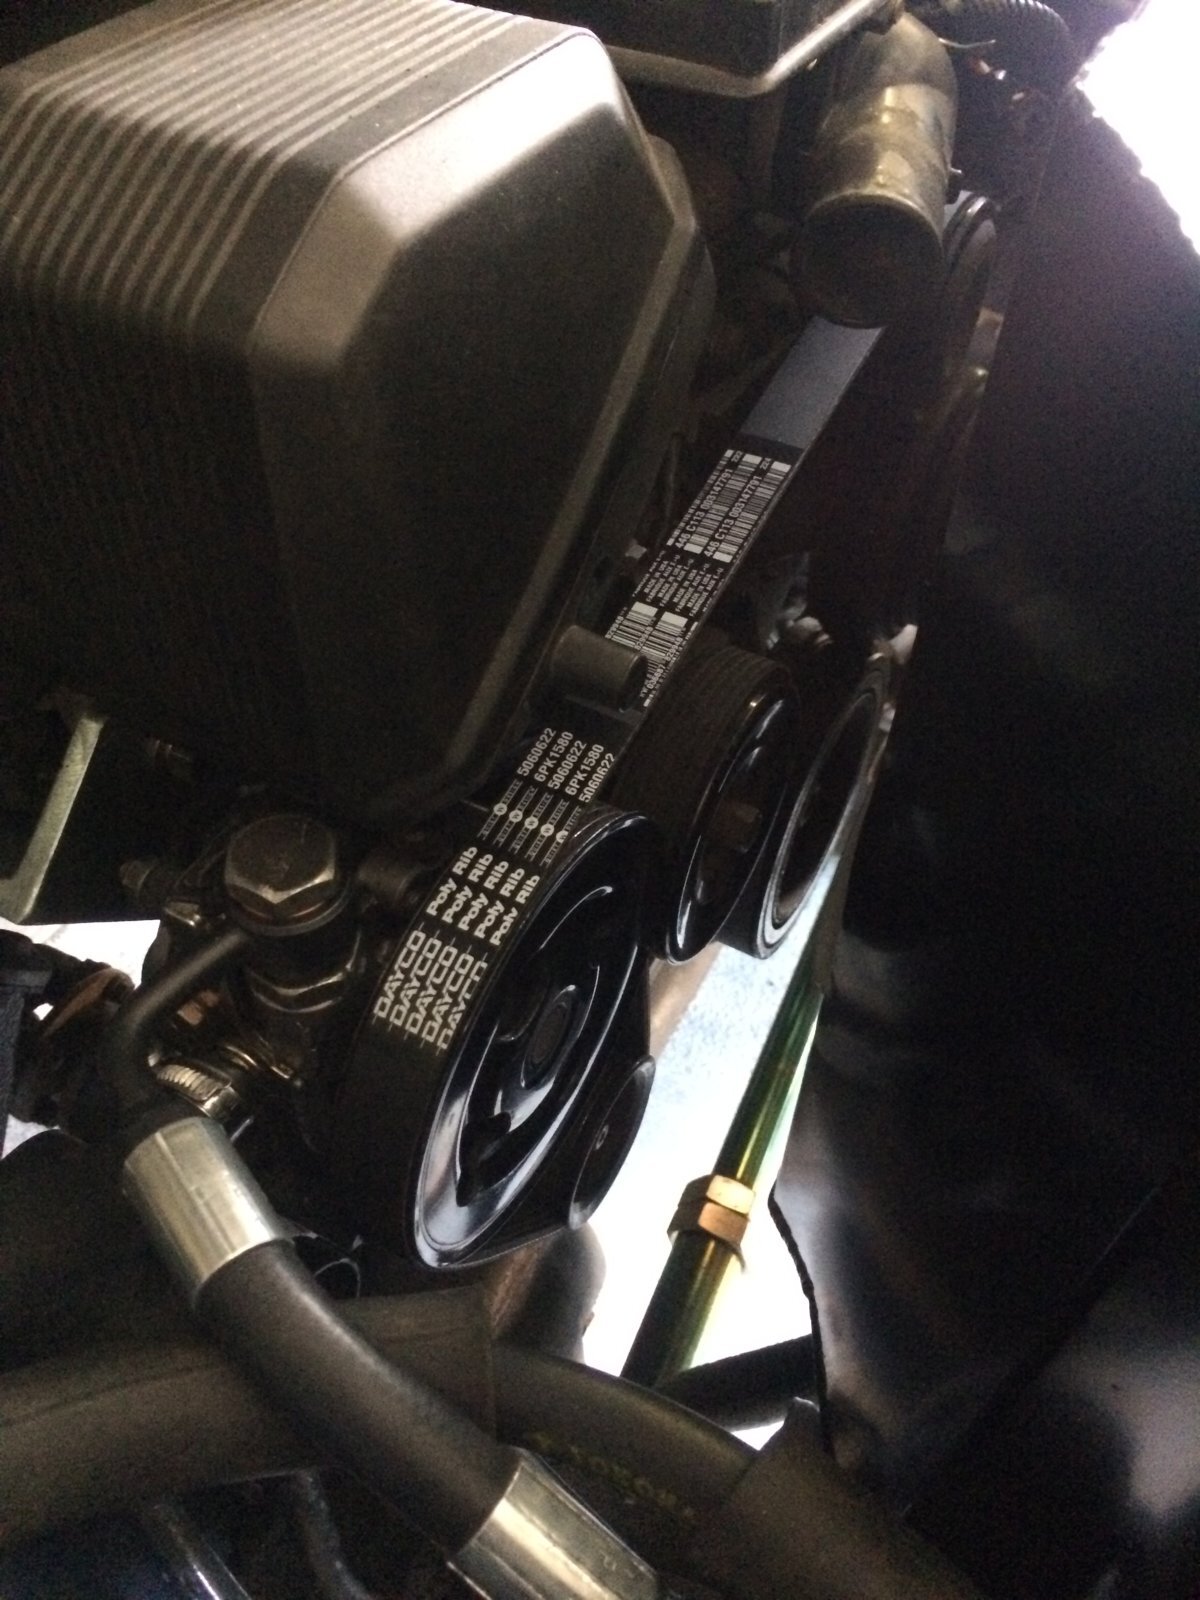
The bottom radiator hose arrived.
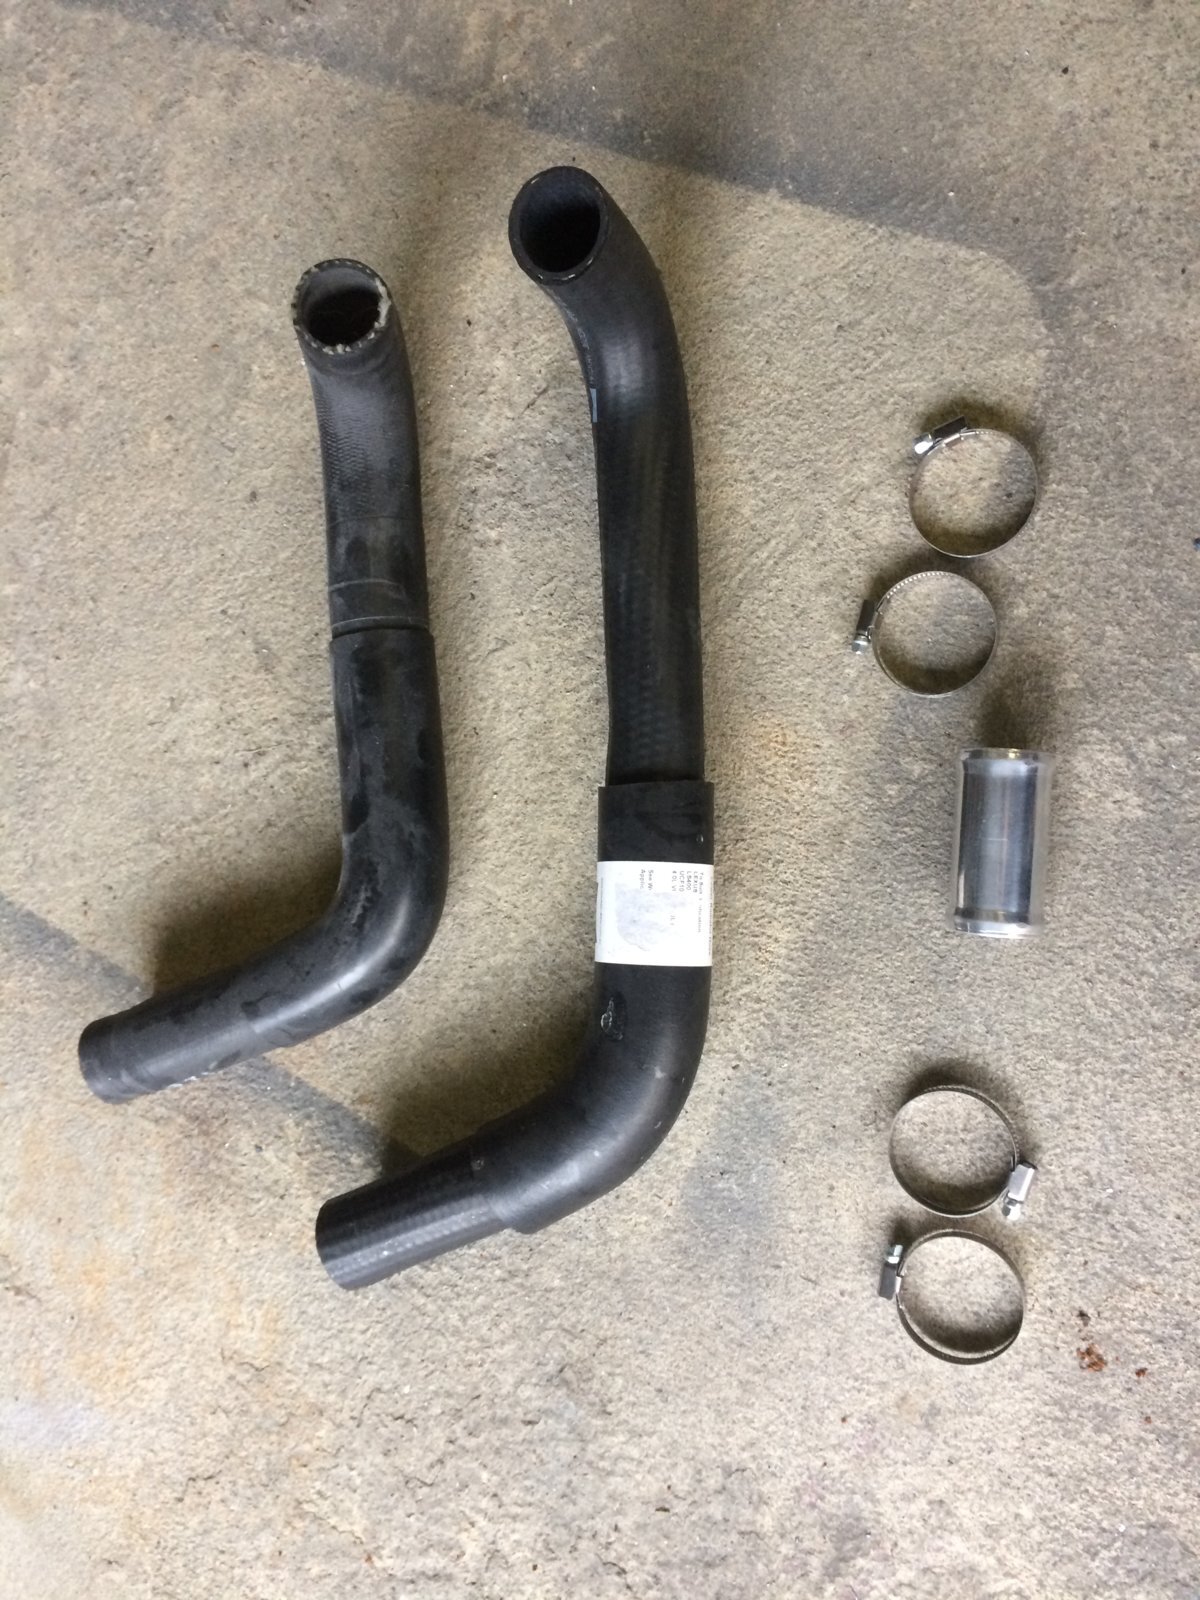
It would need a bit trimming out of the middle to make it the same size as the old one I had cut in half and taped back together.
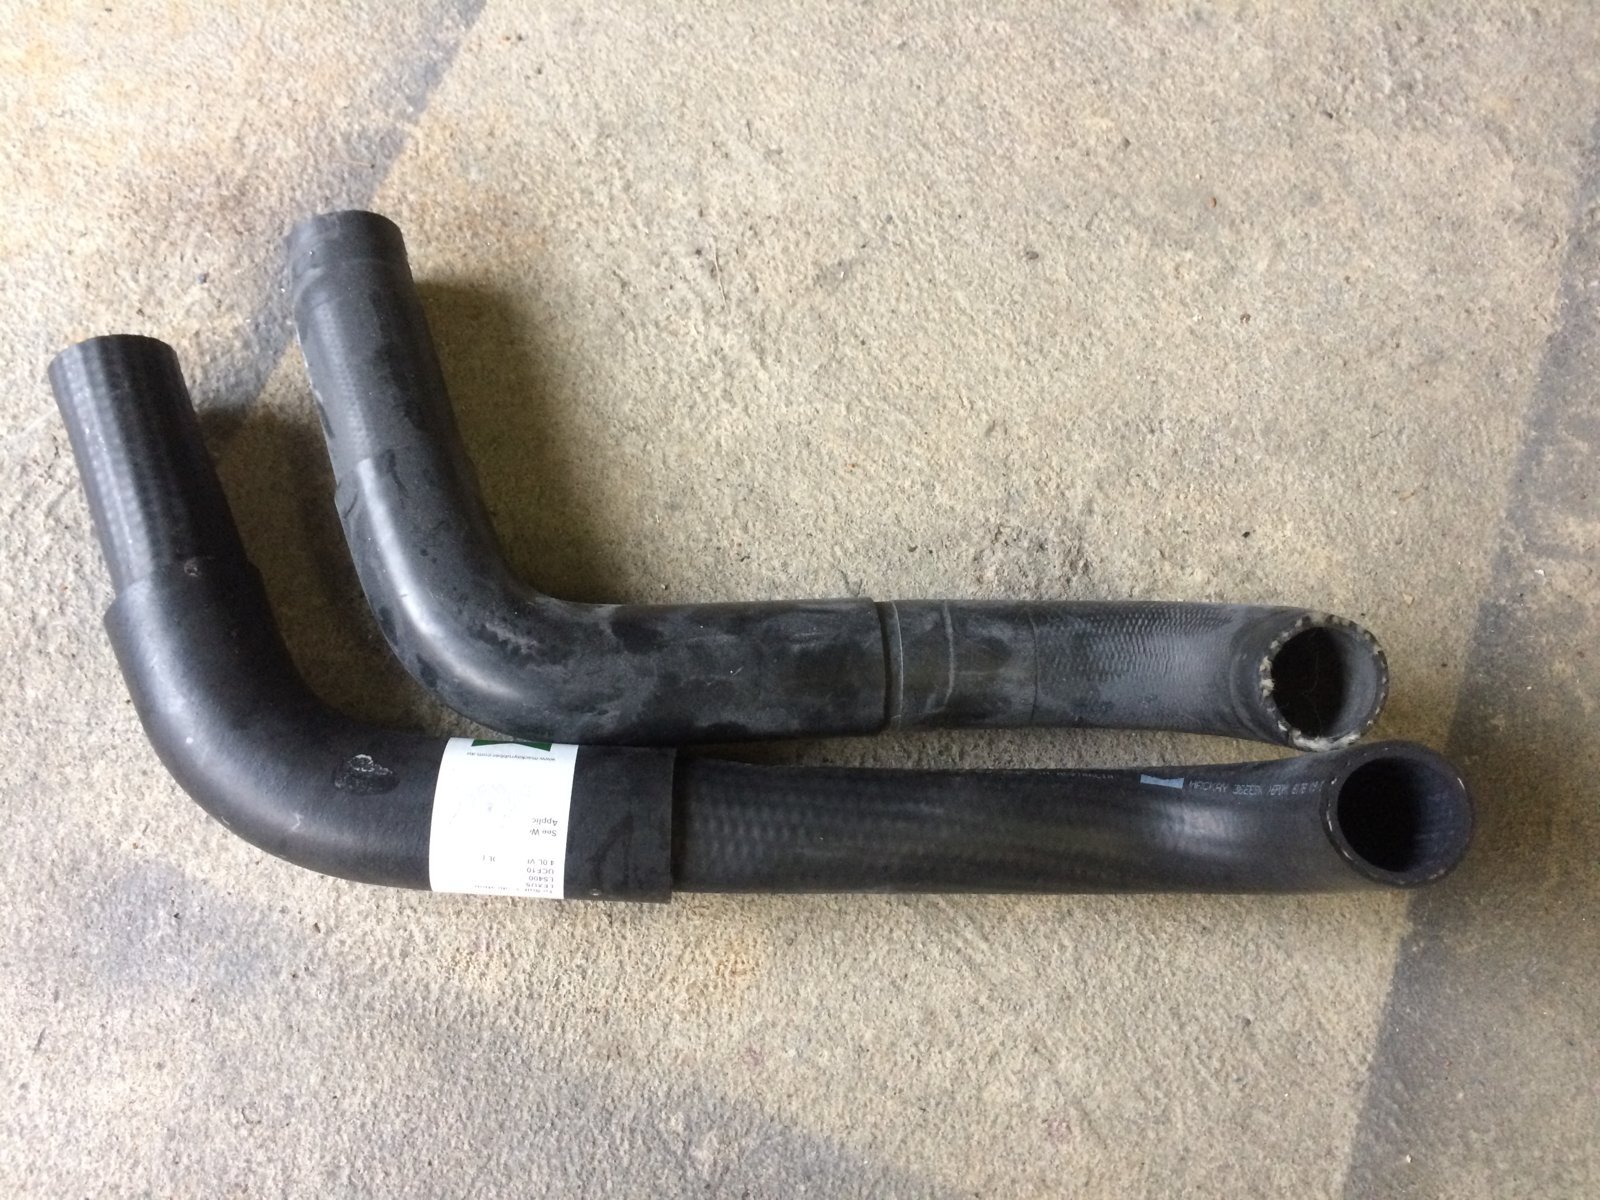
Section removed.
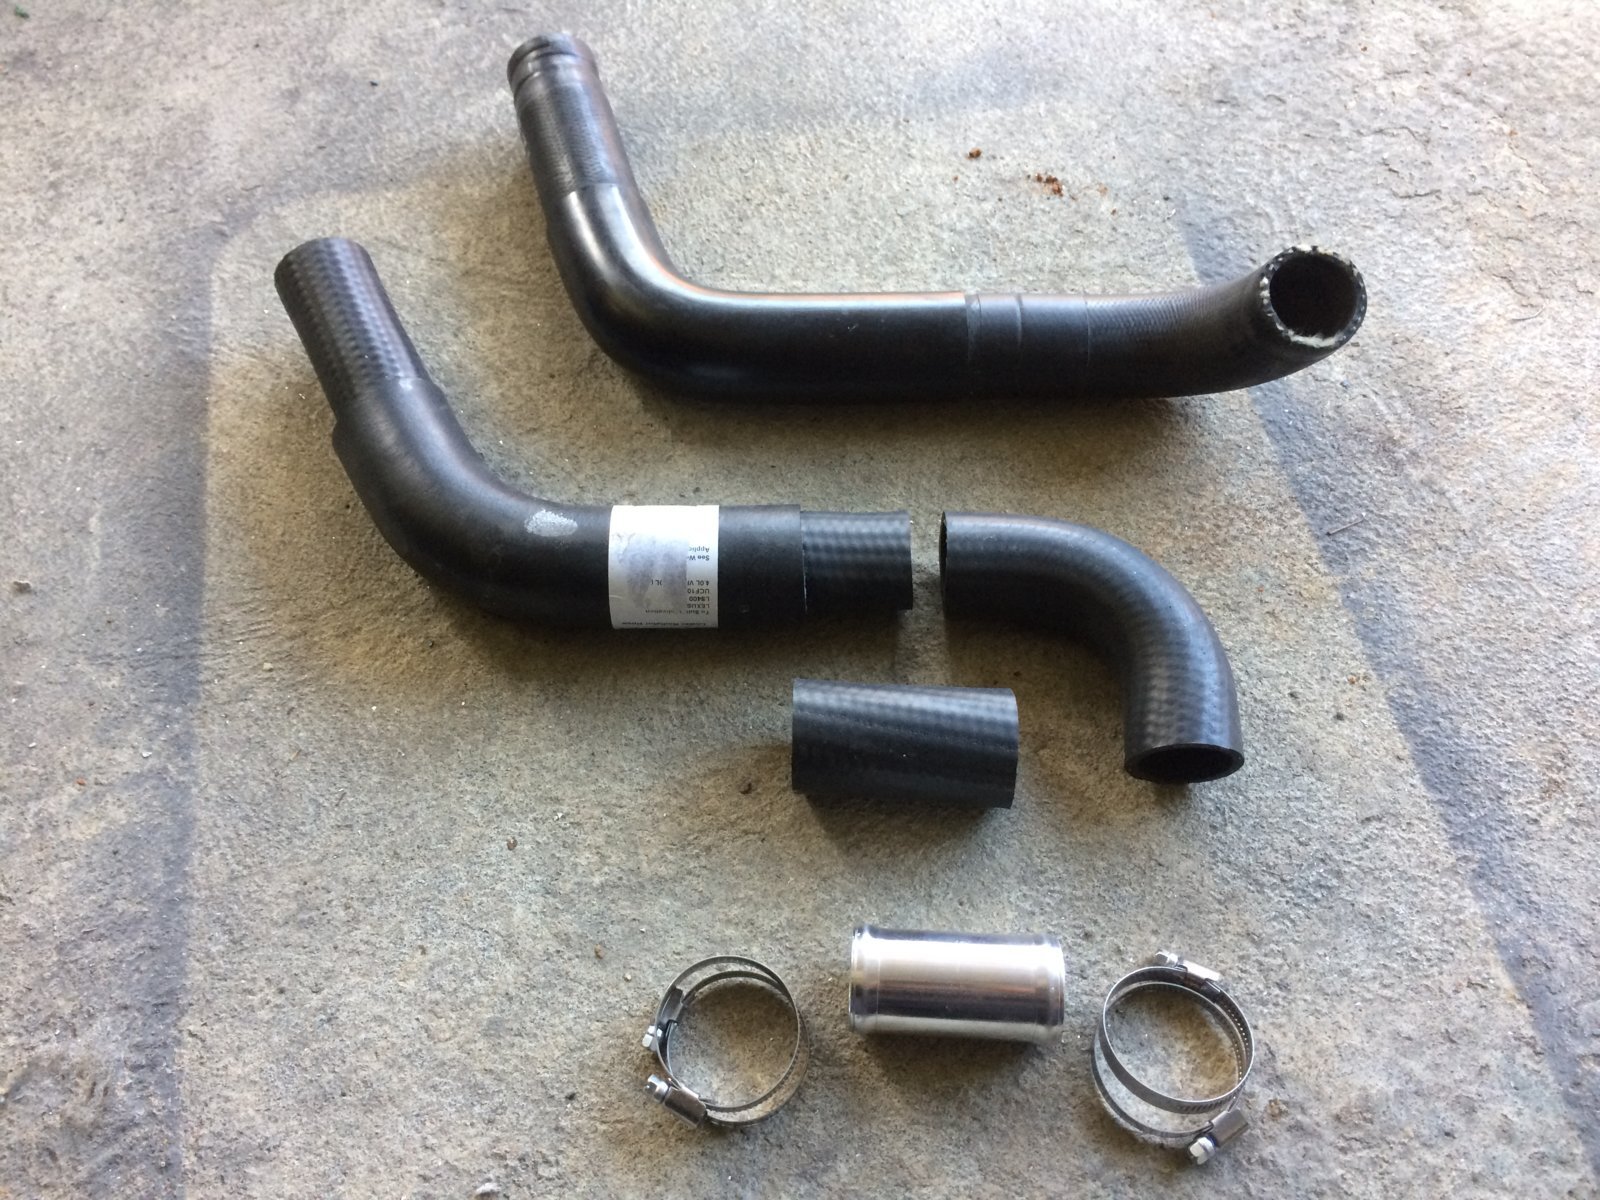
All ready to fit.
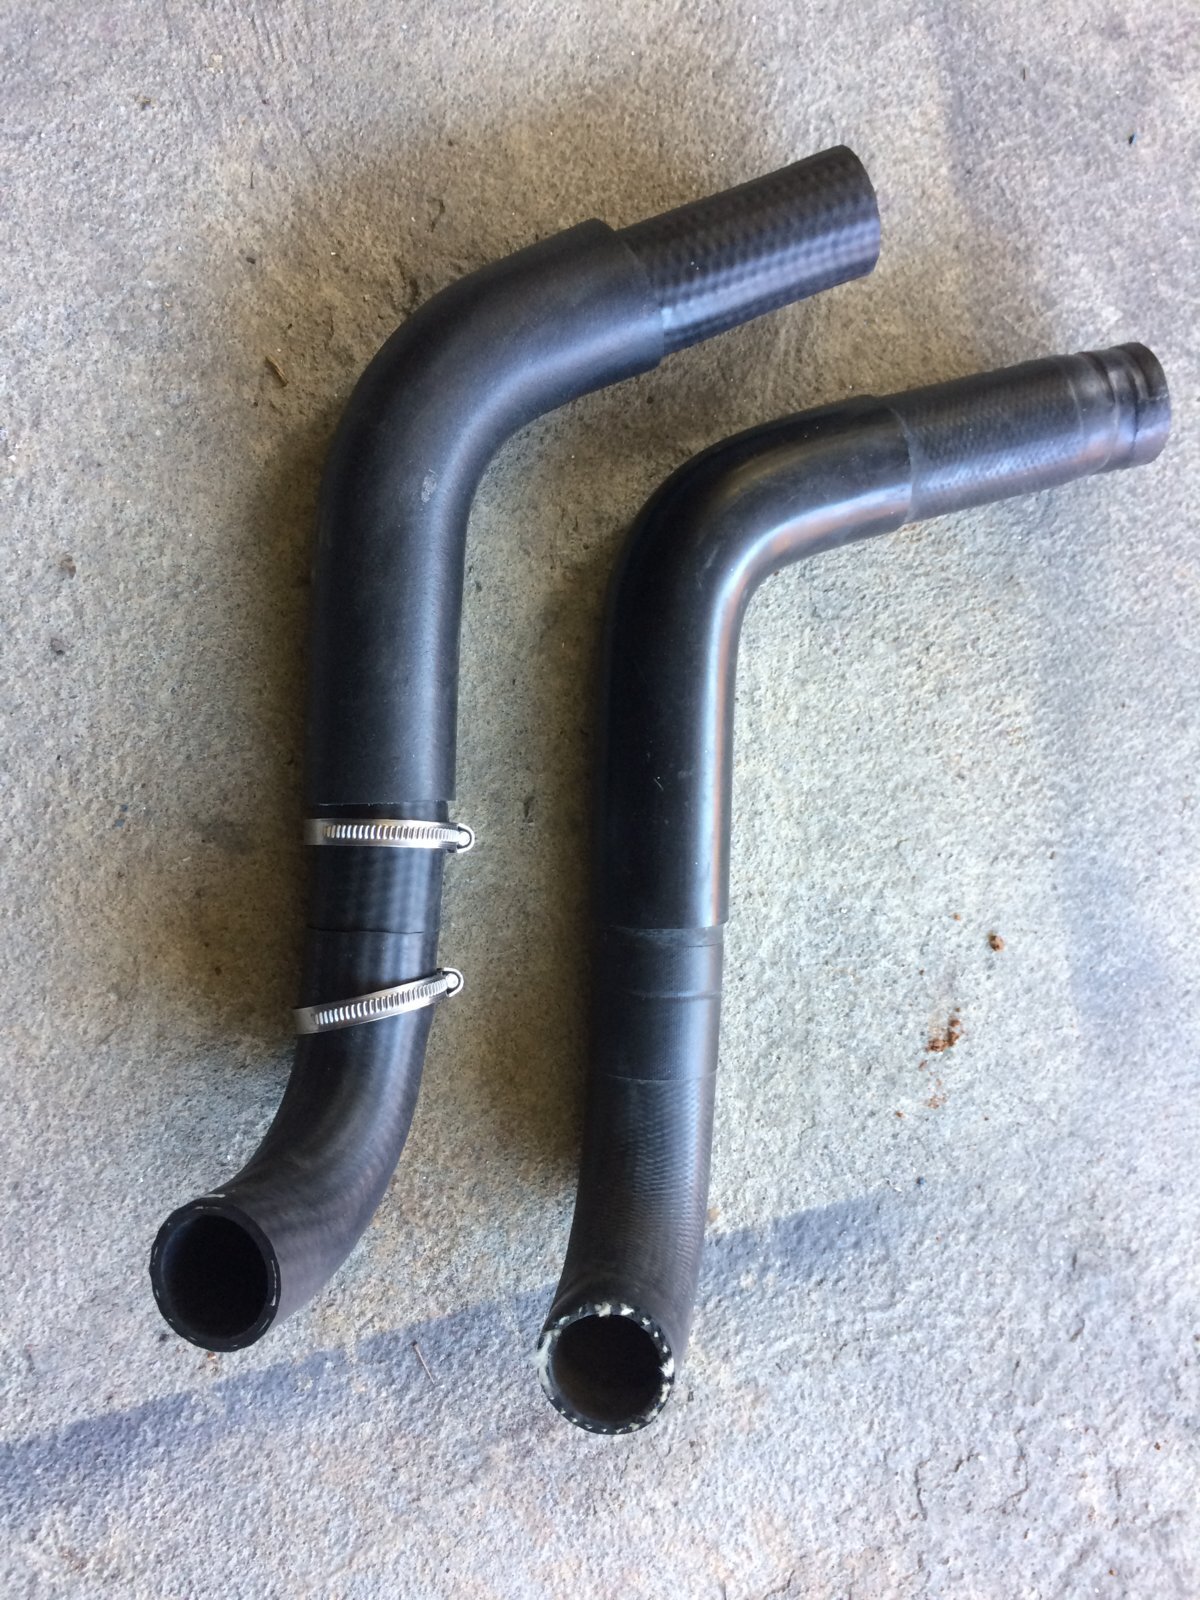
Fitted.
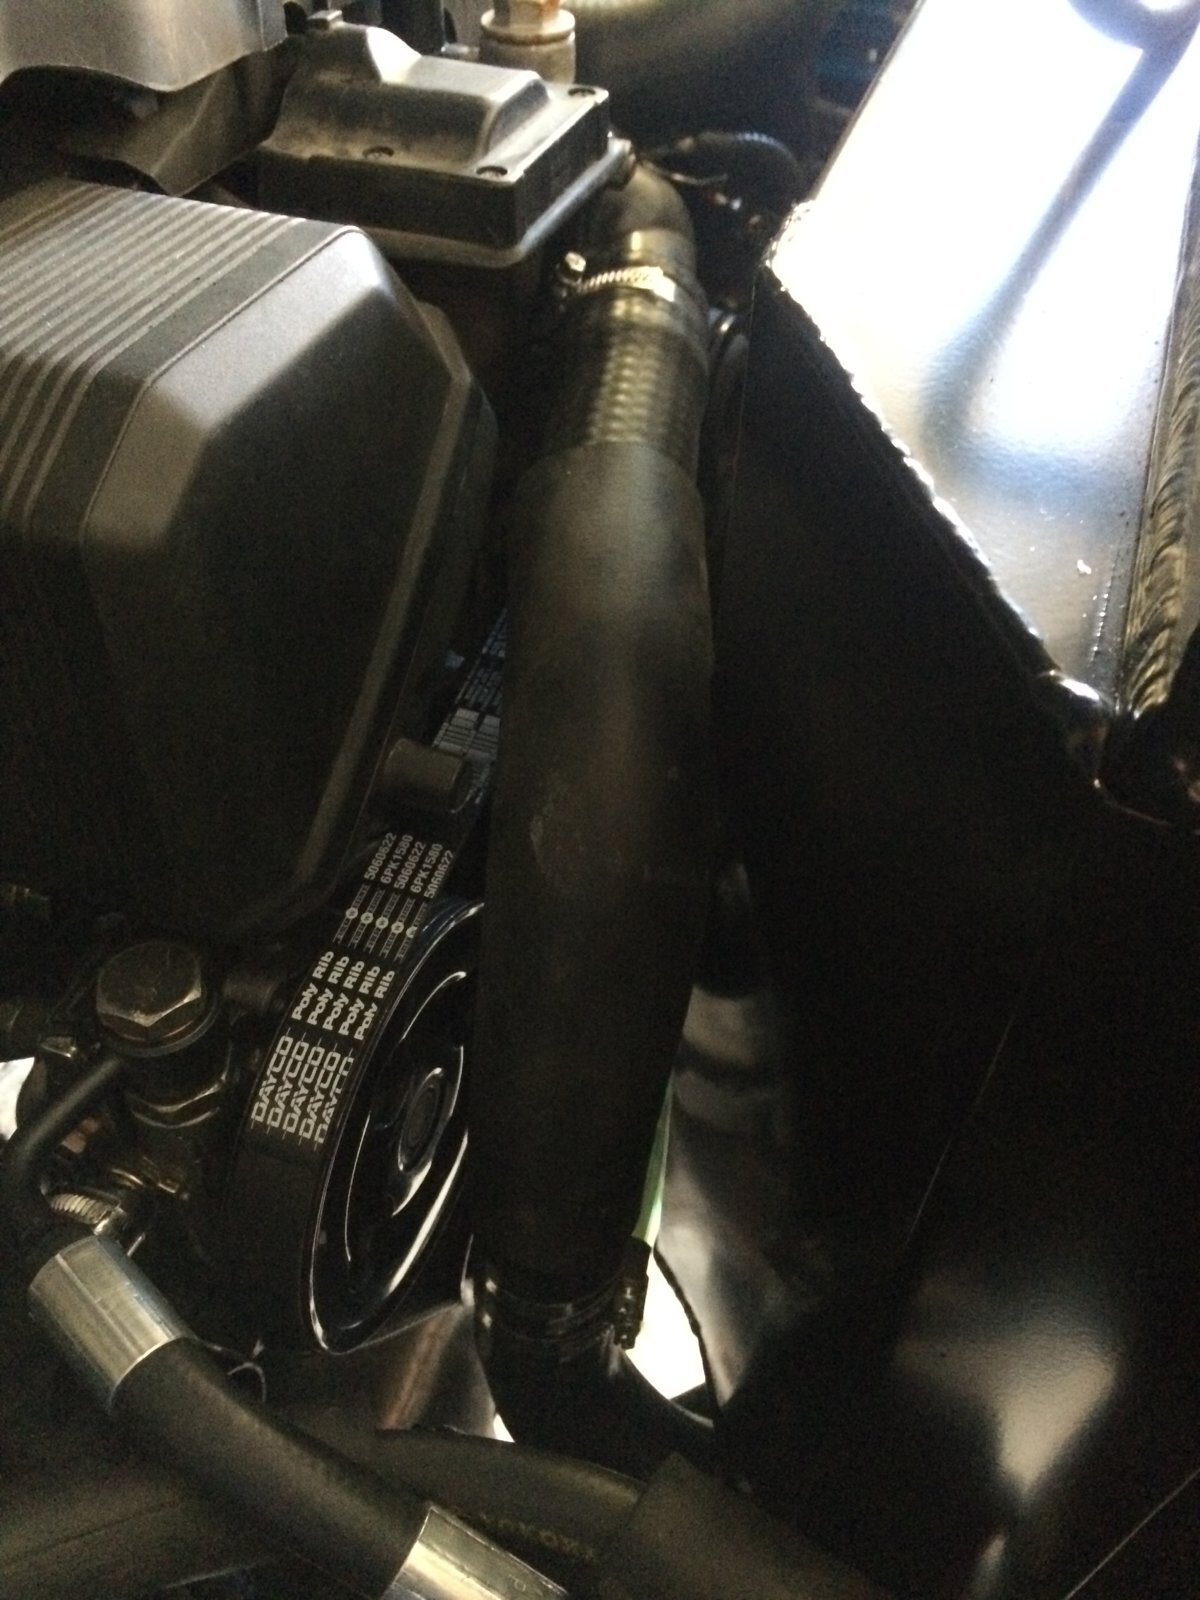
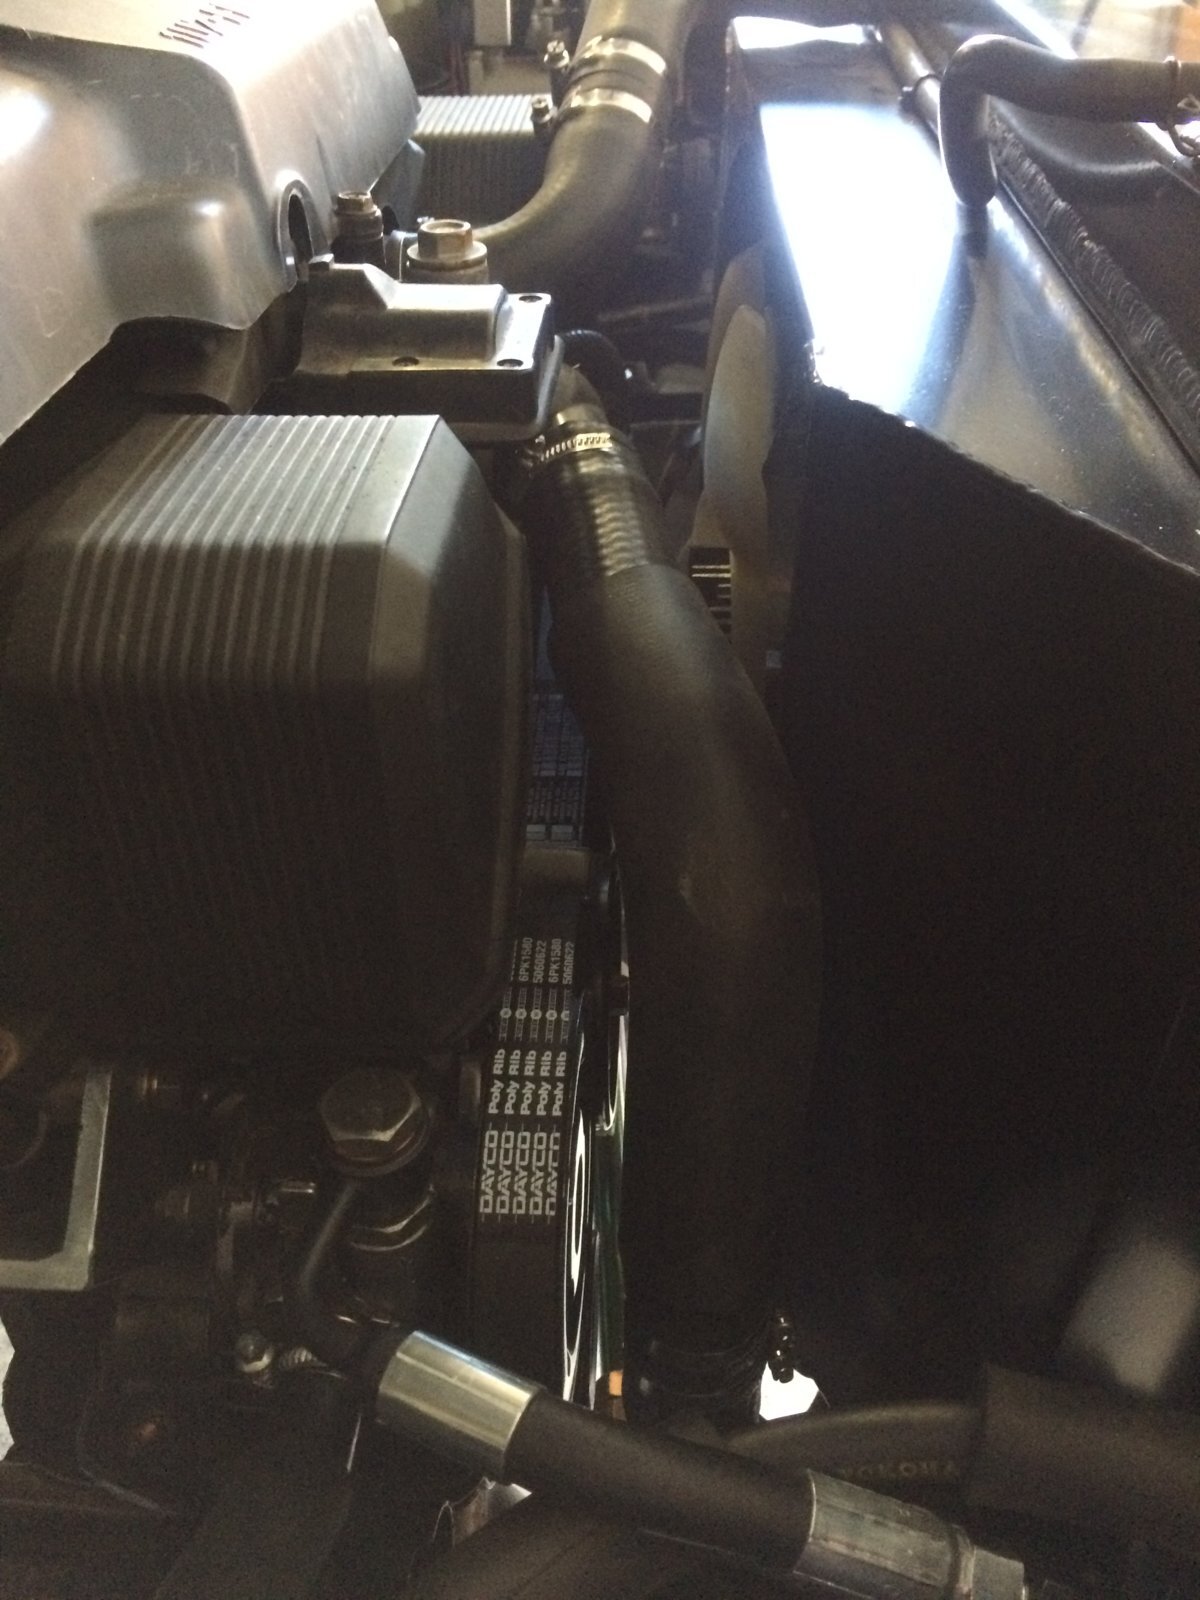
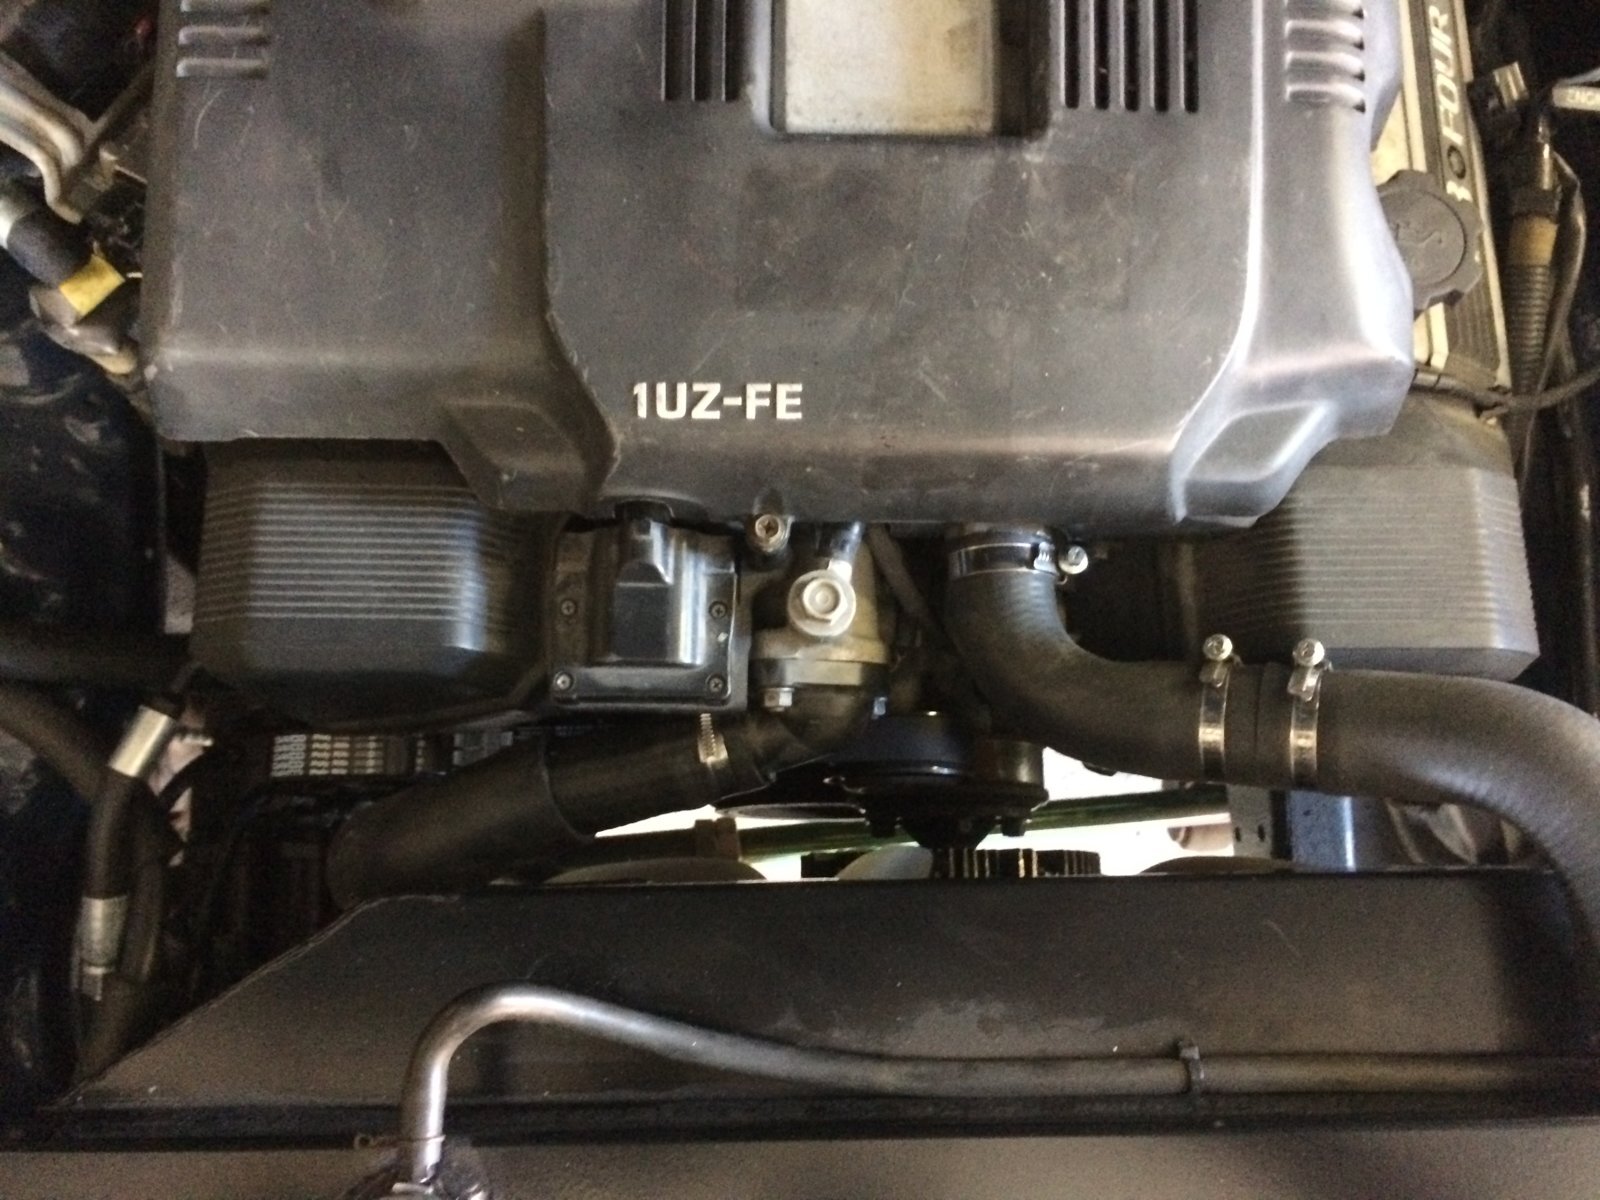
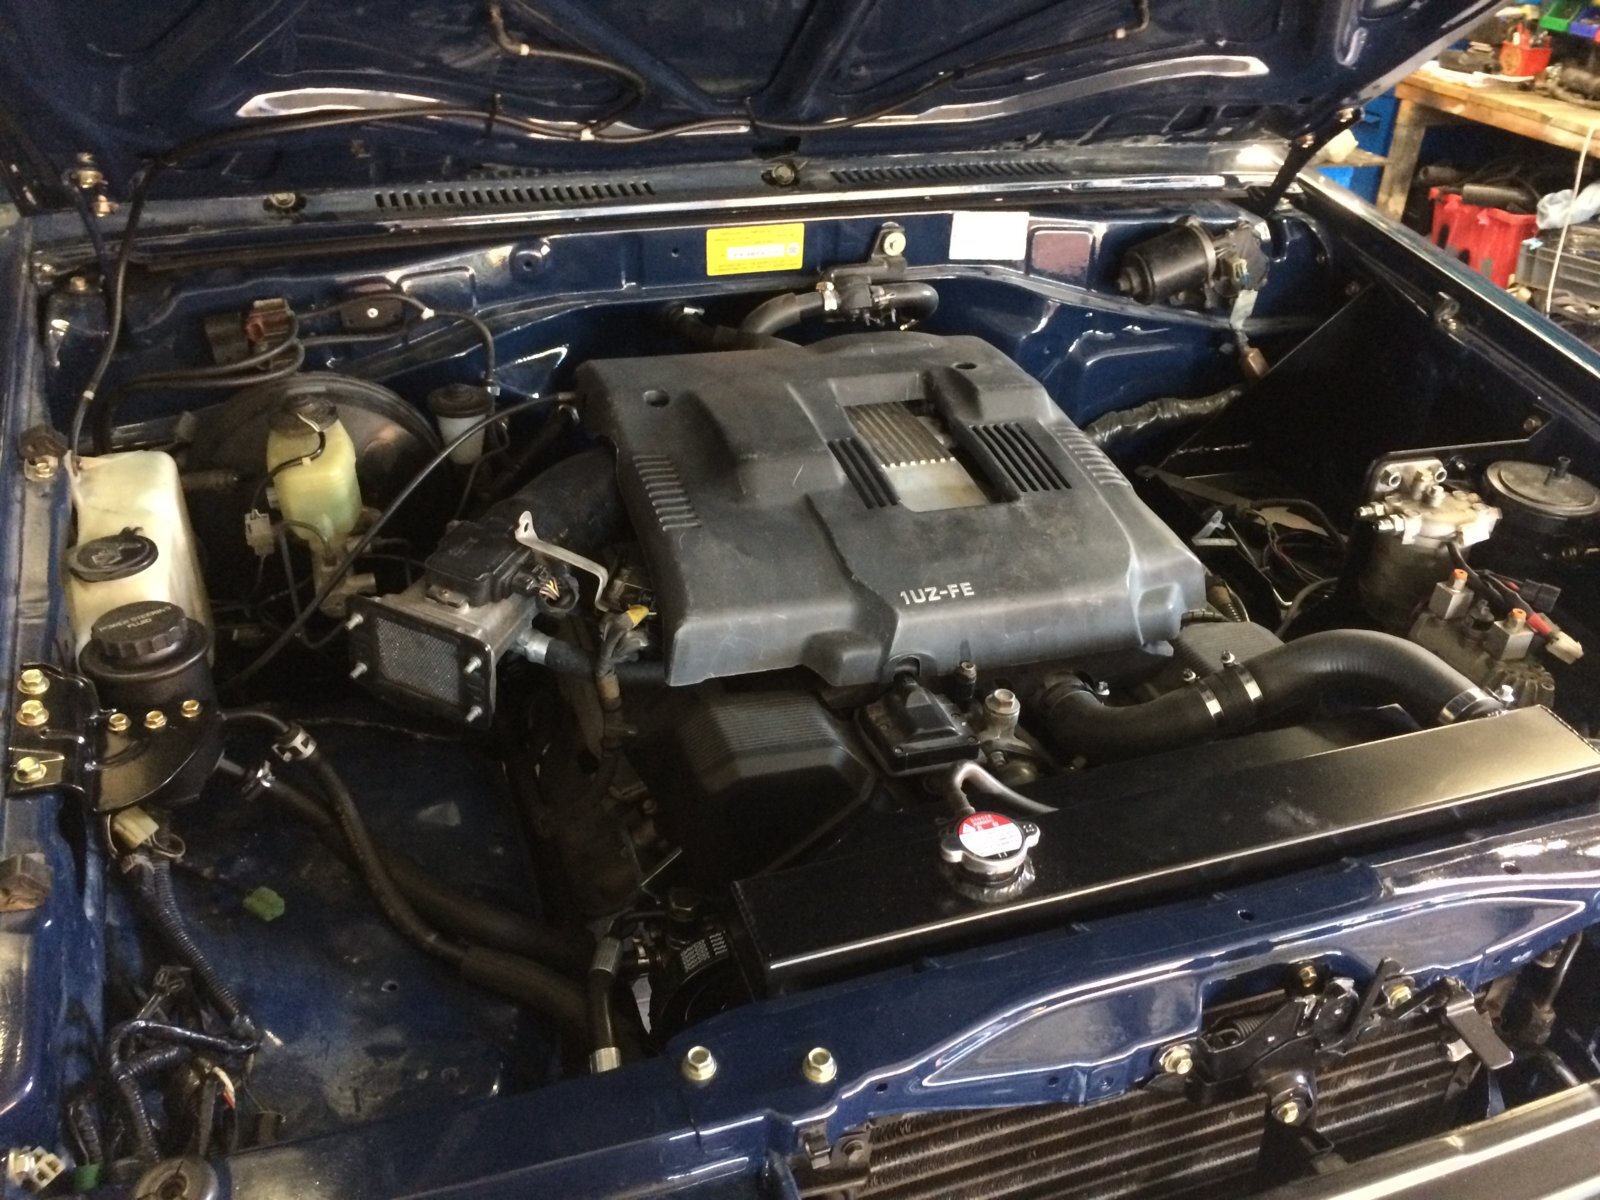
So the engine bay is almost finished!
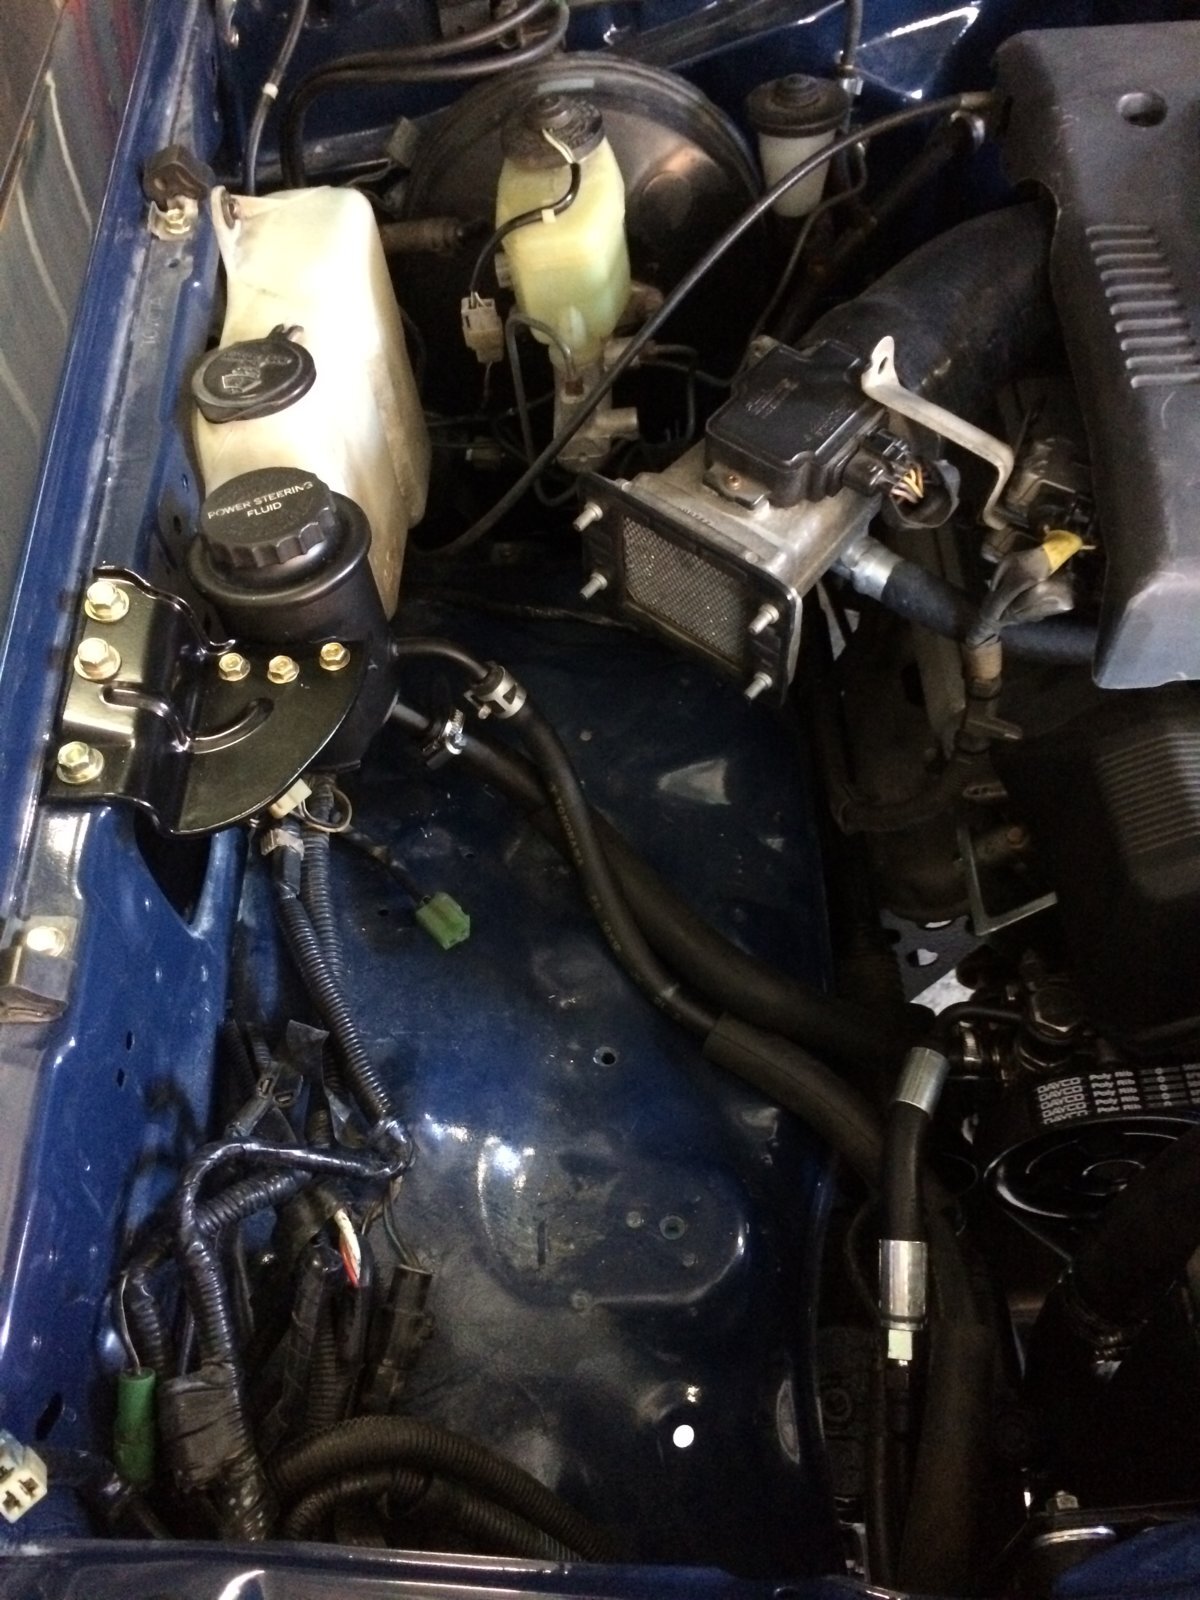
I just need to modify and fit a KZJ70 airbox in here.
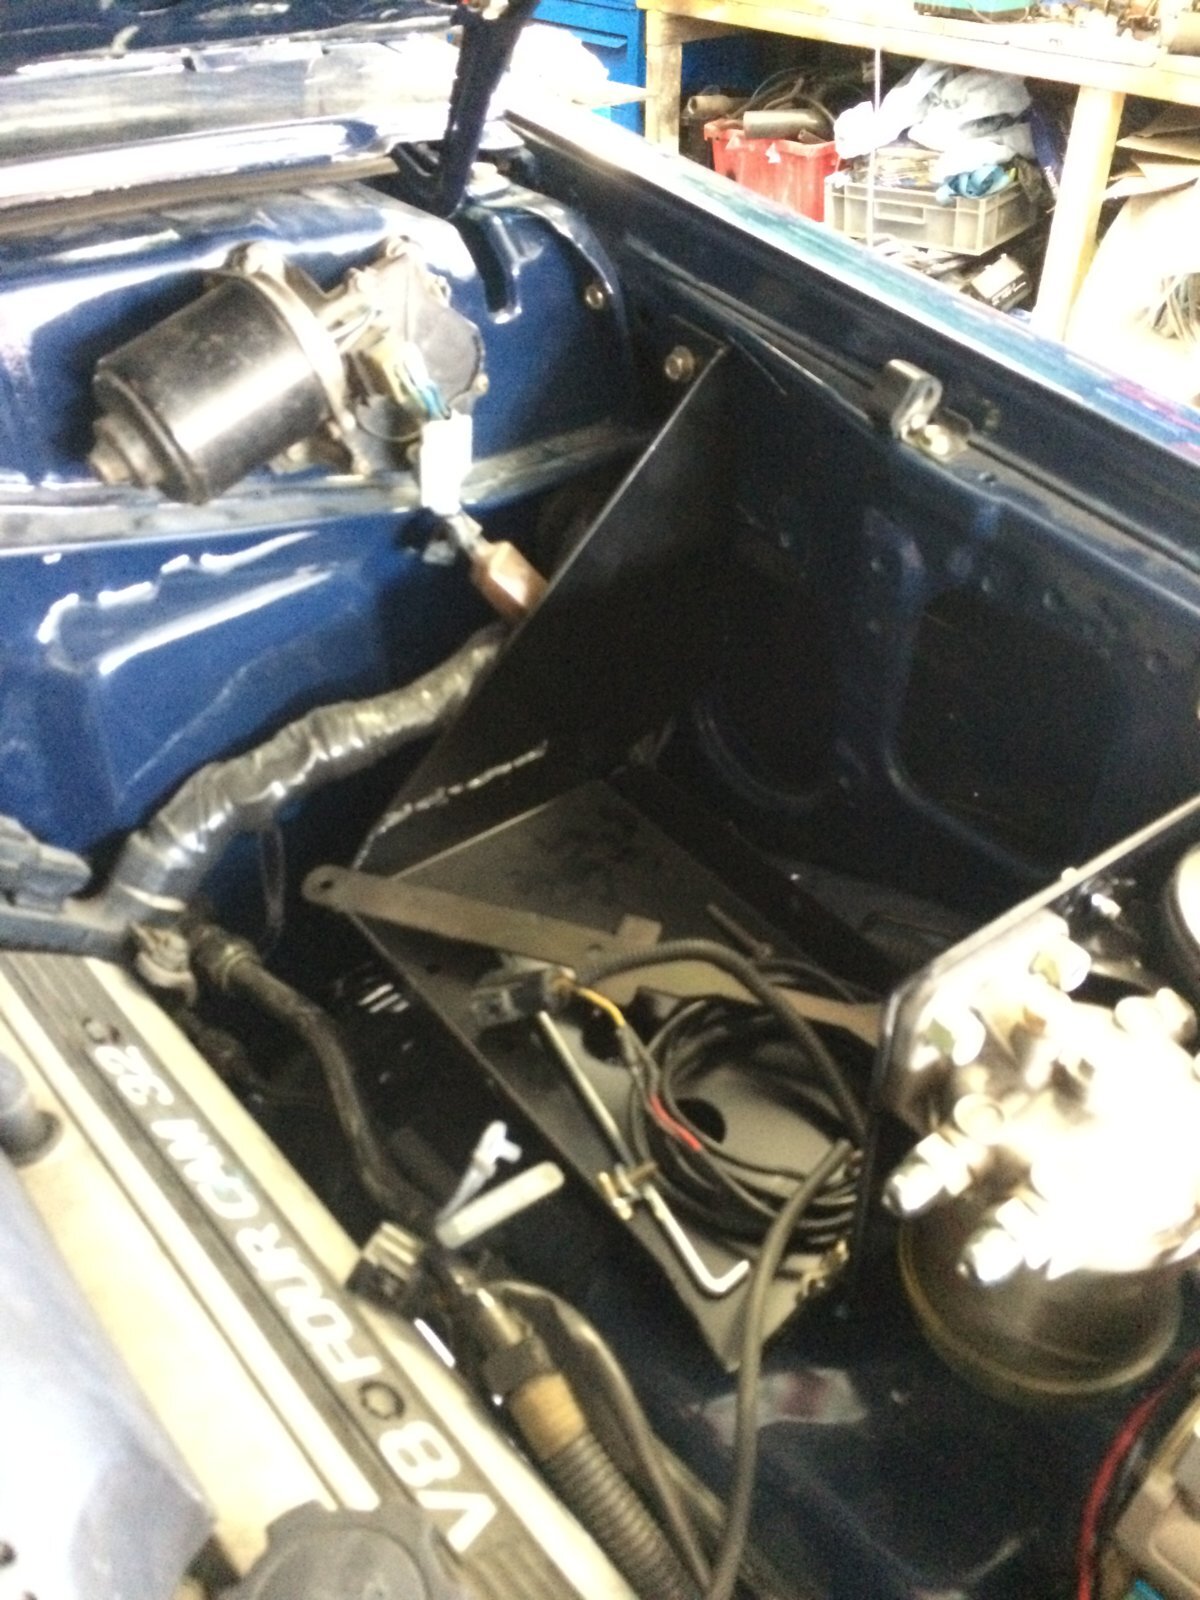
And fit a 12" Optima yellow top in here.
I attached strips of rubber to the fuel tank guard and rubber L section along 2 of the edges on the tank.
These pieces of rubber needed weighing and clamping down while the adhesive set.


All done and ready to fit!

Fitted.


Wheels
I've been looking at the 35" BFG KM2' on LJ over the last few months thinking they are too big.

I must be getting old!
So I've decided to fit 285 x 75 x 16's to it, the same size I have on The 78. They measure about 33" tall which should be a better size.
I still have a set of 16" wheels spare, which I used to have my 37's on before I sold them. But unfortunately UK salted winter roads had caused them to go a bit rusty.


So I gave them a sand down.


Dropped them off at the powder coaters and a few hours and $20 a rim later they were coated in satin black!


To save some money I'm buying my bosses old tyres off his HDJ79 ute, then when I have some spare cash I will get a new set of KM3's for them.
He gets his tyres for free as companies want to see their products on his LandCruiser's on the TV shows and magazine articles, so he never wears them down that much before getting a new set.
Engine Bay
I picked up a belt for the new power steering pump.

The bottom radiator hose arrived.

It would need a bit trimming out of the middle to make it the same size as the old one I had cut in half and taped back together.

Section removed.

All ready to fit.

Fitted.


So the engine bay is almost finished!

I just need to modify and fit a KZJ70 airbox in here.

And fit a 12" Optima yellow top in here.

- Joined
- Oct 13, 2010
- Messages
- 6,058
- Country Flag
Dinitrol
I gave the inside of all the body sections and chassis a good coat of Dinitrol cavity wax to help protect those areas from rust.
Car Builders
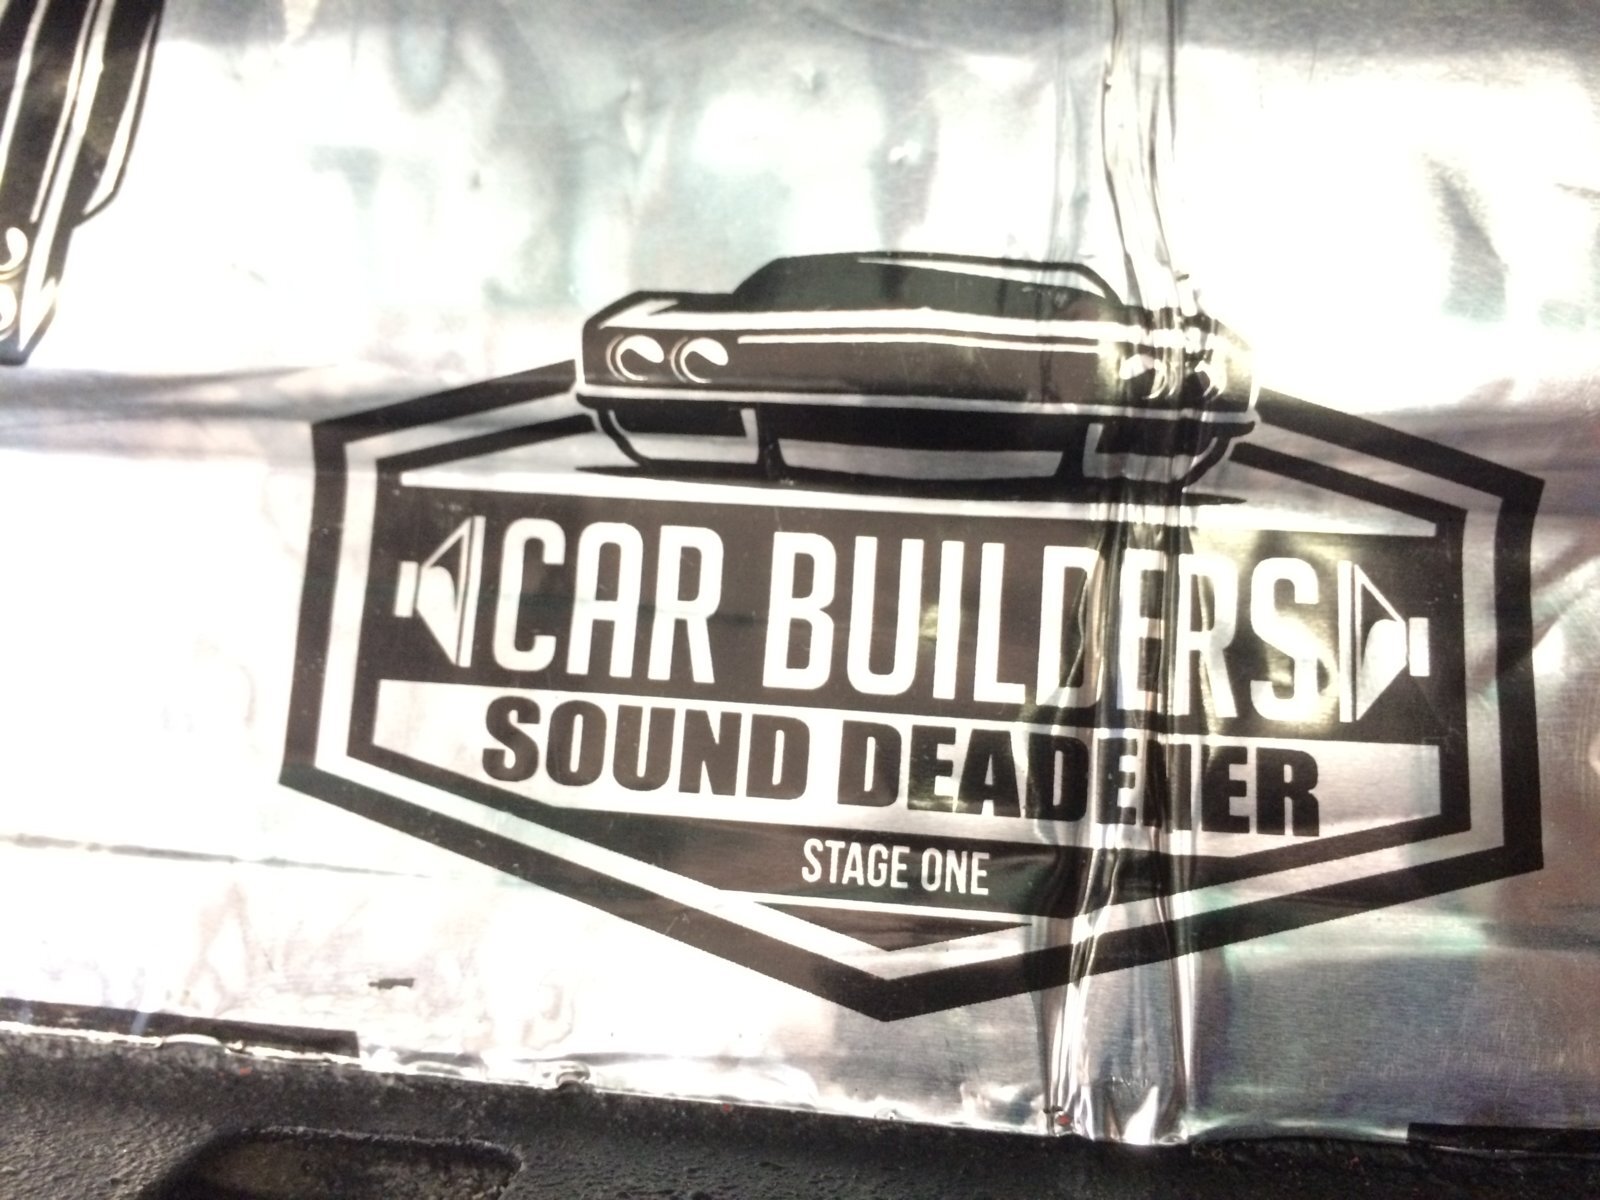
After using these products on my LJ78 and being very impressed I picked some up for this 70.
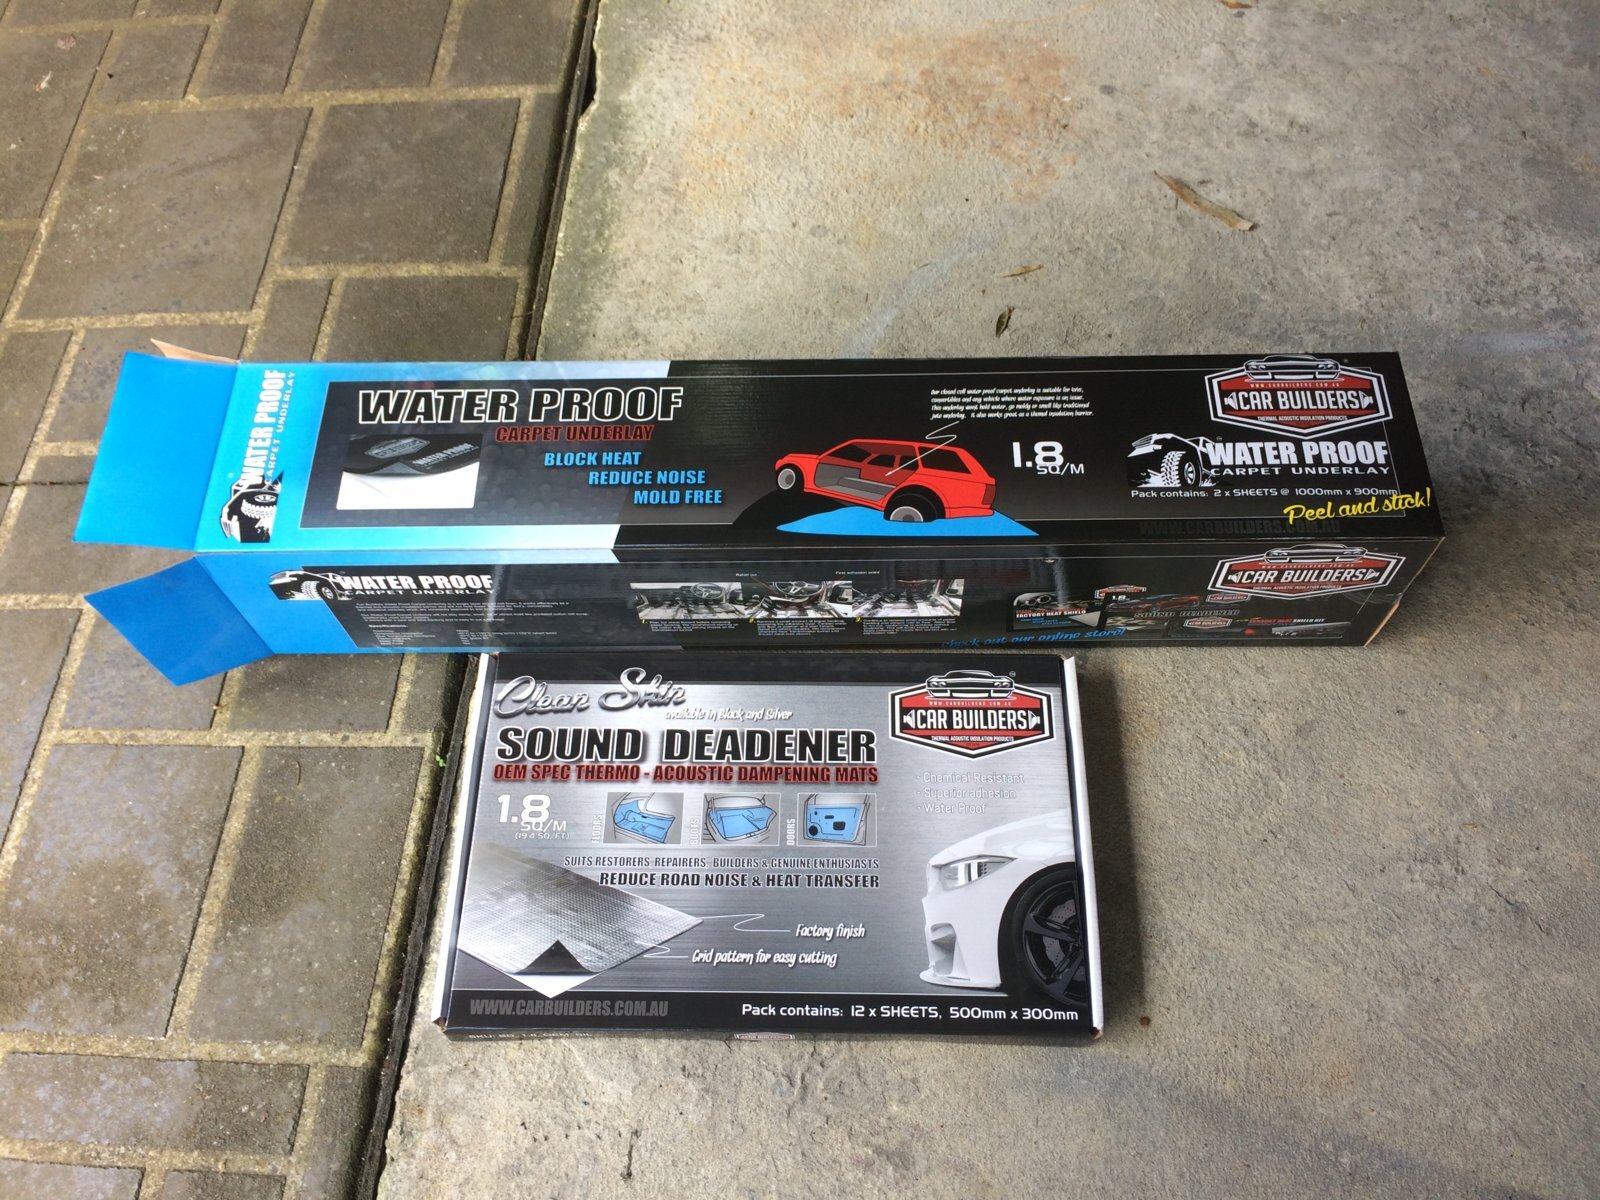
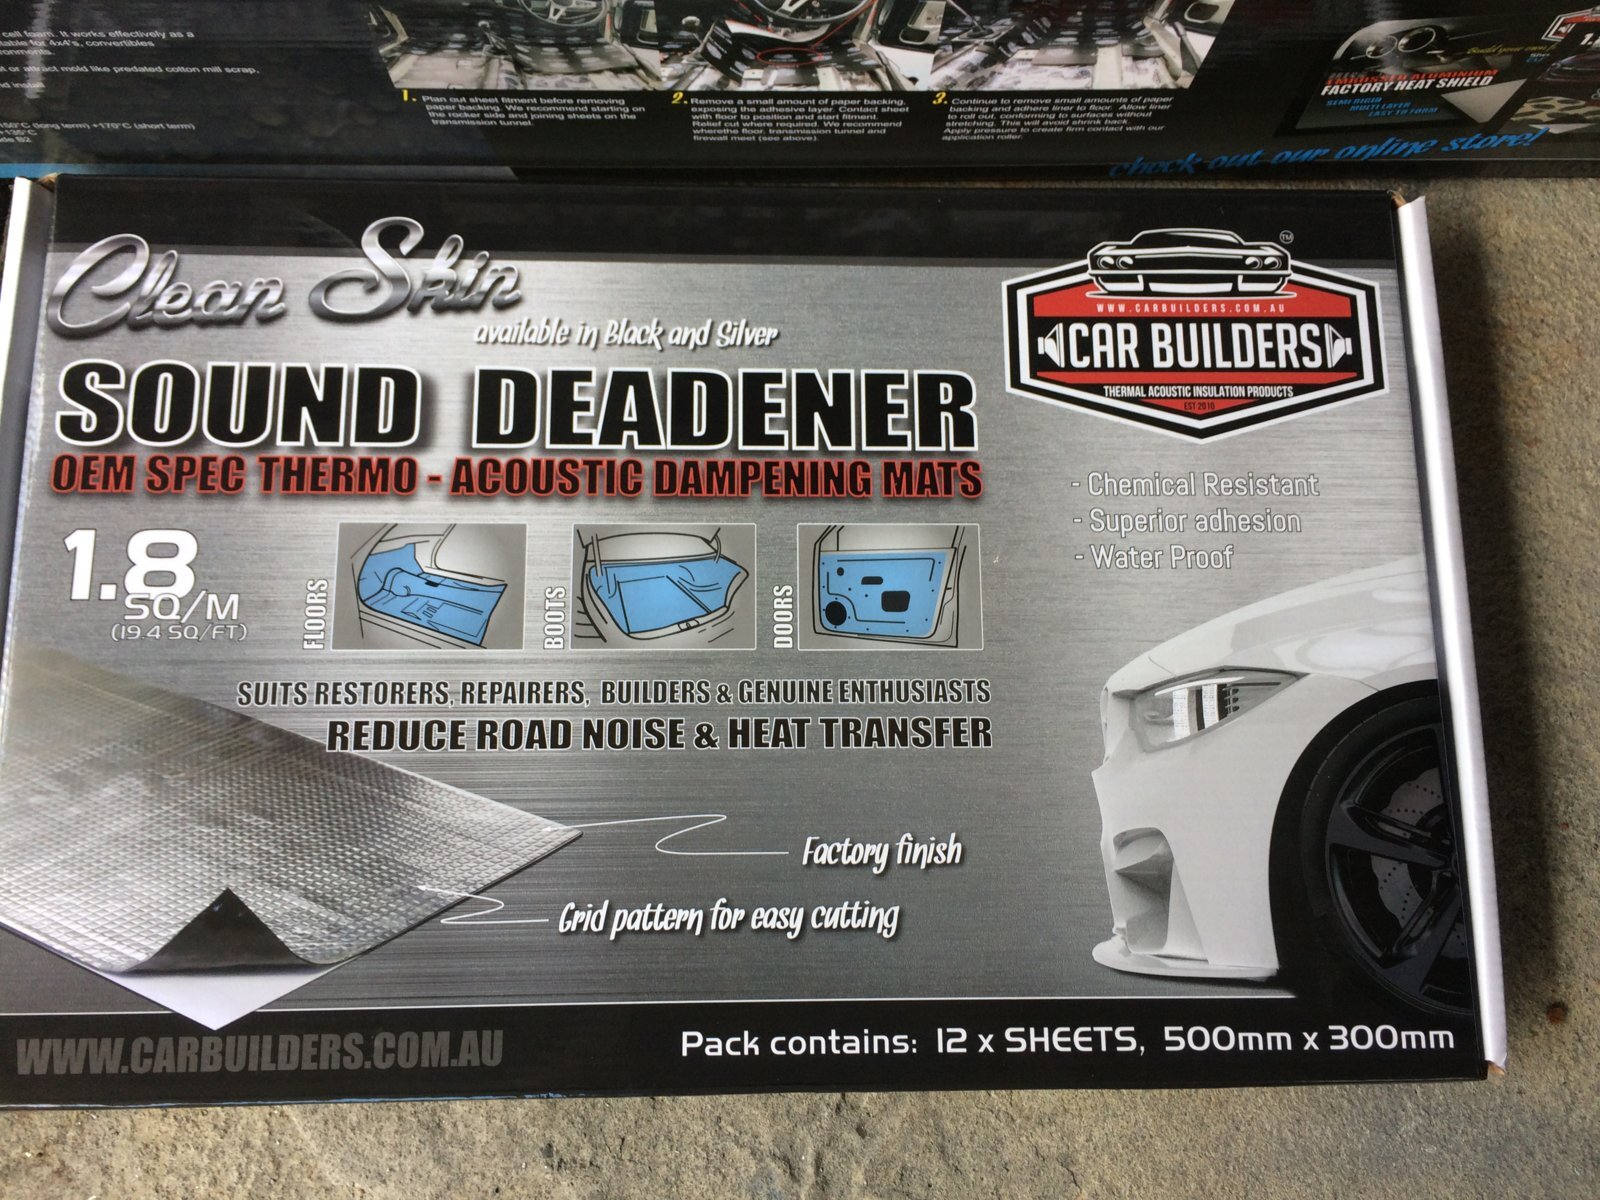
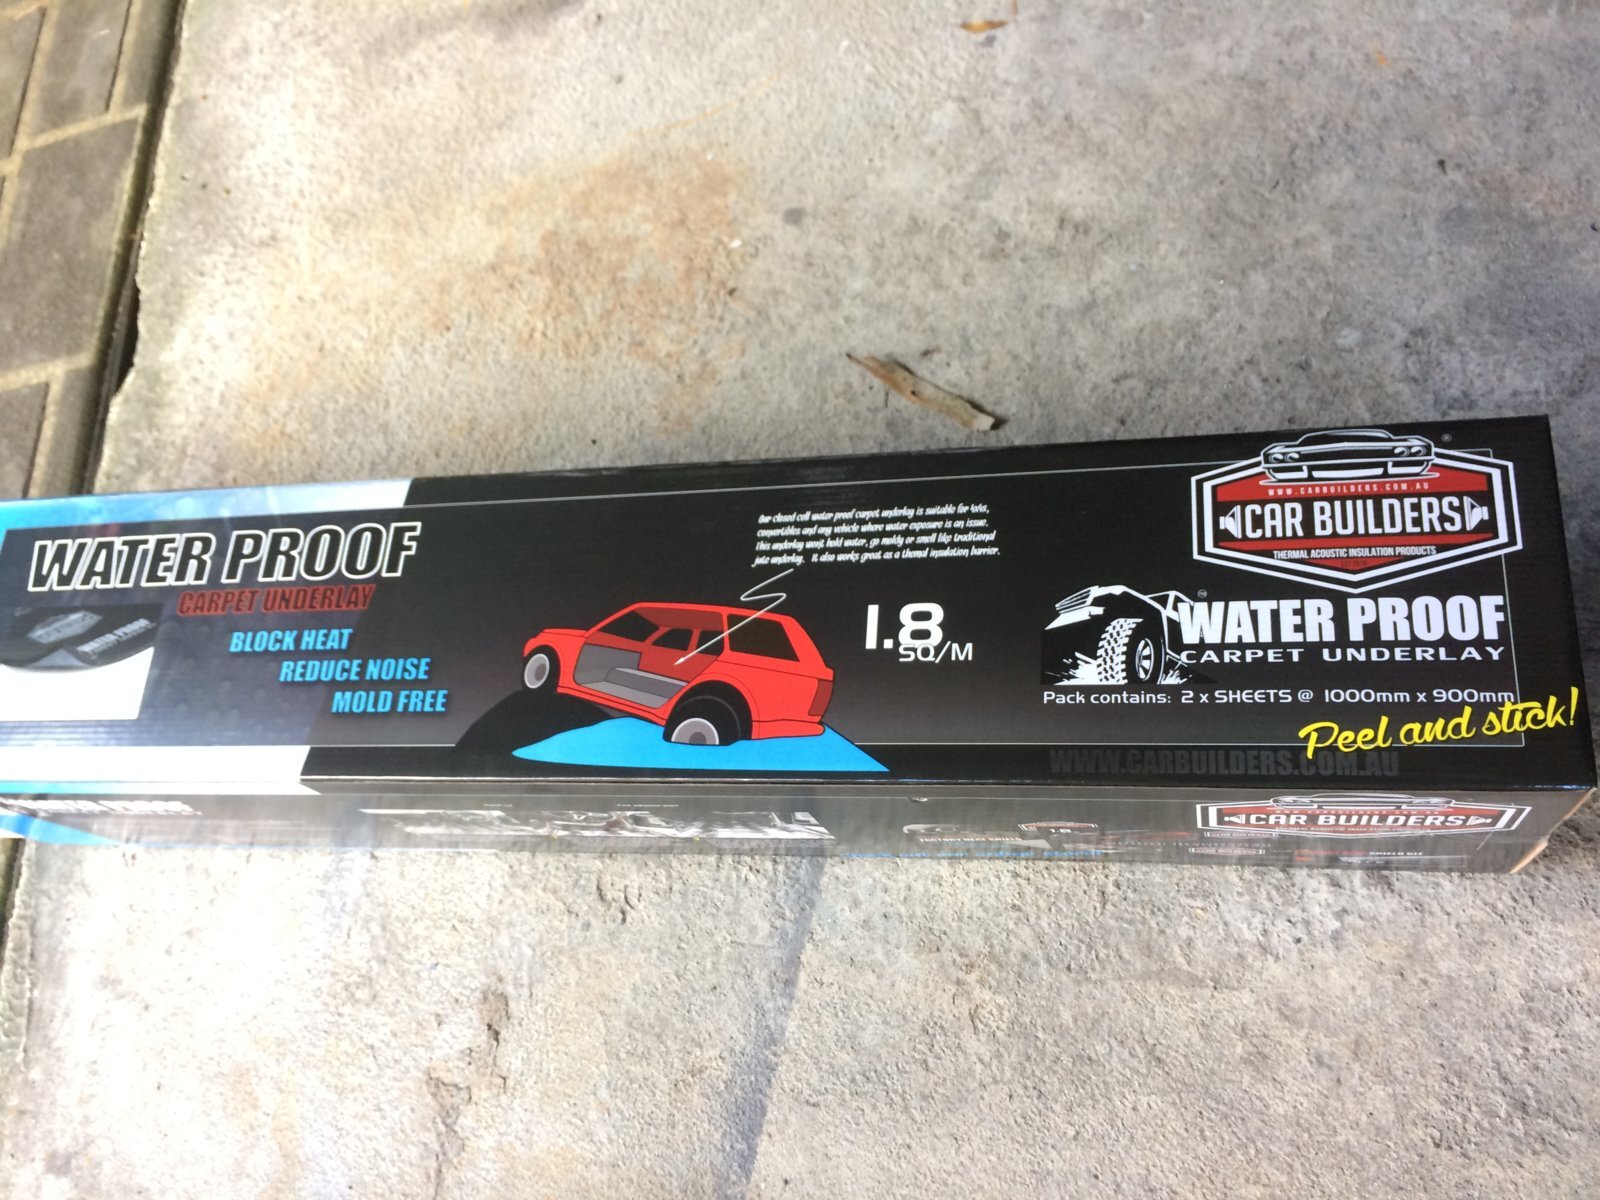
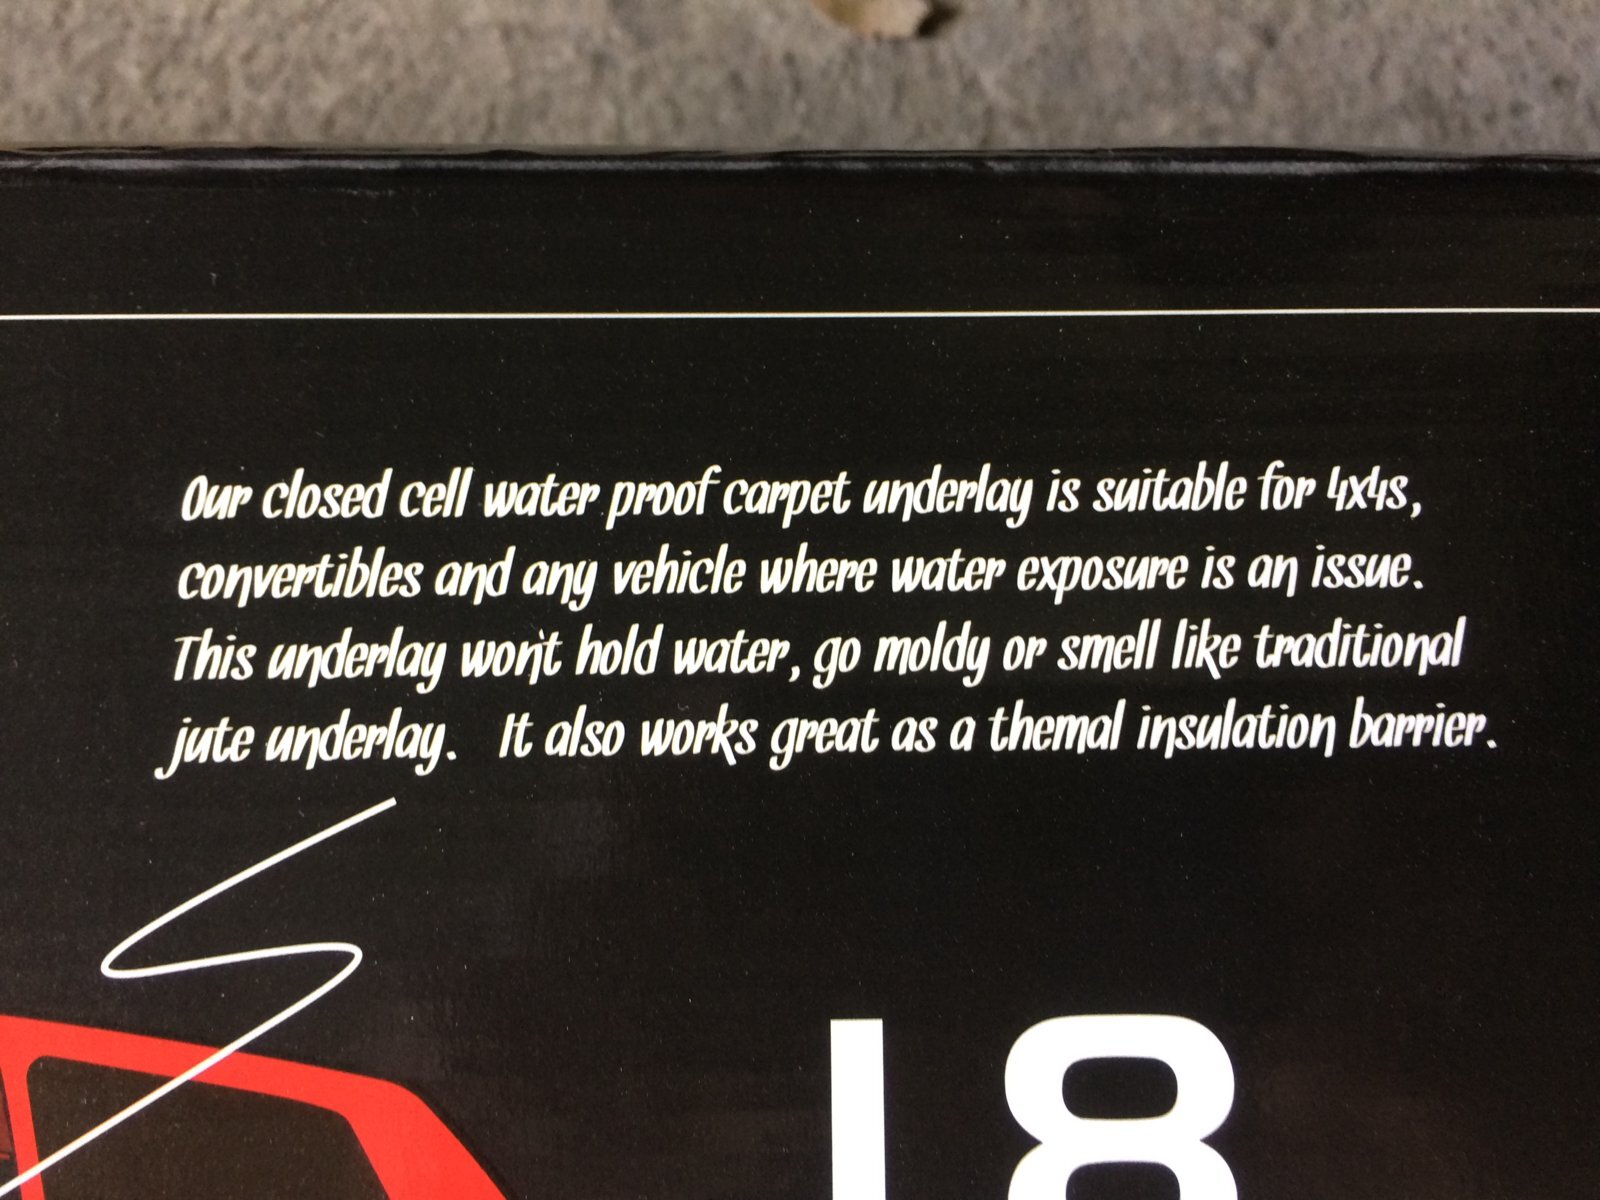
Fitted the stage 1 insulation.
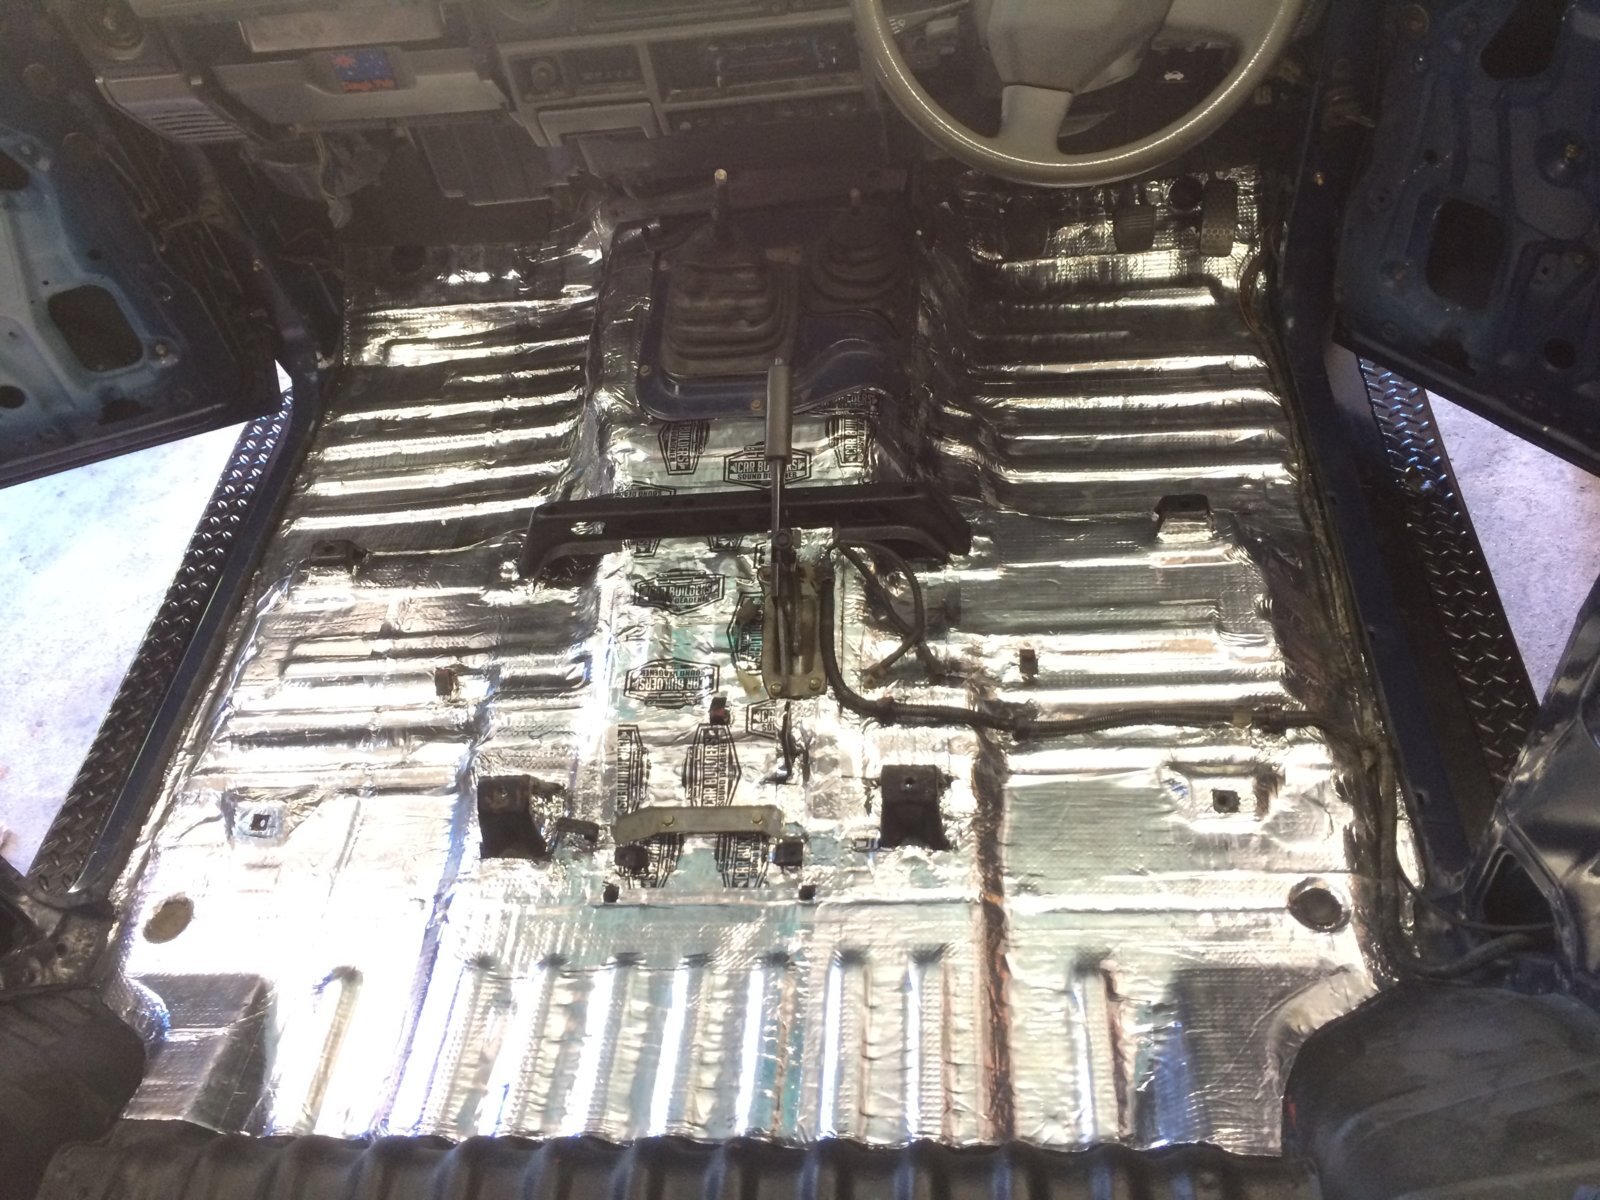
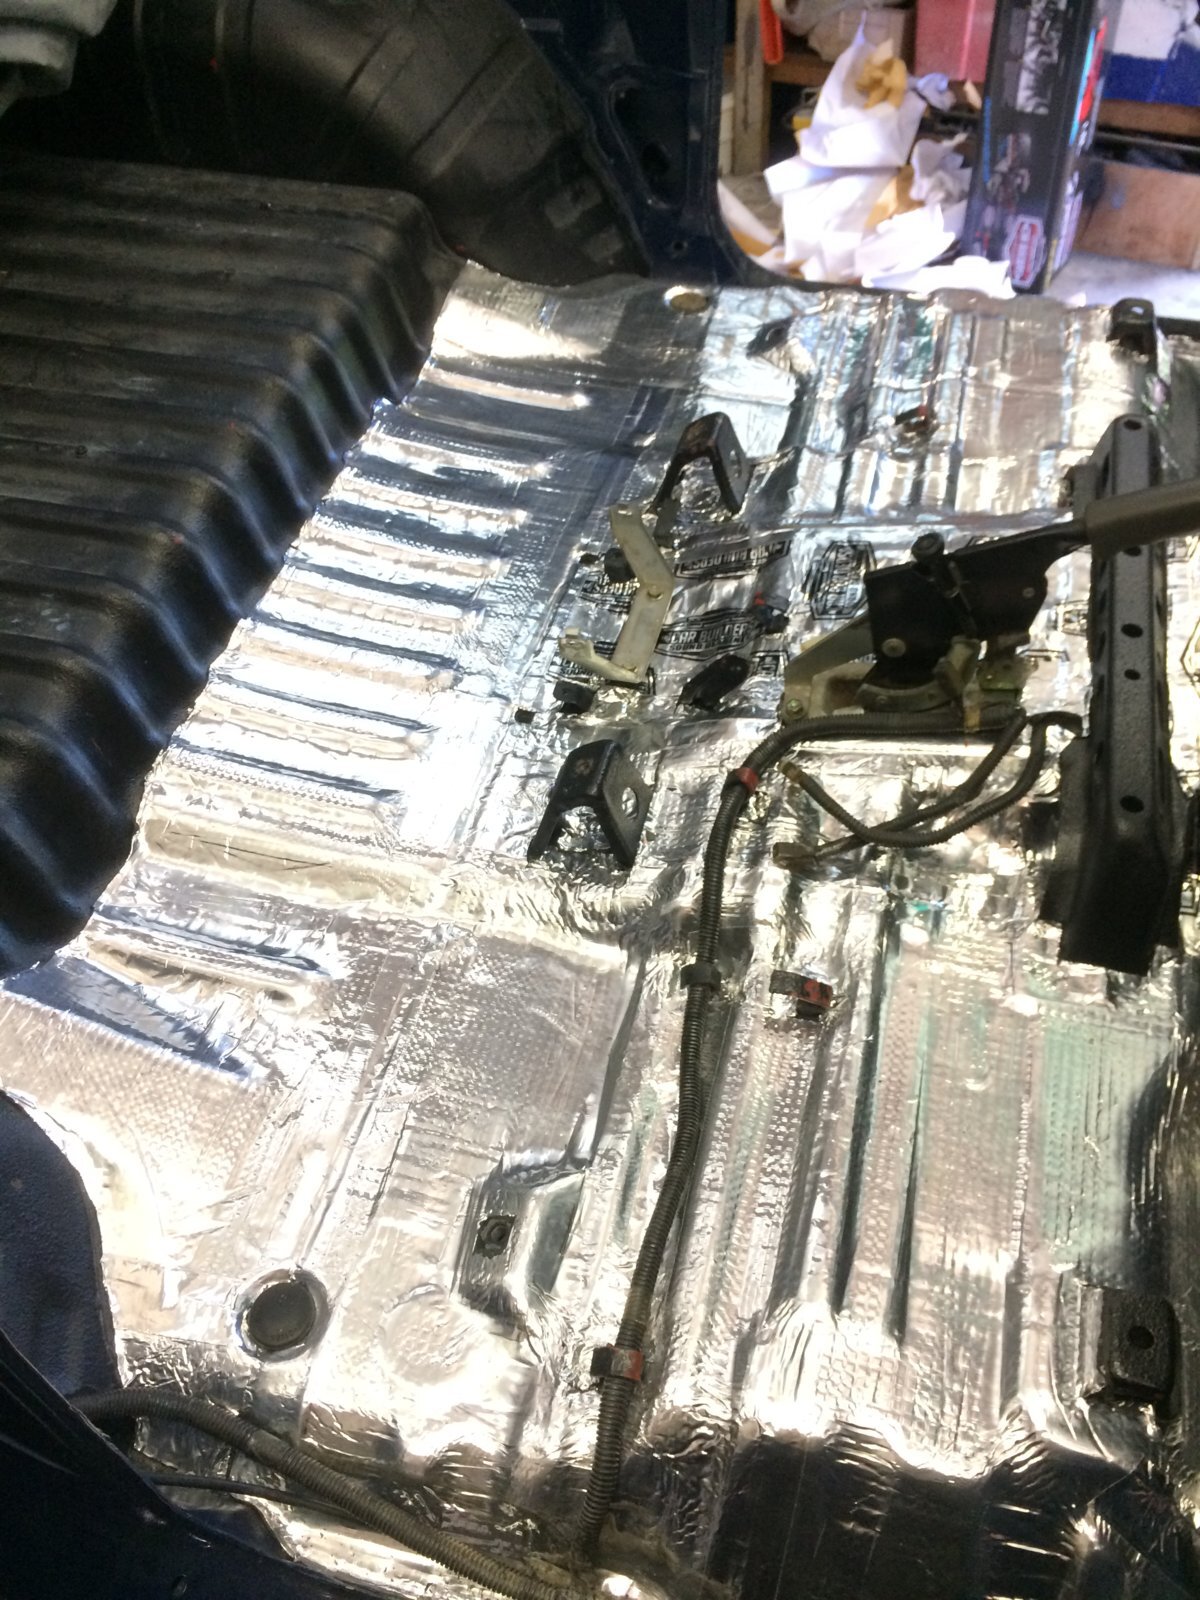
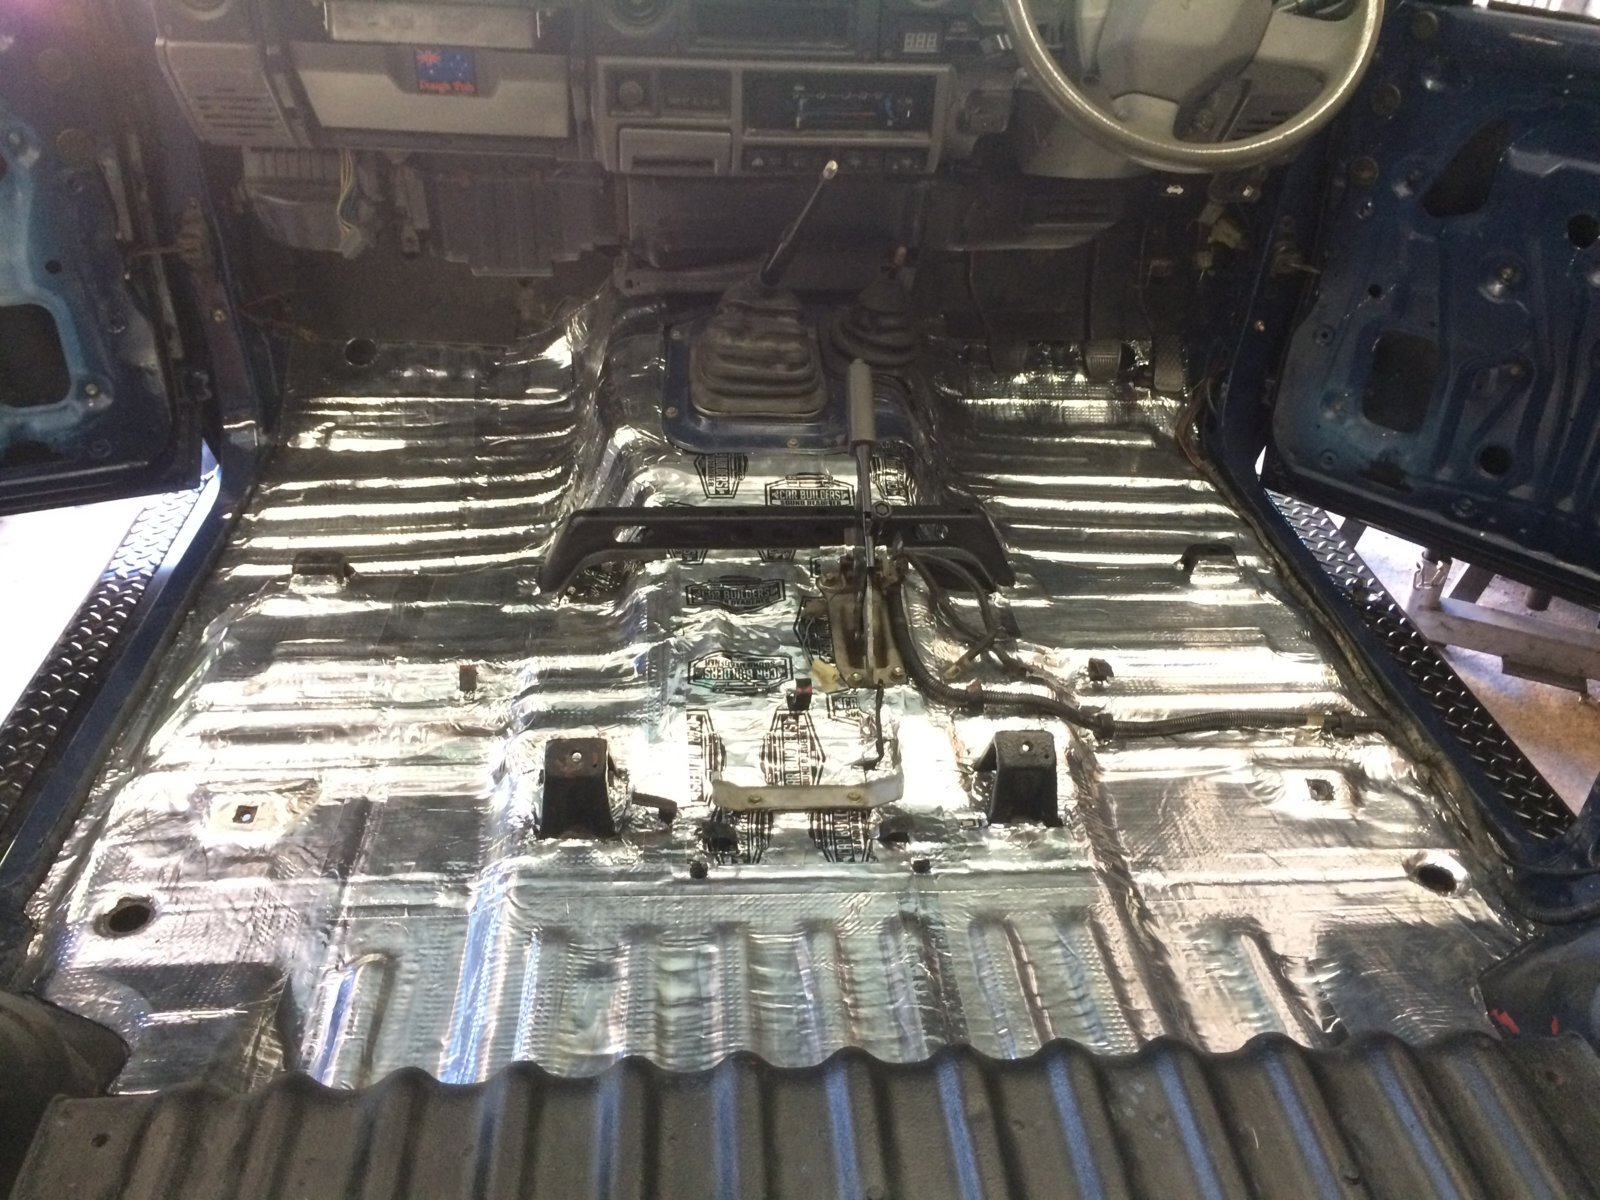
Then stage 2.
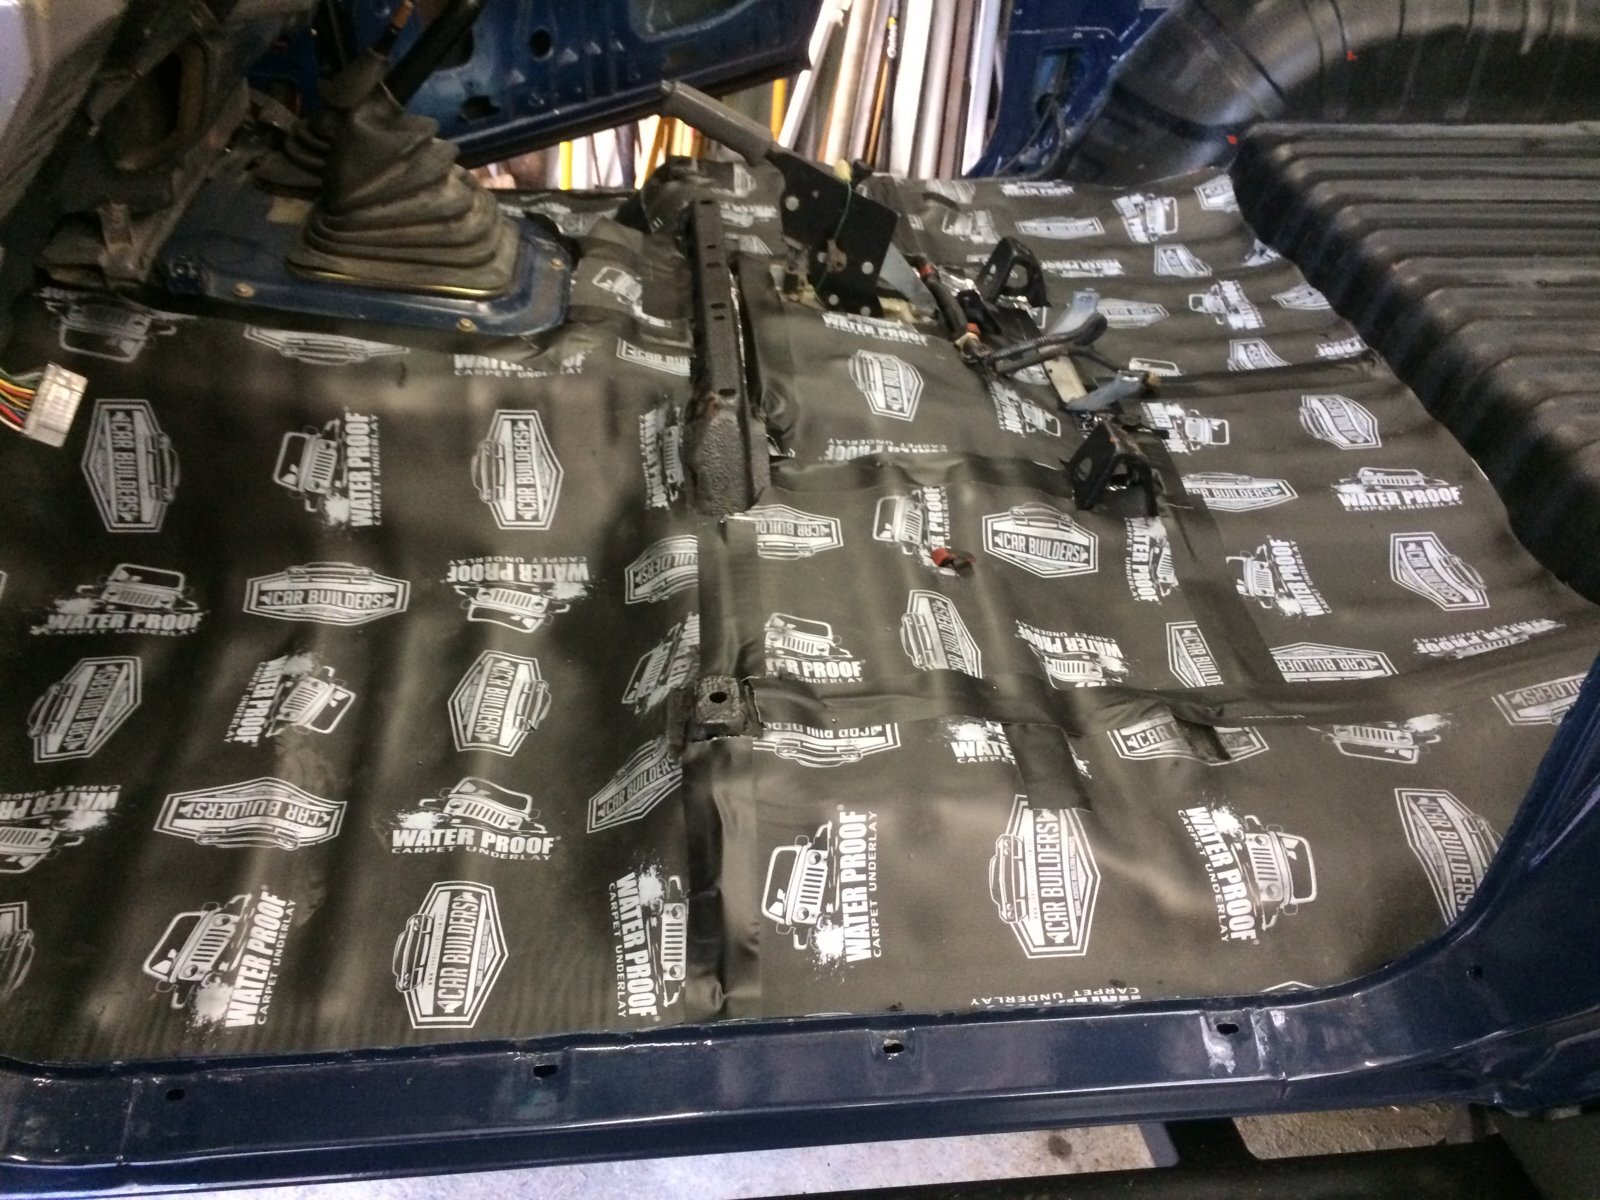
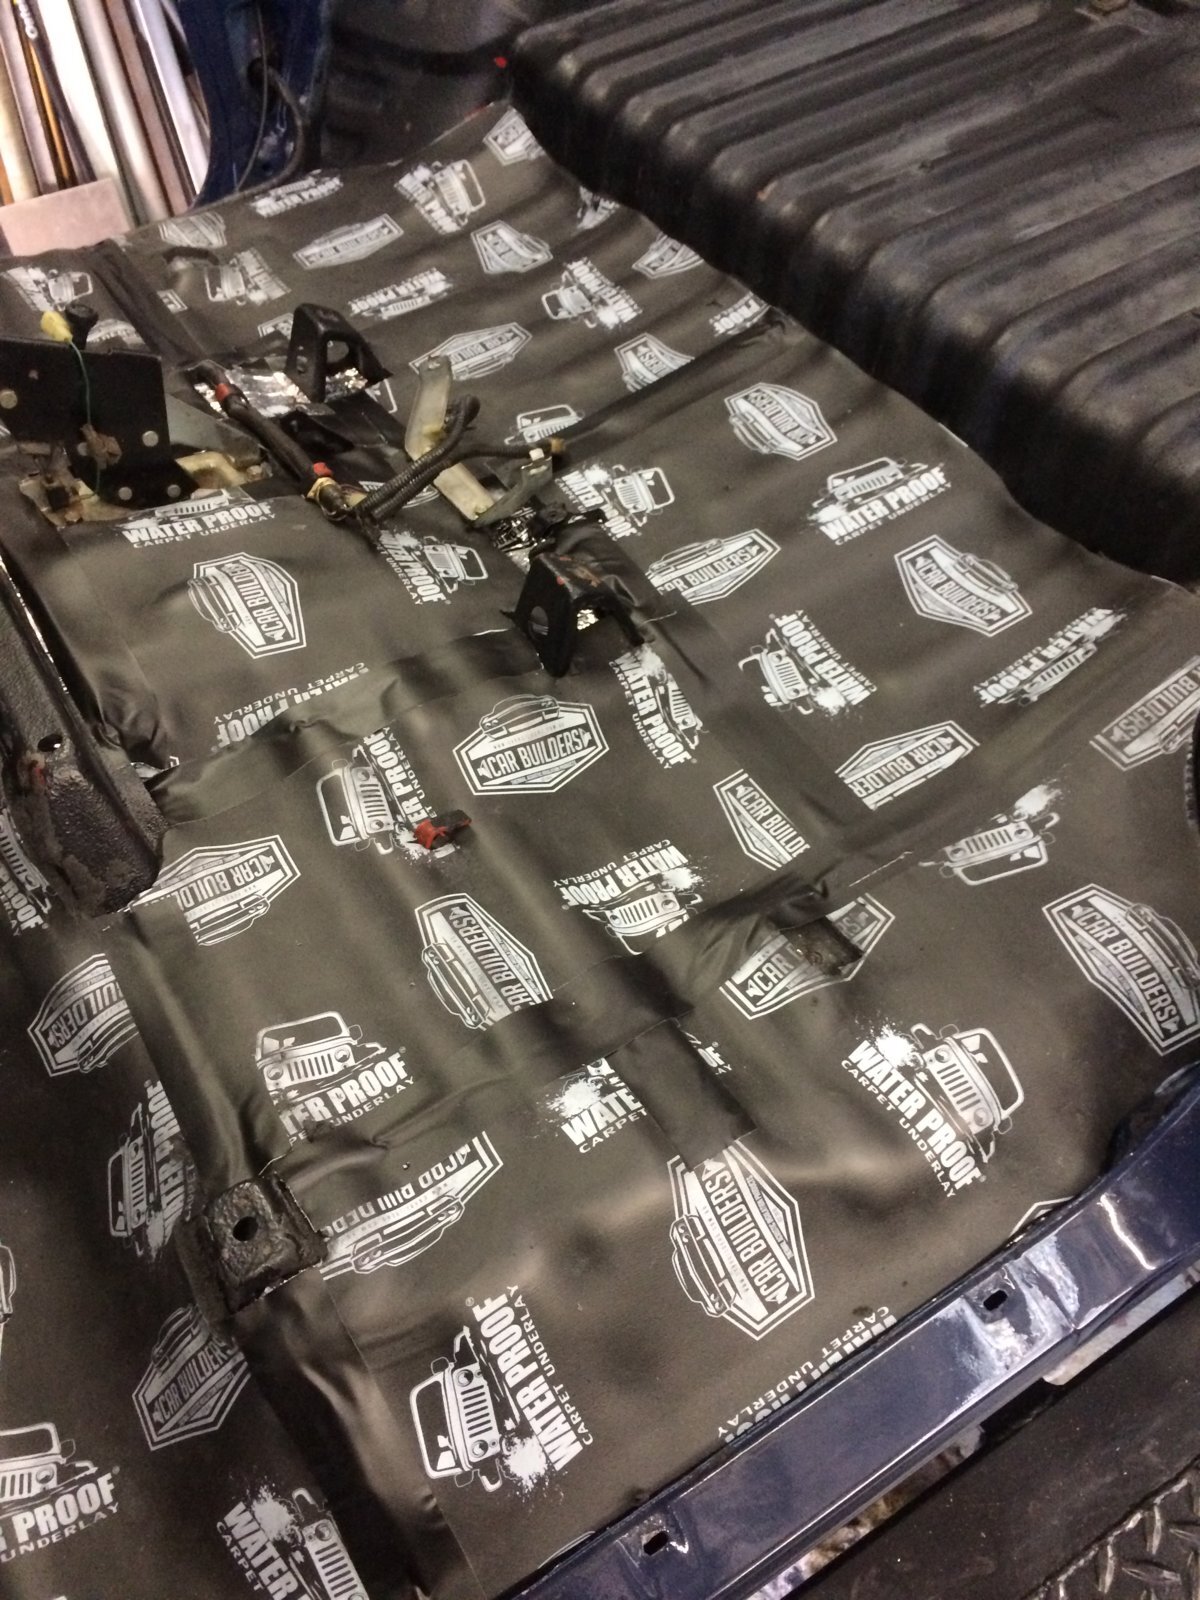
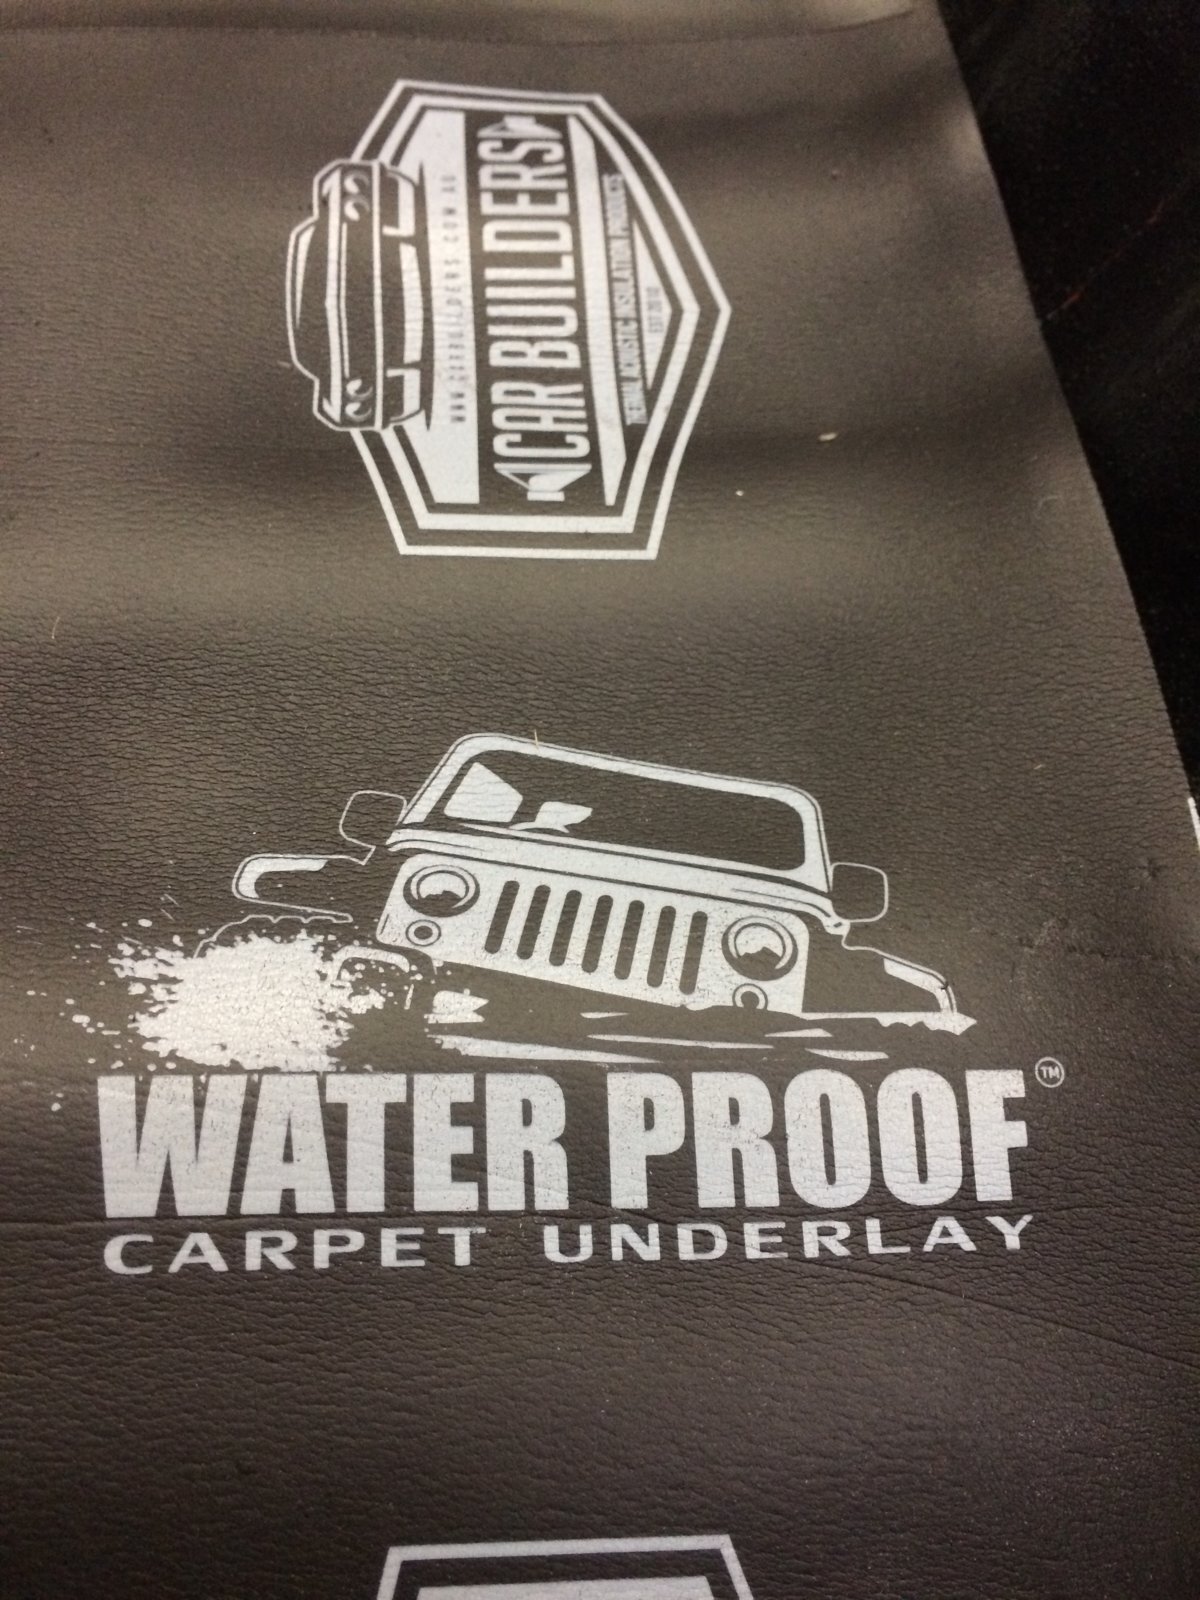
That should help cut down on the amount of heat radiating up from the exhaust and transmission.
UK Trip
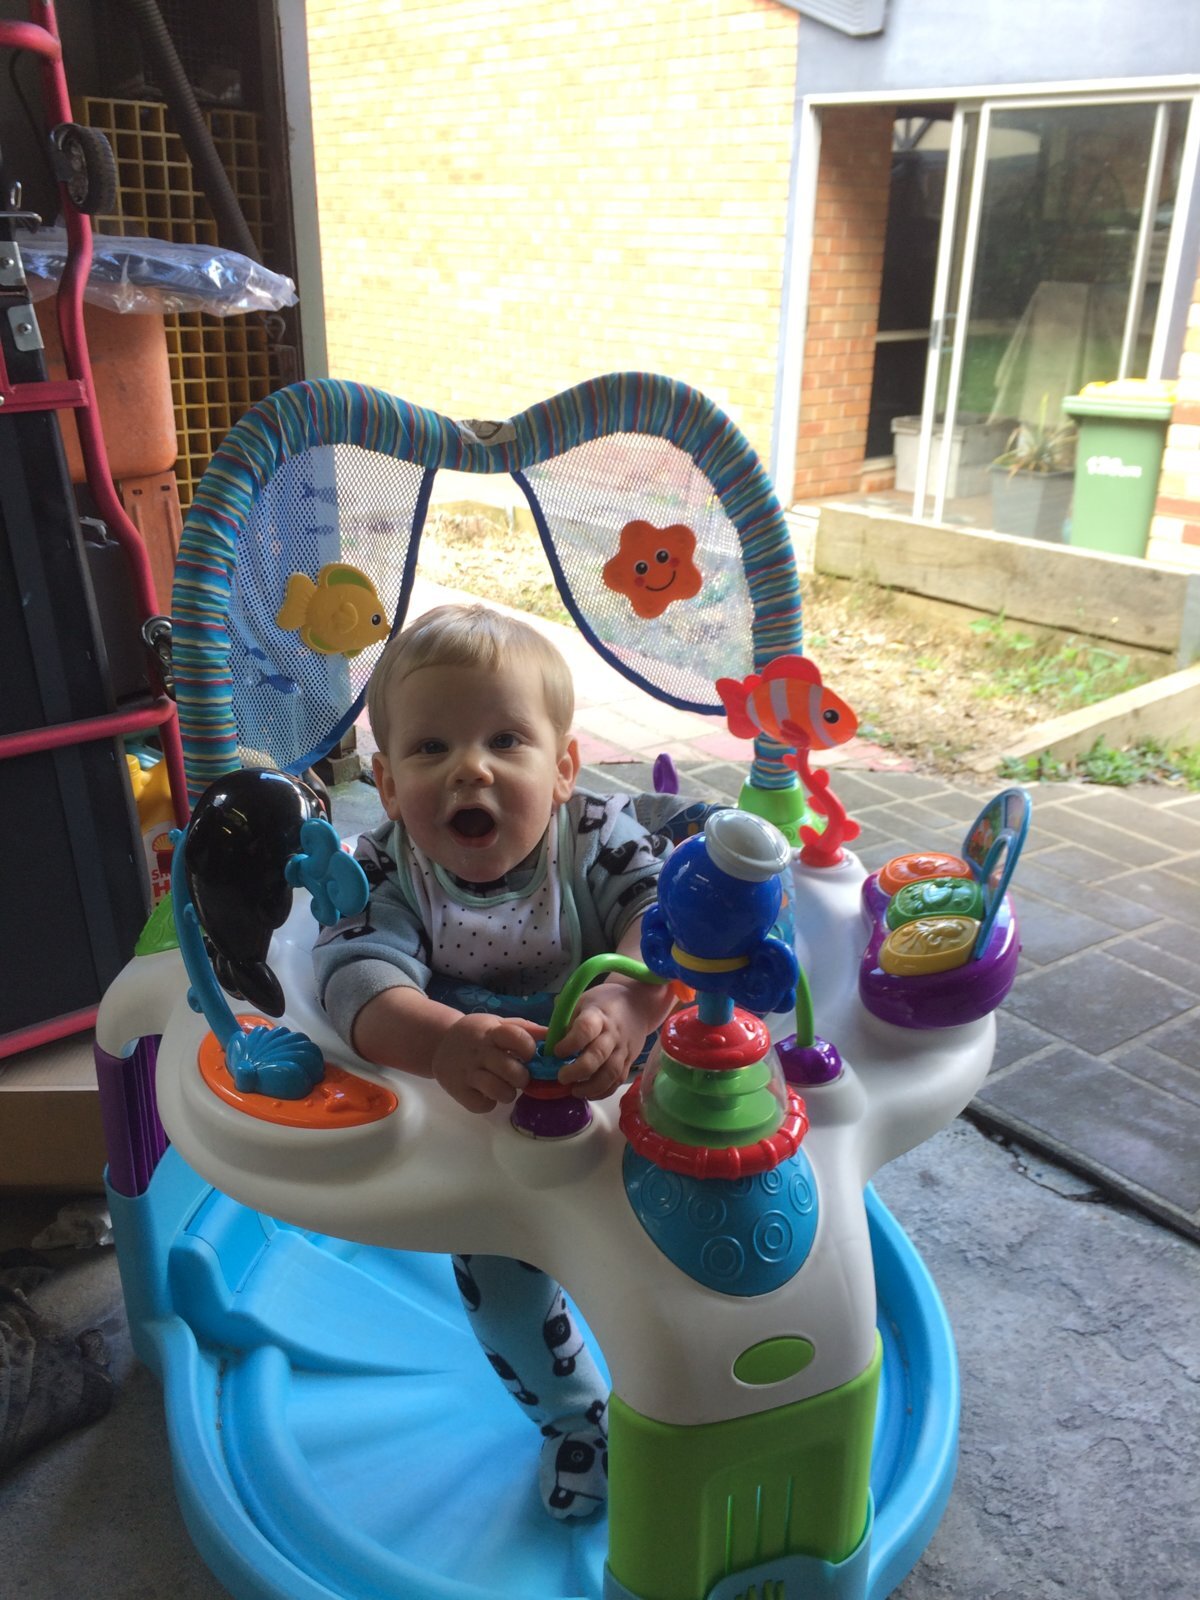
We're taking this little guy to the UK soon so he can meet the rest of his family.
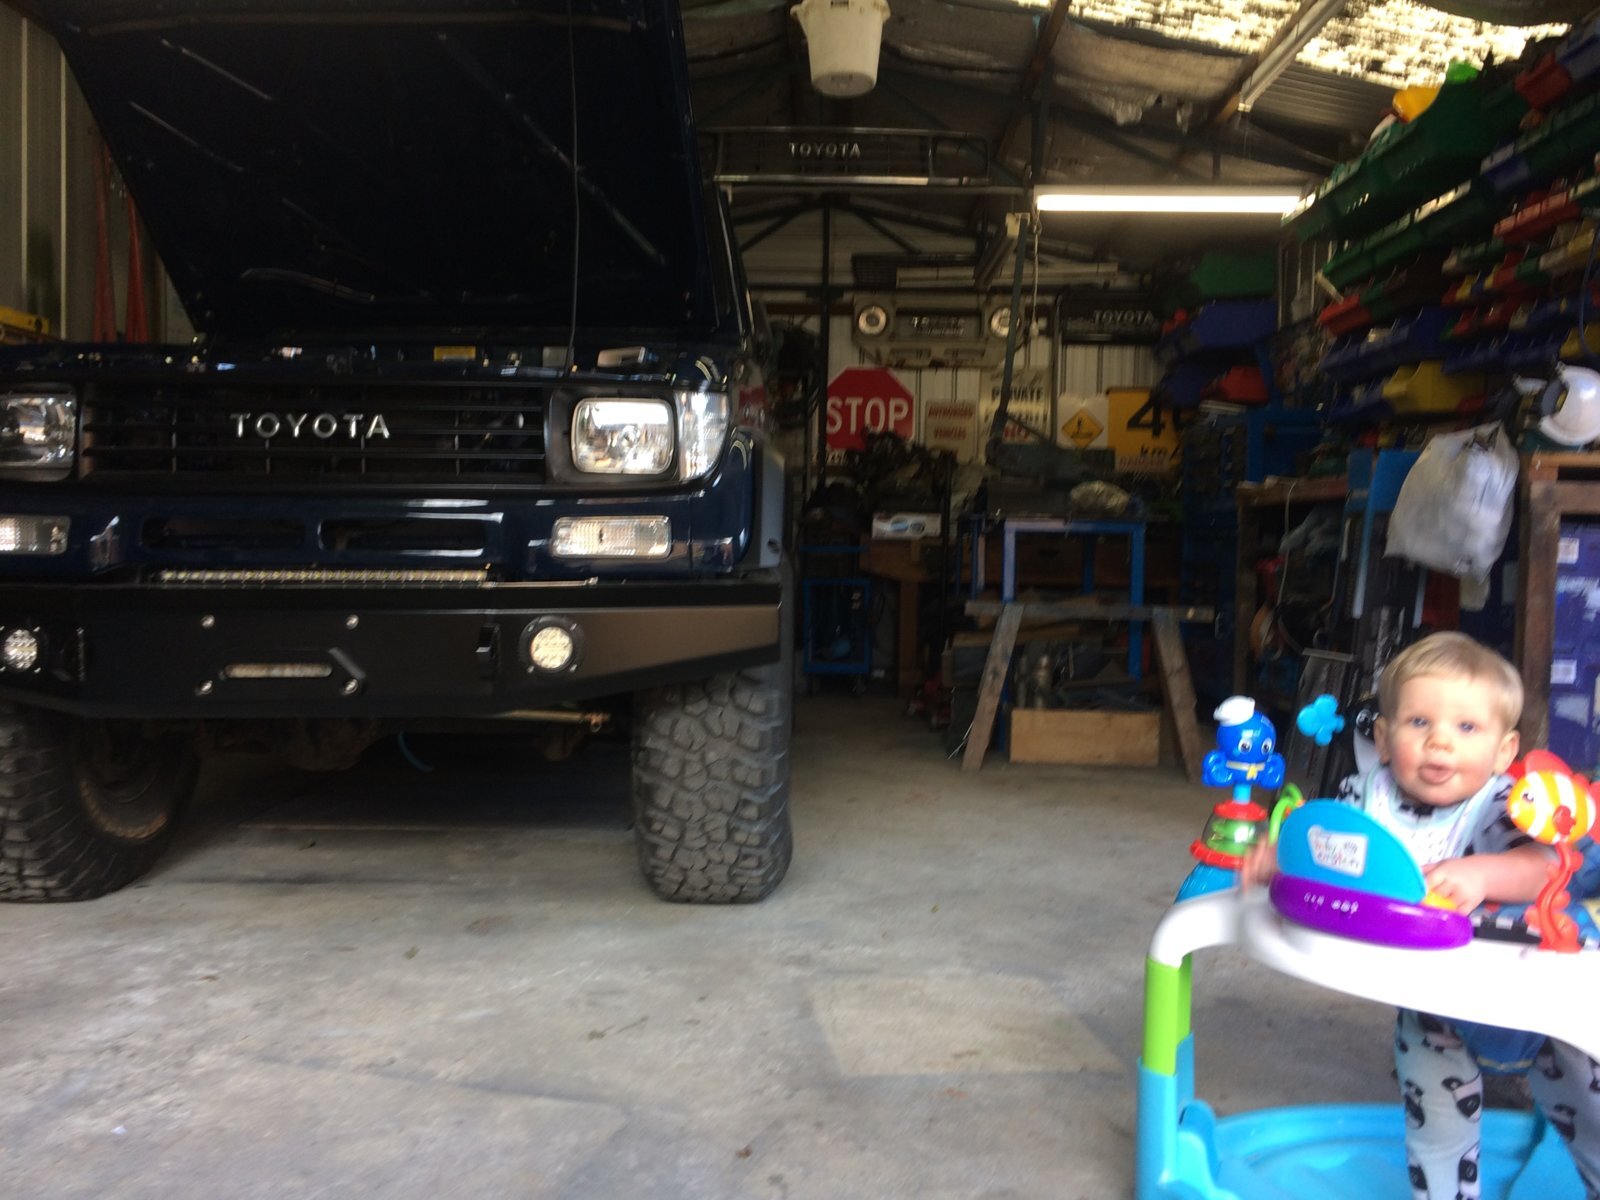
And while were there I'm hoping to pick up a load of parts I need for this project, including a complete carpet from a KZJ70.
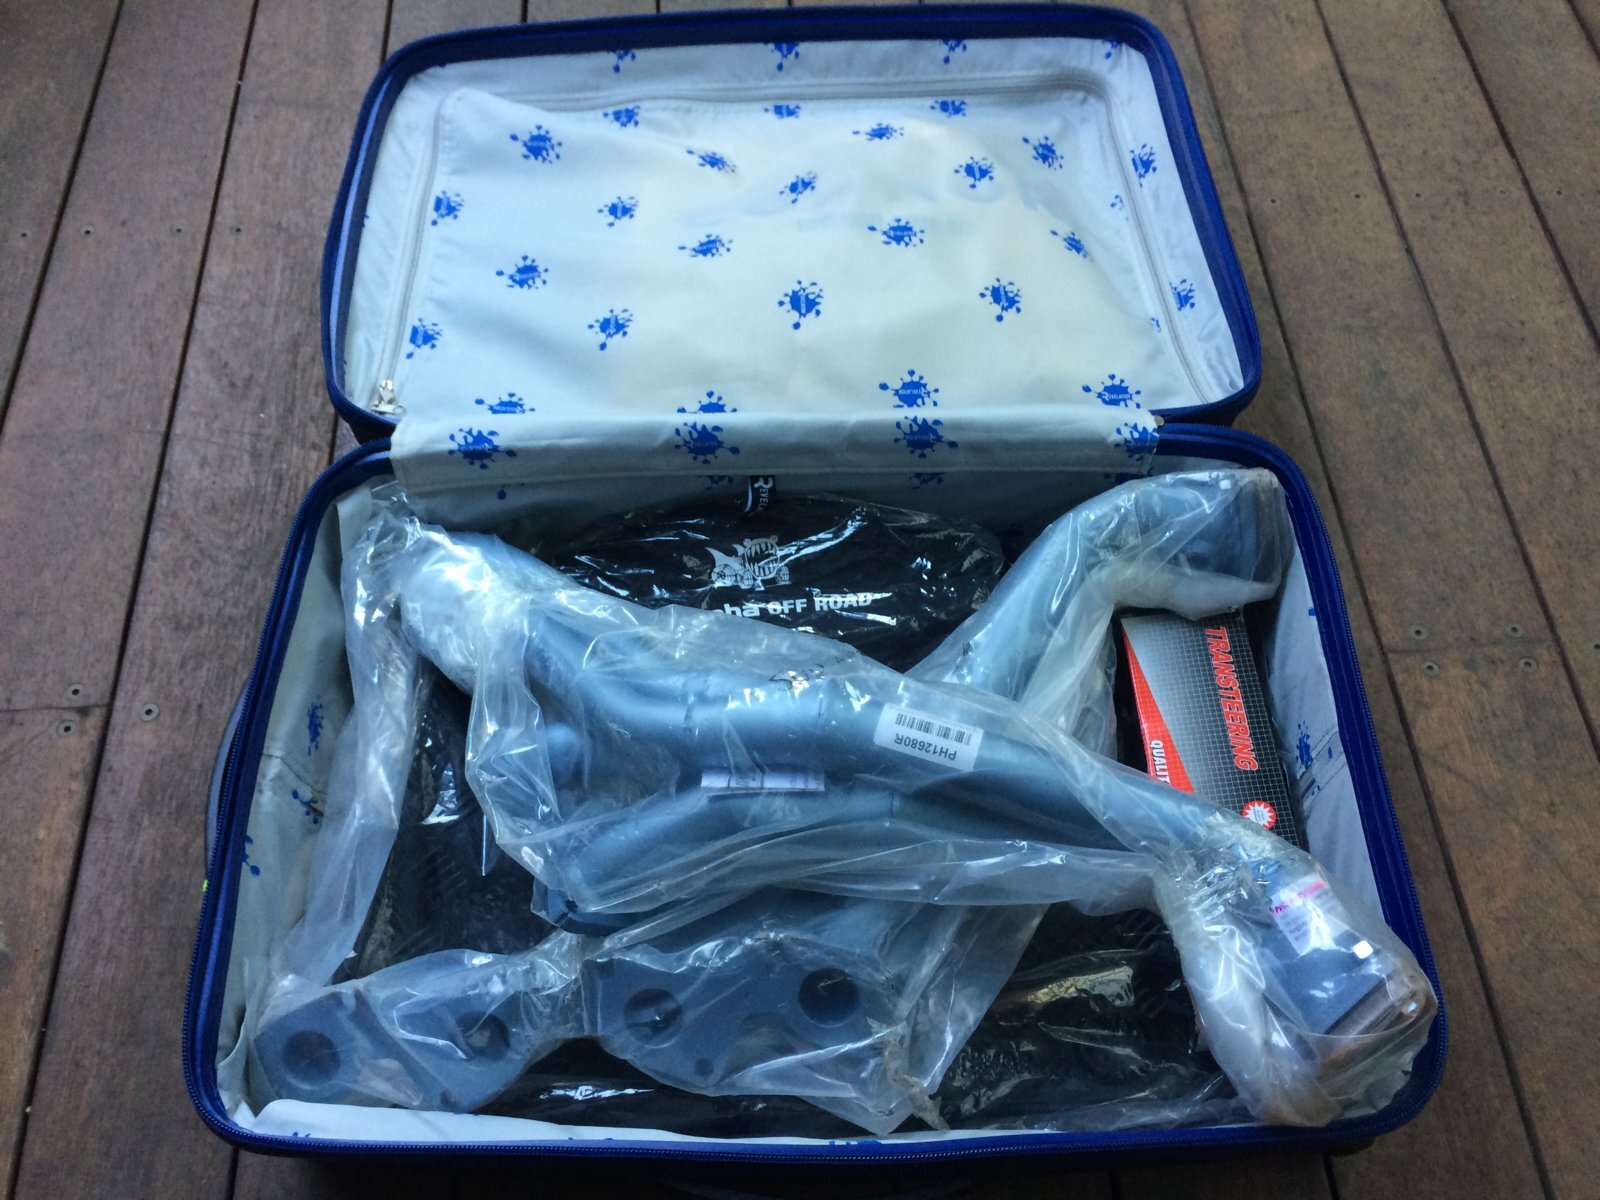
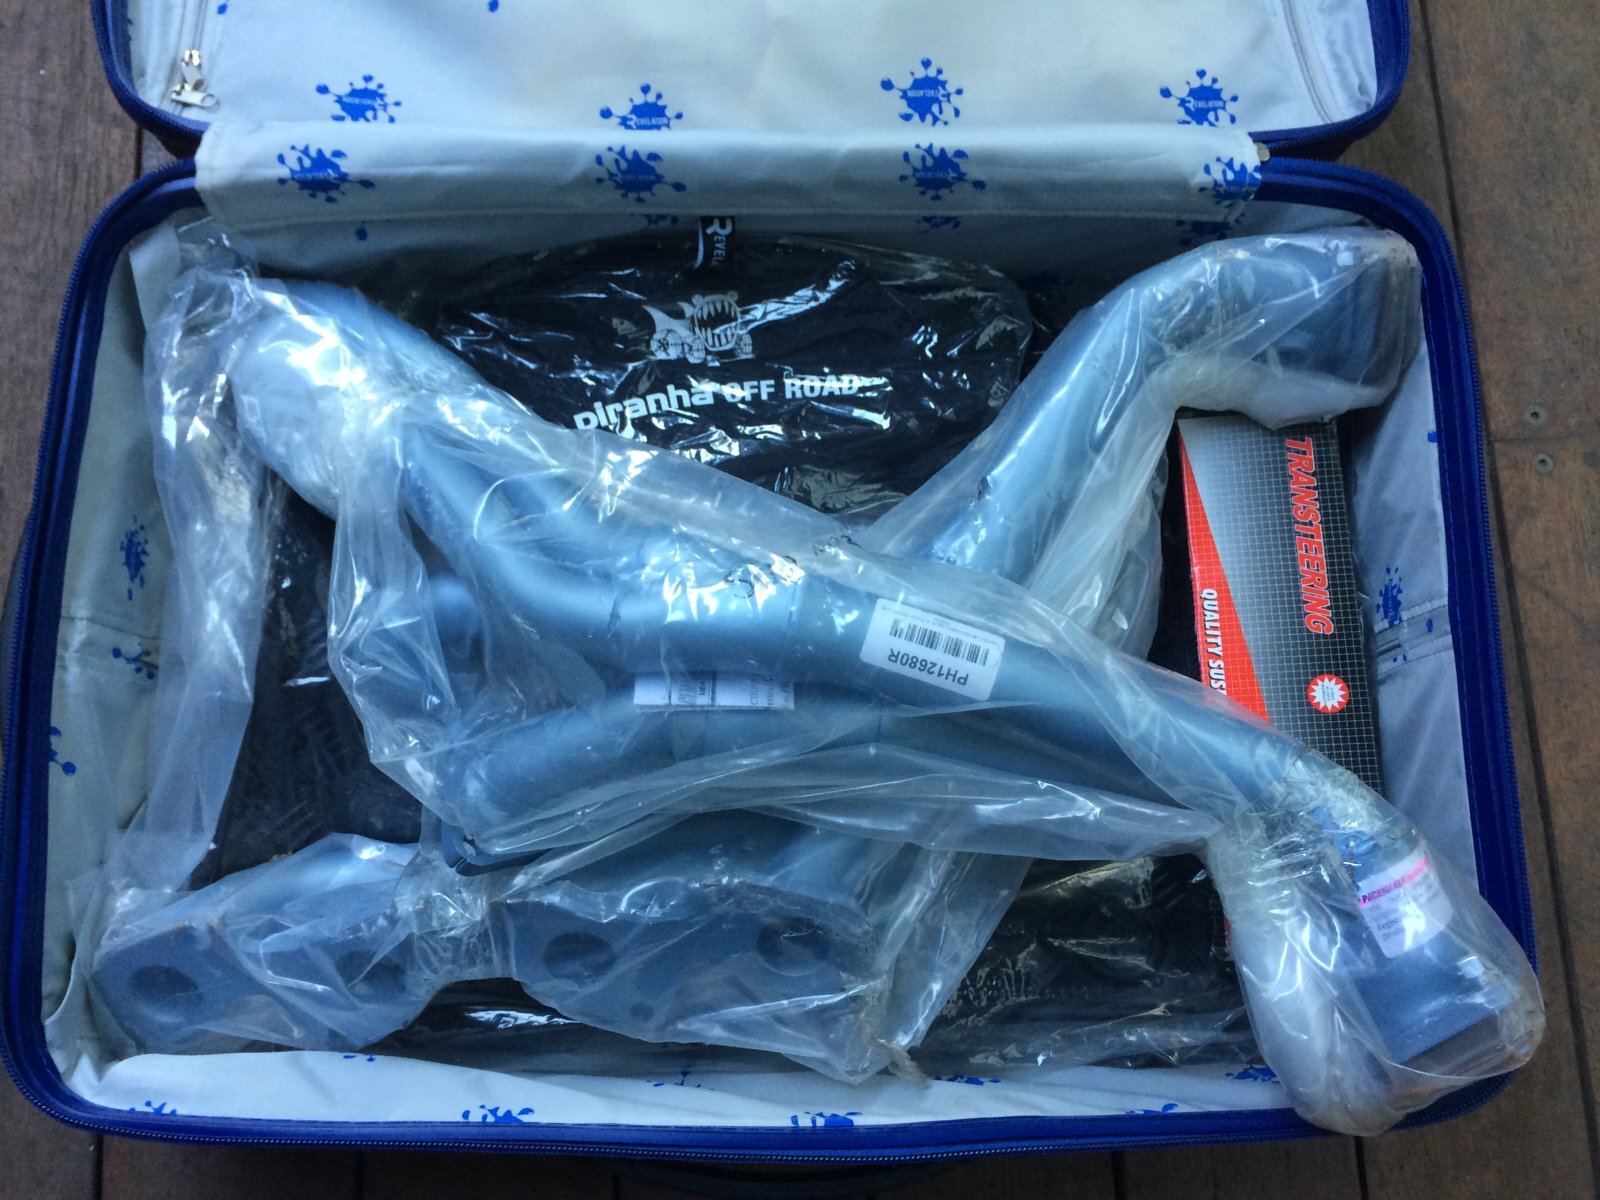
So as I'm taking over an empty suitcase to bring lots of LC parts back, I was only too happy to offer that empty space to club members to bring parts over to the UK for them.
Thankfully 100 series exhaust headers just fit in my case!
I gave the inside of all the body sections and chassis a good coat of Dinitrol cavity wax to help protect those areas from rust.
Car Builders
After using these products on my LJ78 and being very impressed I picked some up for this 70.


Fitted the stage 1 insulation.


Then stage 2.


That should help cut down on the amount of heat radiating up from the exhaust and transmission.
UK Trip
We're taking this little guy to the UK soon so he can meet the rest of his family.


And while were there I'm hoping to pick up a load of parts I need for this project, including a complete carpet from a KZJ70.
So as I'm taking over an empty suitcase to bring lots of LC parts back, I was only too happy to offer that empty space to club members to bring parts over to the UK for them.
Thankfully 100 series exhaust headers just fit in my case!


Dinitrol
I gave the inside of all the body sections and chassis a good coat of Dinitrol cavity wax to help protect those areas from rust.
Car Builders
After using these products on my LJ78 and being very impressed I picked some up for this 70.
View attachment 149334
View attachment 149335
View attachment 149336
View attachment 149337
Fitted the stage 1 insulation.
View attachment 149338
View attachment 149339
View attachment 149340
View attachment 149341
Then stage 2.
View attachment 149345
View attachment 149346
View attachment 149347
That should help cut down on the amount of heat radiating up from the exhaust and transmission.
UK Trip
We're taking this little guy to the UK soon so he can meet the rest of his family.
View attachment 149349
View attachment 149348
And while were there I'm hoping to pick up a load of parts I need for this project, including a complete carpet from a KZJ70.
So as I'm taking over an empty suitcase to bring lots of LC parts back, I was only too happy to offer that empty space to club members to bring parts over to the UK for them.
Thankfully 100 series exhaust headers just fit in my case!
View attachment 149350
View attachment 149351
I’m not being lazy here Ben, but it’s all been said...
Stunning work as always, and congrats on becoming an ozzy
Patrick Brooks
New Member
- Joined
- Oct 8, 2018
- Messages
- 2
- Country Flag
Hey Ben,
I’m new on this forum and have just purchased a 1HDFTE 78 series RV troopy!!!
I was wondering if you might be able to help me out with a good Alloy fabricator in Melbs?I really would like to go full custom winch bar, rear bar/wheel carriers and side steps /rock sliders with brush bars front and some lower panel protection coming off the rear bar!!!
I have read your thread and I’m so excited to get my old girl all prim and proper!!!
My email address is [email protected] if you would like to drop me a line that would be great, even just to meet up for a beer and a chat be great!!!?
Cheers
- Joined
- Oct 13, 2010
- Messages
- 6,058
- Country Flag
Hi guys, long time no post! 
Don't find the time to get on here much anymore.
I do have a big update though!
Some of which I will try to post now.
Its an awesome country Pat!
House hunting is going OK thanks, we've got one we like which goes to auction in 11 days time which we will bid on.
Sadly its only a 1180 square meter block which is about 1/3rd of an acre. In the areas were looking thats about as big as we will get for our $600k budget.
But it does have a double garage, single garage, sheds and enough parking for dozens of cars.
Hi Patrick,
Welcome to the club.
Apologies for the slow reply.
I think you will struggle to get all that fabbed from alluminium! Most of those things really are better made out of steel IMO.
Whereabouts in Melbourne are you?
Always keen to talk LC's over a beer.

Don't find the time to get on here much anymore.
I do have a big update though!

Some of which I will try to post now.
And so say all of us,Ben.It is a great country and the AFL is the best sport to watch.How is the house hunting going?Something on a few acres would be good.Regards.Pat
Its an awesome country Pat!

House hunting is going OK thanks, we've got one we like which goes to auction in 11 days time which we will bid on.
Sadly its only a 1180 square meter block which is about 1/3rd of an acre. In the areas were looking thats about as big as we will get for our $600k budget.
But it does have a double garage, single garage, sheds and enough parking for dozens of cars.

Hey Ben,
I’m new on this forum and have just purchased a 1HDFTE 78 series RV troopy!!!
I was wondering if you might be able to help me out with a good Alloy fabricator in Melbs?I really would like to go full custom winch bar, rear bar/wheel carriers and side steps /rock sliders with brush bars front and some lower panel protection coming off the rear bar!!!
I have read your thread and I’m so excited to get my old girl all prim and proper!!!
My email address is [email protected] if you would like to drop me a line that would be great, even just to meet up for a beer and a chat be great!!!?
Cheers
Hi Patrick,
Welcome to the club.
Apologies for the slow reply.
I think you will struggle to get all that fabbed from alluminium! Most of those things really are better made out of steel IMO.

Whereabouts in Melbourne are you?
Always keen to talk LC's over a beer.

- Joined
- Oct 13, 2010
- Messages
- 6,058
- Country Flag
While in the UK I went and picked up a load of parts from this KZJ70. 
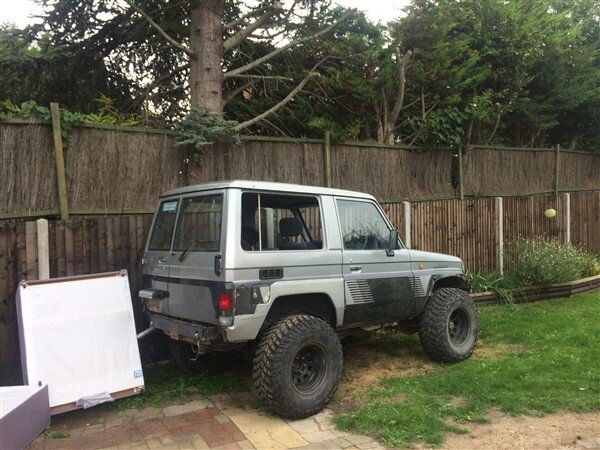
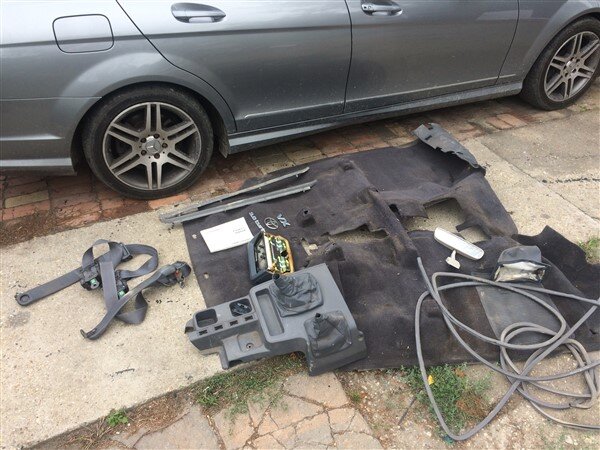
I got all these bits.

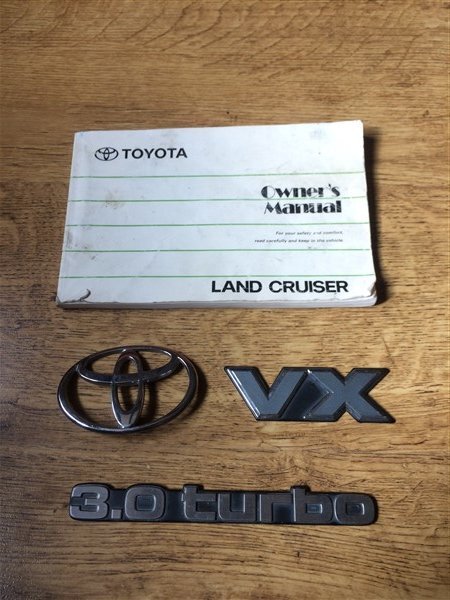
Manual for LJ and badges for my LJ78 which is basically a KZJ78 since I dropped my 1KZ-T engine in it.
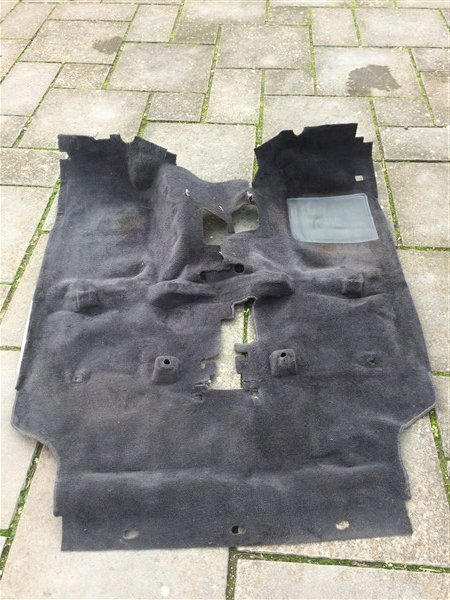
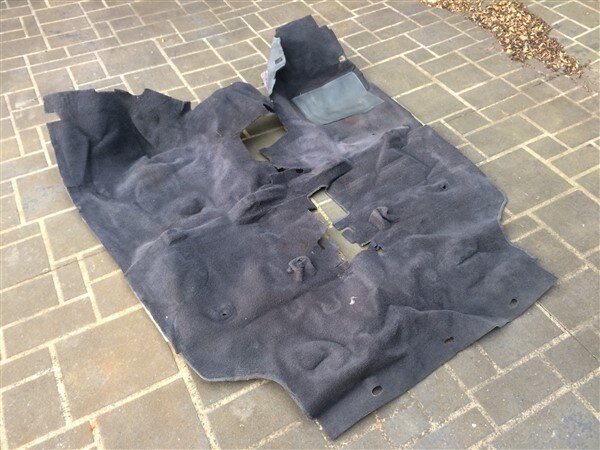
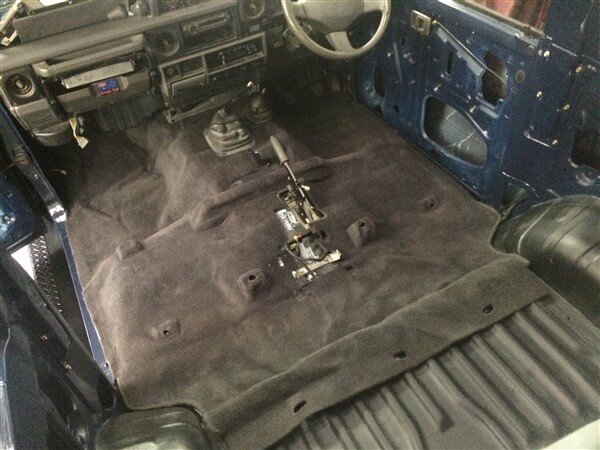
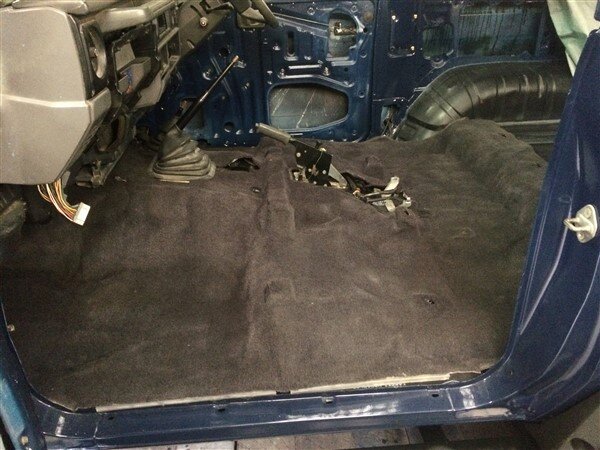
And my favorite part, a complete carpet!
I managed to squeeze all the parts into my suitcase and got them back through border security without any quarantine issues!
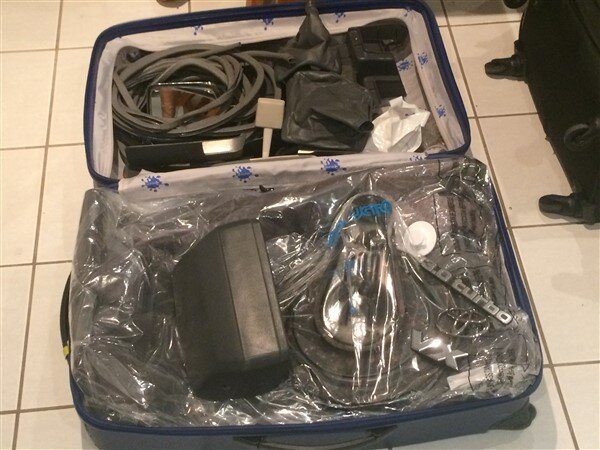
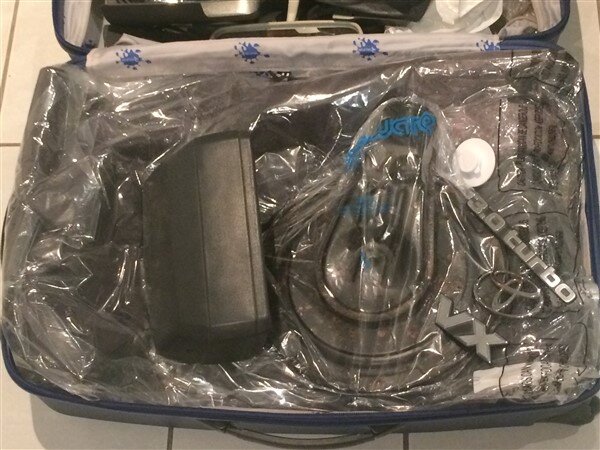
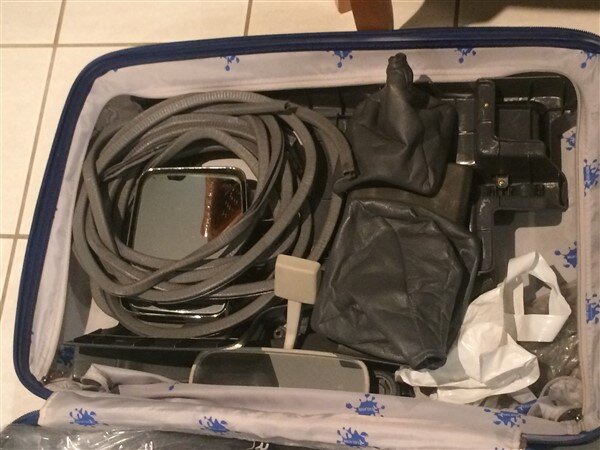
One of those vacuum bags worked well for shrinking the carpet down to fit in my case.
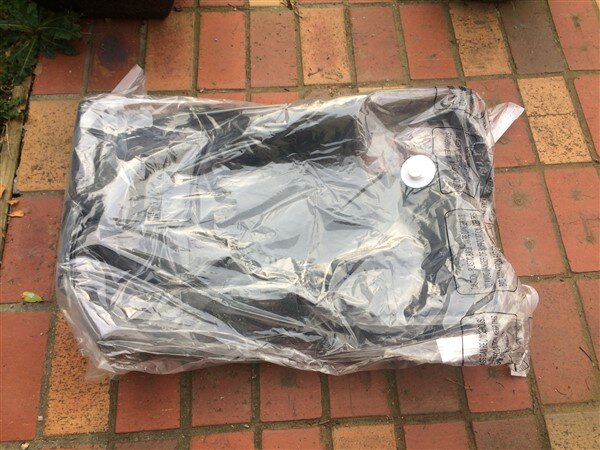
And it still had most of its shape when unwrapped.
I couldnt wait to get it fitted, which I did the very next morning after only 3 hours sleep!
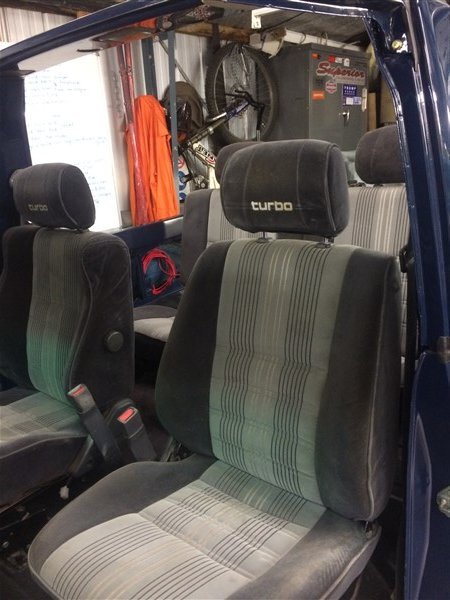
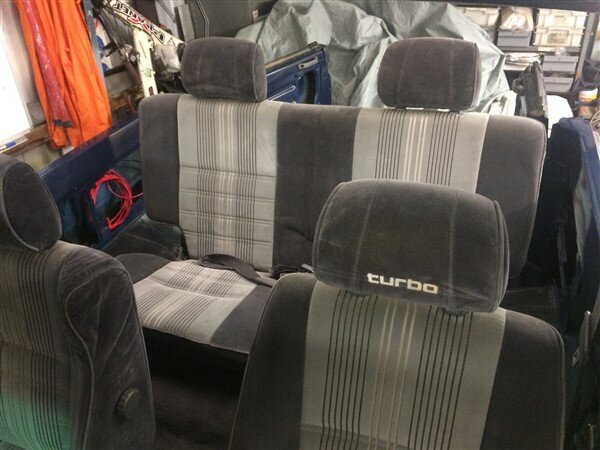
I could then finally after many months, get the seats out of the dining room and back in the car!
The KZJ70 seat belts went in next.
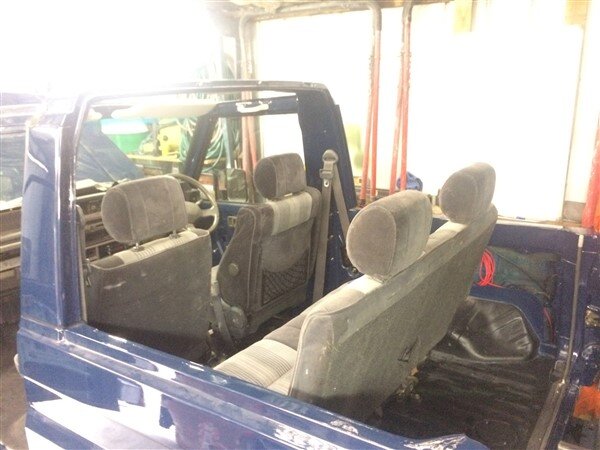
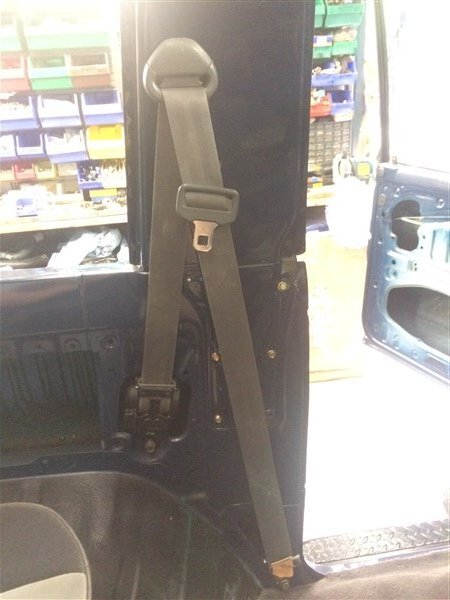
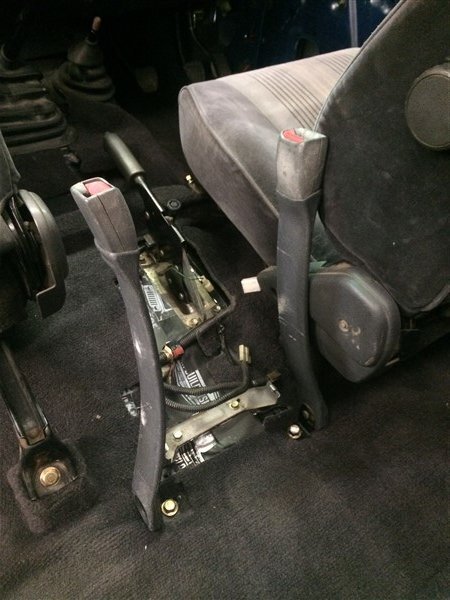
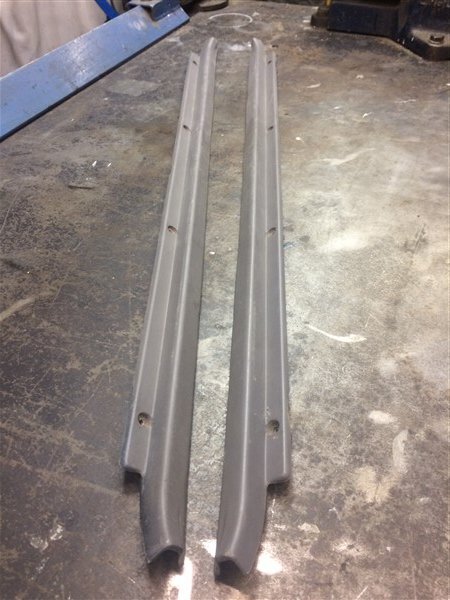
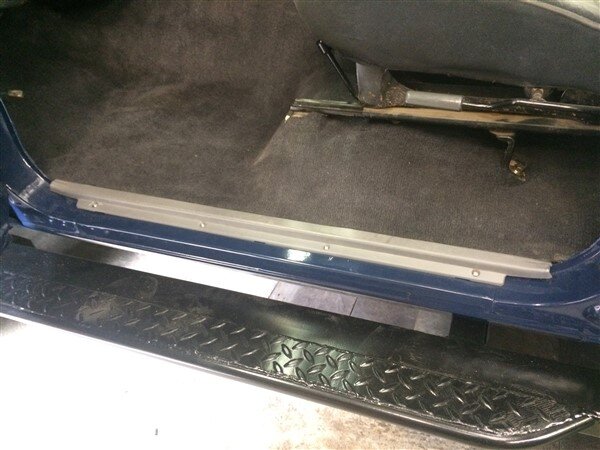
Followed by the sill covers.
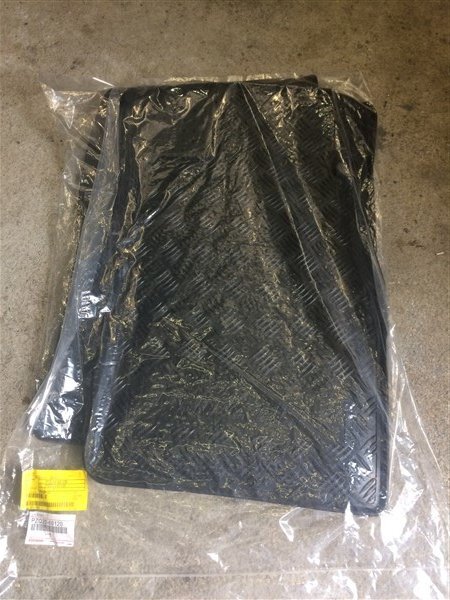
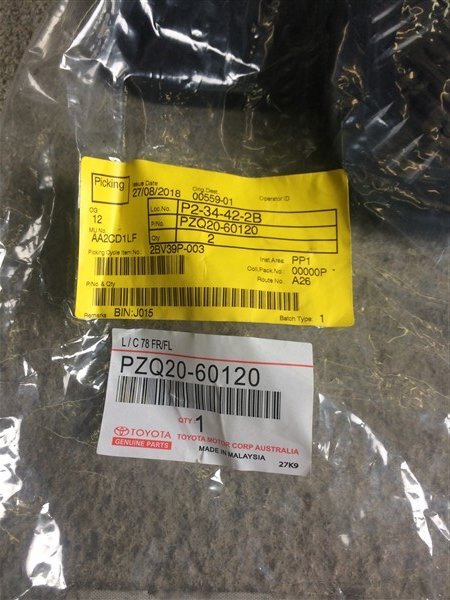
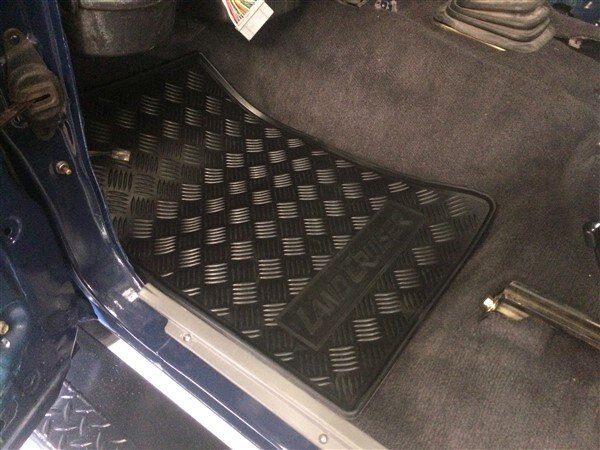
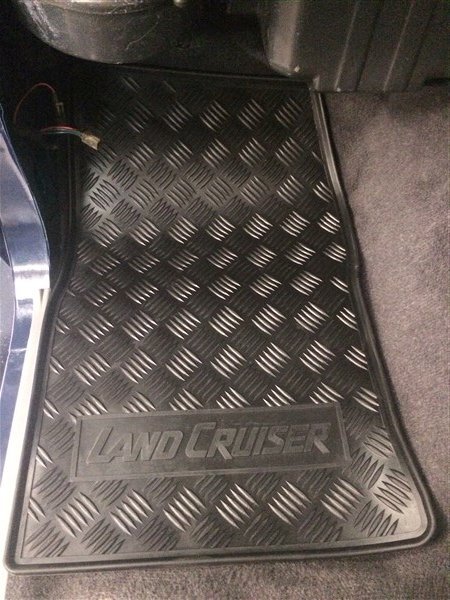
Followed by some genuine floor mats, which I bought from my local Toyota dealer. Although they are for a new 70 they still fit the older models quite nicely.
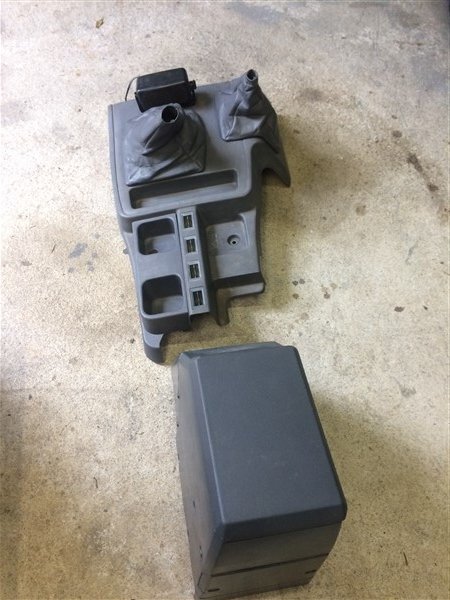
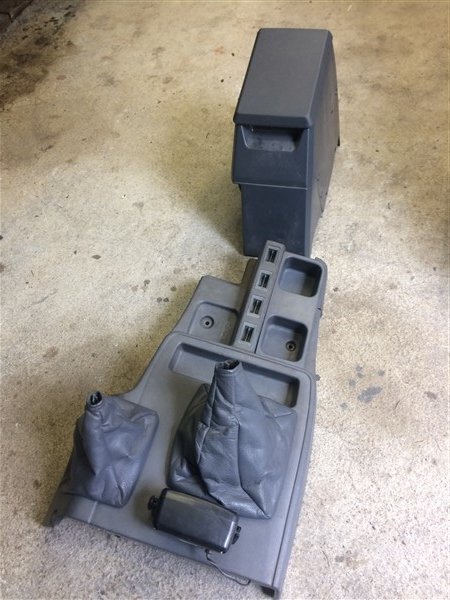
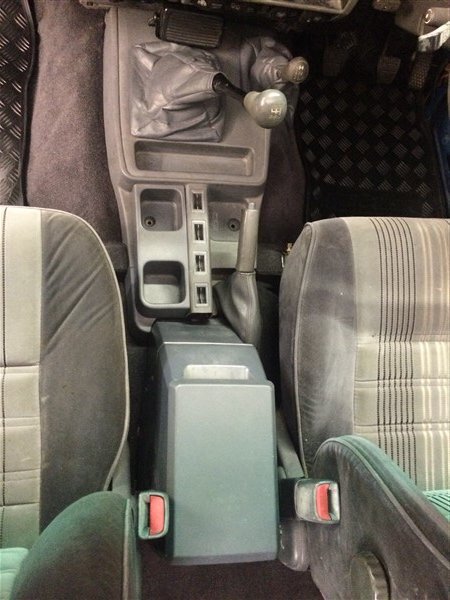
Next I needed to fit my centre console and centre box.
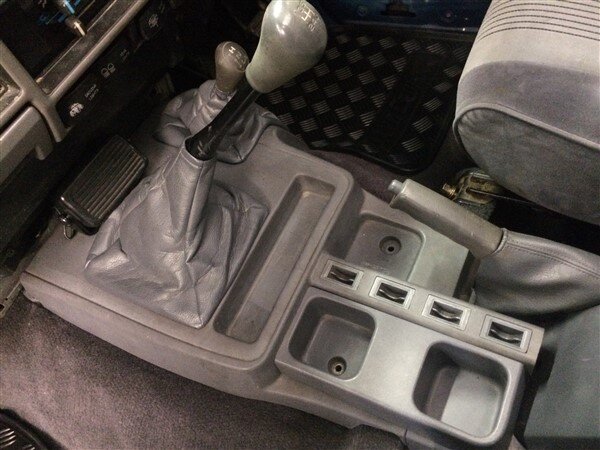
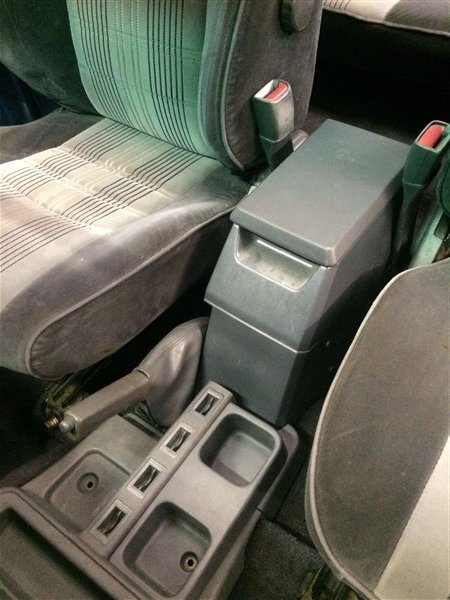
I had been aware for many years that the soft top 70's are a bit special with their removable door tops, as in my UK owners manual it had a section about the soft top model.
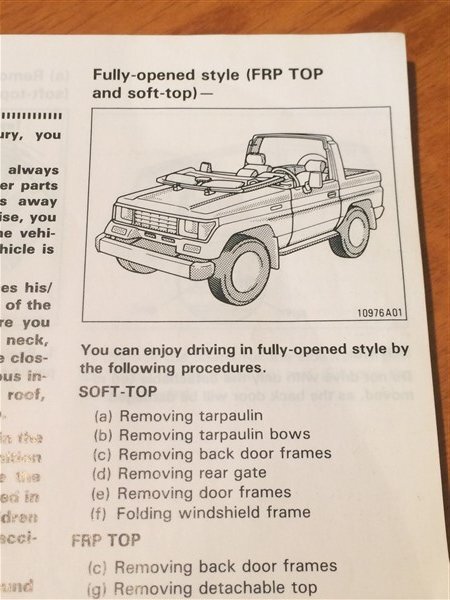
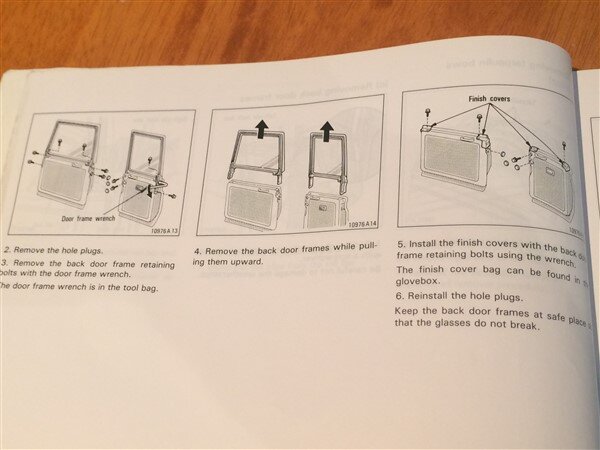
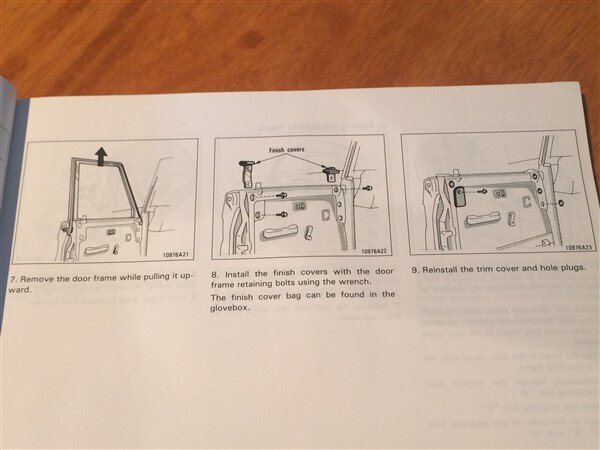
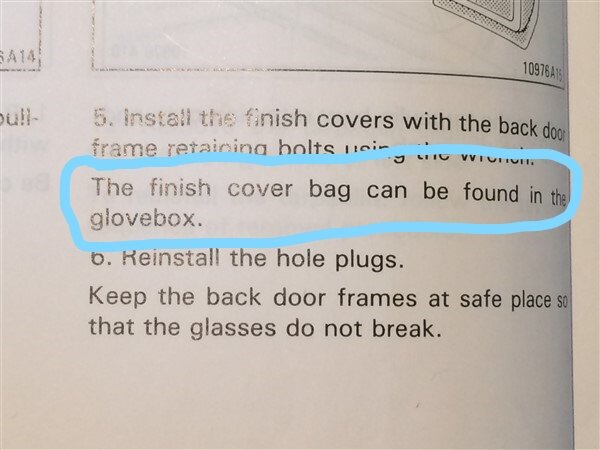
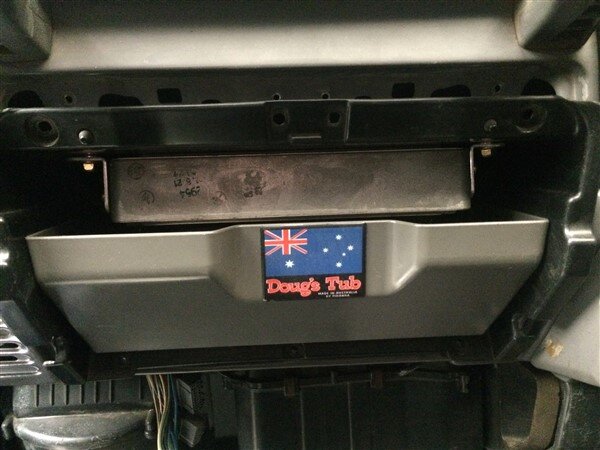
In the glovebox of every soft top 70 that left the factory in Japan there was a bag which contained all the door top covers to cover the holes left when the frames are unbolted and the car is used without the window frames fitted.
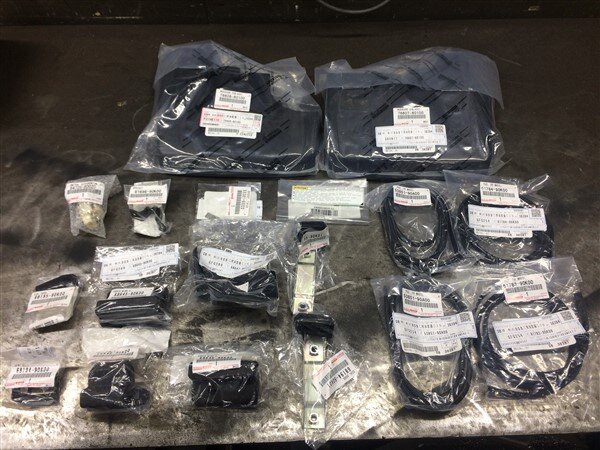
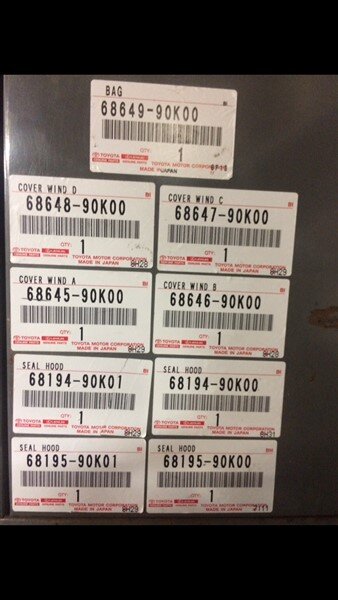
And amazingly all of these are still available from Japan, including the bag!
So obviously I just had to have them!
Que big Amayama order!
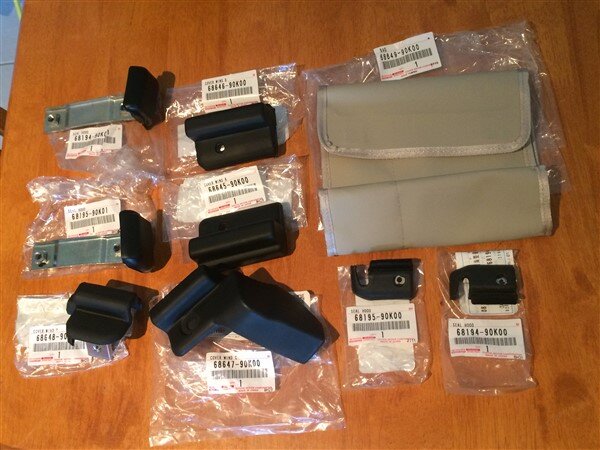
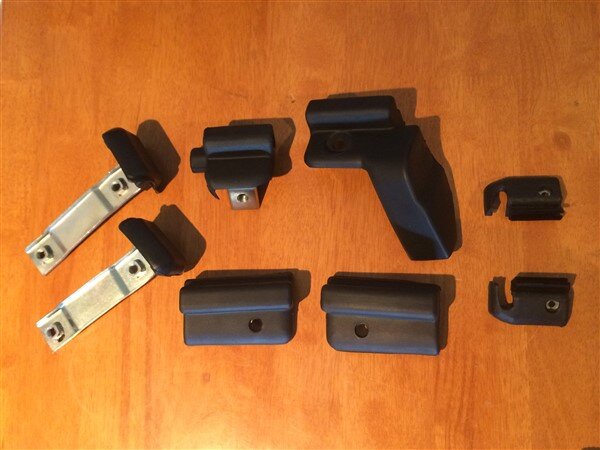
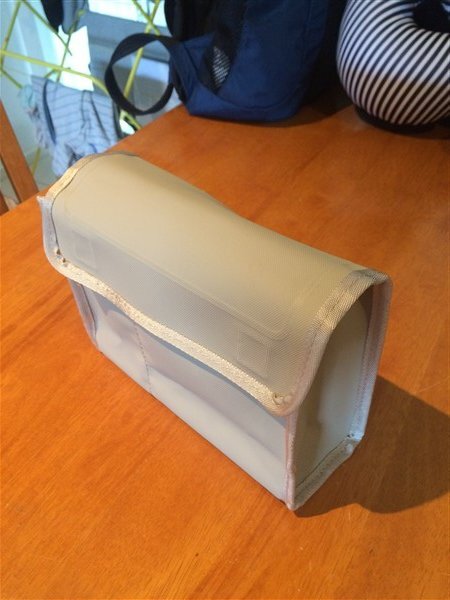
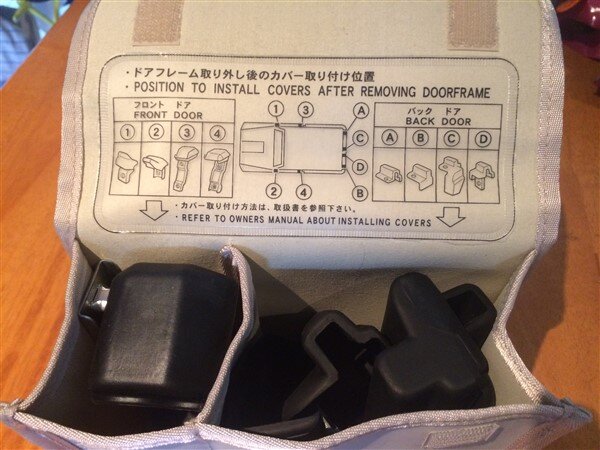
Nice little diagram inside the bag showing which cover goes where.
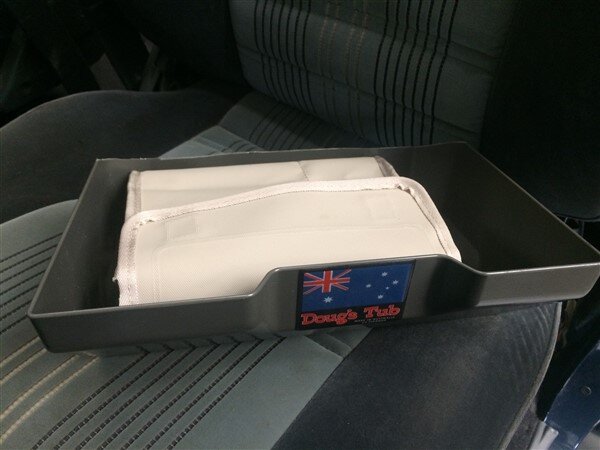
The bag fits nicely in the Doug's Tub.
For anyone else wanting to order the door top covers and bag for a soft top 70 series, heres all the part numbers.
More soon.


I got all these bits.

Manual for LJ and badges for my LJ78 which is basically a KZJ78 since I dropped my 1KZ-T engine in it.

And my favorite part, a complete carpet!


I managed to squeeze all the parts into my suitcase and got them back through border security without any quarantine issues!


One of those vacuum bags worked well for shrinking the carpet down to fit in my case.

And it still had most of its shape when unwrapped.

I couldnt wait to get it fitted, which I did the very next morning after only 3 hours sleep!


I could then finally after many months, get the seats out of the dining room and back in the car!


The KZJ70 seat belts went in next.


Followed by the sill covers.


Followed by some genuine floor mats, which I bought from my local Toyota dealer. Although they are for a new 70 they still fit the older models quite nicely.


Next I needed to fit my centre console and centre box.


I had been aware for many years that the soft top 70's are a bit special with their removable door tops, as in my UK owners manual it had a section about the soft top model.


In the glovebox of every soft top 70 that left the factory in Japan there was a bag which contained all the door top covers to cover the holes left when the frames are unbolted and the car is used without the window frames fitted.

And amazingly all of these are still available from Japan, including the bag!
So obviously I just had to have them!

Que big Amayama order!


Nice little diagram inside the bag showing which cover goes where.

The bag fits nicely in the Doug's Tub.


For anyone else wanting to order the door top covers and bag for a soft top 70 series, heres all the part numbers.

More soon.
- Joined
- Oct 13, 2010
- Messages
- 6,058
- Country Flag
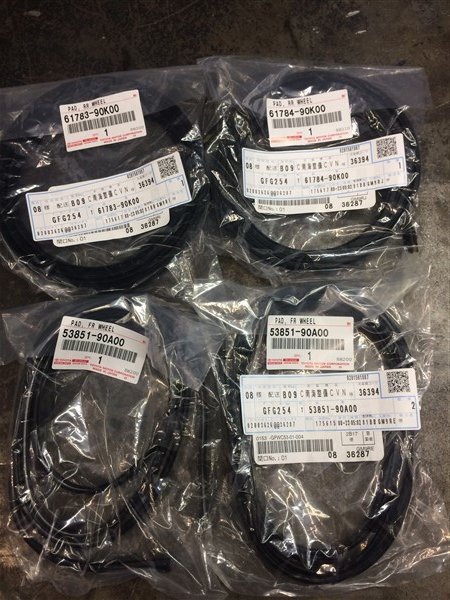
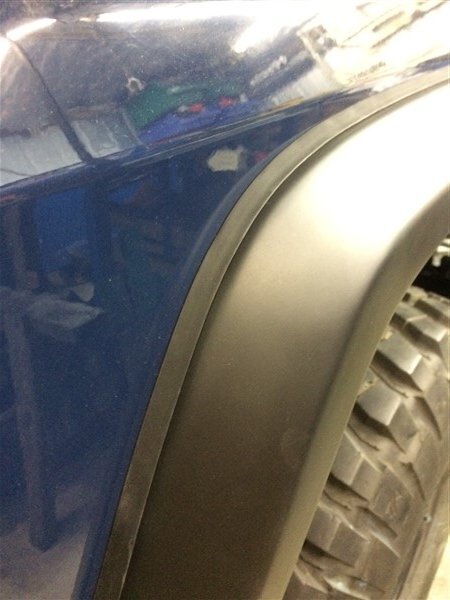
In my Amayama order I got new seals to go between my flares and the body.
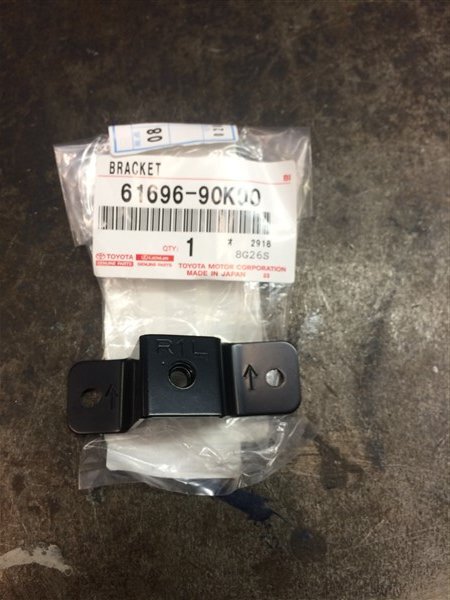
And the one flare bracket I was missing.
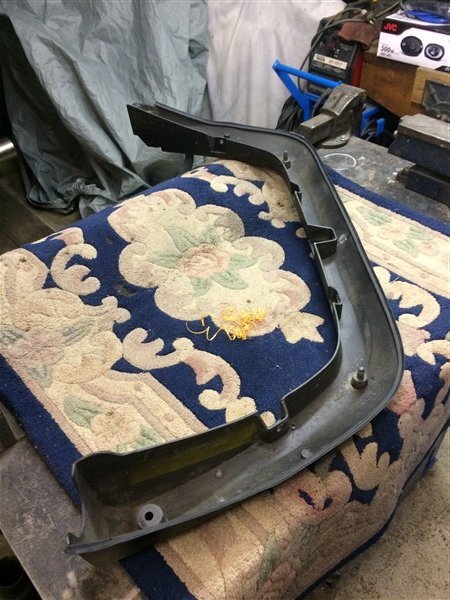
The rubbers were actually really tricky to fit as they are such a tight fit onto the edge of the flare.
I thought it would be a quick 5 minute job but each one took over 30 mins!
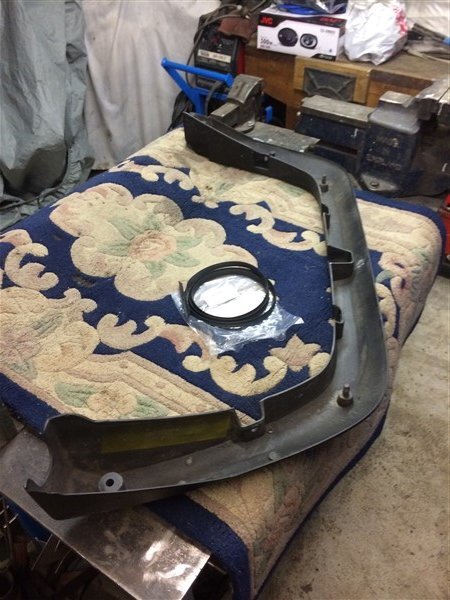
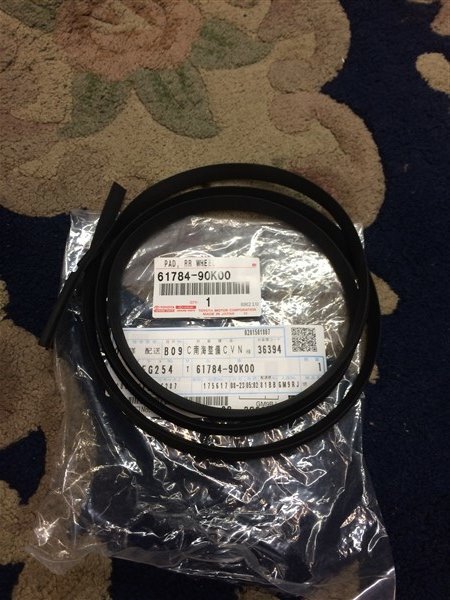
They have a layer of self adhesive tape inside them that sticks to the edge of the flare.

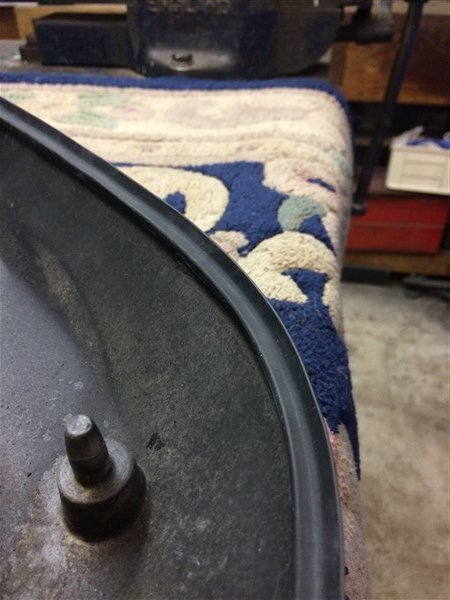
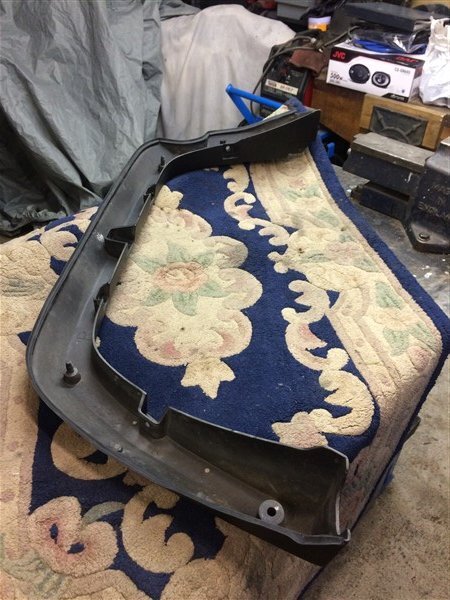
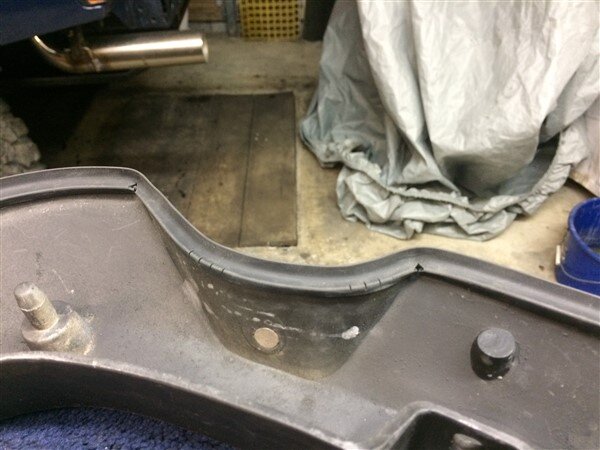
With the rubbers all on I fitted the final bracket.
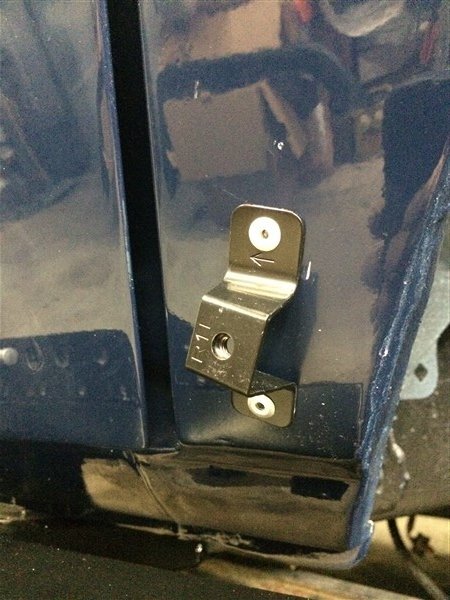
And bolted the final flare on.
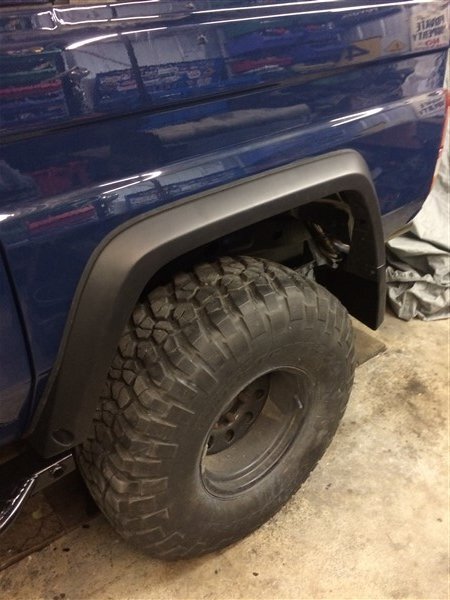
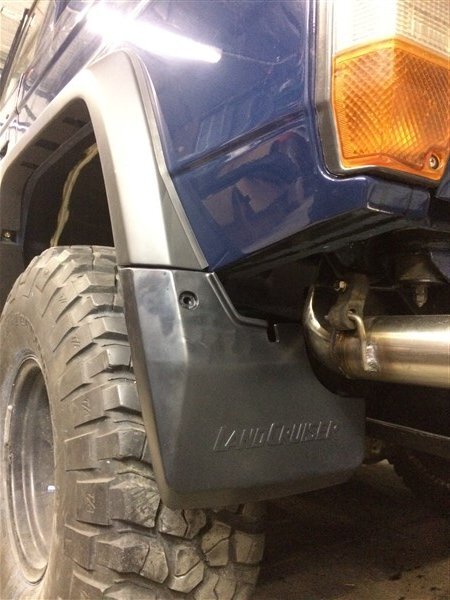
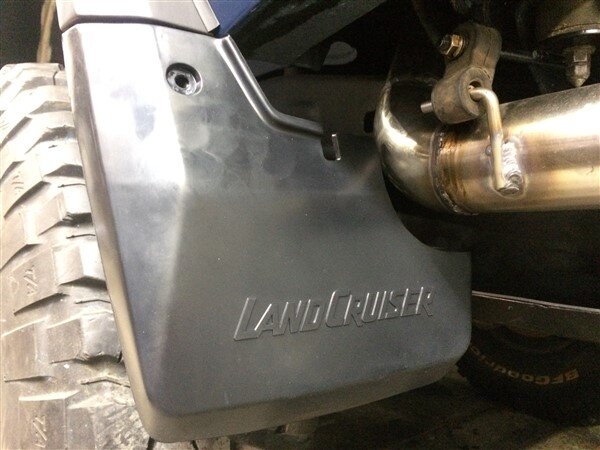
Then the new rear mud flaps went on.

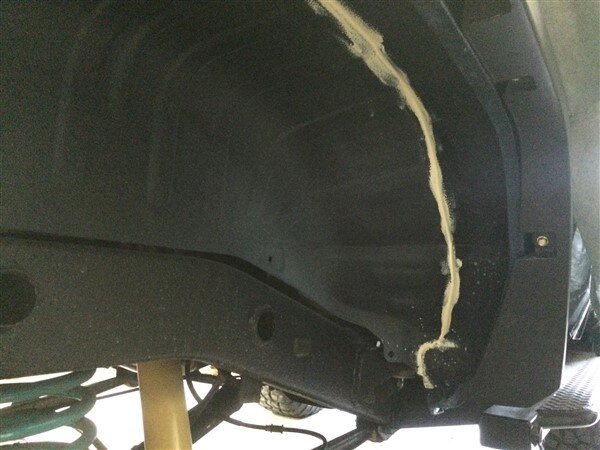
I stone chipped inside all the wheel arches next.

As I needed to cover the seam sealant I'd applied around all the seams.
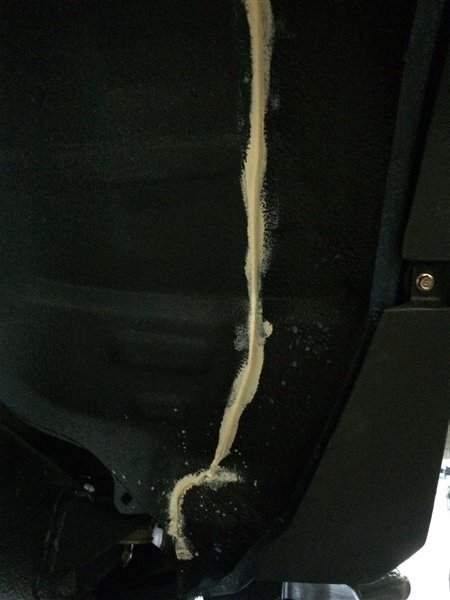
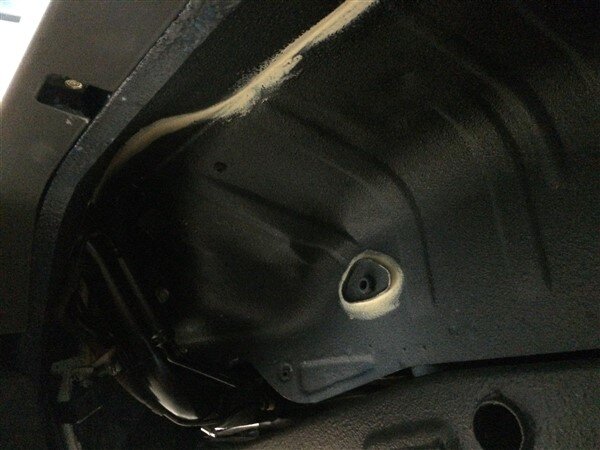
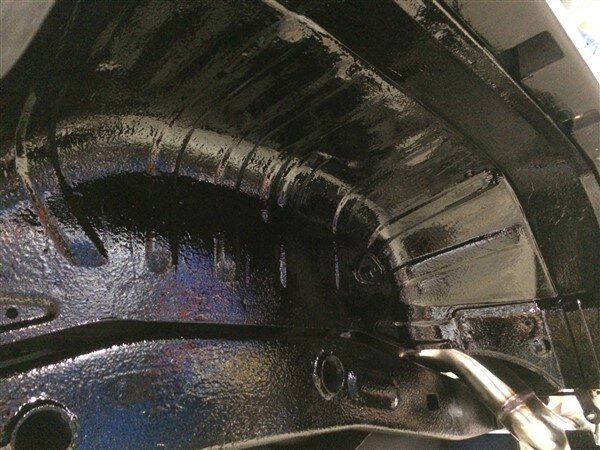
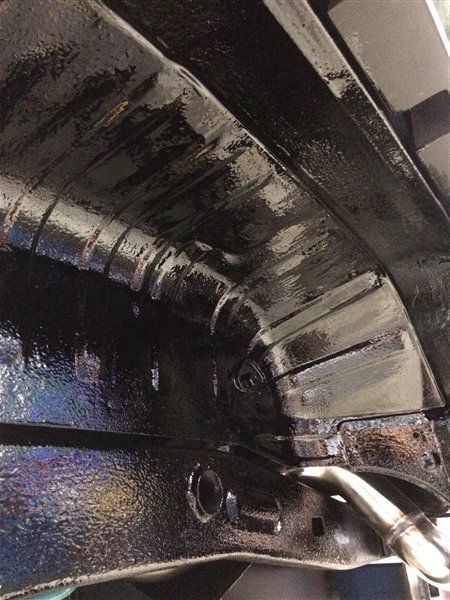
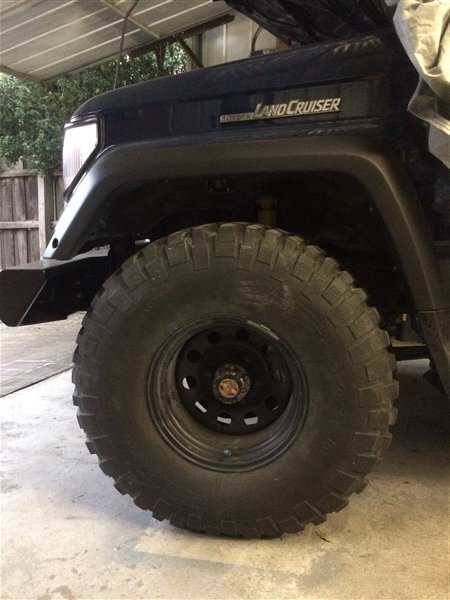
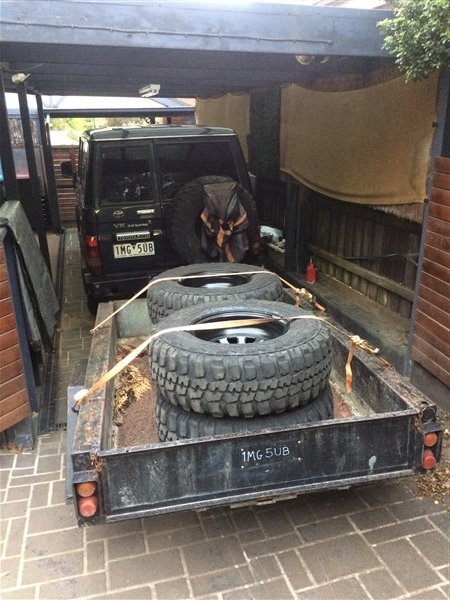
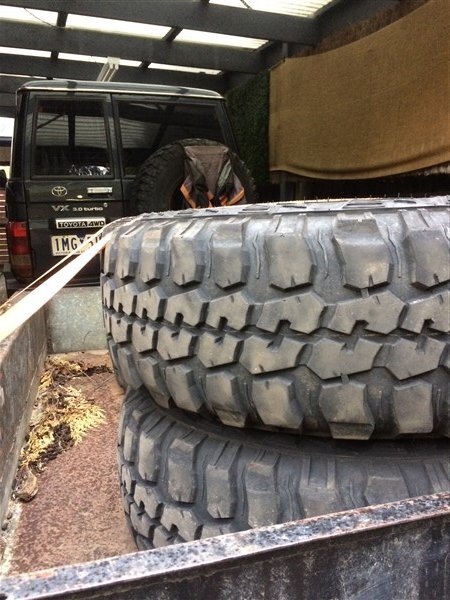
Next I removed the 35's ready for the part worn 33's I got off my boss cheap.
I must be getting old because to me the 35's are just too big!
35's
33's
Fitted.
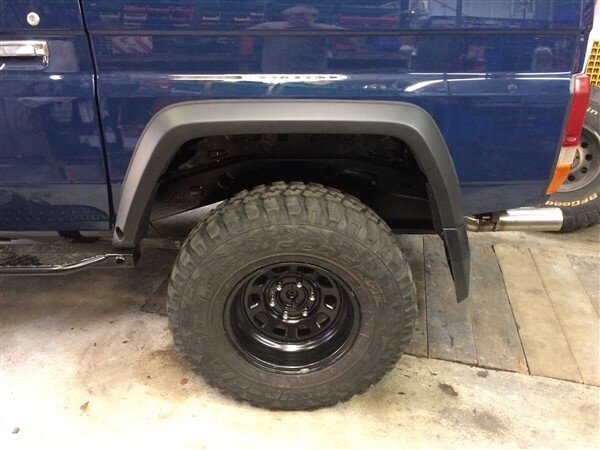
I think they will look better once the rear end of the car comes down a bit with the weight of the rear bumper, towbar, roll cage and tank of fuel.
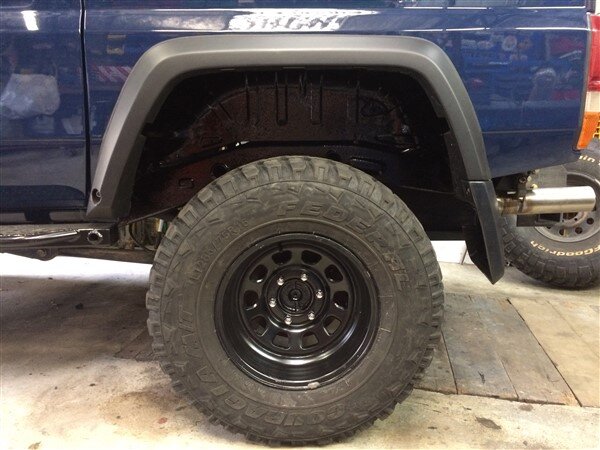
More tomorrow night, hopefully.

And the one flare bracket I was missing.

The rubbers were actually really tricky to fit as they are such a tight fit onto the edge of the flare.
I thought it would be a quick 5 minute job but each one took over 30 mins!


They have a layer of self adhesive tape inside them that sticks to the edge of the flare.


With the rubbers all on I fitted the final bracket.

And bolted the final flare on.


Then the new rear mud flaps went on.


I stone chipped inside all the wheel arches next.

As I needed to cover the seam sealant I'd applied around all the seams.


Next I removed the 35's ready for the part worn 33's I got off my boss cheap.
I must be getting old because to me the 35's are just too big!
35's

33's


Fitted.

I think they will look better once the rear end of the car comes down a bit with the weight of the rear bumper, towbar, roll cage and tank of fuel.


More tomorrow night, hopefully.
- Joined
- Oct 13, 2010
- Messages
- 6,058
- Country Flag
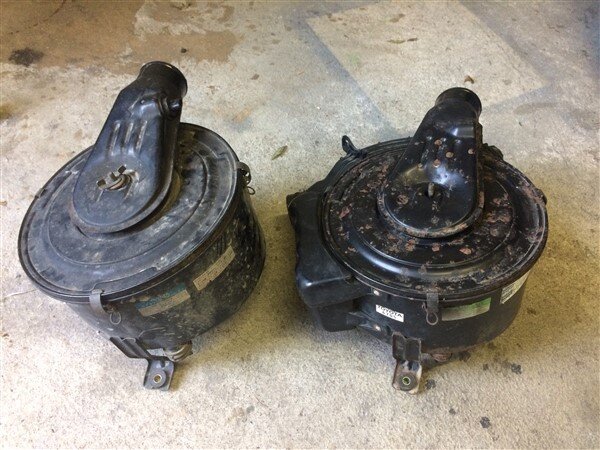
So I brought a KZJ70 airbox back from the UK with me and I also acquired one from a very kind guy in NZ who sent me one!
The UK one was very rusty but complete, the one from NZ was rust free but missing the plastic intake ducting off the side.

I got one of the boxes sat in position to see what would involved to connect it to the 1UZ engine.
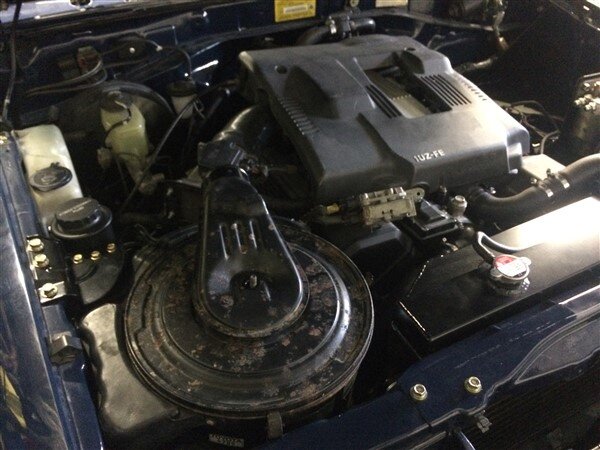
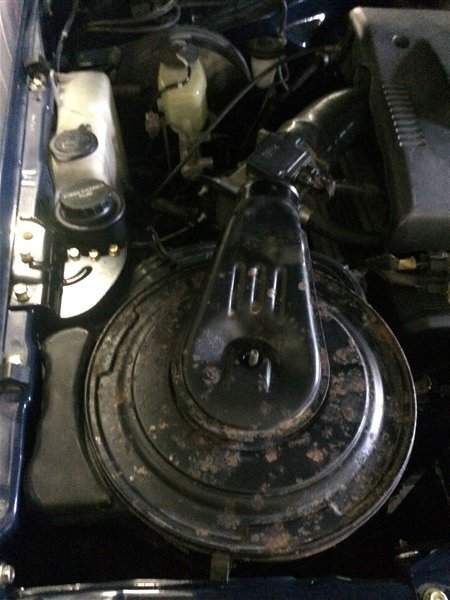
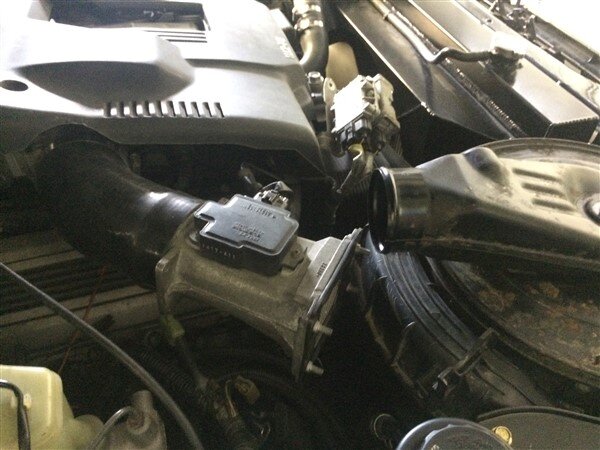
I decided to make one good airbox from the 2, so I would use the plastic ducting from the UK box on the rust free NZ box.
I drilled all the rivets out and removed the plastic ducting.
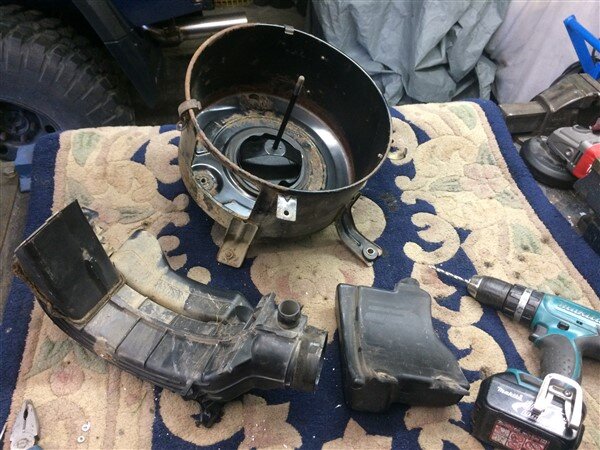
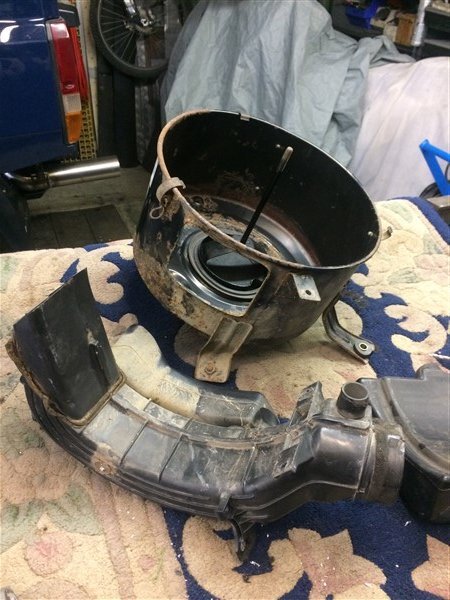
I found a standard air intake duct that goes inside the guard to drawer air from the back of the guard, away from the headlights.
This one actually came off a KZJ78 I got a load of parts off when we were living in QLD.
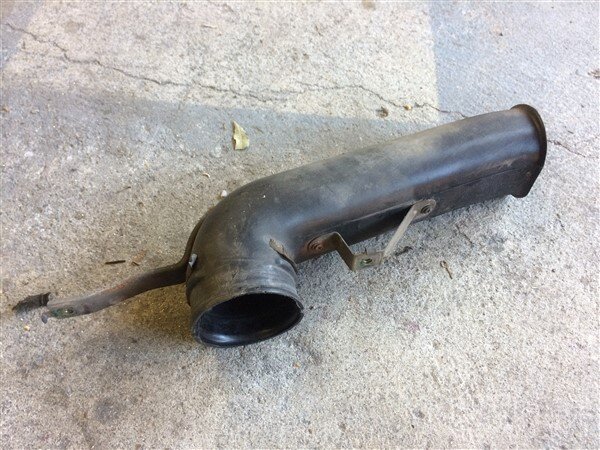
I bolted that in position, ready to connect the airbox to.

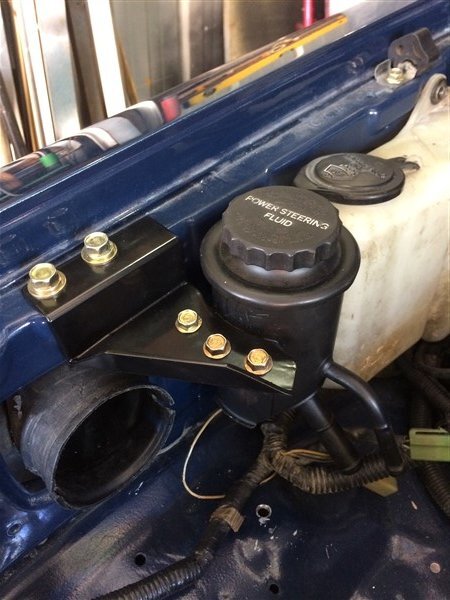
Next I discovered I needed to make a new bracket for the power steering reservoir as the LJ70 one put it in the way of the KZJ70 airbox.
So I cut, bent and drilled some alluminium.
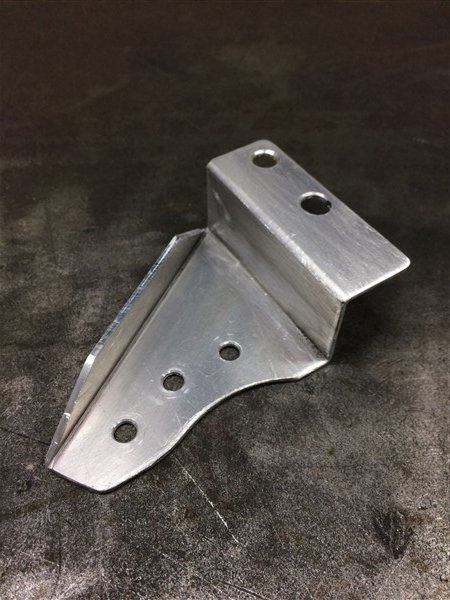
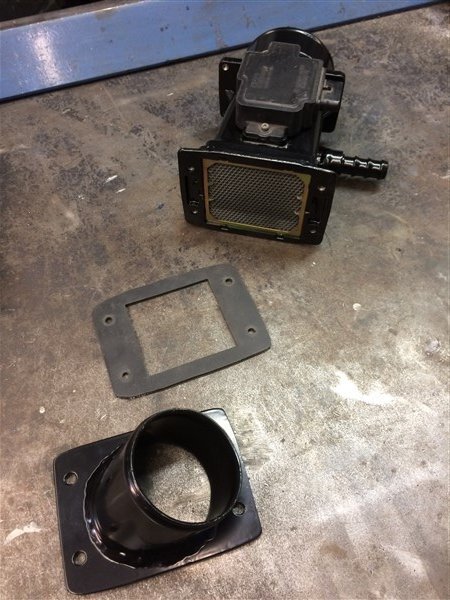
And then finally I designed and built the adapter to connect the new airbox to the engine.
I bought an alluminium hose connector.
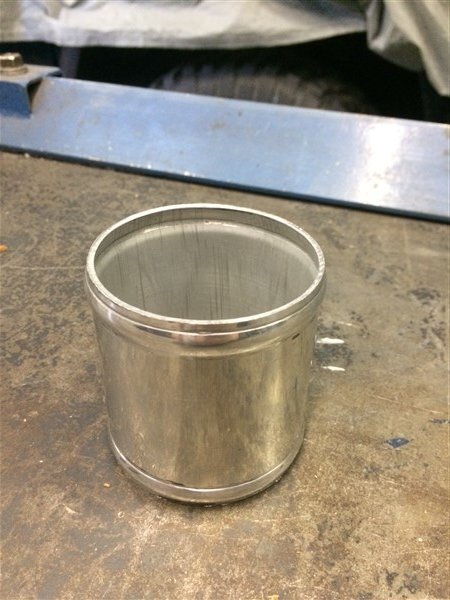
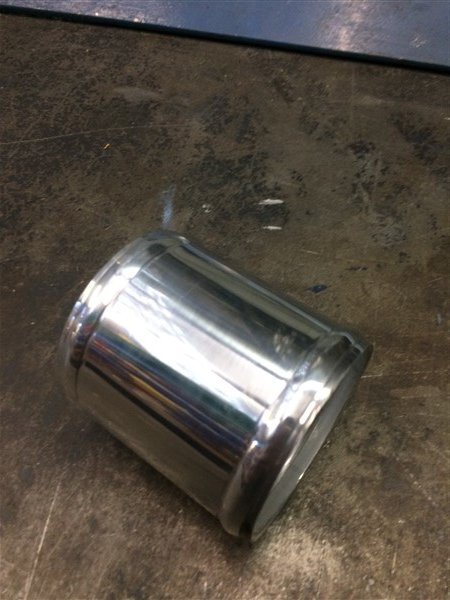
I cut the end off on an angle.
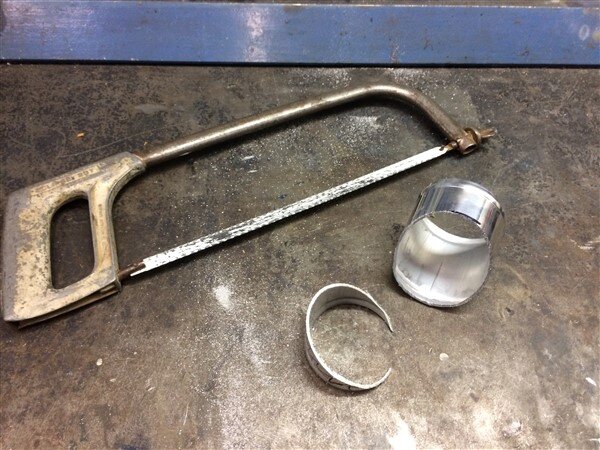
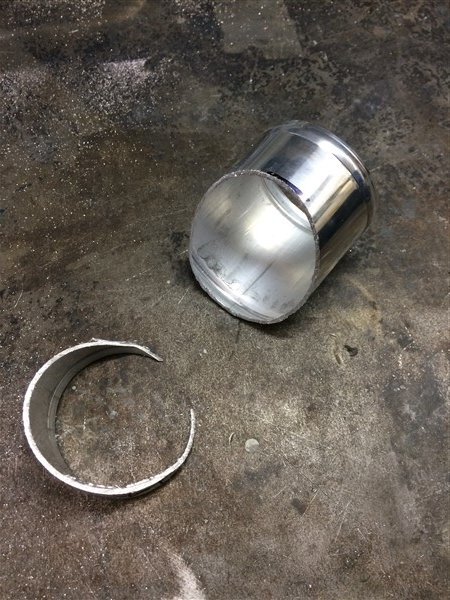
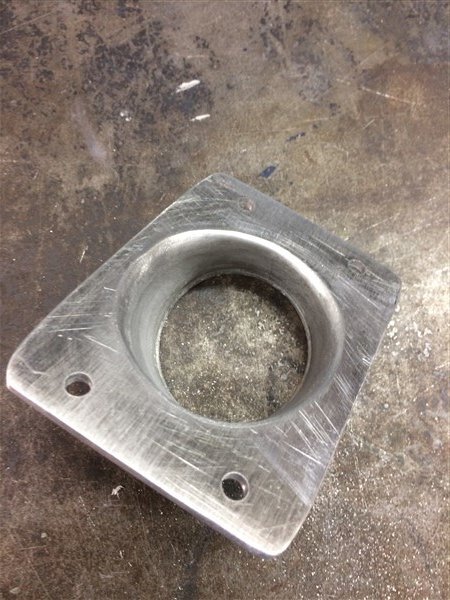
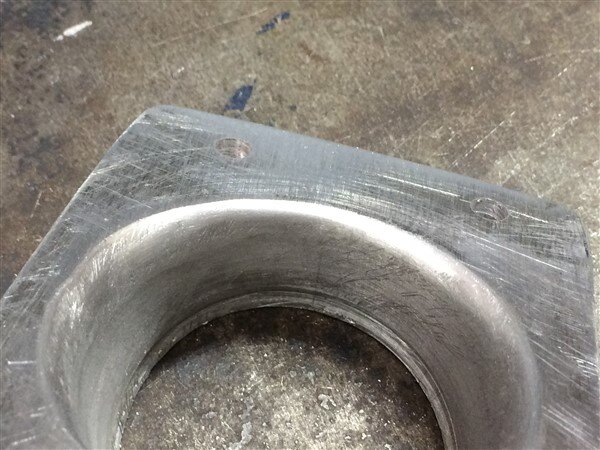
I then welded it to a piece of 6mm thick alluminium sheet that I had drilled 4 mounting holes in and a big hole in the middle.
And test fitted it.
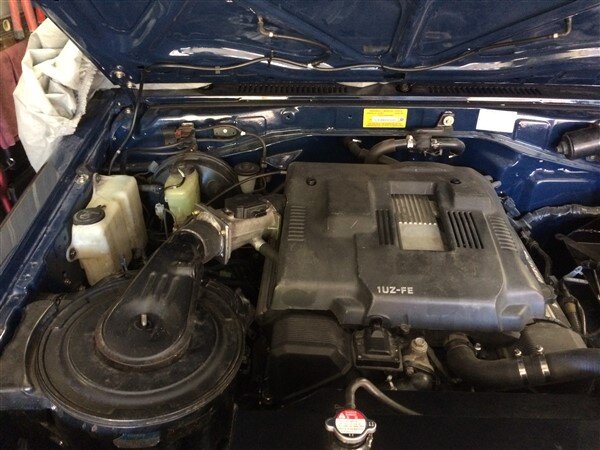
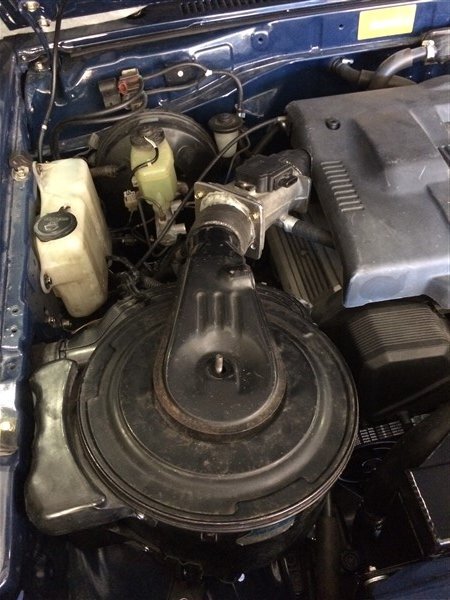
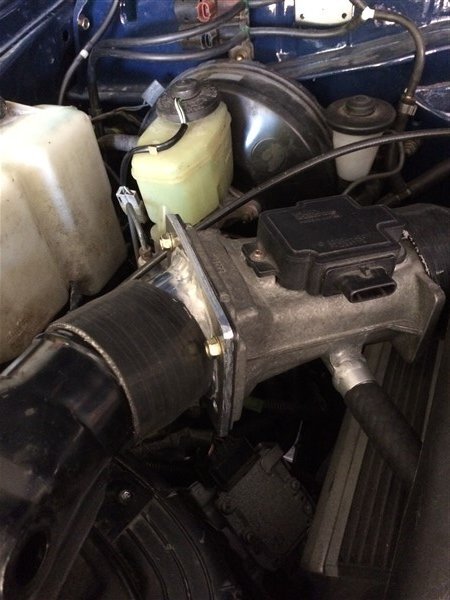
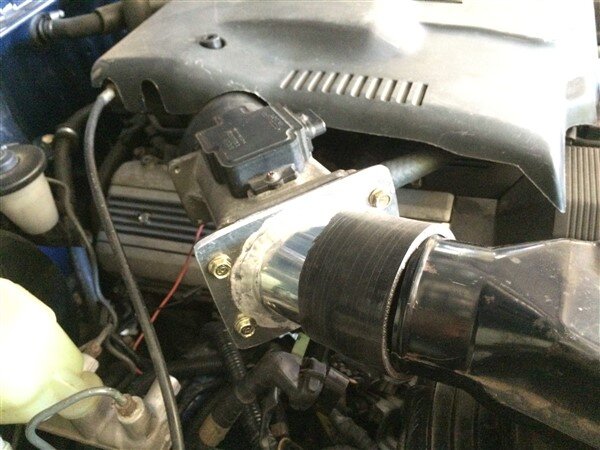
It fitted and worked well.
Heres some better pics of it.
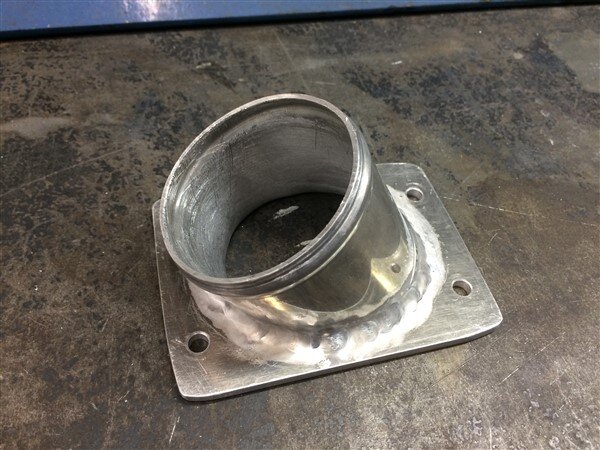
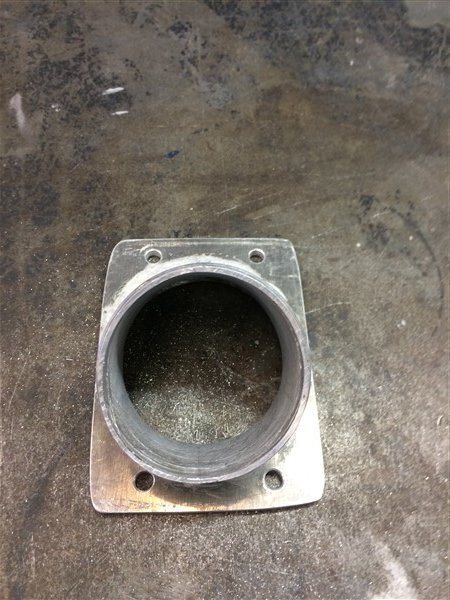
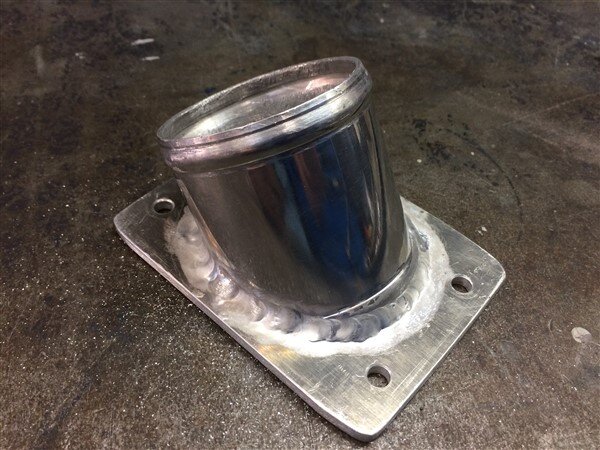
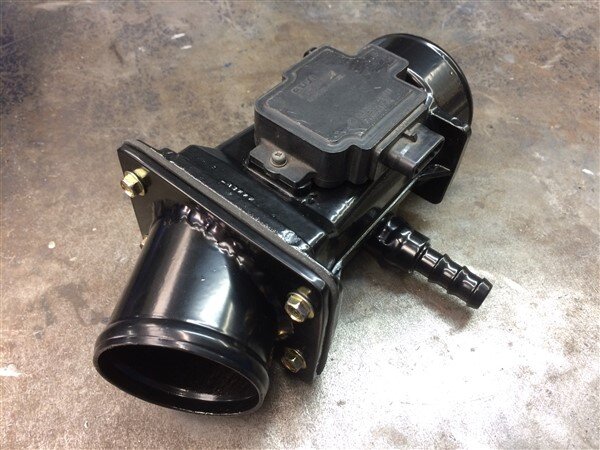
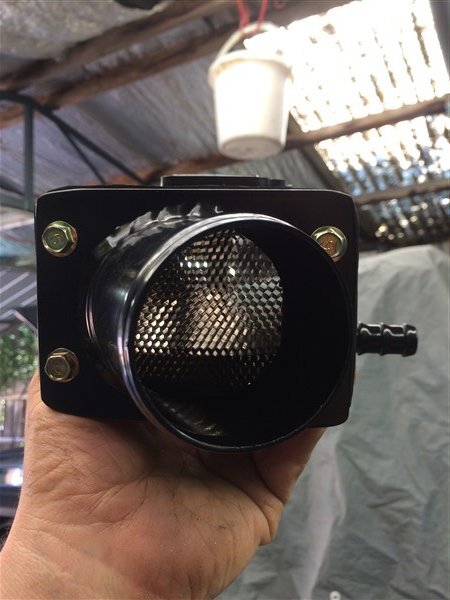
I TIG welded both sides of the 6mm sheet, which meant I could then file out the inside to make it nice and smooth to hopefully reduce any turbulence.
I then sent all these bits for powder coating.
And when I dropped those bits off, the power steering bracket was ready.
Bolted it on.


Got the other bits back.

And reassembled them.
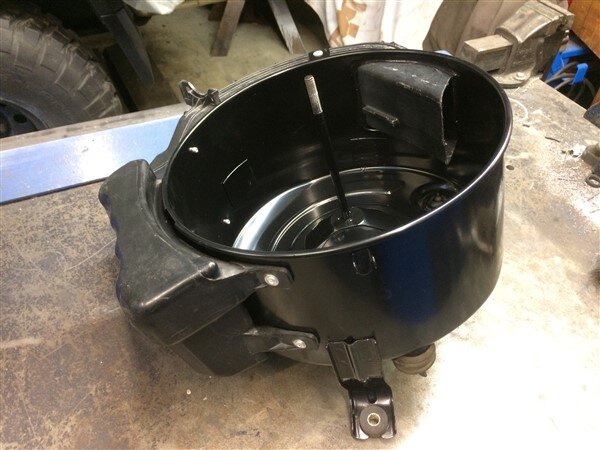
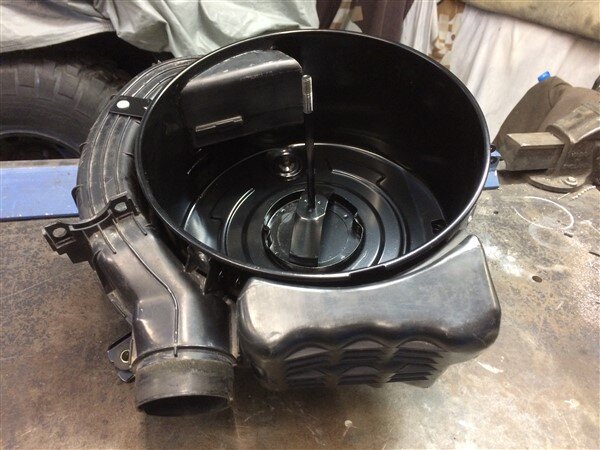
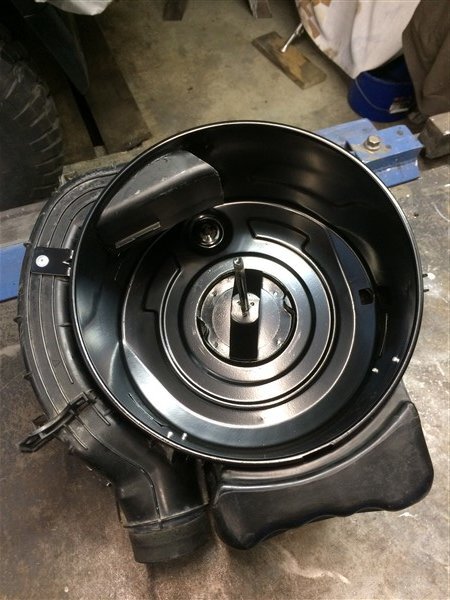

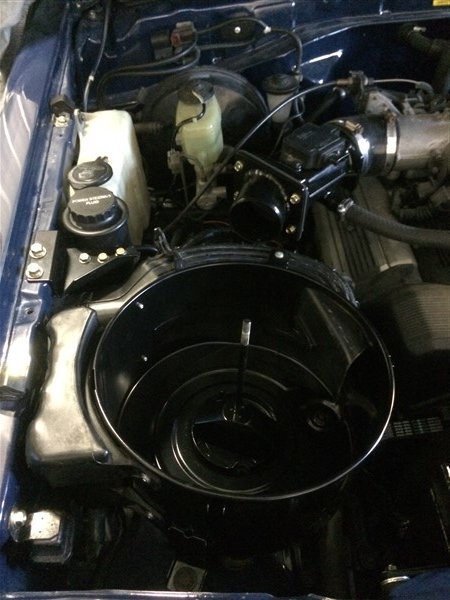
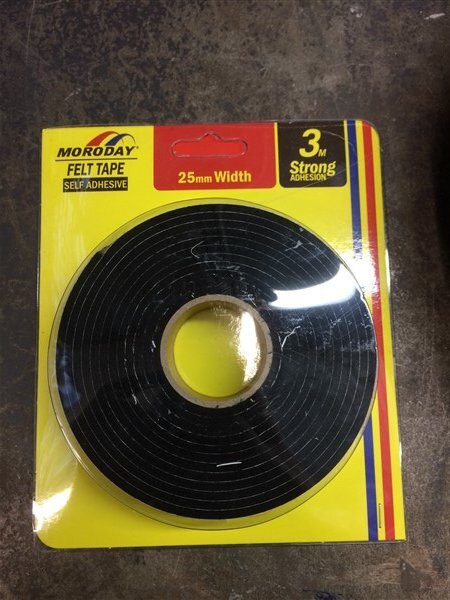
The original felt seal around the rim of the airbox lid needed replacing and was never available separately from Toyota.
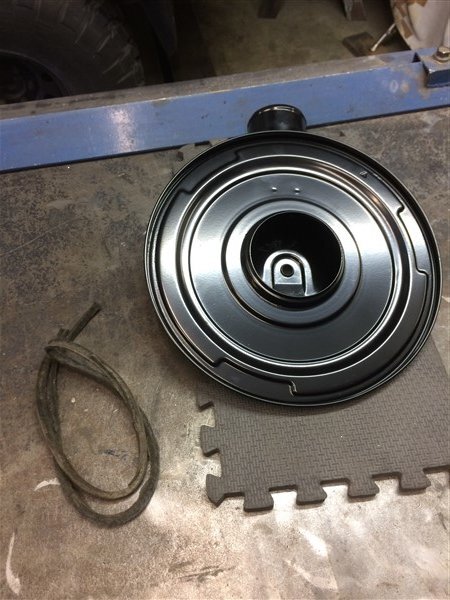
So I bought some felt tape.
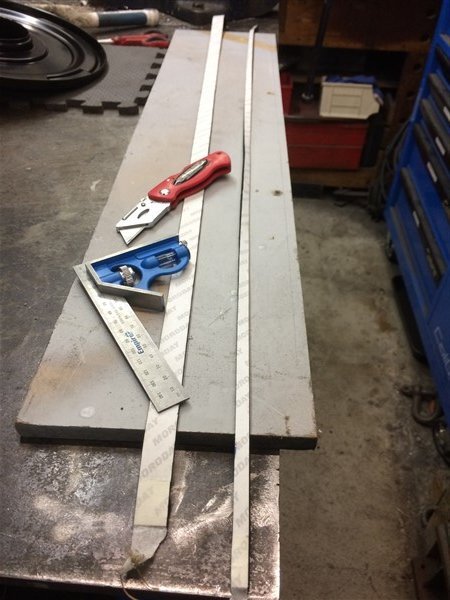
Cut it to width and length.
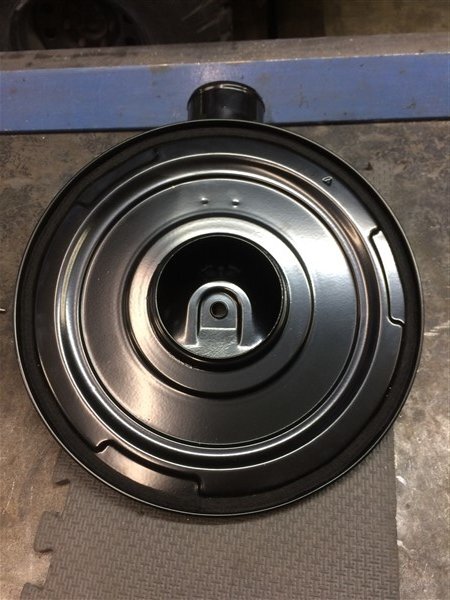
And stuck it on.
I want to source some of these original stickers to suit my 1UZ engine and stick them to my freshly powder coated air box.
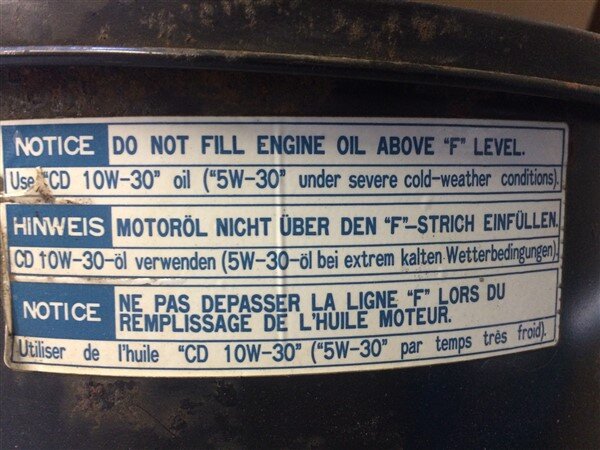
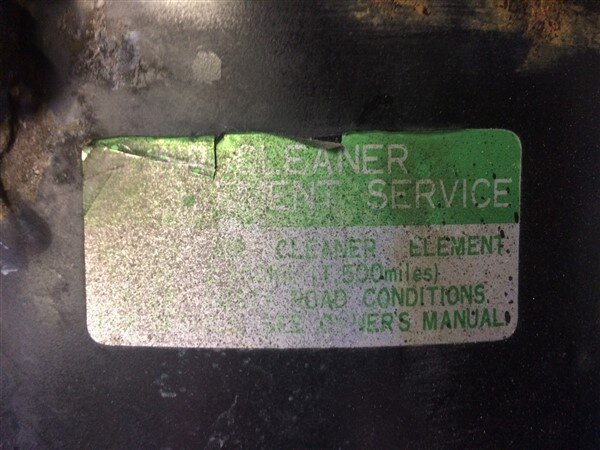
I bolted it all in place.
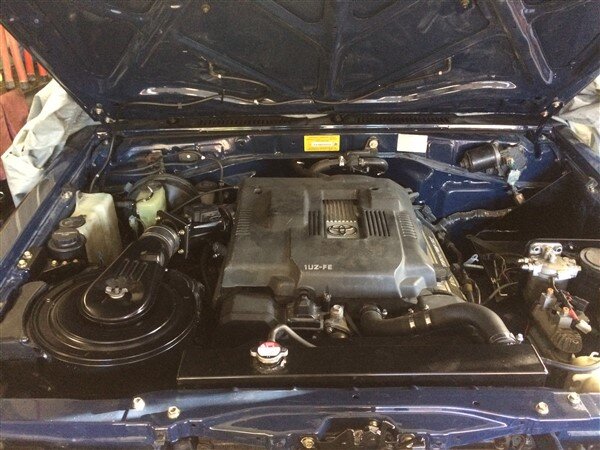
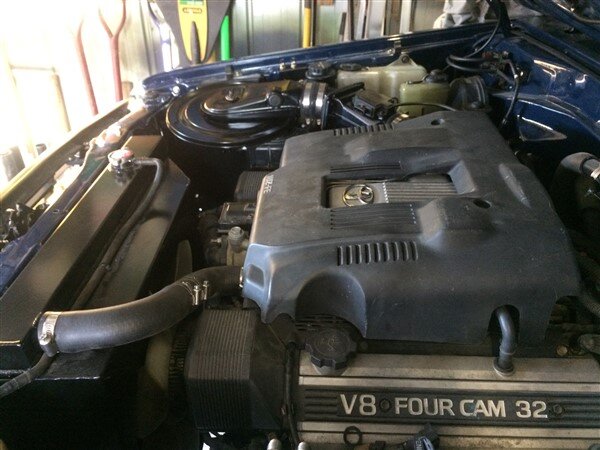
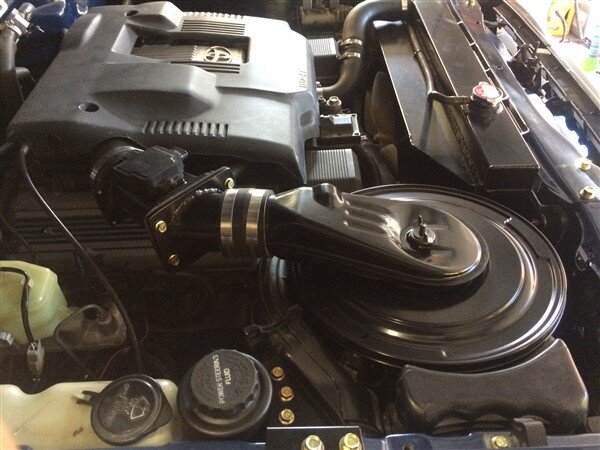
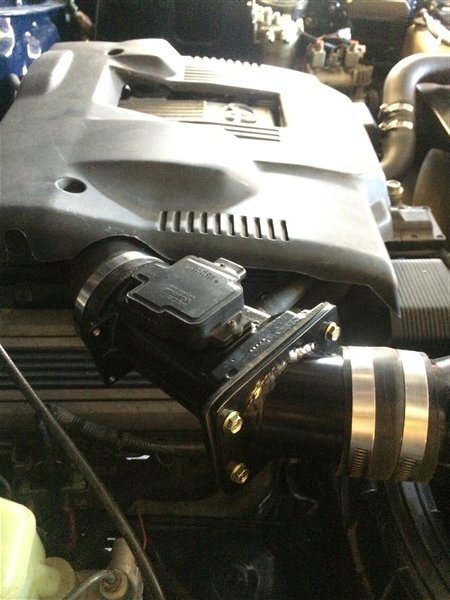
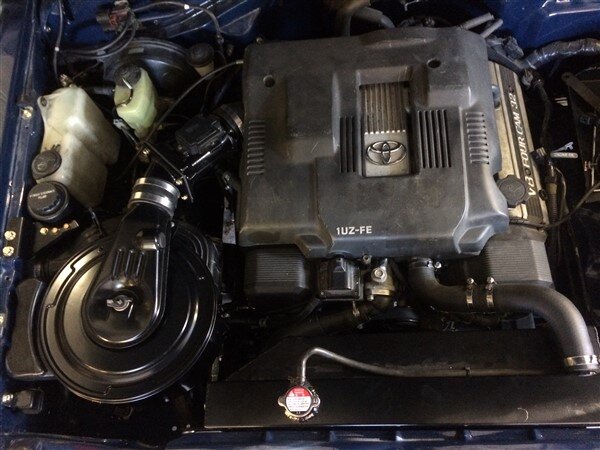
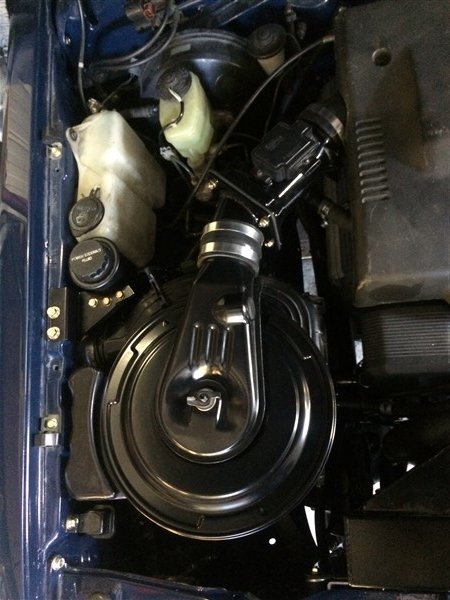
The UK one was very rusty but complete, the one from NZ was rust free but missing the plastic intake ducting off the side.


I got one of the boxes sat in position to see what would involved to connect it to the 1UZ engine.


I decided to make one good airbox from the 2, so I would use the plastic ducting from the UK box on the rust free NZ box.
I drilled all the rivets out and removed the plastic ducting.


I found a standard air intake duct that goes inside the guard to drawer air from the back of the guard, away from the headlights.
This one actually came off a KZJ78 I got a load of parts off when we were living in QLD.

I bolted that in position, ready to connect the airbox to.

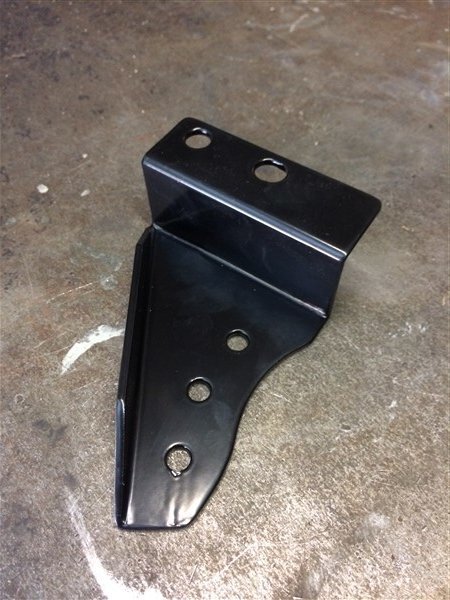
Next I discovered I needed to make a new bracket for the power steering reservoir as the LJ70 one put it in the way of the KZJ70 airbox.
So I cut, bent and drilled some alluminium.

And then finally I designed and built the adapter to connect the new airbox to the engine.
I bought an alluminium hose connector.


I cut the end off on an angle.


I then welded it to a piece of 6mm thick alluminium sheet that I had drilled 4 mounting holes in and a big hole in the middle.
And test fitted it.


It fitted and worked well.
Heres some better pics of it.


I TIG welded both sides of the 6mm sheet, which meant I could then file out the inside to make it nice and smooth to hopefully reduce any turbulence.


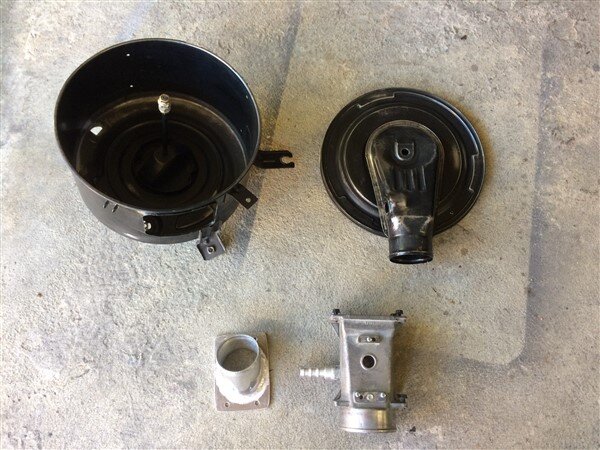
I then sent all these bits for powder coating.

And when I dropped those bits off, the power steering bracket was ready.

Bolted it on.


Got the other bits back.

And reassembled them.


The original felt seal around the rim of the airbox lid needed replacing and was never available separately from Toyota.

So I bought some felt tape.

Cut it to width and length.

And stuck it on.

I want to source some of these original stickers to suit my 1UZ engine and stick them to my freshly powder coated air box.


I bolted it all in place.


- Joined
- Oct 13, 2010
- Messages
- 6,058
- Country Flag
I bought one of the life time air filters, the same as I have in my LJ78.
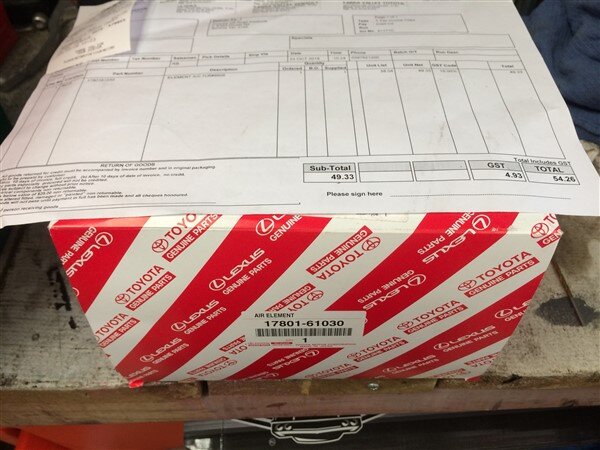
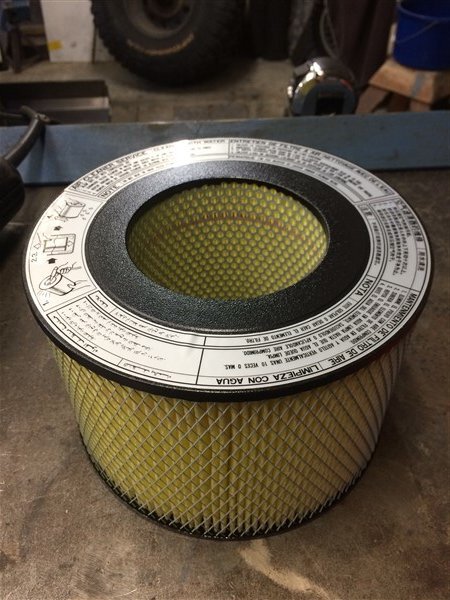
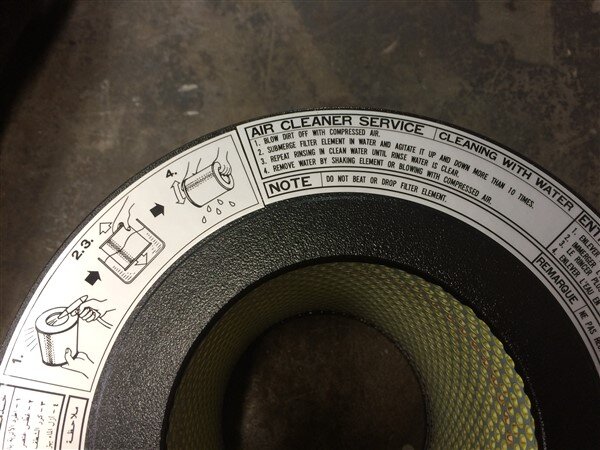
I love the fact these filters never need replacing and can just be washed out.
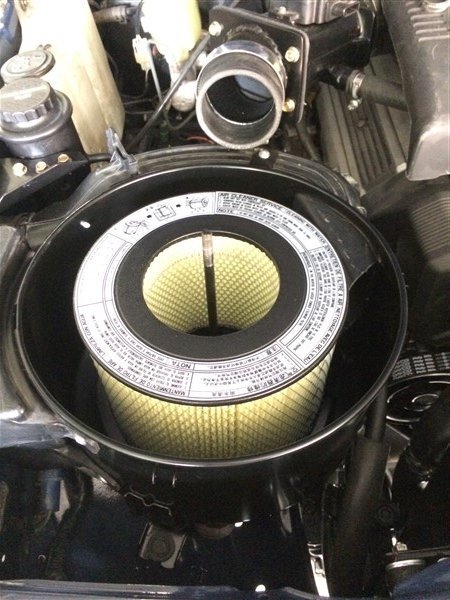
Fitted it.
And that almost completes the airbox!
I just need to get the 3 spring clips that help hold the lid down, re-electroplated.
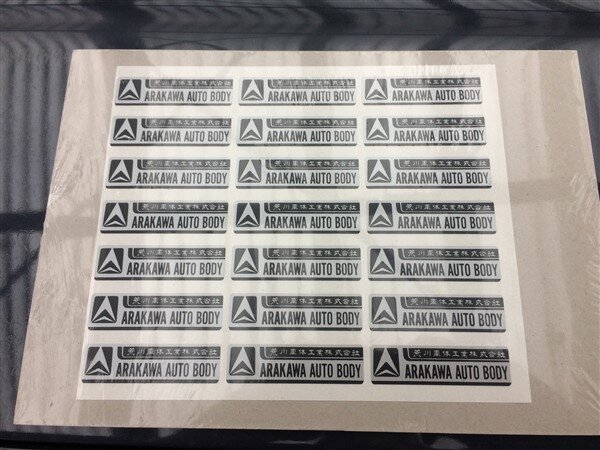
On the drivers door of every LandCruiser built during the 80's and 90's there was a sticker showing which plant built the body, sadly mine was missing and the only place I could find selling them was in the USA and they wanted an insulting amount of money to post me one.
So I got our sticker guy at work to make me some and then sold some of them off to recover my costs.
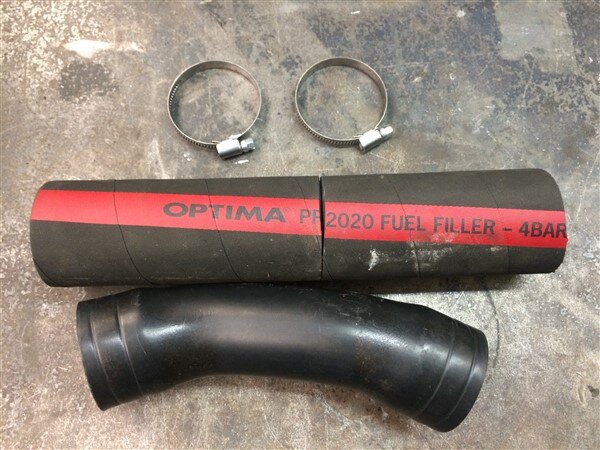
I picked up a piece of fuel filler neck hose to connect my filler neck with my new tank.
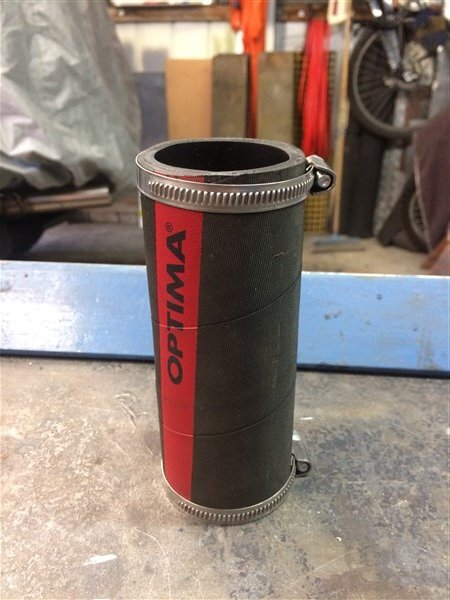
And bolted it on.
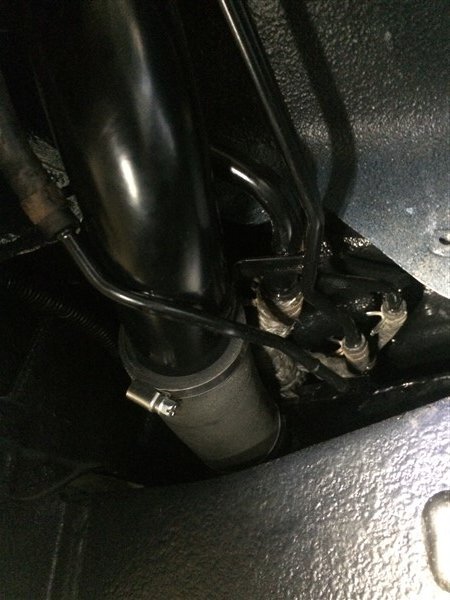
I discovered recently that the pit had 6" of water in the bottom.
So I bailed out 300 litres of water with buckets.
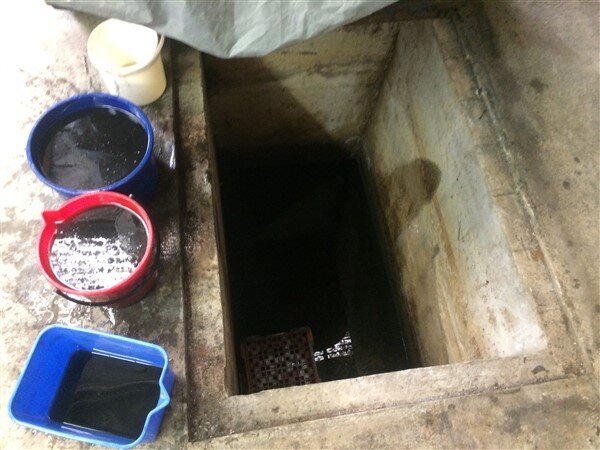
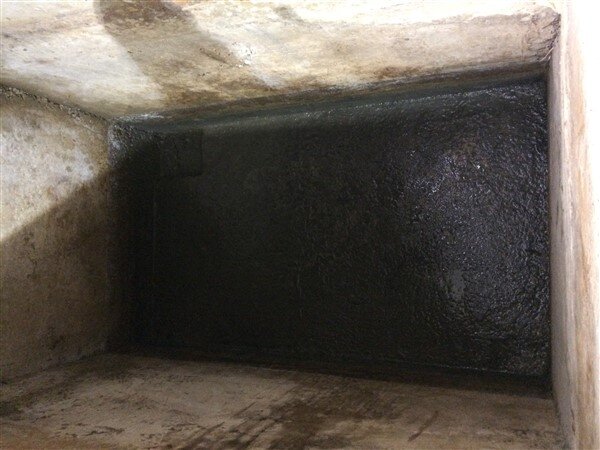
Then used a fan to dry it out.
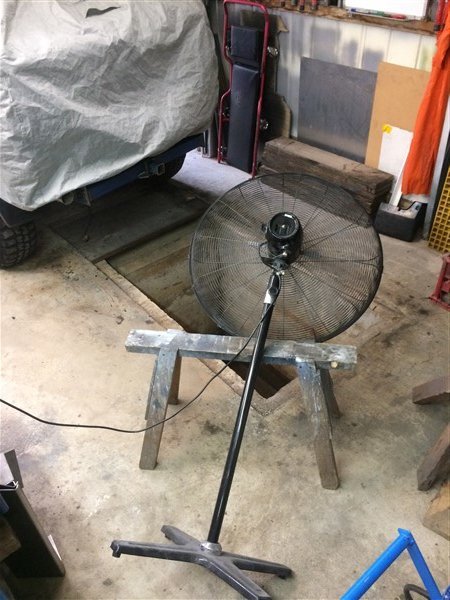
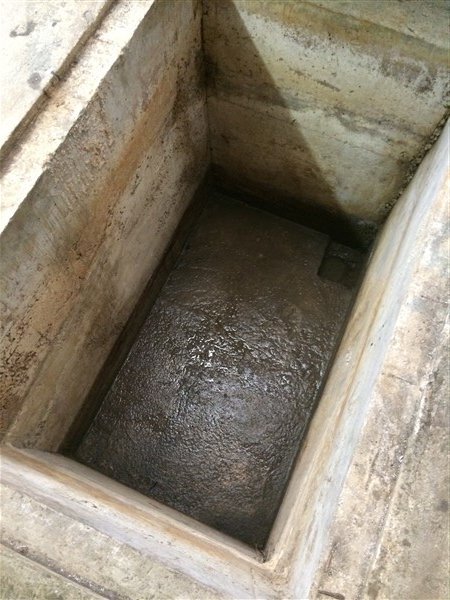
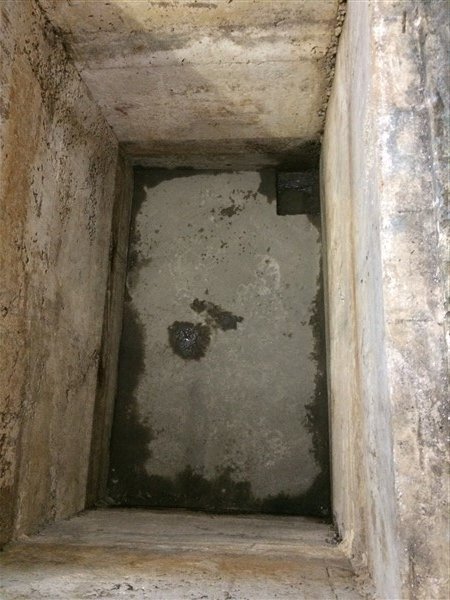
And then I could use it to make all my new metal fuel lines that will run from the fuel tank to the engine, 3 lines in total.
1. Fuel pickup
2. Fuel return
3. Breather from tank going through charcoal canister in engine bay.
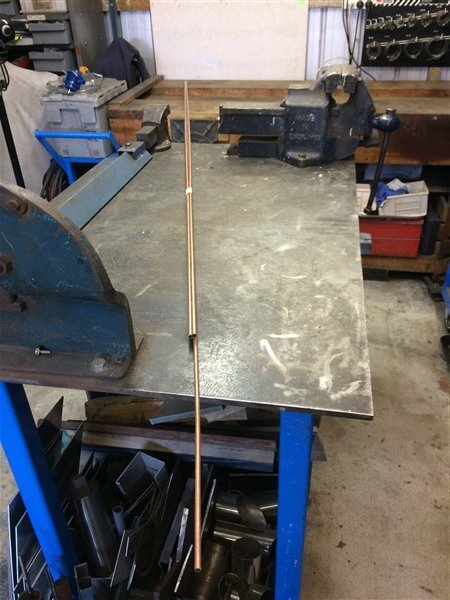
I picked up some aptly named Bundy Tube, which is double walled, annealed steel pipe, coated in copper.
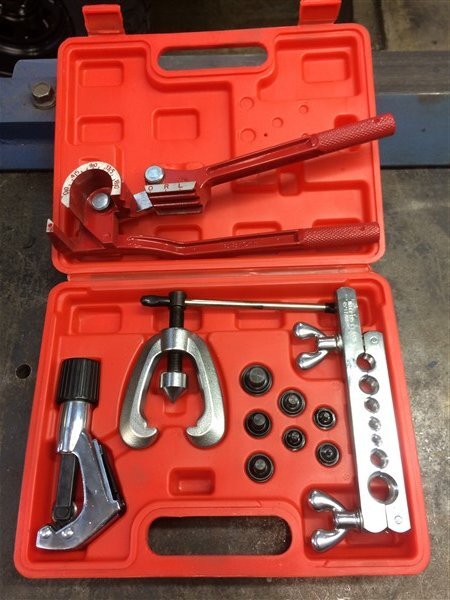
Flaring tool to flare the ends to help prevent the hoses slipping off and tube bender.
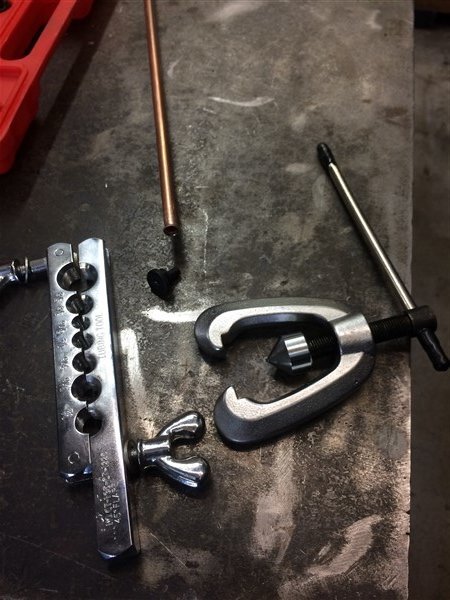
Did my first double flare.
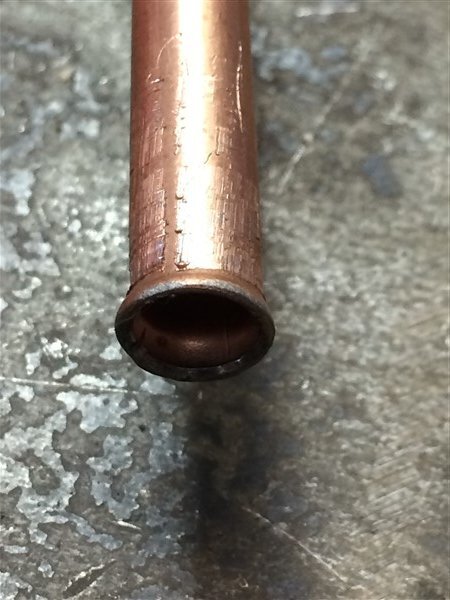
Then realised I cant really run the fuel lines without the tripple pipe brackets that for some reason arnt available anywhere locally, or on ebay so I've had to order them from the only company I could find selling them, at great expense.
They should be here this week or next and then I can get the fuel lines all run and connected up.
Sam approves of LJ!
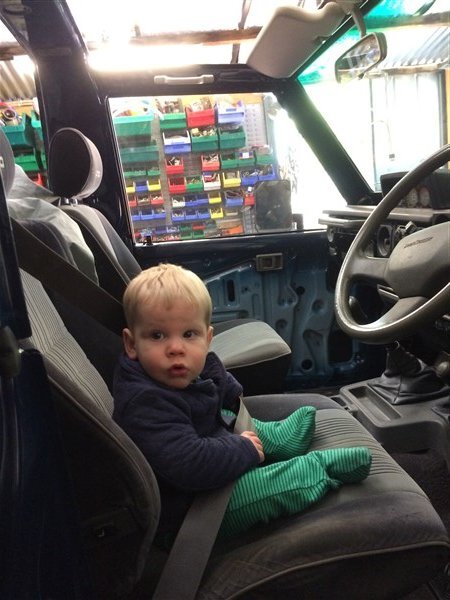
More in a week or 2.


I love the fact these filters never need replacing and can just be washed out.

Fitted it.

And that almost completes the airbox!
I just need to get the 3 spring clips that help hold the lid down, re-electroplated.
On the drivers door of every LandCruiser built during the 80's and 90's there was a sticker showing which plant built the body, sadly mine was missing and the only place I could find selling them was in the USA and they wanted an insulting amount of money to post me one.
So I got our sticker guy at work to make me some and then sold some of them off to recover my costs.

I picked up a piece of fuel filler neck hose to connect my filler neck with my new tank.


And bolted it on.

I discovered recently that the pit had 6" of water in the bottom.

So I bailed out 300 litres of water with buckets.


Then used a fan to dry it out.


And then I could use it to make all my new metal fuel lines that will run from the fuel tank to the engine, 3 lines in total.
1. Fuel pickup
2. Fuel return
3. Breather from tank going through charcoal canister in engine bay.
I picked up some aptly named Bundy Tube, which is double walled, annealed steel pipe, coated in copper.

Flaring tool to flare the ends to help prevent the hoses slipping off and tube bender.

Did my first double flare.


Then realised I cant really run the fuel lines without the tripple pipe brackets that for some reason arnt available anywhere locally, or on ebay so I've had to order them from the only company I could find selling them, at great expense.
They should be here this week or next and then I can get the fuel lines all run and connected up.
Sam approves of LJ!


More in a week or 2.
Similar threads
- Replies
- 6
- Views
- 370


