fridayman
Well-Known Member
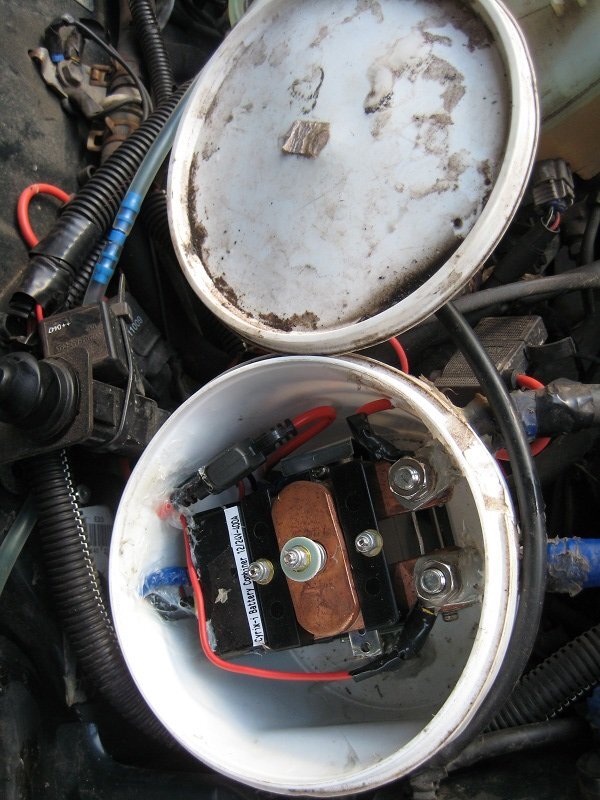
I didn't make as much progress today as I had wanted to but I have managed to solve another of the big problems that I was unsure about - mounting the voltage sensing relay (VSR). I have one of the 400A Cyrix relays that a few people on this forum bought - I was lucky enough to get mine off another member who no longer needed his.
On the Colorado/Prado most people mount the relay in the engine bay. If I had a sealed relay, or I had found a suitable sealed container and space in the engine bay, I would probably also have done that. Instead I decided to use some of the space above the control pedals behind the dash - there is quite a lot of room there. Access to not only take a look under there, but to actually work, is limited though (when you are me... ). I removed the drivers seat so that I could lie on my back with loads of room for tools - once again I was surprised by how many different tools were needed for a relatively small job. Taking the seat out is easy in the GX (no heated/electric seats) - only 4 bolts and the seat lifts out with its rails.
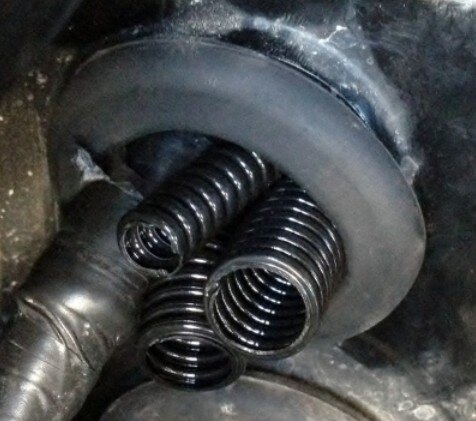
The next 30 minutes was spent staring at the footwell, then staring at the firewall from the engine bay, then staring at the firewall from under the truck, and finally staring at the clouds wondering if I should risk drilling through the firewall. After all what's the worse that could happen... drill into a heater pipe... drill into a brake pipe... drill into the wiring loom... Then I noticed what looked like an oval flap in the rubber sound deadening layer in the footwell:

It was only connected at 4 points like a push out piece in a Airfix kit. I took another look in the engine bay and saw this:

Woohooo!!
I pulled out the rubber tab and drilled a very small test hole just to be 110% sure that I wasn't drilling in the wrong place, but everything was OK so I used a step drill to enlarge the hole for the rivnut. I fitted the first rivnut and test fitted the VSR so that I could mark exactly where the second hole needed to be drilled. If you don't have a rivnut tool and you are thinking about getting one, don't waste your money on a cheap tool. Just buy a Memfast kit from the start (I bought a cheaper tool first - anyone is welcome to come fetch it foc). This is both rivnuts fitted:


This didn't go completely smoothly though. I had gotten used to my cheap rivnut tool and remembered how much force was needed on the spanner to fit rivnuts, and then mistakenly thought I needed to apply the same force with the Memfast tool. I didn't actually even need to use the spanner on the Memfast tool - you can turn the knob by hand for 4mm steel rivnuts. I stripped the thread on the first one, and then had to try and get it out again. This is a PITA job because you can't drill it out again (it just spins). I used a dremel to butcher it on the engine side and then pressed it back through the hole. In the pic above you can see where I touched up the firewall with black paint after the cutting and grinding discs scored the firewall.
The VSR is now test fitted ready for the cabling tomorrow. Once the cabling is done I will silicone seal the rivnuts to make sure water can't leak into the cabin.

Tomorrow's challenge is figuring out where to take 2x40mm2 sheathed cables & a few thin wires through the firewall...
On the Colorado/Prado most people mount the relay in the engine bay. If I had a sealed relay, or I had found a suitable sealed container and space in the engine bay, I would probably also have done that. Instead I decided to use some of the space above the control pedals behind the dash - there is quite a lot of room there. Access to not only take a look under there, but to actually work, is limited though (when you are me...
The next 30 minutes was spent staring at the footwell, then staring at the firewall from the engine bay, then staring at the firewall from under the truck, and finally staring at the clouds wondering if I should risk drilling through the firewall. After all what's the worse that could happen... drill into a heater pipe... drill into a brake pipe... drill into the wiring loom... Then I noticed what looked like an oval flap in the rubber sound deadening layer in the footwell:
It was only connected at 4 points like a push out piece in a Airfix kit. I took another look in the engine bay and saw this:
Woohooo!!

I pulled out the rubber tab and drilled a very small test hole just to be 110% sure that I wasn't drilling in the wrong place, but everything was OK so I used a step drill to enlarge the hole for the rivnut. I fitted the first rivnut and test fitted the VSR so that I could mark exactly where the second hole needed to be drilled. If you don't have a rivnut tool and you are thinking about getting one, don't waste your money on a cheap tool. Just buy a Memfast kit from the start (I bought a cheaper tool first - anyone is welcome to come fetch it foc). This is both rivnuts fitted:
This didn't go completely smoothly though. I had gotten used to my cheap rivnut tool and remembered how much force was needed on the spanner to fit rivnuts, and then mistakenly thought I needed to apply the same force with the Memfast tool. I didn't actually even need to use the spanner on the Memfast tool - you can turn the knob by hand for 4mm steel rivnuts. I stripped the thread on the first one, and then had to try and get it out again. This is a PITA job because you can't drill it out again (it just spins). I used a dremel to butcher it on the engine side and then pressed it back through the hole. In the pic above you can see where I touched up the firewall with black paint after the cutting and grinding discs scored the firewall.
The VSR is now test fitted ready for the cabling tomorrow. Once the cabling is done I will silicone seal the rivnuts to make sure water can't leak into the cabin.
Tomorrow's challenge is figuring out where to take 2x40mm2 sheathed cables & a few thin wires through the firewall...


