Don't like the adverts?  Click here to remove them

My HDJ80 Overland Build

looking forward to your updates, I want to build mine to an overlander, but first will be an inspection to see all the repairs required, hopefully it won't be too bad, but first there is 3 weeks offshore to go....

cheers
 
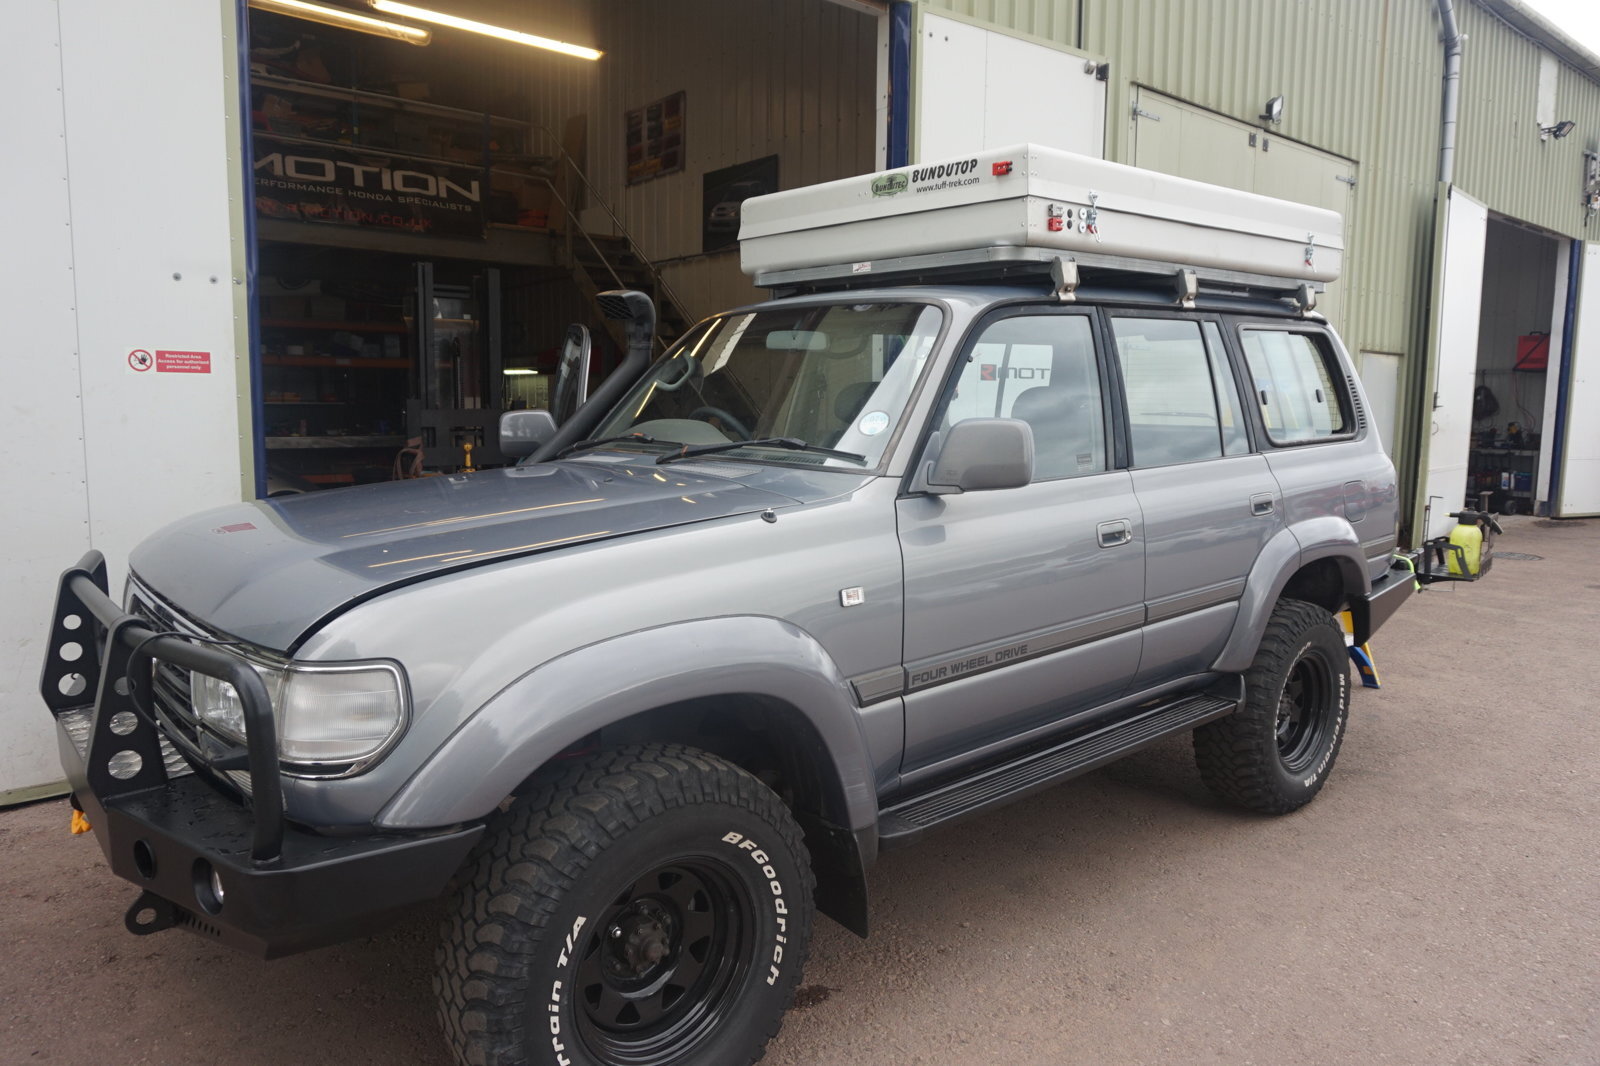
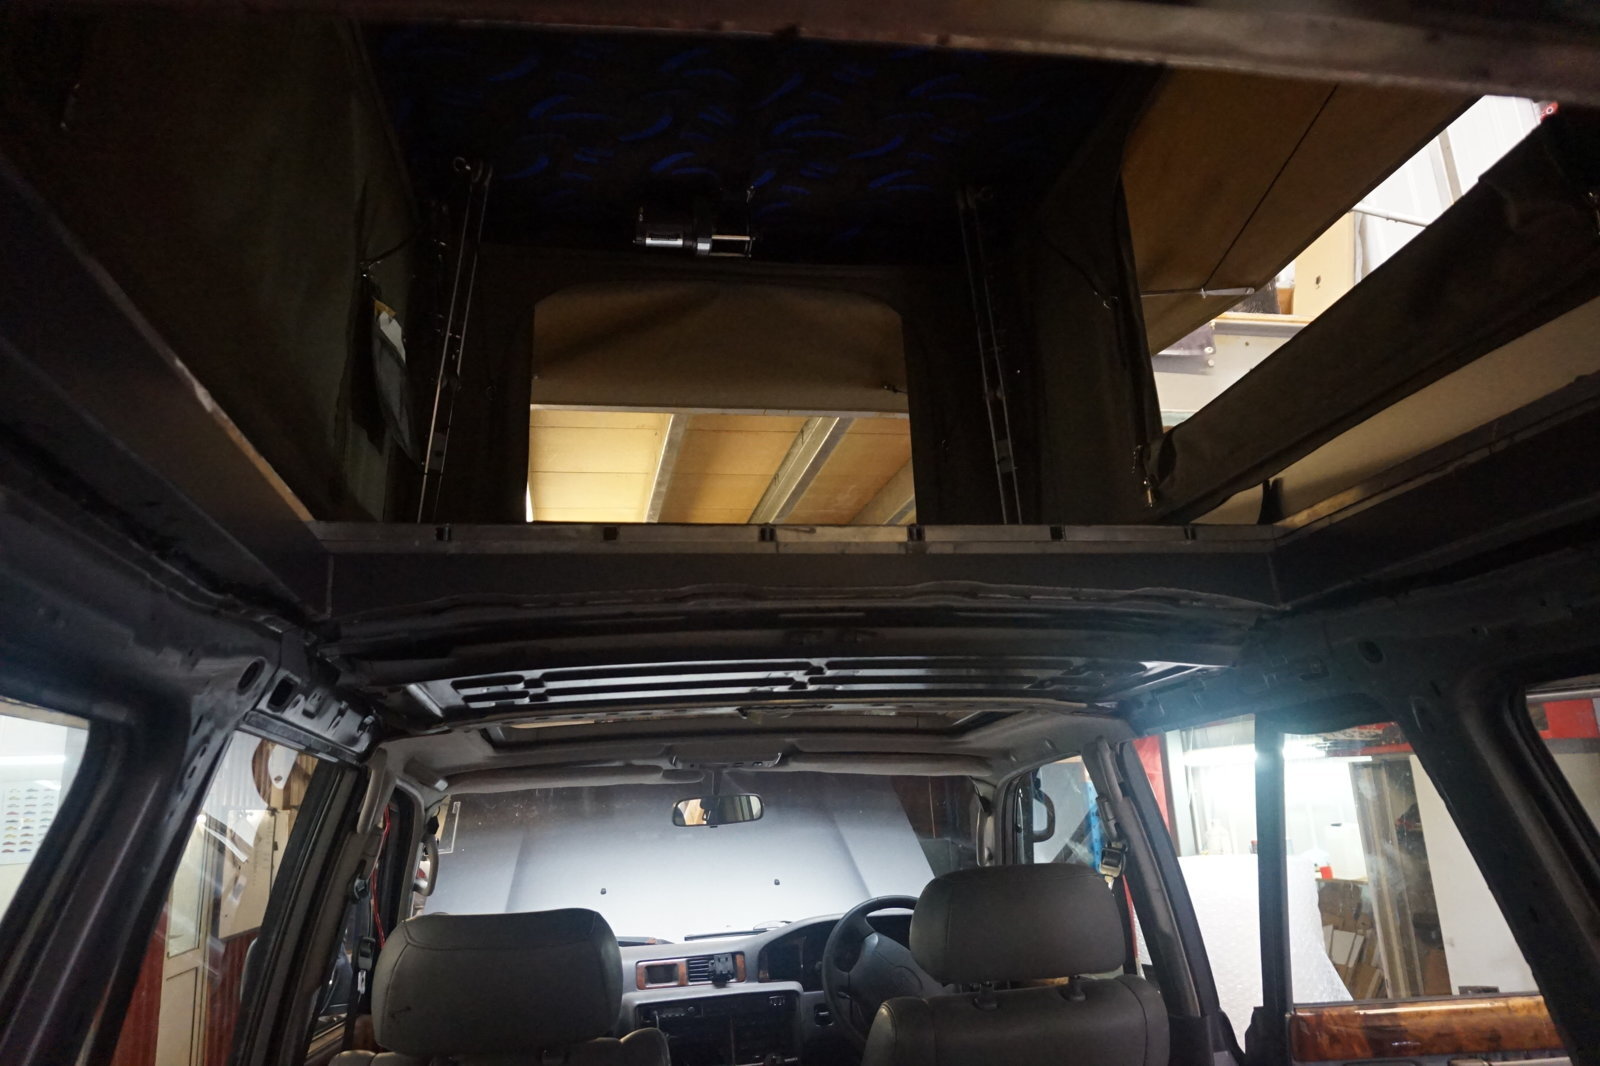
Lots of progress. Roof tent and apperture all on and done and works out perfectly

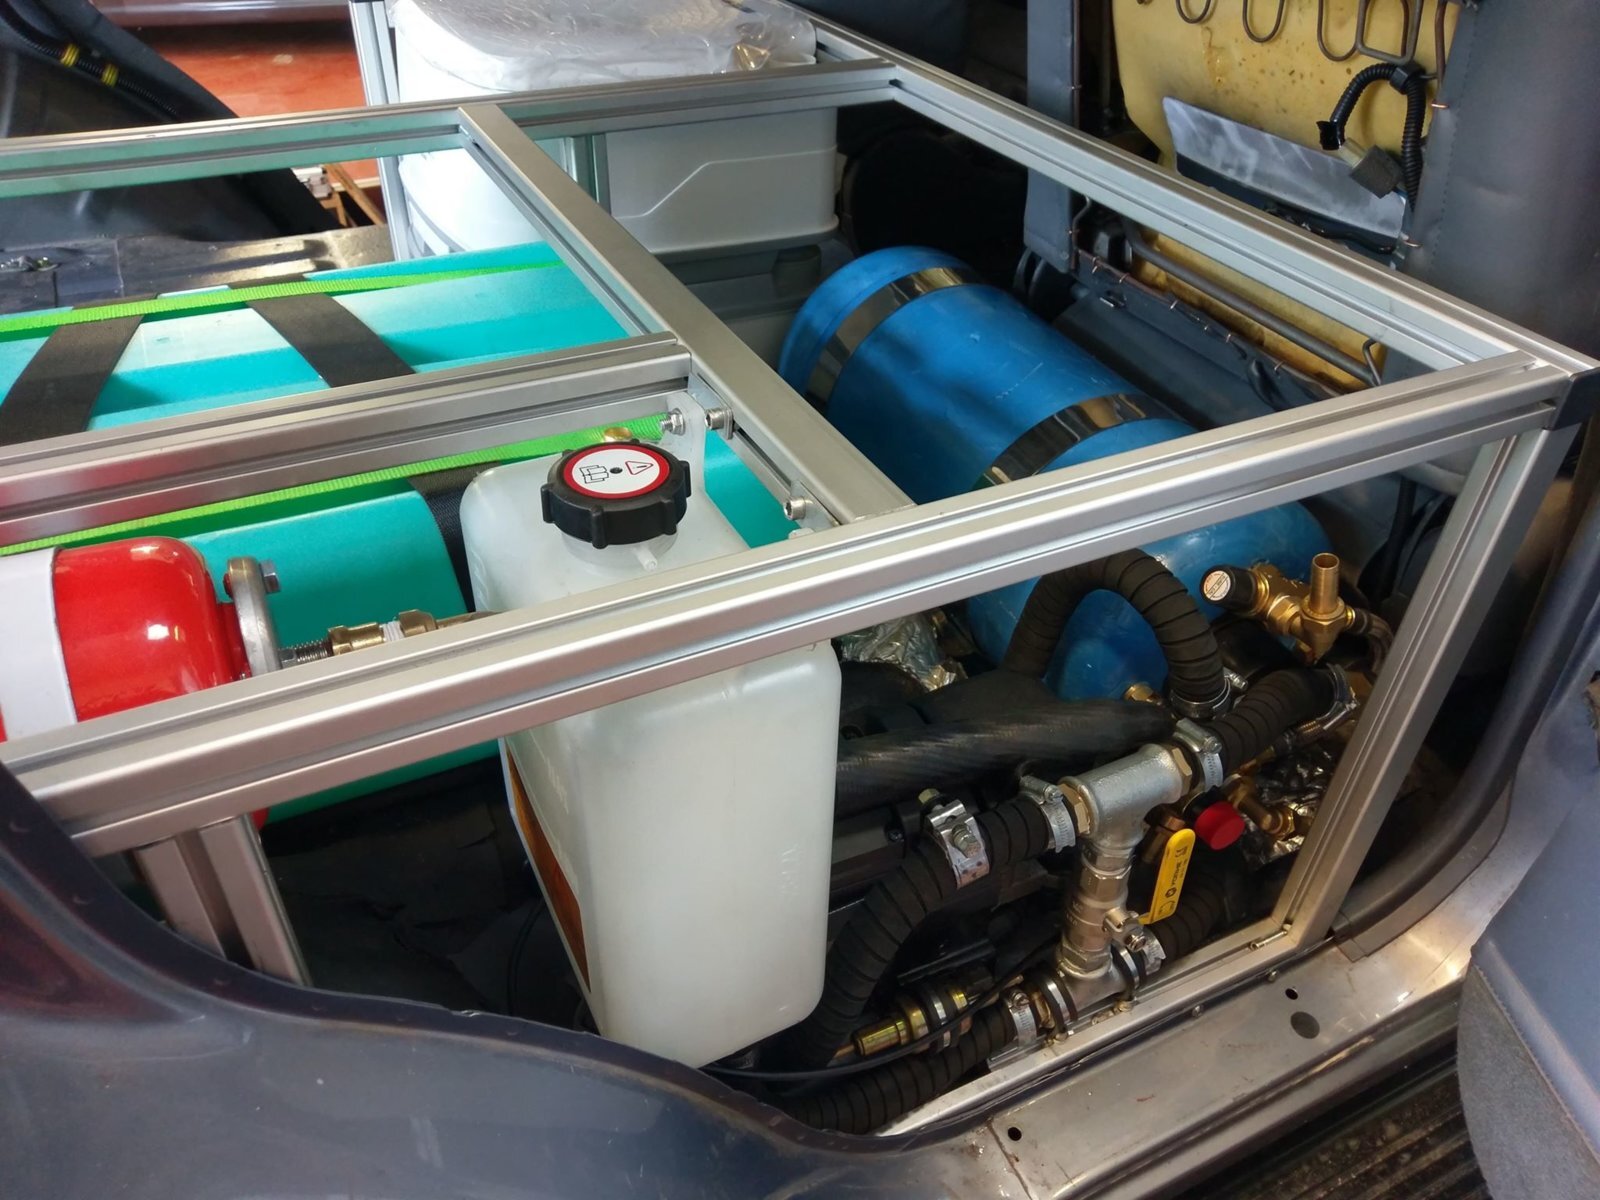
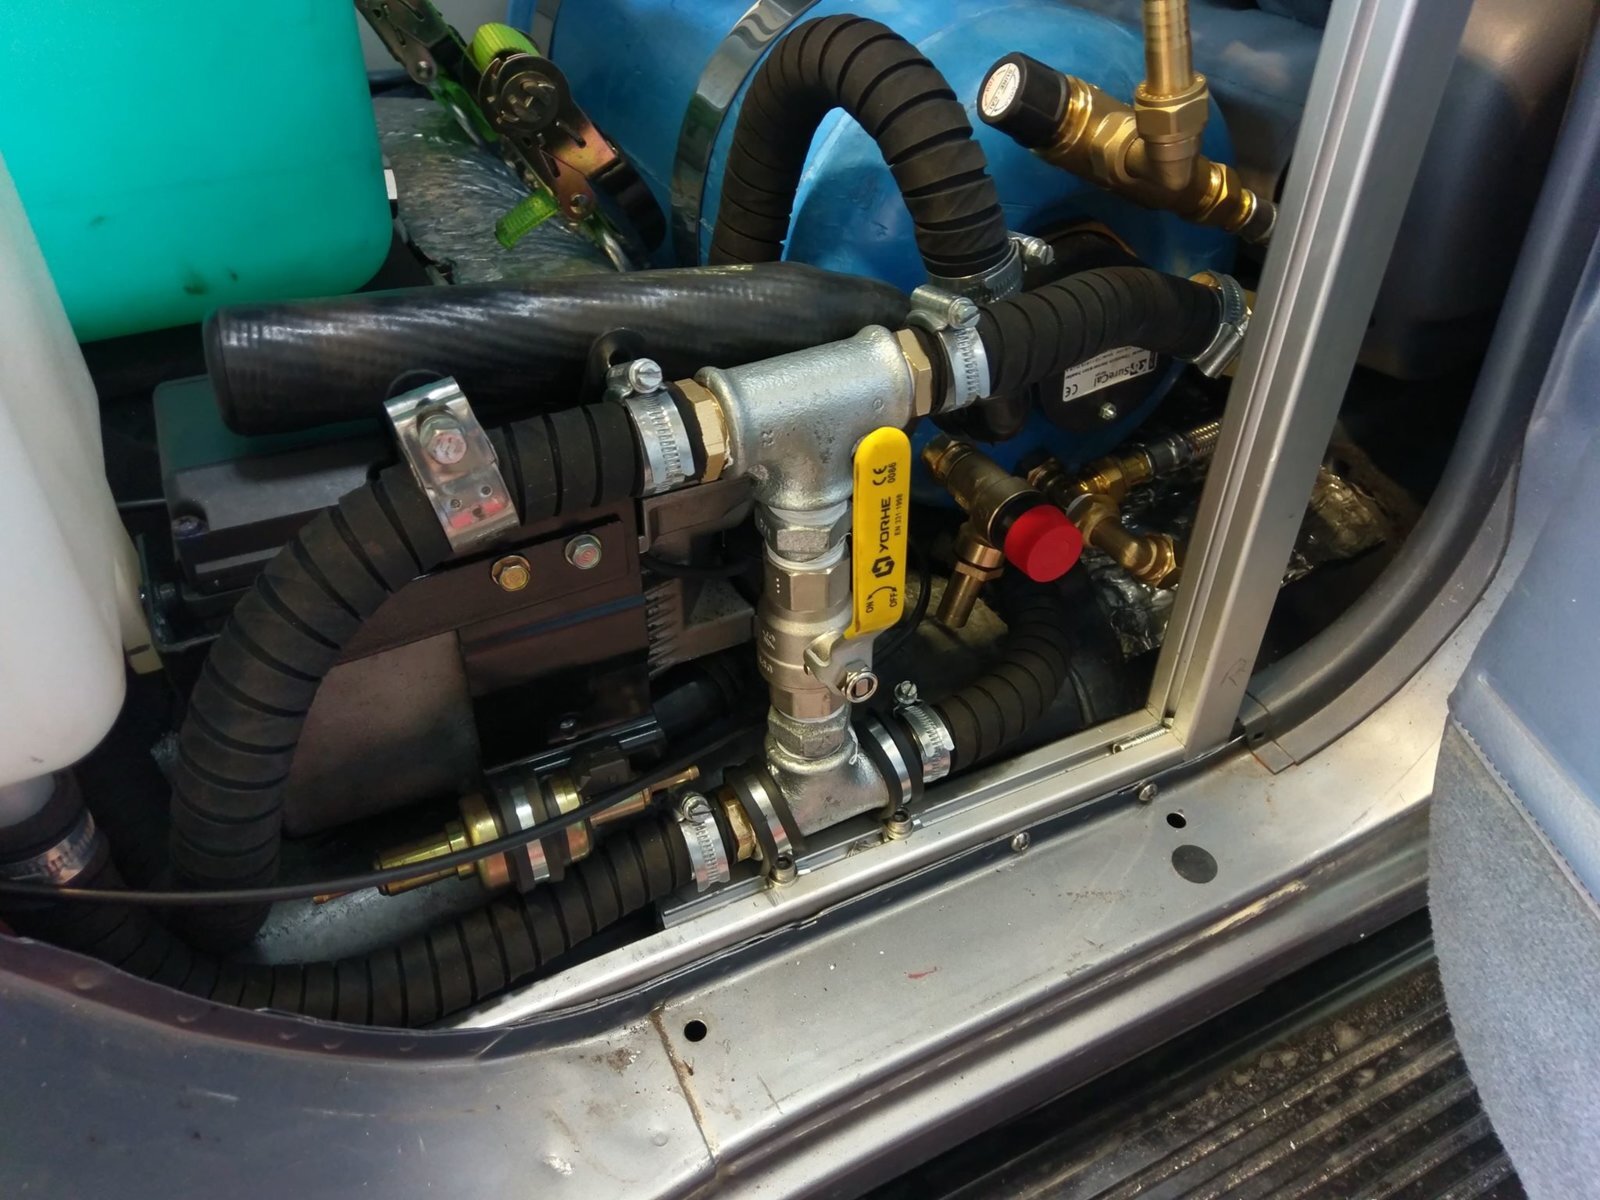
Bought a cheap Webasto Thermo top so will plumb that in to a heater matrix and the calorifier (rather than tap into the engine system)

DSC01014.JPG DSC01019.JPG DSC01020.JPG DSC01022.JPG DSC01048.JPG DSC01049.JPG
 
An interesting project there Michael.

Just one small observation. Unless you are going to have easy access to the inspection panel for the fuel tank, I would remove that pickup strainer and mount an inline filter under the body somewhere.
 
No it wont be covered. Ive specifically designed it as not to interfere anywhere with OEM reliability of the vehicle, including leaving everything as OEM as possible, not covering any important access points and not mounting big things underneath or in the engine bay which could interfere with access and reliability
 
Managed to find time to make some more progress. Sub tank installed but not plumbed in. May leave that to Julian at OC.

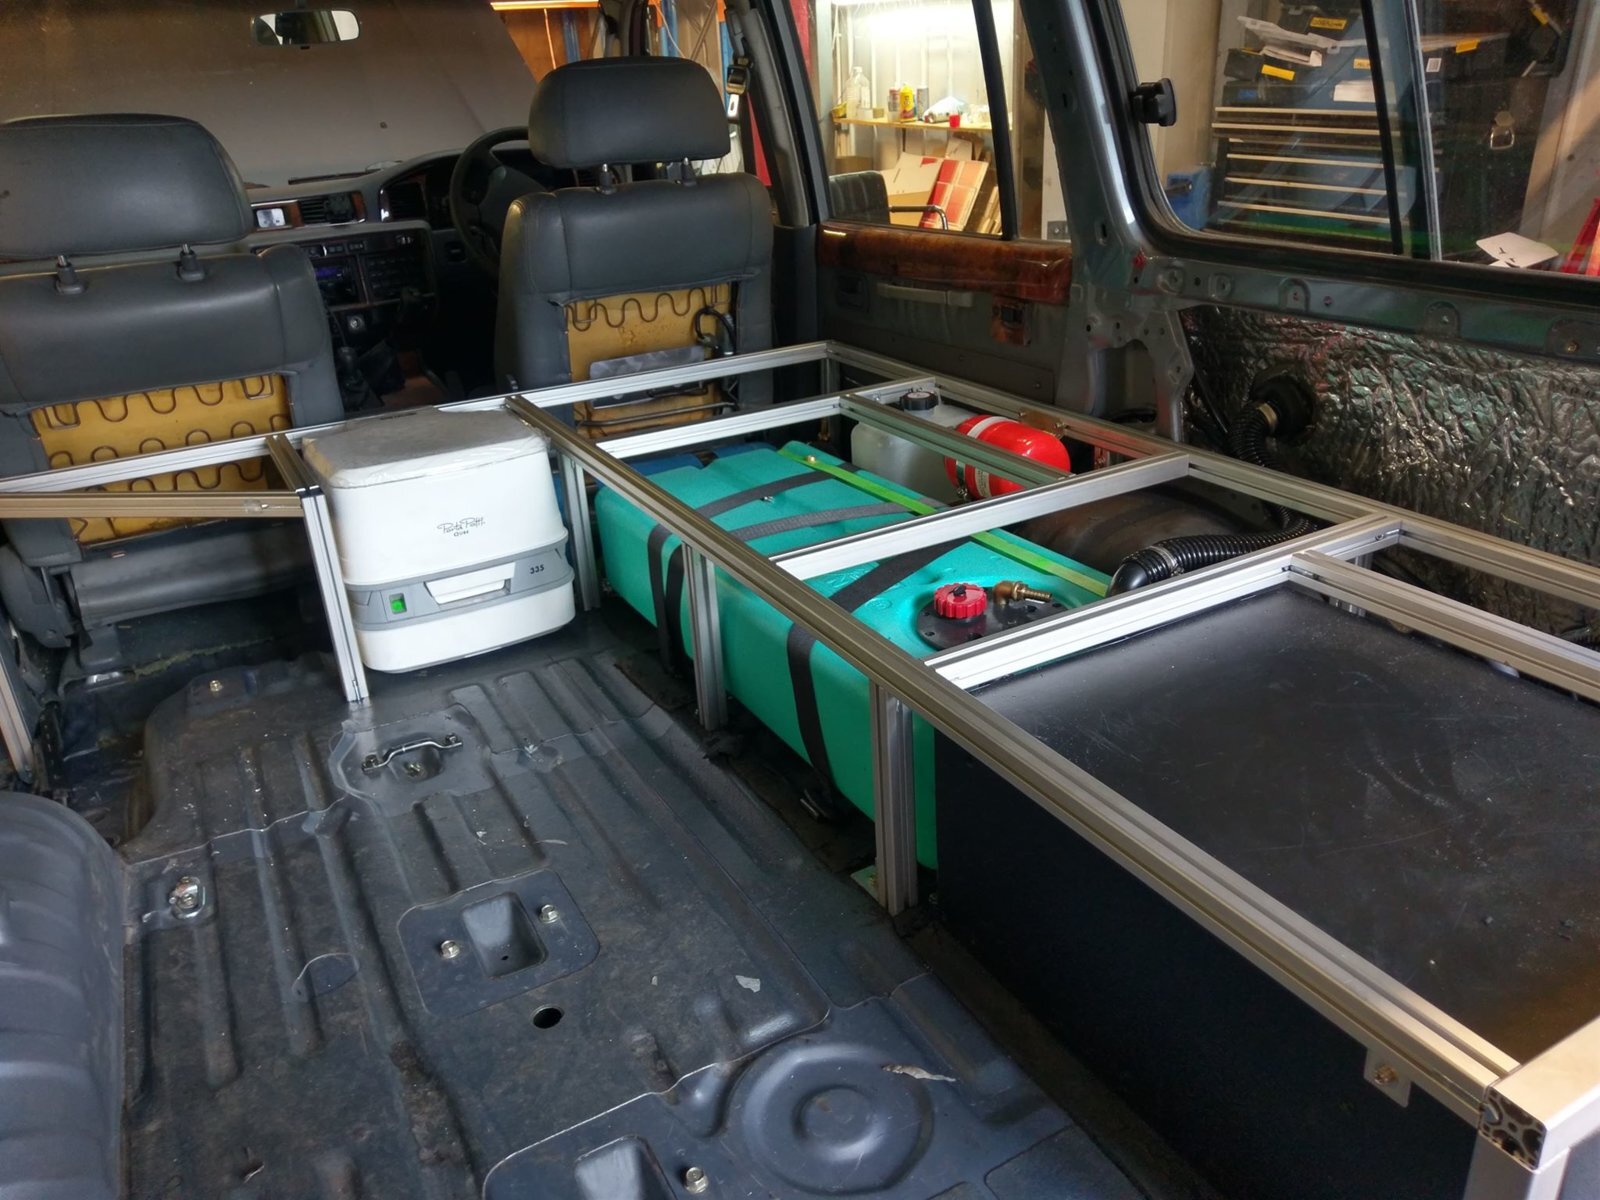
Interior is taking shape. Finally found a suitable 65l water tank that will sit on the right hand side (rather than behind front seats as originally intended). Also got a 15L calorifier which will sit behind drivers seat. 80L total plus will probably take a 20L container for good drinking water (may install a filter so main tank can be used to drink from, not sure yet)

Building the framework with Valuframe - what amazing stuff. Reasonably priced and so adaptable and strong.
Fridge installed. Hopefully get the water tank and calorifier physically installed over the weekend.

Calorifier I was just going to use the pipes to the heater under the drivers seat (as that will now be redundant). Is this an OK idea?

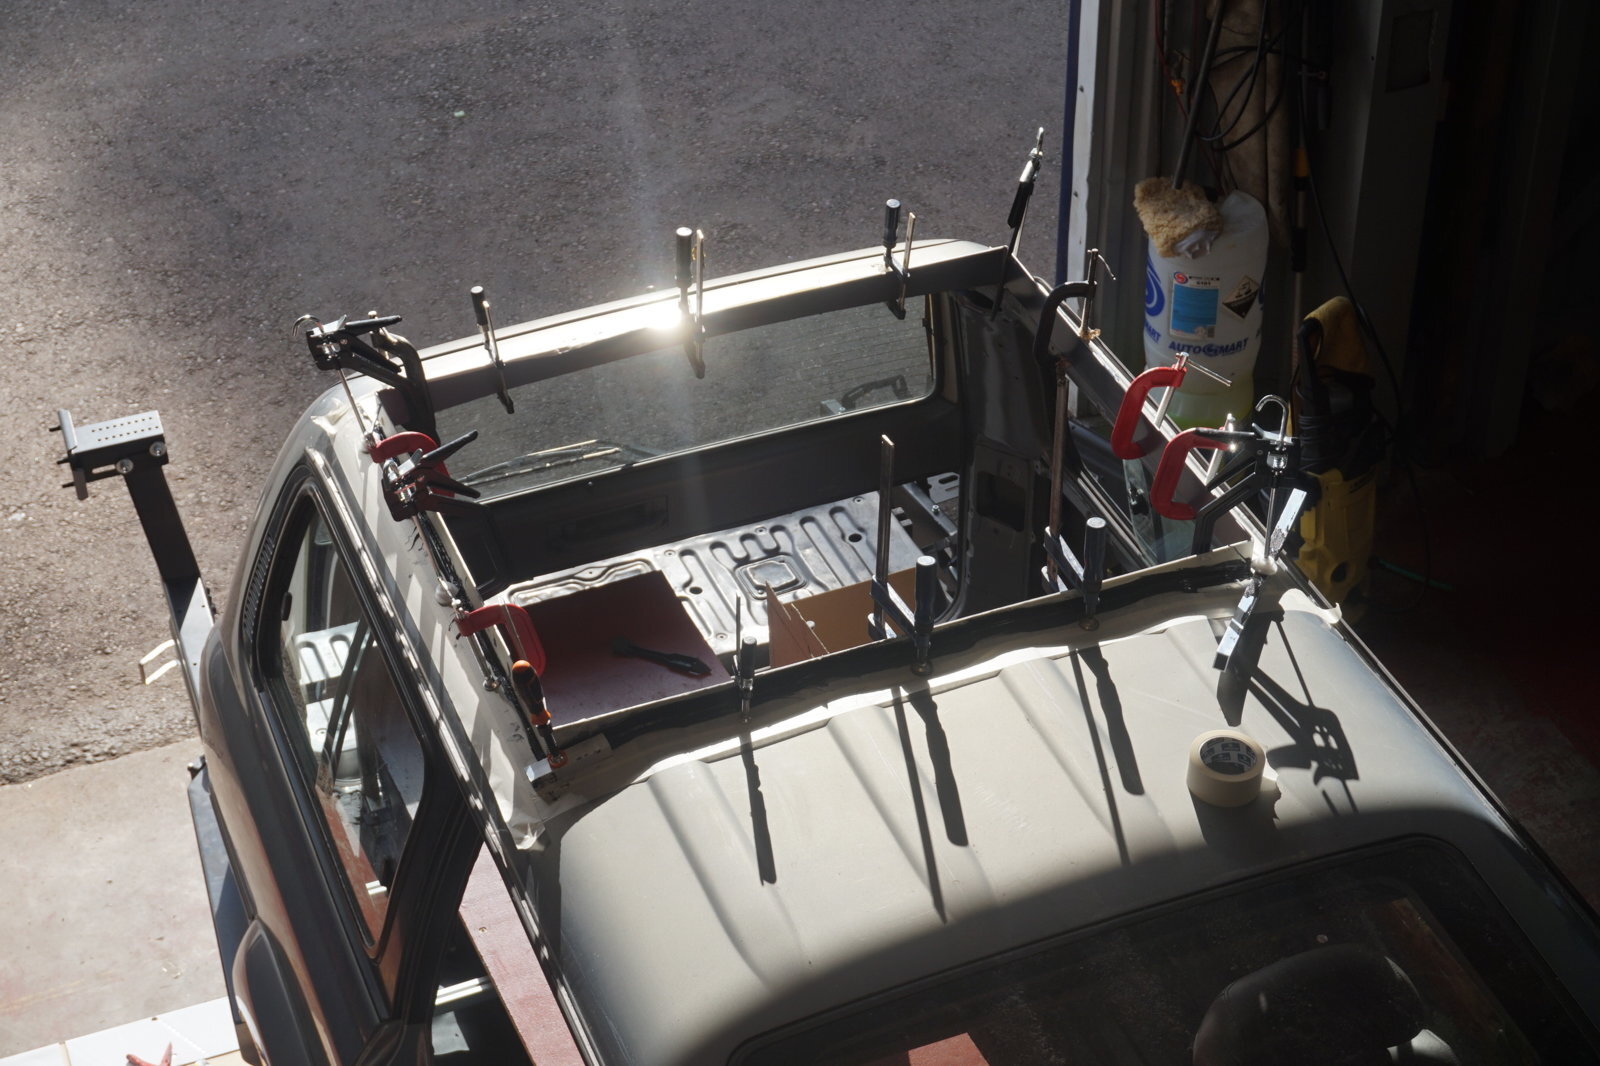
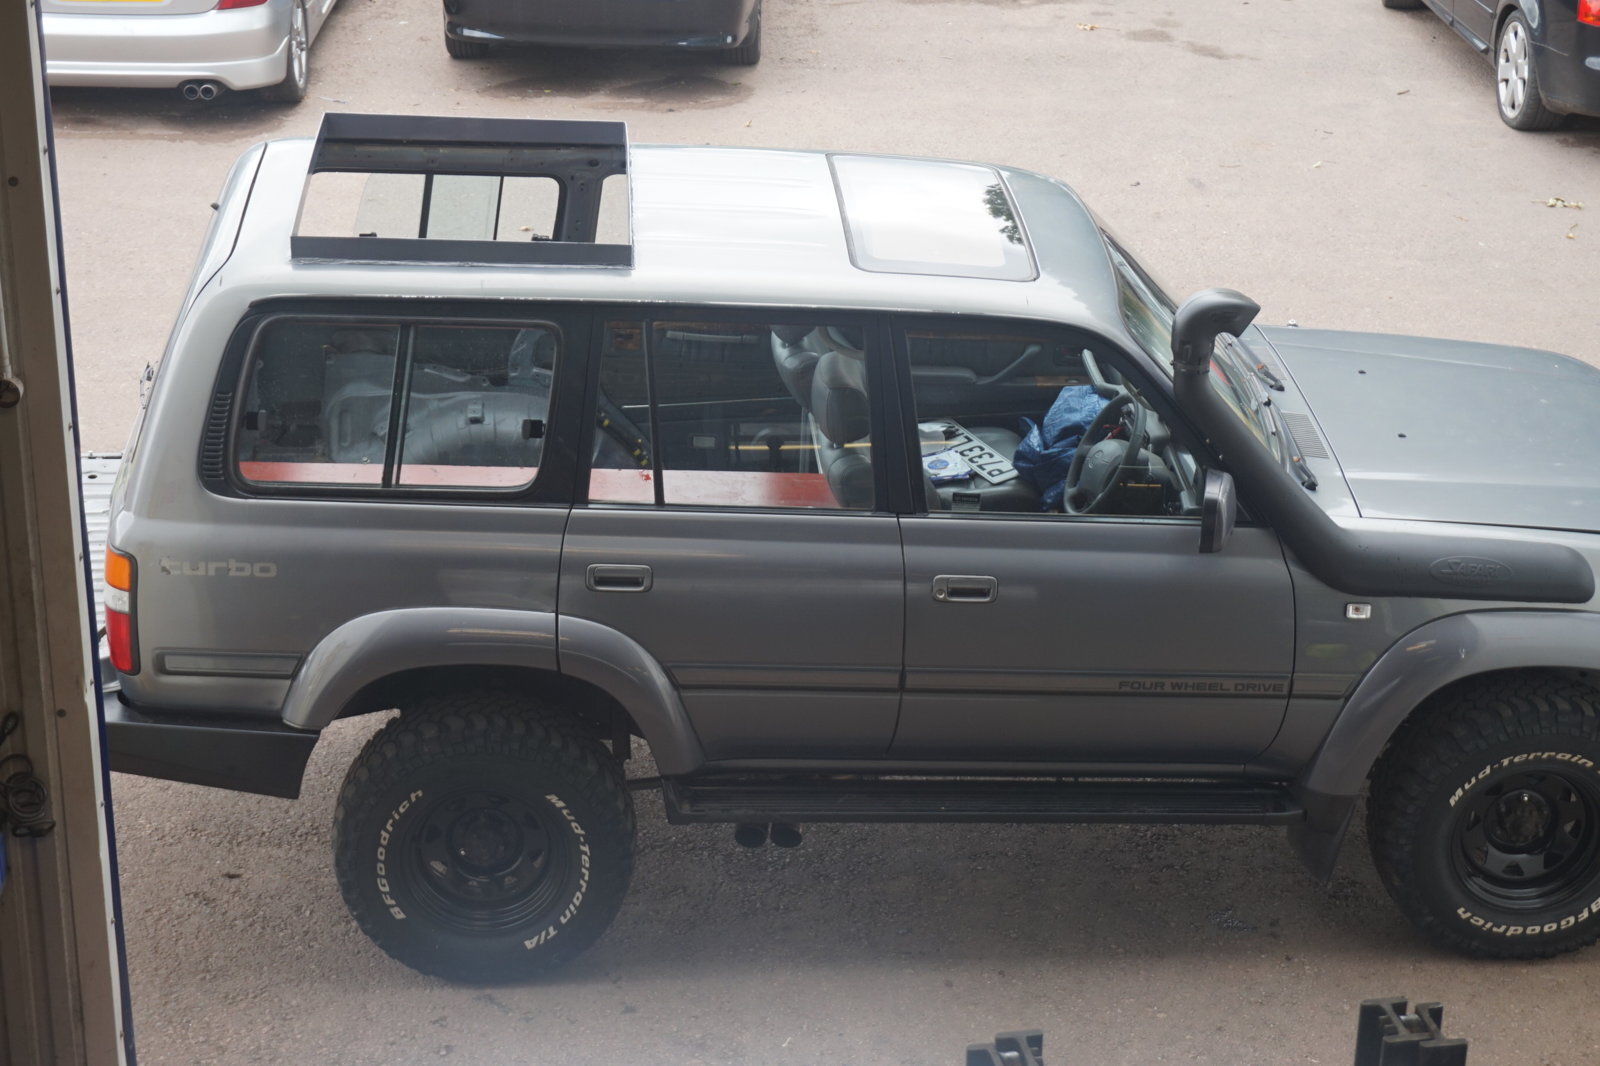
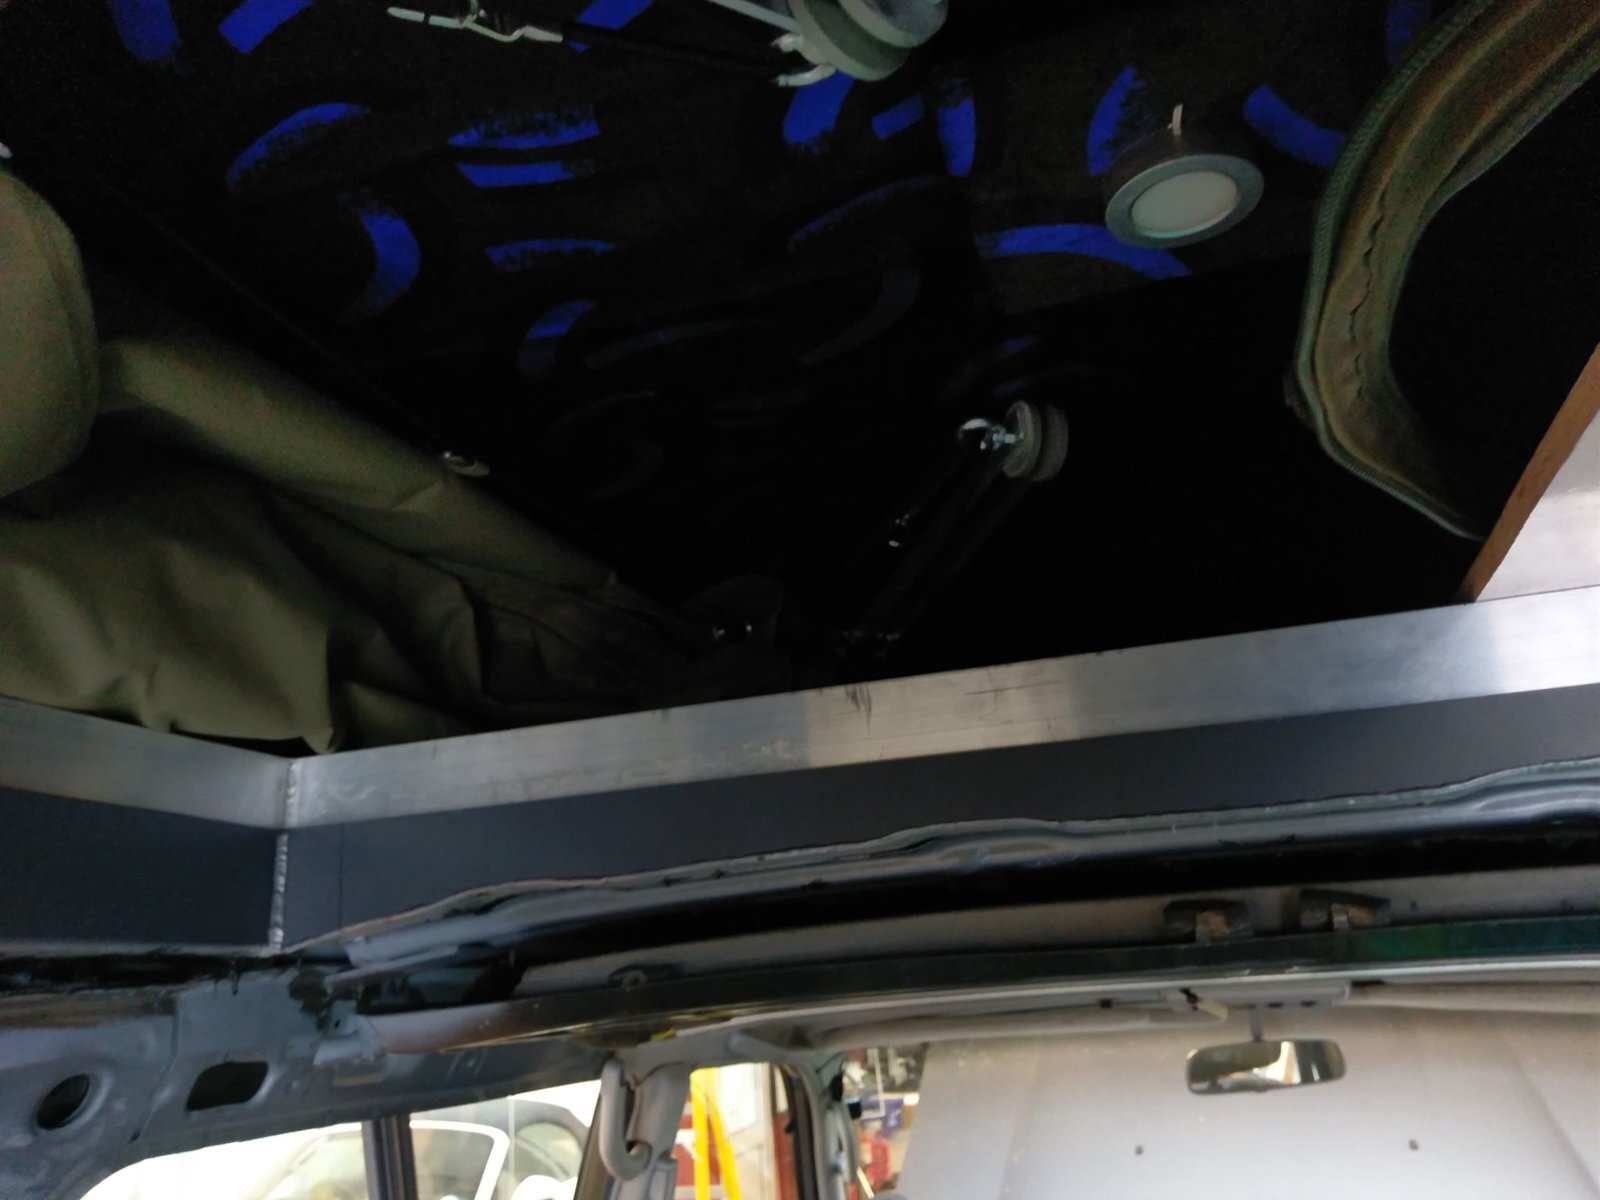
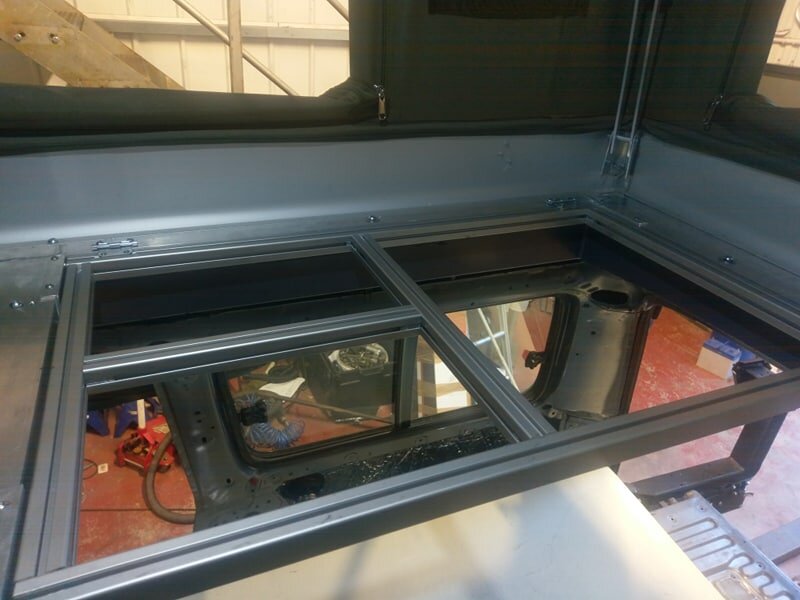
Hole in roof is still work in progress!

View attachment 148053 View attachment 148054 View attachment 148055 View attachment 148056 View attachment 148057

Great build Michael, What size profile is the valueframe ? I'll be making my drawer frame out of the same stuff.
 
Don't like the adverts?  Click here to remove them
Apologies for the late reply, just back from hols. Im using 6 profile (30mm) you could probably get away with 5 (20mm) if you are bolting the wood frame to it.
 
Some better pictures of progress.

Webasto Thermo top setup is pretty much installed now. Amazing how you can fit a miniture domestic hot water system in such a small space!

41521017_533088957116756_5833004503560880128_n.jpg 41687798_2189938337743690_592978732667371520_n.jpg


Yes that is a portable toilet!

41713014_967213403462034_8107578651916107776_n.jpg

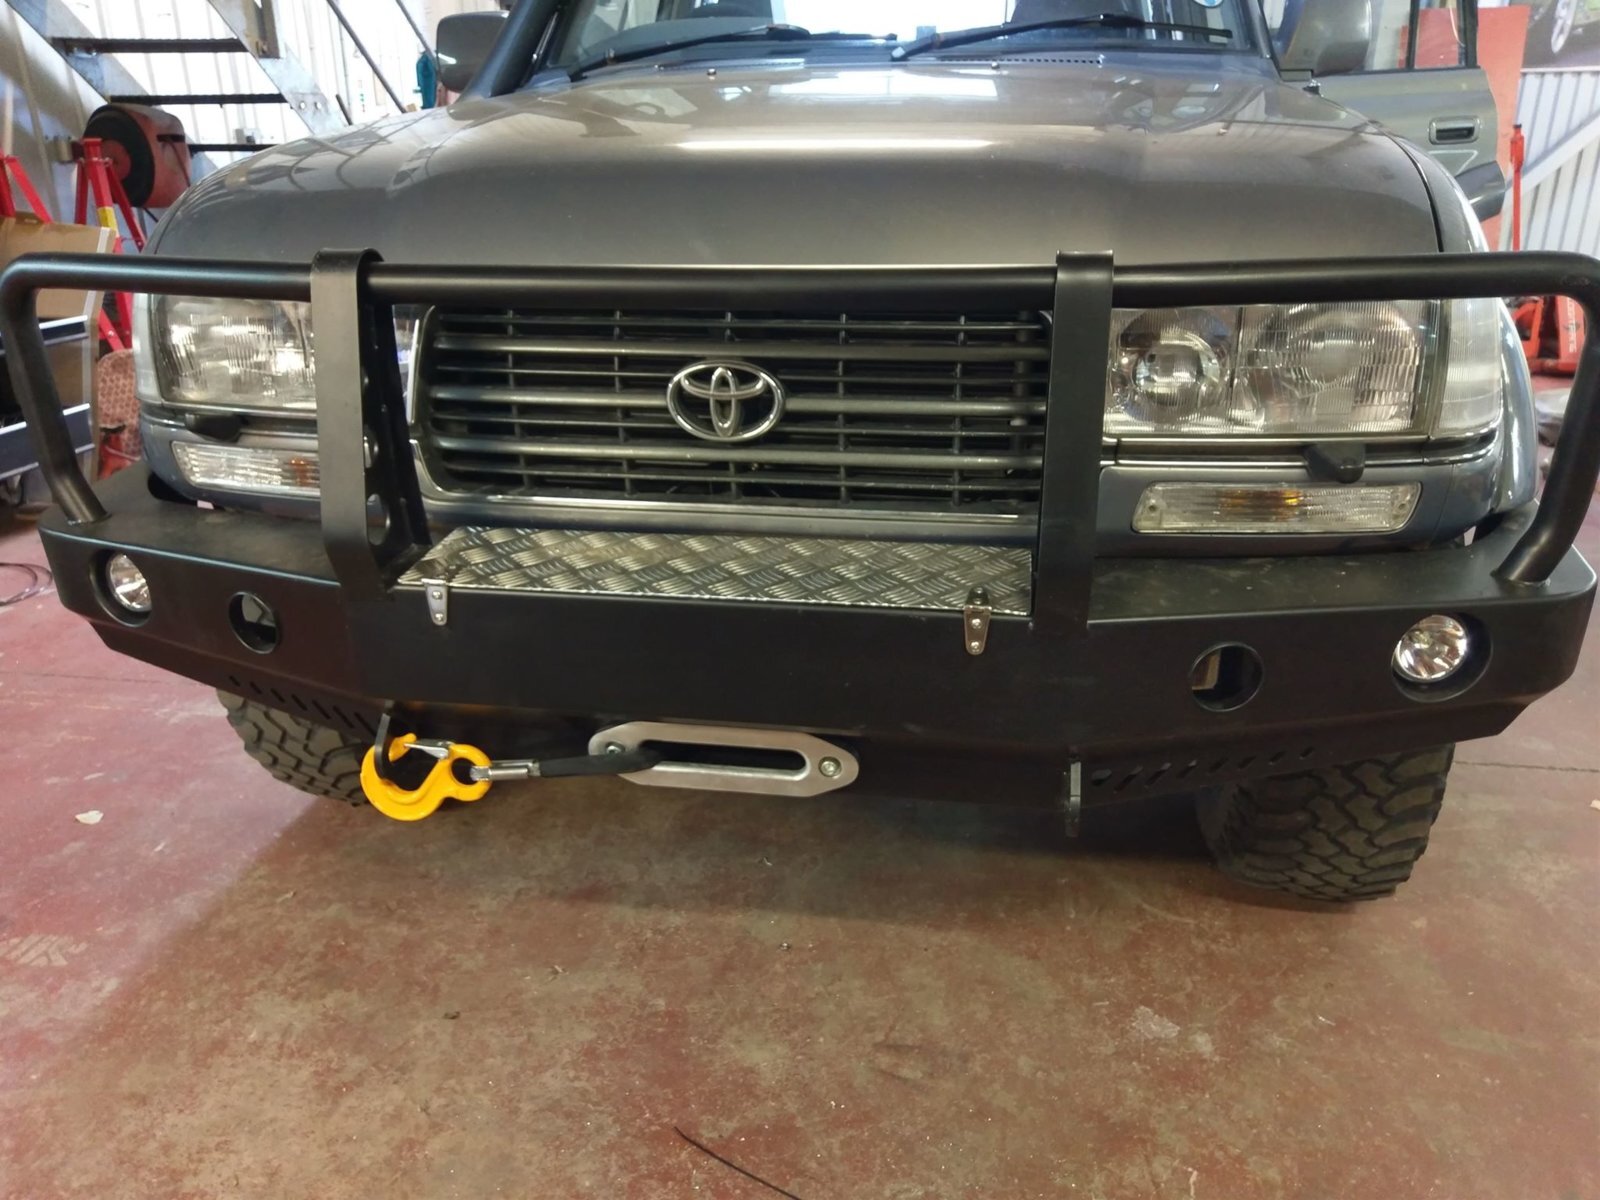
Winch and winch bumper installed. If anyone is after front and rear winch bumpers with wheel carriers, jerry can holders I can strongly recommend these guys who supply these manufacturered in Poland.
www.opony-4x4.pl. About a 1/4 of the price of ARB etc..

41814296_512359199236685_2149609416293351424_n.jpg

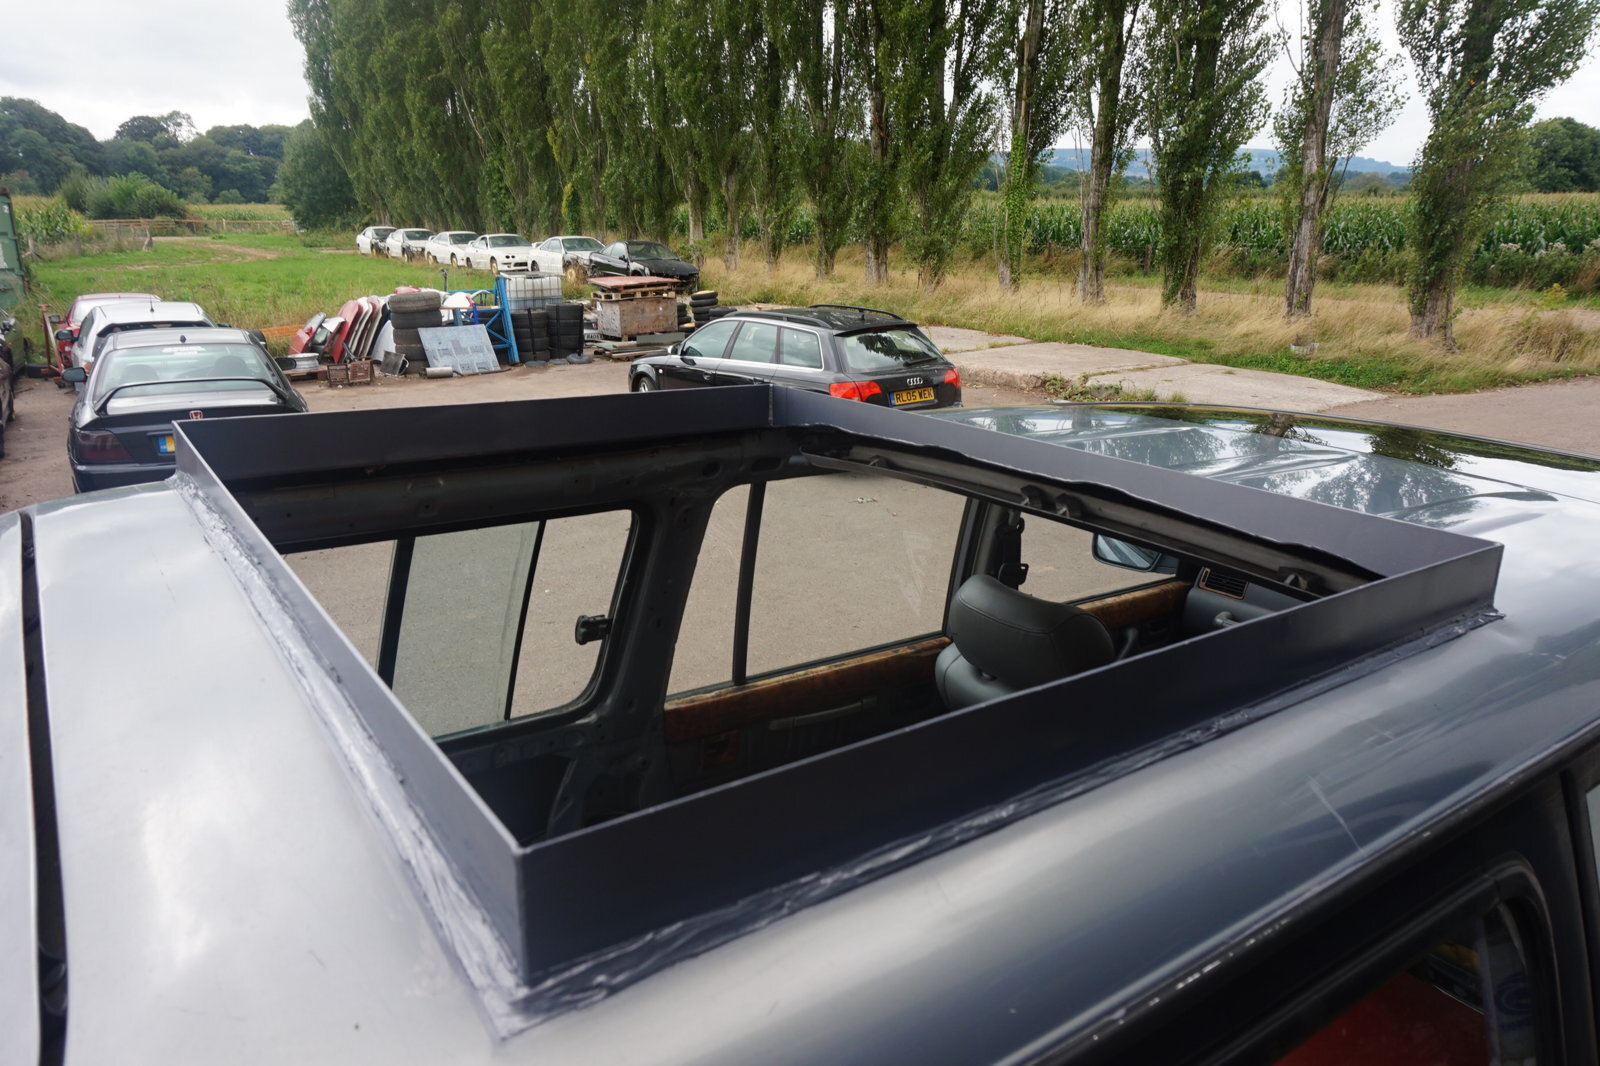
Roof apperture done. Just need to make the trap doors. Quite a bit of space and headroom even with the tent down

41700028_734438943564263_2226494600816623616_n.jpg
 
Nice install there. Did you buy a new thermotop or repurpose a second hand one? I've been doing some reading on the cheap ebay ones but I can't work out how to tell if they are ECU coded or not and which ones will just work with a 12v connection.
 
It was a "refurbished" ebay one from a guy that does a few with good reputation so shouldnt have a problem. Cant imagine they are locked to any ECU though?
 
It was a "refurbished" ebay one from a guy that does a few with good reputation so shouldnt have a problem. Cant imagine they are locked to any ECU though?

If you could share the seller that would be great. Some of them are out of cars where they have been used as parking/supplementary heaters and to stop the resale I guess they do code them to the ECU.
 
I must admit, I havent fired it up yet lol. Best get it working before the 3 month warranty runs out lol

Anyway the username of the guy I bought from was webasto_remanufacturing

Came with all new pipework, exhaust, pump etc.. Just the unit was used but refurbished
 
I must admit, I havent fired it up yet lol. Best get it working before the 3 month warranty runs out lol

Anyway the username of the guy I bought from was webasto_remanufacturing

Came with all new pipework, exhaust, pump etc.. Just the unit was used but refurbished

Nice - thank you :)

I was also just searching for a hot water accumulator like the one you have when I came across this:
https://www.butlertechnik.com/blog/...to-thermo-top-c300-diesel-camper-heating-kit/

Did you look at that sort of solution at all?
 
Yes same as what I have but using a direct heat exchanger rather than a storage tank with coil. I wanted some extra water storage, plus stored hot water rather than having to run the webasto every time I wanted hot water.
 
Grant that's all but the same heater in my discovery we were looking at
 
Grant that's all but the same heater in my discovery we were looking at

Which is what started me down this path. It gets very confusing as to what ones will work simply or not. Buying a whole kit seems to be the safe option but of course more expensive as someone else has done the hard work. Buying just the heater for around the £70 mark it seems impossible (for me) to tell if they will just work when connecting 12v or they will need a digital controller. The £300 odd pounds for a working kit still seems pretty good value given the new retail prices on these.
 
Yes it was £320 with all those new parts plus "refurbished" unit with warranty. Worth the extra
 
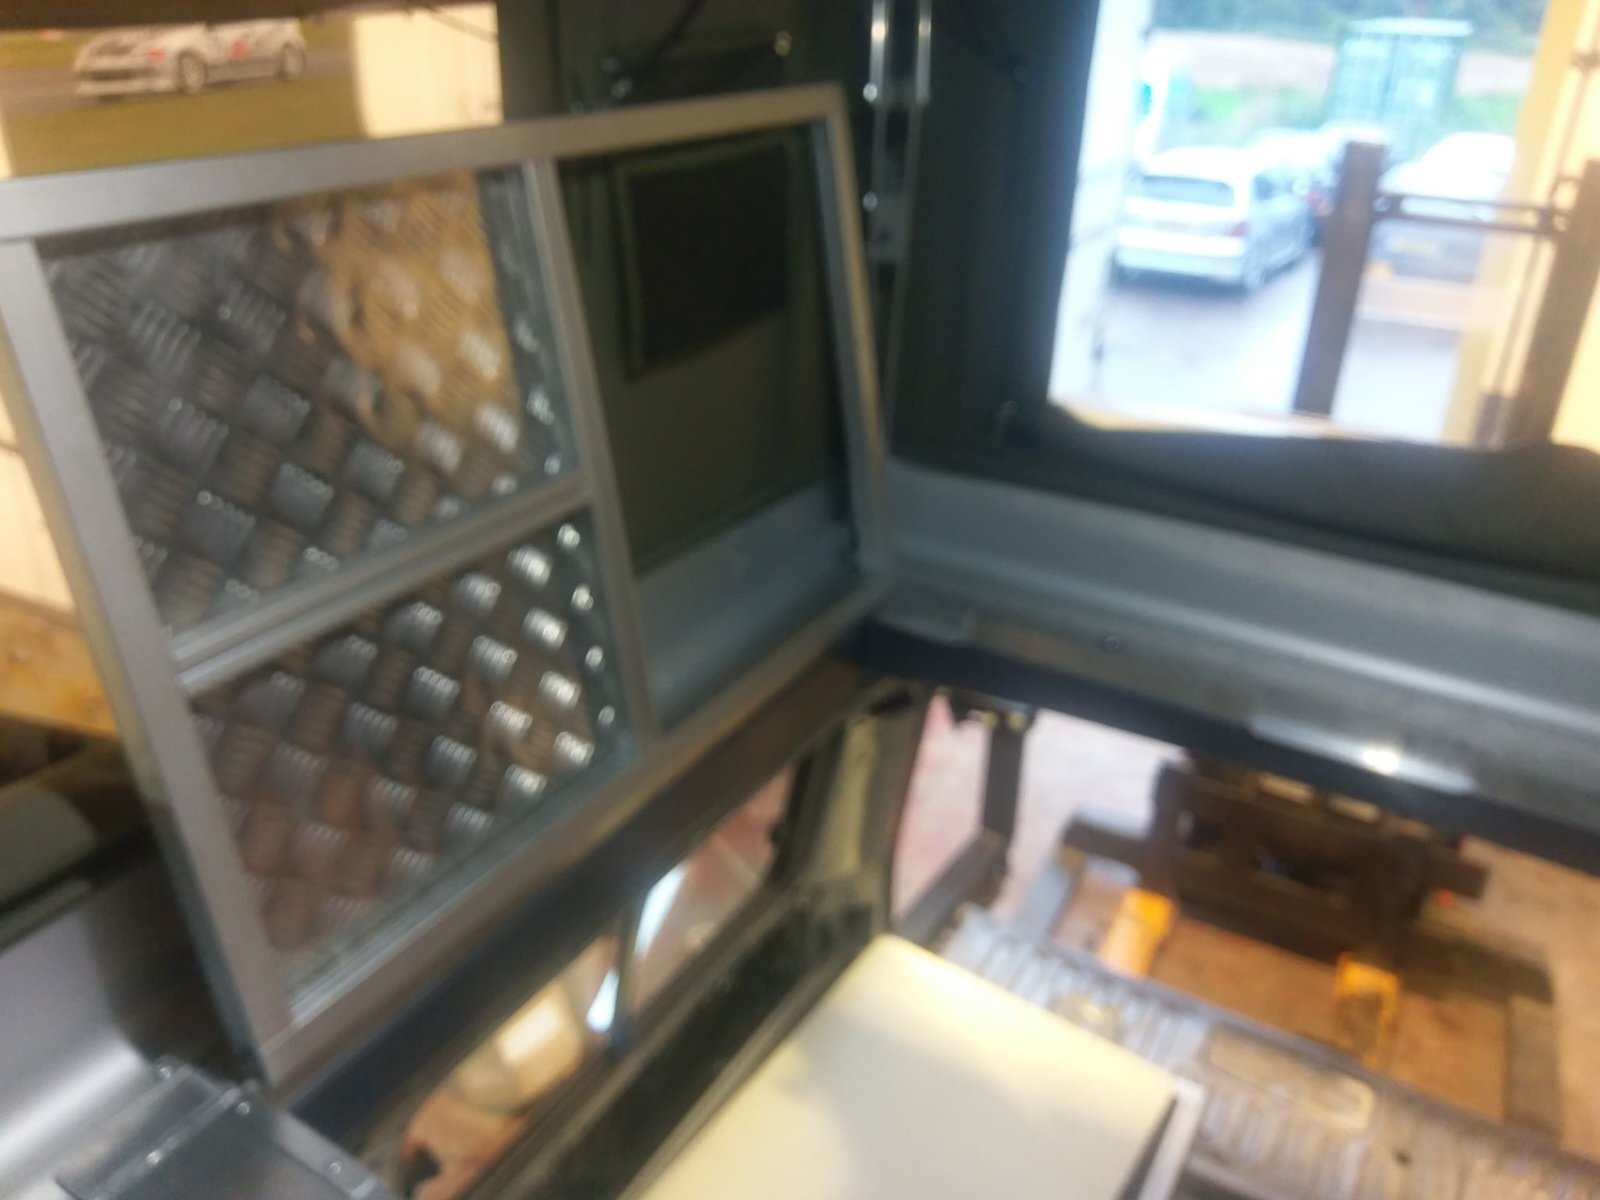
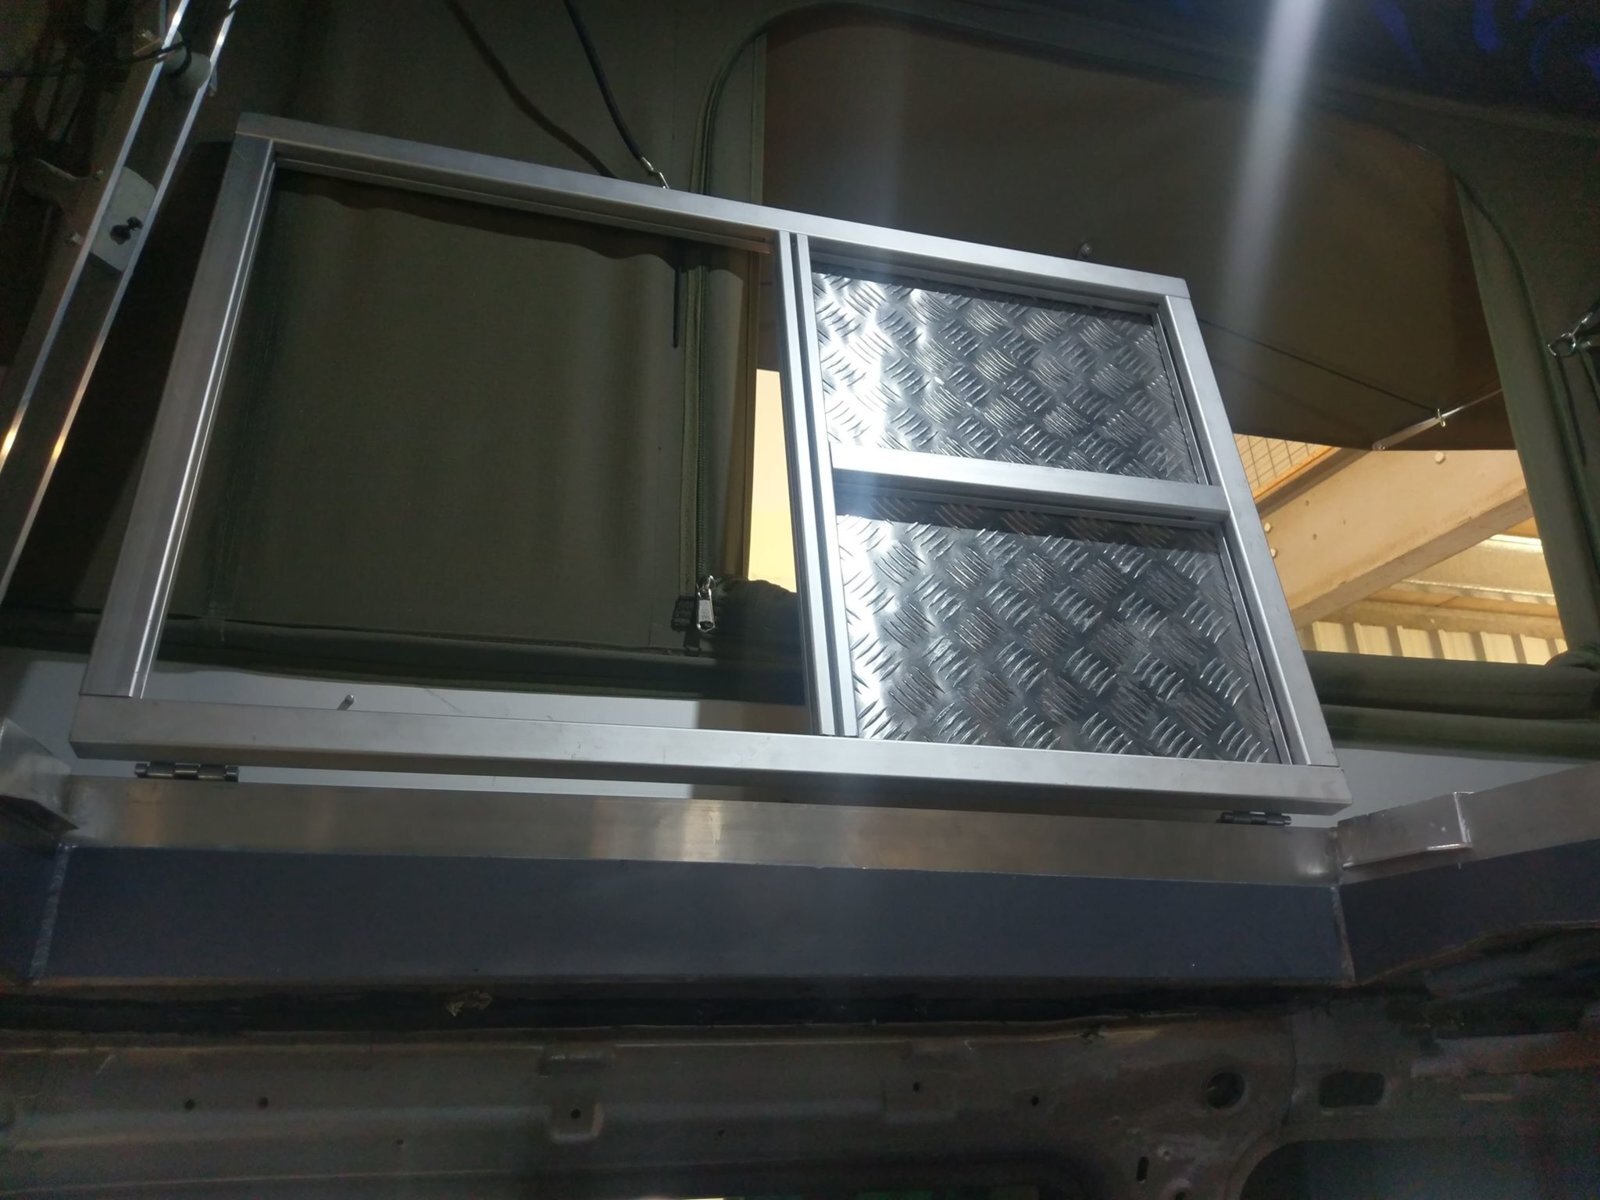
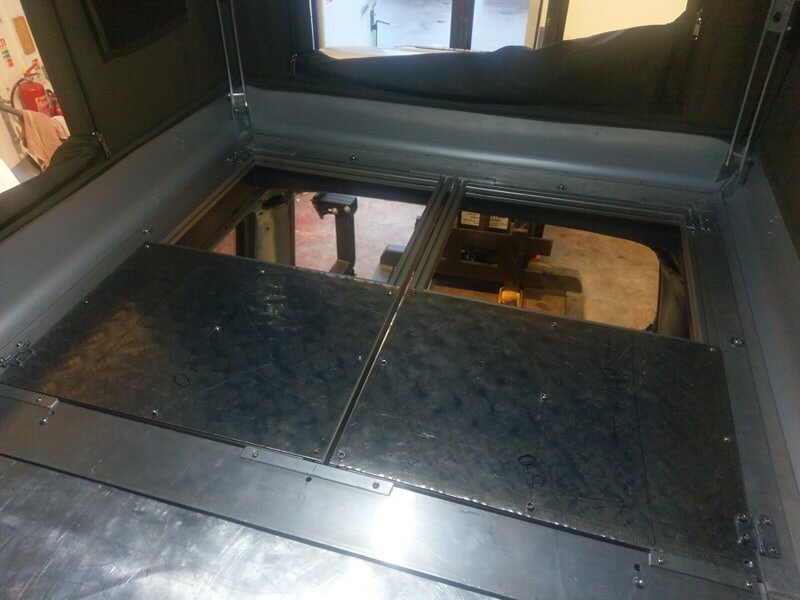
Access hatch for the roof/bed is nearly done. Essentially two trap door hatches which hinge upwards and which can also be removed completely (lift off hinges)

When these are down there is another folding hatch at the far end (not in picture) which is used if anyone needs to get up (down!) in the night.

hatch4.jpg hatch2.jpg hatch1.jpg hatch3.jpg
 
Back
Top