tonytoyota
Well-Known Member
- Joined
- Sep 9, 2010
- Messages
- 1,800
- Country Flag
Hi Andy wee will .








Speedisleeves work great, I use them on front half shafts.My work bench is a 10ft Farmhouse kitchen table, very sturdy and large enough for most jobs. Unfortunately it is also large enough to be an ideal dumping ground for all those half-completed jobs, broken toys for repair, ice cream cartons full of bits that I can't bear to throw away and so on. Some of the stuff has been there for 10 years !
Enough. Time for a clean-out.
I came across a pair of '90' companion flanges from a Transfer box I'd re-built some years ago. They had lost their studs and Toyota don't sell them separately so the box got new flanges. These old ones are heavily grooved by dirt caught in the oil seal and I had bought a pair of 'Speedisleeves' with which to repair them.
I finally got around to fitting the sleeves. Unfortunately I didn't think about taking pictures until I was almost finished.
Each sleeve has a top-hat flange and comes with a tin cap that is used to press them on. I used my large floor press but they didn't need much force - the gauge didn't move! Once on one is supposed to snip the flange and peel it off, there being a groove around the sleeve where it separates.
On the Companion flange the sleeve butts up against the shoulder where the dust shield fits, making snipping and peeling very difficult. My solution was to put the flange into the lathe and turn the end parallel to the main sleeve. The tin flange then pops off .
The groove where it was supposed to be separated is too far back to bother the oil seal.
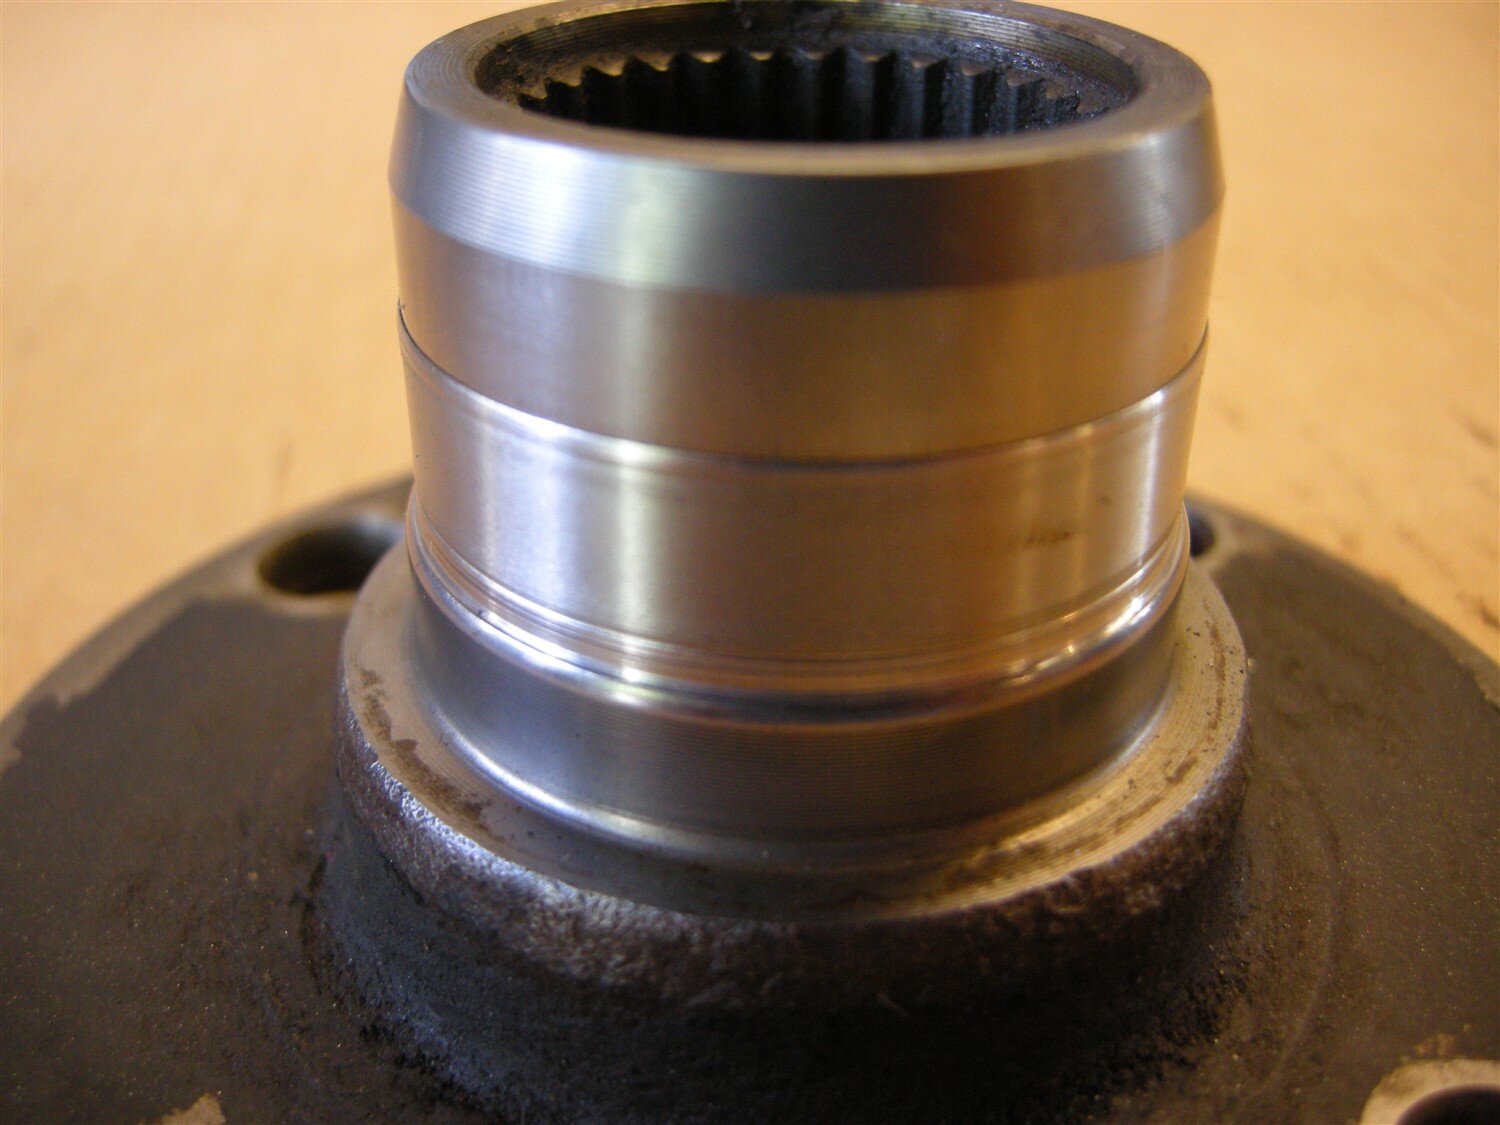
The result:
View attachment 156617
Here, you can see where I turned the tin flange off, leaving the separating groove in place.
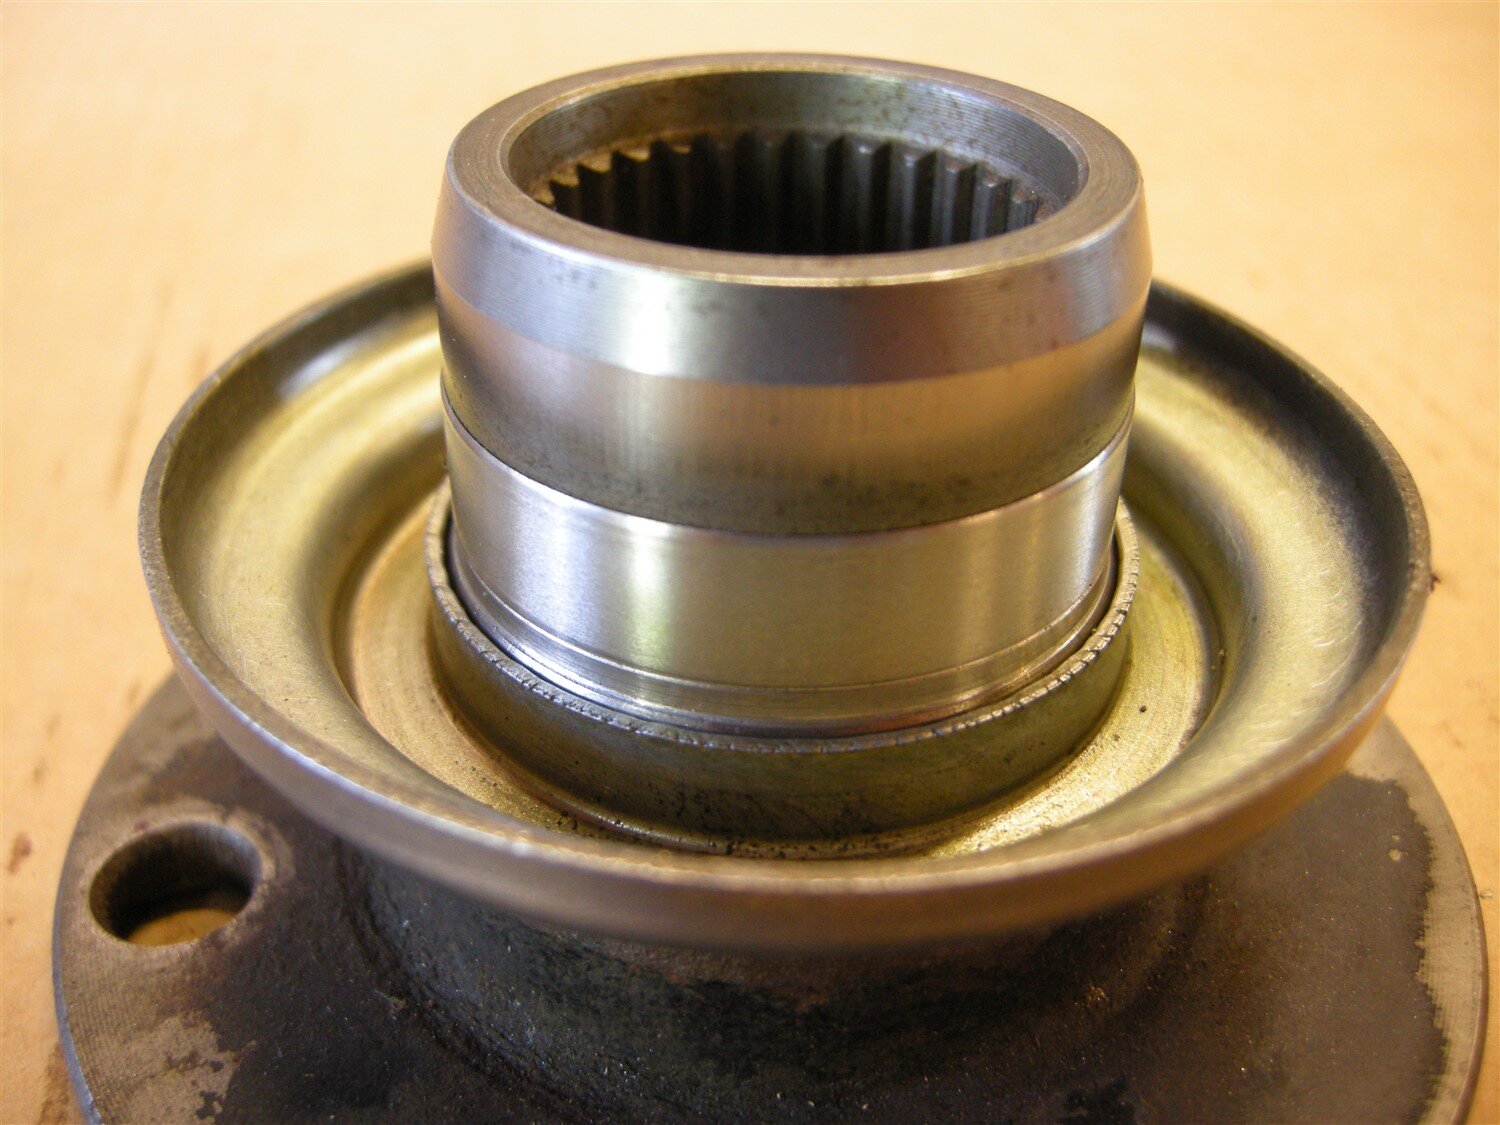
View attachment 156618
With the dust shield re-fitted, the groove is well out of the way of the oil seal.
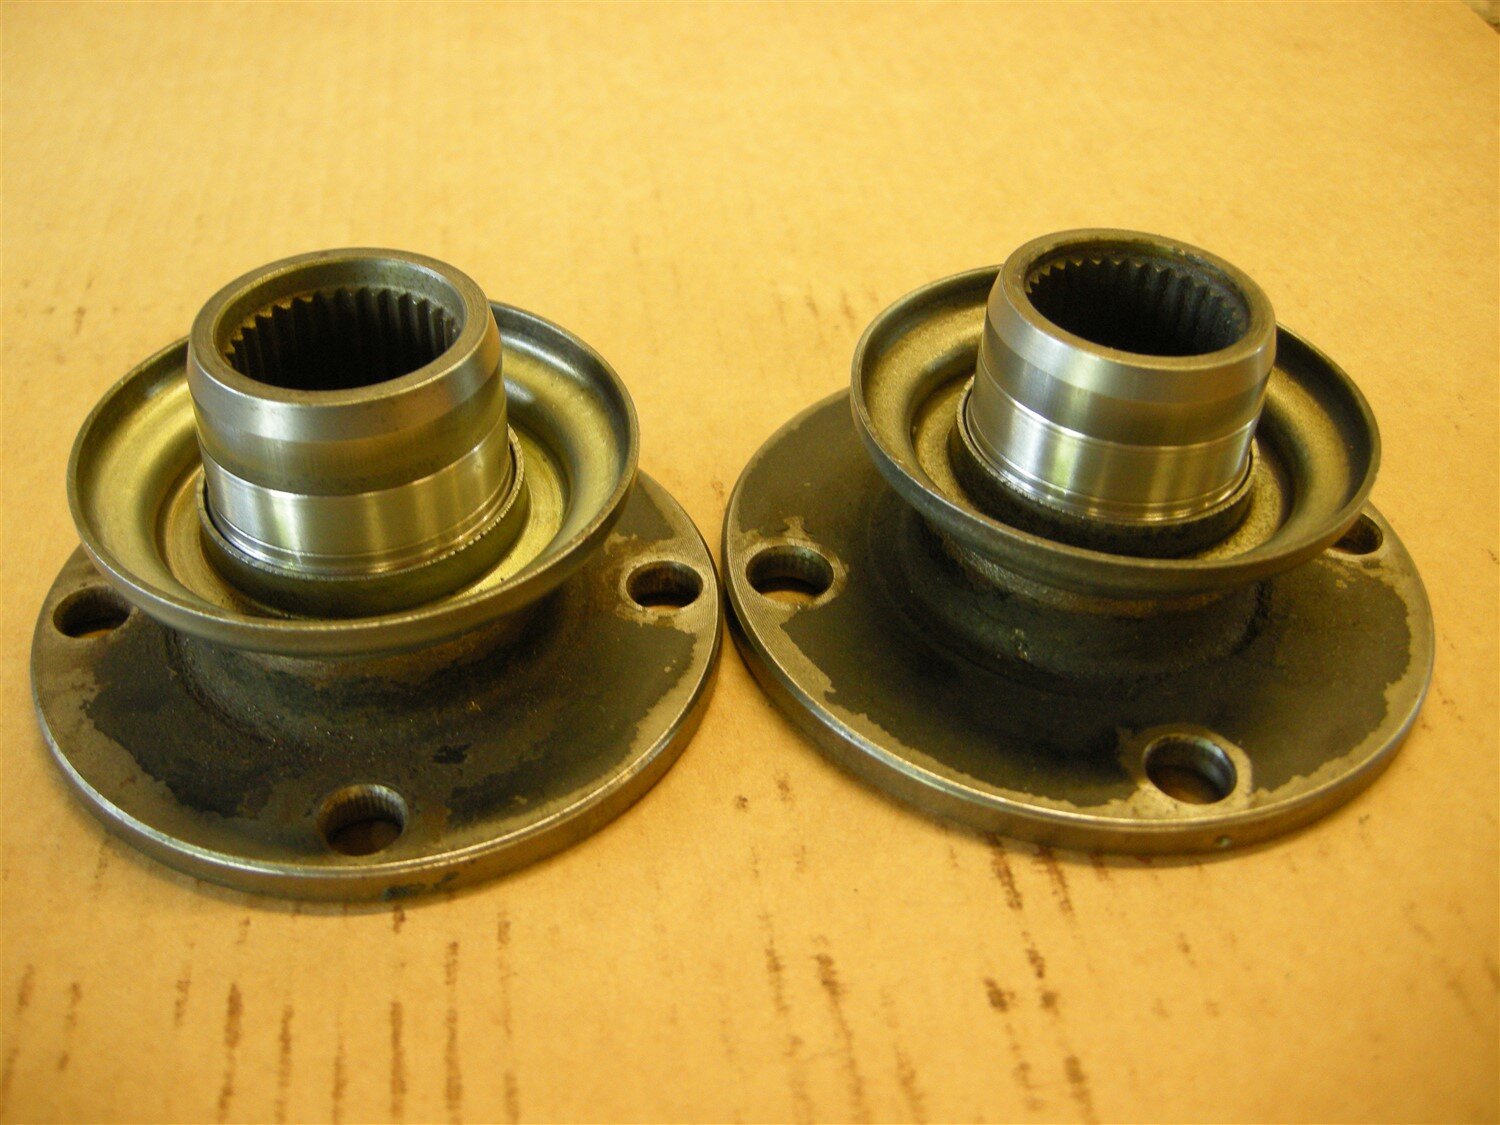
View attachment 156619
A pair of (hopefully) leak-free flanges. I don't need them at the moment so they are in the spares box.
View attachment 156620
I'll be interested to see how they perform, if they ever get used. In the meantime they represent a quick, easy and cheap fix for perpetually-leaking oil seals.
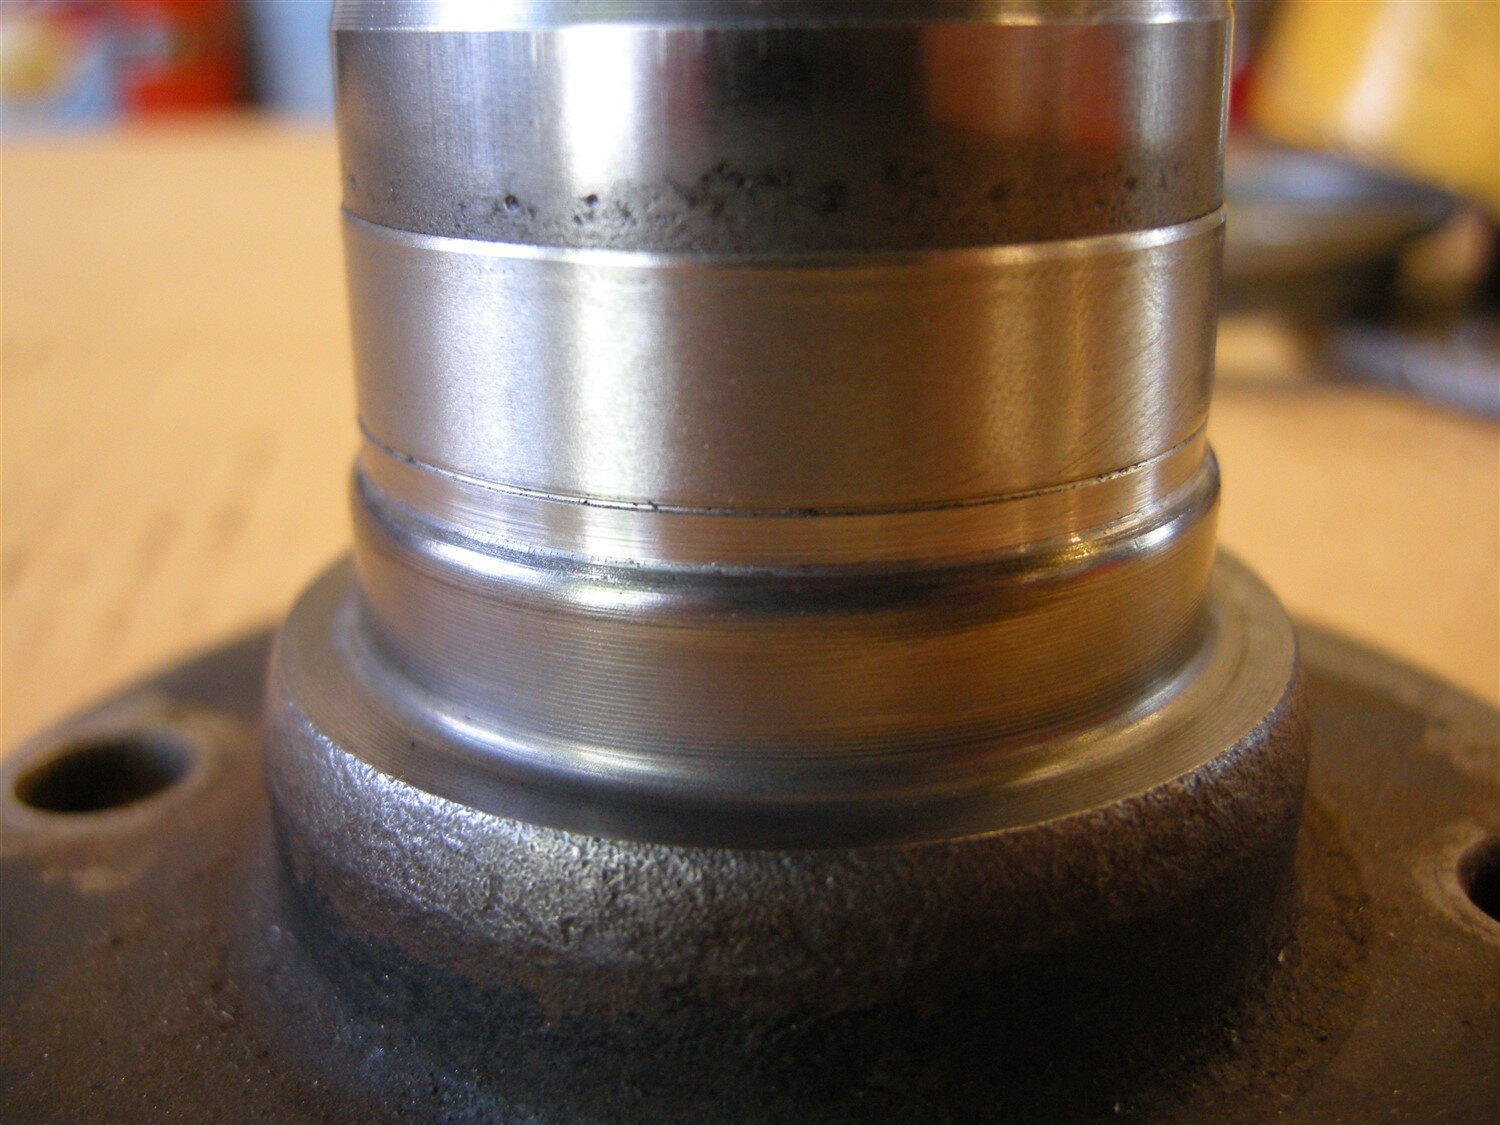
I wish I had taken pictures of them when I started as the front one was particularly badly scored and corroded. You get a hint of what is under the sleeve here:
View attachment 156621
'DiggerDave' can explain how it got to be in this state.
I used a pair of SKF 40mm (39.85 - 40.01 mm) Part No. CR99153. Mine came from "DT Seals Ltd." ([email protected]).
Also available on e-Bay here:
https://www.ebay.co.uk/itm/SKF-Spee...m592b3e6992:g:cFIAAOSwB6Bc7aaM&frcectupt=true
I thought I'd post it for interest.
Bob.
Found a bloody tile cracked,
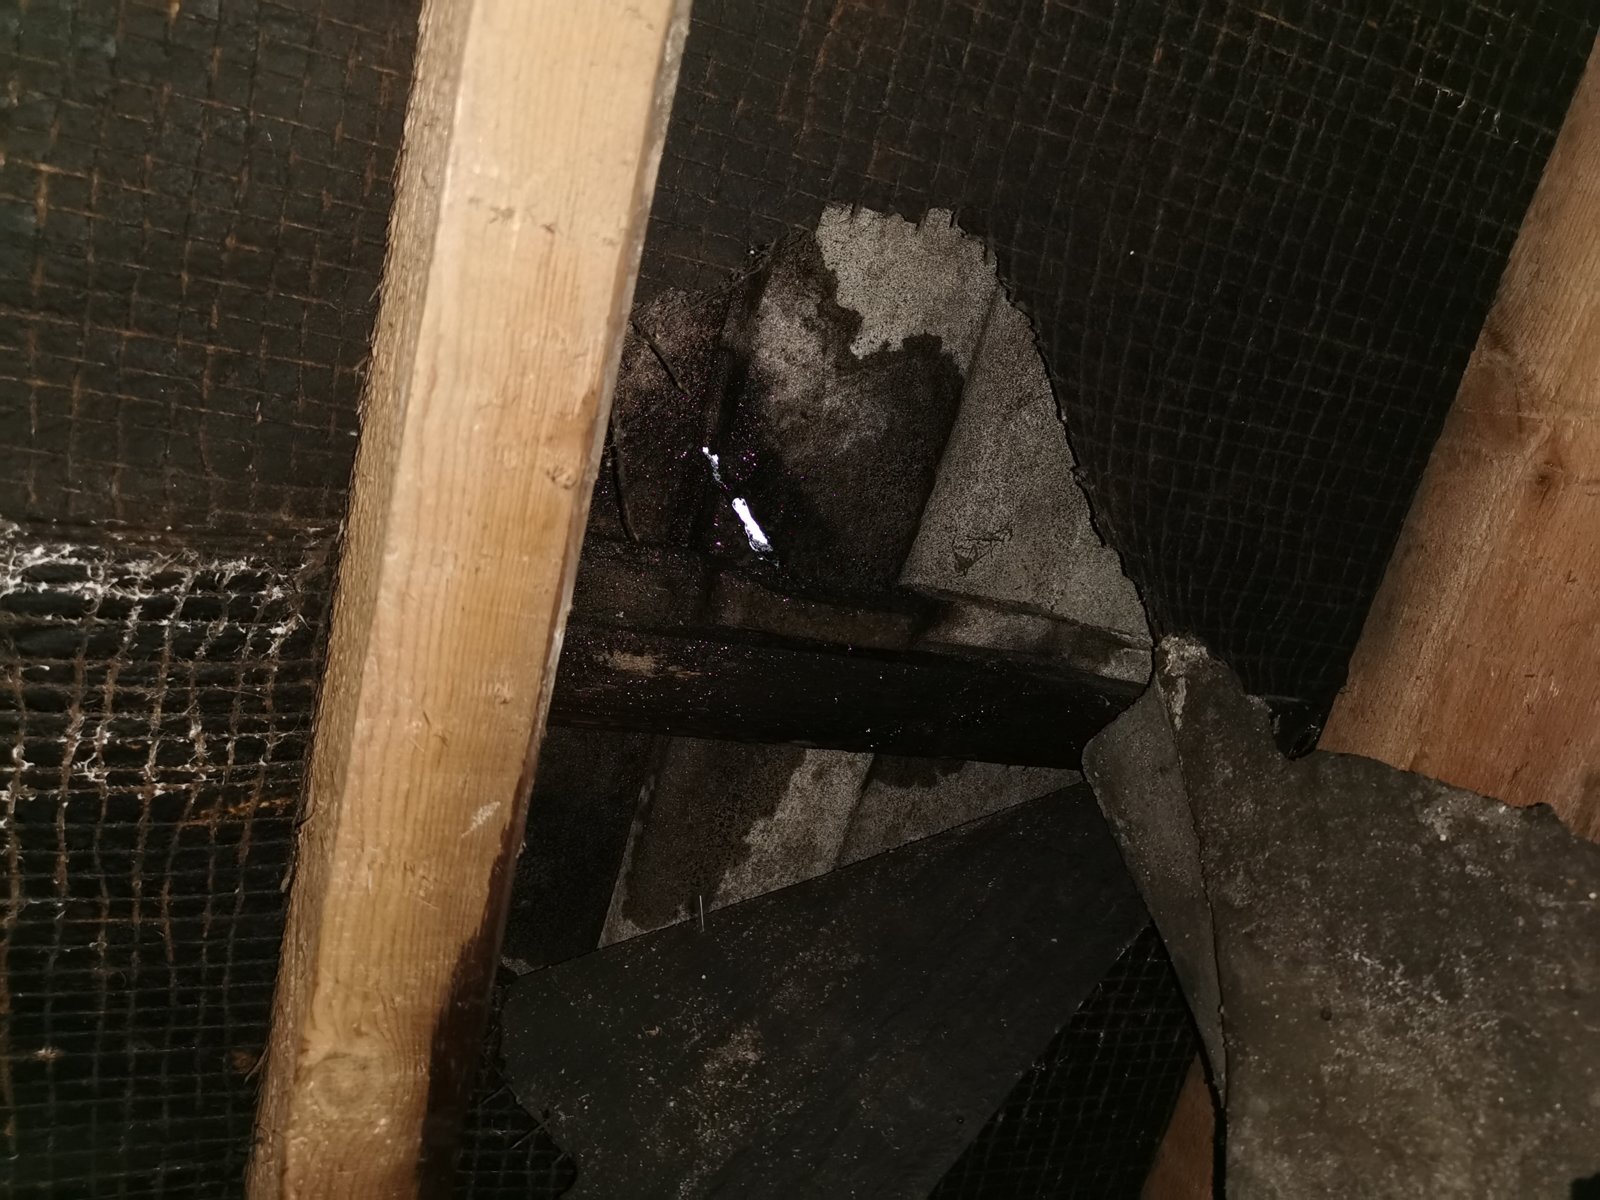
Got a dreaded phone call earlier whilst en route to the gym "come back home the roof is leaking", so I shot back home and investigated. Found a bloody tile cracked, after talking to a roofer he said fill it with foam and stick the felt back up. As this is our first bought house all this DIY is a bit new to me but as the saying goes you live and you learn
Get up on the roof pull the broke tile out , nail a strip of lead to the wood under , slip a new tile it and fold the lead over it like a hook to hold it in place . Roofs are not silicone seal water tight they just allow water to run off like overlapping leafs
That's a job I have in my list before heading to France in a few weeks. Did it make any difference to the steering feel. I might be imagining it, but mine seems a tiny bit heavier lately


