Don't like the adverts?  Click here to remove them

TLC HJ61 total reconditioning

Hi that is one top job you have got on the 60 I like to see wot you dow with the 40 thanks for the pics love it from Tony.
 
Hi Tony, the 40 will be next on the list of my resto project. I mistakenly posted this in the 60 series category.

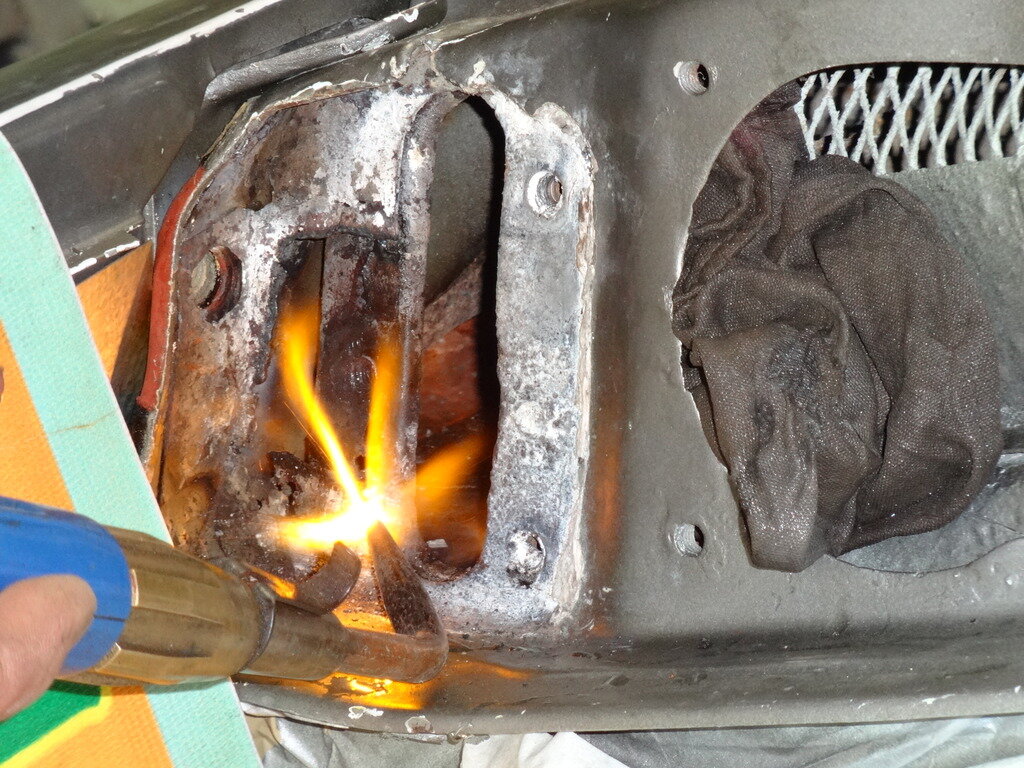
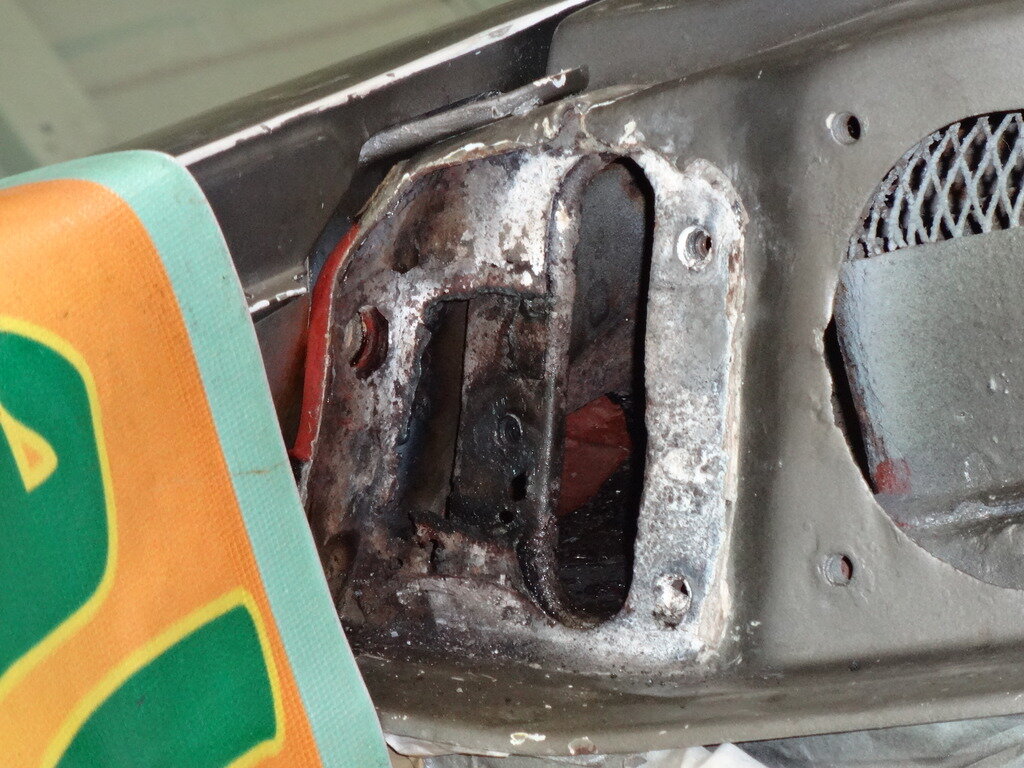
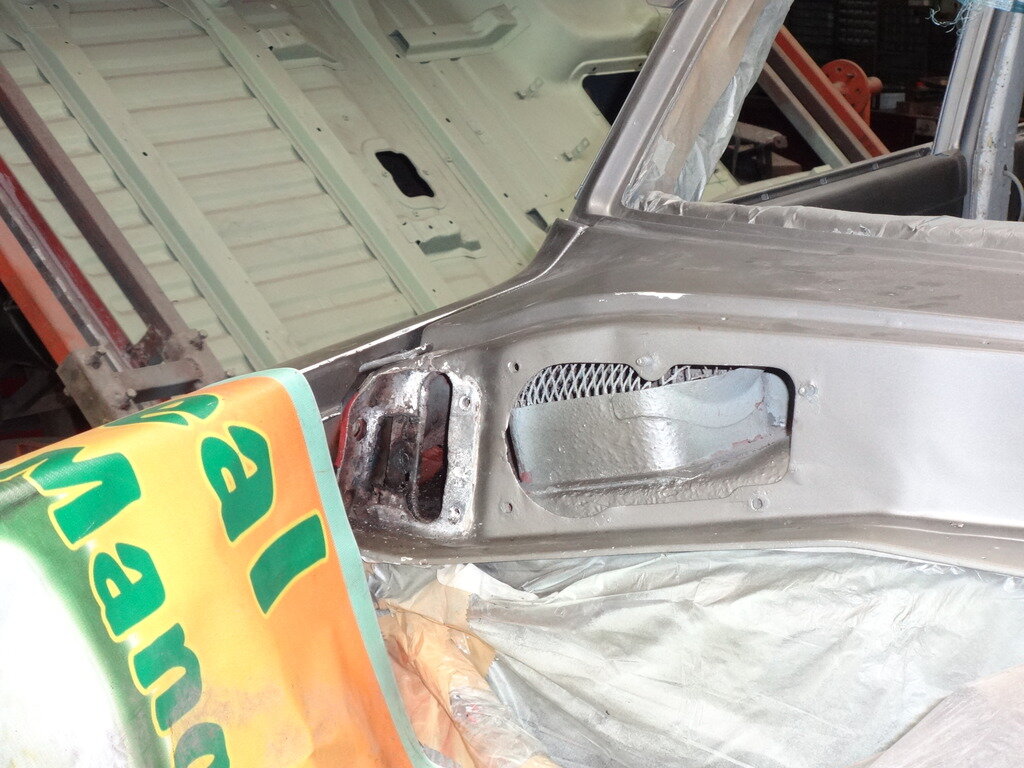
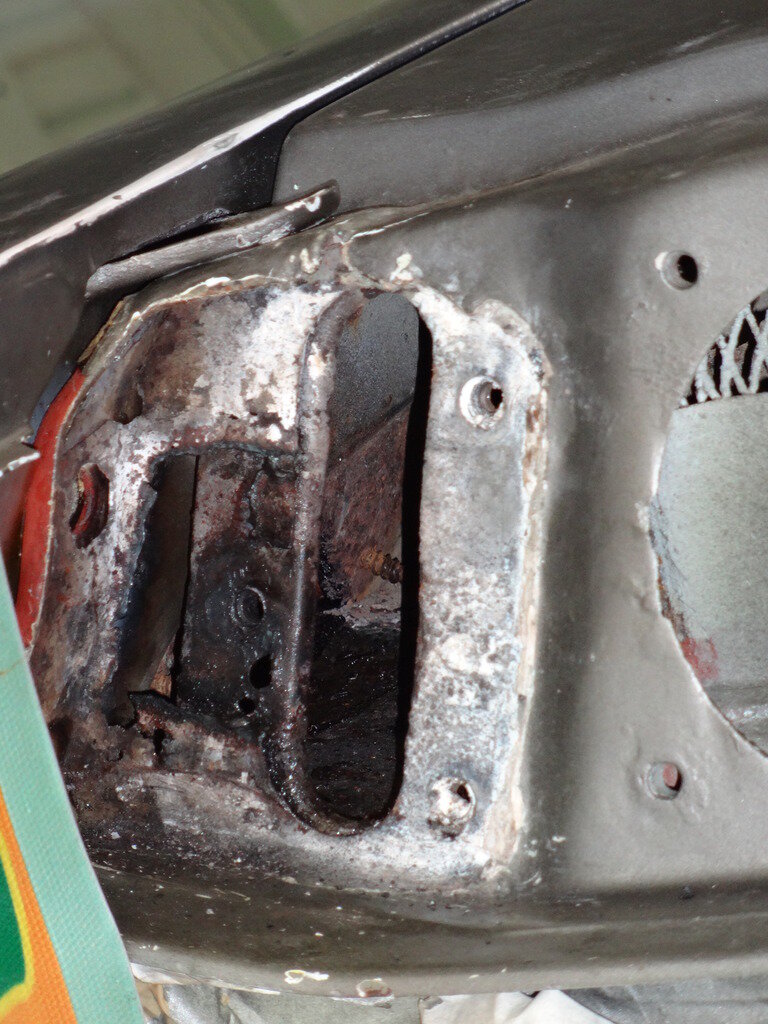
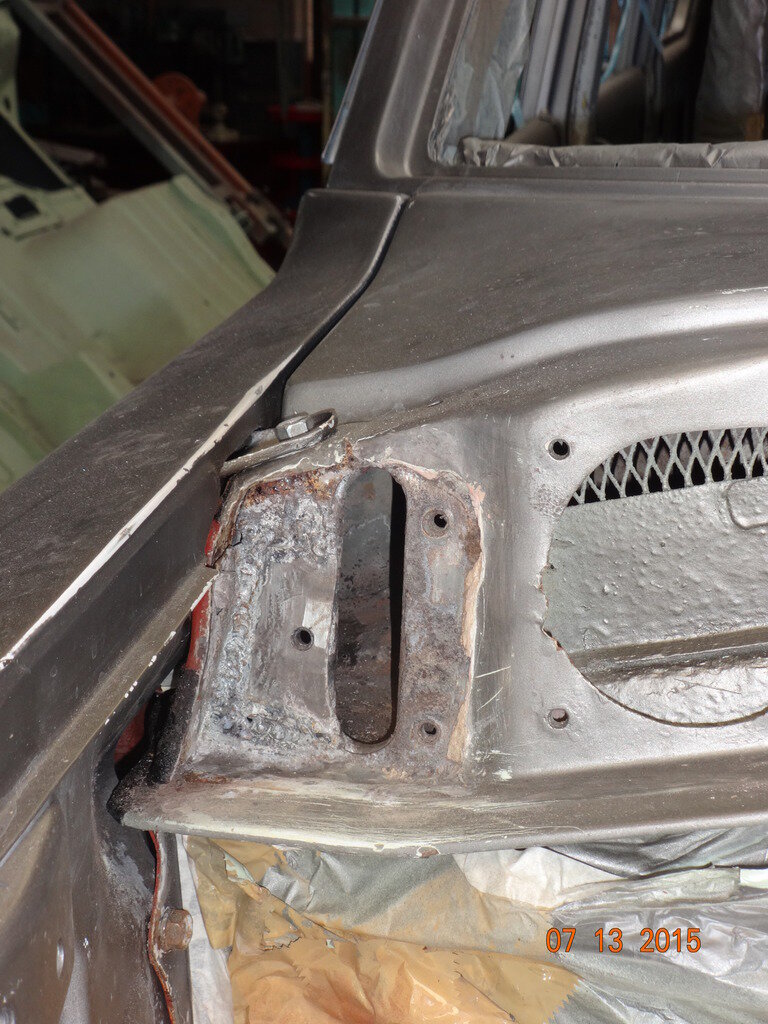
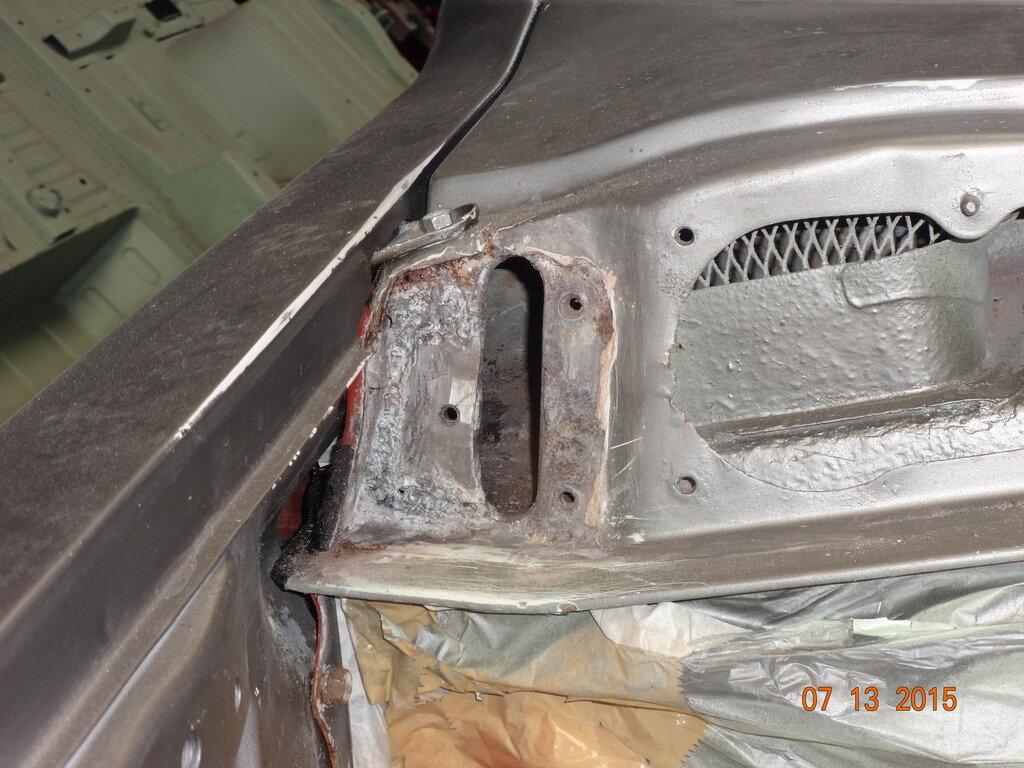
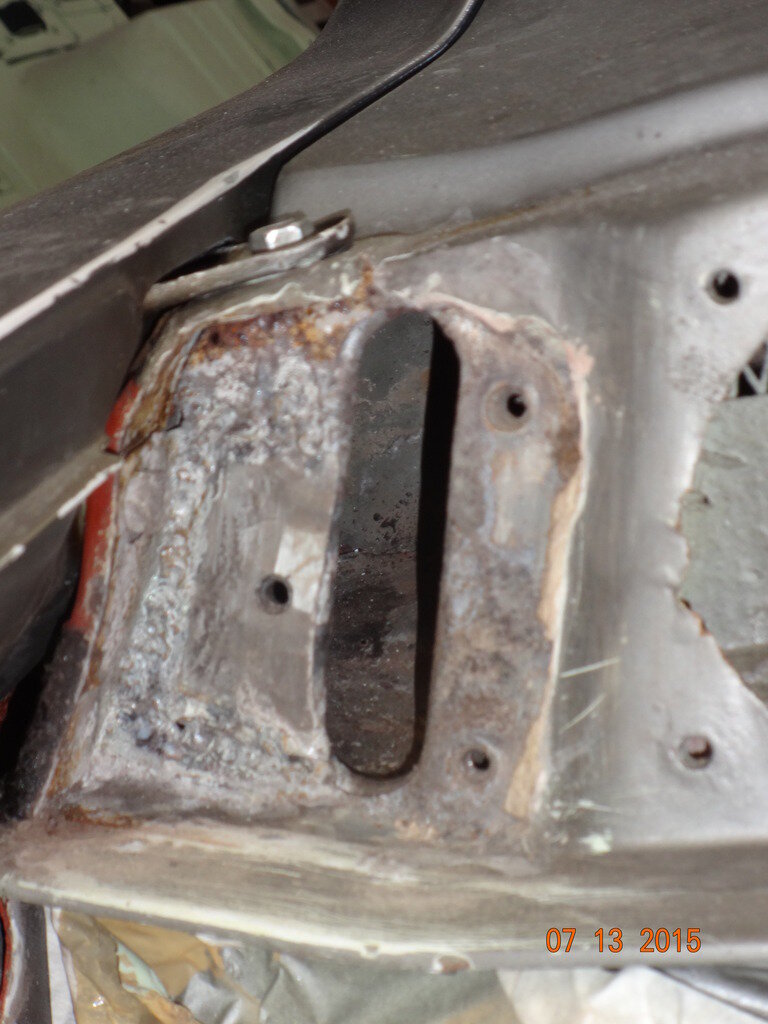
Here's more of the fender installation.

DSC01434.jpg


DSC01435.jpg


DSC01432.jpg


DSC01433.jpg


DSC01436.jpg
 
Last edited:
My new spray gun just came in. Not really the best but it will do. Price for the new gun with a 1.5mm tip and nozzle, to include 2 additional nozzles (1.4mm and 1.8mm) is US$ 99.14. Not bad...


DSC01446.jpg

DSC01443.jpg

DSC01445.jpg

DSC01444.jpg
 
Last edited:
We had a difficult time in aligning the hood. Turns out one of the hinge is worn out and we had to repair the pin. Also, the height of the hood on the right hinge was lower compared to the left side. Shims will be added to level both side of the hood.


DSC01447.jpg

DSC01451.jpg

DSC01450.jpg

DSC01453.jpg
 
Last edited:
I have been away for quite a while due to some important matters. Got really frustrated by just looking at the baby. The rainy season has finally arrived and it is really pouring. anyway, I got the hinge plate repaired and will be ready for a fresh coat of epoxy paint.


DSC01480.jpg

DSC01479.jpg

DSC01477.jpg

DSC01475.jpg

DSC01625.jpg

DSC01626.jpg

DSC01630.jpg

I hope to apply the paint within this week and attach the hood for alignment.
 
Last edited:
Don't like the adverts?  Click here to remove them
After being gone for quite a while, some really pressing problems with business, I finally found time to install the hood. This was done though last July 18 but only had time to upload the pictures today.

DSC01657.jpg

DSC01656.jpg

DSC01655.jpg

DSC01653.jpg

DSC01652.jpg

DSC01650.jpg
 
Last edited:
Got the paint done and will schedule to apply top coat next week.


DSC01723.jpg

DSC01724.jpg

DSC01725.jpg

DSC01726.jpg

DSC01728.jpg

DSC01729.jpg

DSC01730.jpg

DSC01731.jpg

DSC01732.jpg

DSC01733.jpg

DSC01734.jpg

DSC01736.jpg
 
Last edited:
Awesome work, its looking great! :thumbup:
 
Fantastic restoration work, not seen this thread before. Very Impressed


Sent from my iPad using Tapatalk
 
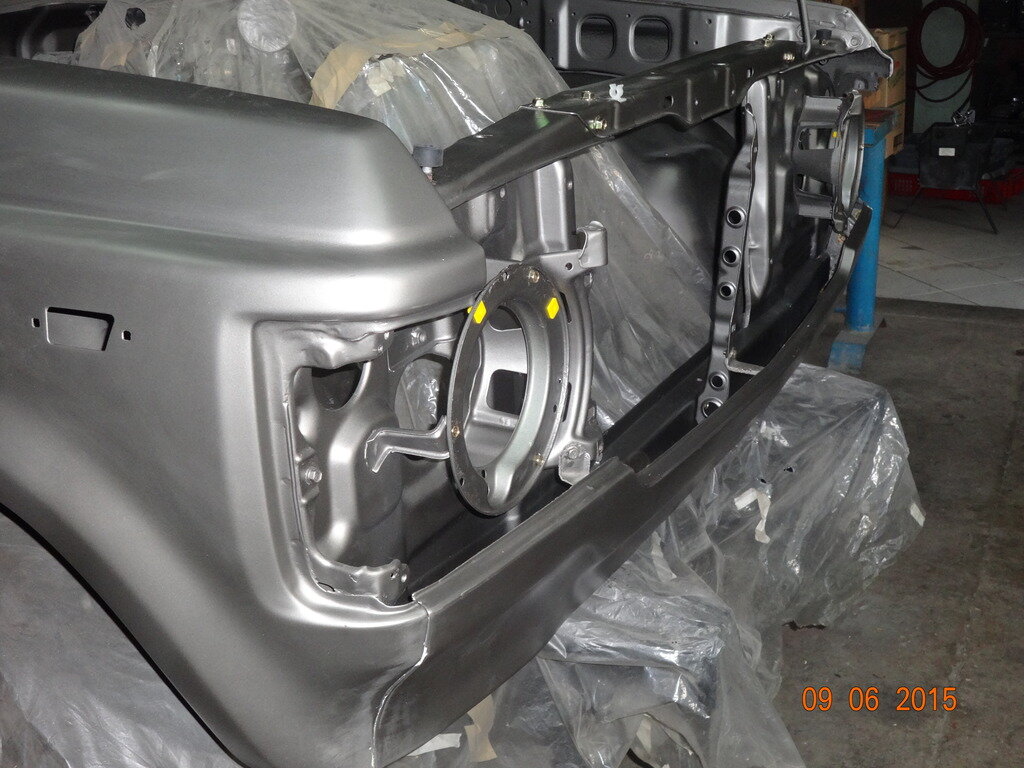
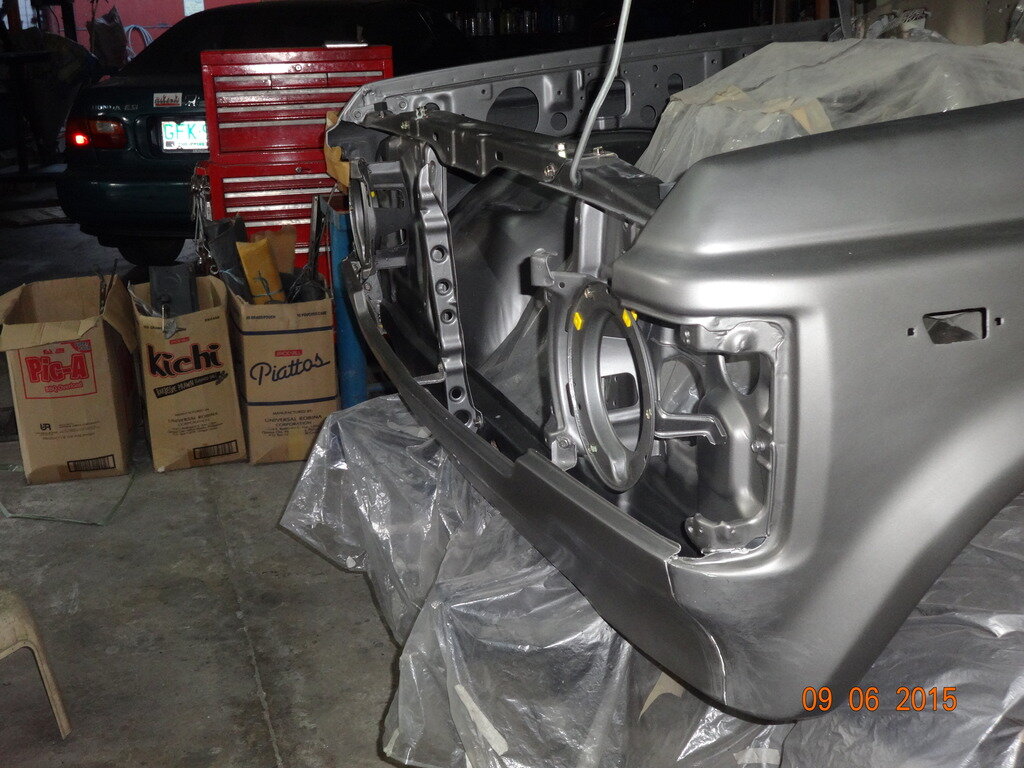
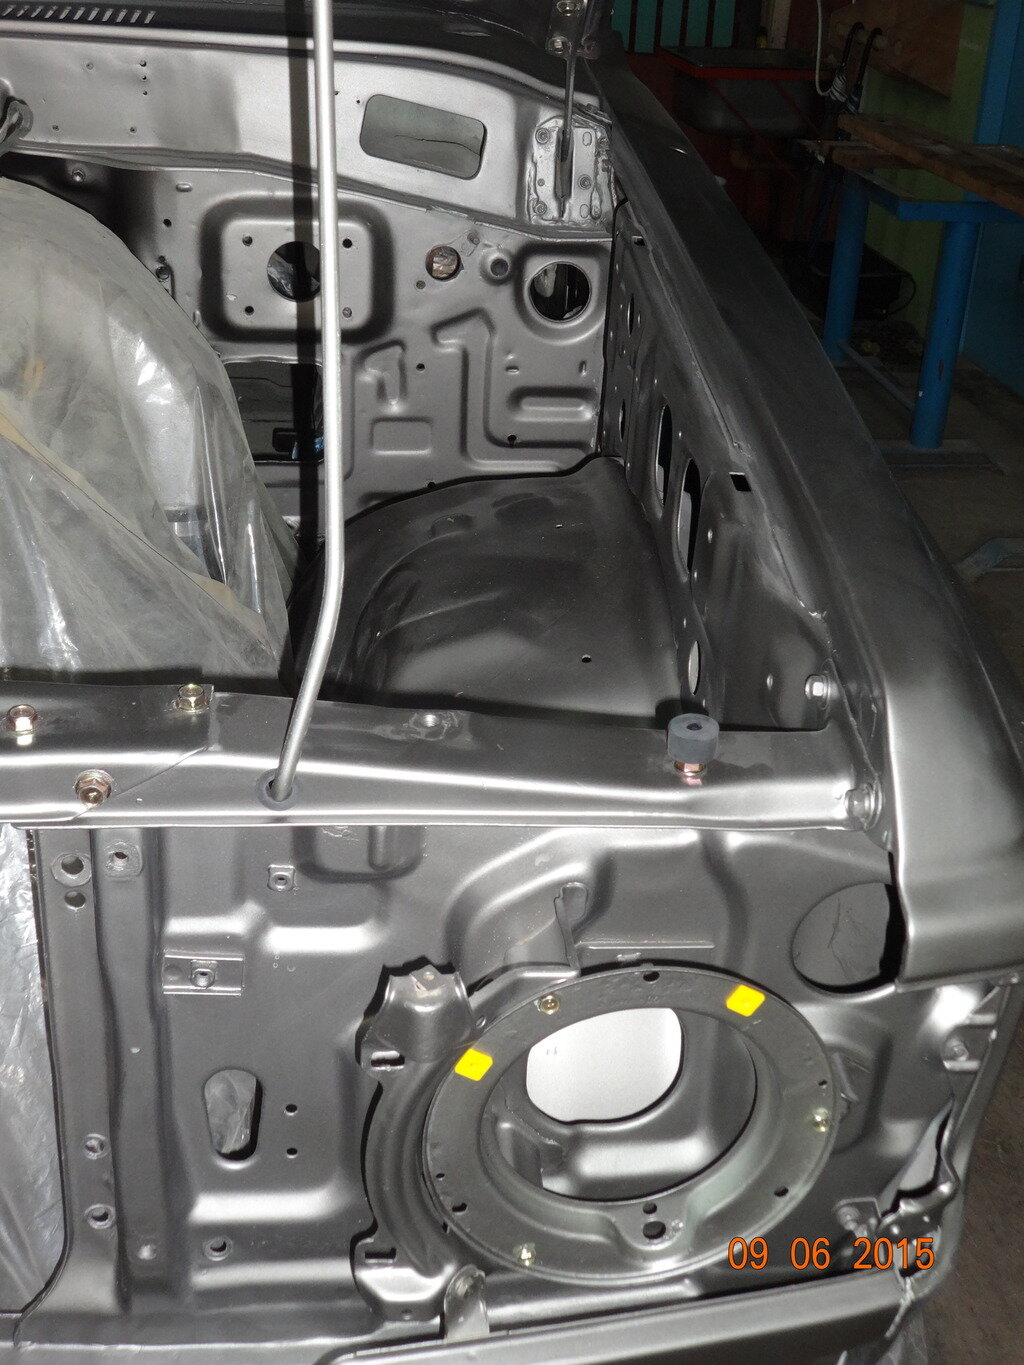
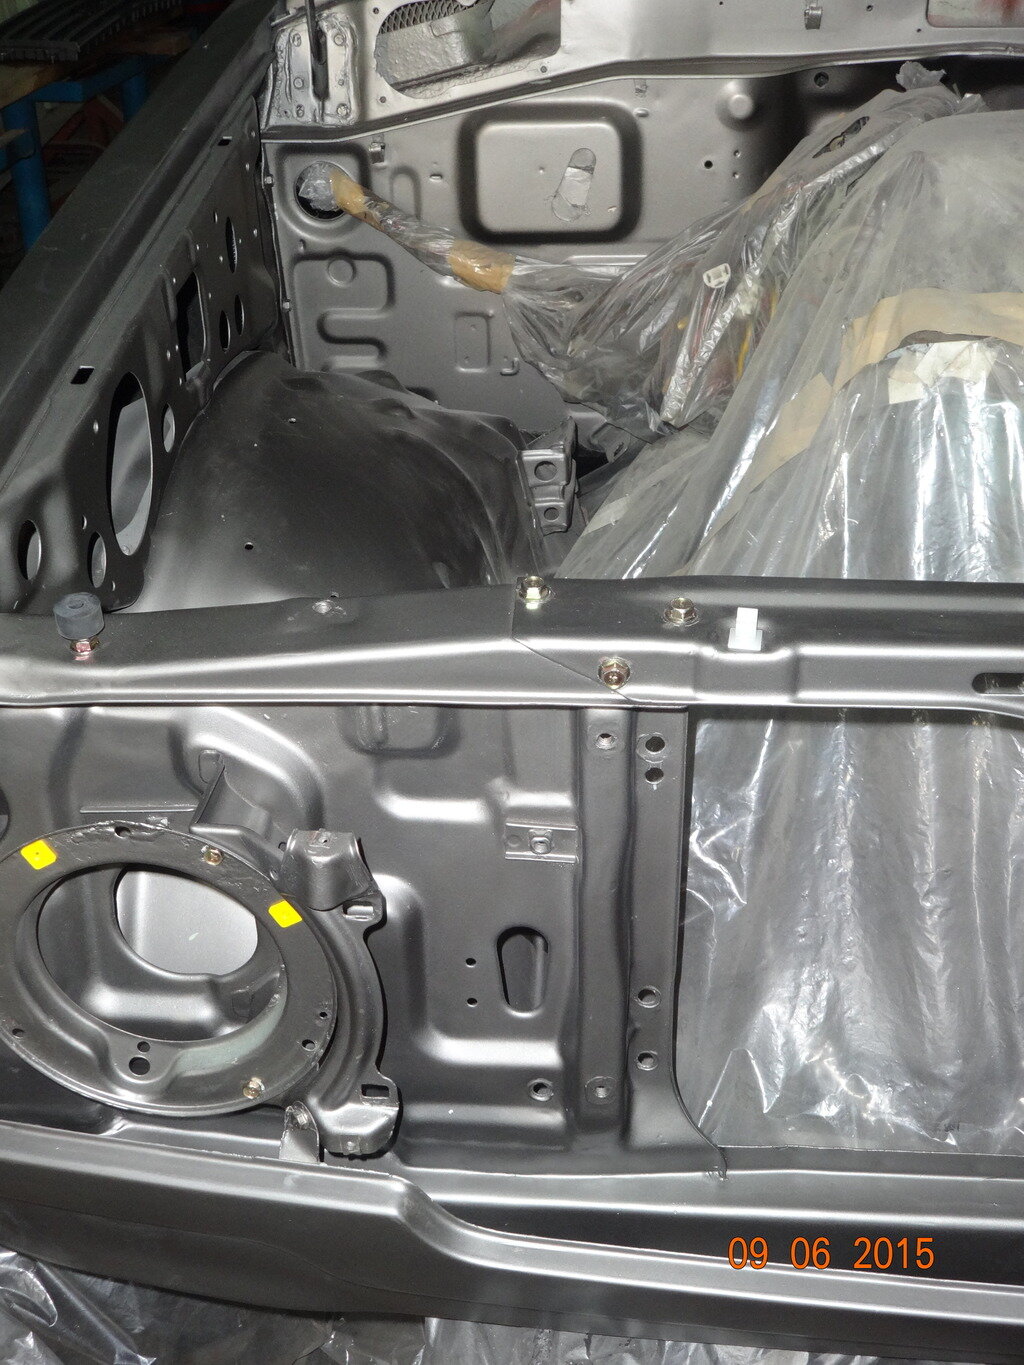
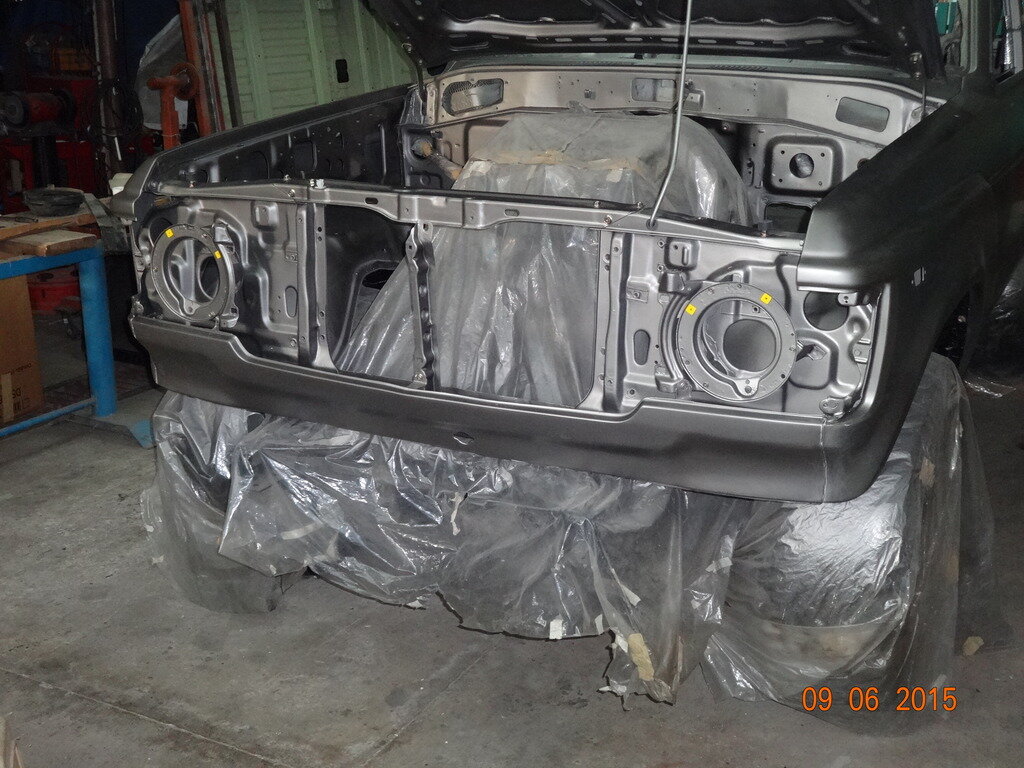
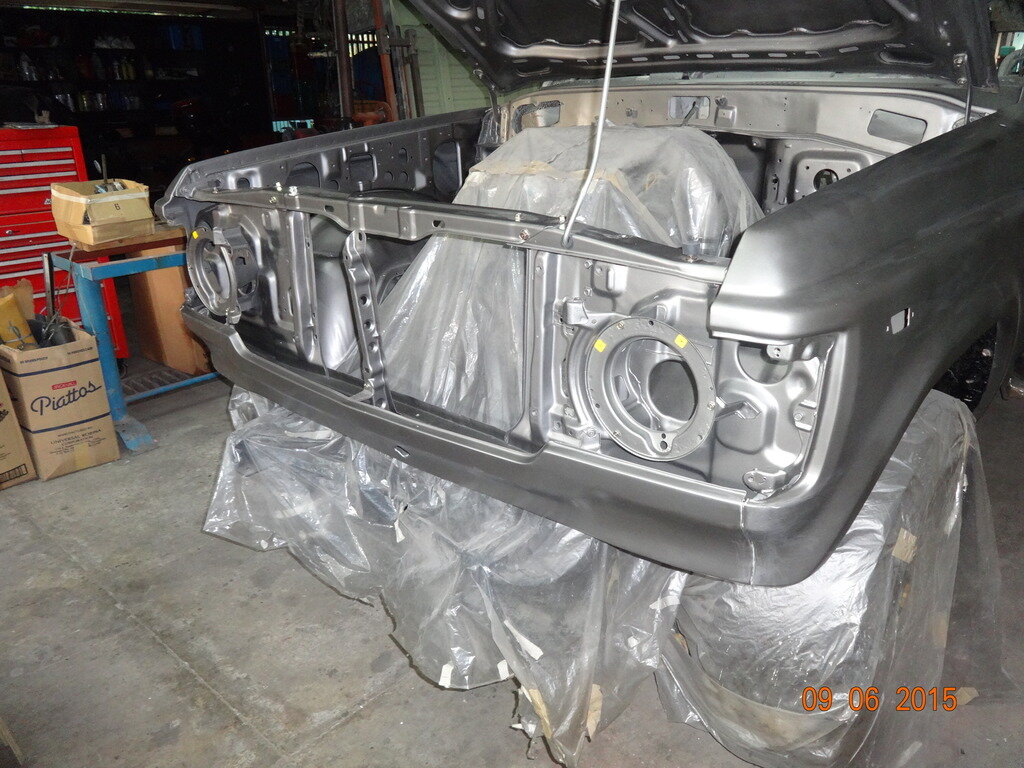
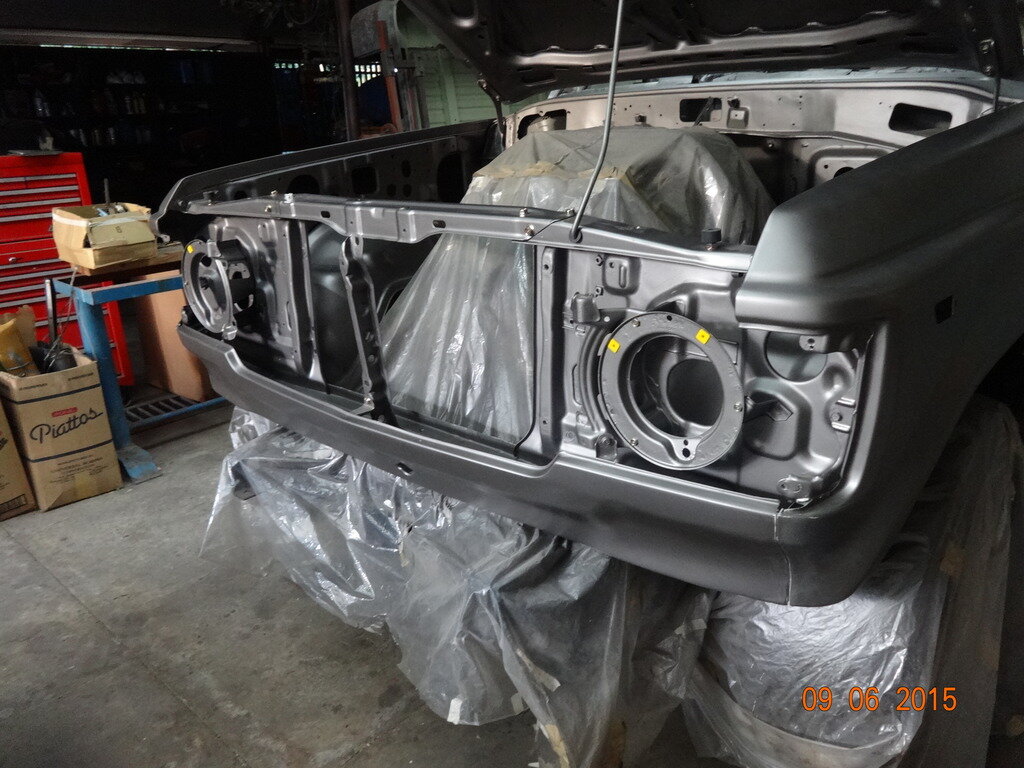
Got to work on Willie over the weekend. Applied 3 coats of top coat. Installed and aligned the front end panel with the brace. Installed the head lamp housing. I need to do these fit before I finally apply the last remaining top coat. Just so if I happen to scratch some areas, I can still do some touch ups. It is tricky when you add flattening paste on the top coat. Mix and stir well before applying to avoid clouding. I learned from the first few coats.

DSC01771.jpg

DSC01770.jpg

DSC01769.jpg

DSC01768.jpg

DSC01767.jpg

DSC01766.jpg

I took this pic with flash off. Pretty neat and just the way I like it.

DSC01765.jpg
 
Last edited:
Looking really good Oding, what's your plan for the truck when finished? Overland, off-road, daily drive? I hope it won't sit in a showroom, because you'll be afraid to drive such a new truck when it's done! It's a beauty!
 
When I am done with this beauty, Me and my son Vinny would drive back to Manila and all the way to Baguio City, and have a rather short vacation. I would set it up for overland. I am intending to sell it over there and buy an FJ47 or a troopy if ever there is one available. I would also finish the BJ40 that I bought long before the HJ61.
 
Nice, love the colour!
Color is a mix of metallic silver=70%, Jet Black=30% and Flattening paste 30%, that is if you want to do a flat finish. all my paint is in acrylic.
 
A great restoration and I love the finished colour, well done!
 
Got my resto blood going and felt that a little cleaning, checking-up and aligning of some parts will help.


DSC01772.jpg

DSC01773.jpg

DSC01774.jpg

DSC01775.jpg

DSC01776.jpg

DSC01777.jpg

DSC01778.jpg

DSC01779.jpg

DSC01780.jpg

DSC01781.jpg

DSC01782.jpg

DSC01784.jpg
 
Last edited:
good job!

The rubber on your right tail light does not seem to be in the correct place? it should stick out a little on top if I recall correct.

I used an imitation frame on mine, shape really sucked. First big rainfall and it soaked on the inside :think:
 
good job!

The rubber on your right tail light does not seem to be in the correct place? it should stick out a little on top if I recall correct.

I used an imitation frame on mine, shape really sucked. First big rainfall and it soaked on the inside :think:
That's true. I have been searching on how to rejuvenate rubber. The rubber gasket has shrunk through the years and I had a difficult time making it fit. It is really a good idea to fit all parts first before the final installation. Jente, do you have any suggestions on rubber reconditioning? I tried castor oil. Soaked the gasket then place in a zip bag. Hope to get result tomorrow.:thumbup:
 
Cleaning is fun especially when you find out the parts are still good. No need to order new ones.


DSC01787.jpg

DSC01785.jpg

DSC01786.jpg

DSC01788.jpg

DSC01790.jpg

DSC01791.jpg

DSC01793.jpg

DSC01795.jpg

DSC01796.jpg

DSC01798.jpg

DSC01799.jpg
 
Last edited:
Back
Top