Don't like the adverts?  Click here to remove them

my grey 80

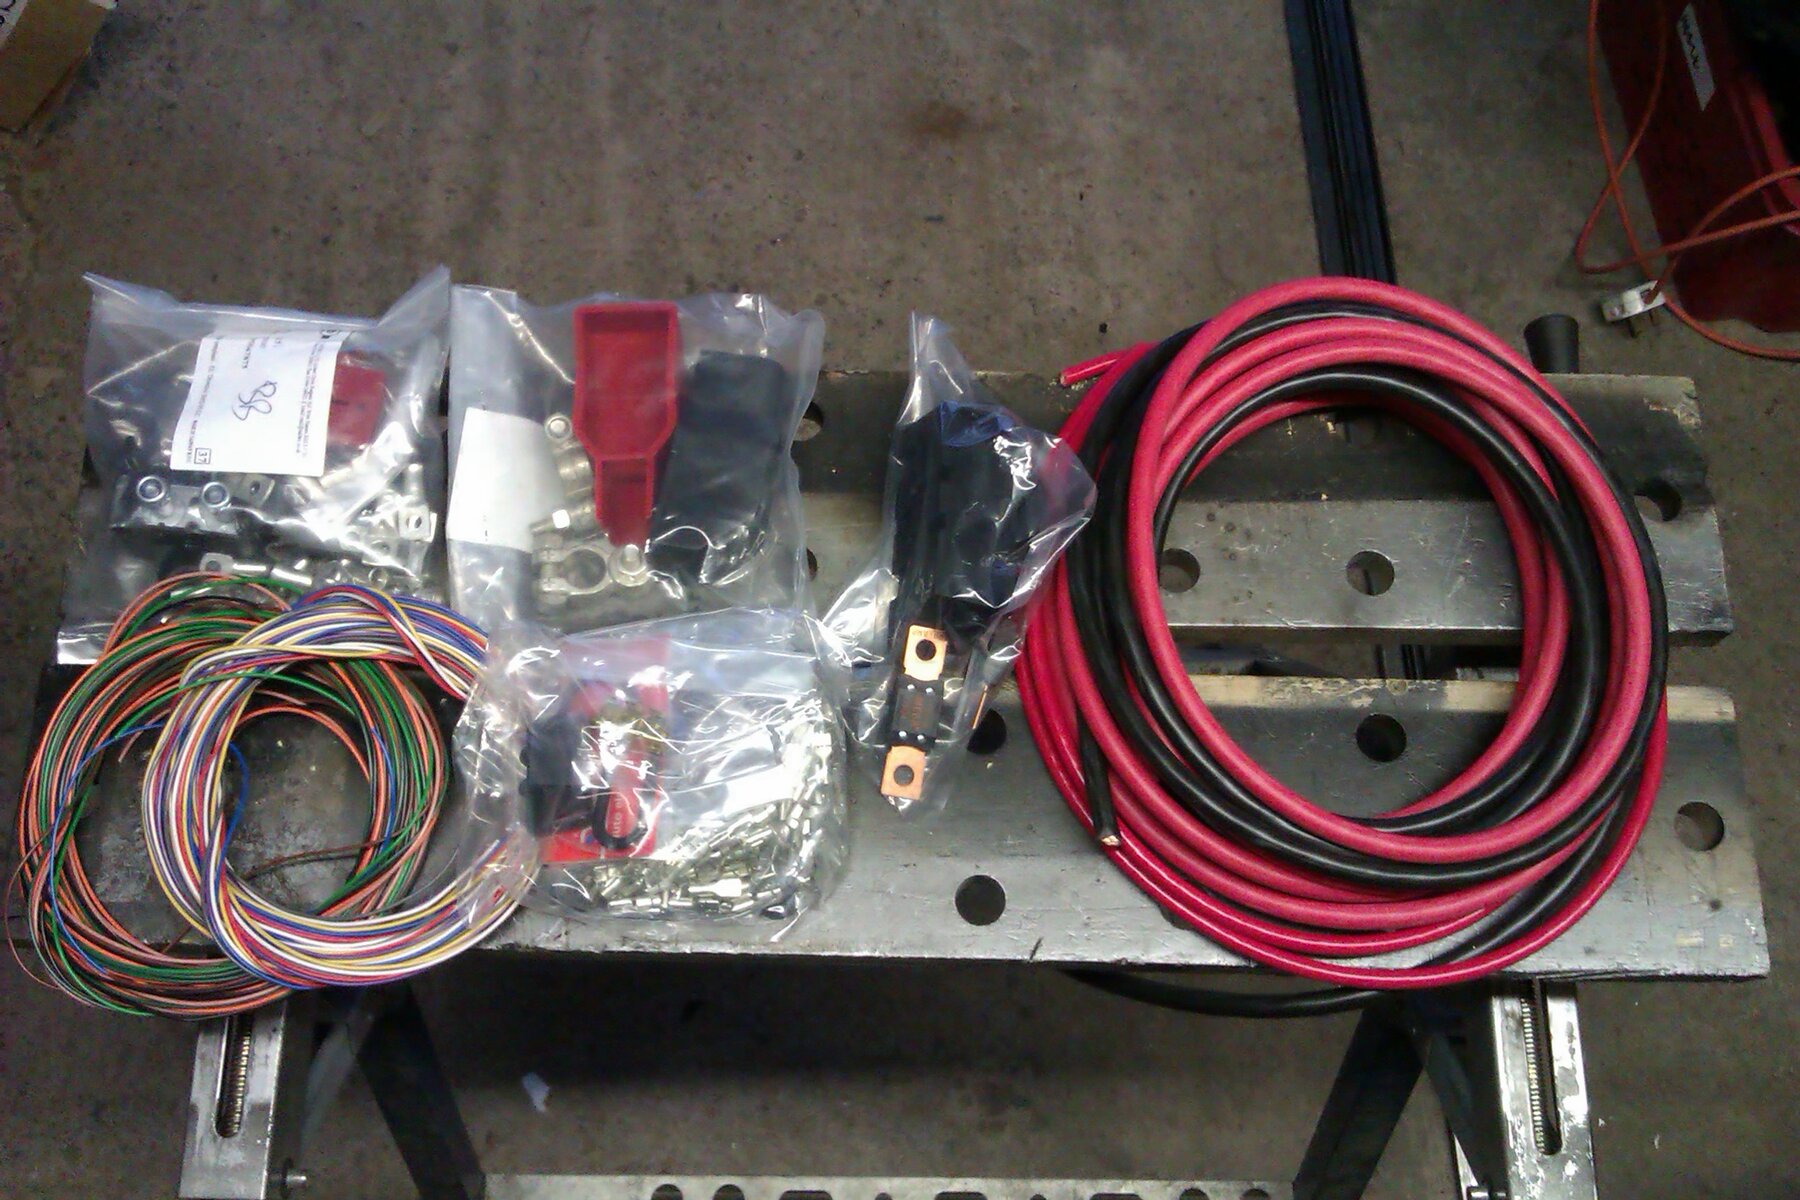
The SmartPass is just a connecting unit, pretty much a smart relay, that can handle up to 80 amps passing through it. IP65 is probably adequate for somewhere reasonably protected like the engine bay, not so sure about more exposed locations though. I haven't decided for sure where I'll put the charger, I'll wait till I have the aux battery mounted and go from there.

Some of the electrical bits and pieces to go in
[attachment=3:1ucxycpr]IMAG0885.jpg[/attachment:1ucxycpr]

The aux battery, decided to give Elecsol another go. I bought 2 for the 100, one failed, I put the other in the caravan to see how it lasted and it's been ok ... I like their physical size and spec.
[attachment=2:1ucxycpr]IMAG0886.jpg[/attachment:1ucxycpr]

The headlight wiring upgrade kit that I'll fit even though I don't seem to need it :)
[attachment=1:1ucxycpr]IMAG0887.jpg[/attachment:1ucxycpr]

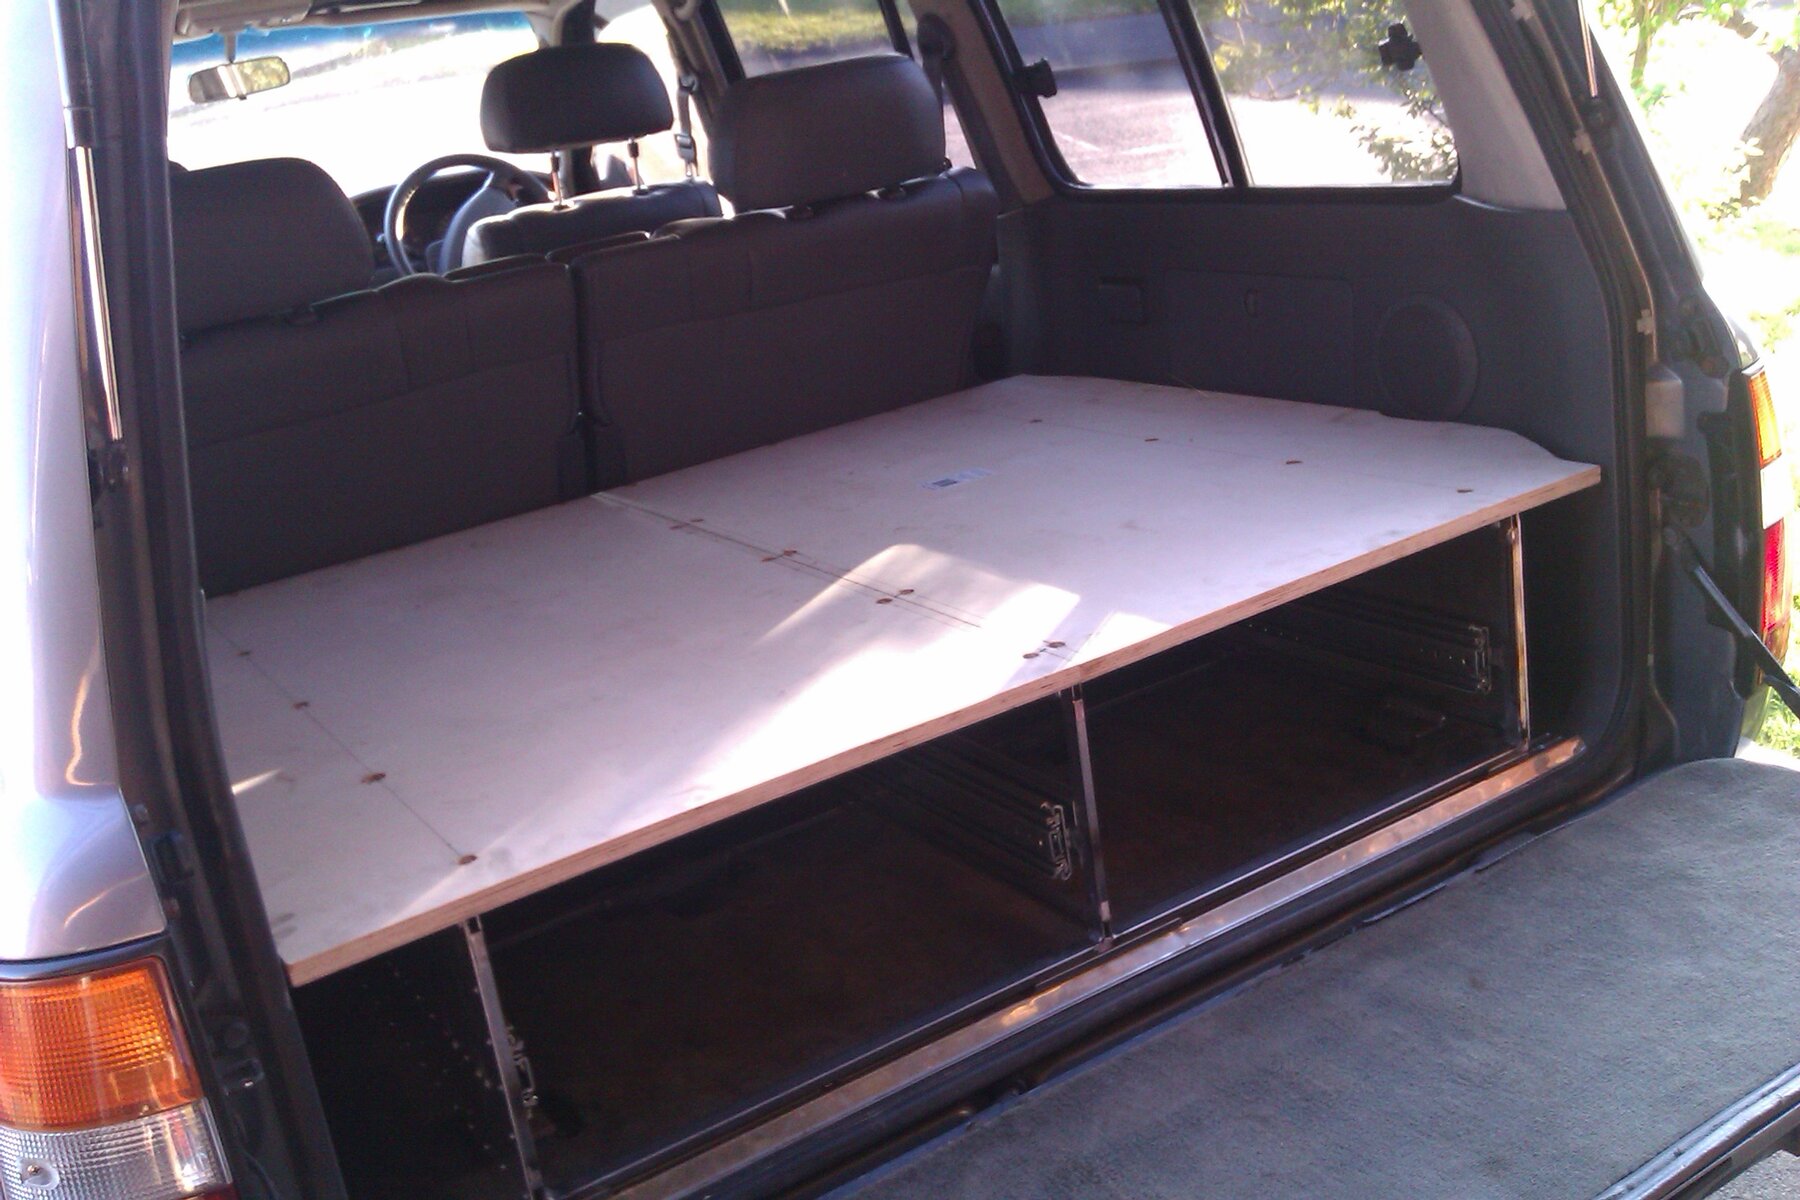
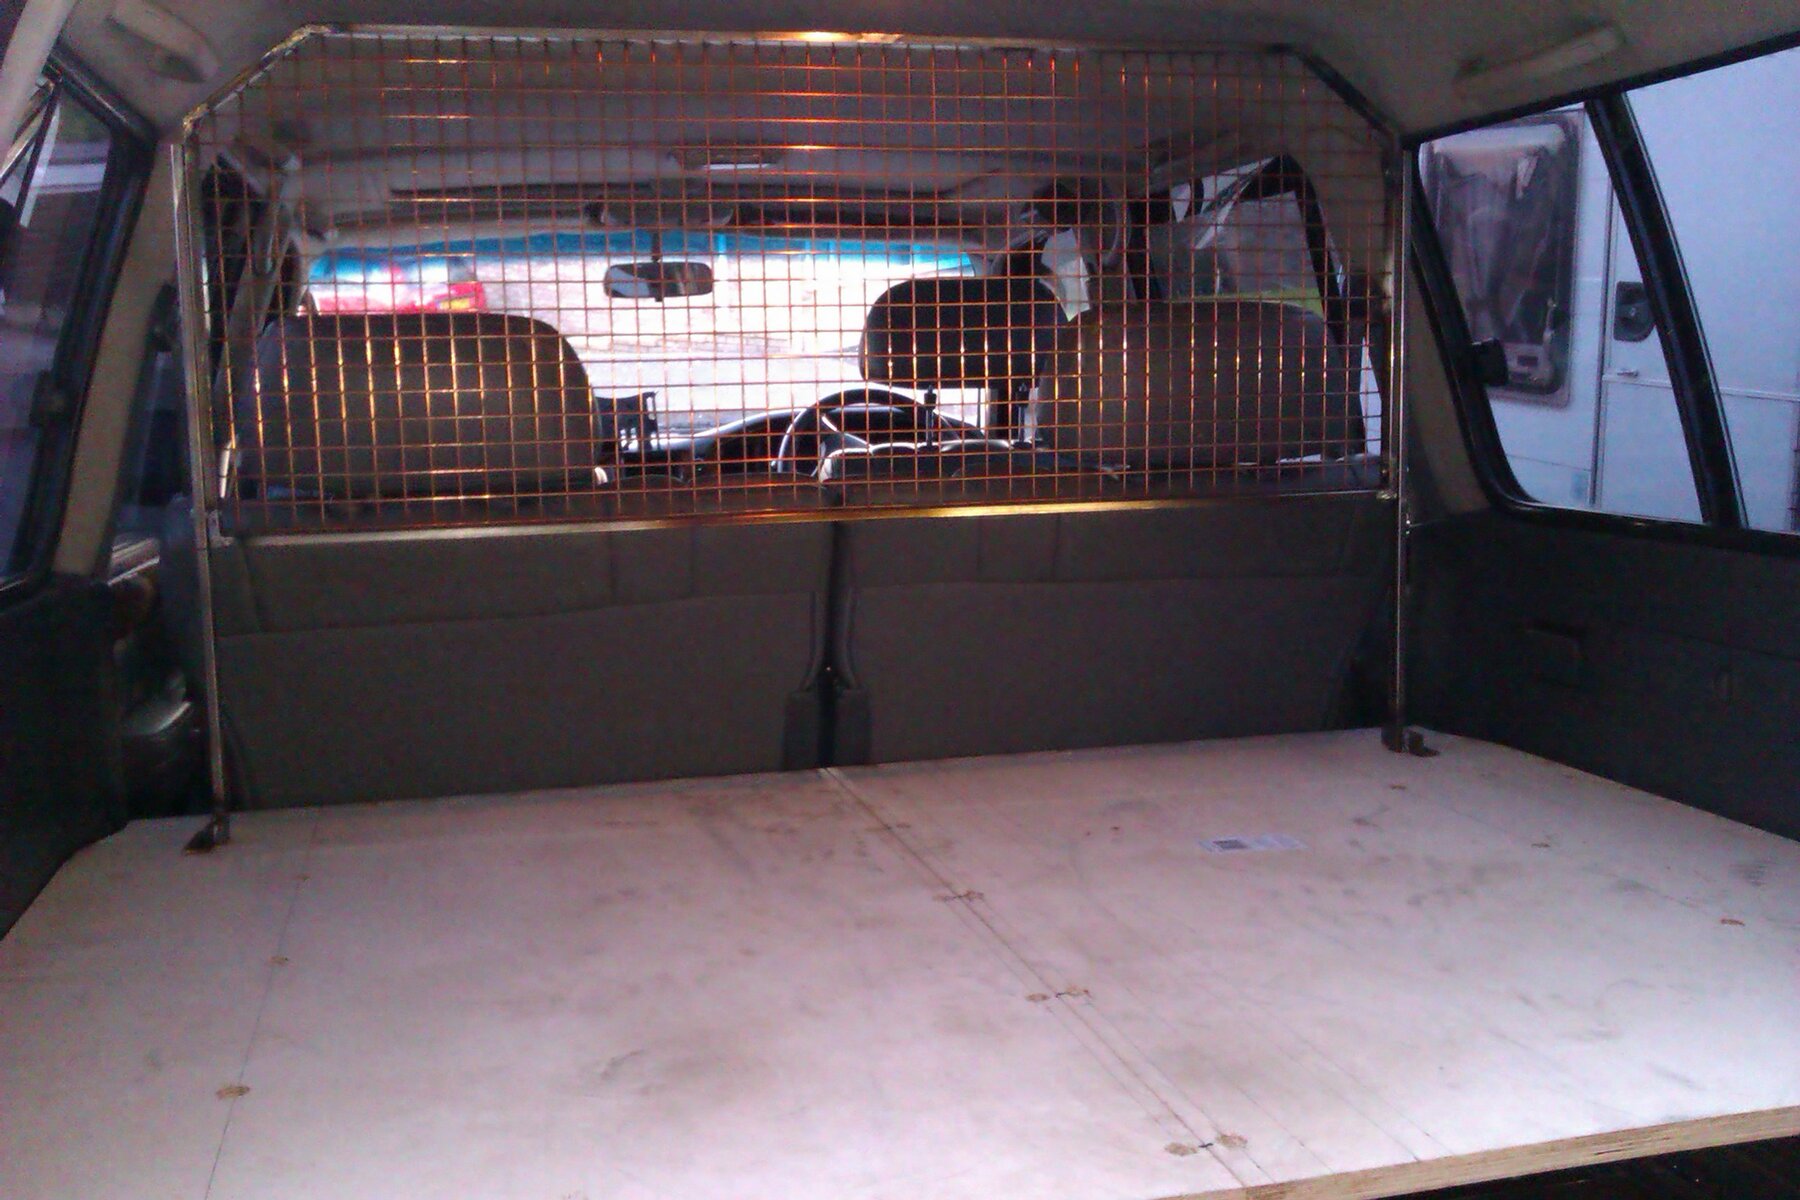
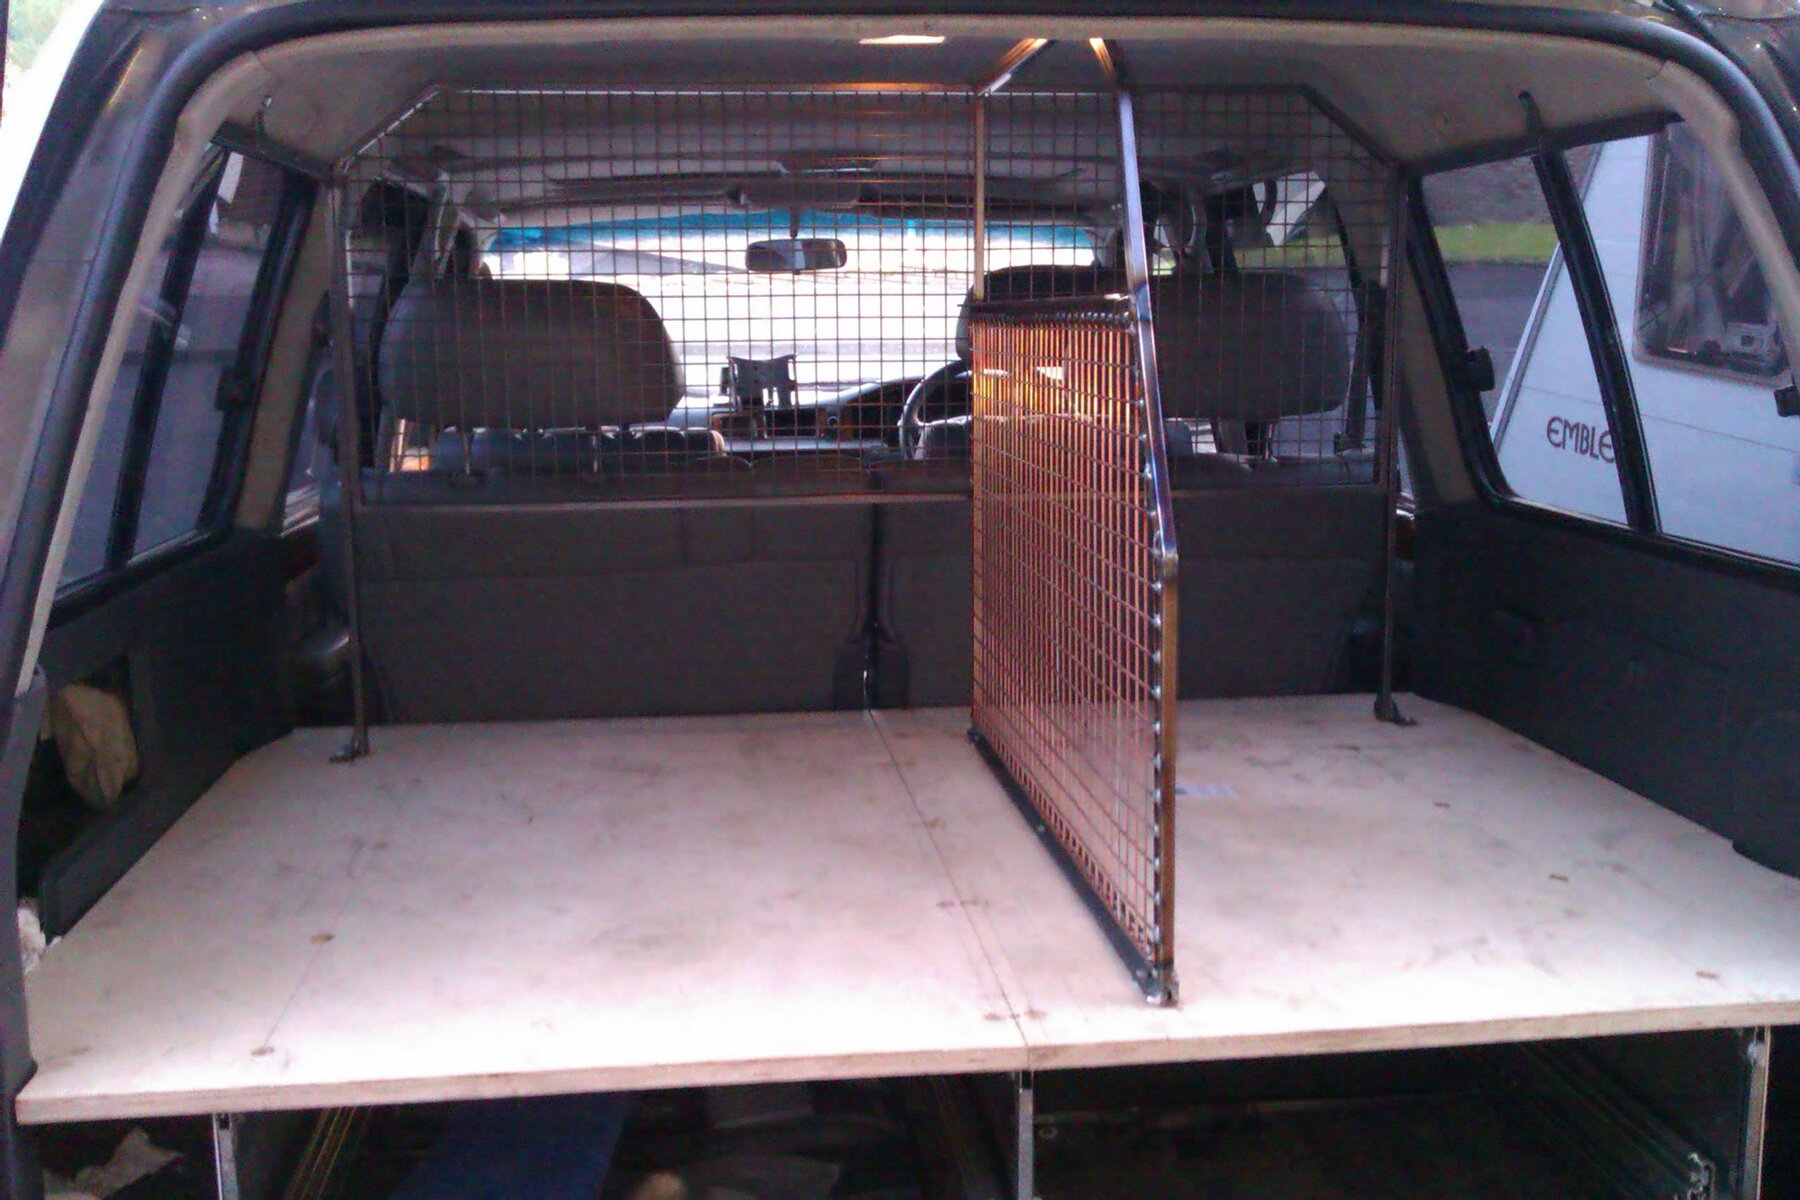
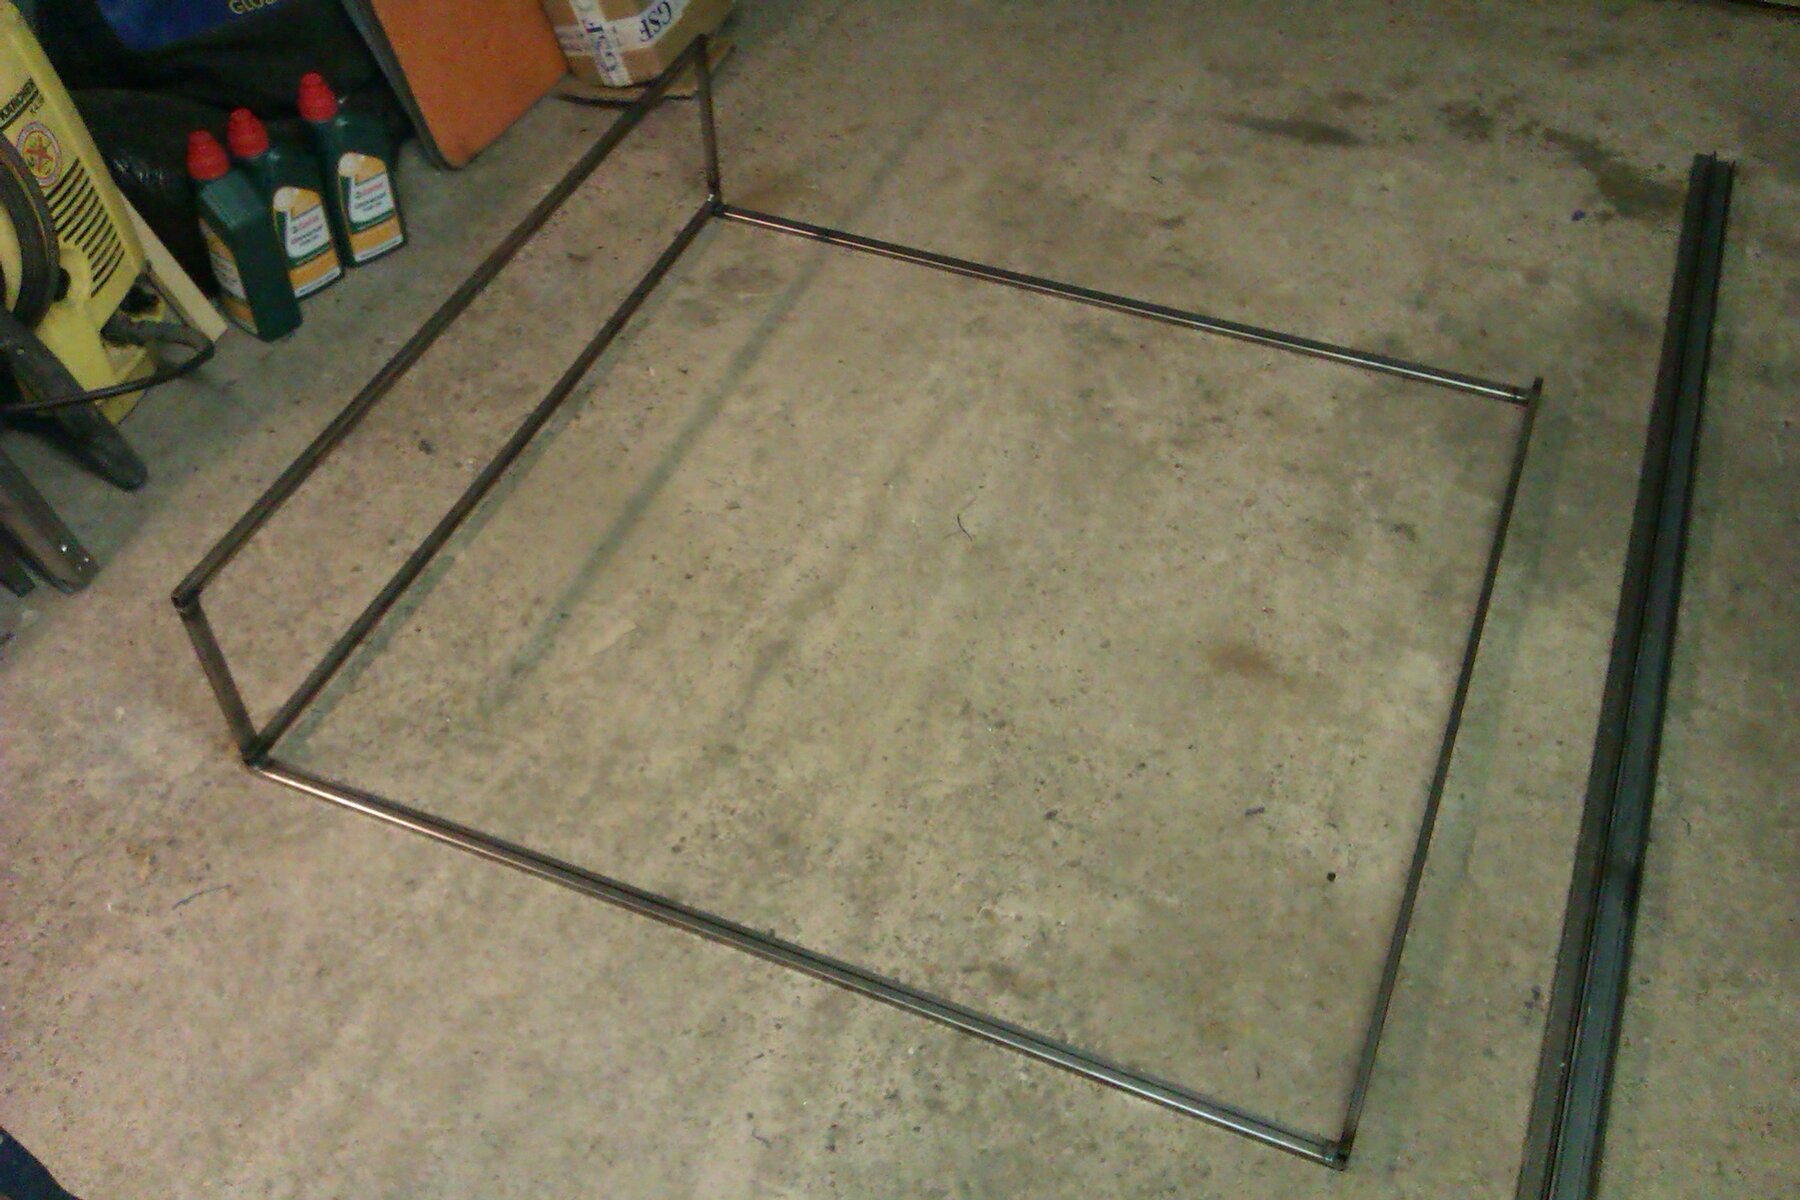
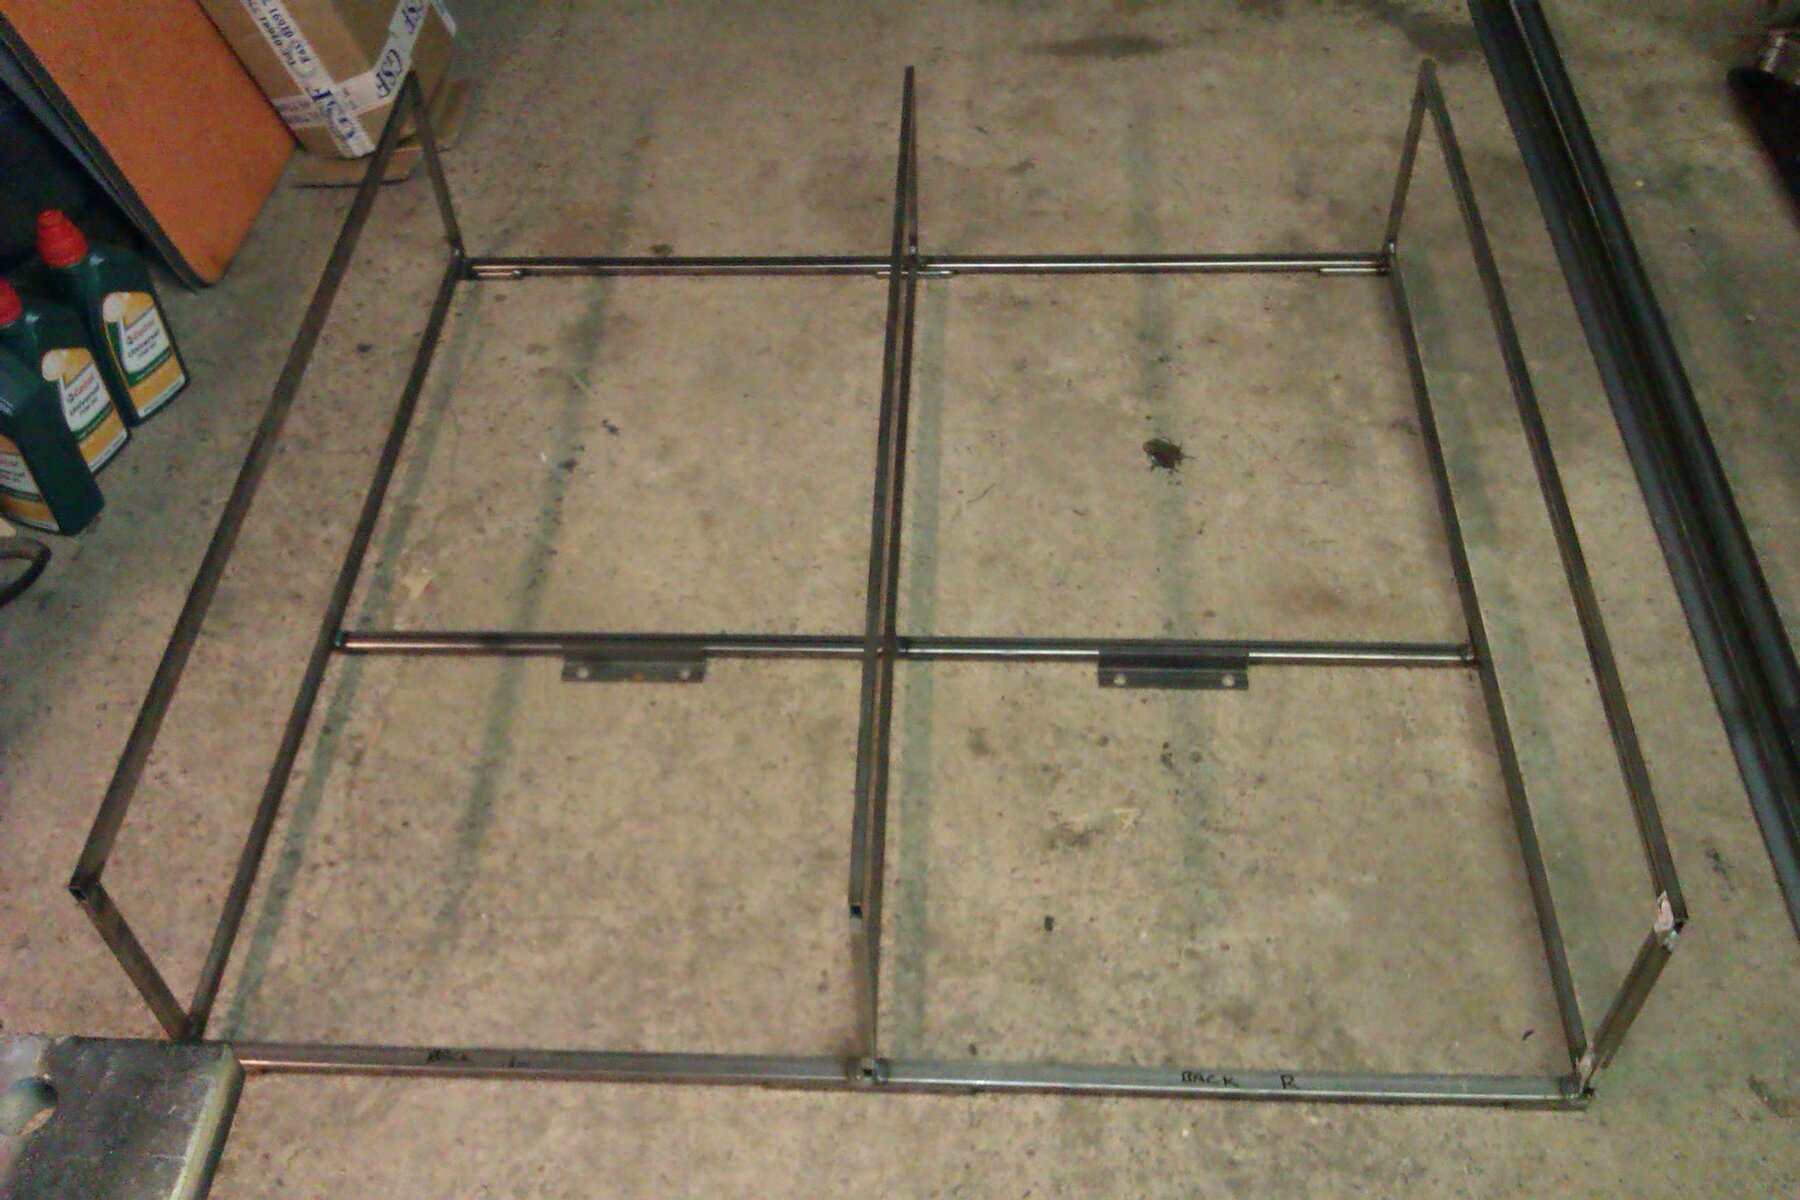
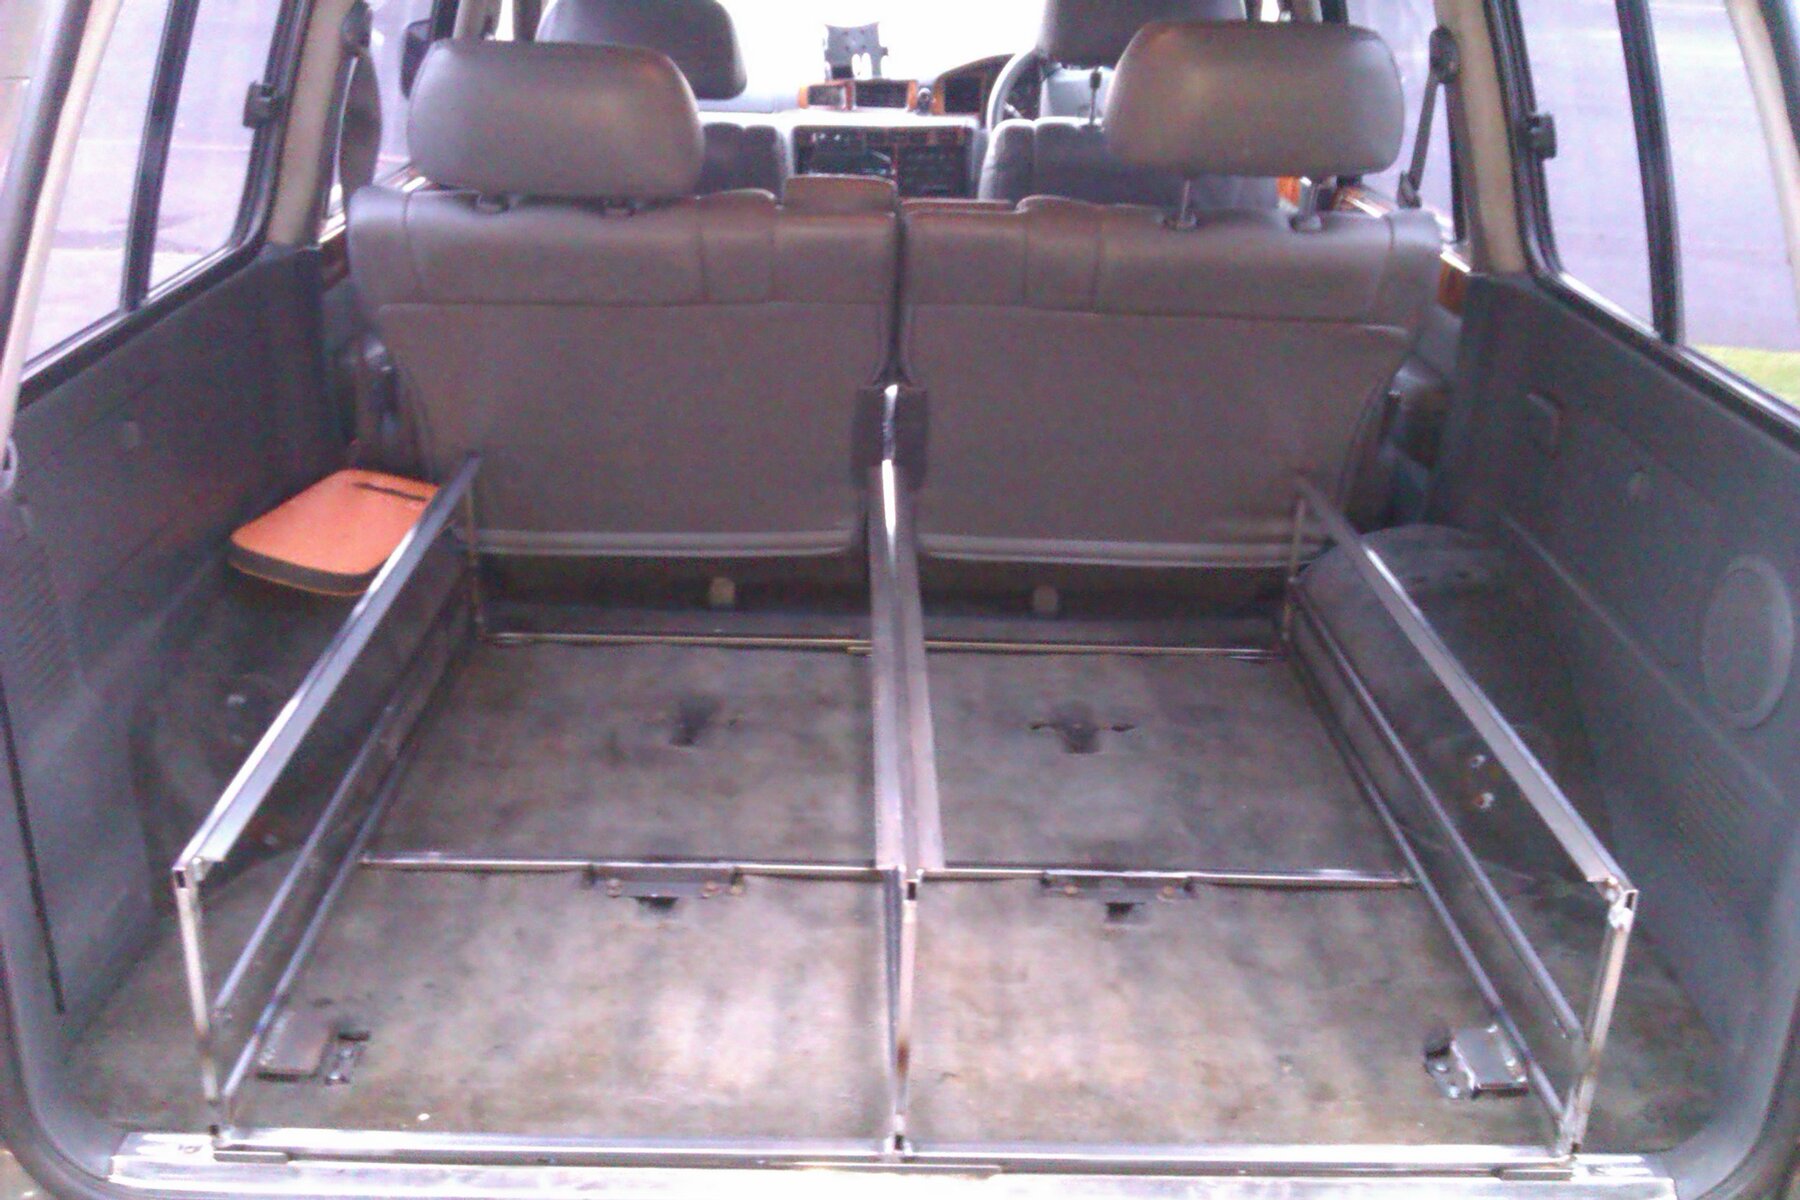
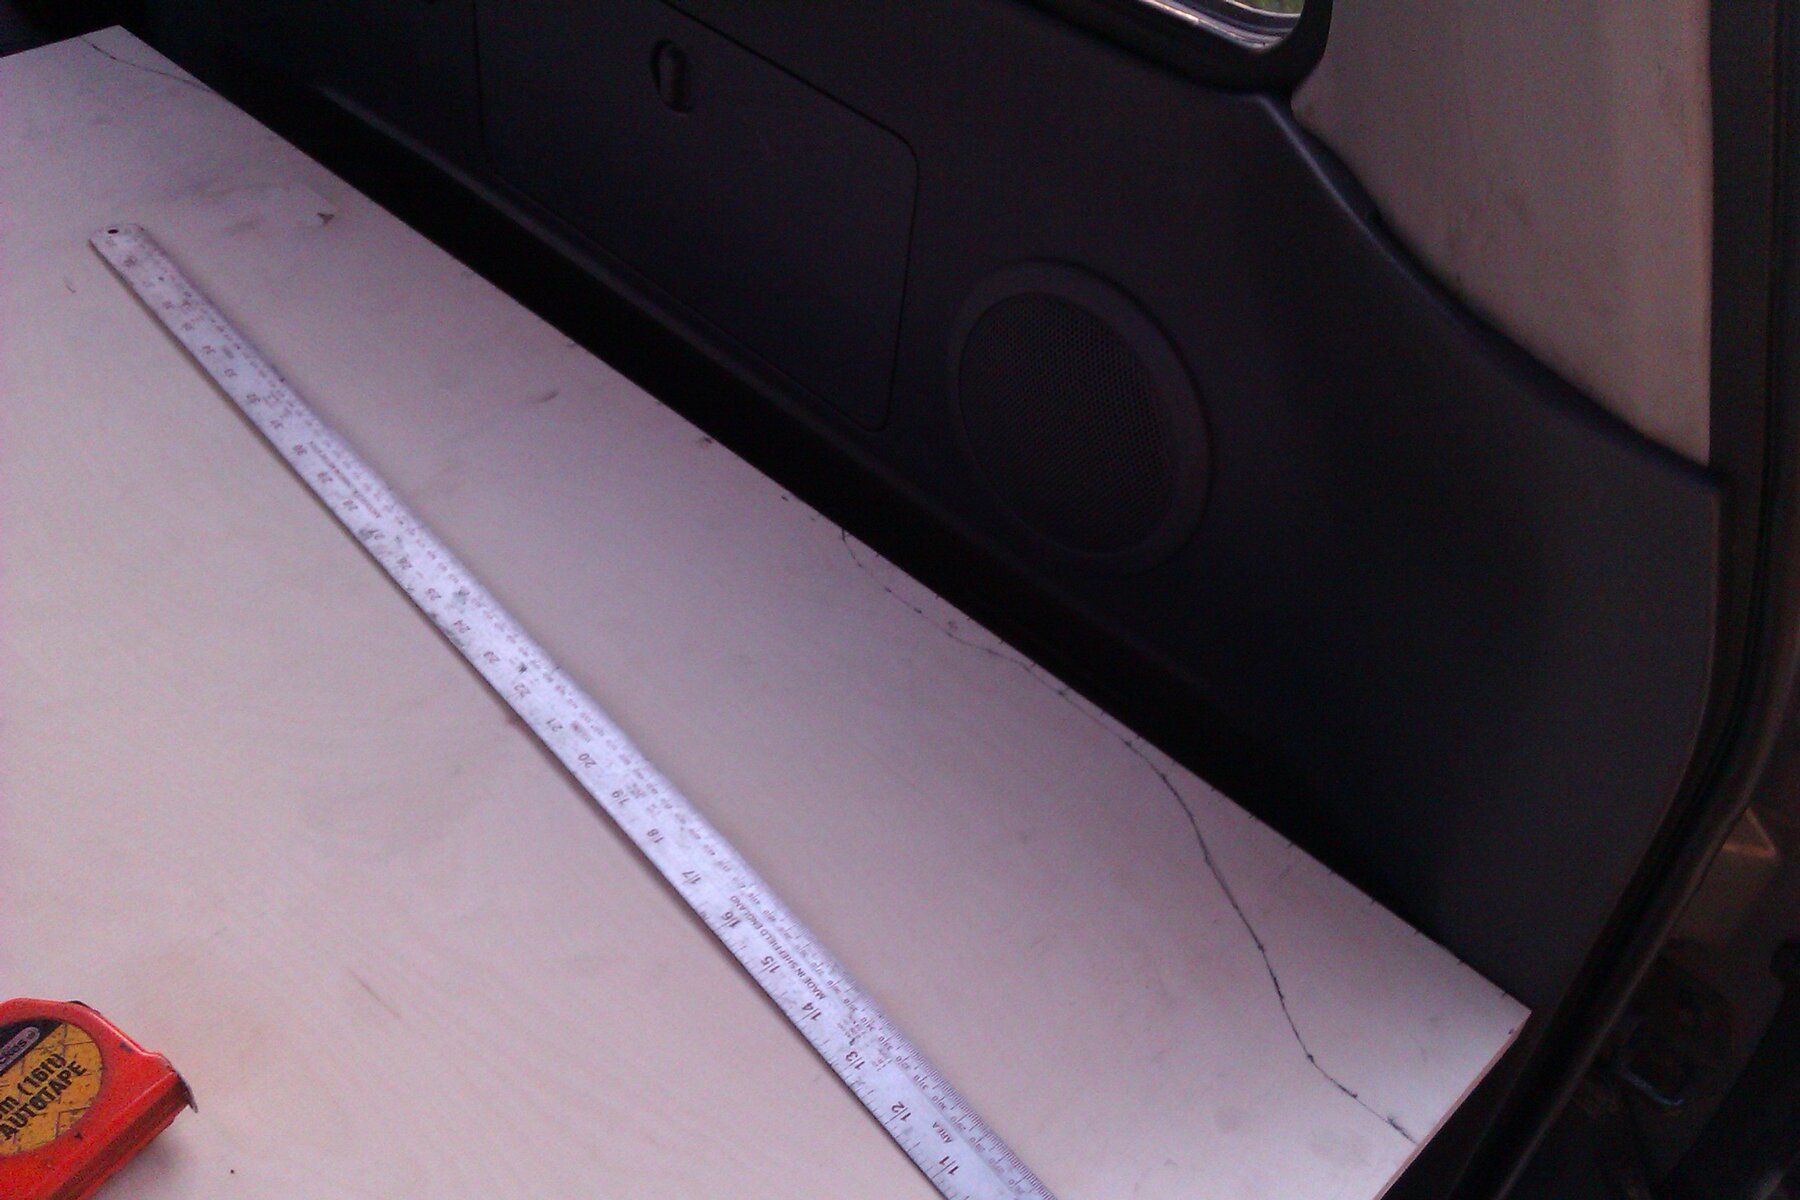
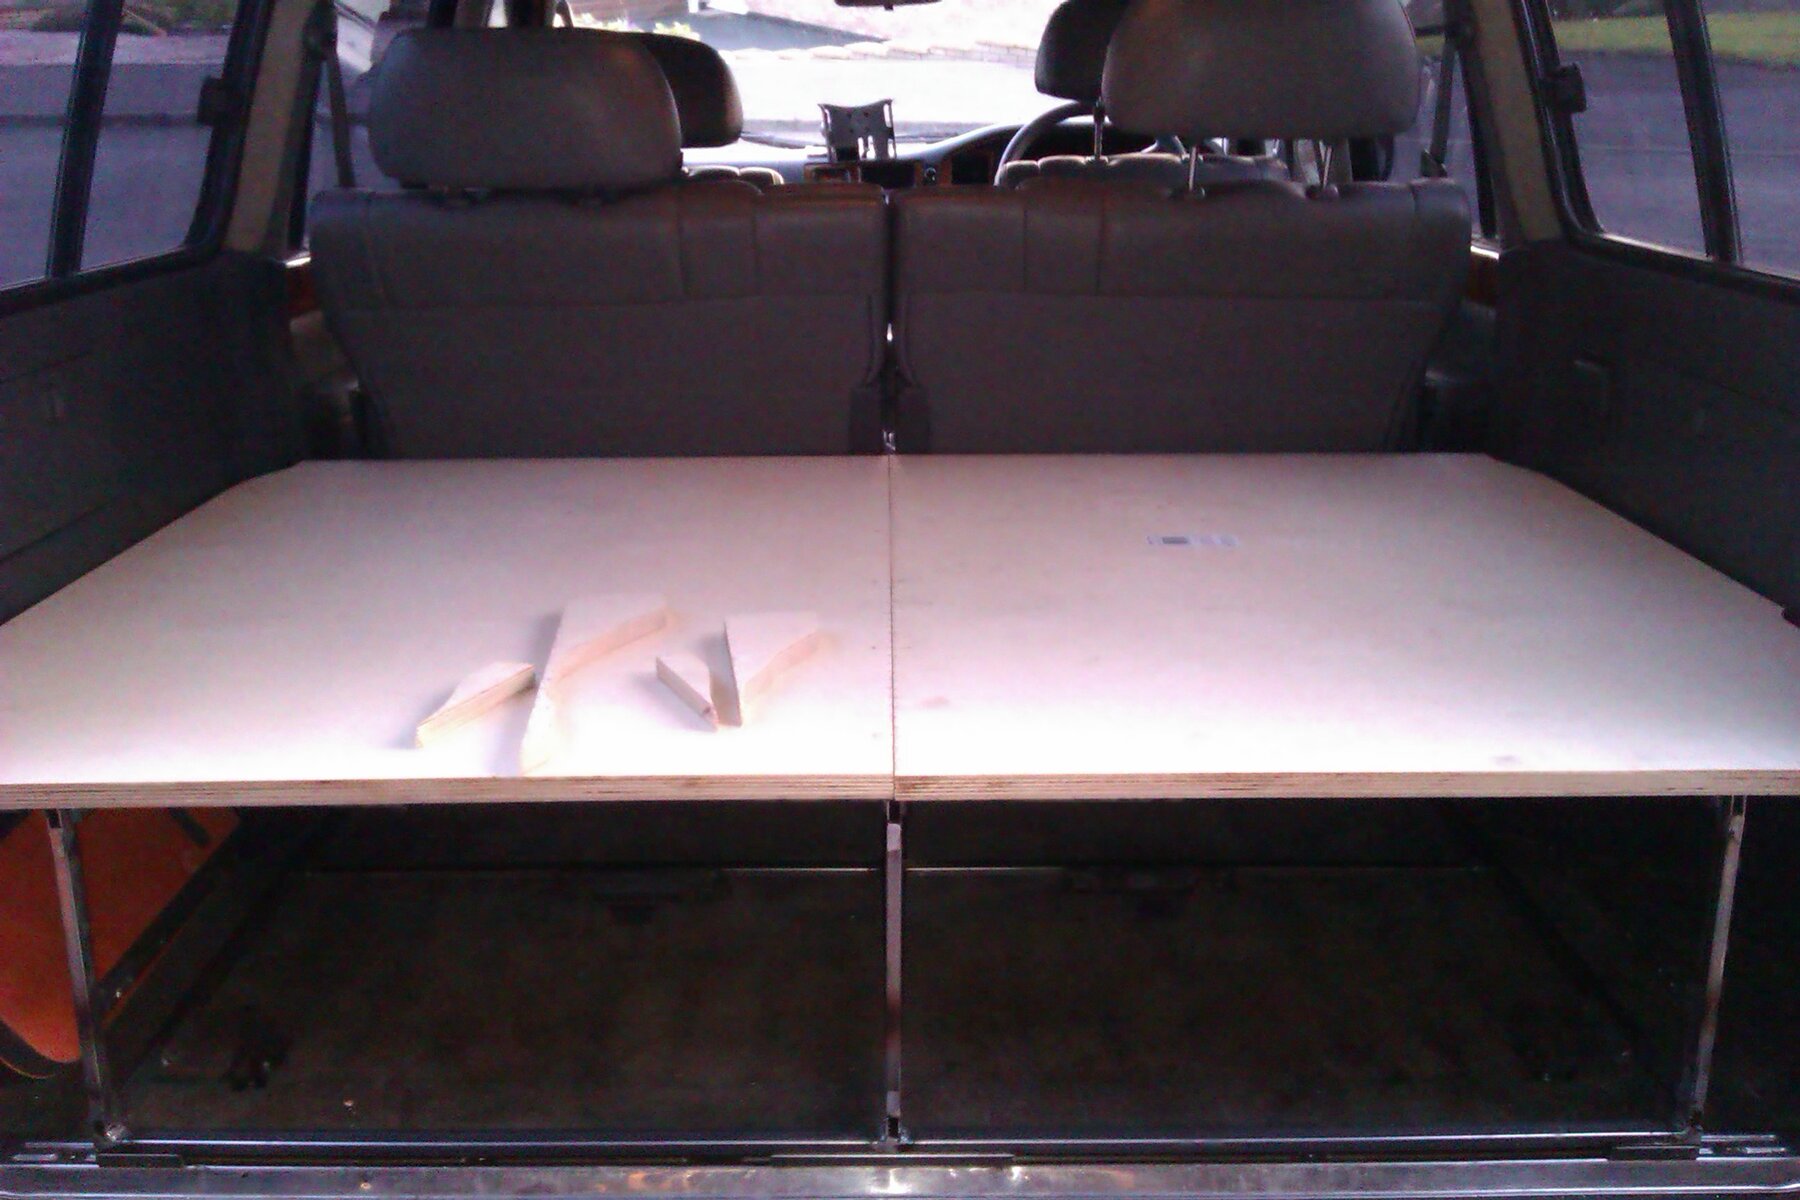
Managed to start glueing the boot storage frame together this evening. Gone for (for me) very lightweight spec steel tube - 10x20x1.5mm :shock: to minimize space wasted on the frame. Currently thinking of using the electrical tray material that Ben & Sam used on their drawers for the draws.
[attachment=0:1ucxycpr]IMAG0888.jpg[/attachment:1ucxycpr]
 

Attachments

  • IMAG0885.jpg
    IMAG0885.jpg
    930.8 KB · Views: 400
  • IMAG0888.jpg
    IMAG0888.jpg
    785.7 KB · Views: 404
don't need 35's, don't need 35's, don't need 35's :naughty: :lol:
 
Jon Wildsmith said:
don't need 35's, don't need 35's, don't need 35's :naughty: :lol:
.
.
of course you don't "need" them

However we are down the bookies later, and William Hill is saying differently,

Gra.
 
Other commitments meant I only got time to glue a bit more of the drawer frame together today.
[attachment=0:2o7xo31u]IMAG0891.jpg[/attachment:2o7xo31u]
 

Attachments

  • IMAG0891.jpg
    IMAG0891.jpg
    818.8 KB · Views: 458
Don't like the adverts?  Click here to remove them
Glued some more bits to the drawer frame, just needs a lid and some drawers adding now. I'll use rivnuts to hold the (18mm ply) top down so I've left the drawer slides off for now so they don't get full of bits when I start drilling holes for the top. The side rails are drilled for the slides so they'll just need bolting on.
[attachment=1:xuca6emi]IMAG0903.jpg[/attachment:xuca6emi]

Need to sort my scrap bin out, finding just the right bit for some of the mounting brackets meant tipping it all out :doh:
[attachment=0:xuca6emi]IMAG0905.jpg[/attachment:xuca6emi]
 

Attachments

  • IMAG0903.jpg
    IMAG0903.jpg
    789.9 KB · Views: 313
  • IMAG0905.jpg
    IMAG0905.jpg
    890.1 KB · Views: 340
Thanks Carl.

A few thoughts so far - the 20x10x1.5mm tube is plenty strong enough. Most of the floor fixing points are within the footprint of the frame and it will have the sides and back closed off. The top will be bolted down with dome head security bolts. The catches I've bought for the drawer fronts are lockable and can also have a padlock through them for added security. I'm aiming to make it so anything locked in the drawers is secure from anything less than a pretty determined effort to get them open :) Then I can keep bulkier stuff like the PC screen in one of the drawers when it's not being used. This should save needing a safe that is big enough for the various electronic gadgets that need locking away from time to time :)
 
Very nice. Are you using regular slides or making up some roller-bearing type runners?

Cheers
 
I'm using the HD slides pictured earlier in the thread. It's not a cheap option and I did think about using up the bearings I already have and a couple of variations on that idea but in the end it's just much simpler to spend the money and be done with it :) Got them from here , 2 pairs of the 1016mm length ones, prices are ex VAT ;) They are very heavy duty, the 113kg rating must include a safety factor.
 
Nipped off to B&Q after tea tonight to get an 8x4 sheet of birch wood ply and had the in-store saw man chop it up so I had the right size pieces to form the top of the drawer unit. The top is in two pieces. I've tried single piece tops in the past and it can be done but it's a PITA to get it in the car and I don't want fold up side flaps either, there's always something on top of them when you need to get at them so I prefer to stuff things in from the back. Being in two pieces also means if I need to take one of the plastic side panels off only one side of the top needs to come off to give access.

To get the right profile on the edge of the wood I marked off each side at 20mm intervals, clamped it to the frame and then measured at each point to transfer the shape onto the wood:
[attachment=1:2ilczrul]IMAG0909.jpg[/attachment:2ilczrul]

Me and wood don't usually get on very well but it worked out ok
[attachment=0:2ilczrul]IMAG0914.jpg[/attachment:2ilczrul]
They look tall in the picture mainly because of the angle. Internal dimensions of each drawer should be about 490 x 1050 x 240. Taller than the main drawers I made for the 100 but I often found those could have done with being a bit taller. The back seats slope a bit when the backs are folded so this height is a compromise between the lowest and highest point on the seat back so long loads can still go in the back with the seats folded down. Lots of drilling and bolting to be done to fix the tops down now with countersunk security bolts into rivnuts.
 

Attachments

  • IMAG0909.jpg
    IMAG0909.jpg
    707.2 KB · Views: 570
  • IMAG0914.jpg
    IMAG0914.jpg
    653.9 KB · Views: 602
looks good John. :thumbup:

in some ways i wish id made my top in 2 pieces, really is a PITA to get it in and out. :?

Jon Wildsmith said:
To get the right profile on the edge of the wood I marked off each side at 20mm intervals, clamped it to the frame and then measured at each point to transfer the shape onto the wood:
[attachment=1:3l4wbua8]IMAG0909.jpg[/attachment:3l4wbua8]

when i need to scribe a piece of wood to an unusual shape, like in your pic above, i position the piece of wood in place like in your pic.

i then measure which is the widest gap, and cut a small piece of wood to this size. i then hold the piece of wood against the thing i want to scribe to, in this case the plastic piece of interior trim, and hold a pencil against the other side of the little piece of wood, and then just move along, marking the profile of what your scribing to.

works really well. :thumbup:

use this on everything from scribing the back of worktops/counter tops to walls, to scribing skirting board to uneven floors. :)

maybe that could be my handy tip for Crispins thread. :cool:

EDIT. cant get your pics to appear when clicking the quote box John. :thumbdown:
 
I plan to skin the sides and back of the frame with 2mm aluminium sheet something like this:
[attachment=0:3kf7fsoq]IMAG0915.jpg[/attachment:3kf7fsoq]
That's all I got done tonight, was too distracted fondling all the OEM Toyota parts that arrived from a far away place today to do any more :lol:
 
Jon Wildsmith said:
That's all I got done tonight, was too distracted fondling all the OEM Toyota parts that arrived from a far away place today to do any more :lol:

Easy, easy... don't want you getting all excited now :lol:
 
So I got a bit further with this the last couple of nights and finished wrapping the back and sides, plus drilled the tops and fitted the rivnuts, and fitted the sliders so in it's gone.
[attachment=1:2rieotch]IMAG0929.jpg[/attachment:2rieotch]
bolted the tops on
[attachment=0:2rieotch]IMAG0938.jpg[/attachment:2rieotch]
The load barrier and divider is next so we can have the dog in the boot. Making some drawers won't be done for a little while yet but I can shove euro boxes under there for now.
 

Attachments

  • IMAG0929.jpg
    IMAG0929.jpg
    868.6 KB · Views: 464
  • IMAG0938.jpg
    IMAG0938.jpg
    760.8 KB · Views: 475
Started on the dog guard this afternoon, same 10x20x1.5mm box for the frame and some weld mesh. The intention is to have a support on each side tied to the deck and the grab handle with the main panel bolted in between so it can be removed quite easily for large loads that won't slide under it with the seats folded.
[attachment=0:h1rxrftg]IMAG0960.jpg[/attachment:h1rxrftg]
 

Attachments

  • IMAG0960.jpg
    IMAG0960.jpg
    778.7 KB · Views: 555
Not a great picture but spent this afternoon connecting the dog guard frame to the 3rd row grab handle mounting and making a divider so the dog only gets some of the space!
[attachment=0:33w03bmu]IMAG0966.jpg[/attachment:33w03bmu]
 

Attachments

  • IMAG0966.jpg
    IMAG0966.jpg
    799 KB · Views: 465
Back
Top